
tornadocaster
Well-known member
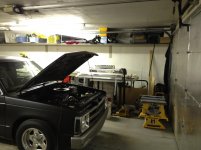
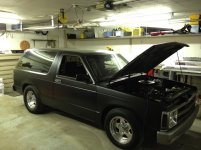
Hi Guys.
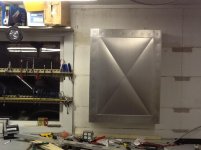
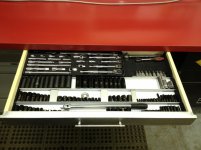
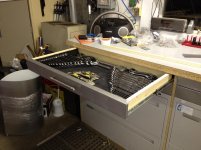
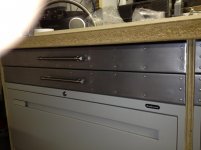
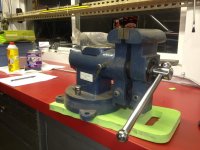
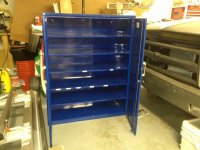
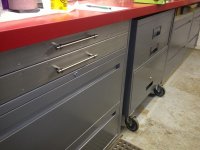
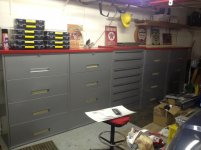
These pictures are after a major cleanup of my 2 car garage. As you can see I am fond of filing cabinets. I love tools and am fully set up for renos, cabinet making and engine building.
I have also painted a car in here.
I realized that the expensive tool boxes were built like filing cabinets with heavy slides etc and so I couldn't give up the great deals around town.
I have a plan....
-paint all cabinets one color maybe a silver hammered paint.
-New steel countertops
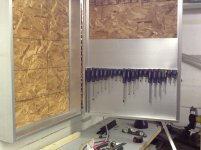
-get rid of the pegboard and hide most of the tools in custom cabinets something like a big medicine cabinet
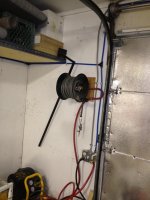
-cleanup electrical and air lines
-hide compressor
-organize and label all the drawers
-make a woodworking bench with more filing cabinets underneath
-redo the lighting
-close off suspended shelves with sliding doors
Anyways until the snow starts falling I will only tackle the small jobs and then this winter I will have what I always wanted.
These pictures are after a major cleanup of my 2 car garage. As you can see I am fond of filing cabinets. I love tools and am fully set up for renos, cabinet making and engine building.
I have also painted a car in here.
I realized that the expensive tool boxes were built like filing cabinets with heavy slides etc and so I couldn't give up the great deals around town.
I have a plan....
-paint all cabinets one color maybe a silver hammered paint.
-New steel countertops
-get rid of the pegboard and hide most of the tools in custom cabinets something like a big medicine cabinet
-cleanup electrical and air lines
-hide compressor
-organize and label all the drawers
-make a woodworking bench with more filing cabinets underneath
-redo the lighting
-close off suspended shelves with sliding doors
Anyways until the snow starts falling I will only tackle the small jobs and then this winter I will have what I always wanted.
Attachments


Last edited:


")


