
e015475
Well-known member
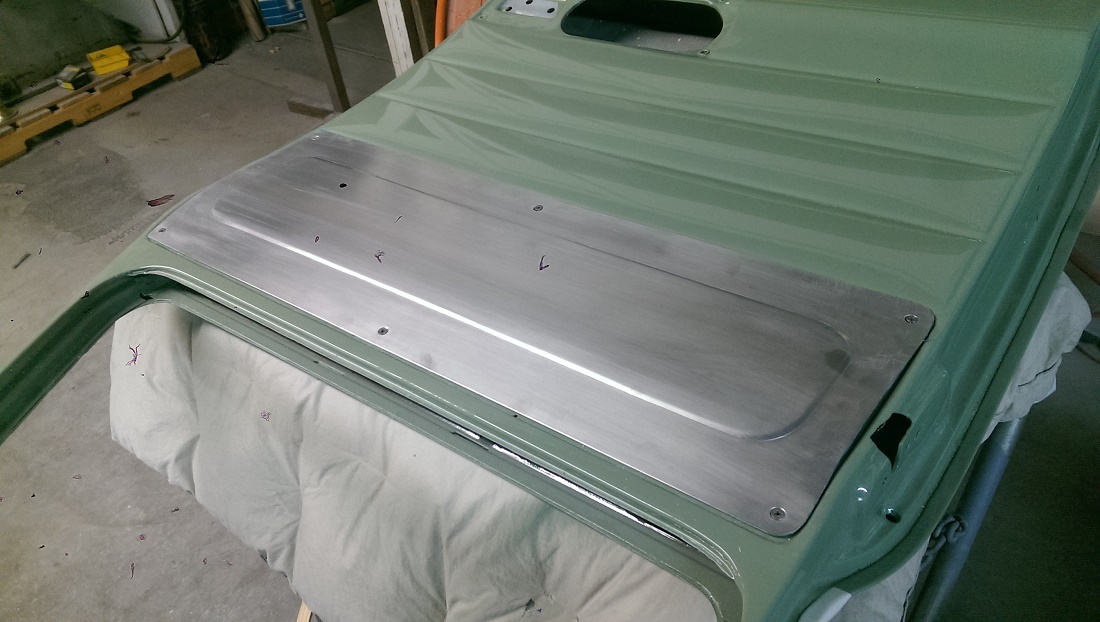
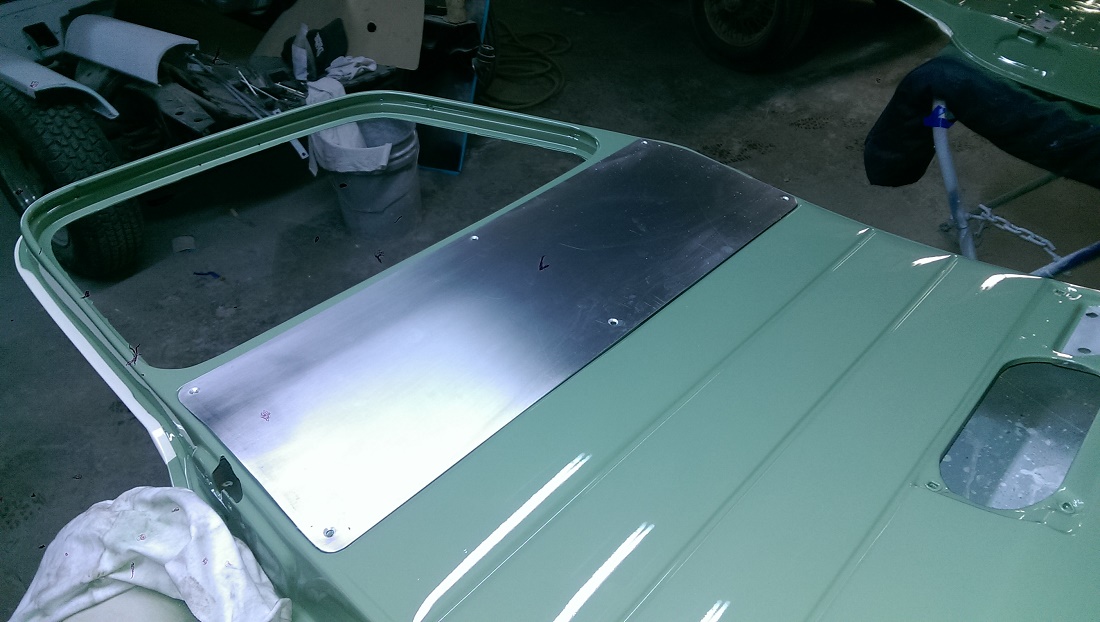
I'm wanting to make some door cards for a '49 GMC truck out of some 5052 aluminum sheet. I'd like to bead roll some details into the panels.
The last panels I put through the bead roller, my brother came down and was the power to manually crank the roller. It worked well, but this time I wanted to be self sufficient and be able to bead roll panels myself.
To motorize the bead roller, I used a HF ATV winch and some Lovejoy couplings to connect the winch to the bead roller. Here's the bead roller drive system I used.

I disassembled the HT winch and separated the winch and the planetary gearbox from the cast aluminum cable spool. The output of the planetary gearbox goes through a 12 spline sun gear. I tried welding the HF sun gear to .75" diameter shaft so I could use a Lovejoy coupling, but it seems like it is made of some sort of sintered metal, and so soaked with oil it just smoked and hissed when I tried to TIG it. With a little filing of the flats of a hex head bolt, it would replace the HF sun gear. I took a 3/4" dia piece of bar stock and drilled it to accept the shank of a 3/8" bolt and TIG'd it together with two weld passes and a generous fillet.

The HF sun gear looks a lot longer than the bolt head, but it is only half engaged in the planetary and half in the aluminum spool. From the specs on the winch, it looks like it will generate about 1000 in lbs of torque. I'll need less than half of that to run the bead roller. I'll be running six points of contact instead of twelve on the sun gear, so the stress levels on the winch planetary should be about the same.
Here's the 1" ID Lovejoy coupling on the bead roller side of the drive. The winch's mounting plate was cut in half and welded to a .25" plate bolted to the bead roller. You can see where I had to grind off a little of the winch's mounting plate to get the motor to align correctly to the bead roller.

Here's the winch side assembled and ready to mount to the bead roller

I wanted to be able to control the speed of the bead roller with a foot pedal so I could jog for detail work or progress at a fair amount of speed for straight beads/steps.
The power supply and control consists of three elements-
- A 20A DC power supply adjustable between 12 and 24VDC for gross speed adjustments
- Pulse width modulator (PWM) capable of about 400W to control the winch speed and direction
- A foot pedal to control the PWM output to the winch motor
Here's the power supply and control for the bead roller

The power supply is an ebay item that's commonly used in LED lighting system and is pretty straight forward - about $30 for a 20A unit.
The PWM module is less than $10 on ebay and has a potentiometer of about 0 to 84K ohms that's used to modulate the output. I clipped this pot off and used the pot in a Crybaby whawha pedal that's pretty much a industry standard for electric guitars. I bought a used one on ebay for less than $20
The Crybaby pedal is available in various pot ranges, so I tried to match the pot range of the PWM. A 0-100K ohm pot seemed to turn the trick.
Next step will be to build some sort of enclosure for the electronics so it will survive ok in a the shop environment. The forward and reverse switch on the PWM isn't very robust so I'll find a nice DPDT switch for it next.
It is working really well so far and the range of control is excellent. I'm into the motorized part about $150
Will post pics of the finished door panels when I'm done
The last panels I put through the bead roller, my brother came down and was the power to manually crank the roller. It worked well, but this time I wanted to be self sufficient and be able to bead roll panels myself.
To motorize the bead roller, I used a HF ATV winch and some Lovejoy couplings to connect the winch to the bead roller. Here's the bead roller drive system I used.
I disassembled the HT winch and separated the winch and the planetary gearbox from the cast aluminum cable spool. The output of the planetary gearbox goes through a 12 spline sun gear. I tried welding the HF sun gear to .75" diameter shaft so I could use a Lovejoy coupling, but it seems like it is made of some sort of sintered metal, and so soaked with oil it just smoked and hissed when I tried to TIG it. With a little filing of the flats of a hex head bolt, it would replace the HF sun gear. I took a 3/4" dia piece of bar stock and drilled it to accept the shank of a 3/8" bolt and TIG'd it together with two weld passes and a generous fillet.
The HF sun gear looks a lot longer than the bolt head, but it is only half engaged in the planetary and half in the aluminum spool. From the specs on the winch, it looks like it will generate about 1000 in lbs of torque. I'll need less than half of that to run the bead roller. I'll be running six points of contact instead of twelve on the sun gear, so the stress levels on the winch planetary should be about the same.
Here's the 1" ID Lovejoy coupling on the bead roller side of the drive. The winch's mounting plate was cut in half and welded to a .25" plate bolted to the bead roller. You can see where I had to grind off a little of the winch's mounting plate to get the motor to align correctly to the bead roller.
Here's the winch side assembled and ready to mount to the bead roller
I wanted to be able to control the speed of the bead roller with a foot pedal so I could jog for detail work or progress at a fair amount of speed for straight beads/steps.
The power supply and control consists of three elements-
- A 20A DC power supply adjustable between 12 and 24VDC for gross speed adjustments
- Pulse width modulator (PWM) capable of about 400W to control the winch speed and direction
- A foot pedal to control the PWM output to the winch motor
Here's the power supply and control for the bead roller
The power supply is an ebay item that's commonly used in LED lighting system and is pretty straight forward - about $30 for a 20A unit.
The PWM module is less than $10 on ebay and has a potentiometer of about 0 to 84K ohms that's used to modulate the output. I clipped this pot off and used the pot in a Crybaby whawha pedal that's pretty much a industry standard for electric guitars. I bought a used one on ebay for less than $20
The Crybaby pedal is available in various pot ranges, so I tried to match the pot range of the PWM. A 0-100K ohm pot seemed to turn the trick.
Next step will be to build some sort of enclosure for the electronics so it will survive ok in a the shop environment. The forward and reverse switch on the PWM isn't very robust so I'll find a nice DPDT switch for it next.
It is working really well so far and the range of control is excellent. I'm into the motorized part about $150
Will post pics of the finished door panels when I'm done
 Harry
Harry