To avoid these ads, REGISTER NOW!

Any ideas on these cans?

supratreo

Well-known member
Joined
Sep 4, 2020
Messages
354
Location
elk grove, CA
PXL_20221027_002055423.jpg
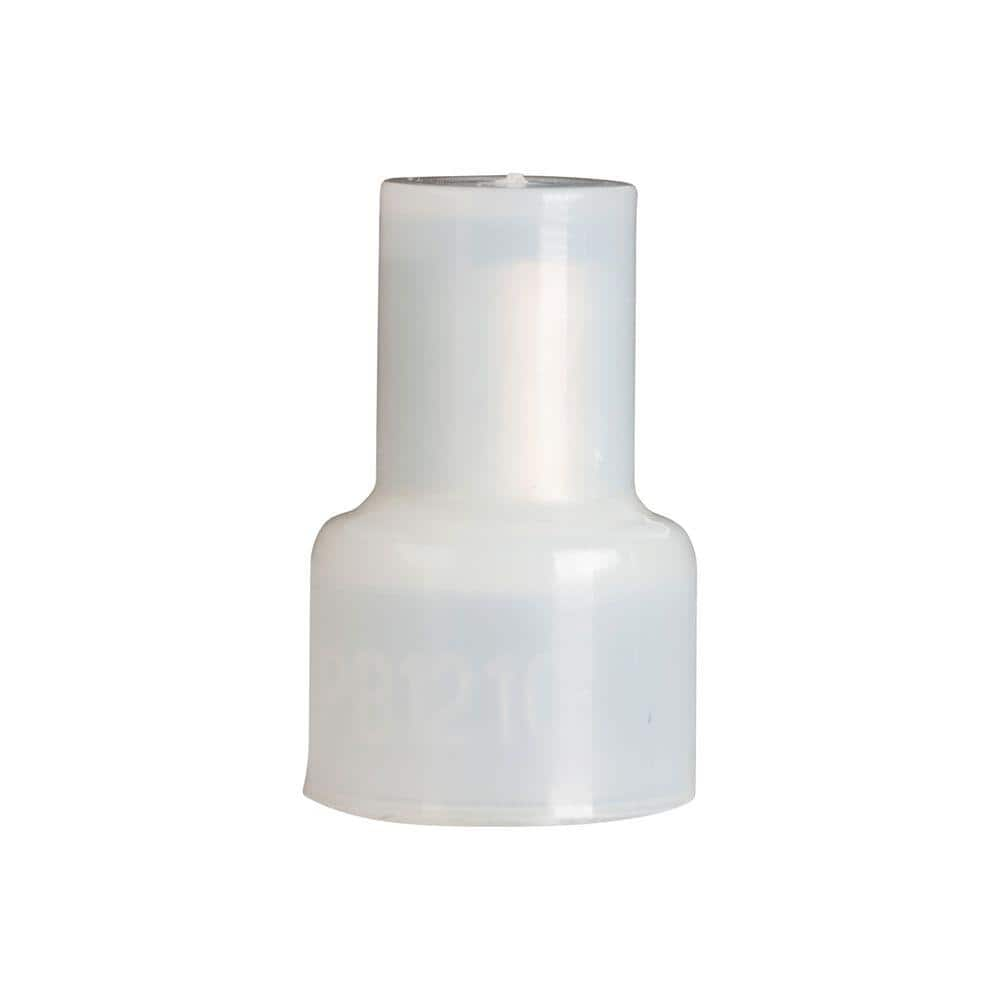
hi, so i have some recessed lights outside and purchaced some new LED replacements. i finally get to installing them and find out that they are the style below. 4 pin with the square base. the type i have now had the 2 pin orange connector and a screw in adapter if needed.
issue with these cans are that i believe these lights use a ballast. i had them in my kitchen aswell.
in my kitchen i was able to pull the cans out and rip the ballast out then connect directly to the romex.
here you can see they have stucco all around the can. before i go distroying anything i was wondering if anyone had any tips/ideas on other solutions.
 
To avoid these ads, REGISTER NOW!

Norcal

Well-known member
Joined
Mar 16, 2008
Messages
13,765
What I have done is rather involved but does work but does not damage any building finishes, bought a LED can (new construction) of the same manufacturer removed the existing inner can, there are 3 screws that require a stubby nut driver, or screwdriver, to remove, after that is done, pull the can through the opening, which will give access to the ballast/ J-b ooks to be a no name ChiCom cheap can, so matching brands may not work, I was thinking about trying a canless LED kit, strip out the existing can & discard, & use the J-Box to power the canless trim, just not sure the new canless will clip in & cover things up without a mess. My change over was using existing Halo brand components with new Halo LED cans.
 
OP
S

supratreo

Well-known member
Joined
Sep 4, 2020
Messages
354
Location
elk grove, CA
thank you for the reply. that is similar to what i did in my kitchen except i did not install new inner cans. i took out the 3 screws and removed the ballast but these look to be stuccoed in place. i'll see if i can remove them today but i remember them already being a pretty snug fit so i'm not to hopeful.
 

Norcal

Well-known member
Joined
Mar 16, 2008
Messages
13,765
thank you for the reply. that is similar to what i did in my kitchen except i did not install new inner cans. i took out the 3 screws and removed the ballast but these look to be stuccoed in place. i'll see if i can remove them today but i remember them already being a pretty snug fit so i'm not to hopeful.
They have to come out as it's not permitted to have a inaccessible J-box & that is the only access.
 

sparky 1971

Well-known member
Joined
Oct 9, 2018
Messages
7,976
Location
Central Iowa
Take the screws out and see if the can will push up and out of the way instead of pulling it down. That's what I usually do, it's a pita trying to work with a can swinging in front of your face.
 
To avoid these ads, REGISTER NOW!

Zeke

Well-known member
Joined
Aug 13, 2009
Messages
17,176
Location
Long Beach CA, the sewer by the sea.
I looked at this thread yesterday and since I could not see the heads of any screws, I didn't have a good suggestion. But I'd avoid stucco damage so I'd take a closer look, They may be able to be knocked up and out of the way, but it could prove to be difficult. I think I see 3 'detents' holding the upper cone into an outer cone shape. Getting a slim pry under the lip may free the upper can and it may drop out, At that point access is obtained to perform what conversion needs to be performed.


Reforming the upper cone will allow it to be replaced to maintain code compliance. If is not secure, some TEK screws will provide for that.
 
OP
S

supratreo

Well-known member
Joined
Sep 4, 2020
Messages
354
Location
elk grove, CA
ok. thank you guys for the advice. the things you marked in the picture are actually rivets. i took out the 3 screws on the bottom and chipped away a small amount of stucco that was inside the can holding it in and was able to pop it up to access the electrical.
1 can down 7 more to go. had to take a break because my hands were cramping from working in that small area.

what i did was remove the ballast and reuse the 4 wires that go to the bulb. i'm thinking about just removing those wires also and running just 2 new wires but they were so nicely packed in heat resistant sleeve and ran through MC that i decided to reuse. what do you guys think?
also, i'm using 4 wire nuts per can so far. i don't really see a way around that. they have WEGOs installed right now but i cant insert the stranded wire into that. so for now I'm using a pigtail from the wego (wire that originally went to power the ballast) then connecting it to the wires that go to the can. then i use 2 wire nuts to connect the adapter that connects to the LED light.
hope that makes sense. lmk if you guys have a better idea. i like to make as few connections as possible but i don't see how i can do that here. i can loose 2 wire nuts by cutting off the wegos and not using a pigtail but that's a lot more work to do inside a small space.

also, can splice below be used for this type of wiring? ive used it in automotive applications but never HV. this might make my job a little easier.
 
To avoid these ads, REGISTER NOW!
Top Bottom