To avoid these ads, REGISTER NOW!

Aussie 16x10m (53x33ft) new build

Q777

Well-known member
Joined
Jun 8, 2014
Messages
55
Location
Australia
I know that life is what you make of it and a shed in itself mightn't improve my life...but I actually think my new build really will, and I can't wait!

I have always had a passion for cars but have been so cramped for space for the last 10 years that I'd almost given in and become the "take the car to the mechanic and call me when it's fixed" type of guy.

I've never had a lot of space, nor the equipment (or talent) to actually fabricate anything of substance. This is all going to change with a 4 post hoist, a big capacity 5.5hp 3 phase compressor with an assortment of air tools, a welder, a decent work bench, linisher, vice, drop saw, drill press. You name it, I've never owned it!

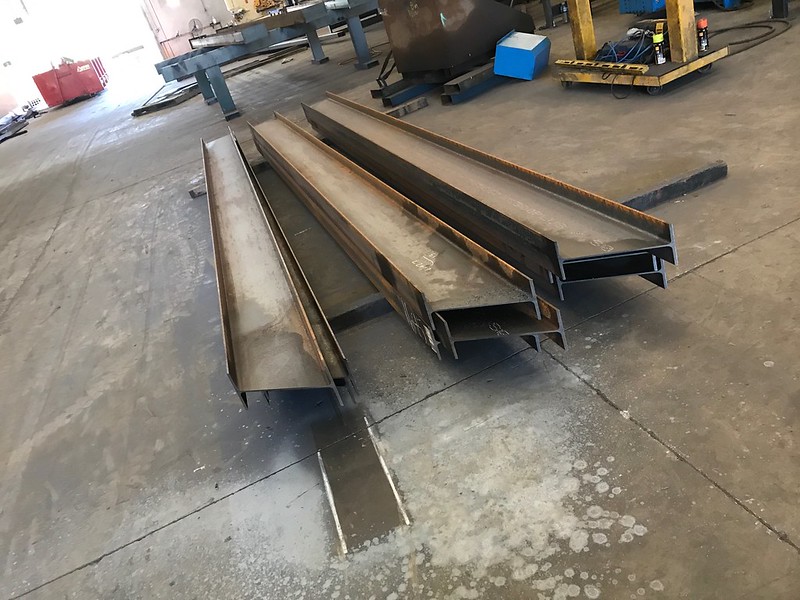
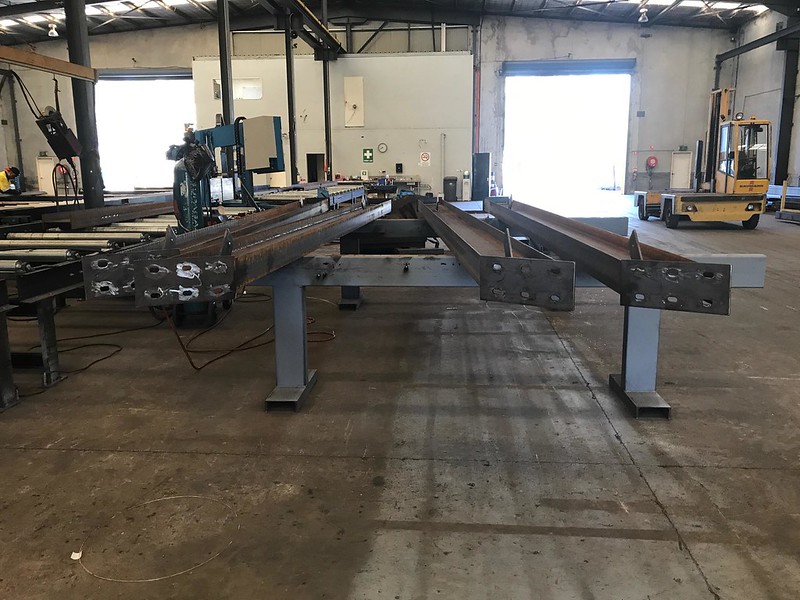
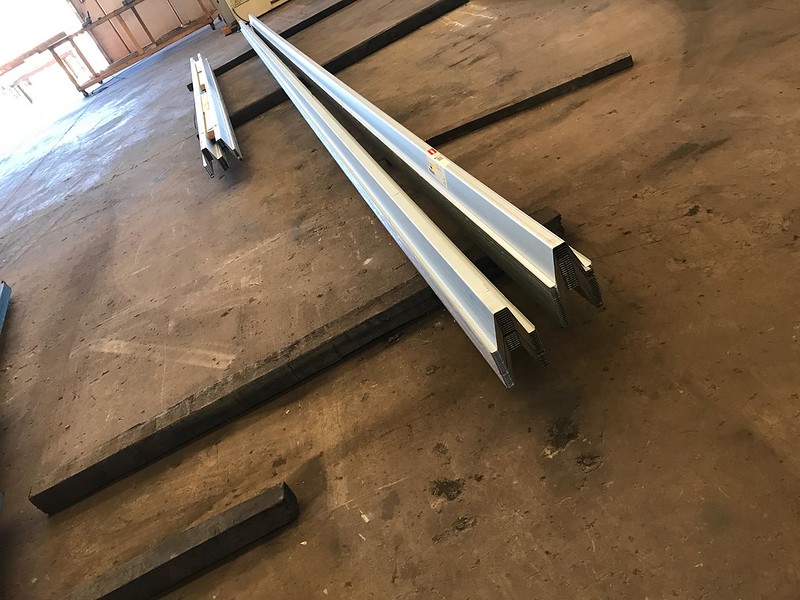
The shed will be 16x10m with 5m high walls, and is being built with big 310 UB32 beams so it should still be standing well after I've gone. The steel fabricator was keen to over engineer this shed because he's concerned about the tall gum trees within striking distance of the shed. He has built it so that any tree that (hopefully never) lands on the roof won't makes its way inside the shed and onto cars. I'm tight with my money and never like spending it, but I want to do this shed properly because I can see it being my after-work sanctuary to wind down and play with cars.

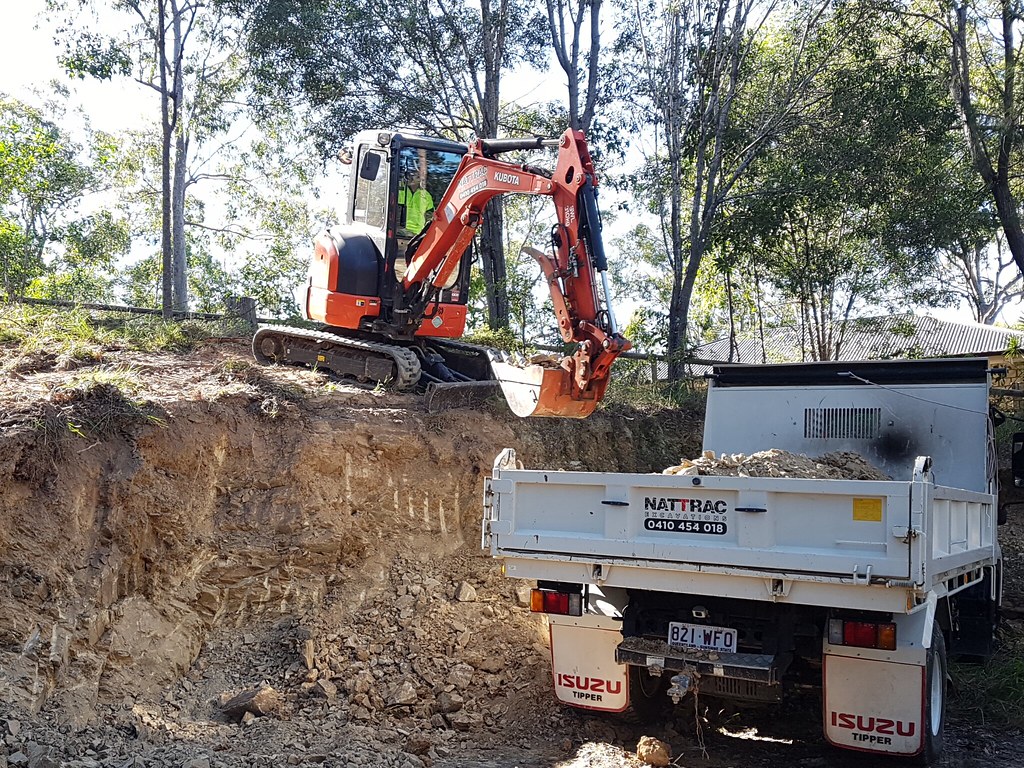
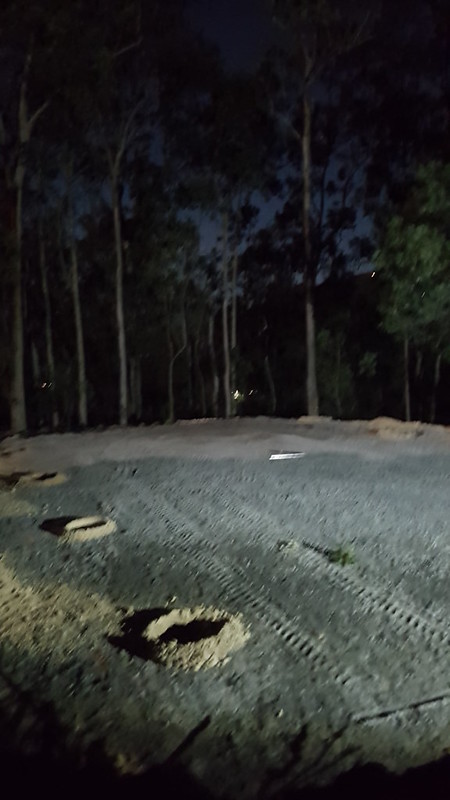
The pad was originally cut around 9 years ago so it's definitely had time to settle. Last weekend I had a 3.5T excavator come and cut another 6ft into the bank to give myself room to walk around the shed, plus to have space for the air compressor and water tanks to sit outside and under cover. The additional fill created extra space at the back of the shed, and sits past where the concrete slab will go.

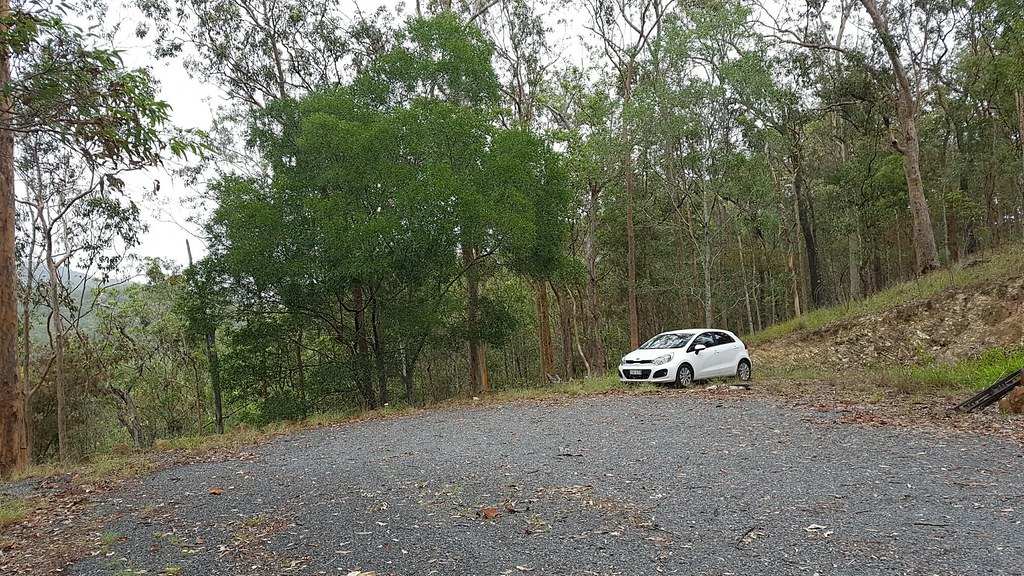
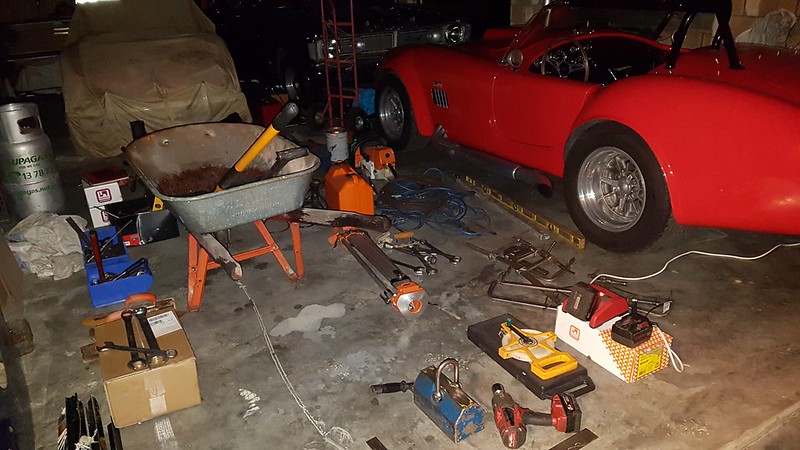
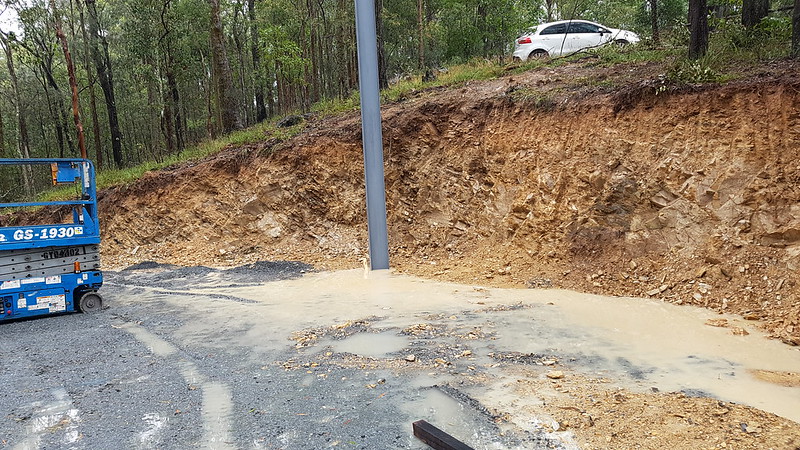
Car sitting where the back corner of the shed will be:

35109087125_b476d566e6_b.jpg


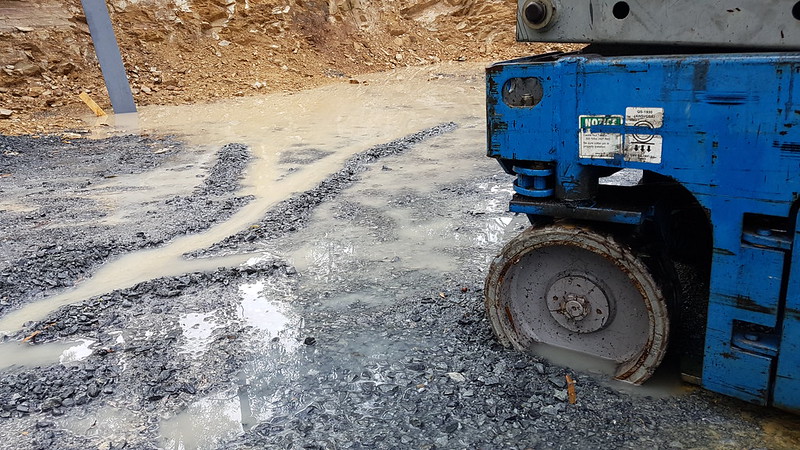
Excavator guy earning his money:

34978455061_b64fbef9df_b.jpg


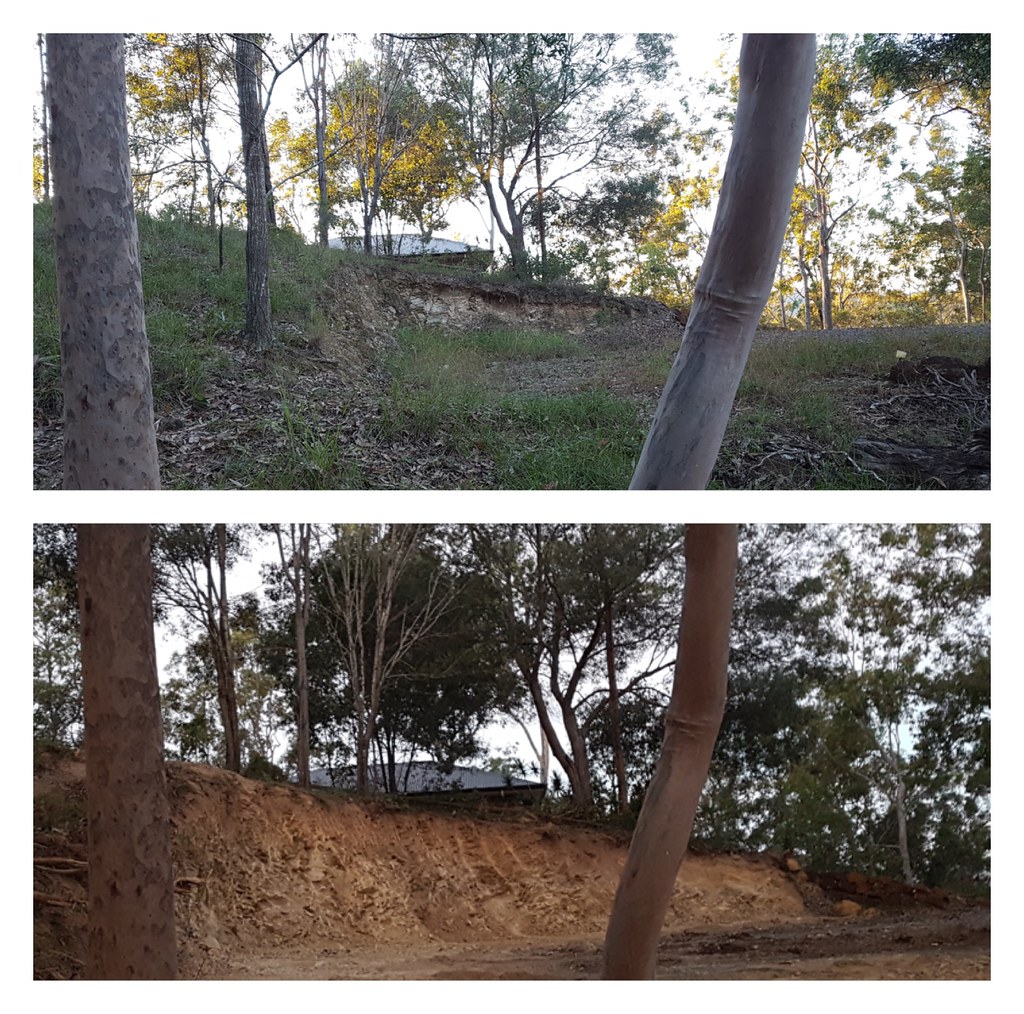
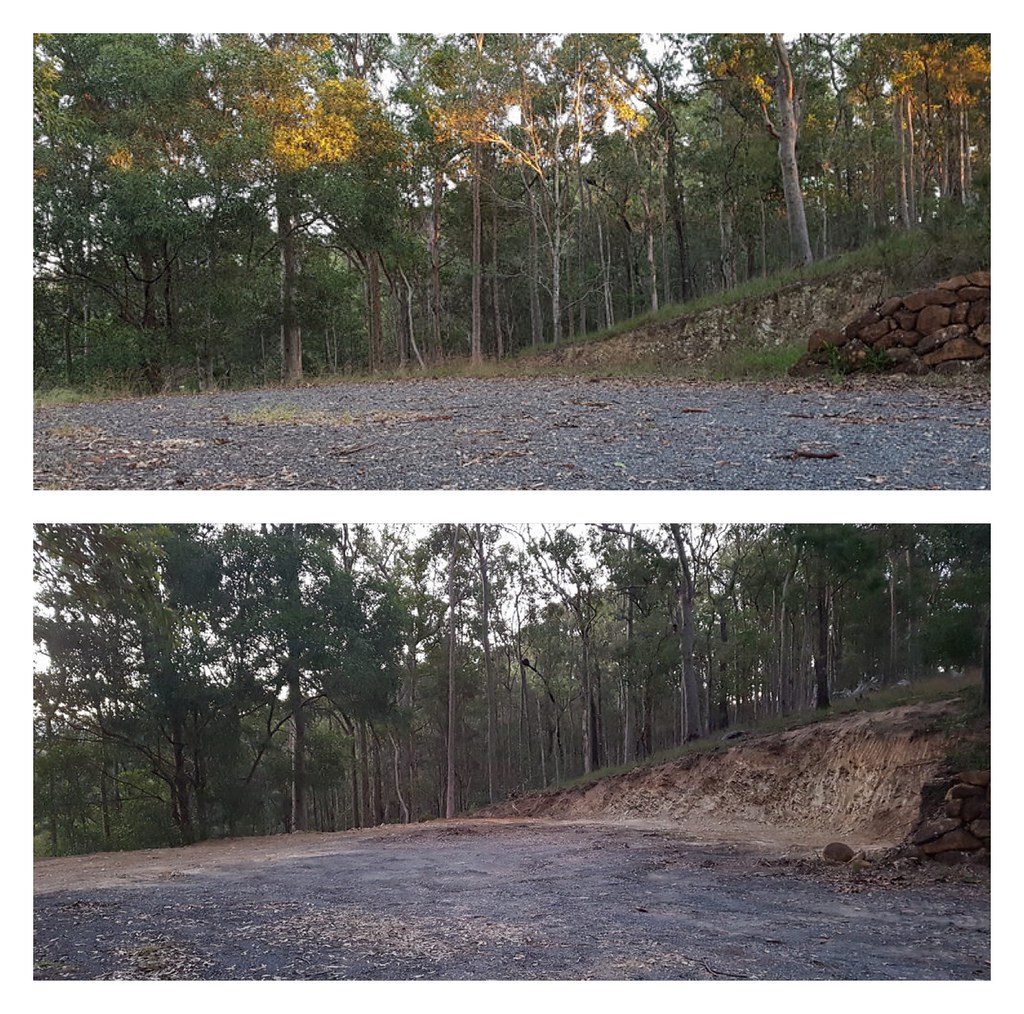
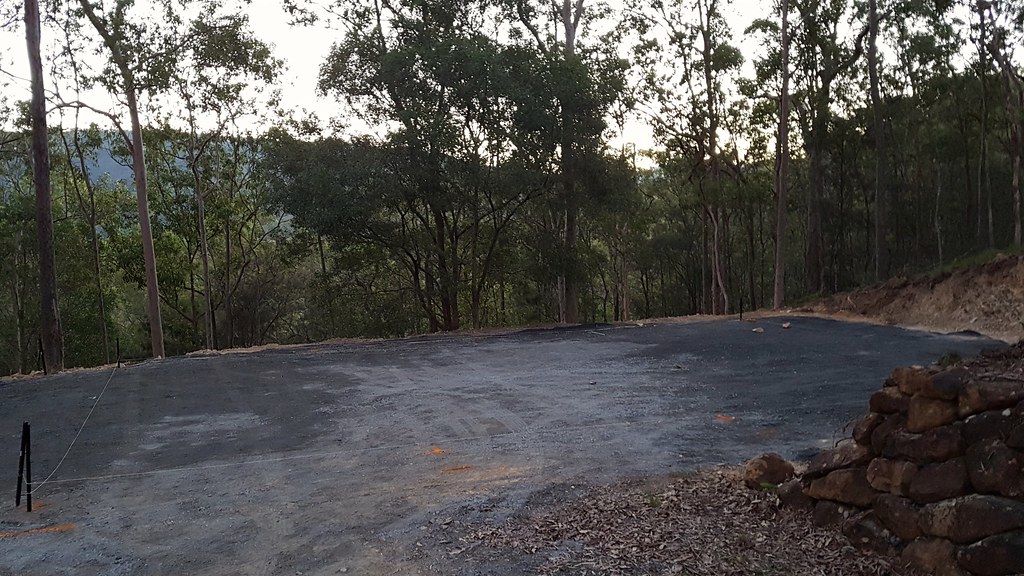
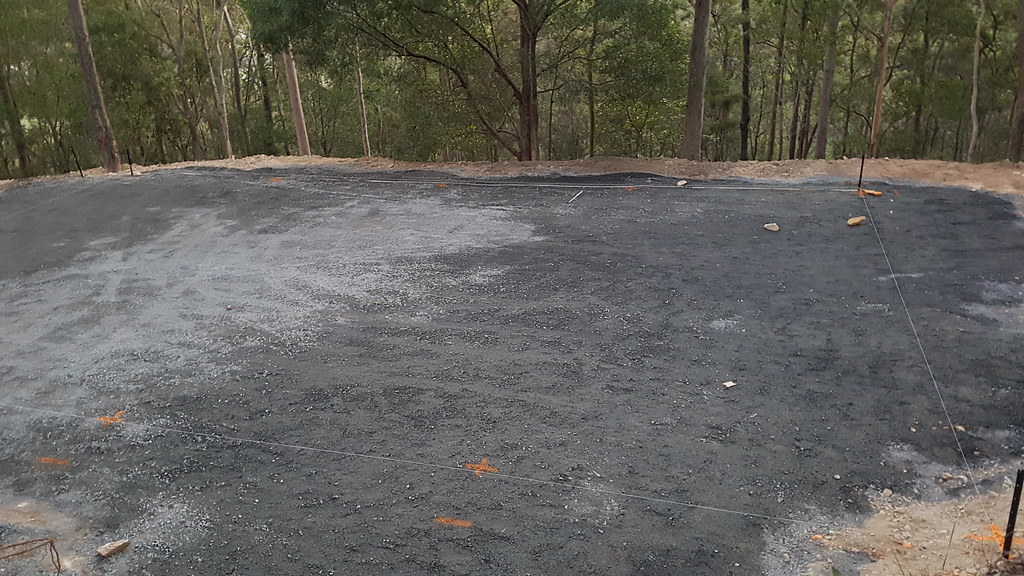
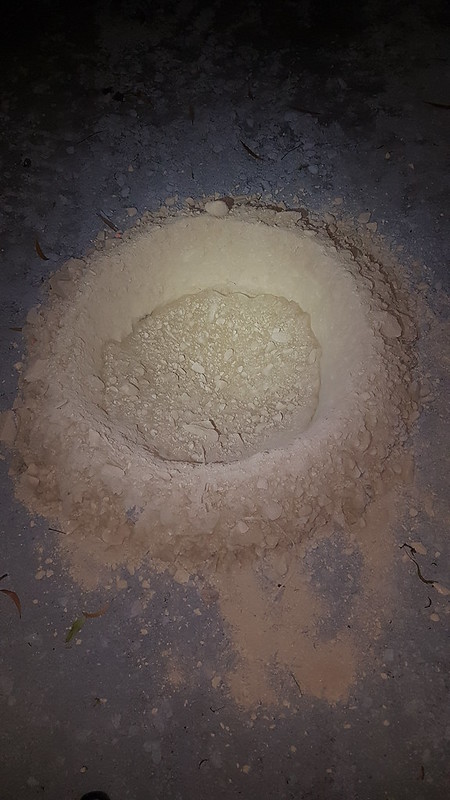
Some before and after pictures of this extra earth works:

35069080496_ea461e8b6c_b_d.jpg


35109915375_a622f60d30_b.jpg


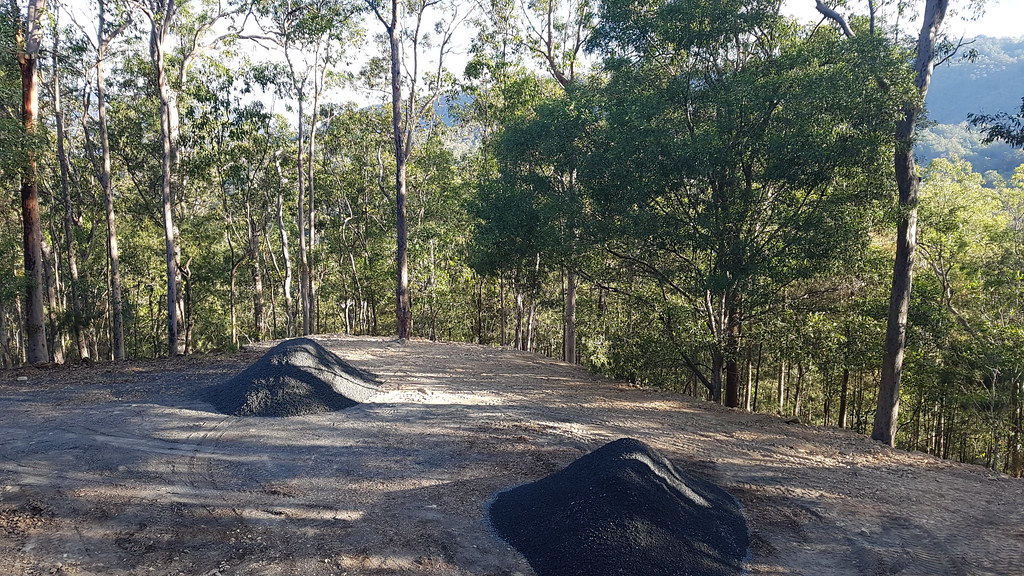
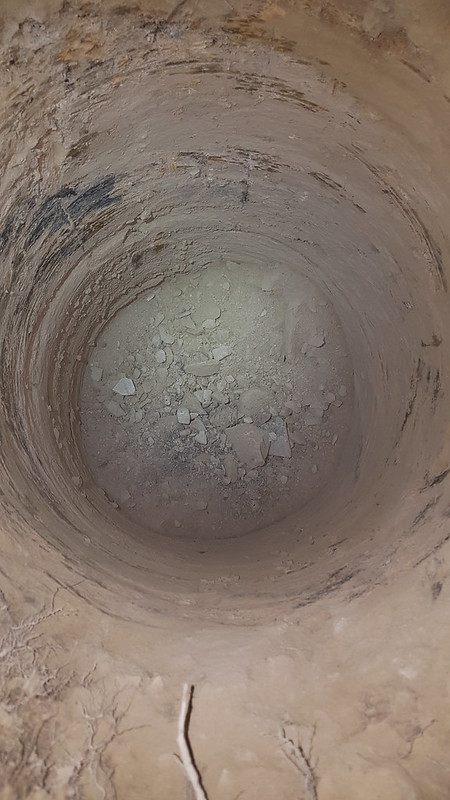
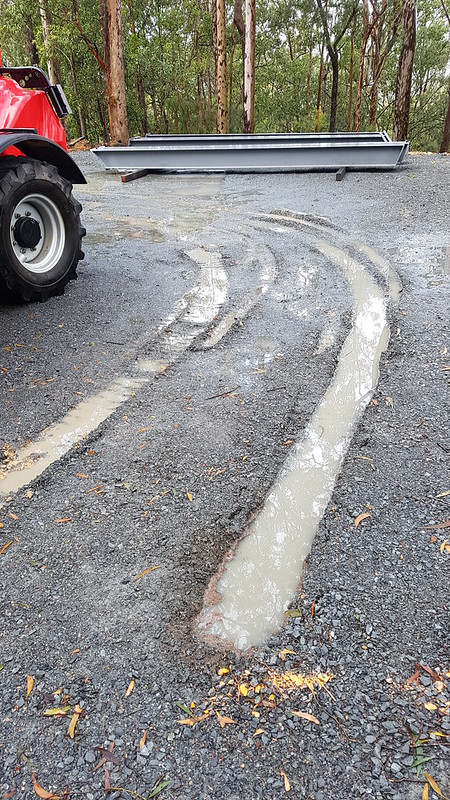
Two full truckloads of road base ready to get everything level; Bobcat guy will be here tomorrow then I need to find someone with the ability to cut some deep column holes into solid rock!

34265651454_33c61fb0b2_b.jpg


Next steps:
Level the pad
Drill holes for the columns
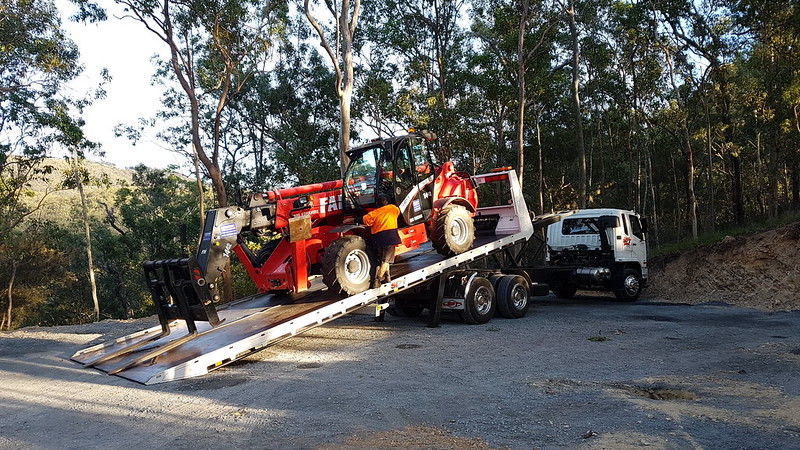
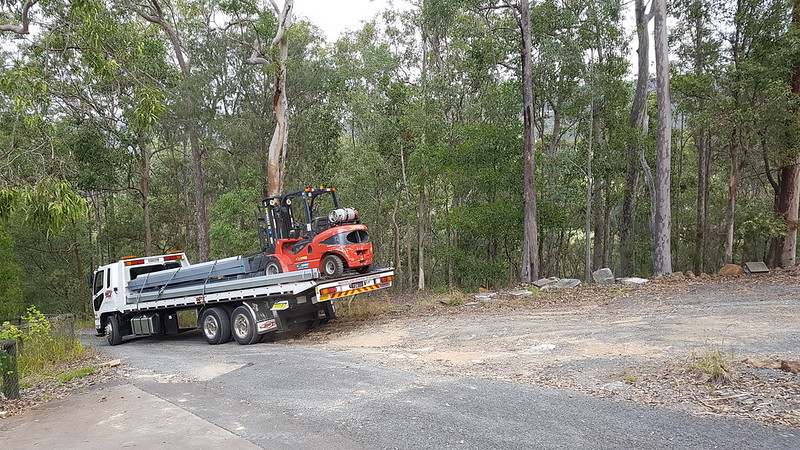
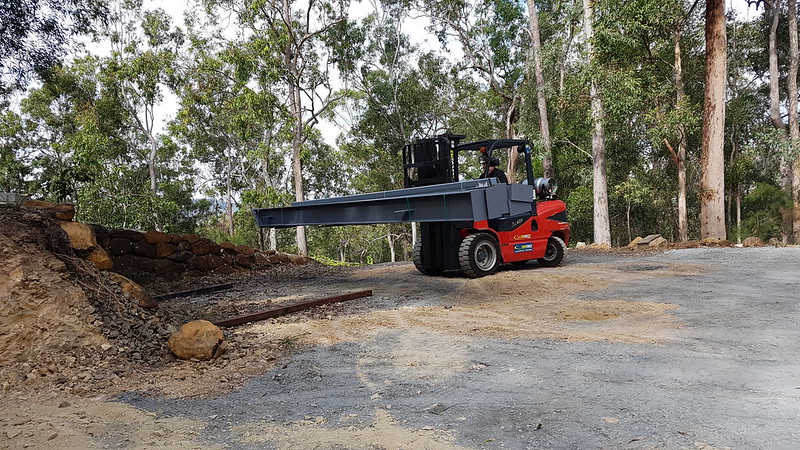
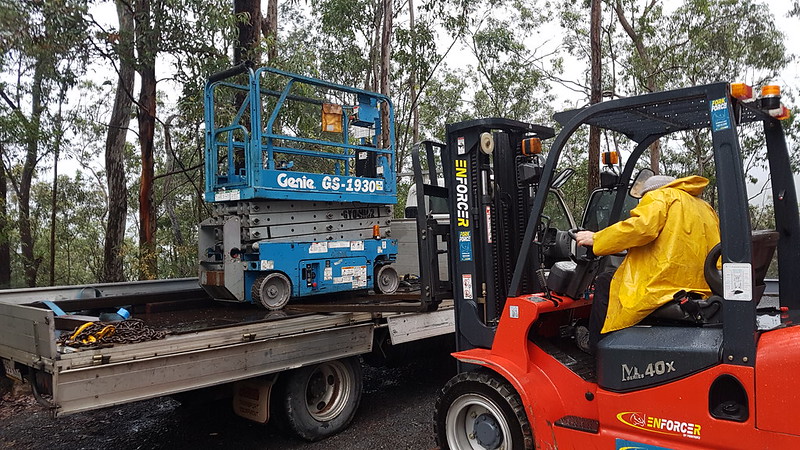
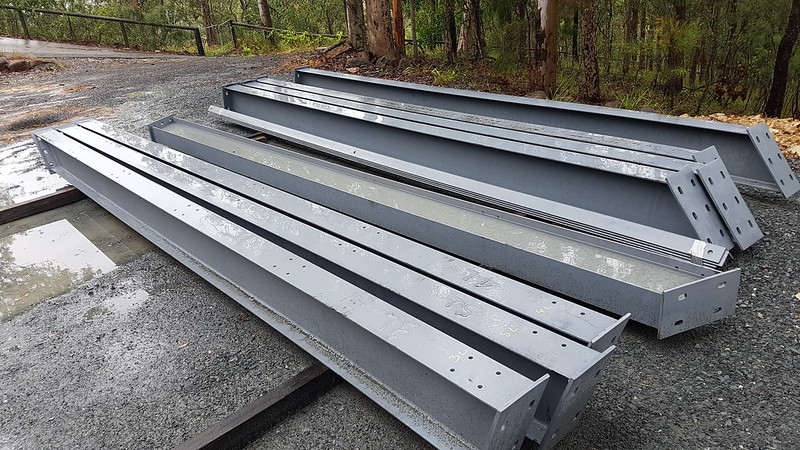
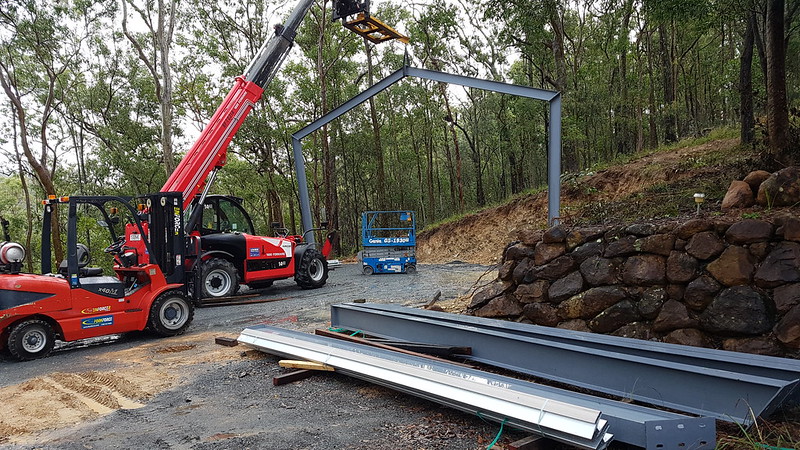
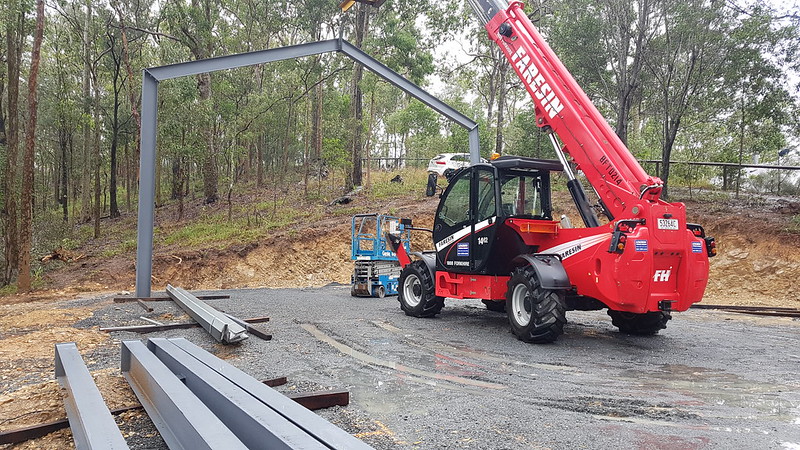
Frame delivered
Frame installed
Roof sheeting fitted
Concrete slab
Wall sheeting

The goal is for the next steps to take the next 4 Saturdays for a friend and I to complete. I have a feeling I'm being optimistic, but wish me luck!
 
To avoid these ads, REGISTER NOW!

cros13

Well-known member
Joined
Sep 29, 2014
Messages
496
Location
Sydney, Australia
great start mate, yeah spill the beans, what you hope to be working on in this shed? Alot of fellow car blokes here!

Rudi
 

gazza

Well-known member
Joined
Dec 24, 2009
Messages
364
Location
Melbourne Aust
Great start and 1st post, looking forward to seeing the progress.
Have fun drilling holes for your foundations, I had 15 holes 600mm in diameter, from 1m deep to 2.4m deep. I had a guy with a bobcat and auger start them, he could only complete 6 holes to the correct depth. The next guy had an old chamberlain tractor with a drilling rig setup on the back, he literally ground his way through the rock to the correct depth by lifting the back of the tractor off the ground so all of the weight was on the auger. Dont forget that you will have a few cubic metres of spoil that you need to move and place elsewhere as well, its all good fun! wish I had taken more pics of mine being built.
 
OP
Q

Q777

Well-known member
Joined
Jun 8, 2014
Messages
55
Location
Australia
Gazza, 600 wide and 2400 deep is a pretty sturdy foundation!!!

Thanks for the welcome guys. Here's an indication of how cramped the old garage was...

35113125105_36e72781c0_z.jpg
 
OP
Q

Q777

Well-known member
Joined
Jun 8, 2014
Messages
55
Location
Australia
The thing that jumps out when I look at that garage photo is the $10 fan jammed amongst the cars. It was so dark and damp that mould would grow inside the cars if I didn't blow the air around a bit. Happy memories...

The local bobcat guy came around today and turned two truck loads of road base into a wafer thin covering. Where does all the material go? I was on laser-level duties, which is about the heaviest machinery I should be trusted with.

34966907372_f31fdd7cd1_b.jpg


We got the pad levelled really nicely and then I had to make a final decision on where the shed will actually go. Because I've moved the earth bank back a bit, it has given me some options. I decided to do something that doesn't initially seem to make sense, and it might possibly be something I'll regret later, but I have moved the slab location further into the space I created with the recent earth works.

The shed has 4 x 4m bays. Two bays will have doors and the other two bays are facing up to an earth bank. By moving the whole shed "uphill", I will be preventing a straight entrance into the whole of the second garage door (in other words, nearly one metre of the second door will be directly facing the bank. If I can't fit a 1.8m wide car into a 4m wide door on a slight angle, at that point I should hand in my license.

By moving the shed slightly, I will be moving more of the columns into solid rock, with only a couple then having to be dug way down through fill (which has been compacted since being cut nearly a decade ago).

If I hate not having straight entry into the second garage door, I'll get the excavator around again later to move back the rock retaining wall a metre. Not a big deal, but not something I'd really thought about until I had options.

What I also hadn't thought about is how long it takes to mark out a slab and where the holes will be dug. I could have spent all day messing around with this. Spent the time to get a perfect angle, then decided I wanted to move the shed a foot to the side. Start again. Get another angle perfect (just using the 3/4/5 measurements) then double check it with a hopelessly inaccurate free compass app on my phone and freak myself out that it is not right. Start again. Measure the parallel lines at various intervals. Measure the diagonal. Change my mind again about the shed location and START AGAIN!!! I can only blame myself.

On this photo you can just see the orange hole marking each 4 metres, with the 8m mark just the other side of the rock wall.

34321428983_3b06d04ed8_b.jpg


Here are the next two bays for the other 8m length, going back 10m. I'm going to have a mezzanine these exact dimensions, so so I have 80 square metres upstairs to store junk and leave downstairs for tinkering.

34744987930_369e2930e3_b.jpg
 

gazza

Well-known member
Joined
Dec 24, 2009
Messages
364
Location
Melbourne Aust
Gazza, 600 wide and 2400 deep is a pretty sturdy foundation!!!

The 4 posts/footings along the back of my shed are all 2.4m deep, they had to go through the compacted fill, through the original top soil (well clay and small rocks really) then into the base rock.
The 4 posts across the front are only 1m deep, into solid rock.
I bored all of the holes, made simple timber frames and suspended the foundation bolts over the holes, aligned and measured in all directions then poured the concrete footings up to ground level.
With the bolts sticking up enough I then boxed up and poured the slab, just covered all of the threads with duct tape to keep them clean.
Its great to have a nice flat concrete surface to then build your shed on, a scissor lift and a mobile scaffold and a couple of mates and its all done.

Looking forward to a lot more build pics.
 
OP
Q

Q777

Well-known member
Joined
Jun 8, 2014
Messages
55
Location
Australia
So, is the shed going to blend into the surroundings or stand out?

Hi Terrick,
I hope so. My house and detached garage has a dark charcoal (it's probably supposed to be black) corrugated roof, so it would be nice to tie that in with the shed. Similarly, I don't want the shed to leap out of the surroundings, so this is what I'm leaning towards at the moment. This isn't my design layout; it's just a free shed colour tool on https://www.shedsnhomes.com.au/tools/colour-tools/commercial-shed/

34312735444_37f49e4798_c.jpg
 
OP
Q

Q777

Well-known member
Joined
Jun 8, 2014
Messages
55
Location
Australia
Today was yet another lesson for me about booking machinery that has capacity in excess of what I want to achieve. If someone tells me a 3.5T excavator will do the job, I'm ordering a 5T. If I tell someone I need them to bring a rock auger and they say they know the land around here and can do it with a normal auger, I should insist on the rock auger and pay a bit more the first time.

I had that exact conversation today with a guy who has all sorts of machinery, but who advised me that one of his machines will do the job.

Turns out that it could do the job for drilling eight of the ten holes, but when he hit hard rock, he was done. To his credit, he charged me the cheaper rate for the smaller machine and is sending one of his guys out tomorrow with what I should have insisted on first. The larger machine with the rock auger will finish off the two solid rock holes and I'll just be charged for actual drilling time. He seemed surprised that I'd want to go far into solid rock, but the whole steel frame is already fabricated and is ready to be delivered on the weekend and anyway, I want the foundation to be solid so this thing outlasts civilisation. Who knows how long that will be...

I came home to see holes cut as I'd expected:

34310021274_0c0fd25809_c.jpg


...and two holes that weren't really holes. More like a centre punch for the real auger tomorrow:

35155007615_dfe9c0c16f_c.jpg


The overall scene looks like a lunar landing.

34990089042_67c83bdfd2_c.jpg


The frame is being built with 310 (12") beams. Here are the 5 metre (above ground) vertical columns, cut to suit the 19 degree pitch.

34345487083_51f3fbdcff_c.jpg


Plates welded in place.

35115492726_b87a471388_c.jpg


Maybe I should increase my shed expectations to something like this size workshop instead...!

35115488286_d61a211331_c.jpg


Top hats

35115488036_54d839de6a_c.jpg


Next steps are to get the two rock holes completed tomorrow.
Concrete is to be put into holes to provide a laser levelled platform for the steel to mount to.
Frame delivered on Saturday along with a friend's scissor lift and a hired forklift. The top of the roof will be a bit over 6.5 metres. The forklift goes up to Seventeen. Maybe I should hire it out for everyone to see above the tree tops.
Assembly of the frame is happening on Sunday!
 

metalhead140

Well-known member
Joined
Jan 15, 2013
Messages
1,456
Location
NSW, Australia
Very nice, great spot, and an excellent diverse selection of toys in that garage! Like the overkill on the shed too... Keen to see this proceed!
 
To avoid these ads, REGISTER NOW!

Mudnut

Well-known member
Joined
Mar 29, 2015
Messages
284
Location
FNQ Australia (North of Cairns)
Hey Q777,

Following this thread with interest. Great location, and love to see I beams used instead of the cheap "C" channel that is commonly used with garages. I had to use RHS steel in mine, as the low side is 5.2m high, and the high is 7.4m high.
Great you have use of scissor lift, and forklift. A great cost savings indeed!!

One word of caution, make sure the generator is secured, as they have a way of disappearing.


I have a similar build under progress up in FNQ. Check it out if you are interested.

Cheers,

Ken
 
OP
Q

Q777

Well-known member
Joined
Jun 8, 2014
Messages
55
Location
Australia
love to see I beams used instead of the cheap "C" channel that is commonly used with garages.

Cheers,

Ken

Hi Ken,
I agree - I figure after all this time, I'd regret not building it strong enough in the first place. The I beams also make it to so easy to make changes or extensions in the future. It makes it simple to add the mezzanine level and I can add a deck off the mezzanine without having to reengineer the whole thing.
I'll check out your build for sure!
Craig
 
OP
Q

Q777

Well-known member
Joined
Jun 8, 2014
Messages
55
Location
Australia
Another day, another new machine arrives. With a few bags of cement going in to each hole yesterday to make a stable and level base for the columns, today was the day the steel arrived along with a good sized forklift. On a separate delivery was the biggest forklift I've ever seen. Tomorrow the scissor lift will turn up.

Everything is coming from a workshop over an hour away, so the return trips, loading and unloading took up a lot of the day. Tools and steel are now laid out and ready to get serious tomorrow. Shame it's due to rain, but I only have the mega-forklift for a short time so we'll be out there rain, hail or shine.

35171042366_63799d4d27_c.jpg


34401913003_5008f609e3_c.jpg


35045889852_5701030ccb_c.jpg


35212098835_808303f2f7_c.jpg


Oh, and that blue magnet at the bottom of the last photo has made it so easy to manoeuvre individual beams. Such a time saver rather than having to strap or chain everything!
 
OP
Q

Q777

Well-known member
Joined
Jun 8, 2014
Messages
55
Location
Australia
The scissor lift arrived today, but so has a few inches of rain. ******! The smaller machinery is getting bogged and it's not a safe or fun option to try to work in the pouring rain and on the increasingly soft site. There goes about $1000 worth of machinery hire down the drain...

34419429333_99090be99c_c.jpg


34419427813_50291359ac_c.jpg


34841564260_200cc832bc_c.jpg


35228290095_9e311a8f61_c.jpg


35062660232_c426c99980_c.jpg


34841574410_1a747a0834_c.jpg


34419422763_c9208c0837_c.jpg


It is great to see at least the first frame sitting in the hole, as I can now start to get an appreciation for the scale of the shed. It was a very frustrating day, but also really pleasing to start to see what the shed size is going to look like.
 

Coolabah

Well-known member
Joined
Jun 6, 2010
Messages
1,359
Location
2nd Floor, 3rd on the Right,Narooma, Australia
Hi Terrick,
I hope so. My house and detached garage has a dark charcoal (it's probably supposed to be black) corrugated roof, so it would be nice to tie that in with the shed. Similarly, I don't want the shed to leap out of the surroundings, so this is what I'm leaning towards at the moment. This isn't my design layout; it's just a free shed colour tool on https://www.shedsnhomes.com.au/tools/colour-tools/commercial-shed/

34312735444_37f49e4798_c.jpg

I think that colour scheme looks really good. The only thing I might say , just for you to consider is that dark colours really get hot in summer ! When I built my shed , I was going to match the (same near black colour) doors in my house.... but the shed door faces West and I am glad I listened to the garage door guy and went for a light colour instead... Just something to consider ! Anyway you look to have lots of shade trees so probably not a consideration :beer:
Looking forward to watching your build :thumbup:
 

gazza

Well-known member
Joined
Dec 24, 2009
Messages
364
Location
Melbourne Aust
Thanks for the photo update, sure makes it hard to get things done in the rain even when you go to the trouble of having everything organized ready to go.
Only advantage I can see is at least you now know exactly where all your low points are and can easily plan the best way for your water run off.
 
Last edited:

cros13

Well-known member
Joined
Sep 29, 2014
Messages
496
Location
Sydney, Australia
Looking good mate, keen to see more progress, the shed builds and progression are the most exiting parts of the build to me. I love seeing everyone's builds come together. And i'm keen to see work getting done on those old girl's in the garage once the new shed is up.

I must laugh when you say that's the biggest forklift you have ever seen, I'm a forklift mechanic, that little pip squeak? i work on junk like this down at port botany and the rail yards every now and then, where you need another forklift just to lift out and replace the parts on this forklift:

Loaded-Container-Handler-3_zpsvqmnwlck.jpg


Rudi.
 
OP
Q

Q777

Well-known member
Joined
Jun 8, 2014
Messages
55
Location
Australia
Rudi, that's brilliant. It's nice to put things in to perspective; that forklift is huuuge! I really would have preferred something that could lift directly upwards. With the current one, high is achieved via the boom (which obviously doesn't go vertical), so when lowering the frame into the ground, the forklift has to roll very slowly to ensure the frame doesn't lay back as it's going into the hole.
 
OP
Q

Q777

Well-known member
Joined
Jun 8, 2014
Messages
55
Location
Australia
I think that colour scheme looks really good. The only thing I might say , just for you to consider is that dark colours really get hot in summer ! When I built my shed , I was going to match the (same near black colour) doors in my house.... but the shed door faces West and I am glad I listened to the garage door guy and went for a light colour instead... Just something to consider ! Anyway you look to have lots of shade trees so probably not a consideration :beer:
Looking forward to watching your build :thumbup:

I must admit I am a bit concerned about the retained heat of the darker colours. I am going to have some whirly birds on the roof and will have good airflow side to side, but I'm thinking of going a shade or two lighter for both the roof and the walls. Thanks for pointing it out.
 
OP
Q

Q777

Well-known member
Joined
Jun 8, 2014
Messages
55
Location
Australia
Thanks for the photo update, sure makes it hard to get things done in the rain even when you go to the trouble of having everything organized ready to go.
Only advantage I can see is at least you now know exactly where all your low points are and can easily plan the best way for your water run off.

Very true Gazza - I was playing around this afternoon to see where the water flows. In digging mini pathways for the water to escape, sometimes it looks like water is flowing uphill...
I want to put some sort of drain at the base of both earth banks, but I haven't really considered my options just yet.
 

Coolabah

Well-known member
Joined
Jun 6, 2010
Messages
1,359
Location
2nd Floor, 3rd on the Right,Narooma, Australia
I must admit I am a bit concerned about the retained heat of the darker colours. I am going to have some whirly birds on the roof and will have good airflow side to side, but I'm thinking of going a shade or two lighter for both the roof and the walls. Thanks for pointing it out.

well , of course you are welcome to my insane ramblings.... just further pointing out that dark colour = INSTANT heat trap, you can fry an egg on it , roof vents only try to alleviate the heat that you have already let in ?? :dunno:.
Why not just reflect the heat ie silver/white etc....
I STILL regret not paying the extra and getting insulation installed into my ( maximum size) door.
 

oldironfarmer

Well-known member
Joined
Jun 25, 2016
Messages
6,664
Location
Terlton, Oklahoma
Weather and construction are just an odd couple.

But, you never have to set that first frame again, progress:thumbup:

Good luck on your next work day weather!!
 
To avoid these ads, REGISTER NOW!
Top Bottom