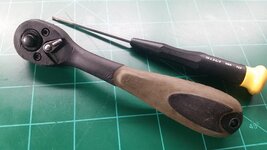
Here is a quick little BEFORE & AFTER
I found this lone wood handle nut driver at a thrift store marked
$1.55 but with my 15% military discount it was only
$1.32
At the time of purchase I saw no markings on it but it appeared well made....


....Once I cleaned it up I found it was a 1/4" Made In U.S.A


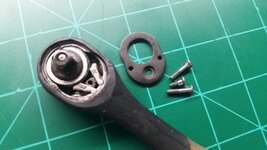
I shined all the metal parts and I wiped the wood handle down with acetone....I should have stopped there.....

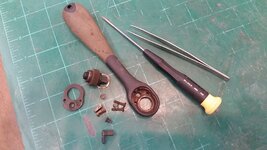
But, Nooooooooo....My OCD caused me to sand down the handle


Anyways, here it is with tung oil on all parts....shaft, bolster, and wood handle


.