madison069
Well-known member
Therapy, usually involves hole punching, ripping lips, repairing stuff, and loud music. Sometime with a glass of liquid relaxer.

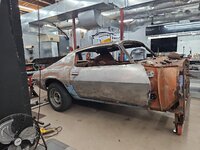
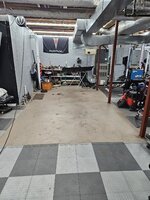
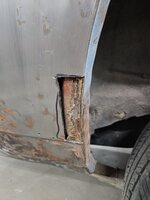
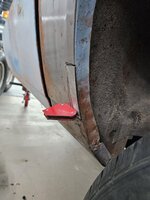
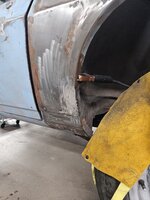
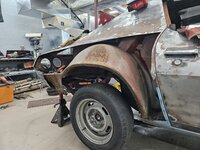
I remember this stage all too well on the C10. It is so awesome when it all becomes one color! Can't wait to see it done!So I busted *** and hit it every night from Friday last week to Monday night this week. Took 2 nights off and got back at it tonight.
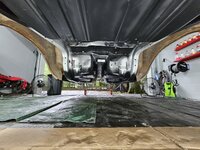
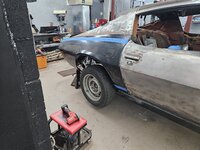
The full length has had its final pass, I decided to do a little more up the firewall, and the areas under the leaf springs. Which meant removing the leaf springs...... got to the last bolt on the front mounts and broke the clip.... tried for 45 MI uses to wedge it with a prybar
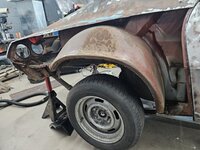
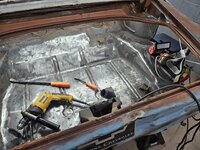
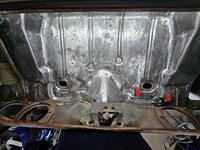
Ultimately gave up and cut the head of the bolt off. So ran a little short tonight got the firewall the way I want it and got the passenger side mount pocket stripped. Tomorrow I'll get the other spots I want and get my weld through primer on the rails.
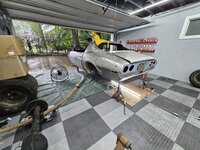
Then mount the rear axle back under it to get her mobile. Plan is to primer it mid morning sunday.Sunday.
When this is done...... there will be a celebration!!!
 DSCN8404 by bjohnson388, on Flickr
 DSCN8418 by bjohnson388, on Flickr
 DSCN8466 by bjohnson388, on Flickr
 DSCN8473 by bjohnson388, on Flickr
It was raining so hard, cooled off atleast. Thanks I'm glad this is crossed off the listCongrats on getting it done. That rain hit here just a lil while ago. Couldnt even hear the .usic in the shop it was raining so hard.
Thank you! And thanks for following a longLooks awesome B!
Bret
me too!!! The tetanus tent has been fumigated!!!!!Awesome! Glad you got that part done!
Thank you! It was spray with epoxy primer.Looks sharp in the photos! What did you spray it with?
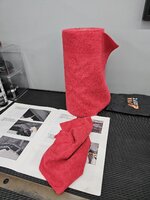
Interesting towels. Will have to grab a roll.
Bret
Here's the label for thise interested, yes washableAre the towels reusable?
Good luck cleaning the shop, it's a battle these days!
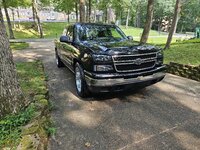
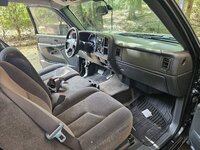
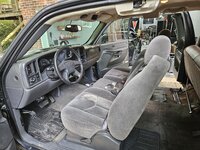
1st bath, and I changed the headlights. Only took a week to start modding it...... man I have problem.


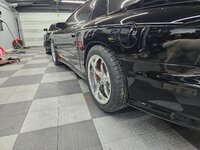


Guess I haven't mentioned it, I have Detroit speeds minitub kit. Don't have to move the frame, but do have to cut everything next to it out. Wanted to get the outside squared away before installing them. I'll gain another 2.5 inches of wheel size on each side.You know if you just move the rear subframe in a bit you could slap some mini tubs in there...