Knife Making Updates
New tempering process and grinding lessons
Got to work on a couple more knives this weekend. They turned out really nice, and the grinding process is starting to get easier. The Tempering process has also evolved quite a bit since the first blade was forged so I thought a technical update would be viable.
Its not something you would think of or realize untill your in the middle of making a knife blade but the sides of the blade have to be ground not only equally thick but the angles of the blade needs to be the same from the top of the blade all the way to the cutting edge. Its hard because its not easy to see such a minute difference. What I've discovered is that if its not spot on you will only be able to get one edge sharp... That meaning that when you check it with your thumb it will be razor sharp one direction and feel dull in the other. no matter how many times you re-run the dull side it wont take and edge, and when you use the knife it pulls to the sharp side instead of cutting straight...
By lining up the edges at the same angle so that they meet uniformly at the cutting edge you can sharpen the combined point instead of just one side and in turn the knife will cut in both directions... Just something to ponder and work on in the future...
Another new update is with my tempering process.
I have adopted this process from the advice of my mentor(he builds some of the nicest Hoof Knives in our industry), and while it seemed a little overkill I cant convey to you the difference it made in both the process and finished product..
Before i was doing the "estimated" forge tempering based on color and was running the tempering after the grinding was finished. The knives in my home have stayed sharp and durable so it must have worked to some extent to soften the blade enough to have some flex and alow the hone to touch up the blade... BUT... as i am learning I didnt understand the actual reasoning behind the tempering and with my blinders looking only forward to the end result I missed some important reasons why tempering is valuble not only at the finish but also before the process even really begins..
The new formula is as follows:
1. Heat and forge the rasp into flattend , level blanks
2. After final heat allow the blanks to cool naturally and air harden slowly
3. Bake the blanks at 425 deg for 1 hour in the oven (using an internal thermometer to assure temp not the display)
4. Allow to cool in the oven completly
5. cut out blade pattern on the Band saw at very low speed 200fpm and 18tpi...(108" blade so temp buildup is minimum)
6. Proceed to grinding, cooling in water after every other pass or so.
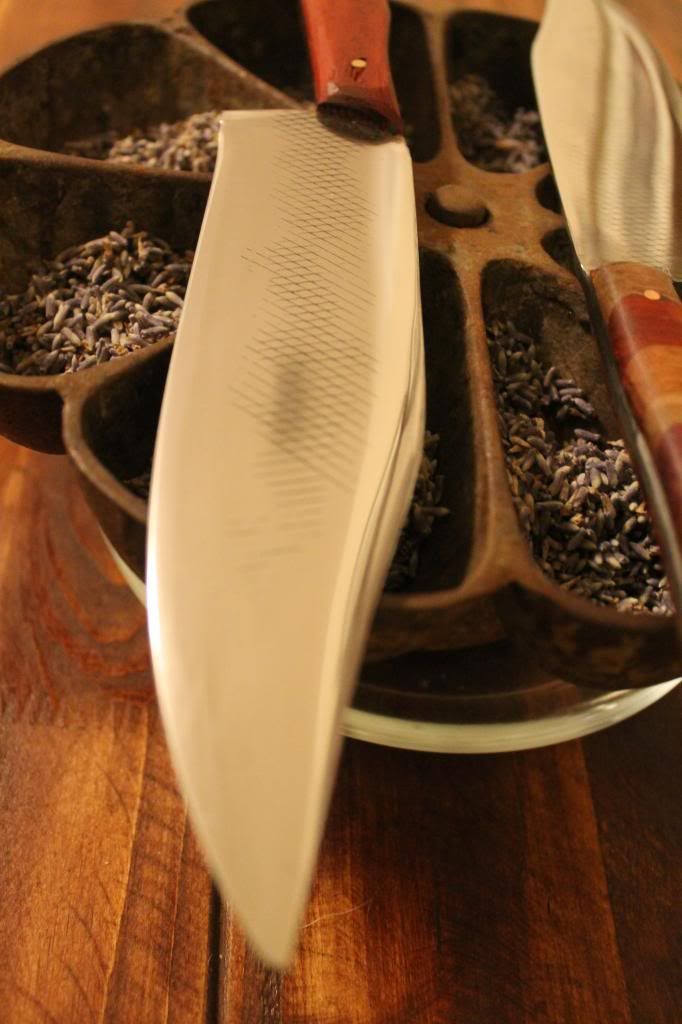
7. Grind through grits to final edge at 800grit dry
8. Bake finished blades 2 full cycles in the oven at 425deg for 1.5hours allowing to cool completly in between cycles.
9. wet sand and polish blade to finish
So thats the new formula...the early tempering after initial forging is really the biggest noticable change. The band saw didnt have to work nearly as hard to cut the tool steel, and the grinding was noticably easier and quicker.
The finished blades have more flex than before and took the final edge easier. (some of the sharpening changes were because the grinding has improved)
In all the knives spent 7.5hours in my wifes oven...this was not ok with her.  but it did get me the green light to buy a used oven to keep at the shop for stuff like this. YES!!!
So the final step is re-hardening the cutting edge and it's under experimentation. One the two knives I made this weekend one was re-sharpened at 400, 600, and 800 grit after the final tempering process. It was not cooled during this step and the edge was allowed to get very hot. After the final pass at 800grit I dipped the bottom 1/4" of the blade in mineral oil from the tip to the ****. This oil cooling could possibly be the best way to reharden the cutting edge. Since its out of my budget to buy a "rockwell Hardness" tester; usage and monitoring the blades ability to maintain the edge and its ability to be resharpened (or not) will provide more needed info.
The other blade was left untreated at the cutting edge with a uniform tempering to see if it holds up to usage and resharpening.. Im kinda using it as a controll for future experimentation.
So thats the technical stuff. I realze that folks like pictures and finished products, but just in case someone is trying this stuff on their own I want you to be up to date with the process behind the photographs.
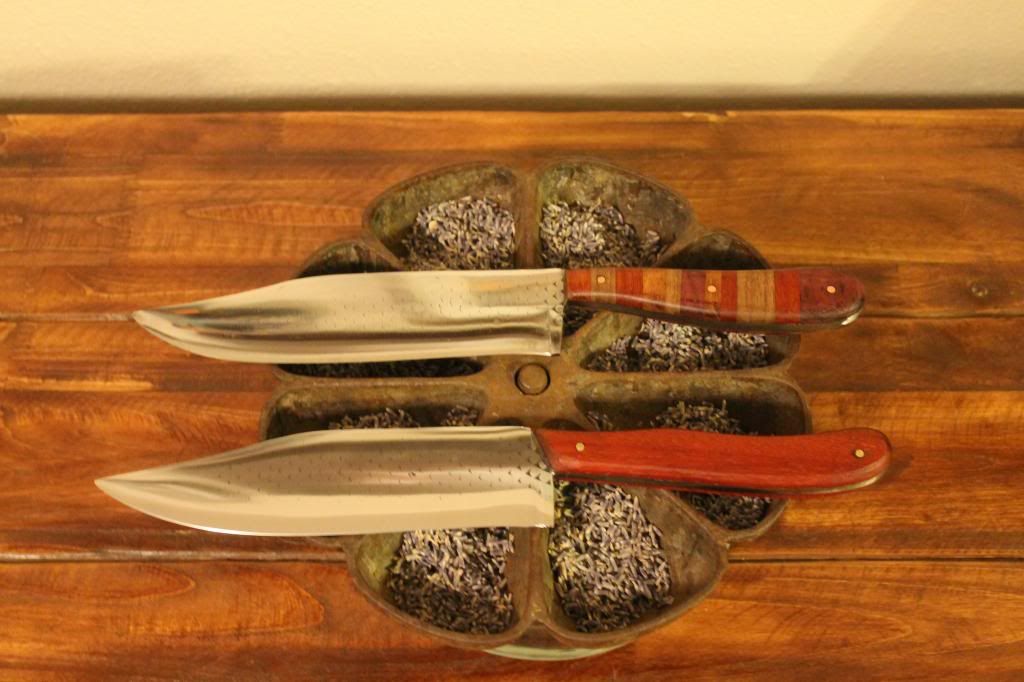
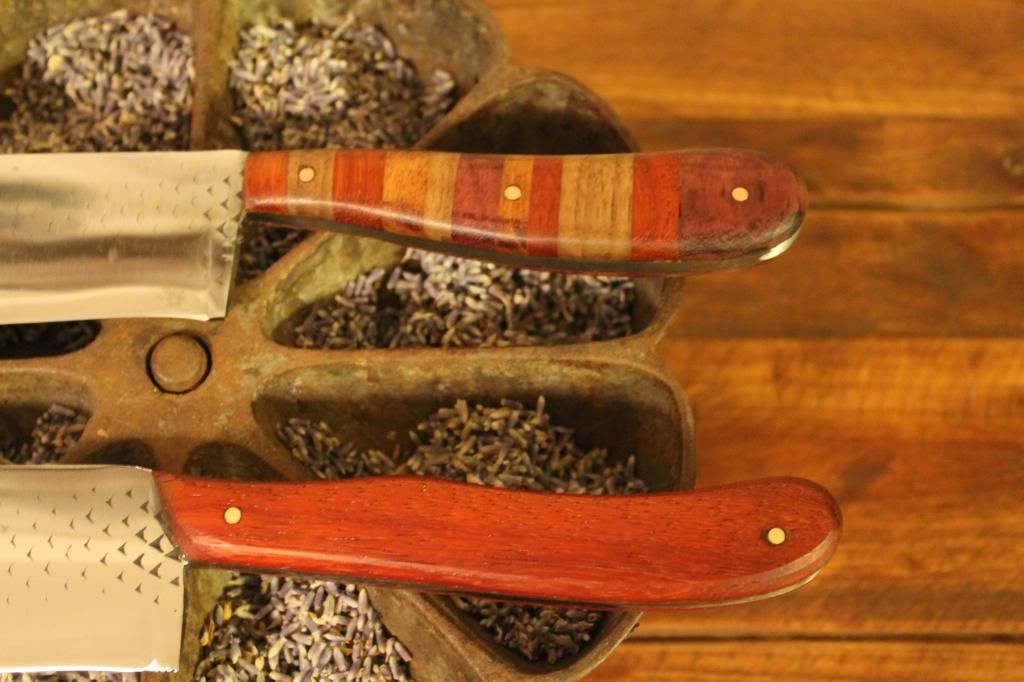
So here are this weekends finished knives. Started on friday mid afternoon and all the steps were completed around 6pm this evening...Patients is being forced upon me...
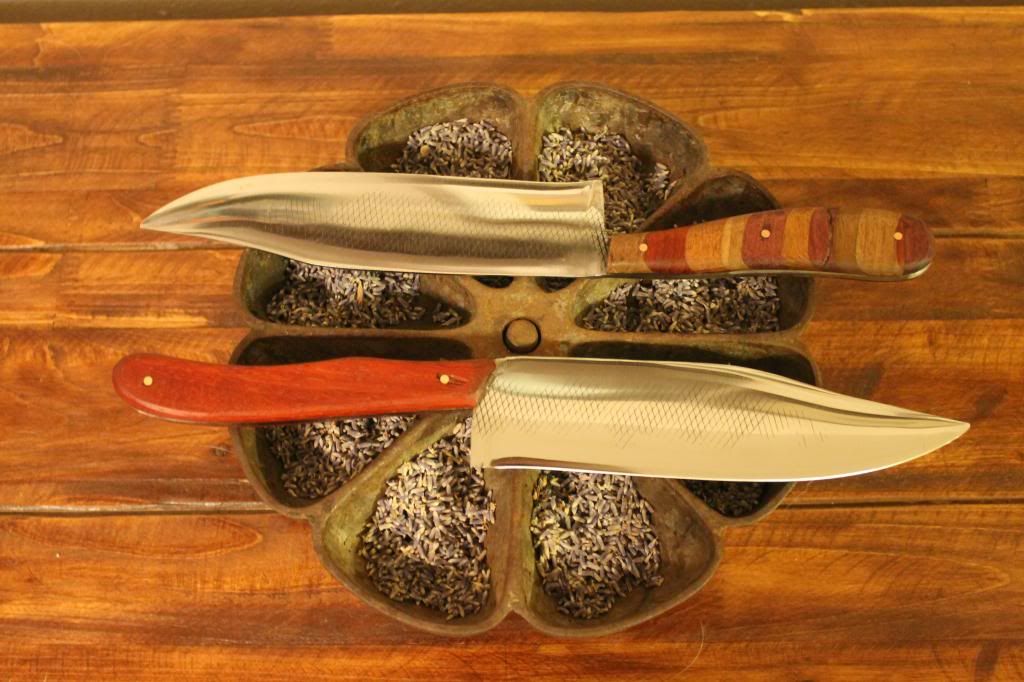
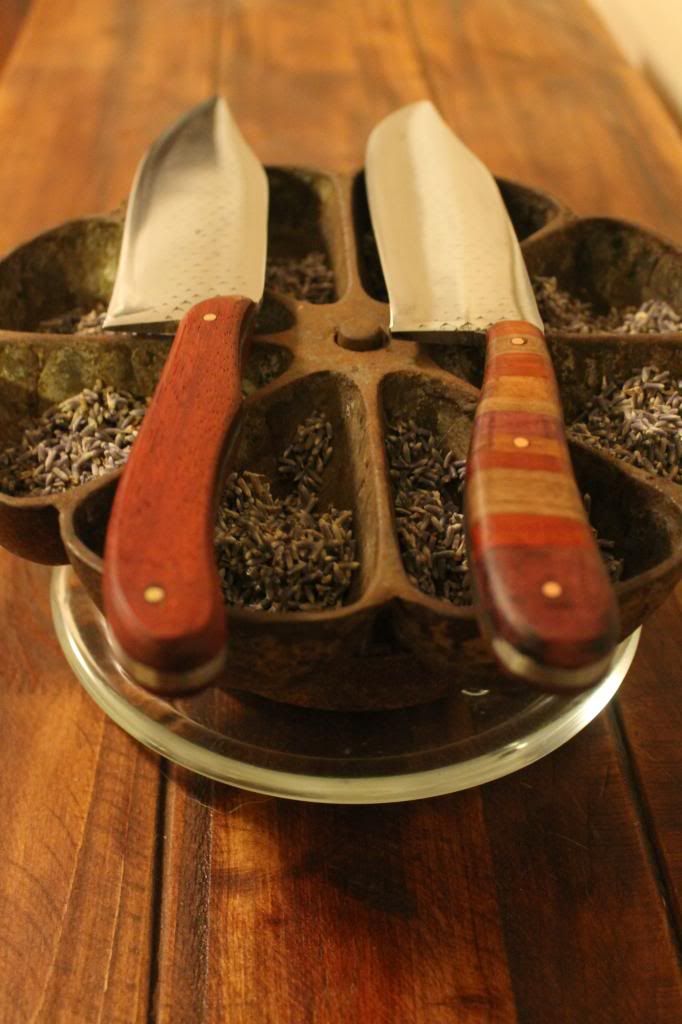

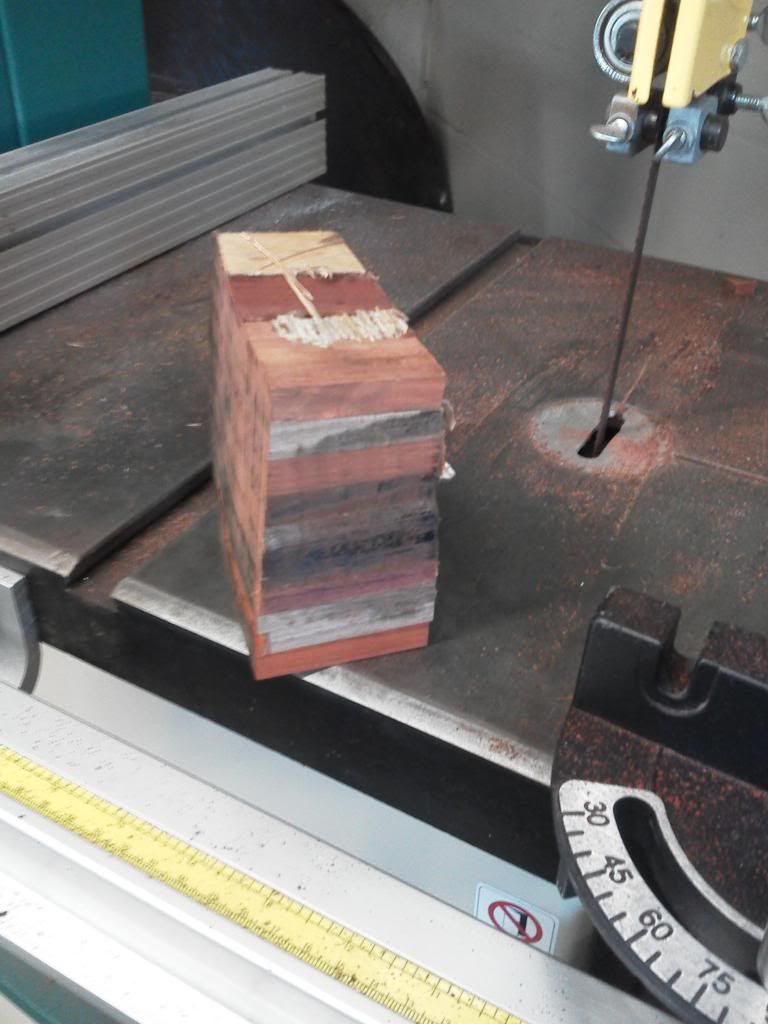
So you might notice the cool new handle design... the idea came from the process of gluing the Cutting boards together. I decided to try it with lots of scrap pieces and thanks to the new band saw re-sawing is a real possibility. The grizzly ate my glued cube like swiss cheese. (2800fpm is scary and exhilarating at the same time!)

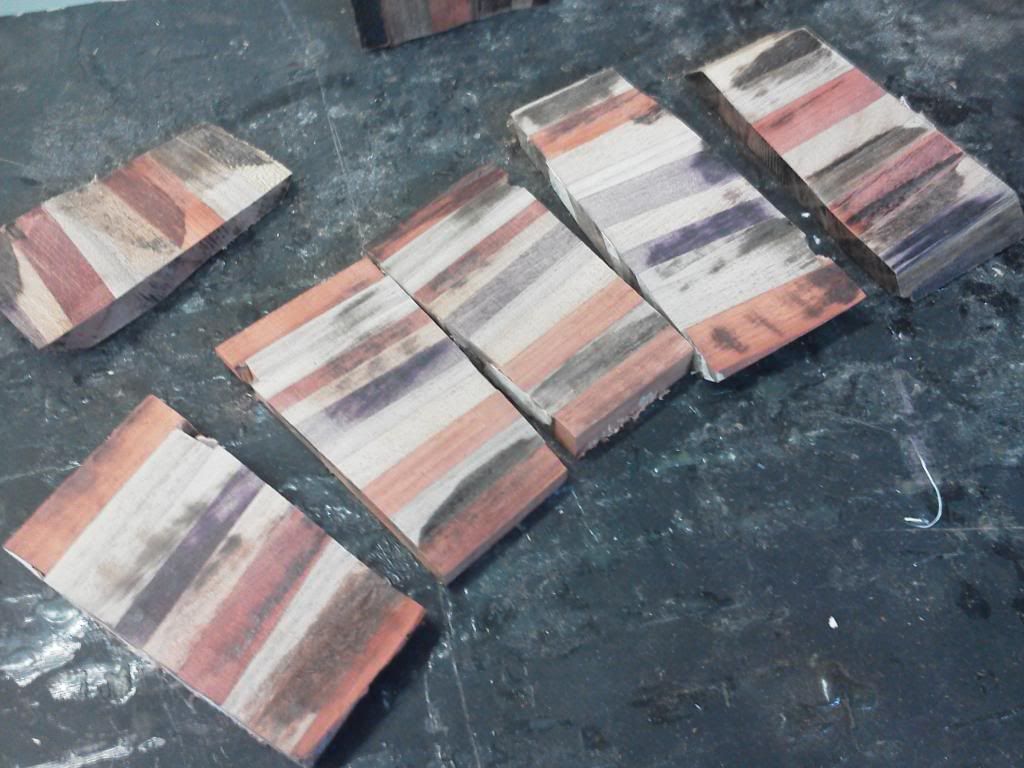
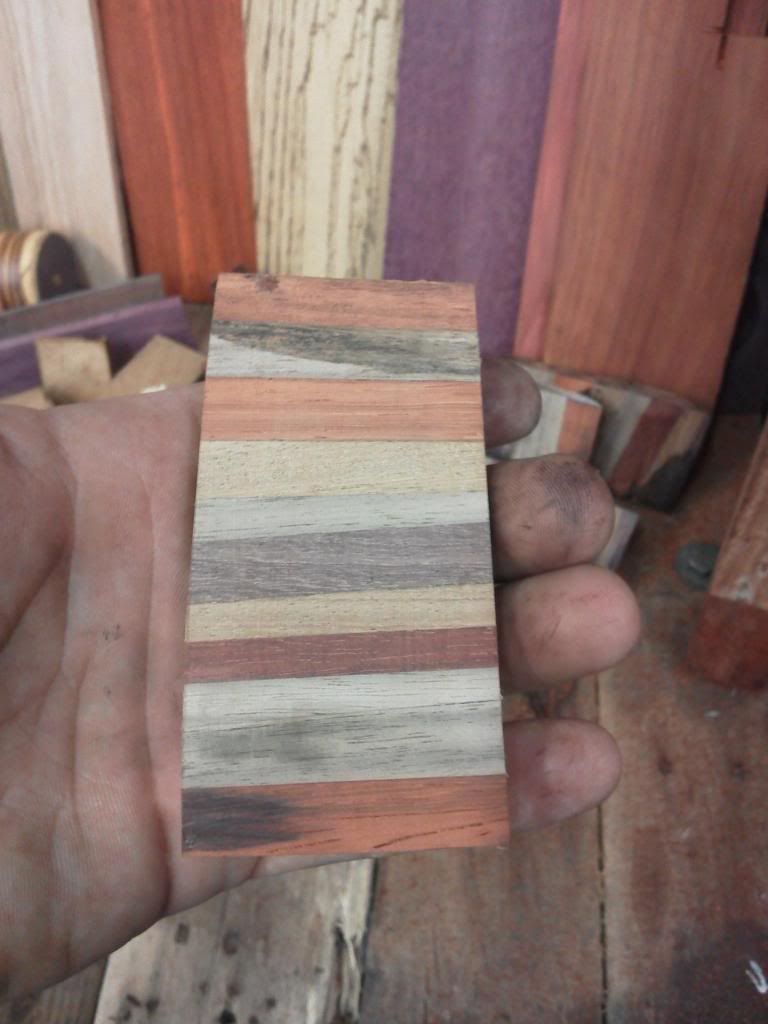
and then cut and sand just like its any other piece of handle wood. I used brass pins on the Padauk handle and copper pins on the mixed wood. Cant really see it in this picture but the copper really looks great!
So thanks for checking it out and I hope you guys arnt totally bored by the heady stuff.
As always let me know if you have any questions or if you have a better way to accomplish something Ive been working on.
Thanks and have a great week
JP
A little something to think about while your working next week (this photo goes out to my man "Aggierailroad" !
WOOD ****!!!!!


")


 pretty much no getting around that. I guess if you have one of those vacuum based operations it might help but I would be amazed if it didnt still dust everything..


 Its a cross between overkill and torture device.


