broox
Active member
Broox's Dead End Garage Transformation
I've been poking around this forum for a while, but I finally dove in on my own garage remodel, so here's my journey!
I've always wanted a 3-car garage, but my wife and I settled on a house that had an oversized 2-car.
Our lawn tools live in a garden shed and all of my woodworking/tinkering tools live in a 300sqft shop in my walkout basement. So, the purpose of the garage is largely for vehicle, bicycle, skateboard, and homebrew related stuff.
I still wish I had that 3rd stall (we have 3 vehicles), but I live on a cul-de-sac and there's no room for expansion . Either way, I wanted to clean it up and make it feel like another room of the house.
Specs upon starting:
Goals:
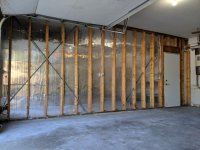
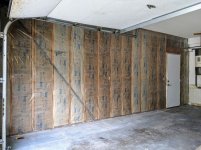
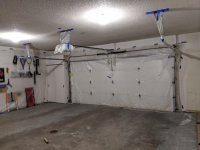
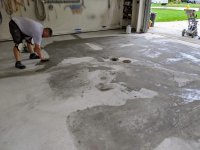
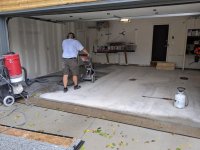
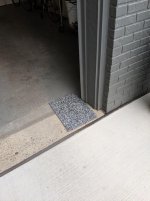
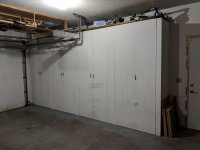
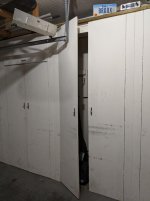
The garage had obviously been well-used over the years and came with some nice features like a gas furnace and a floor drain as well as a ton of built-in cabinets, peg board and storage racks.
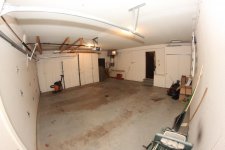
Here's what it looked like when we bought the house...


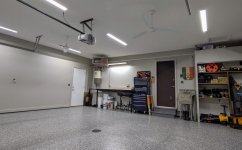
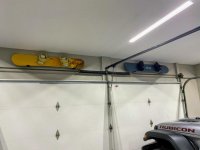
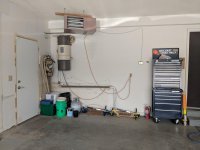
And here's what it looks like now...


I've been poking around this forum for a while, but I finally dove in on my own garage remodel, so here's my journey!
I've always wanted a 3-car garage, but my wife and I settled on a house that had an oversized 2-car.
Our lawn tools live in a garden shed and all of my woodworking/tinkering tools live in a 300sqft shop in my walkout basement. So, the purpose of the garage is largely for vehicle, bicycle, skateboard, and homebrew related stuff.
I still wish I had that 3rd stall (we have 3 vehicles), but I live on a cul-de-sac and there's no room for expansion
. Either way, I wanted to clean it up and make it feel like another room of the house.Specs upon starting:
- 552sqft (24' wide x 23' deep)
- 9' ceiling
- 16' x 7' 2-car garage door
- 32" Man door
- Gas furnace
- Blocked floor drain
Goals:
- Improved use of space
- Better lighting
- Fans for hot summer days
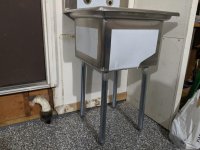
- A sink for homebrewing, cleaning, etc
- More outlets
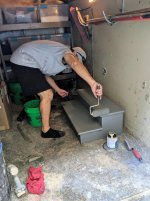
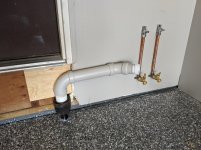
- A working floor drain
- Walls and ceiling to match the interior of our house
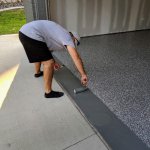
- A refinished concrete floor
- Workbench
- Minimal firewood storage
The garage had obviously been well-used over the years and came with some nice features like a gas furnace and a floor drain as well as a ton of built-in cabinets, peg board and storage racks.
Here's what it looked like when we bought the house...
And here's what it looks like now...
Attachments

Last edited:


")