Willy Victor
Well-known member
- Joined
- Apr 9, 2006
- Messages
- 444
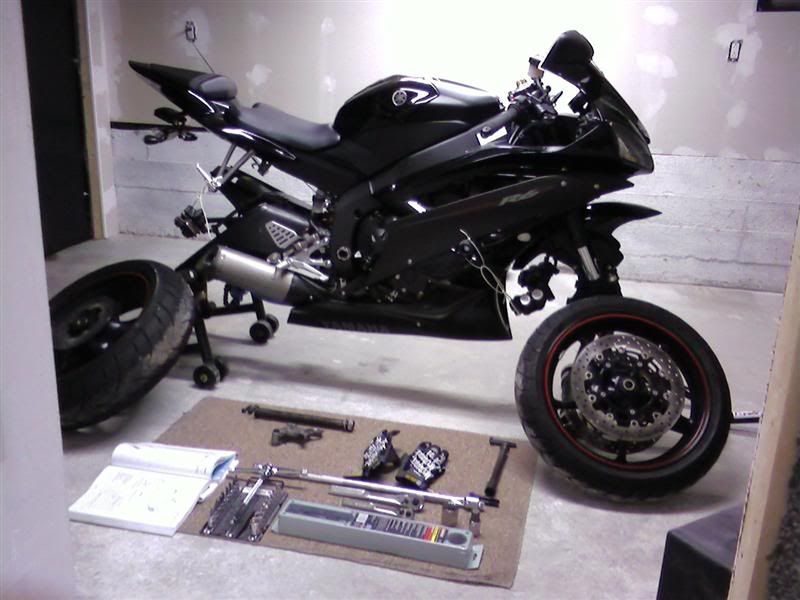
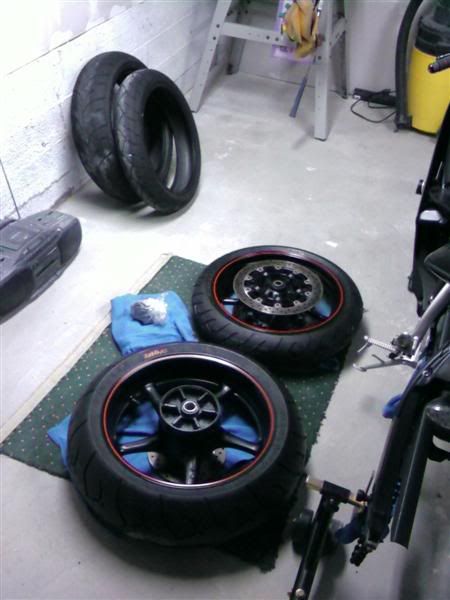
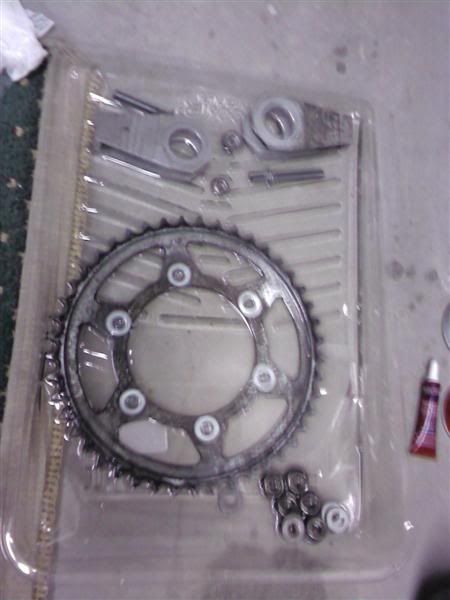
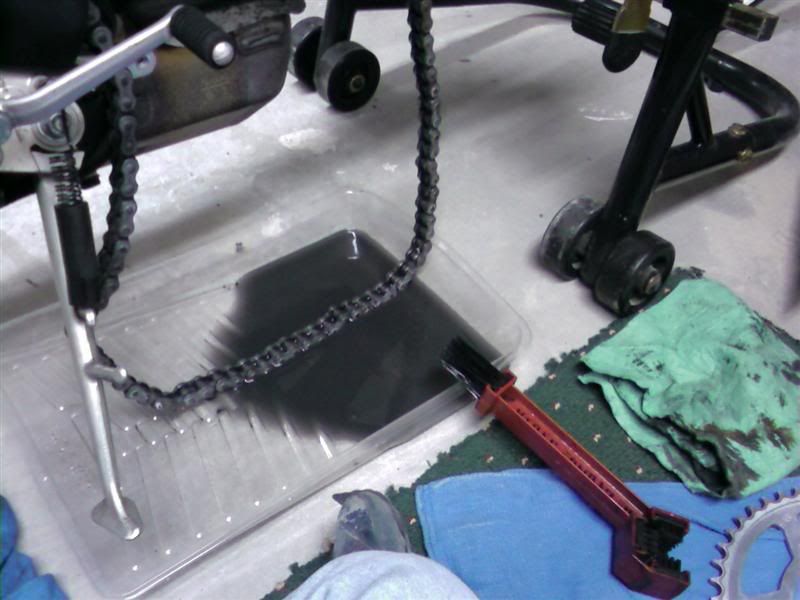
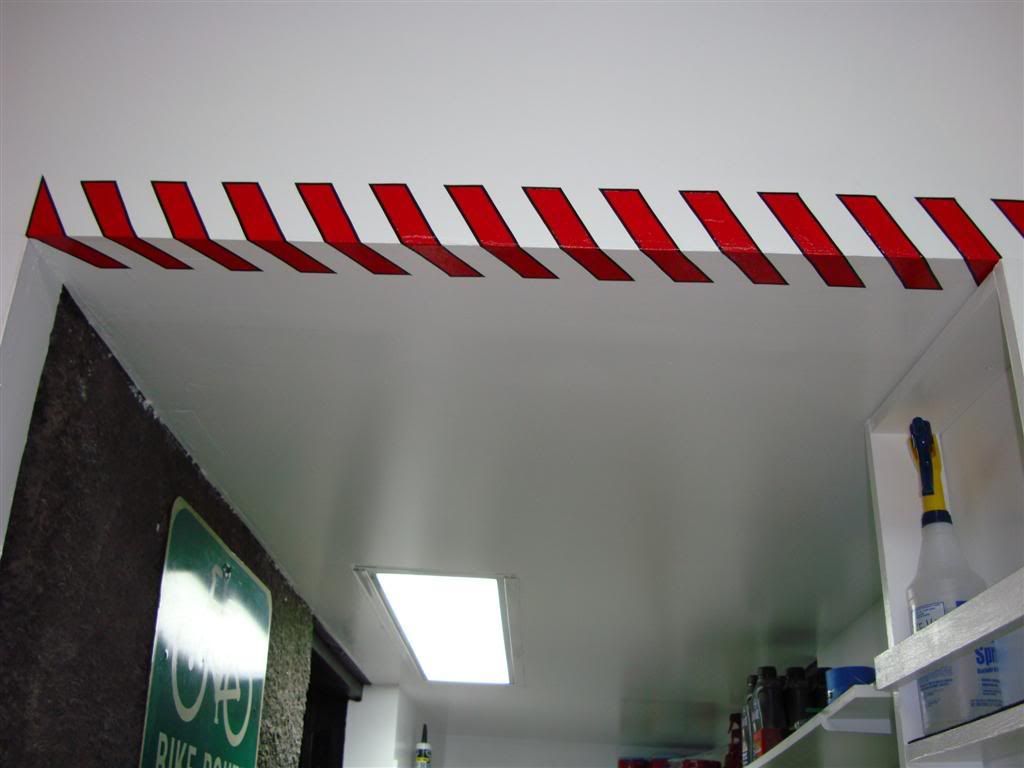
Assuming this is what you're referring to:
Just doing a little chain pulling and ball bustin.

Willy


Assuming this is what you're referring to:
Just doing a little chain pulling and ball bustin.
Willy

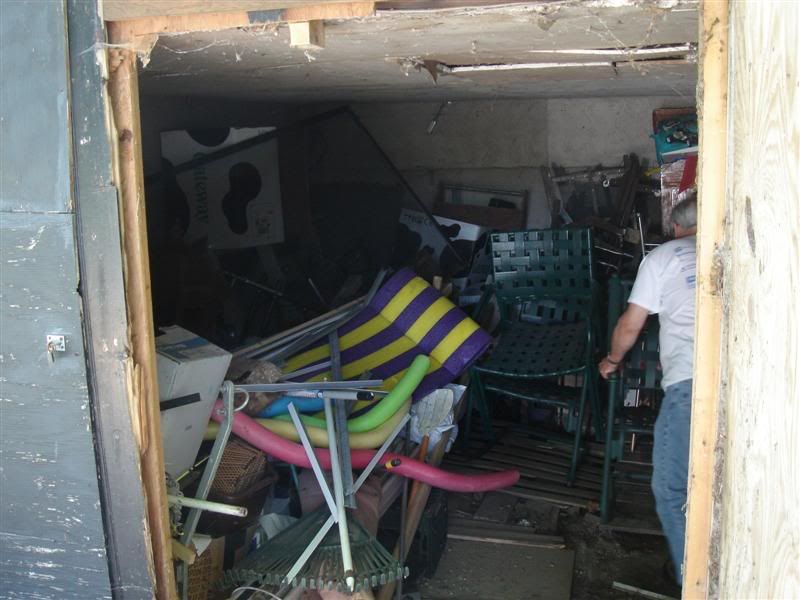
 when I first started reading it I thought
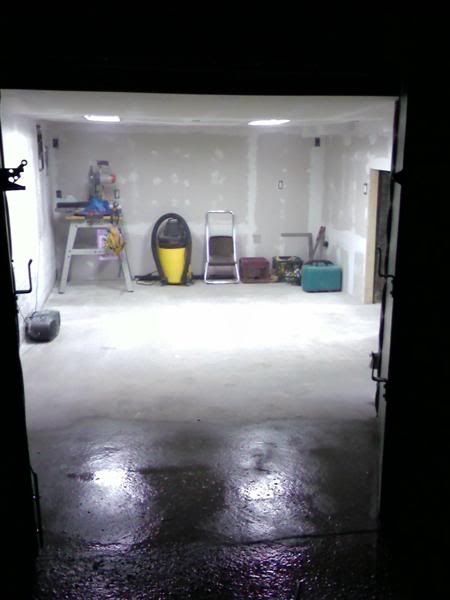
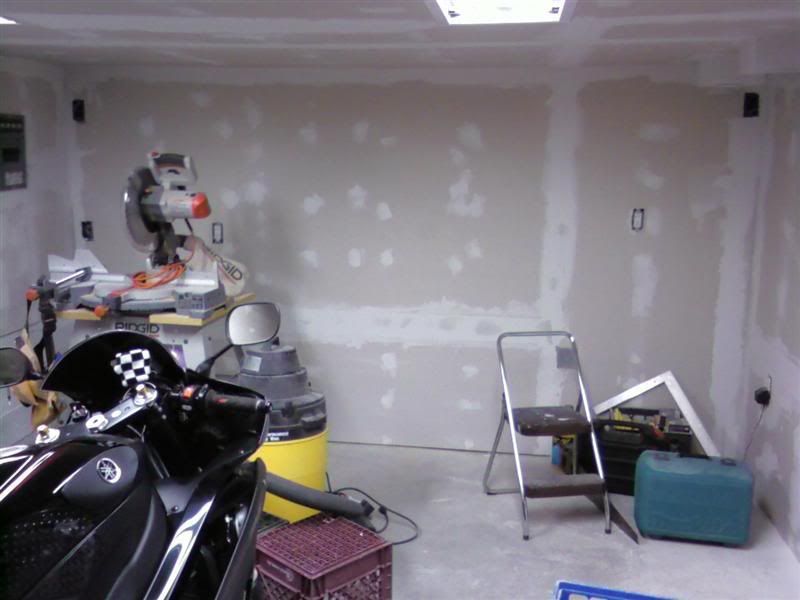
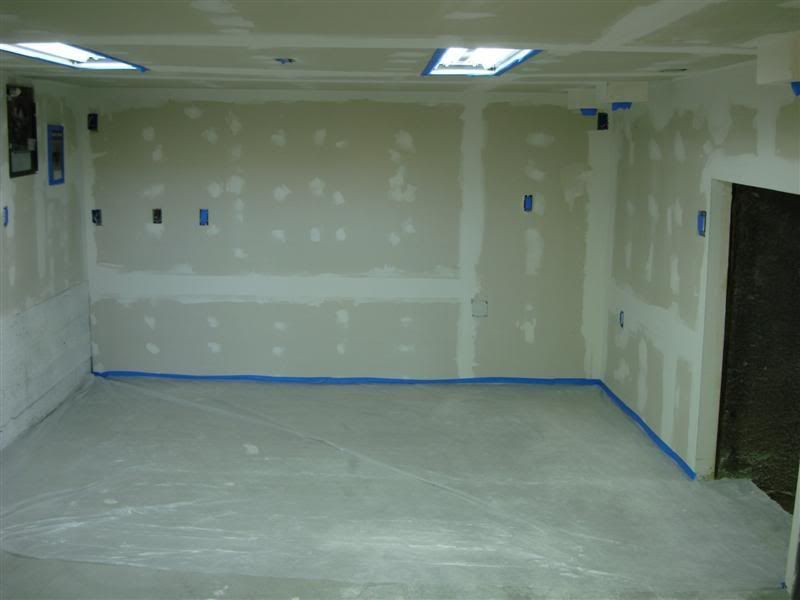
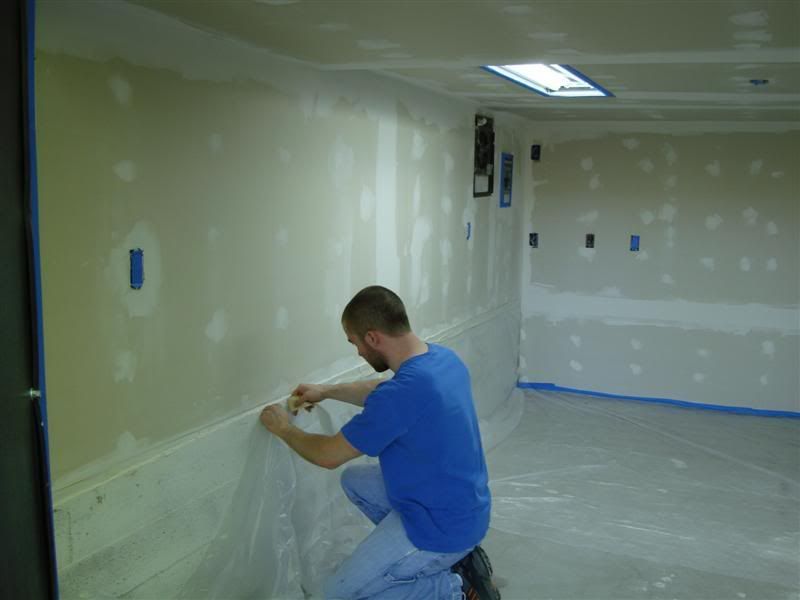
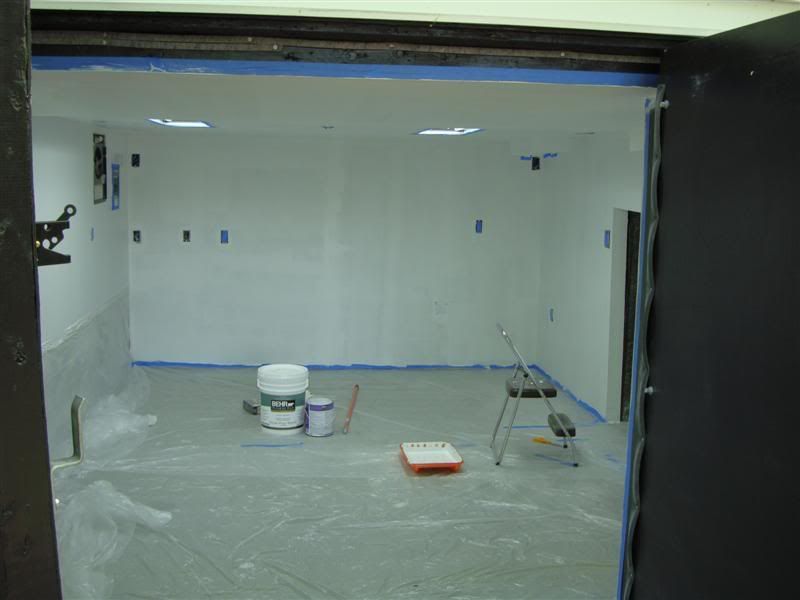
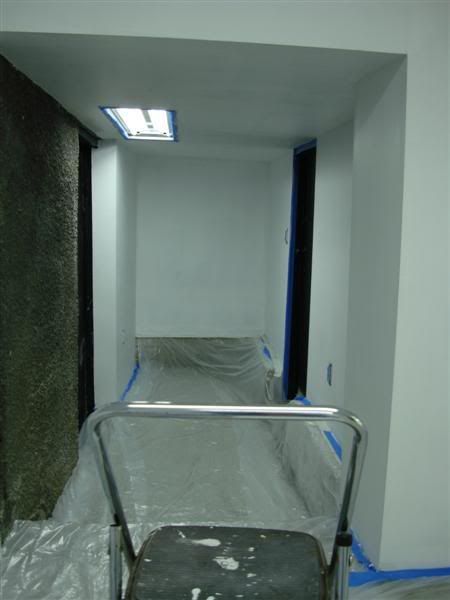
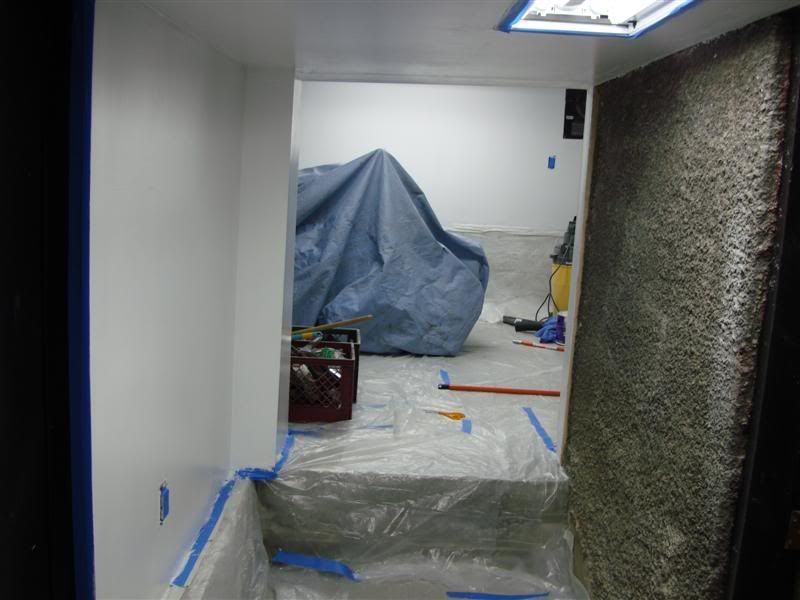
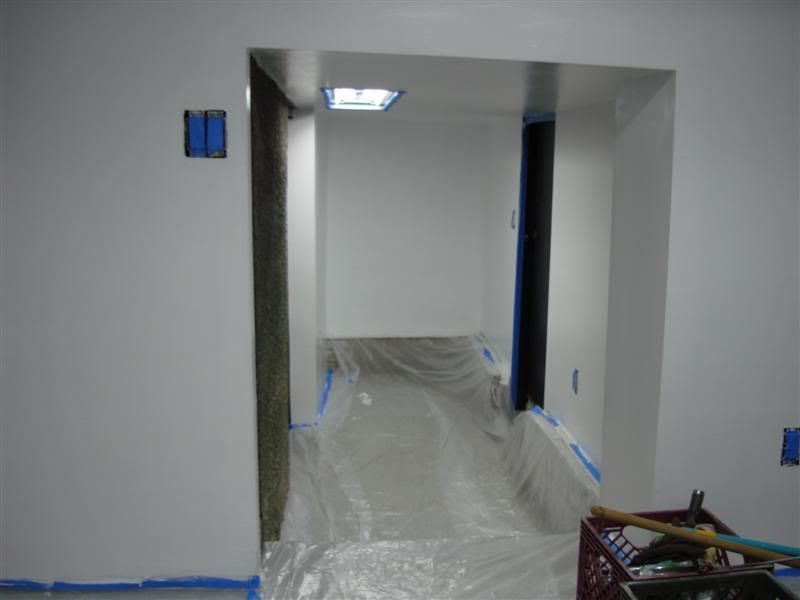
  Why even put anymoney into a place like that. Boy was I wrong. It looks great.
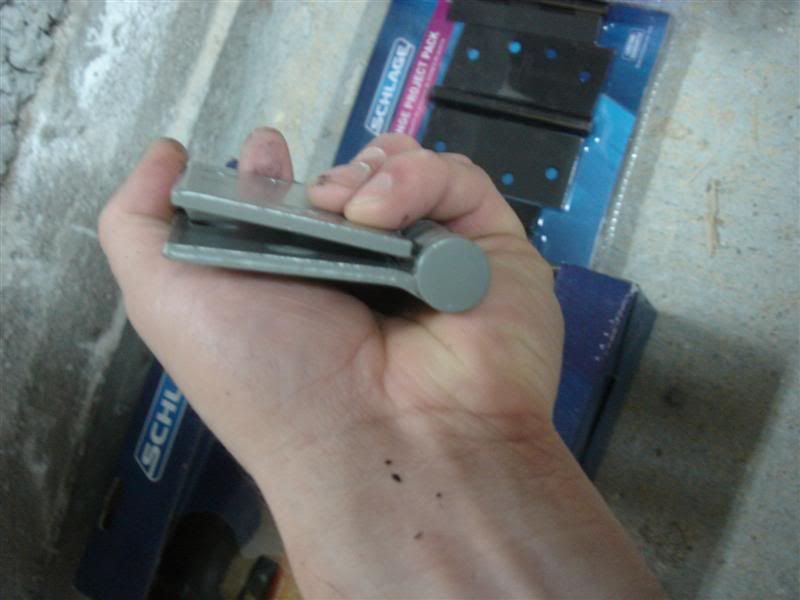
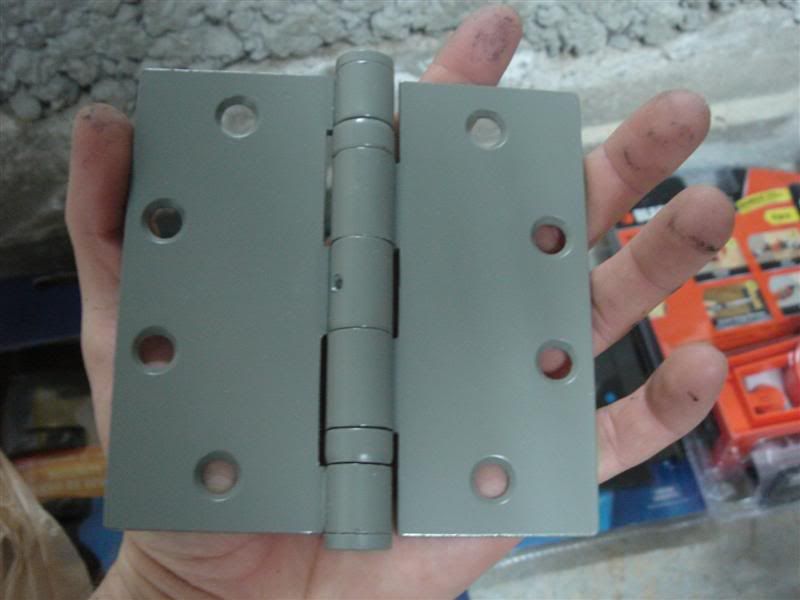
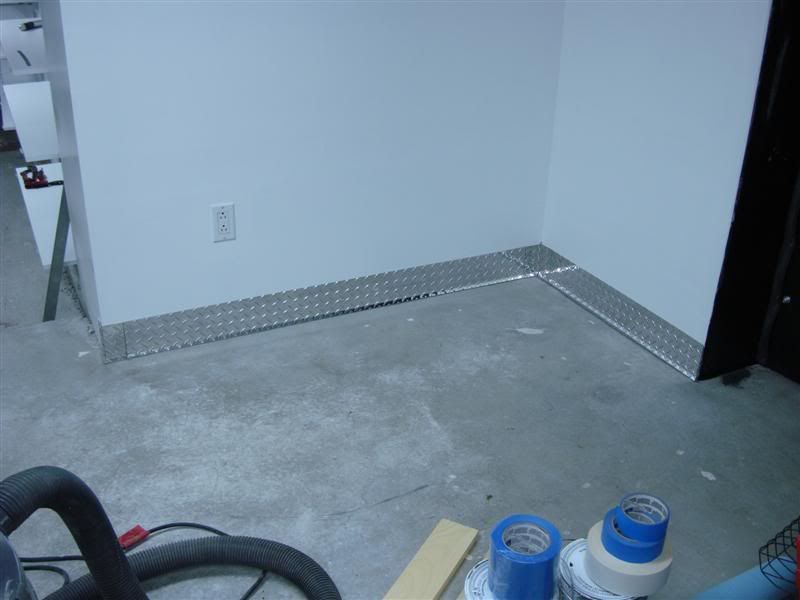
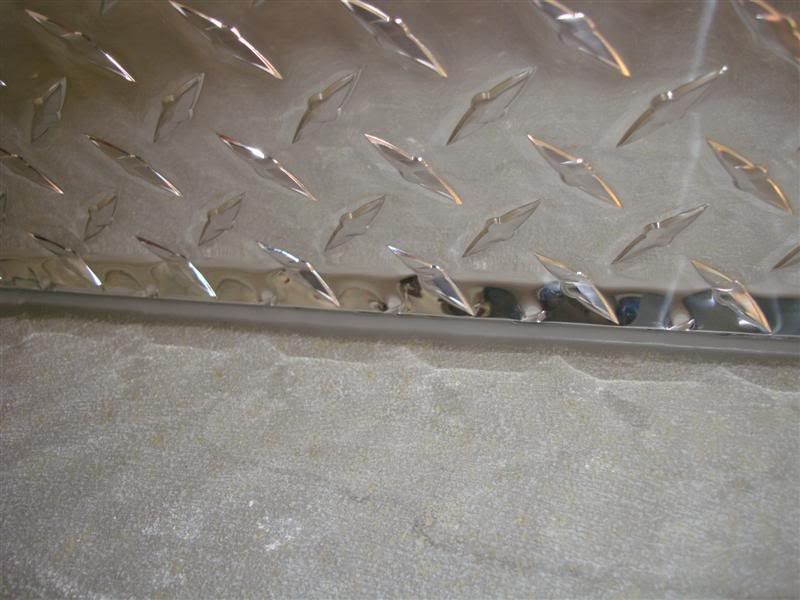
Surprisingly, I found them at home depot for only 6 bucks each!
Where did you get the higes from, I need 3 like that
Thanks for the kind words and suggestions. The hinge issue has been covered a few times. The way it is now is the way I'm going to leave it, but maybe have someone weld the heads to the hinge plates as well. Recall:I can't believe that I haven't seen this thread before. Great transformation
One thing about the hinges that you said that you had concern about possibly someone would/could gain access....
By the way the hinge looks like it is designed, if you notched out both the door and the jamb to accept the hinge plates, then the hinge pin would stick out to wards the outside and would be the only thing exposed. Using countersunk head screws into the door side and jamb side would let the hinge close back on itself. That would prevent anyone from getting to them unless the door was open. But beings that you have them the way that they are now, I have seen where some have had a sheetmetal box made up to cover the heads and then tack the box over the hinge plate. If you have to remove bolts, you have to remove the box. But it has to be designed to still allow the door to swing open. There are a few things that you can do to deter theft. Another is to put around three different size bolts in. Unless they carry a bunch of tools, one wrench or socket won't cut it. The only other thing that I would do after you get all of that work done, is to dress up the entrance a little. Maybe a framework of cedar or something around the outside. All of the work that you put into it looks to good not to at least show it off on the outside too.
I can't put the hinges the way you're mentioning. Since I wanted to use these bolts to add strength, the heads wouldn't allow the hinge to close in that configuration. They have to stay in the orientation I have them.
If you read earlier, 2 out of the 8 bolts on each hinge (one on each side) go all the way through to lock washers and double nuts. That was my fix for preventing hinge removal from just backing out the bolts. I will get a buddy to spot weld the bolt head to the plate as well, just in case.
I can't put the hinges the way you're saying, like I said before... I wanted to use decent size bolts to add strength (instead of the ****** little screws that come with hinges), and because of that the bolt heads stick out from the plates. The thickness of two bolt heads in between the two plates would mean that the doors wouldn't close.
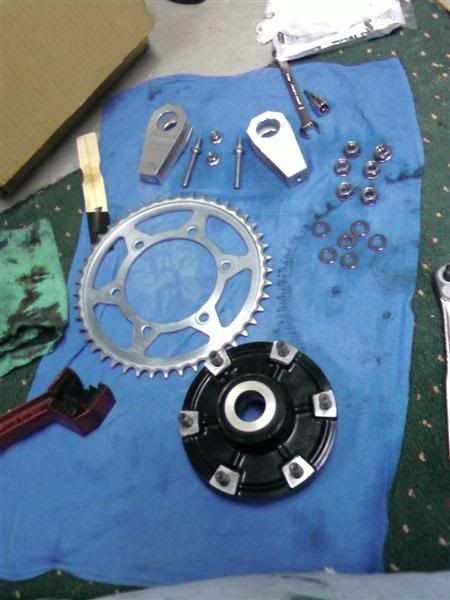
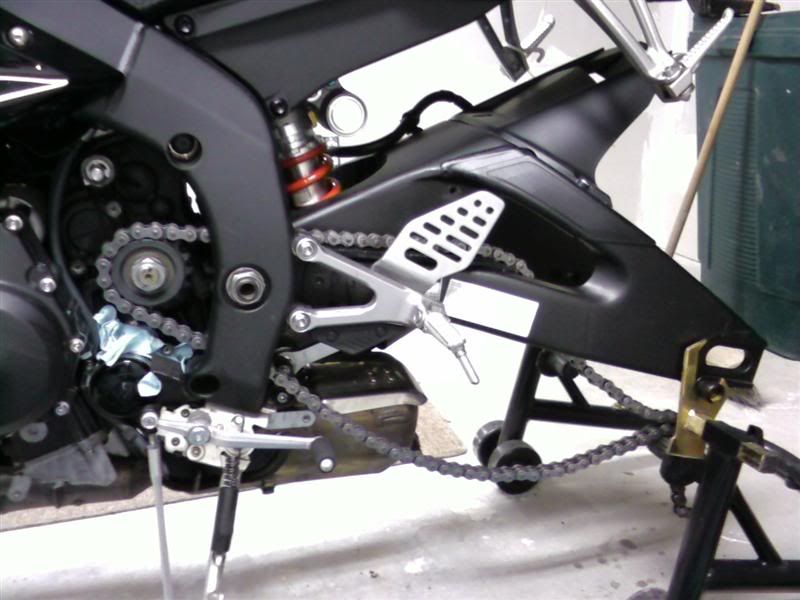

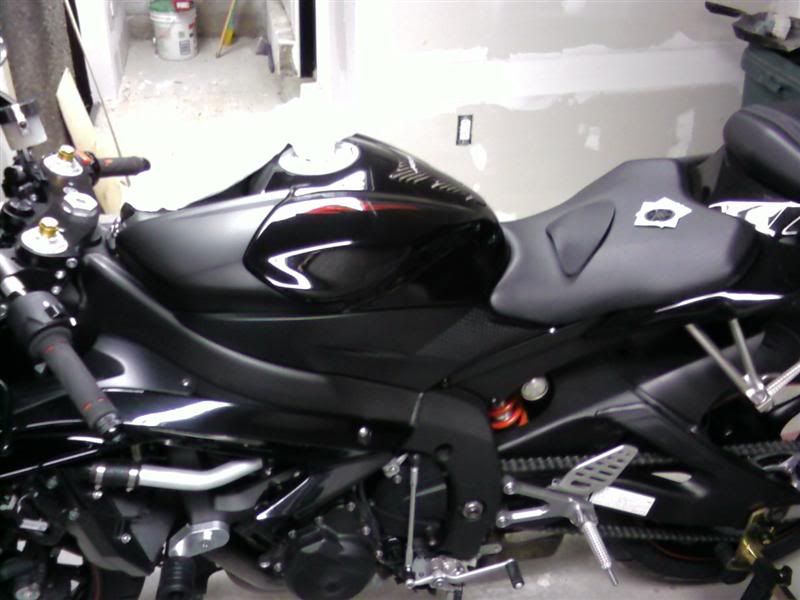
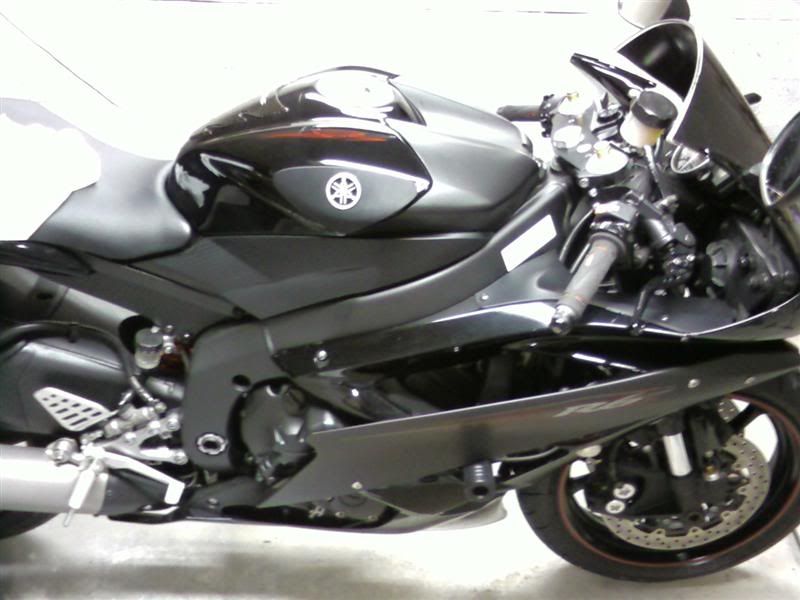

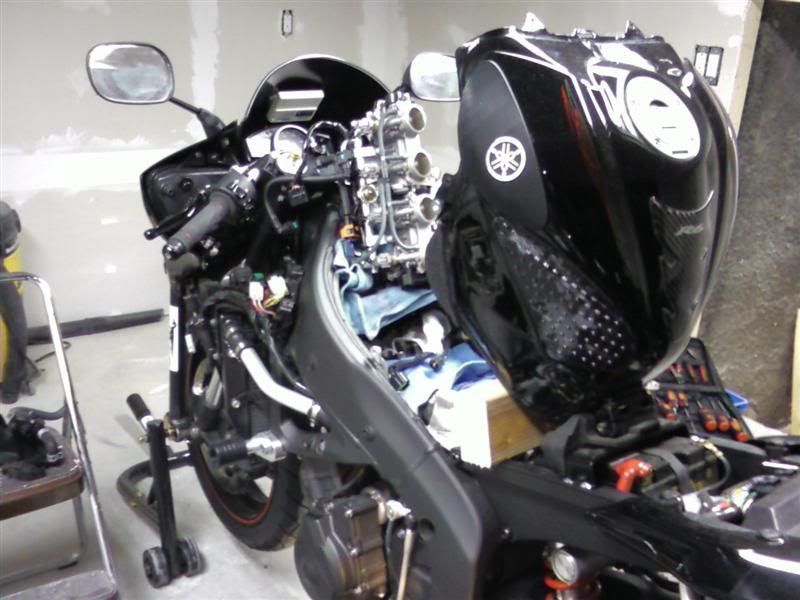
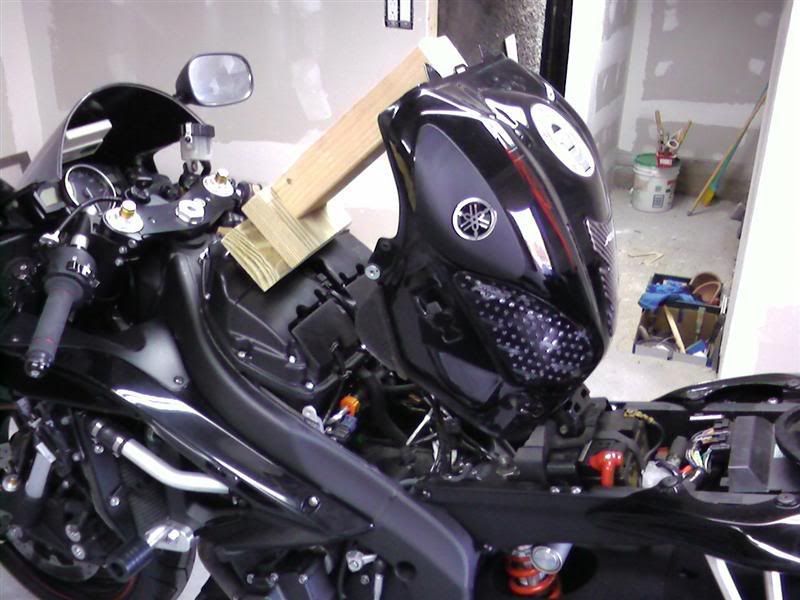
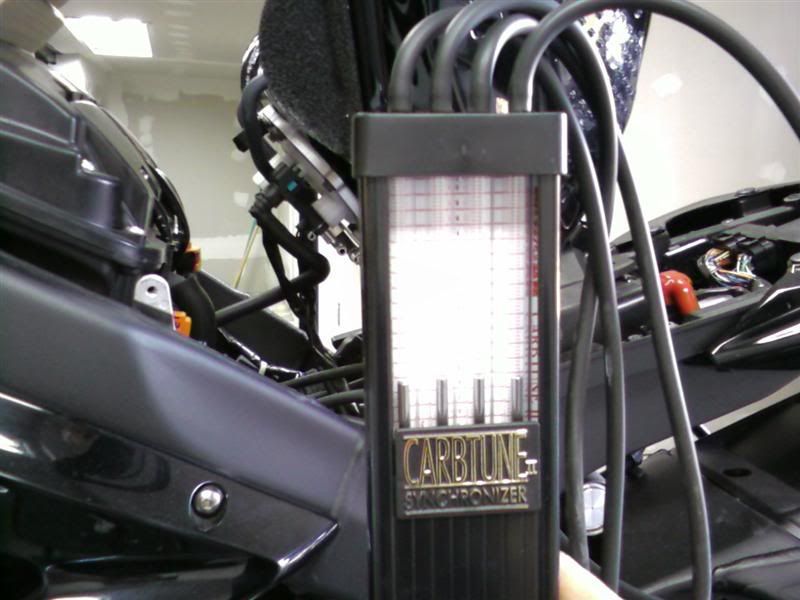
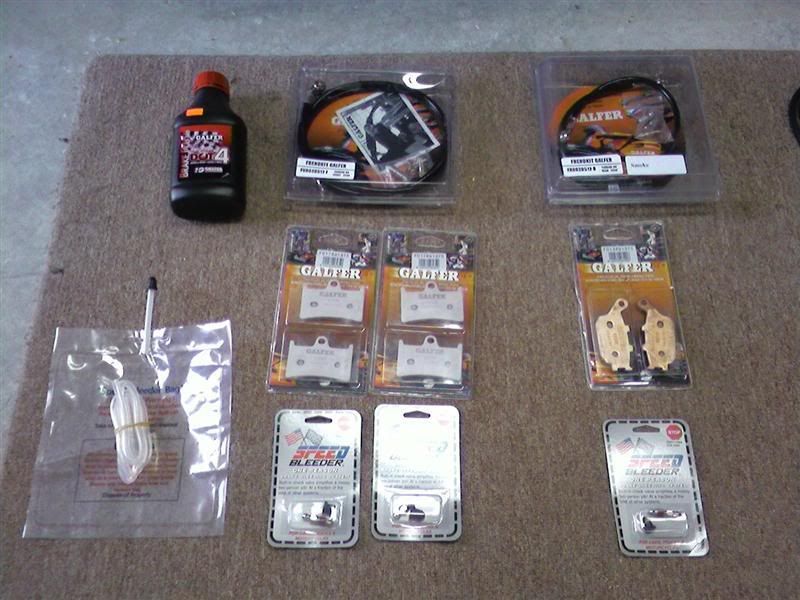

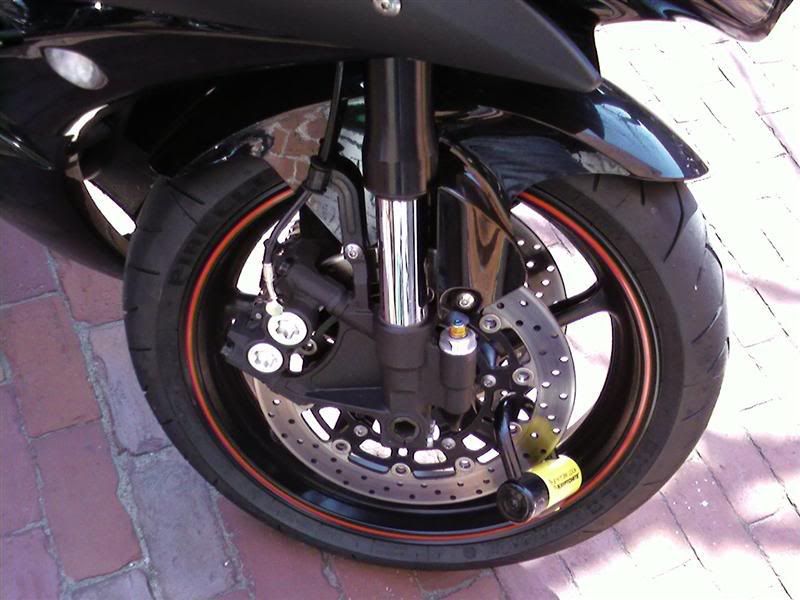
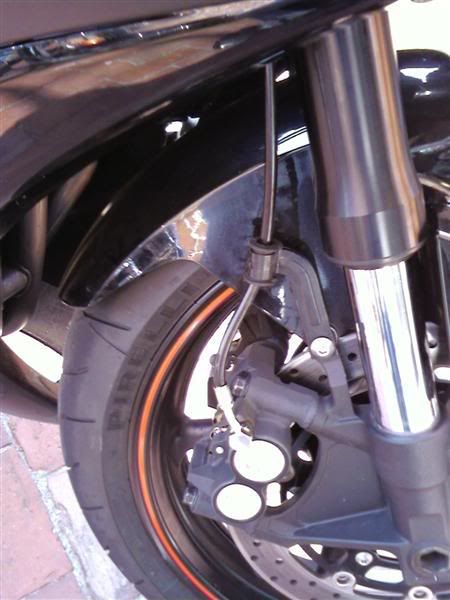
 ) and double banjo on the master:
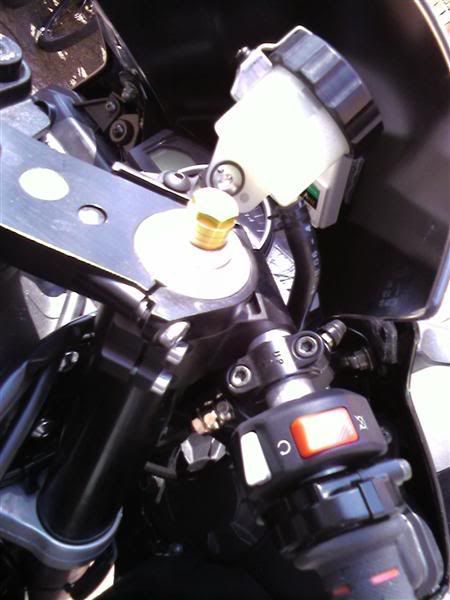
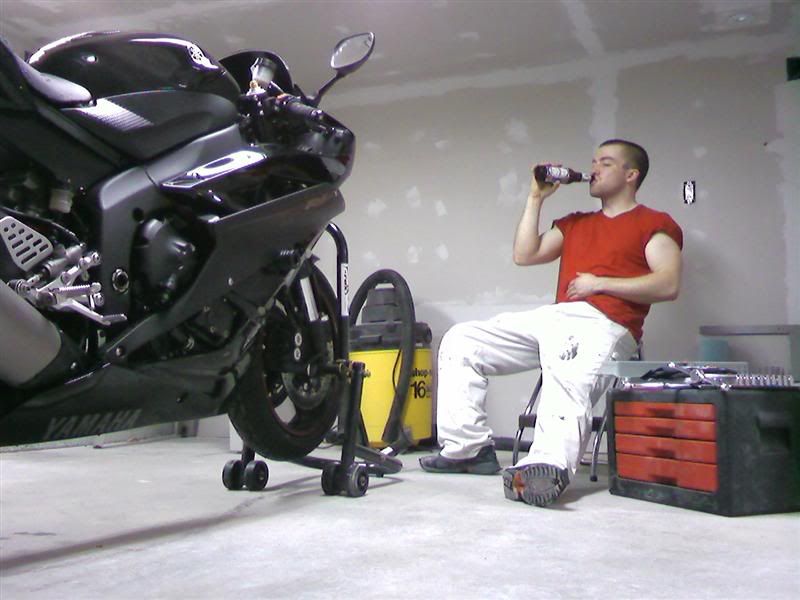
Thanks... maybe you should get back into itCleans up nicely...it's been years since I've owned a bike, and tore it down for maintenance.

Hopefully I can inspire you! Do eeet!!!I'm all for the bike maint stuff, but that's just because I haven't gotten off my duff to finish my garage so I can do maint on my bikes!
Man she ruled out all the fun, huh?Yup My wife said before we got married that I had to agree to her demands of nothing less than 4 wheels on any toys ( boats excluded), Quads instead of dirtbikes and no firearms of any kind.
***** that I got my bike license for nuttin!
Thanks... maybe you should get back into it
Although if you have a wife I hear they are polarized against such things...
Hopefully I can inspire you! Do eeet!!!


The maintenance was far different on those bikes... you had to have been a carb master! Those FJs were very tough and great bikes.Great job! And great bike maintenance posts -- my first was a 1970 Kawasaki 350 Avenger; my second was a 1989-ish Yamaha FJ1200... which I traded in on a wife. Guess which one needs more maintenance.
Damn, I miss that bike.
You've got a ton of talent!
Man she ruled out all the fun, huh?
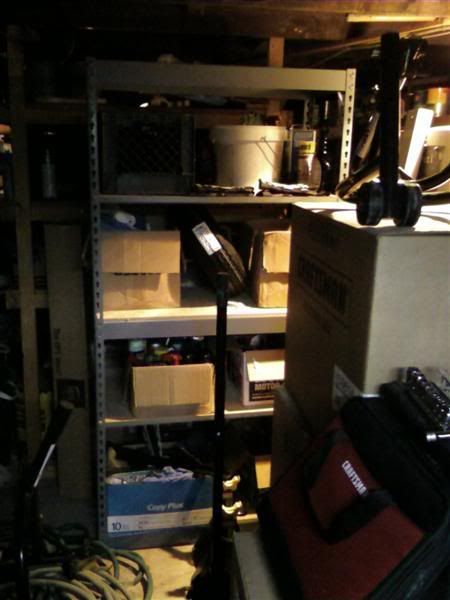
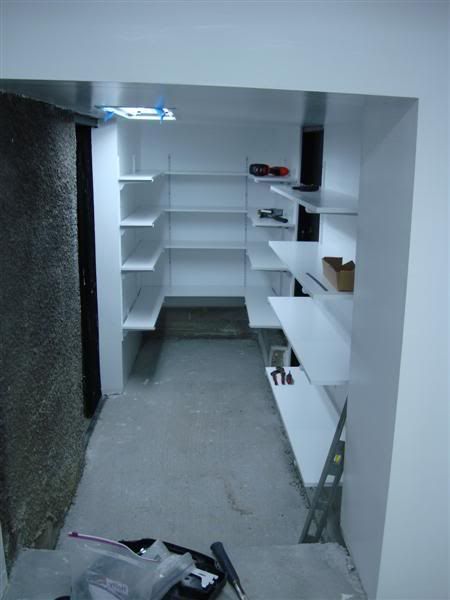
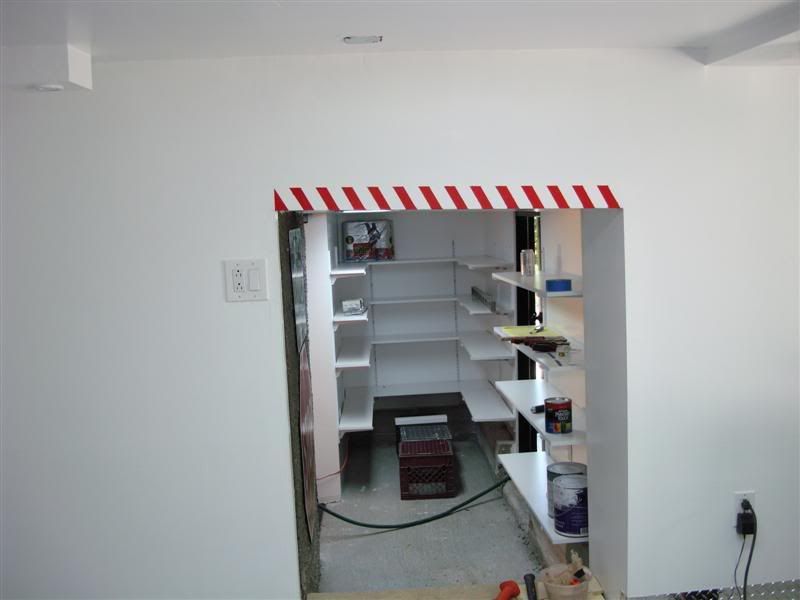
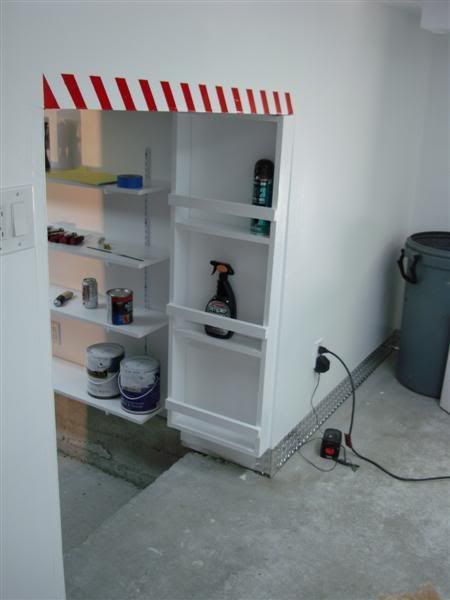
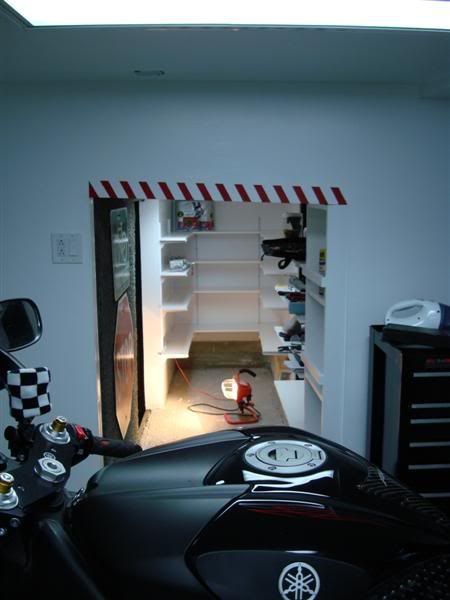
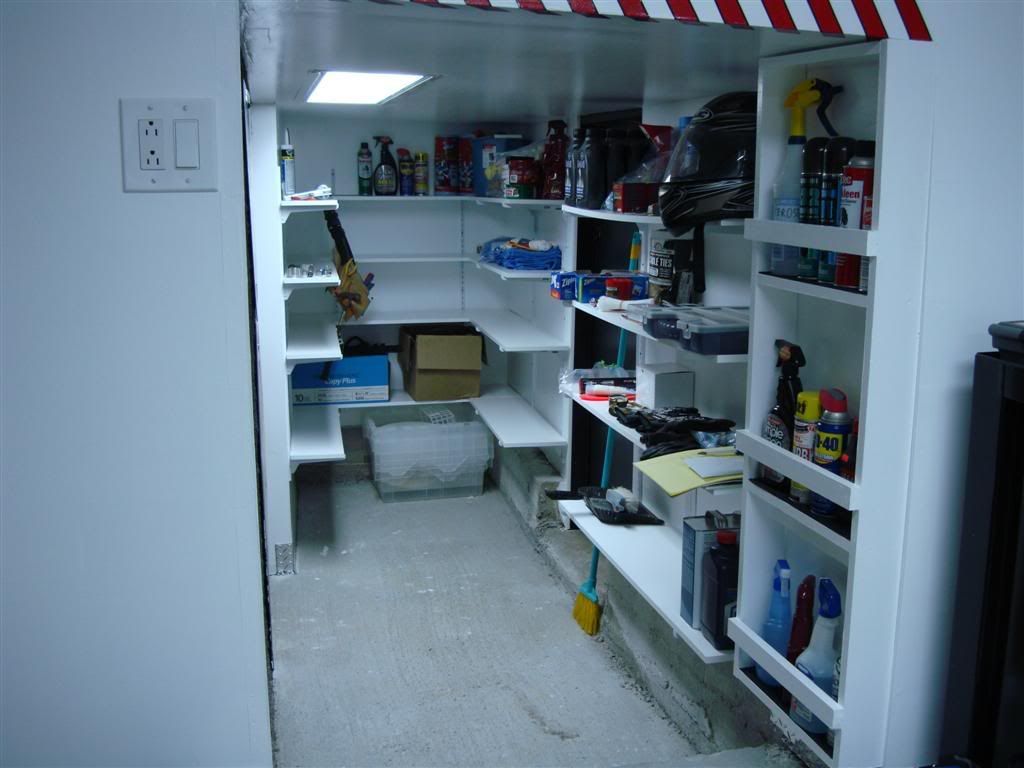
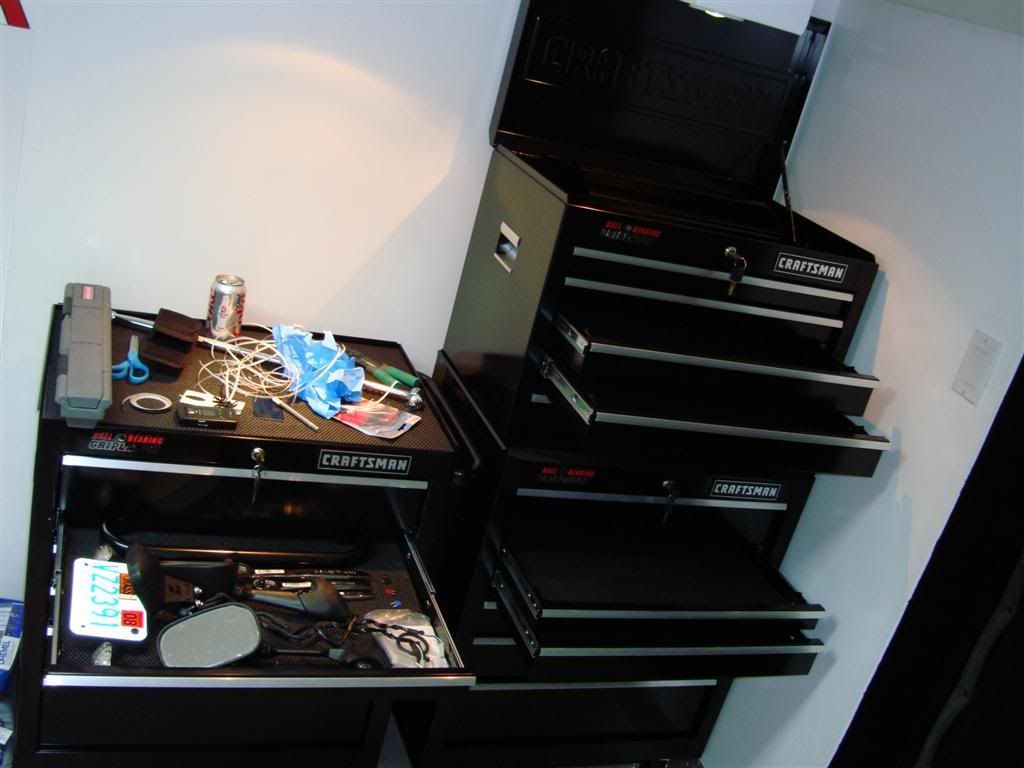
I plan to turn that entire small room into shelving. I'm going to just buy brackets and wood and make my own. I've also got a set of standalone utility shelves as well that a friend gave me, and those will go in the main garage in a position TBD. That should be pretty sufficient for my needs.good job on that garage. I can't wait to see what you're going to do for storage.
Well, as long as you've kept a few fun toysStill got the 500ish HP Prostreet car and the 72 Early Bronco on 38s, now she wants a quad more than I do..... she'll never overrule tools though, its the only way she can keep ANY sanity in the house.


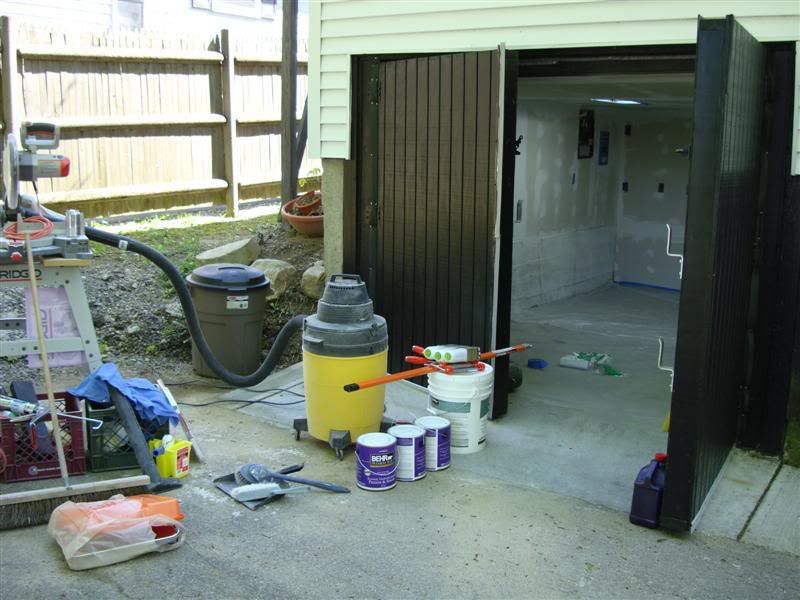
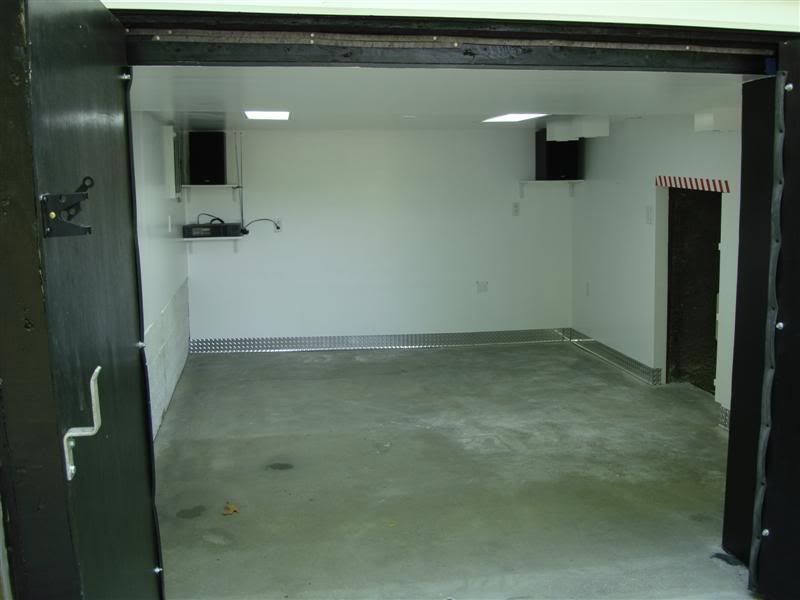
That's a good point. This particular garage may not be very big or fancy like a lot of the garage mahals people have had built for them on here... but I think it will serve my needs pretty well. And on top of that, doing it yourself, well, there's no feeling like thatNo need to apologize.
Even though sites like this are about the garage as an end, they are really like a wrench.
They are just a tool for what we actually do.
Thanks very much! Gotta make do with whatcha got, ya know?Looks good. Good on ya for taking what you have and making something cool with it.

Hey, that's a great idea! Thanks! Someone finally said something useful in here besides me...I'd put a 2nd cane bolt on the other door & drill a couple of holes in the concrete outside so you can drop the bolts & hold the doors open
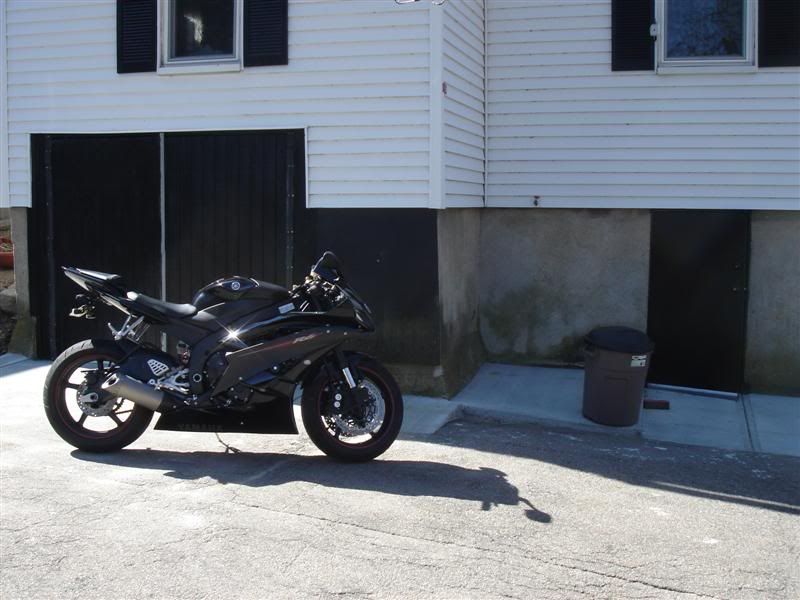
Wow, what a transformation. Good Job!
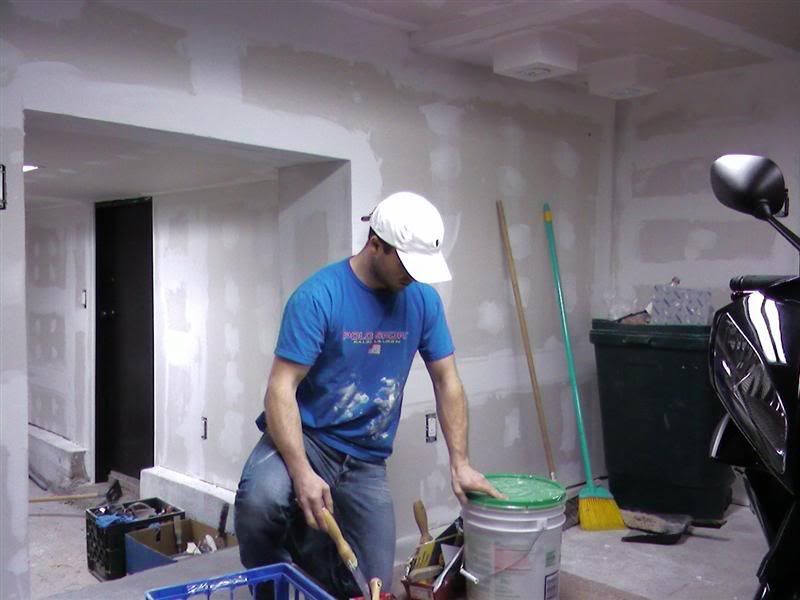
Thanks very much for the kind words, fellas! This weekend I've made some HUGE progress towards the aesthetics of being 'done' with it... and am working some more as we speakThe transformation is simply amazing! That was a lot of work. Congrats on a job well done! and thank you for sharing it with us.


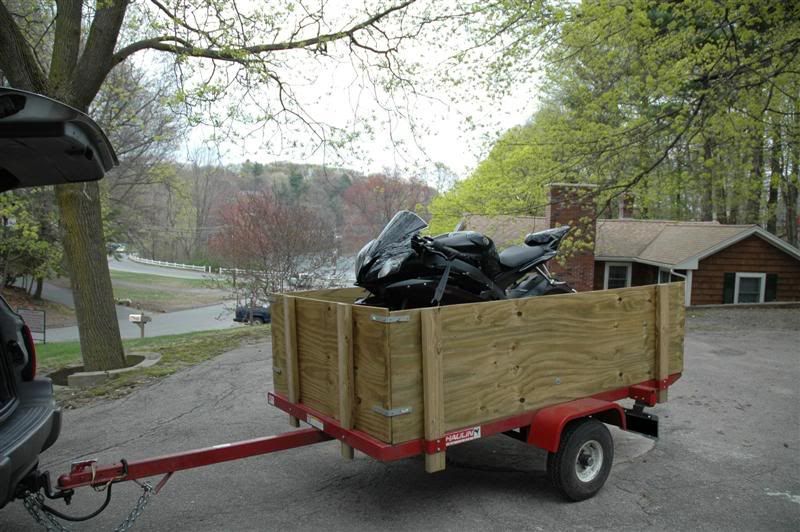
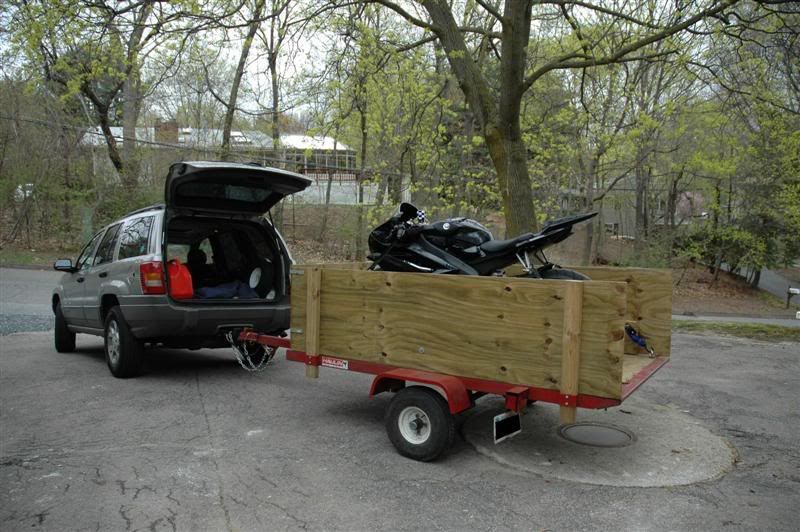
 )) for the trip and all the track days involved. I will be gone for about two weeks, doing at least 3 track days, 5 days in deal's gap, 4 or 5 relaxing in SC, driving 2500-ish miles with the bike on the trailer, and a 1-day work thing on the way back.
Simply amazing !
Thanks dudes!!!Pat yourself on the back, you did an amazing job!
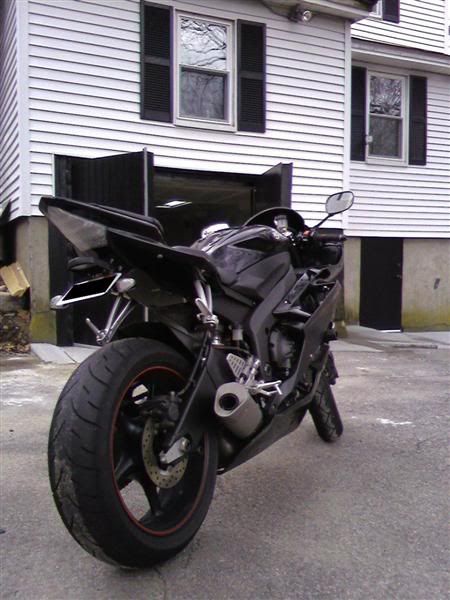
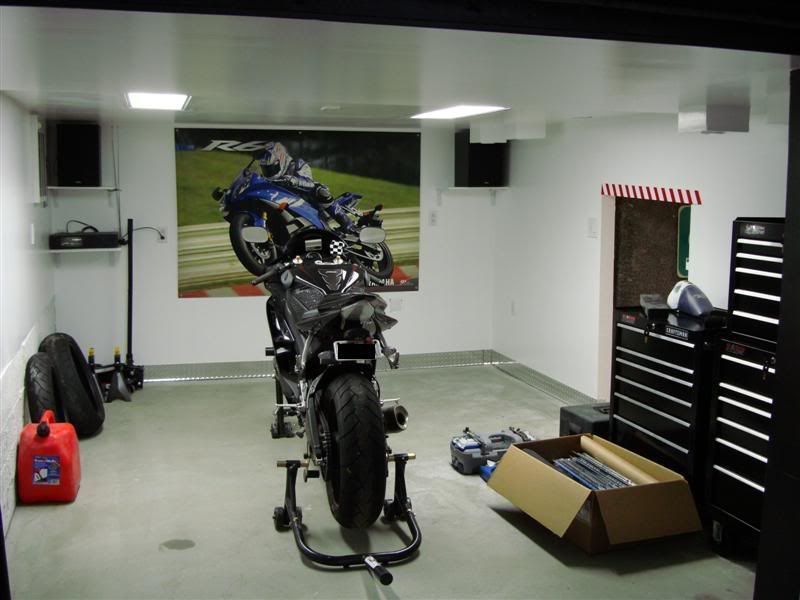
Thanks!!!Great work and sweet bike! She must love looking at that picture at night, itching for you to take her back to the track. (I'm assuming its a she, all my cars are girls).
-a
Thanks man!!!Awesome. Looks great.
I have two little kids, and my first reaction was "dang, I envy that guy's time." Then, I thought better of it ,and thought, "wait a minute, he probably had other stuff he could have been doing, too..." Congratulations on sticking to it and getting it done, the hard work shows.
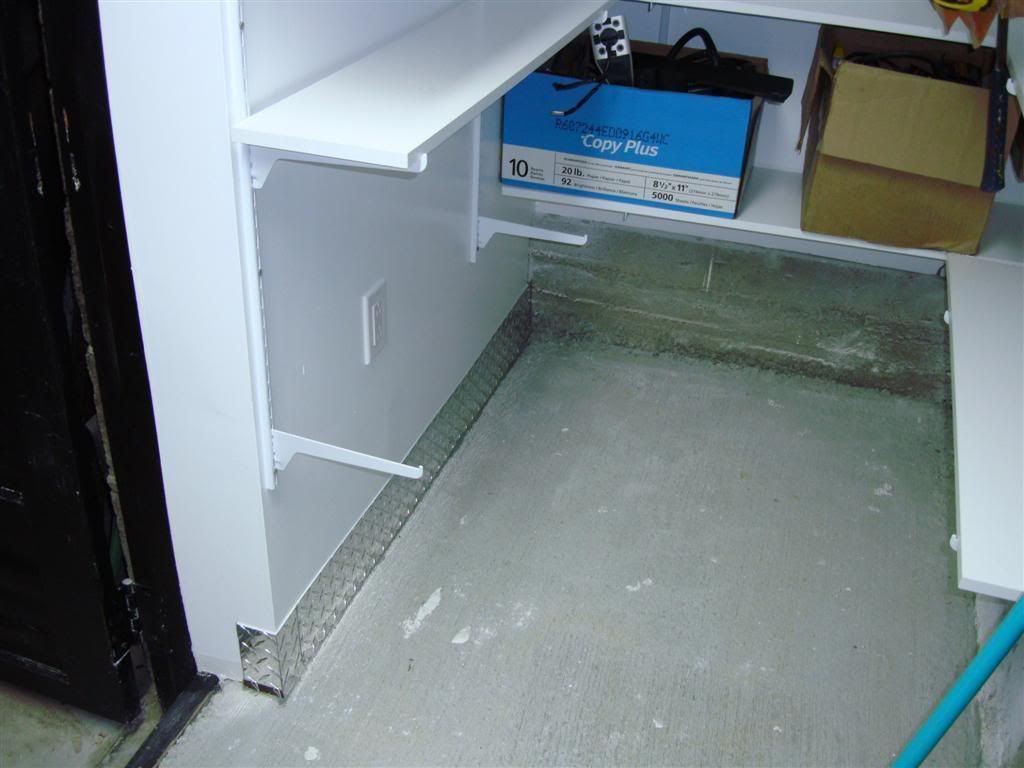
Thanks very much! That is another great idea that I'll add to my list... simple things like that always slip through the cracks. Thanks for the tipNice work. Most would look at that original pic and say f$#k that, and move on. That's a cool little bike shop. Did you mount a fire extinguisher near the exit? Just in case.
Amazing job! it takes allot of dedication to get that project done. It looks great, I'm one of those guys that envy the time put into it.
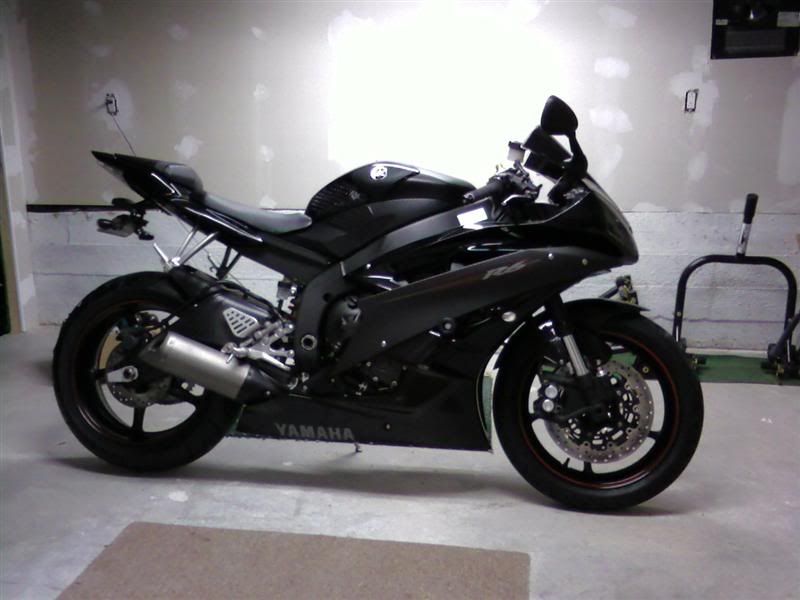
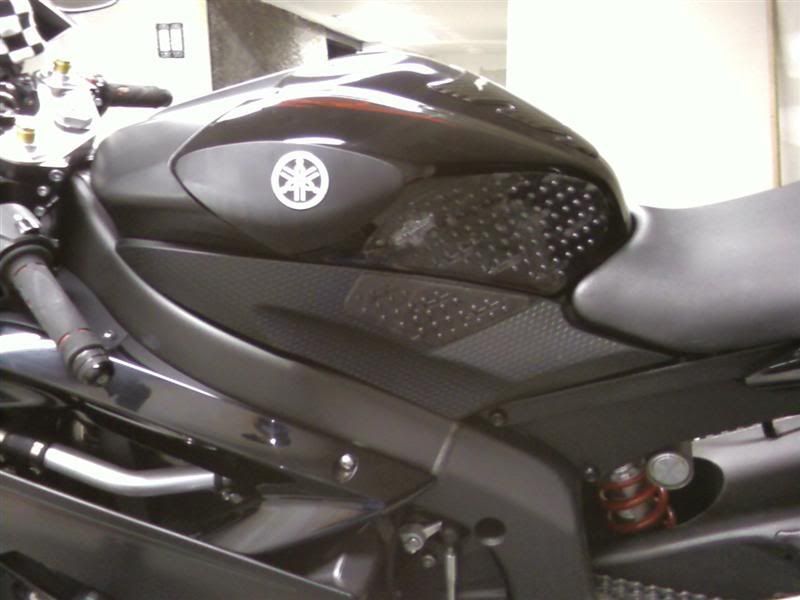
Nice Bike too!
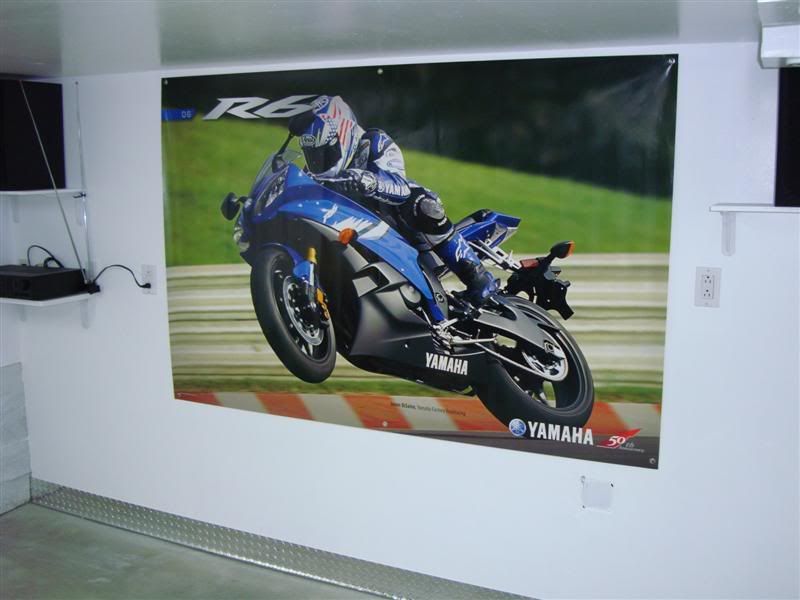
Looks awesome, that large poster definitely completes the room.
Thanks for posting your progress and pictures, always interesting to follow a transformation.
Awesome job Christopher !
Now I feel really bad
You completed all this stuff in 6 months and I haven't been able to simply clean out my garage in 3 years
No, I'm making progress myself but your thread gave me additional motivation.
Again, great job and fantastic bike !
Volker
Seriously Bad ***! Nice job bro!
WOW!! Now that is inspiration for me to get the interior of mine finished off! Congrats on a job well done!
 ) If there is spare time, I'll start the workbench... but for now all garage stuff will be on the back burner.