To avoid these ads, REGISTER NOW!

c91x 36x40 shop build

C91x

Well-known member
Joined
Aug 26, 2015
Messages
267
Location
Prescott Valley
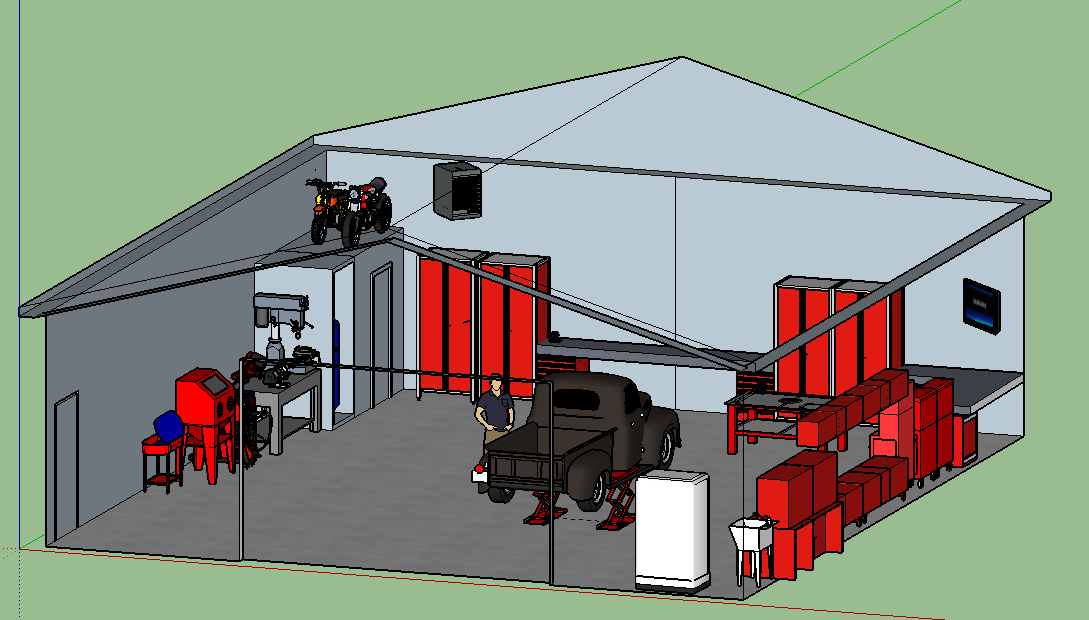
The shop will be 36x40 with 12' ceilings and a lift. Its primary purpose will be building old cars but like most of them on here, they end up getting used for quite a bit more. It will be equipped with a lathe and mill among other fabrication tools.

Here are some pics of the mockup. I'm actually pretty close to this original design.

side.png
front.png


I've been chipping away at my shop for a few years now and wanted to post a thread but I'm not much of a picture taker when I'm working on projects so i've put it off. Before having kids I had all the time in the world to work on projects. It was always one right after the other and I would post my builds on forums but that all changed 4 years ago. So in the past I did a complete remodel on the first home I ever owned, next house I finished a 2000sqf basement with 2 bedrooms, bathroom, bar, theatre room so when I moved back home to Arizona I got the bright idea to build my own house. Before we started my wife and I had our first child and during construction my wife was pregnant with our second so I'm not entirely sure how we are still married.


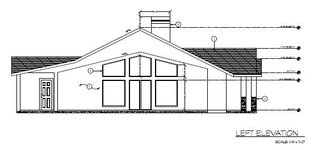
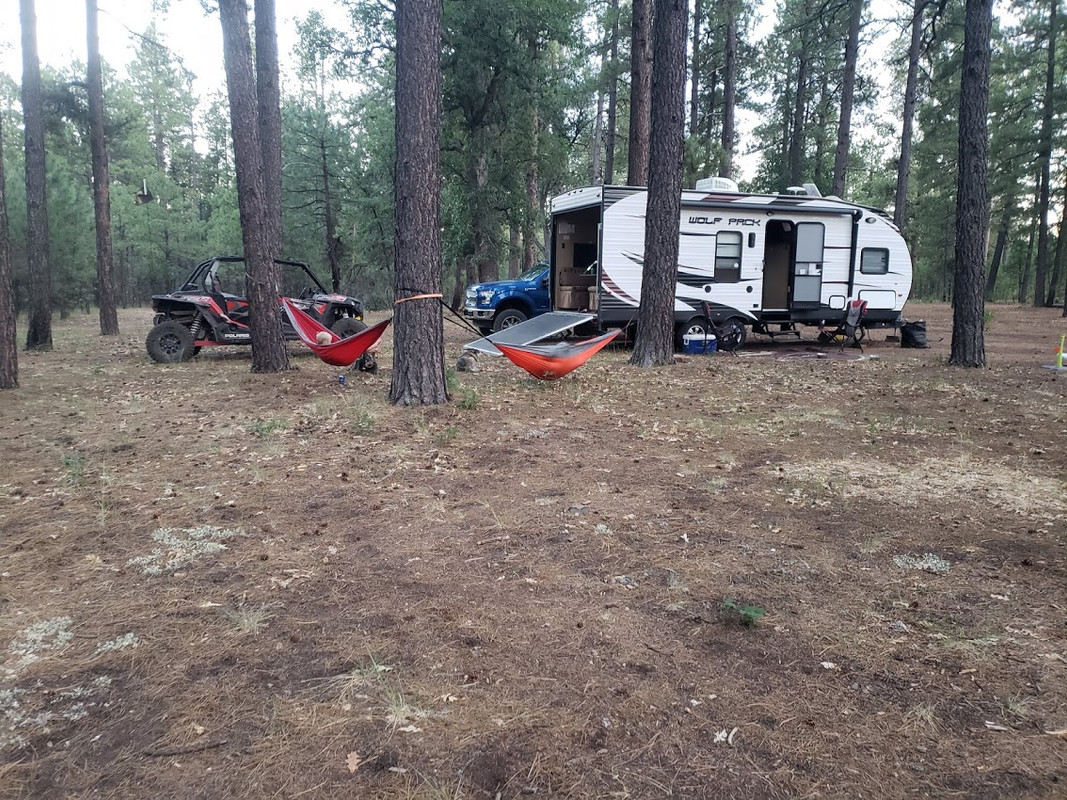
We wanted land that had access to national forest so we could leave from the house on our dirt bikes and RZR. This proved to be harder than we thought, we'd find a perfect location but the whole lot was on the side of a mountain or basically no real spot for a shop. We ended up in the prairie grass area that we originally had no interest in but this lot was above the city with an amazing view. We paid cash for the lot with the money i had made off the previous two homes. I then started designing a home that would work for us and give us that view from the living room. I gave my layout to a drafter to make some plans for us.

Bv0n0iKWu_aOpQrcuP2VQMQDhVuNhYjxWmhB9jKxom3g=w2400.png
v3bKj9RVlLNp_-lwkRWuAMMba7Za6l8bbKzdt3PF6Wrw=w2400.jpg
UpuA6oEU-2EYQqLejRJiAYH6Cu4w5lYY84dHDvyGM79g=w2400.jpg
hSOxn_U4GkKpFRNEvgXjM5F_F2ALqGKdFIqEPRsOK6Lg=w2400.jpg

From there we started getting bids for concrete, framing, HVAC, Electric, insultation and drywall. I figured I would do the rest. It was a busy busy year during the construction and I made the mistake of starting the shop at the same time.

I'll skip the major stuff with the house since this is supposed to be about the shop but here are some pics.

5OB2fDs3AwTPe12OqoHmJETFv70480ls-92Zg6Bu_IUA=w2400.jpg

108" x 44" opening for the door. My wife is 5'7"
yQfzkoljyizjKnN-1d4kMPVRpckJj1qK9jyuZretwKMg=w2400.jpg
lJCDPNOfDobnml3EPjEbVa_RhhccBU7xCv92yHIcE-Vg=w2400.jpg
Df4zGJvv92wxMkjg0lGIngccMvg9imKJmYQ8Fl7FOE1w=w2400.jpg

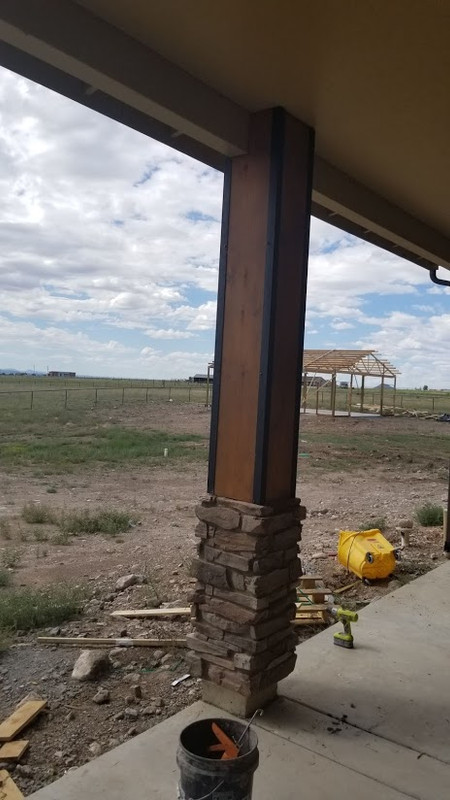
Lots of stone
DnPhnpkzqhc7a7849

TuibvSosoPfHIzhQygmhEcNxj06QJqgGSrXSNEZS2kvQ=w2400.jpg
s9MvWEAKFff35r1l_74dekDR5qdKEClXusCj0gU4yk5w=w2400.jpg
9uQ49cfBzwblaQSkhETIA0ZvtCJ230SuwROdQqhfMKlg=w2400.jpg

Cows and Antelope grazing together
R3QECEJ5QfewAfwsFLUPbFX31rnj84GFebwoLZc1gAdQ=w2400.jpg

This little guy learned to walk at a construction site and throwing rocks in mud puddles was as good as it gets.
hjuWvymQO5uqvJOYYZ-1gn6OmGwpm3hIsnXk_BMglJEw=w2400.jpg


I'll update this thread over the next few days to get caught up. As stated I didn't take pics with the intent of making a thread so find pics that go with the timeline might be difficult.
 
Last edited:
To avoid these ads, REGISTER NOW!
OP
C

C91x

Well-known member
Joined
Aug 26, 2015
Messages
267
Location
Prescott Valley
Re: c91x House and Shop Build

Did my pics show up? They show up on my phone but not my desktop.
 
Last edited:

Paul_VR6

Well-known member
Joined
Dec 27, 2012
Messages
301
Location
Oxford, Pa USA
Re: c91x House and Shop Build

Using tapatalk only the floorplan was showing but once I clicked I got the rest to load.
 

RacerX

Well-known member
Joined
Mar 27, 2007
Messages
377
Location
Caldwell, Tx
Re: c91x House and Shop Build

I'm on tapatalk and I see them all. I like the floorplan.

Sent from my SM-N960U using Tapatalk
 

loganb

ALLIANCE MEMBER
Joined
Dec 29, 2011
Messages
5,623
Location
Omaha, NE
Re: c91x House and Shop Build

They show on the GJ mobile app but only the Floorplan shows when I view in the browser. Assuming hosting with imgur isn't playing well with the forum again, move to a different host or upload to an album here and link to that

Sent from The Garage Journal mobile app
 

Riley

Well-known member
Joined
Feb 18, 2007
Messages
398
Re: c91x House and Shop Build

Concur. No pics for me, just the floor plan. Sounds like a great project though!
 

Garagefffreak

Member
Joined
Dec 18, 2020
Messages
15
Location
IL
Re: c91x House and Shop Build

A very beautiful story! I hope you and your family will have an amazing life in nature!

Also no pics on my side, just the floor plan. Looking forward to seeing the pics
 

DCrane

Member
Joined
Dec 5, 2020
Messages
13
Location
MA
Re: c91x House and Shop Build

Love the all the gable ends, what a beautiful ranch!
 
OP
C

C91x

Well-known member
Joined
Aug 26, 2015
Messages
267
Location
Prescott Valley
Re: c91x House and Shop Build

We ended up having cabinets made for the kitchen and built ins next to the fire place but bought some ready to assemble ones for the bathrooms and laundry rooms. These actually saved us a bunch of money and were really well made ( no particle board and soft close hinges). The camlock system worked well but we decided to use wood glue as well.

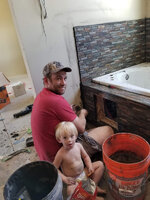
My wife was 3-4 months pregnant here so she was still able to help out a bunch and my little boy was the foreman throughout the build.
20170617-121047.jpg

10' Ceilings make these looks small
20170618-141825.jpg

Framers left me with 71" instead of 72" for this vanity. I ended up shaving some of the overhang off the face.
20170622-154711.jpg
 
Last edited:
OP
C

C91x

Well-known member
Joined
Aug 26, 2015
Messages
267
Location
Prescott Valley
Re: c91x House and Shop Build

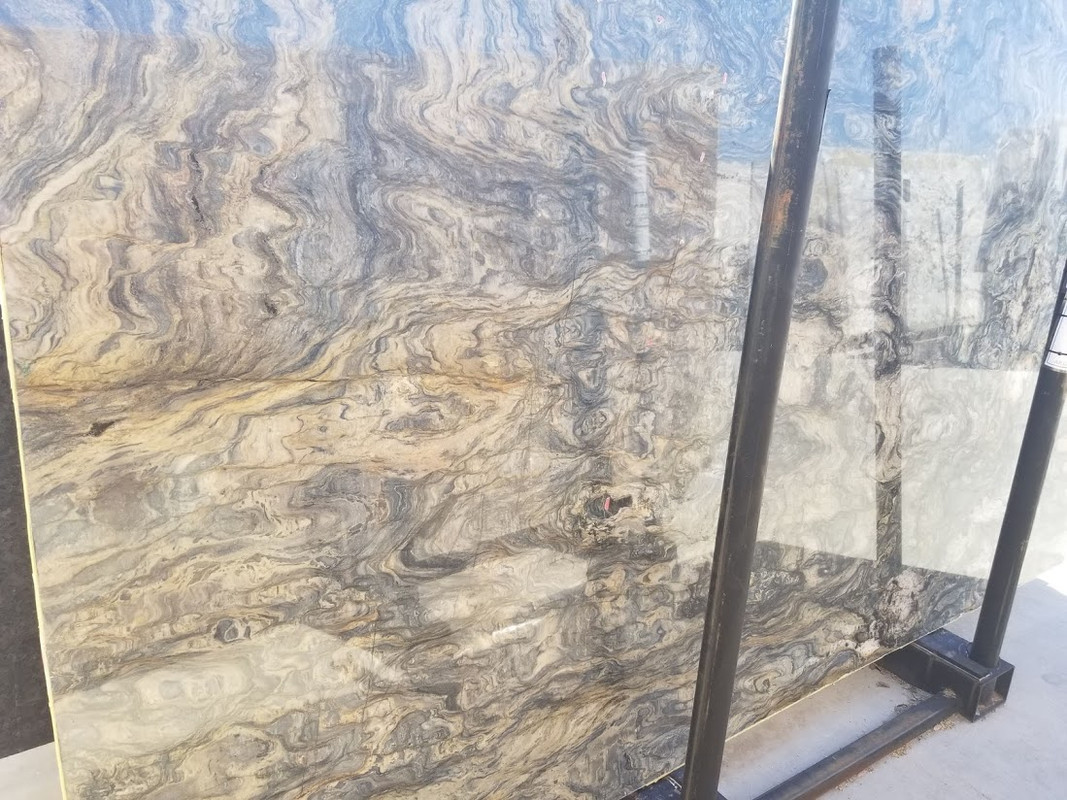
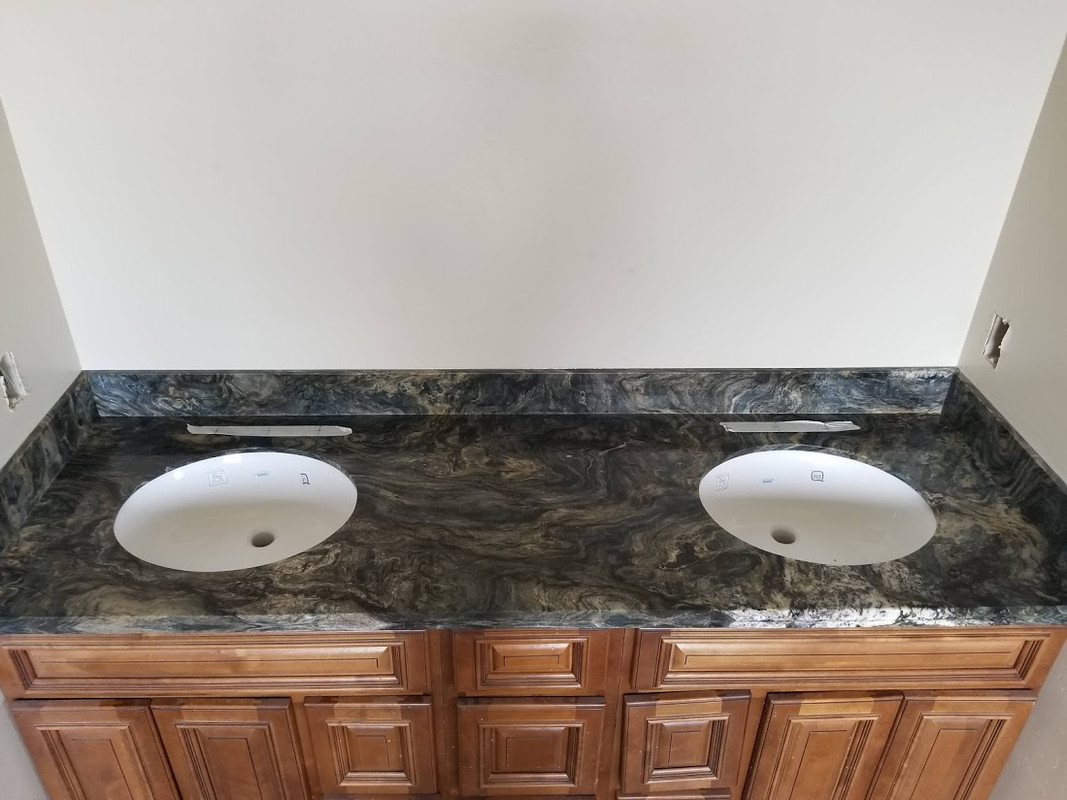
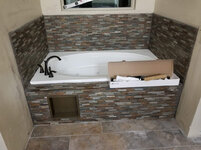
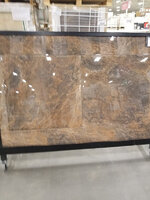
We found this cracked slab of Fusion Quartzite that is normally ridiculously expensive but I knew I had enough to get the laundry room and bathrooms done with it and with the discounted price, we couldn't beat it.


20170701-100341.jpg


20170809-180524.jpg


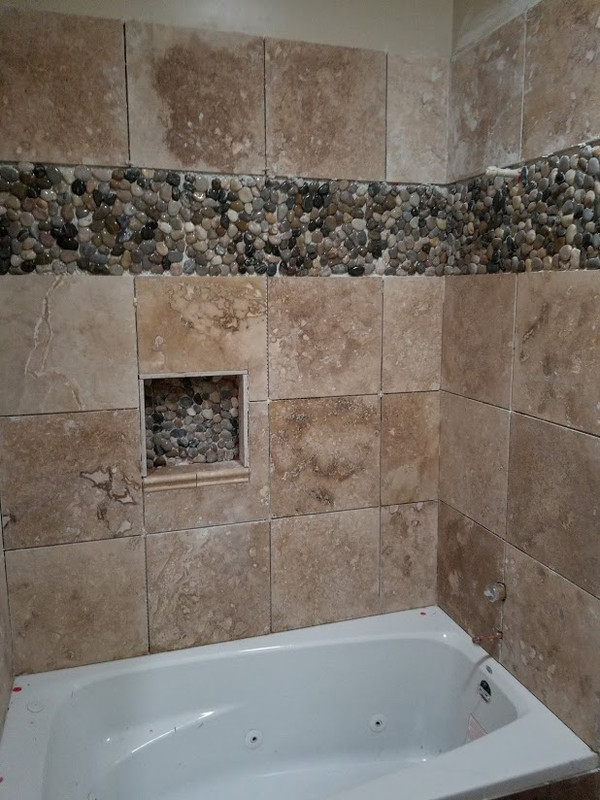
Shower and tub tile

This was the spare


Master Bath
20170813-154915.jpg

20170822-205707.jpg

20170906-095331.jpg

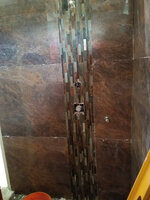
Master Shower.
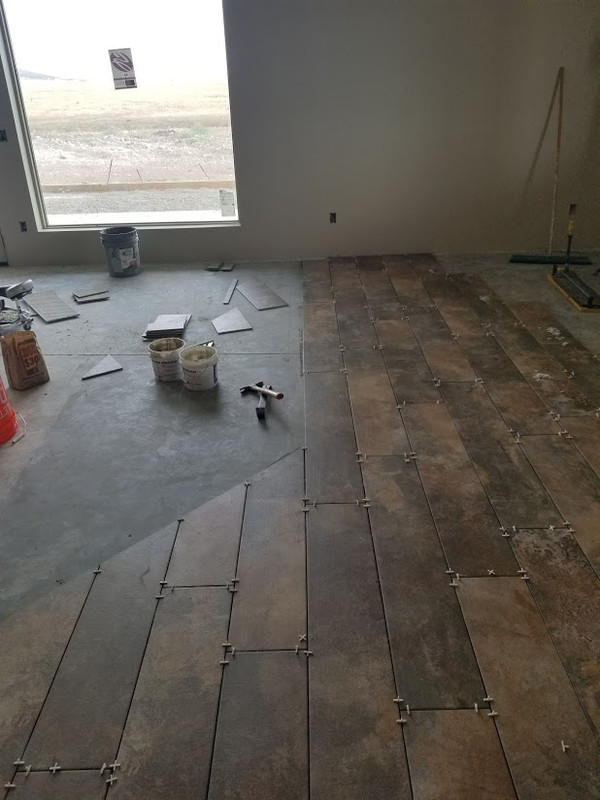
These tiles were 32" but i fell in love with them. I was a tile guy for one summer in high school but getting these down was a giant PITA. I wanted a big shower and I think this ended up being 92x42. The shower head on the other side looks identical. The floor tiles are the same slate/copper tiles that are inset here.

20170624-141142.jpg
20170730-165922.jpg

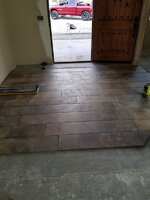
Found some slate look plank tiles that were discounted to a $1sqf, we both liked it and they had just enough for our job size.

20170706-190931.jpg


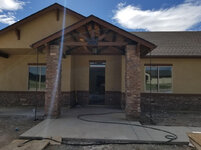
More finishing touches to the outside
20170815-153318.jpg

20170819-144828.jpg


Riley

Well-known member
Joined
Feb 18, 2007
Messages
398
Re: c91x House and Shop Build

Wow! Beautiful tile and granite work! I've done a couple of floors in the past. Haven't tried the large format stuff on a flat, yet alone a horizontal. Mad props! Looking forward to following along...
 
OP
C

C91x

Well-known member
Joined
Aug 26, 2015
Messages
267
Location
Prescott Valley
Re: c91x House and Shop Build

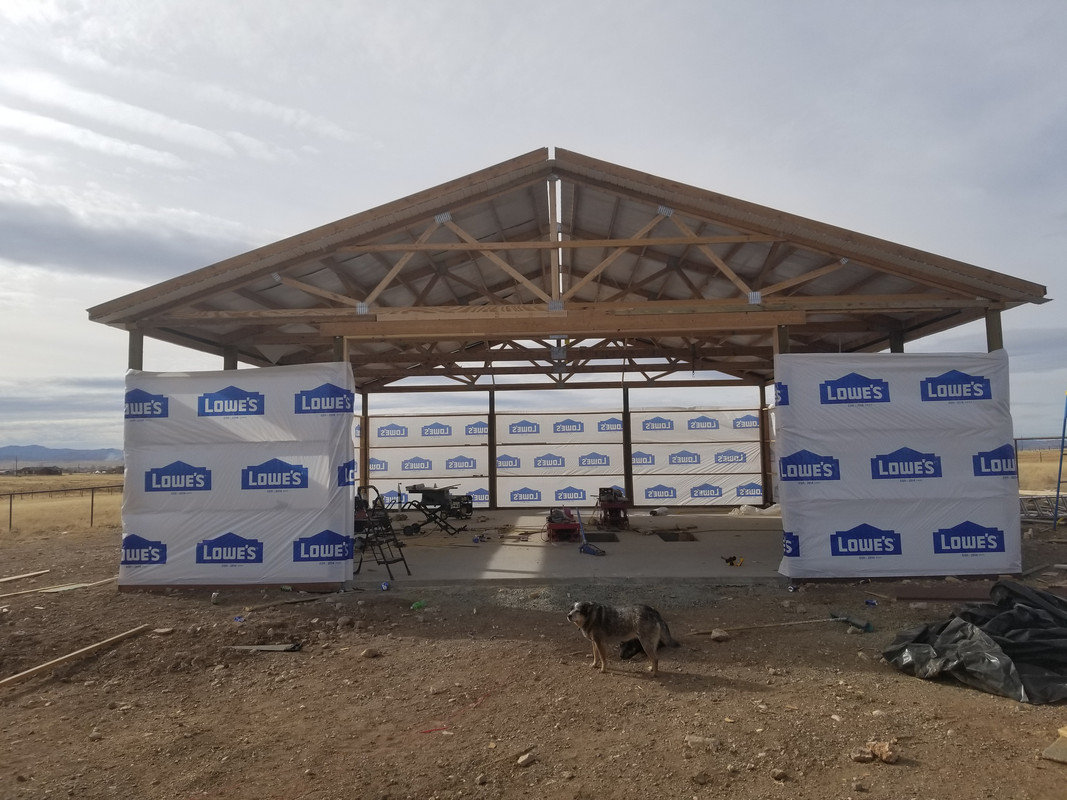
So I started the shop as I was building the house. After getting it framed up, I realized that I just couldn't do both at the same time and attempted to contract it out. I fired hired and fired two "crews" and decided it would have to wait for me to get to it so it sat like this for 6-8 months. We moved in on 9/1/17 and I didn't touch the shop for 2 months (needed a break)

My previous shop was 36x48 and for this build I decided on 36x40 but now wish i would have kept the same 48' length.


I didn't have any of the x bracing up and the weather was not kind so when I finally got back to it I had a lot of issues. The poles had all moved at bowed as well as half the roof purlins. I think if I had gotten the roof on before stopping it would have tied everything together. I ended up using 3 come alongs and let them sit with everything square for a week or two and then got the roof on.


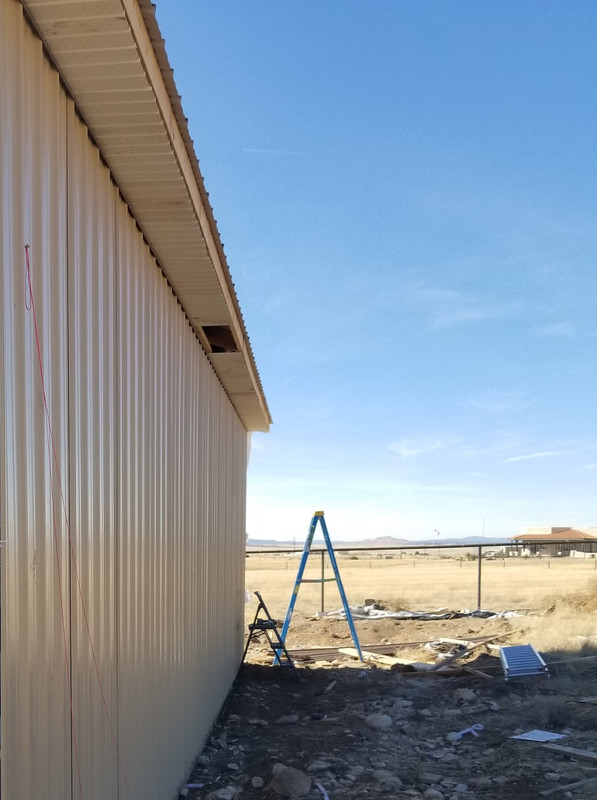
I was a one man crew so lifting those over 20' metal panels was quite a feet and PITA

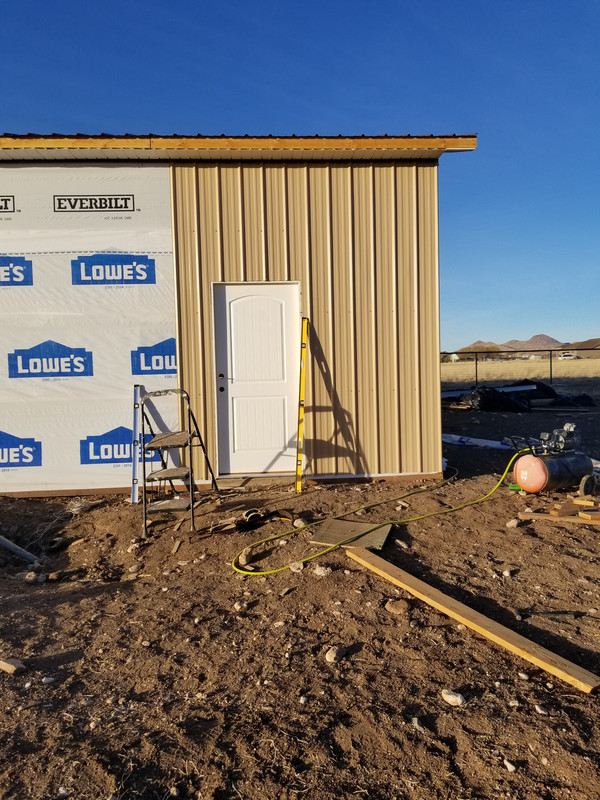
So beginning of 1/1/18 I started trying to get the thing dried in. I installed all the bookshelf style girts and installed house wrap.


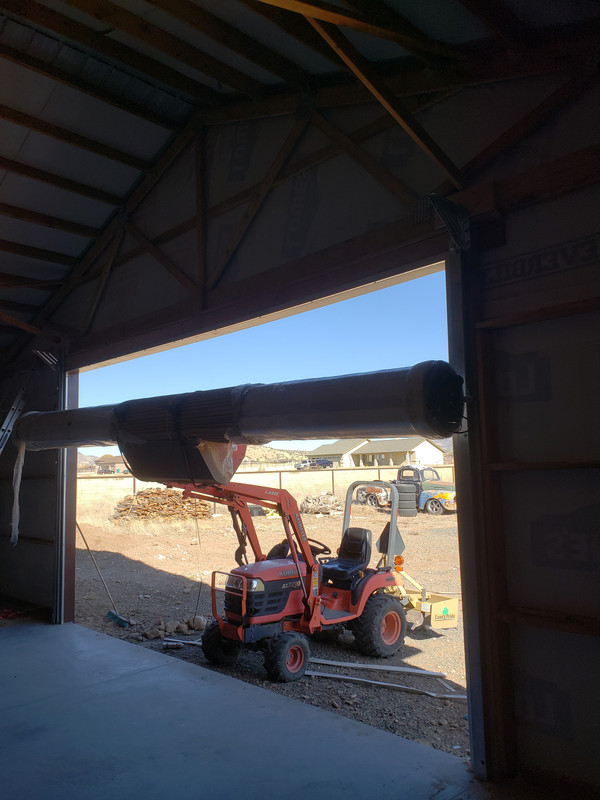
Then I had this failed attempt at getting the garage door installed. I somehow thought I could lift one end up at time but i grossly underestimated the weight of the door. I ended up using one of the genie material lifts.


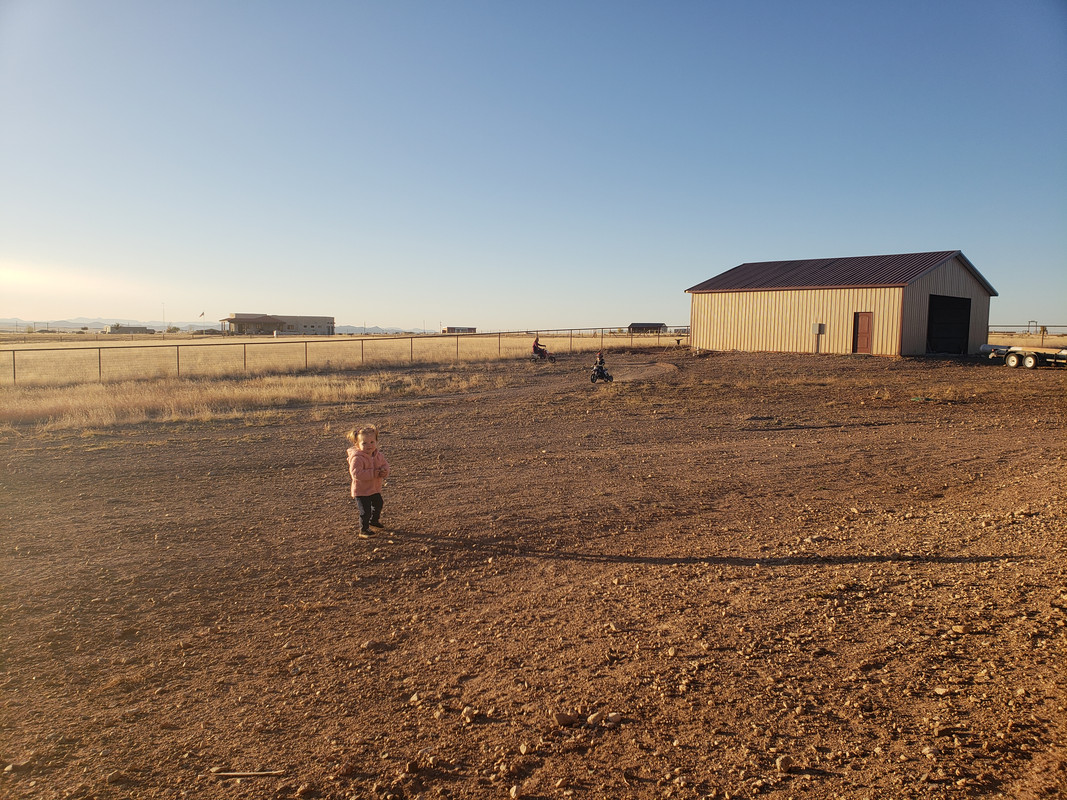
I didn't take any pics of it finished but here's one with it in the background with the wife and kid riding dirtbikes and my little girl watching.

 
Last edited:
OP
C

C91x

Well-known member
Joined
Aug 26, 2015
Messages
267
Location
Prescott Valley
Re: c91x House and Shop Build

So with it dried in, I could finally move all of my junk out of our garage and into the shop. At this point I thought I could have it done within 6 months which is laughable now looking back at it. My kids are growing up and they love camping trips so having free time to work on the shop was non existent as it was just less of a priority than having fun after being burned out from building the house.

So the shop looked like this

20190127-173232.jpg

While we were doing this kind of stuff


20200824-113932.jpg

20200826-153649.jpg


I really missed working on my "fun" projects and had the urge to just run the electrical, organize everything and start working in it with the intent to truly finish it later....... but i had been there before with my past shop. It was 90% finished and stayed that way until i sold it. You can see the OSB doesn't go all the way to the ceiling and was never painted.

attachment.php


attachment.php
 

Attachments

  • 1347709_29_21ce18ec36913f58de4f792789e481fccc4383b6.jpg
    1347709_29_21ce18ec36913f58de4f792789e481fccc4383b6.jpg
    80.9 KB · Views: 1,200
  • 1347709_28_607b0d6b7d7ef908100c50a9784e23e993055c3e.jpg
    1347709_28_607b0d6b7d7ef908100c50a9784e23e993055c3e.jpg
    79.7 KB · Views: 1,195
Last edited:

Motoman1100

Well-known member
Joined
Oct 2, 2014
Messages
443
Location
GA
Re: c91x House and Shop Build

Yes sir, those kids wont be young forever. Enjoy getting outdoors with them every chance you can. Shop and house look great!
 
OP
C

C91x

Well-known member
Joined
Aug 26, 2015
Messages
267
Location
Prescott Valley
Re: c91x House and Shop Build

I'll keep this brief as this is a garage forum and i don't think anyone cares to see landscaping.

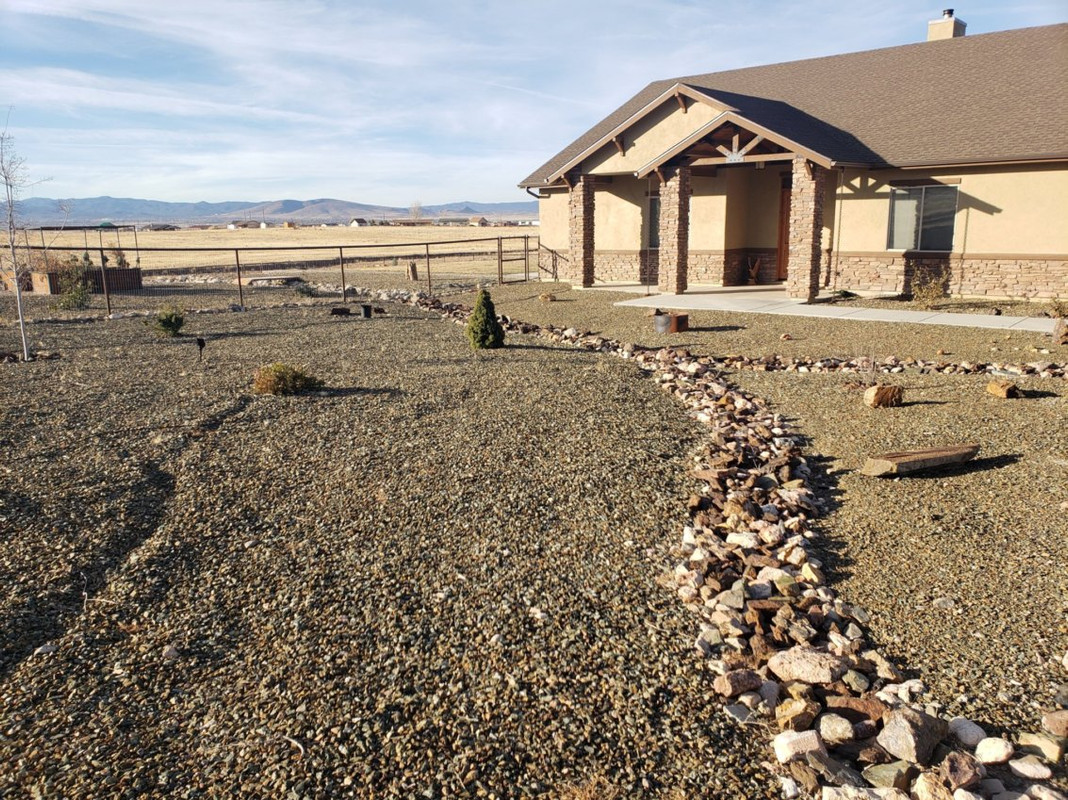
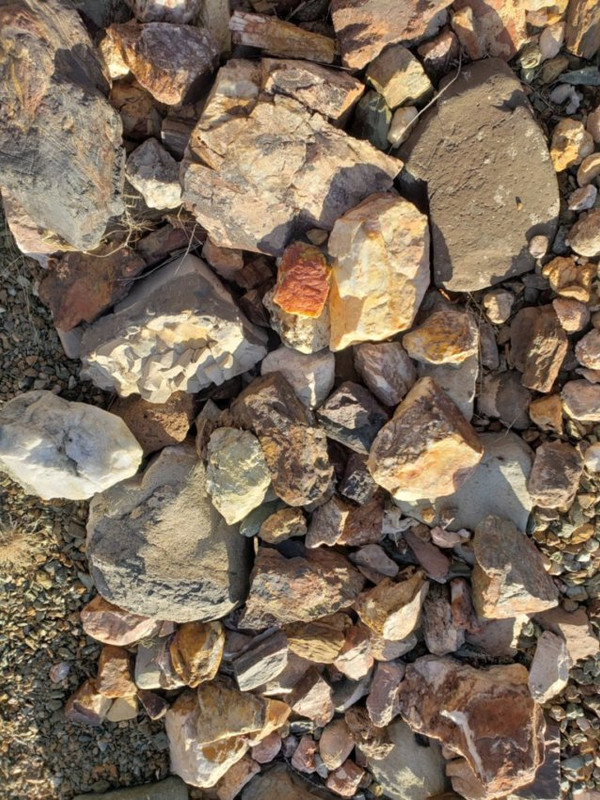
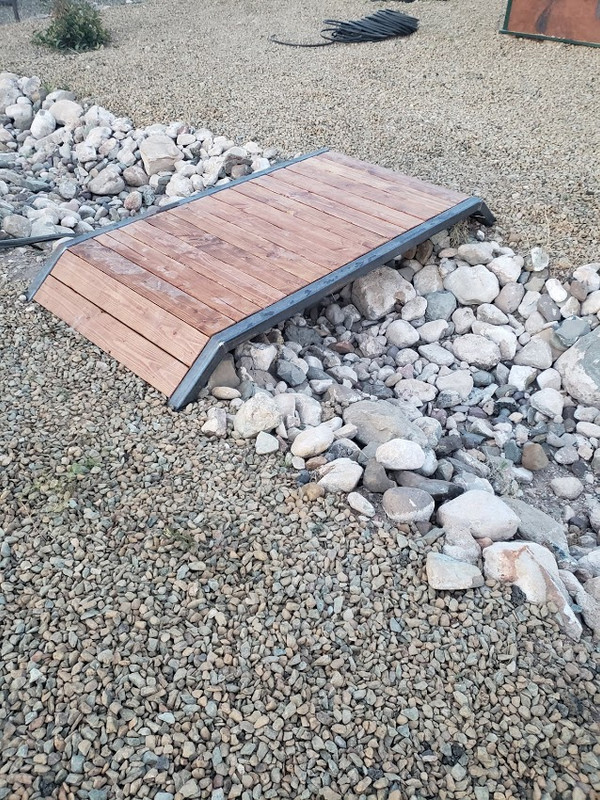
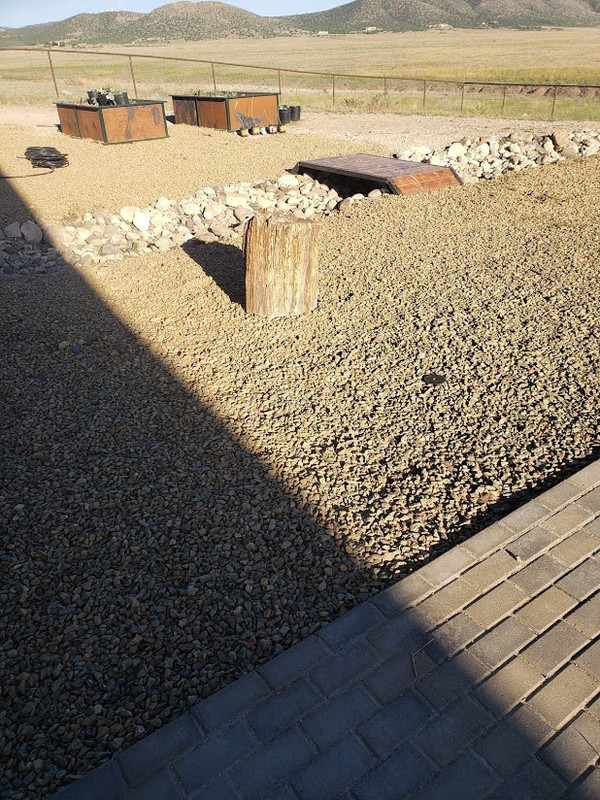
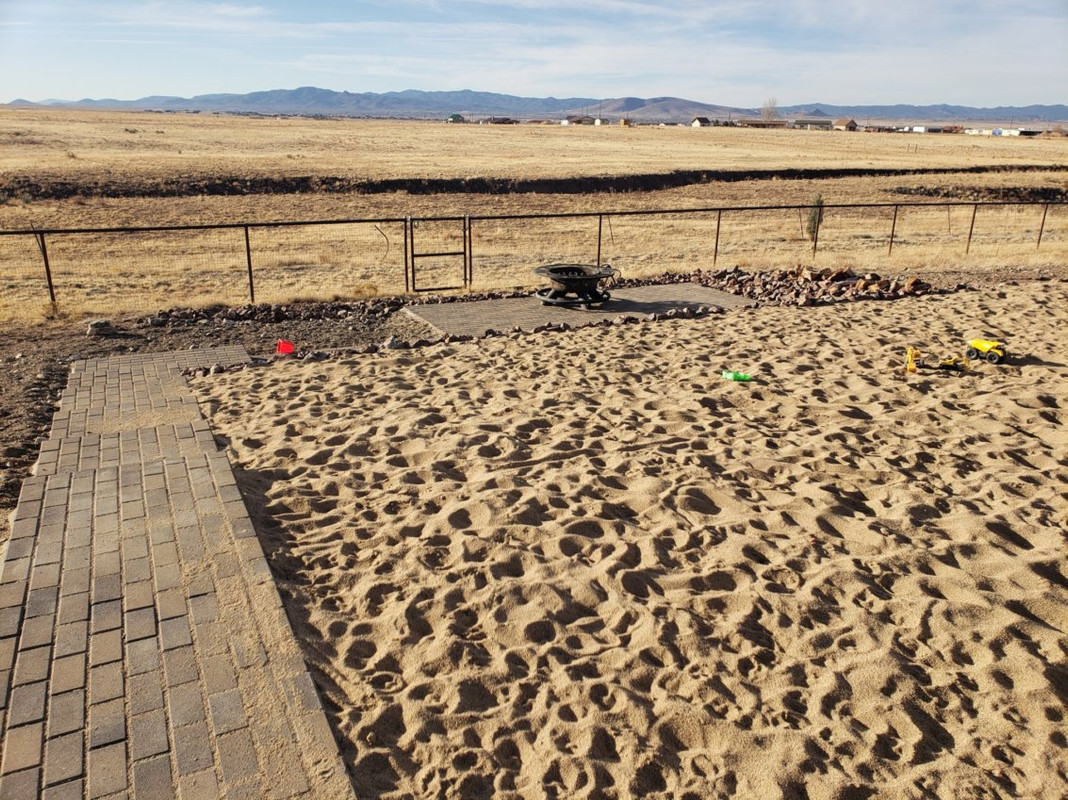
First big yard project was the front yard. We didn't go crazy with it but one of the cool features was the drainage "creek" we did. Every time we went out in the RZR, my wife would grab rocks that she liked and over a few months we had the front yard done. This is one of her hobbies and we have tons of petrified wood that she has found along with other rare "rocks" she has found.


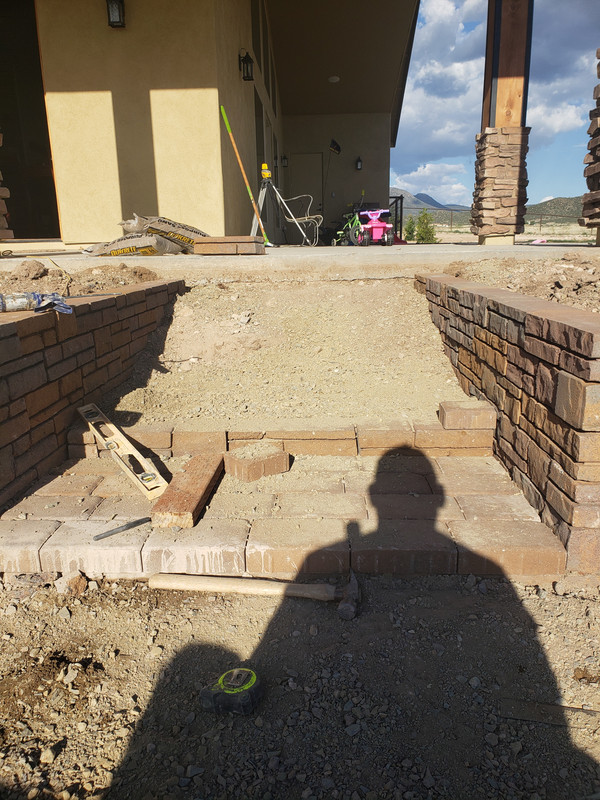
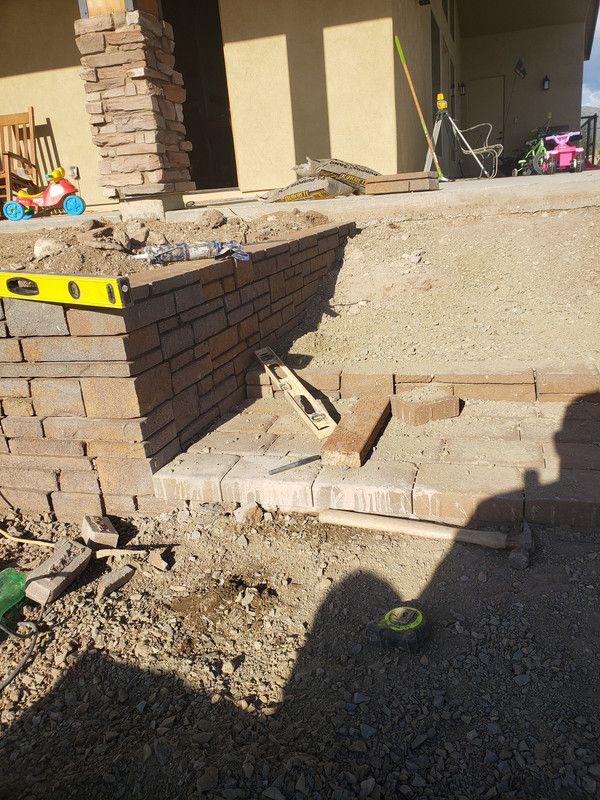
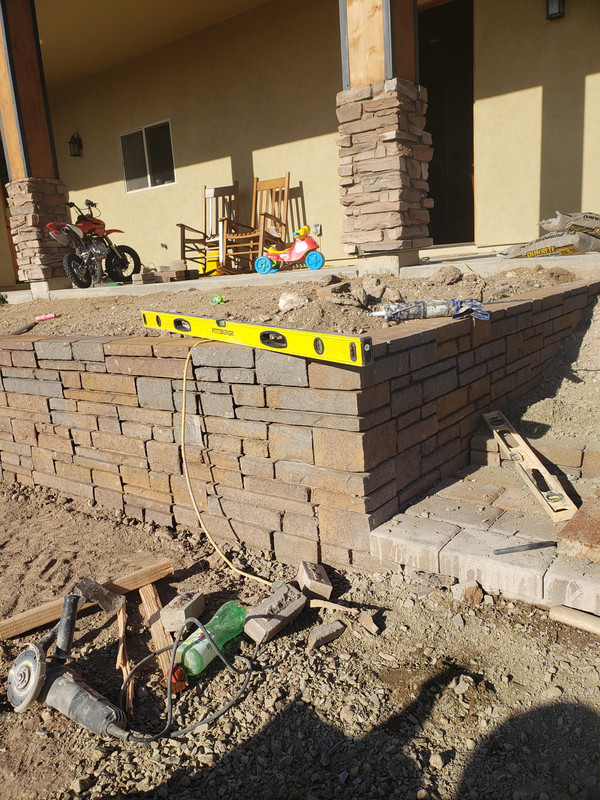
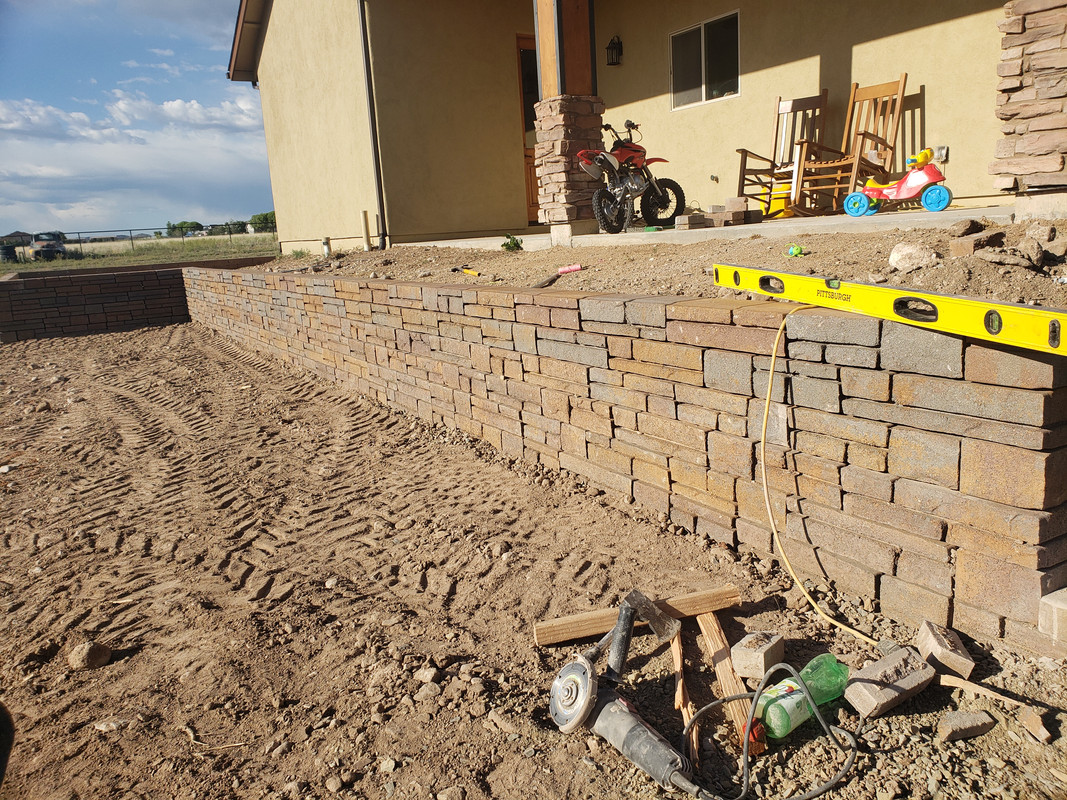
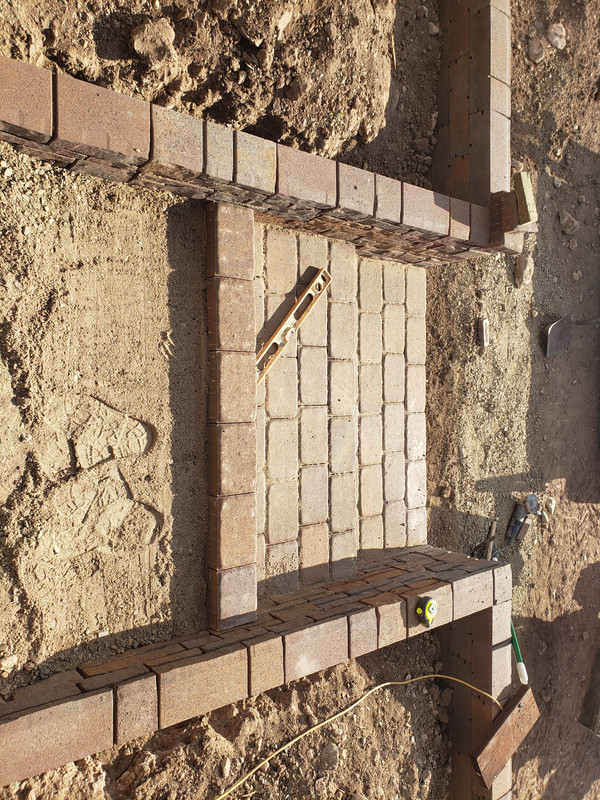
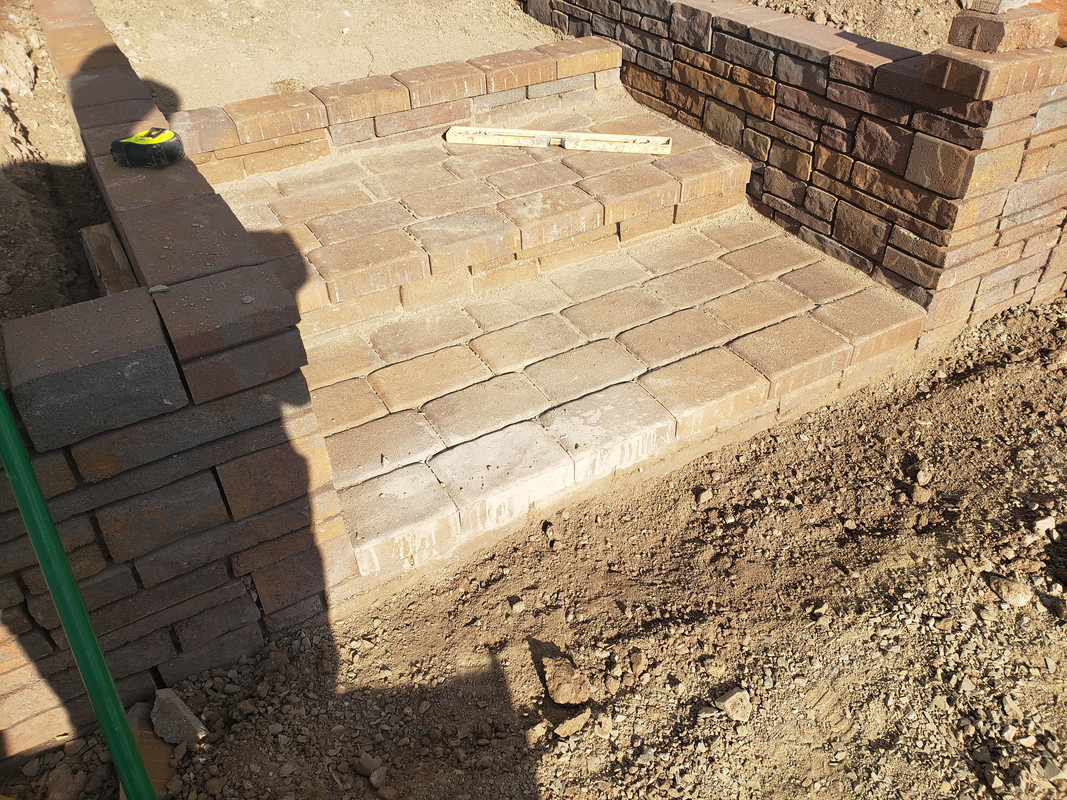
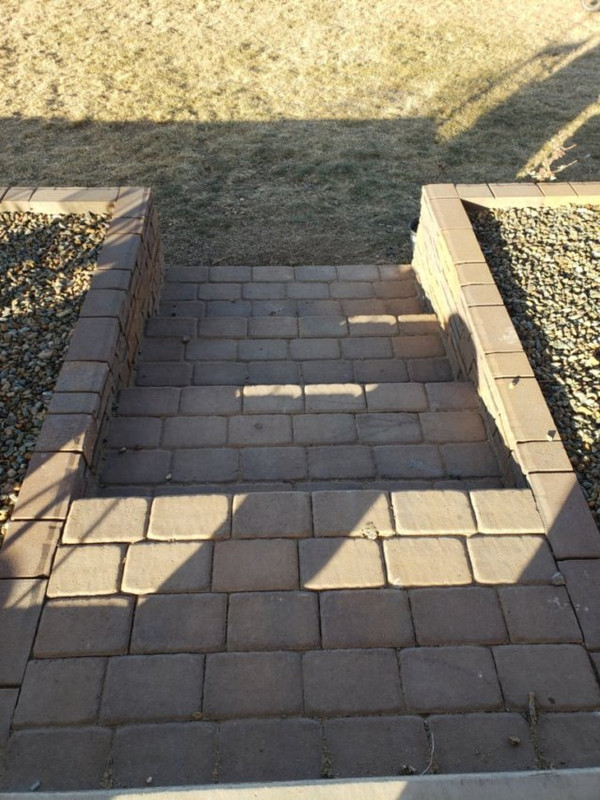
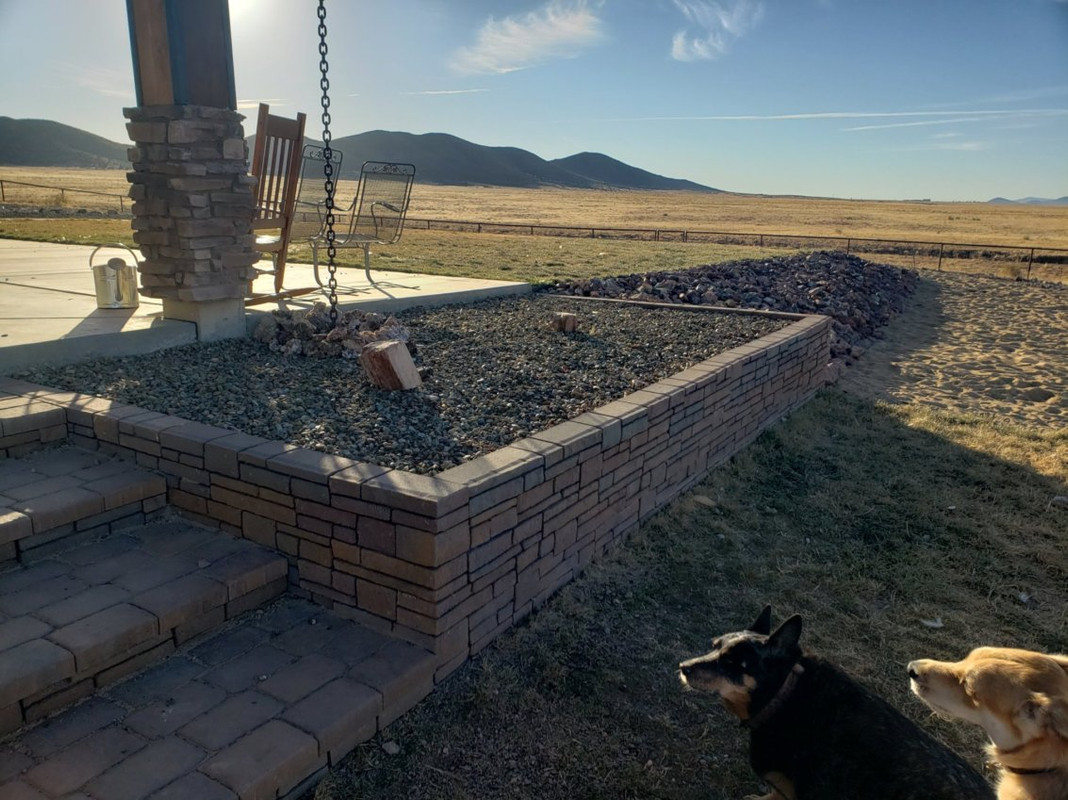
Then we moved on to the backyard to build a retaining wall and steps.


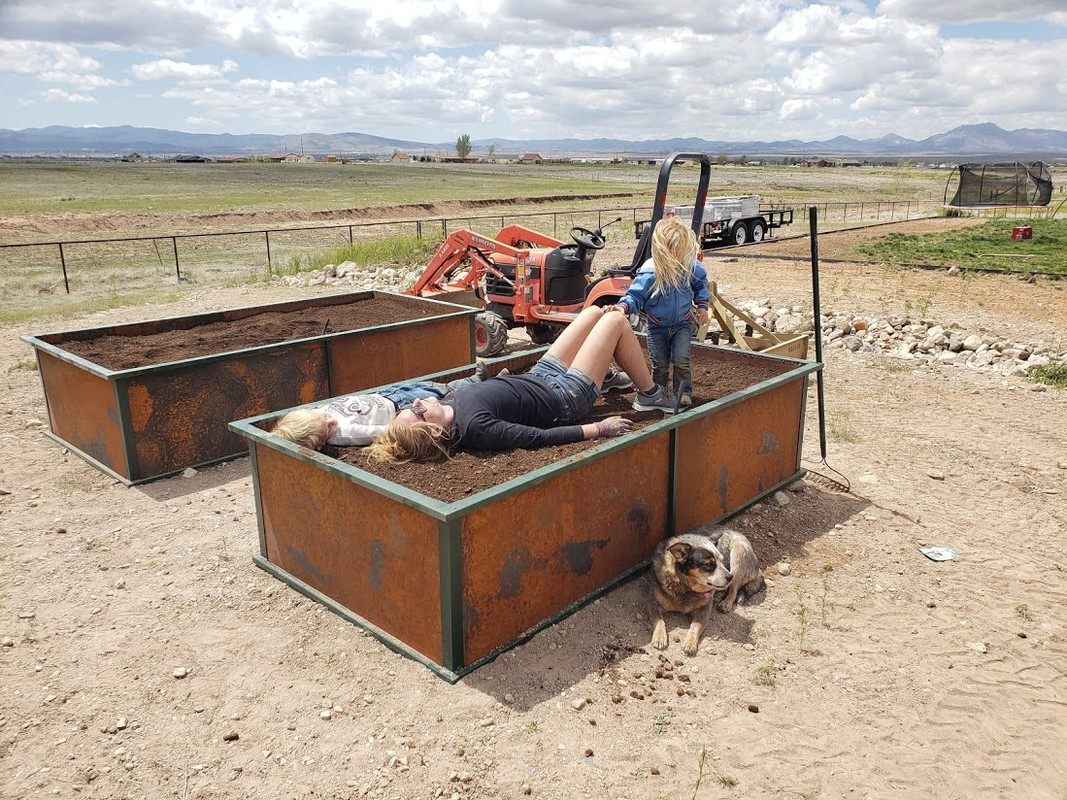
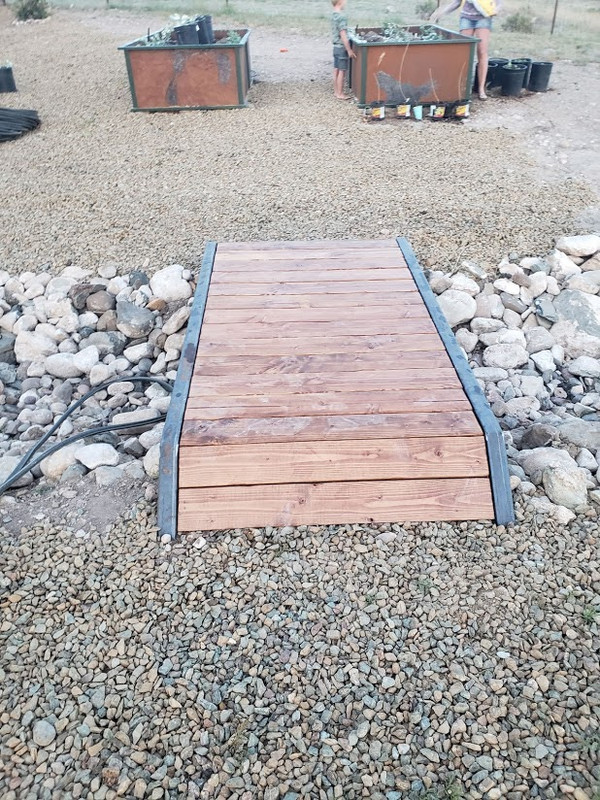
And then the wife wanted a few raised garden beds to go along with her regular garden as well as a bridge to go over the "creek"

The beds are thin wall 1x1, 1x2, and rusted 18 gauge panels and the bridge is 2 1/4 120 wall


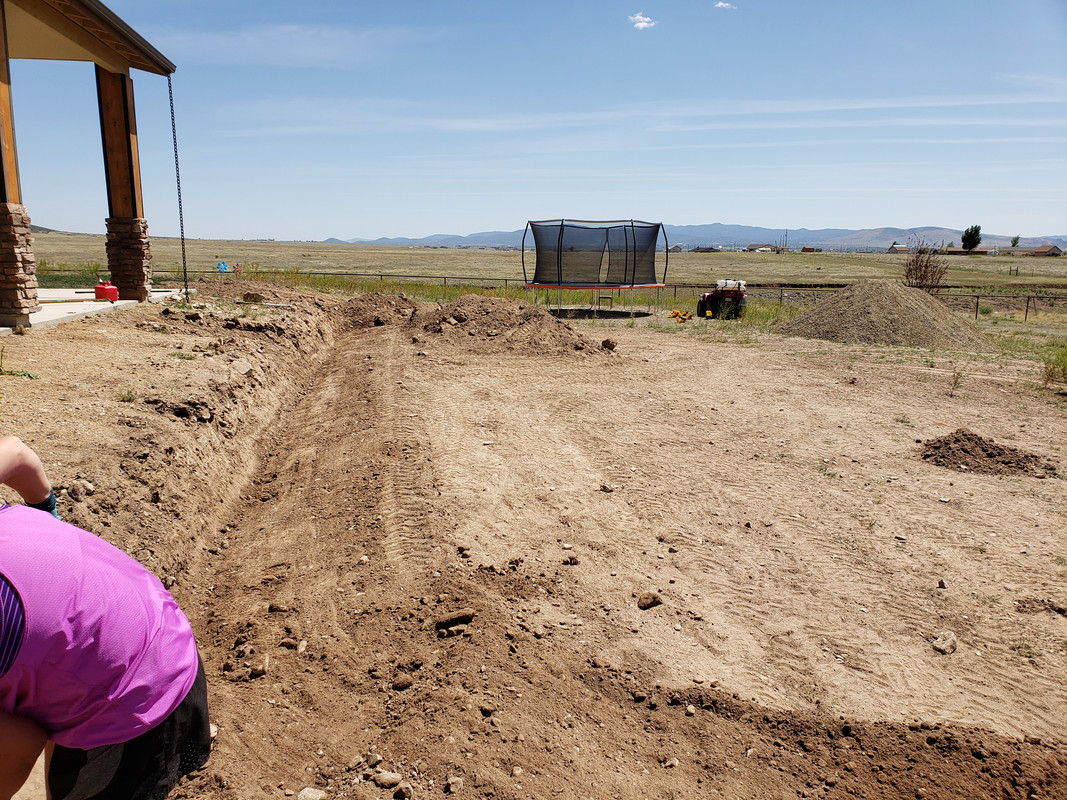
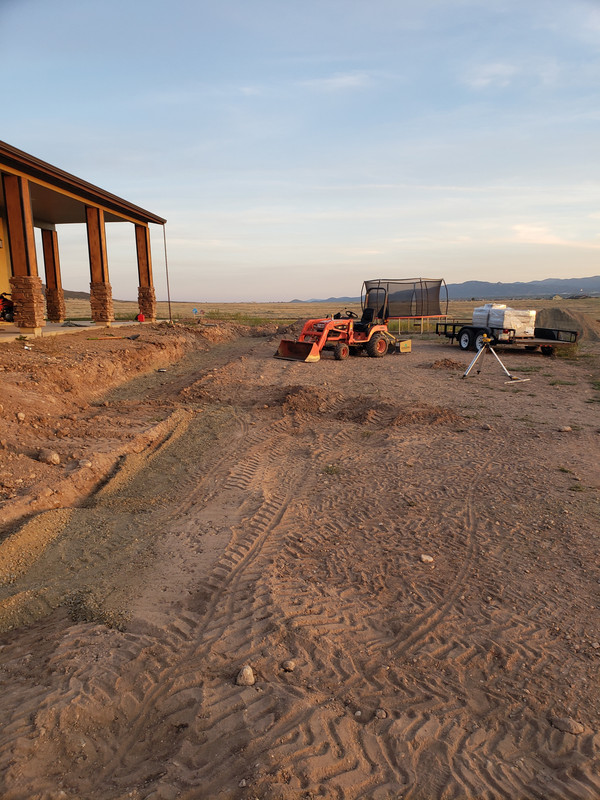
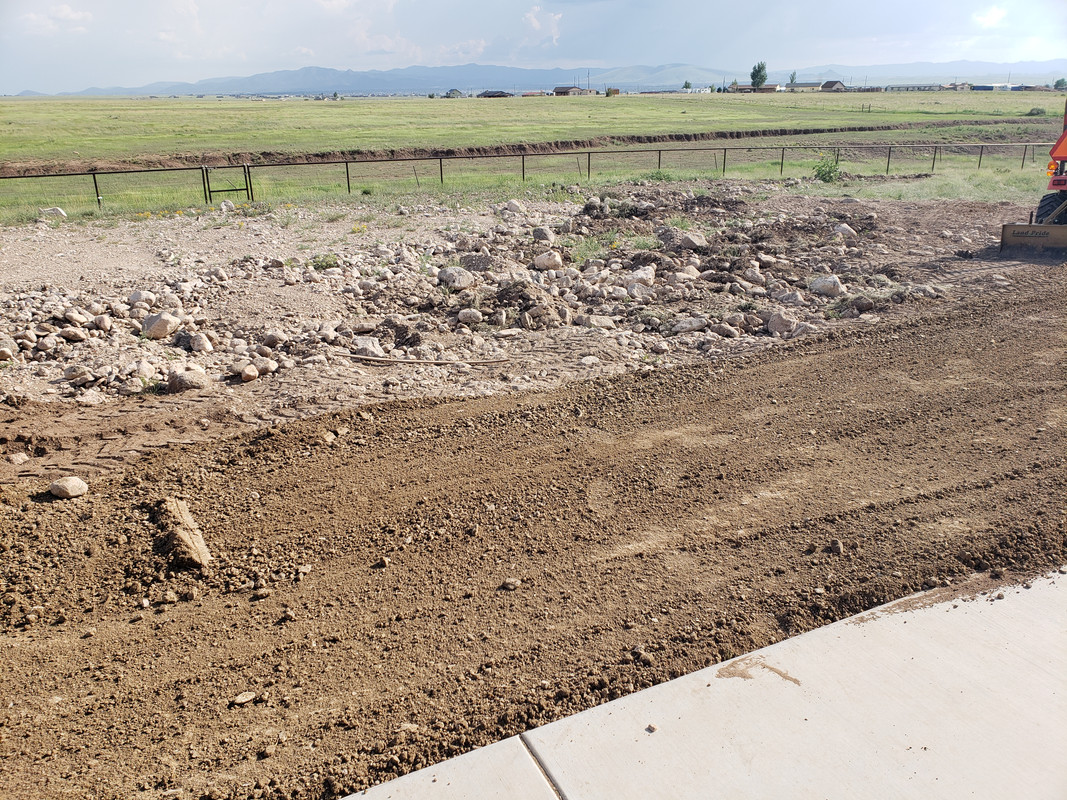
I ended up building up my side yard with a bunch of rocks that we dug up when digging the footers. My yard is very strange, the two acres that i have actually messed with is either never ending clay/loam or is caliche with boulders. I won't bore everyone with this process but it was a long project. In total for the yard i ran over 800' of drip line and PVC for sprinklers and planted over 20 trees.

Here you can see the rocks and then the fill dirt that i'm putting on top.


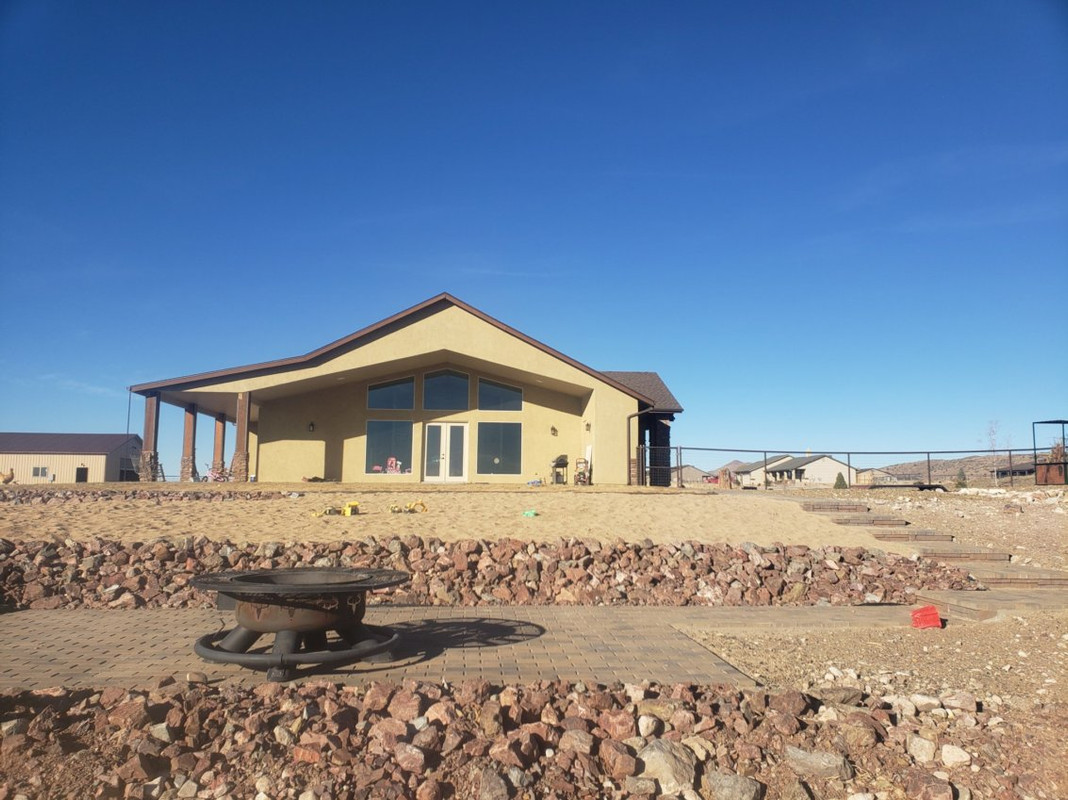
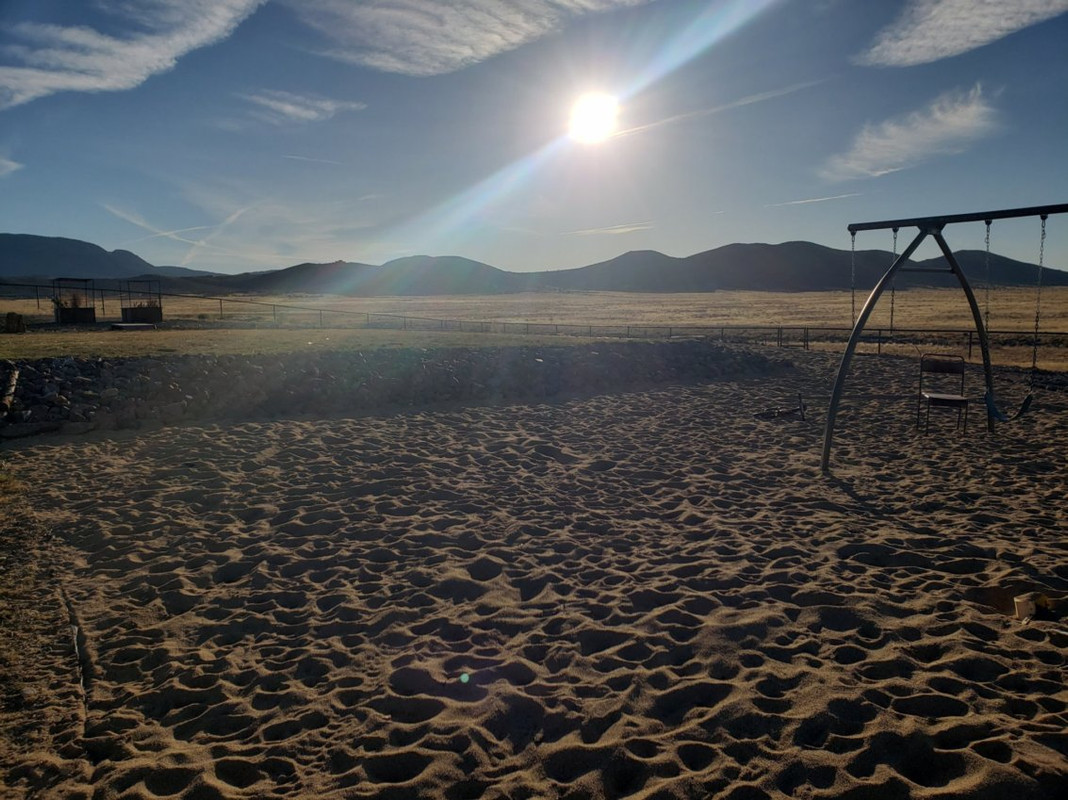
Here is the finished project including scattered sand toys


Here you can see how much i built up the yard


Last edited:
OP
C

C91x

Well-known member
Joined
Aug 26, 2015
Messages
267
Location
Prescott Valley
Re: c91x House and Shop Build

Yes sir, those kids wont be young forever. Enjoy getting outdoors with them every chance you can. Shop and house look great!

Everyone said that when i got married I would lose all my time out in the shop and that wasn't the case, nothing changed. Now having kids certainly did change that lol. The shop is 95% complete now and I ended up putting a tv out there for the sole purpose of having them out there with me. They'll "help" me for a bit and then get bored and watch cartoons. My wife only works 3 days a week but very long hours in the medical field so I have them by myself quite a bit. I'm glad they actually enjoy being out there too.
 
OP
C

C91x

Well-known member
Joined
Aug 26, 2015
Messages
267
Location
Prescott Valley
Re: c91x House and Shop Build

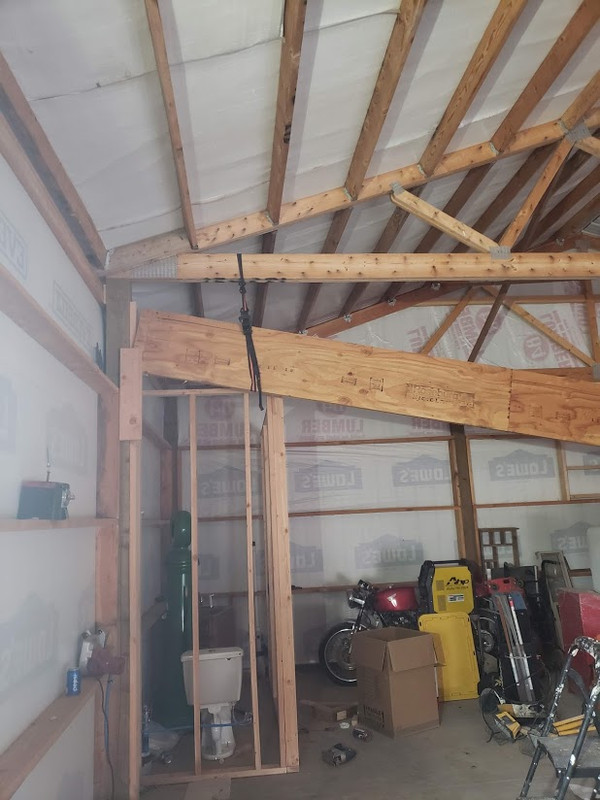
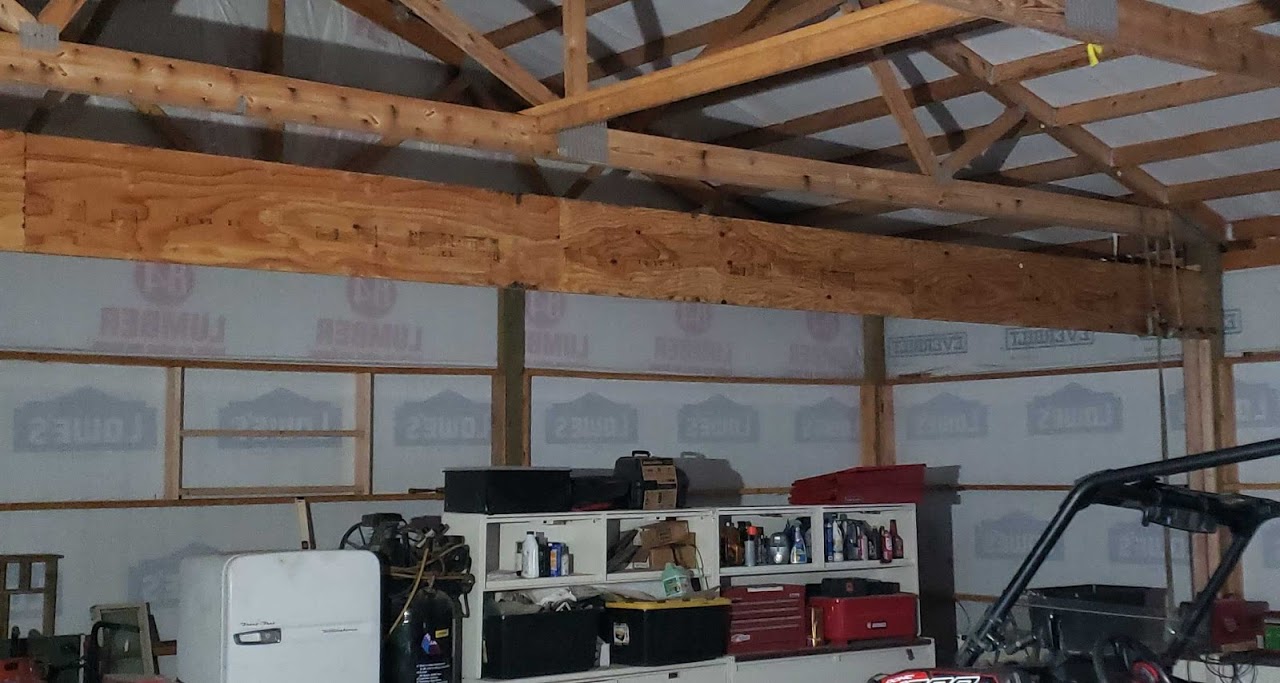
With the house projects slowing down, I got back on the shop. First thing I did was get the get the loft LVL up and frame and rough out the bathroom. Here you can see an interesting use of heavy duty ratchet straps. When you're a one man operation you have to get crafty.


The loft will be 10x36 with just over 8' of headroom at the peak and is set at 9' off the floor level. I had 8' in my previous shop and it always felt too low to me. It will used primarily for storage. The ability to tear a car apart and store the hoods/fenders etc. out of the way is invaluable. There is a 4x8 post at the 12' mark giving me 24' clear span. I went through span and load tables to size the LVL.


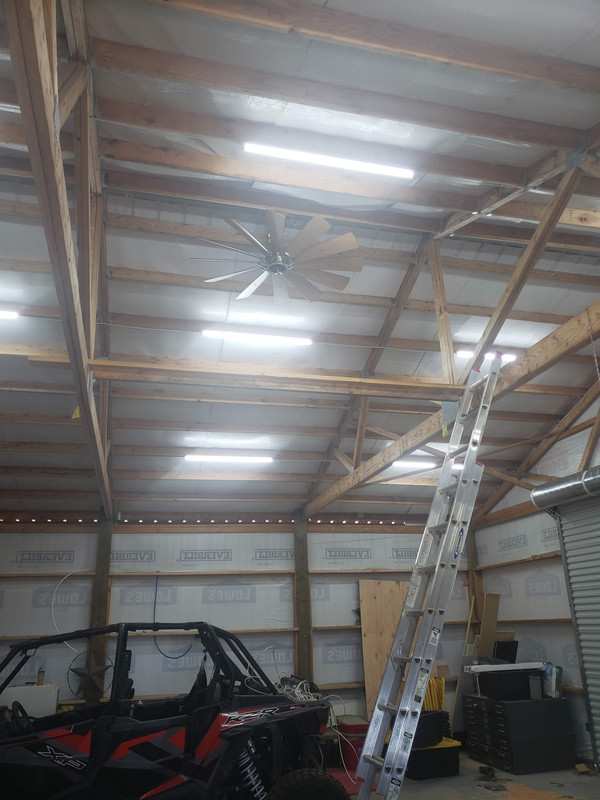
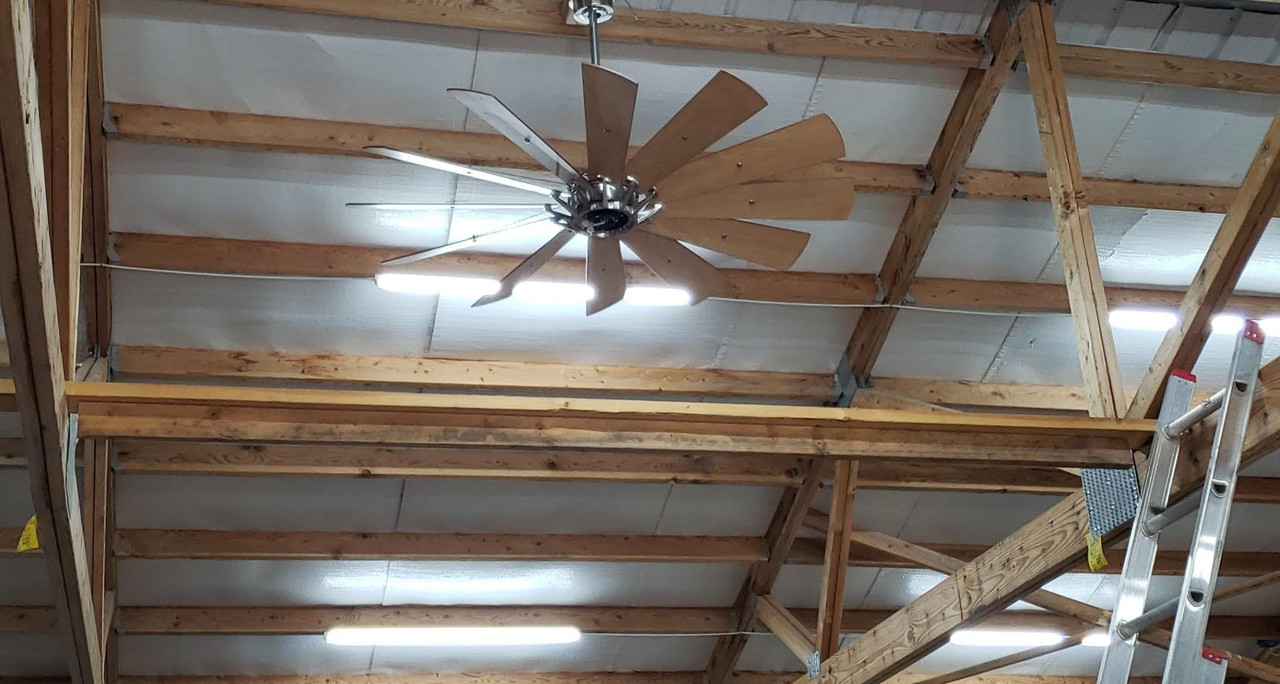
From there i realized it was probably a good idea to start pulling wire and install lights so I could actually see what i was working on. I had looked at the cheap 20w barrina led lights on amazon. They have really good reviews but decided i wanted a little more light. I ended up with 16 36w 6000k 4ft led lights and have been very pleased with them.


The fan was actually free to me. We have the same fan but in oil rubbed bronze in the house and one of the contractors broke the glass light cover. To order a replacement would have taken 6-8 weeks so the contractor just bought a new $500 fan for the cover and i kept the fan. Not shown here but i replaced the light with this LED light which actually puts out a descent amount of light.

 
To avoid these ads, REGISTER NOW!
OP
C

C91x

Well-known member
Joined
Aug 26, 2015
Messages
267
Location
Prescott Valley
Re: c91x House and Shop Build

Some of these pictures are going to show a real mess but thats just the way it was when I didn't have anywhere to put all my tools. So the super clean guys might wince at some of these.

At this point i installed a couple windows. I think I had 12 windows in my last shop and the natural light was really nice but that amount was not needed. I knew at some point that I was going to add a lean-to but wasn't sure what side i would add it to so i have one window facing north and one west and i think its going to stay that way.

Then I ran the joist for the loft and put the flooring in. I think 3/4 t&g OSB.


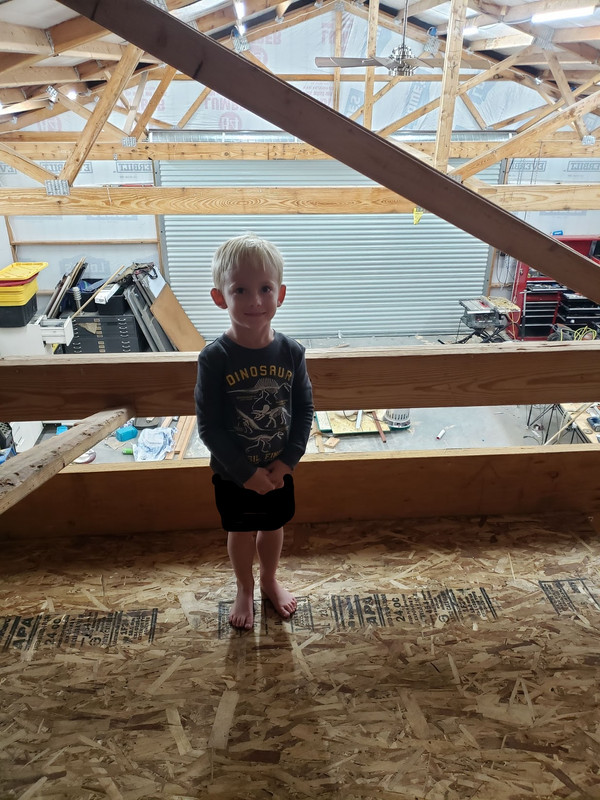
While installing, My wife and kids came out and he just had to get up here to see it. Seems like a bad parenting move but we were safe about it and that was the closest he got to the edge. He wanted a picture in his new room lol


Next was running all the wiring, air lines, and water lines before putting up the walls. I went a little overboard with it but I never wanted to have to open up the walls once they were up or wish I had a more amps at an outlet. I ran
-3 50 amp 6g 220 circuits
-2 30 amp 10 gauge 220 circuits
-1 20 amp 12 gauge 220 circuit (mill)
-20 20 amp outlets and they are on alternating circuits so that no two outlets near each other are on the same circuit and they're on switches by the entry. I did this so I could turn off the outlets when the kids are out there with me. The fab side of the shop can be turned off when i'm not using that equipment
Another plus is that the compressor 220 circuit is ran off a 110 voltage coil so when i turn the switch off it cuts power to the compressor when i leave.
-Bathroom 12 gauge circuit
-fridge/outside outlet for the toyhauler/garage opener share a circuit as i didn't want them on a switch

Water
1 inside hose bib
1 outside hose bib by toyhauler for filling. I wanted to be able to charge and fill the toyhauler before a trip without moving it or dragging out hoses/cordes

Air
I plumbed 5 drops

Speaker wire
Ran wire to 3 locations with the 4th speaker being by the amp so nothing in the walls.

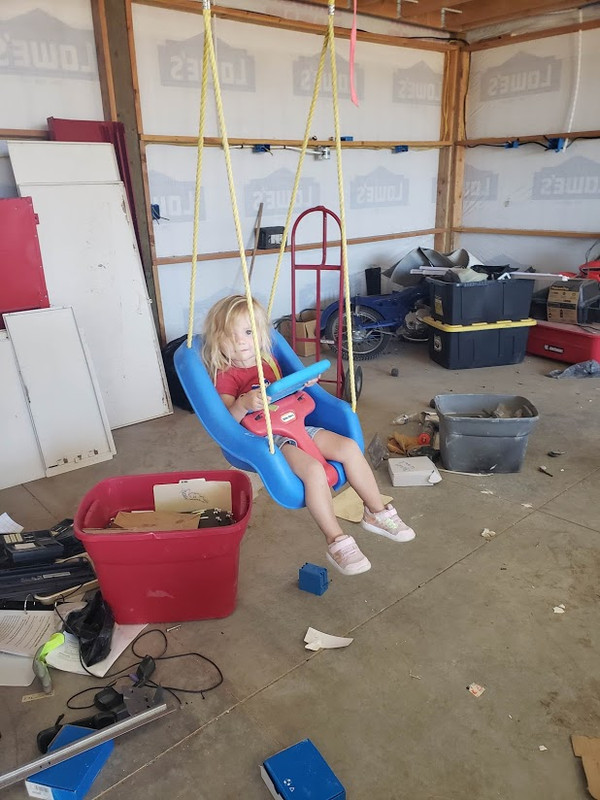
Another bad parenting move. A swing and a tablet to keep my little girl entertained while i'm struggling with 6 gauge wire.


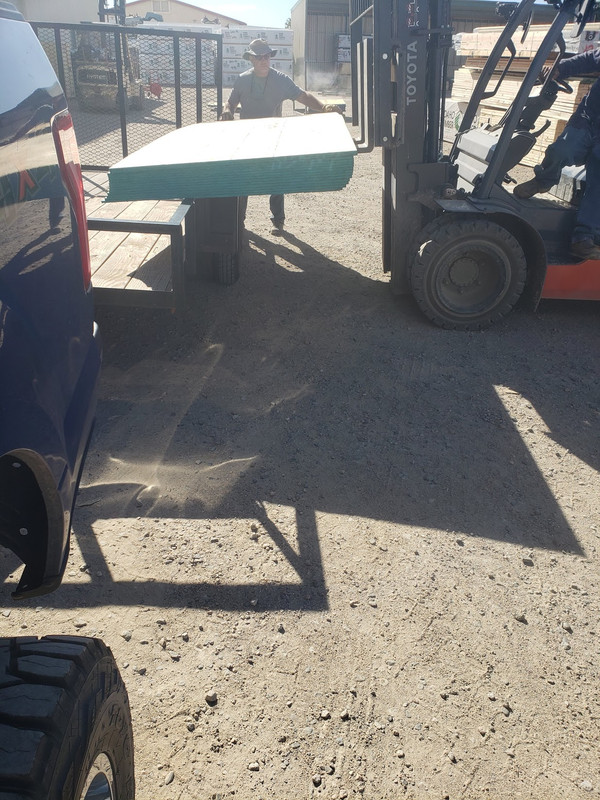
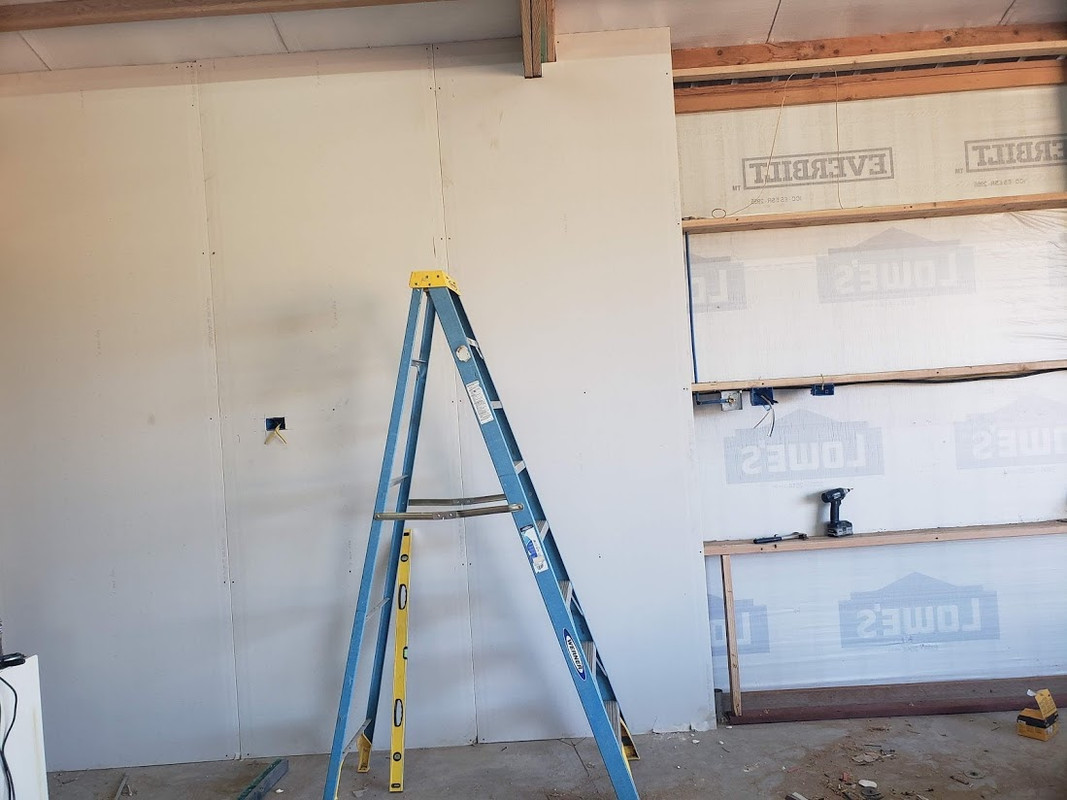
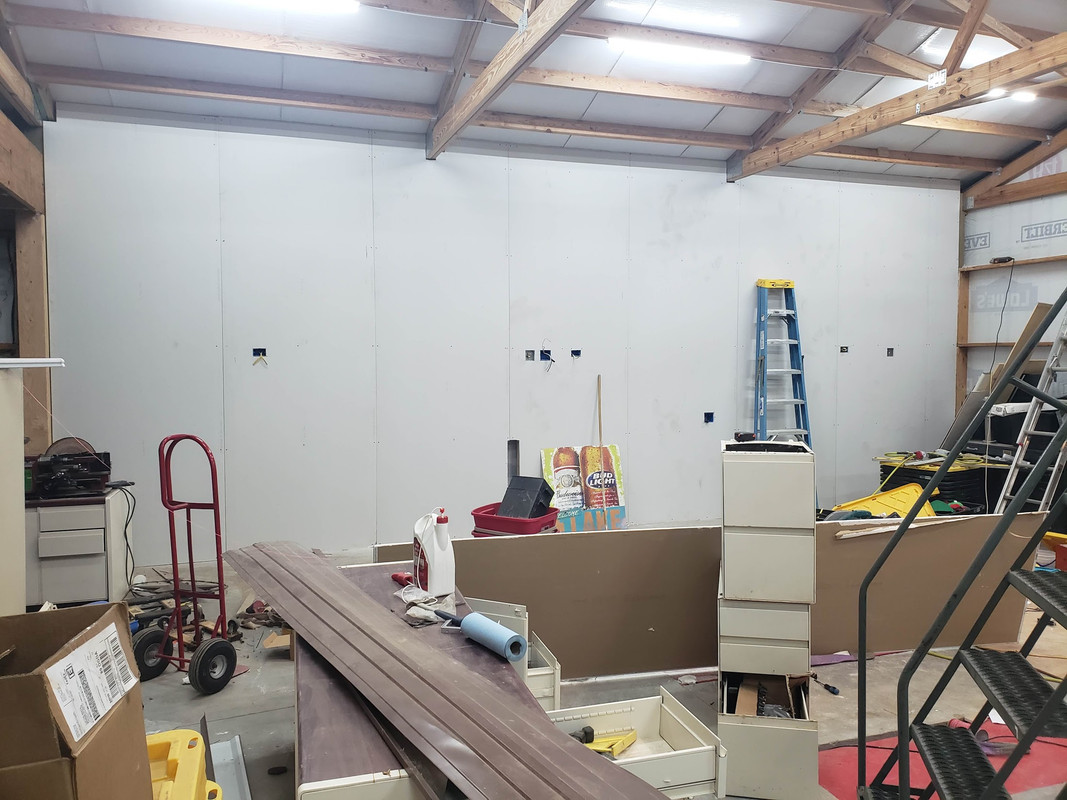
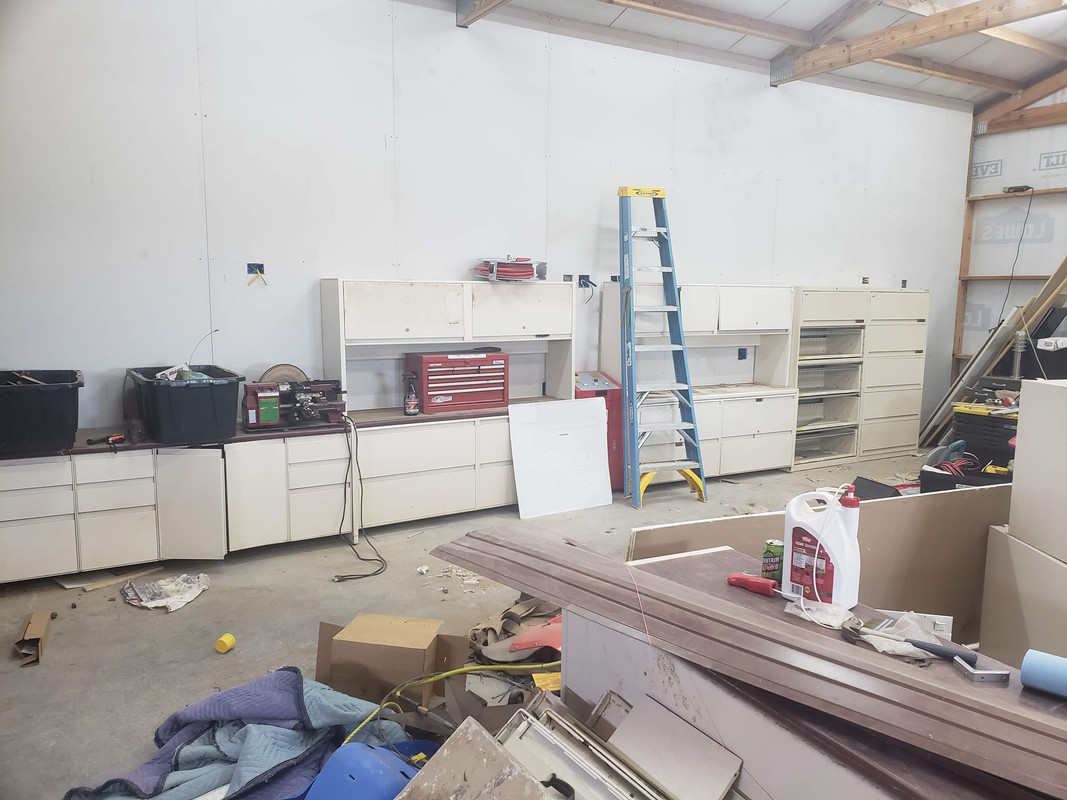
After all that was done I bought the material to finish up the walls. The original plan was for OSB throughout but learning from my last shop, I decided it would be cheaper and easier to do a mix and it would still work for me. The front half of the shop was done in OSB and the rest was done in drywall. hanging 12' sheets commercial style was too easy. The front was done with 10' sheets of 7/16 osb. Both were hung vertical "commercial" with only caulking at the joints so i was able to finish in a day. It felt really good to finally have those up.

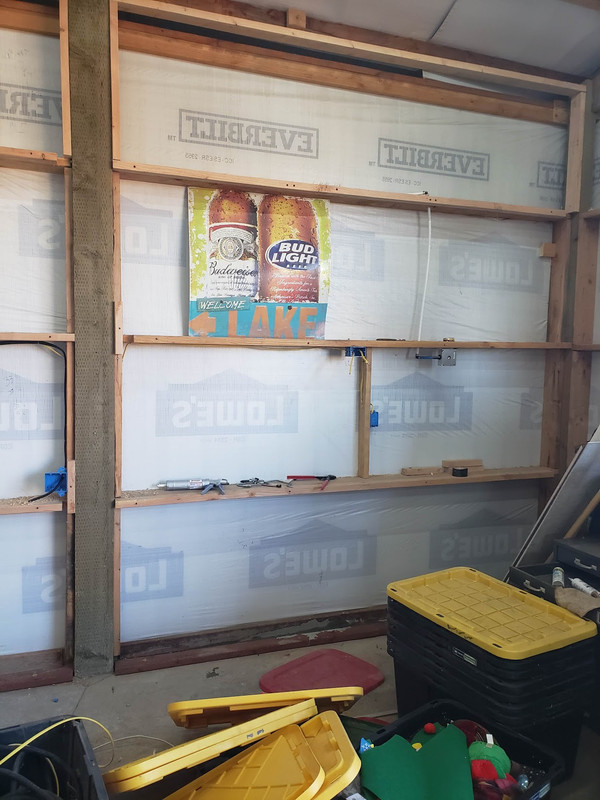
I ended up furring this wall out so that it would be flush and not have the post exposed.


The reason why is that I had a bunch of cabinets that were going to live on this wall and I just couldn't come up with a way to fit them in-between the post.

 
OP
C

C91x

Well-known member
Joined
Aug 26, 2015
Messages
267
Location
Prescott Valley
Re: c91x House and Shop Build

Long post ahead and will be my last update for the day.


I won't bore you with paint pics but I chose a light gray color.

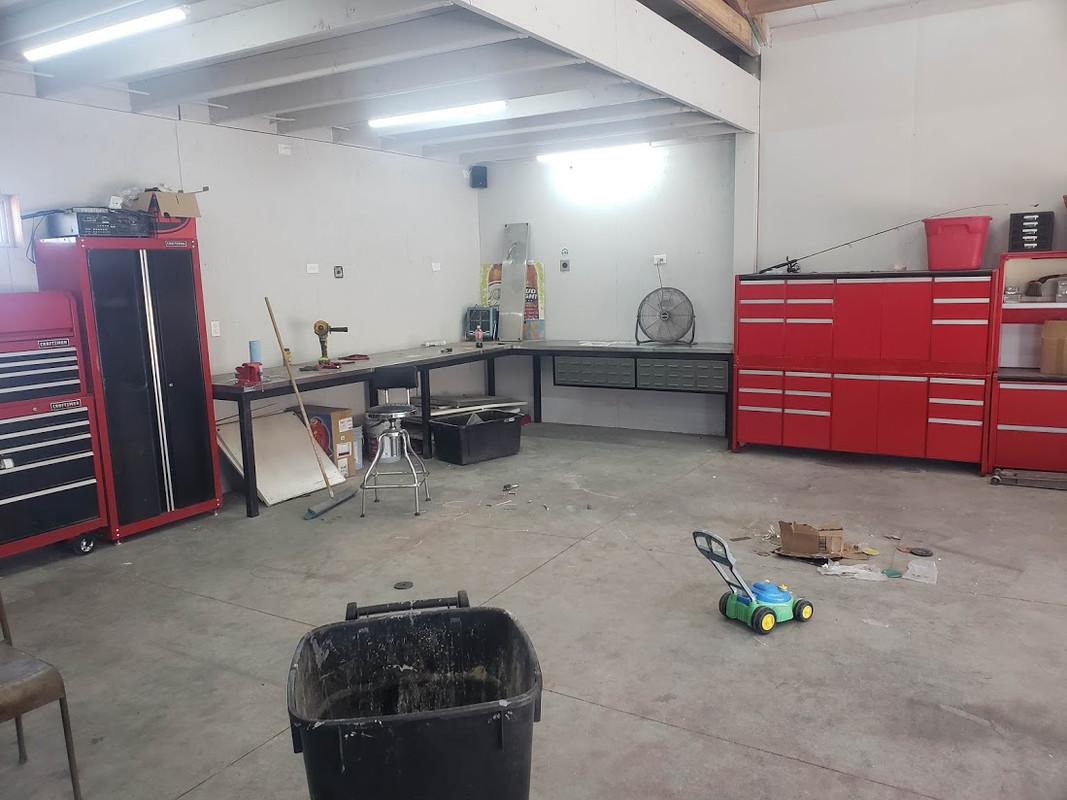
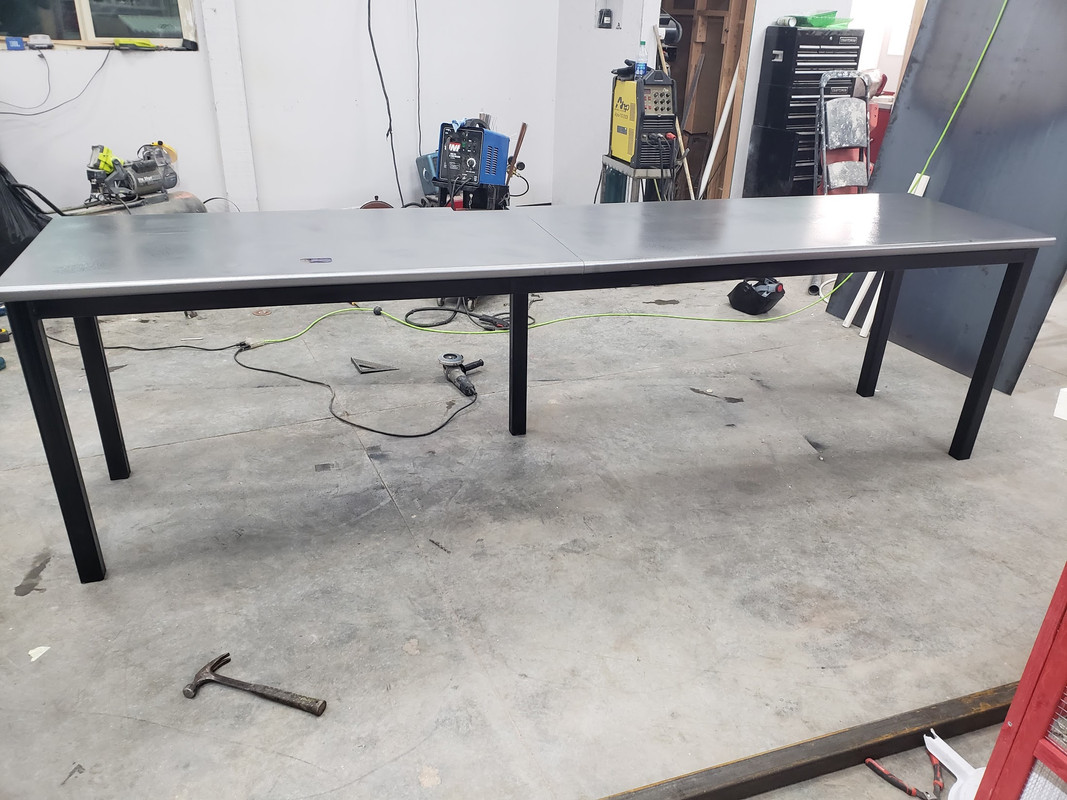
This is when things actually started to get a little more fun out there. I started with this corner that was going to be my clean work surface used for general maintenance and lay out of parts. When i take apart something intricate like a motorcycle engine or similar I like to layout all the parts in order they came off and having a big stainless L bench seemed like the way to go. This was built with 2 1/2 square tubing and 16 gauge stainless tops.

K7-Ge-V4-NBTSOz-LKg-I7b2o1g.jpg


20200207-200127.jpg

Like I stated before, this was when I was finally having some fun out here working. Being able to finally get tools out of totes and start to organize stuff was amazing.

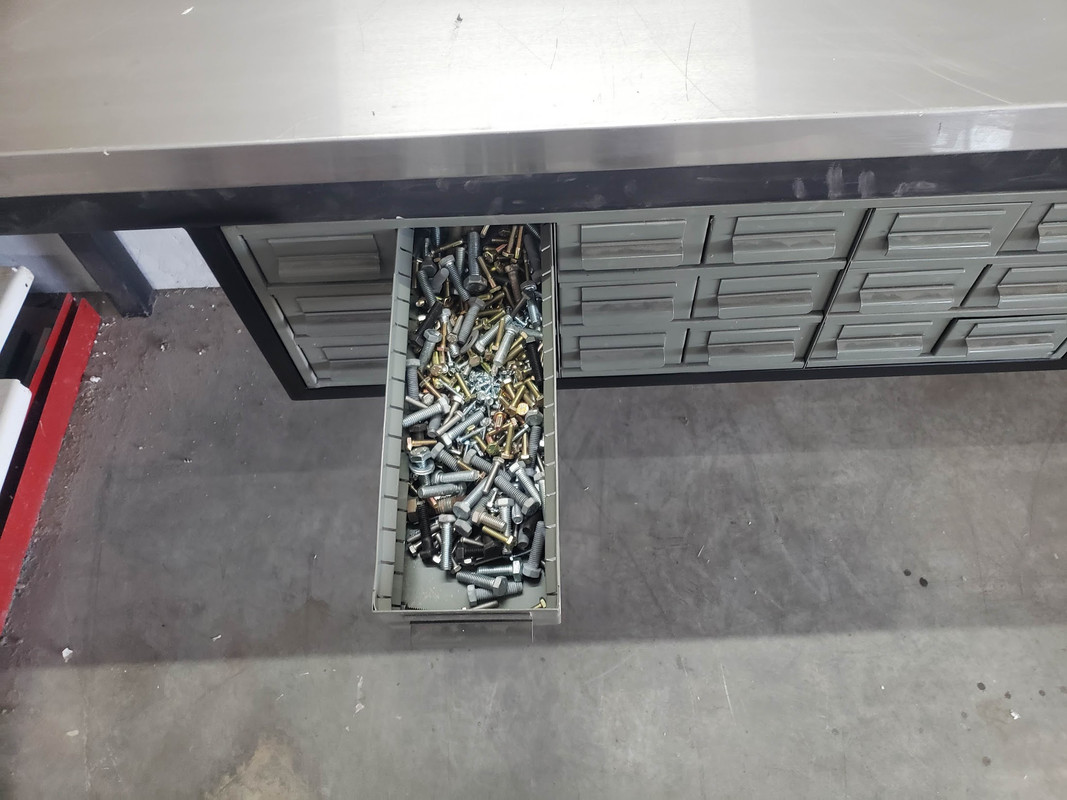
I had some of these hardware cabinets that I incorporated into the benches. I still have one more that I might cut down to fill in the last bit of the bench.

20200619-165321.jpg

Before I started organizing the nuts and bolts.


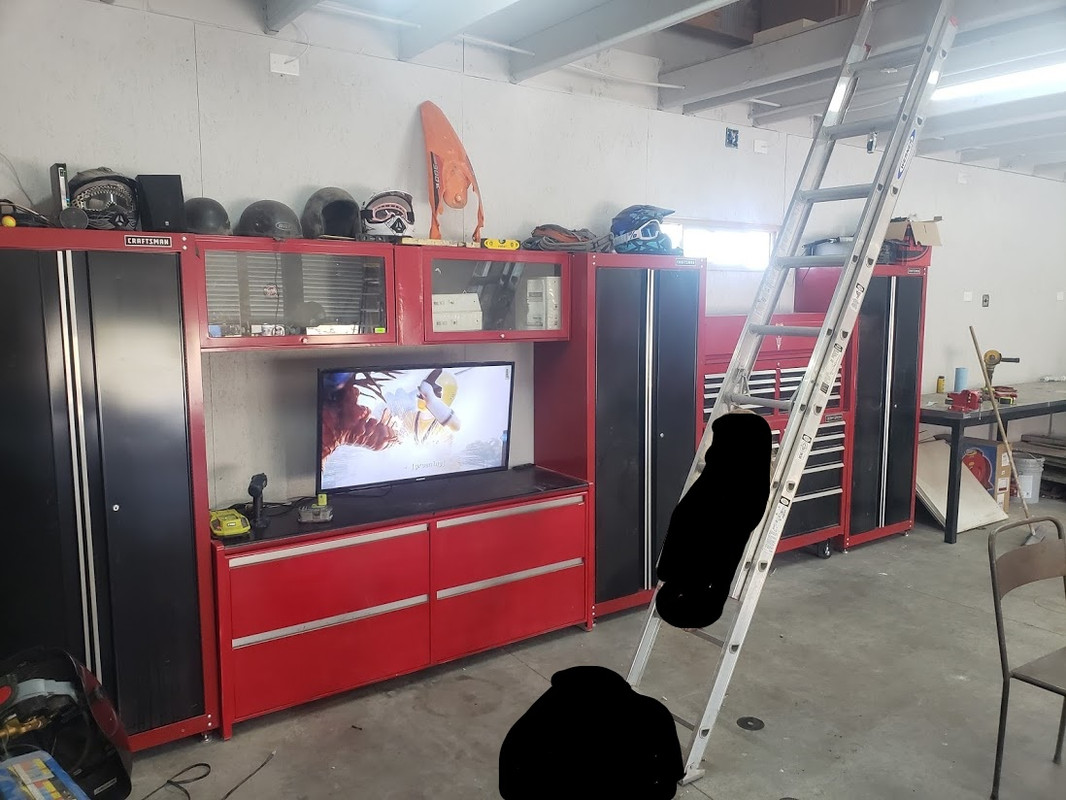
I had seen some guys on this forum that had file cabinets in there garages and they seem to work really well for storage. I kept and eye out and i got a bunch of office cabinets that i bought at an auction for almost nothing. I sold a lot of it off and made some money on the deal. They are very heavy and i would guess 16 or 18 gauge and heavy duty slides. I sanded and painted them and am very pleased with how they turned out and how useful they are.


I used them above and below the tv here. I keep manuals and that sort of thing in the upper cabinets and all my corded,air,cordless tools are in the drawers in the lower.


My next priority was the compressor closet (so i could finally have air) and the bathroom.

My hopper was acting up so my knock down texture wasn't the best but hey its a garage bathroom.

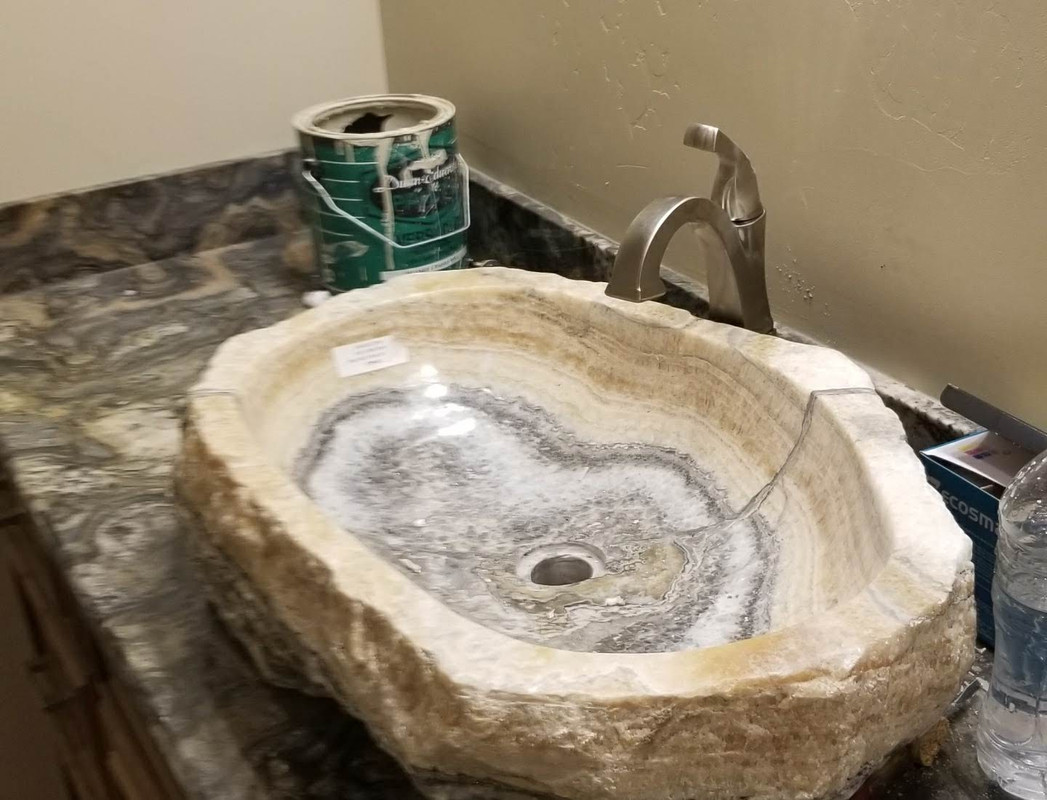
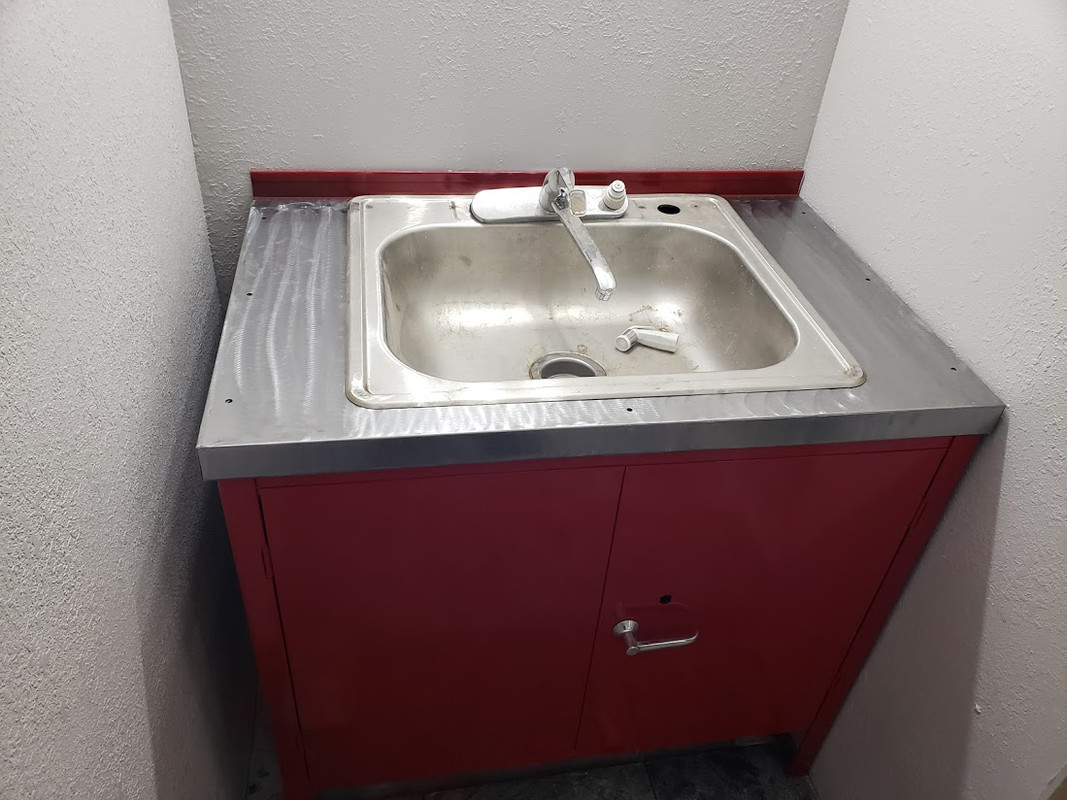
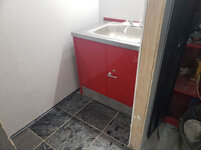
Some more of the cabinets i got from auction were put to use. I bought a sink and faucet off craigslist for 10 bucks and put this together for my sink


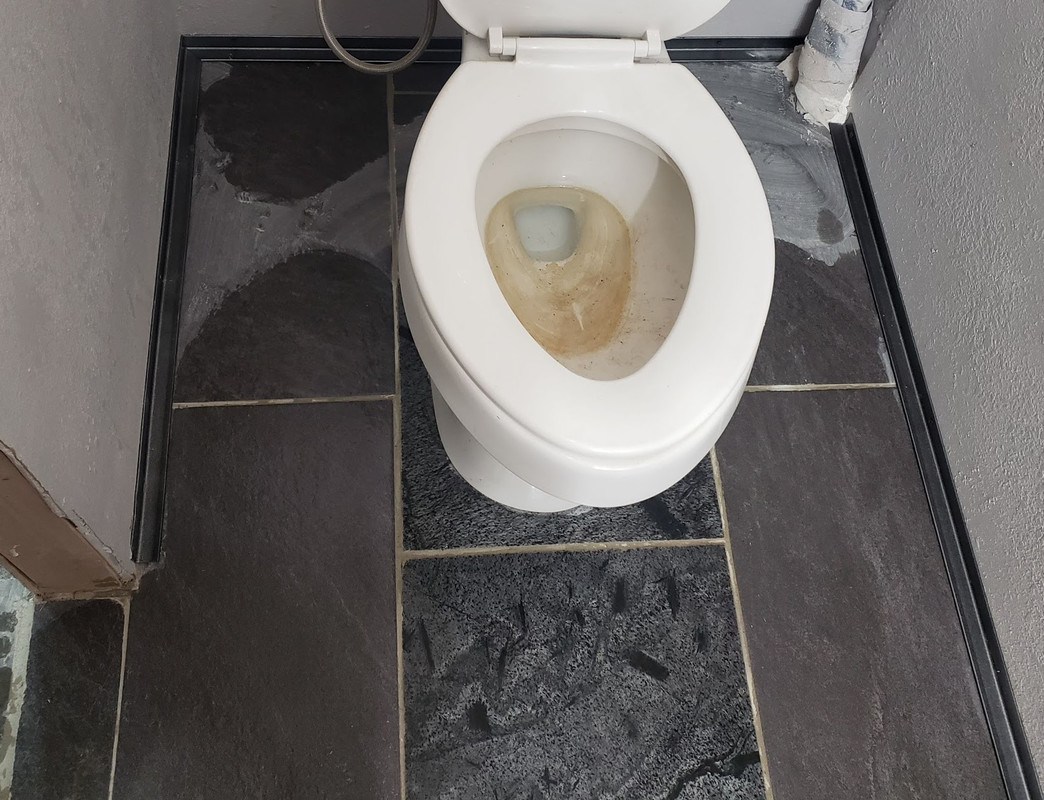
The flooring are some left over polished slate tiles that i had from a previous project. I use the open area to the left to hold a small mop i keep in there.

20200112-160726.jpg

I ended up not having enough of the same tiles so i bought a few tiles that complimented the floor (more so when dry). Completed with angle iron baseboards with a little silicone underneath.


d-P1c-Xbz-YR4-Mtzo-R3-Wvu6-XKj-t6-R4t-GAm-Anv-EZqt.jpg


Snap On sticker makes this a luxurious restroom

Ue-C5o-SYRc2-SWju1-Azn-Pog.jpg


Iy-L9t6-NJStm1w-3-VRKz1-MA.jpg


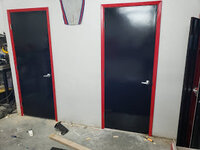
Then it was on to the compressor closet and doors.

Doors painted

20200623-193007.jpg

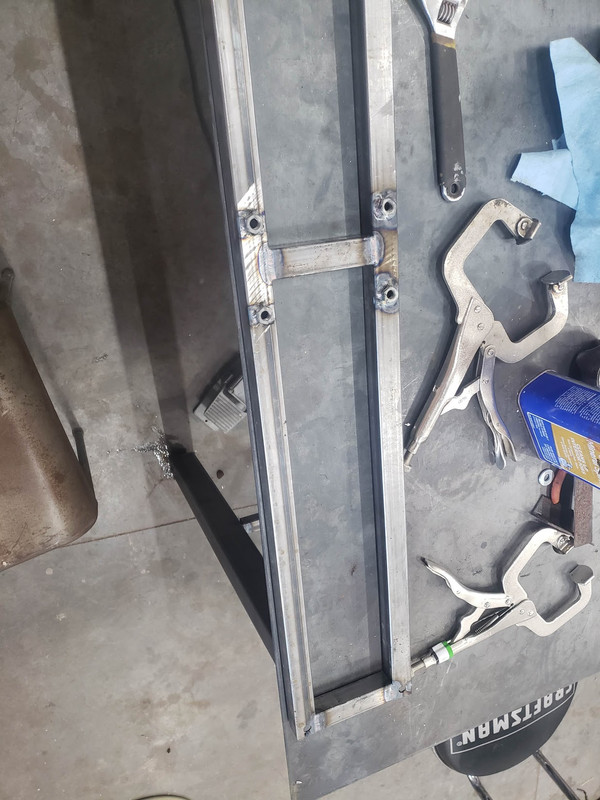
I went with a lincoln hose reel with 1/2 hose and fittings here for when i needed full pressure and volume from the compressor. The other two reels are reelcraft reels with standard 3/8 hose and 1/4 fitting.

Here is the mount i build for the reel. Forgive my welds, when I did this, i hadn't tig welded in over 3 years.


20200712-143715-1.jpg

Hose reel access

l-B88-B-DMTUSVE9c-Uo-Dc-JTw.jpg


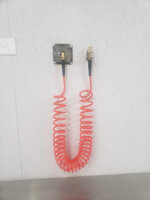
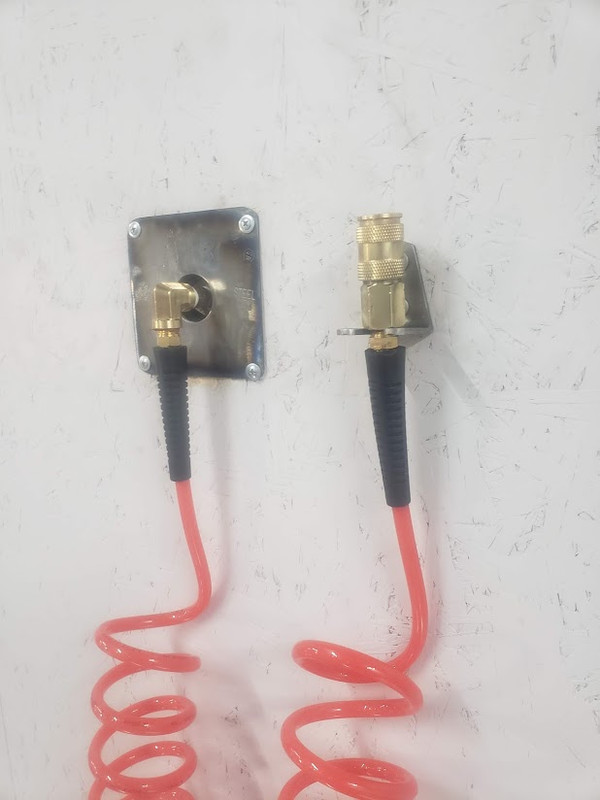
Then I built a little mount for my coil hose over my stainless bench.

20200629-161103.jpg


whuwwww long post. I'm done with the internet for the day
 
OP
C

C91x

Well-known member
Joined
Aug 26, 2015
Messages
267
Location
Prescott Valley
Re: c91x House and Shop Build

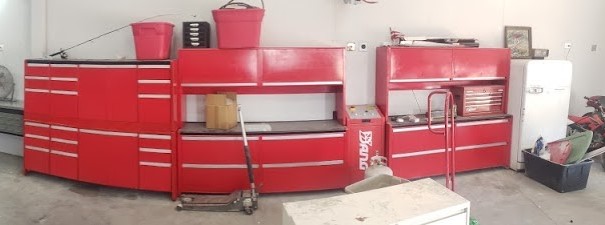
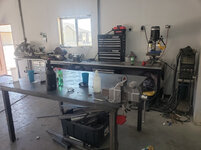
I needed to start on the benches and welding table on the other side of the shop. I think this bench ended up being 12' and I left a nook to the right for a welding cart and left room on the left for my lathe. I kept the bottom open so that my horizontal bandsaw and a few other things could live under it.


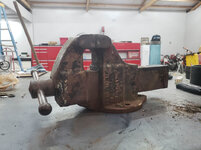
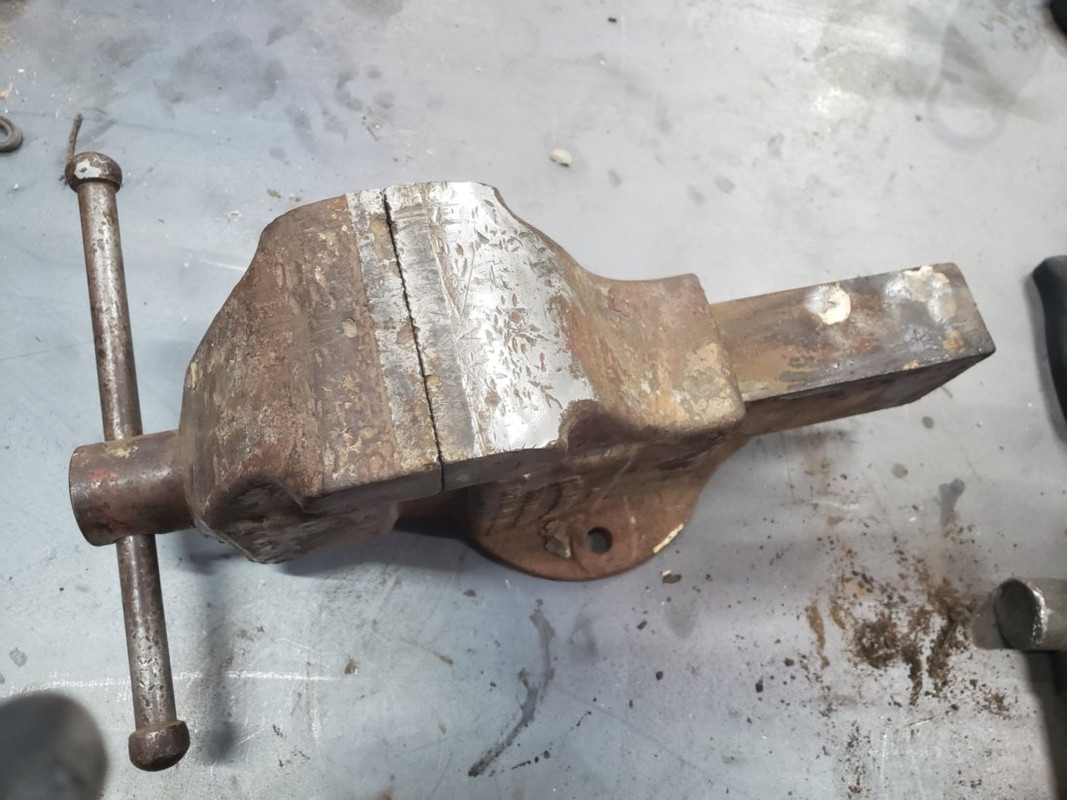
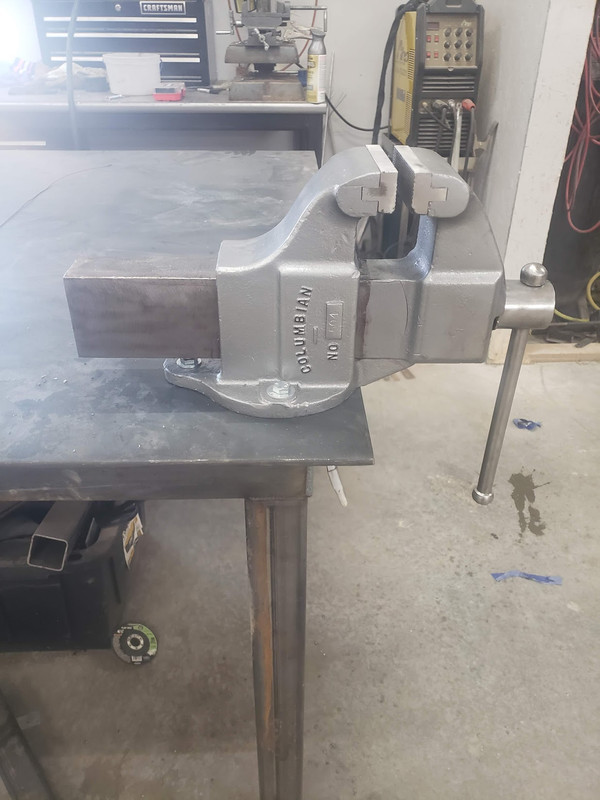
Then I moved on to my welding table. Its pretty simple 1/4 inch top and If i remember correctly its 42"x72". My wife knew i wanted a nice vise and this old columbian was her idea of a nice one :) it was still a very nice birthday gift. I decided to clean it up and fix the jaw inserts while i was building the table. Huge thanks to forum member balane for setting me up with some inserts that were in much better condition than what i started With.

20200507-152058.jpg

20200609-194842.jpg

SKb-SP-48-QNan-0-JPQp-LVIg.jpg


I know some guys do amazing restorations on these old vises and won't be impressed by this but my vises get a lot of grinding and welding done on them and I didn't want to take it too far.


20200617-173006.jpg

Ym-p3-T9-TTWyo-CEVv-QPHc-SA.jpg

Starting to get somewhere on this side of the shop

20200620-102541.jpg

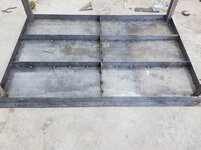
Then i built this little shelf for scrap metal. Built out of a piece of 18 or 20 gauge i had leftover. I used a small dimple die and made some holes so i could keep the shelf clean but the shelf has quickly filled up and you can't hardly see the bottom.

I really need to motorize my bead roller because I had the wife on the hand crank and i could tell she was ready to slap me by the time we were done.

20200702-134201.jpg
 
Last edited:
OP
C

C91x

Well-known member
Joined
Aug 26, 2015
Messages
267
Location
Prescott Valley
Re: c91x House and Shop Build

I wanted to take a break from the shop pics and give a little background and show a couple pics of whats going to live in it and some of my past projects.

My first vehicle was a 1951 Willys CJ3A. I did the best i could on it and actually drove it for 5-6 months and then blew up the flathead 4. This somehow turned into the thought that I could build a rock crawler out of it. YJ springs and scout D44s but I was a broke high school student with a welder and an angle grinder. My parents eventually sold it when i moved away but it wasn't that far off from being done but of course it was a hack job done by a teenager.

When it became apparent that the willys was not going to be running anytime, I started looking for a vehicle. I really wanted a truck but my parents offered to helped me buy a sensible vehicle, a 91 ford explorer. I didn't keep it sensible though

meandmytruck-edited.jpg

I think the frame flexed more than the suspension did on the poor thing but it tackled most of the hardest trails we had in AZ at the time (as long a trail buddy had a winch on his vehicle)

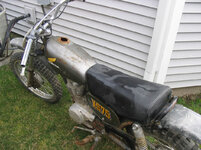
Then I spent 6 years in the Navy out of high school with my first 2 years being mostly deployed and my last 4 being on shore duty in Washington state. Motorcycles and motocross were life so when I finally got a townhouse with a single car garage my first build was a vintage 1974 XR75.

Before
thumbnail-XR75-325-2.jpg

After
thumbnail-xr-75-painted.jpg

Sold it and made a little money and then bought a 1960s honda dream 305.

I basically just got this one up and running and made it reliable.

P4120182.jpg

P4120185.jpg

Profit from that went towards two bikes, a 72 CL175 and a 76 Cb550

The 175 was built for the F160 vintage class.
Set of avons, rear sets, and clubman bars and it was the most fun you could have with 10hp. 20 bikes on a the track with that horsepower made for close racing.

CIMG0317.jpg

the 550 was built for the street. Tank was off an old Triumph race bike, I made the seat out of fiberglass and it housed the battery and all the electric ****. Longer rear shocks and i moved the forks up in the triple clamps to steepen the fork angle. Custom rear sets and clip-ons. Also my first non rattle can paint job. Very fun bike for what I have into it and I actually still own this one and will probably never sell it.

IMG-1732.jpg

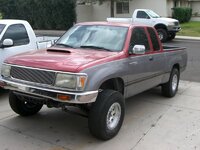
Around this time I got out of the Navy and moved back to AZ. Upgraded from a 1 car garage to a "massive" 2 car. Bought a Toyota T100 with fading paint on the roof and hood. I had most of a gallon left of paint and clear from the 550 project so what is a guy to do. Buy a hood scoop off a Subaru and do a quick scuff and shoot paint job. I wouldn't call the scoop functional as it didn't feed the intake but it was open into the engine bay.
CIMG1107.jpg

CIMG1274.jpg

This truck was also my first venture into fabricating suspension. It wasn't much but for the tools i had, i was excited that i was a real "fabricator" :D I built the +3" upper and lower a-arms, shock hoops, and shock hoop brace. More of a mid travel than a long travel but it worked well enough. I didn't keep this truck very long as I truly needed something that was 4wd.
CIMG1146.jpg

CIMG1145.jpg

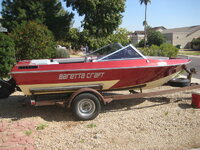
Still had some paint left so my $1000 boat got some attention as well. I was 24 around this time and finally making good money but was still a cheap *** and couldn't bring myself to swing the money for a nicer boat. I did the interior, bought those stickers, and painted it and I thought i was pretty cool at the lake.

IMG-1188.jpg

I'll add my most recent projects later today.
 
Last edited:
OP
C

C91x

Well-known member
Joined
Aug 26, 2015
Messages
267
Location
Prescott Valley
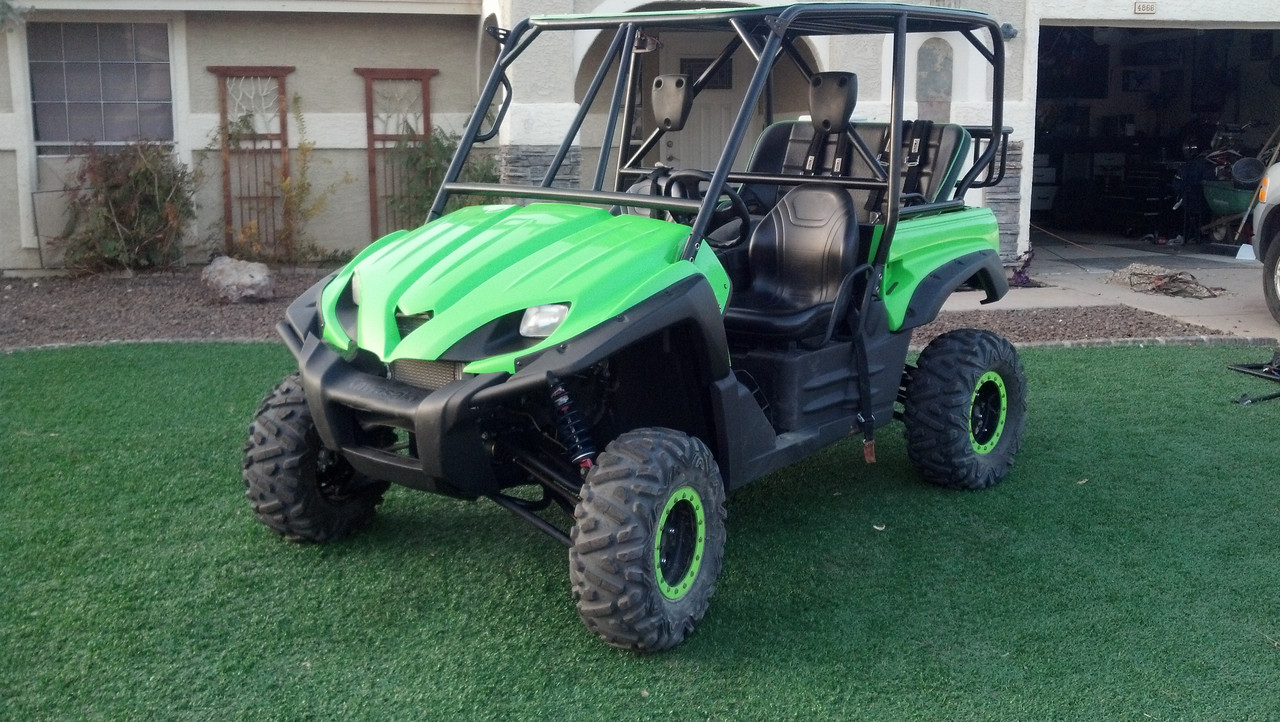
Then came a Teryx with an 840 kit, long travel, and Walker Evans shocks.


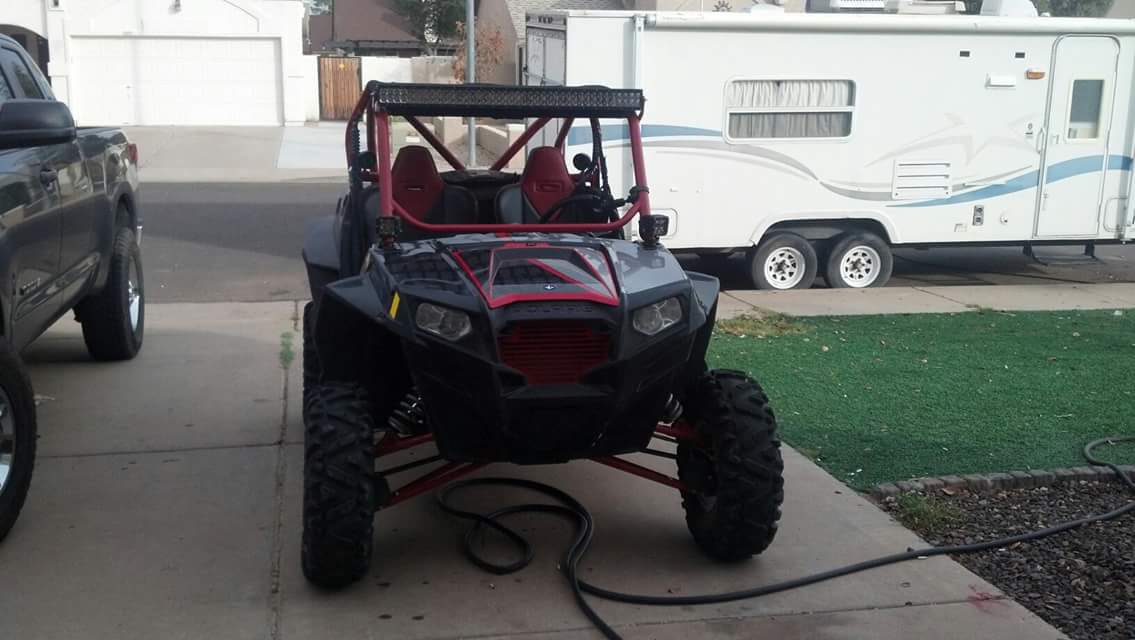
Then a RZR that had some goodies


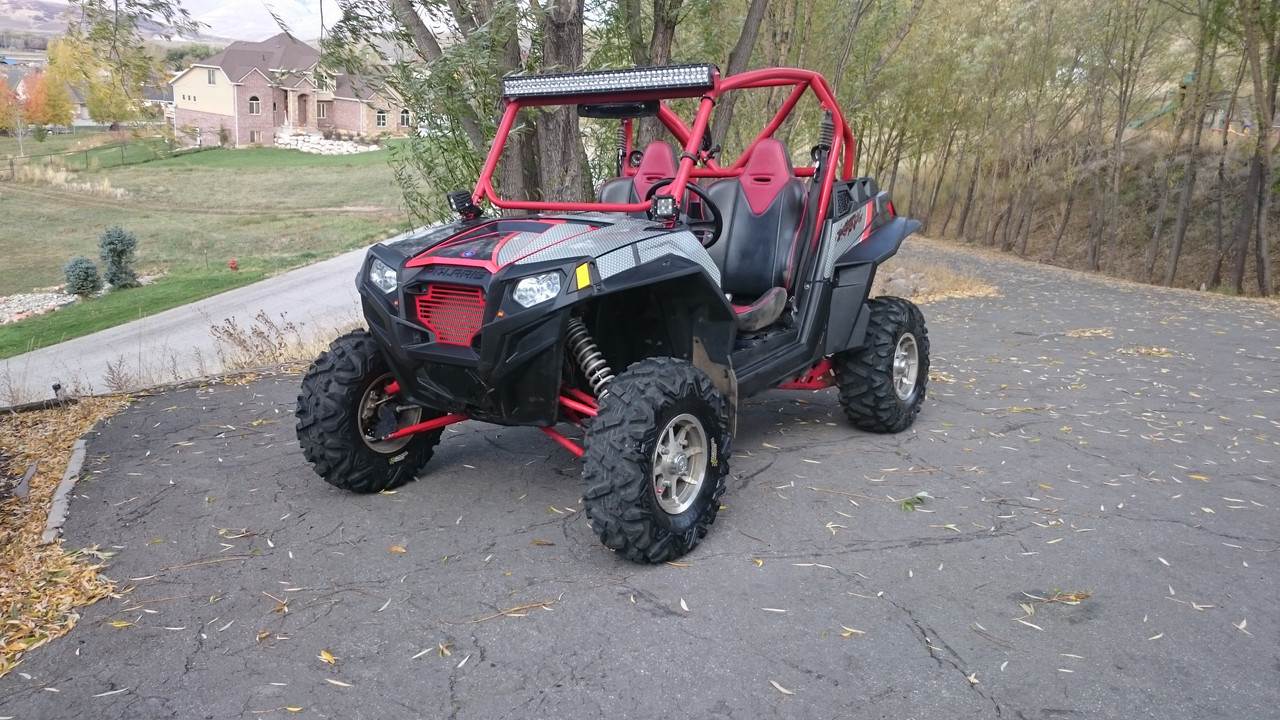
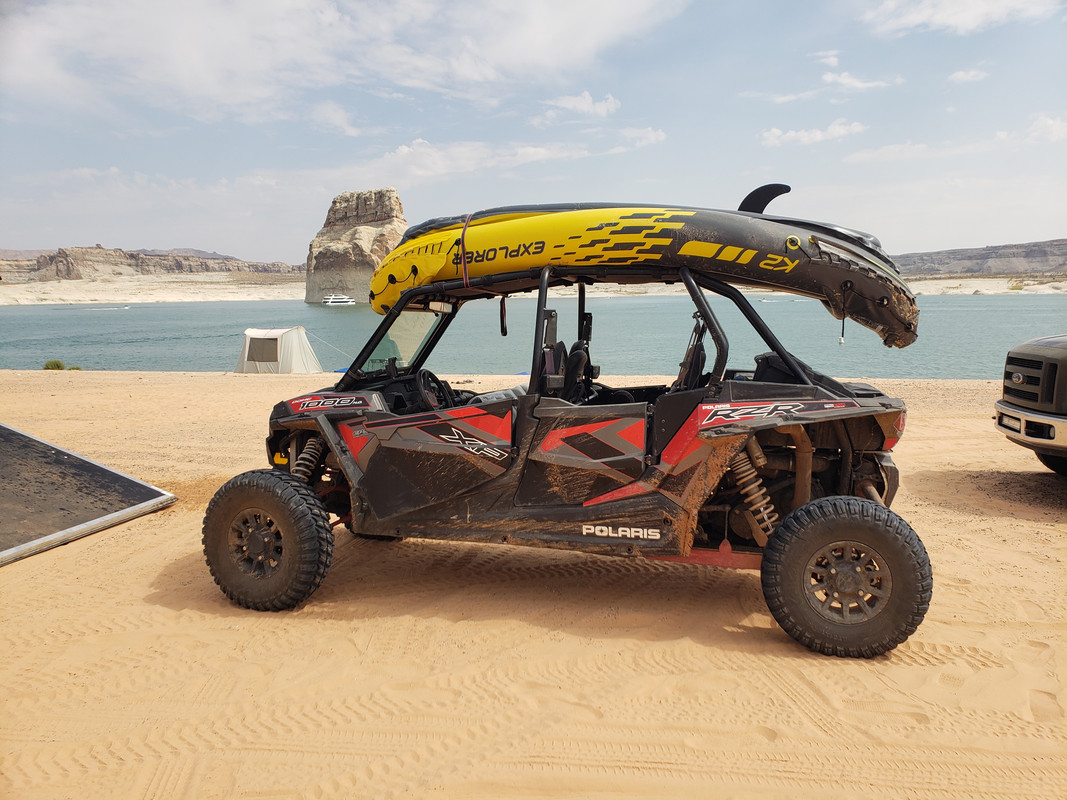
Now i've just got an old man 4 seater that is completely stock besides a radio.


OP
C

C91x

Well-known member
Joined
Aug 26, 2015
Messages
267
Location
Prescott Valley
I'm enjoying looking up these old pics and taking a trip down memory lane.

Next big project was my Fairlane. It was a 302/c4 manual drum brakes, no power steering, no interior besides seats, and barely ran but I got a good deal on it. My plan when i purchased it was to throw some carpet and door cards in it and just have a fun weekend car that wasn't perfect but would be fun to have. I even got so far as making door panels.

2012-08-20_16-14-46_357.jpg

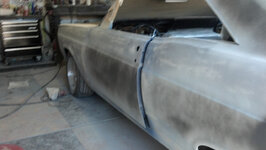
Then I really started hating the yellow and it had a bunch of issues I tried to overlook. I couldn't do it anymore and started going after areas.

2012-08-24_19-12-23_544.jpg

That led to addressing the straightness of every panel and putting it in primer sealer.

2013-02-01_17-45-26_497.jpg

Block sanding
2013-02-26_13-49-49_224.jpg

Even at this point the car was not supposed to snowball into anything other than a "descent" car. I was 25 and taking the shortcut of not taking everything down to metal before painting was a big one. The car is straight to this day but knowing the thickness of all that paint and primer bugs me.

My plan is to take it down to metal sometime soon and really do it right. The paint is 12 years old and the clear has always been on the soft side so I don't mind doing it again.

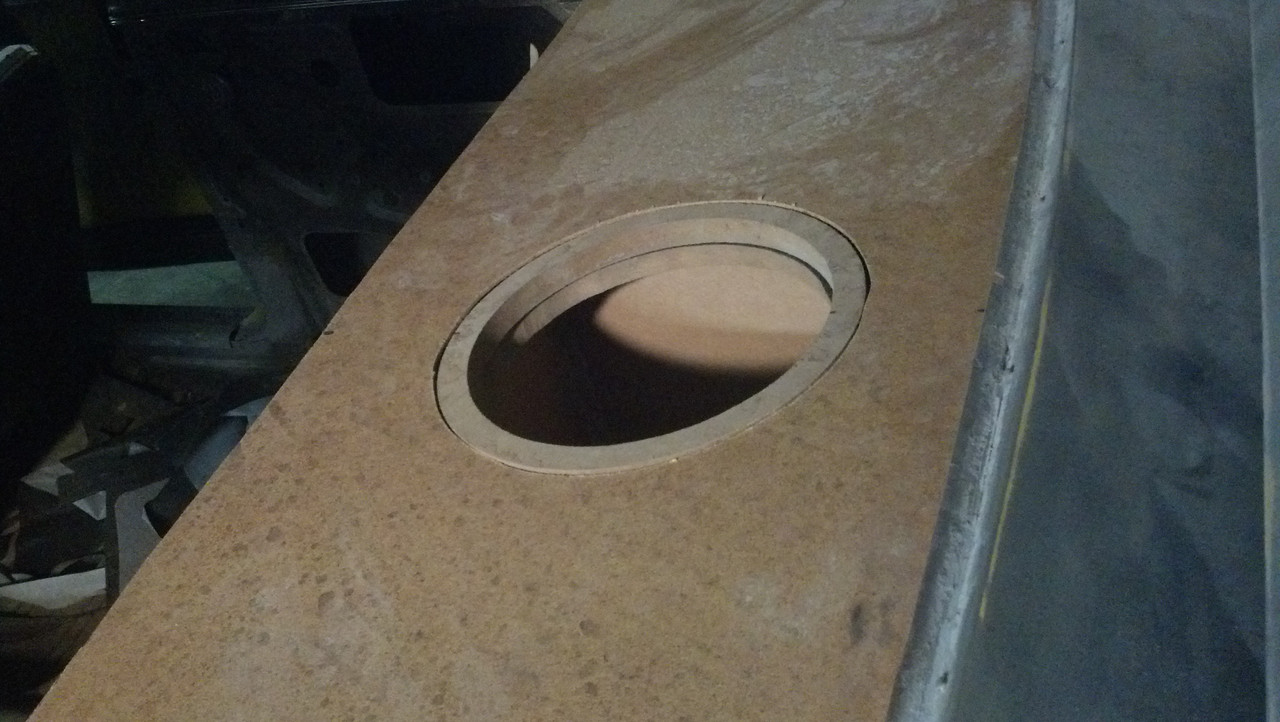
Sub enclosure in the package tray.

[/url

Jambs painted and ready to go in my state of the art 2 car paint booth.

2013-03-05_13-48-47_850.jpg

Curing under my Arizona infrared lights

2013-03-07_08-59-31_776.jpg


2013-03-07_09-01-24_877.jpg


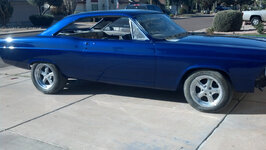
I had some orange peel but nothing too bad. I cut and buffed it, put it back together, put a new 600cfm carb on it and drove it around for a few months like that.
 
Last edited:
OP
C

C91x

Well-known member
Joined
Aug 26, 2015
Messages
267
Location
Prescott Valley
I am enjoying your thread! Look forward to more updates.....

I should be caught up to present progress soon. Thanks for following along.

Yeah awesome stuff man

Appreciate it

Hey I dig your bike story's and your fairlane and the XR 75 looks like a 74 k1 model

You're absolutely right, I just didn't proof read my post.

I ended up driving 3 hours to pick it up and the motor was locked up. I looked a long time for a 74 as I really liked the all gray mini elsinore look.
 
OP
C

C91x

Well-known member
Joined
Aug 26, 2015
Messages
267
Location
Prescott Valley
I drove the fairlane around for a few months until summer hit. I thought i was cool driving it around but the swamp *** i was getting disagreed so that led to install an a/c kit from vintage air. This one thing is what started the snowball. I didn't have a spot for the vents so that lead to building a center console.

It housed the radio, 2x5.25 speakers, and the center vents.

Sorry for the fuzzy pic
IMG_20130813_172406_742.jpg

And here it is painted to match the rest of the interior. Looking at this pic makes it look way out of shape and not square. Not sure if that was the overhead lighting or what but it certainly isn't like that in person.
IMG_20130820_203932_540.jpg

Now I looked cool and felt cool driving it, for a few months at least. I moved around that time and it was quite the upgrade. 4 car garage and a detached partially finished 36x48.

 
OP
C

C91x

Well-known member
Joined
Aug 26, 2015
Messages
267
Location
Prescott Valley
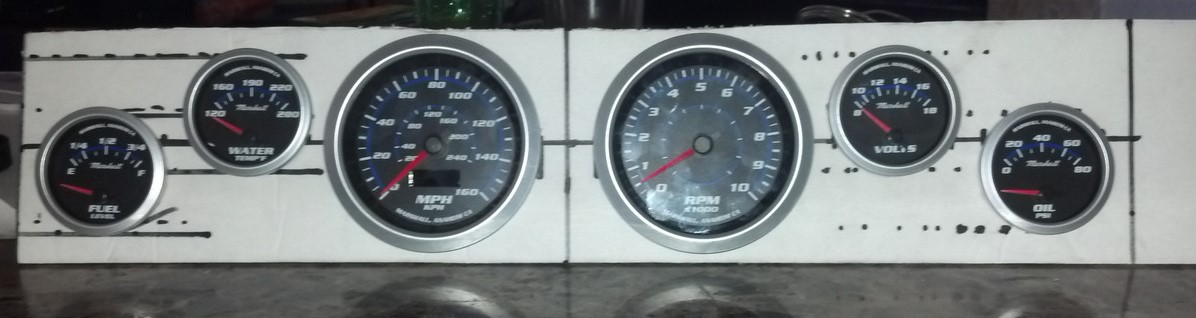
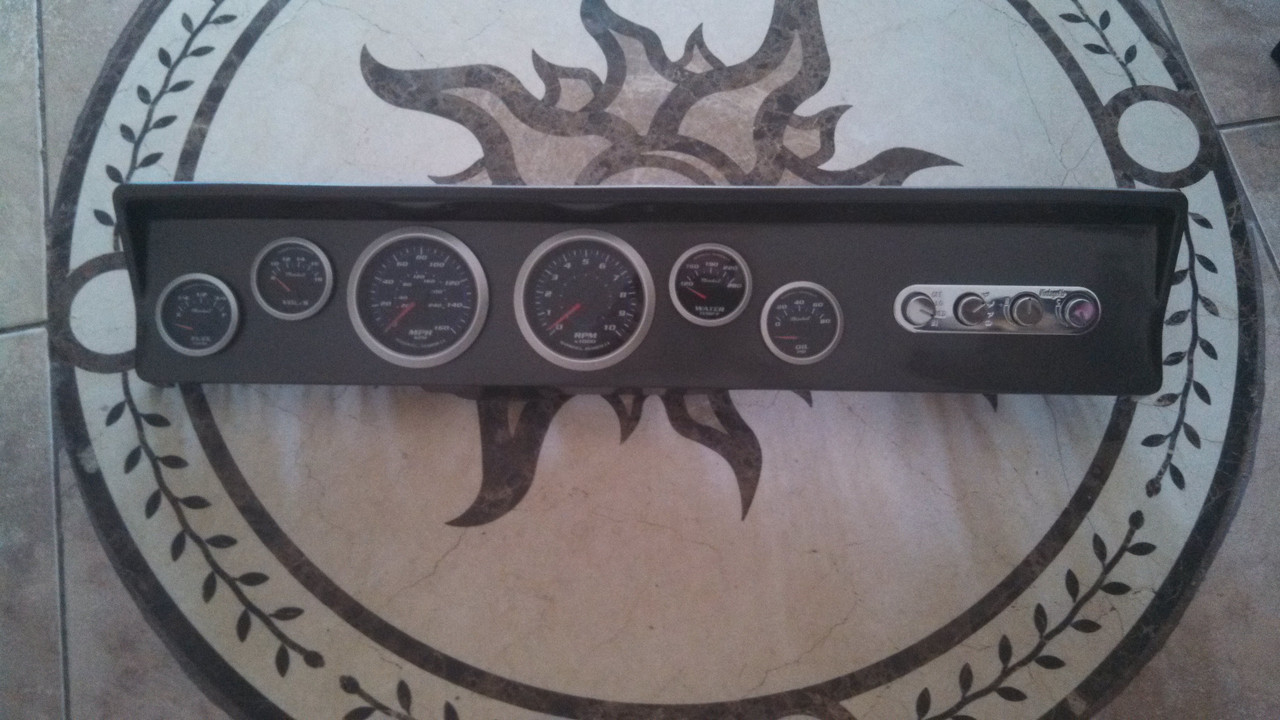
Another thing that went along with the A/C install was the need for a spot to put the controls.

I was missing many of the stock instrument so I had free range to do whatever i wanted.

I ended up making this with new gauges for Marshall. Started with a just a template from foam board.


Transferred that to masonite and fiberglass, body-worked, painted to match


cyulst2

Member
Joined
Jan 11, 2021
Messages
20
Location
Il
Love the thread man and seeing your work. Keep it up! (really like the explorer sport too) Getting ready to have a building put up myself, also 36x40 which is what made me stop in.
 

rattle_snake

Well-known member
Joined
Jun 25, 2015
Messages
5,229
Location
Chandler, AZ
In pic with explorer, Is that saguaro lake in background? Butcher jones?

I did many similar projects in my 20s. Painted a boat, build off road suspension. drag racing.
My abilities and drive was beyond most, but looking back the quality of my work was, well, more beginner. I thought I was cool though, haha.

What is your day job, if you care to share?
 
OP
C

C91x

Well-known member
Joined
Aug 26, 2015
Messages
267
Location
Prescott Valley
Love the thread man and seeing your work. Keep it up! (really like the explorer sport too) Getting ready to have a building put up myself, also 36x40 which is what made me stop in.

Appreciate it. I was happy with the 36x48 that I was coming from and was worried that i would not be satisfied with a 36x40 but that has not been the case. I did spend some time to make sure that I was being efficient with my wall space.

Funny thing about that explorer is that my username comes from it. This was when forums were just starting and I came up with Clints91Xplorer or c91x. Guess i'm just not original enough to come up with something else.

Good read. Keep up the good work.

Thanks

...you have been very busy,...any more info on your F-1 project?

It's been idle. I turn the engine over once a month and thats about it although a few month ago I did get the massive wiring harness dieted down so it will now just run the trans and engine.

In pic with explorer, Is that saguaro lake in background? Butcher jones?

I did many similar projects in my 20s. Painted a boat, build off road suspension. drag racing.
My abilities and drive was beyond most, but looking back the quality of my work was, well, more beginner. I thought I was cool though, haha.

What is your day job, if you care to share?

Good eye! My teenage years were spent at butcher jones and lower sycamore. I would say 50% of my summer nights were at the peninsula of the 1st cove. We would have 4-5 trucks parked on that narrow thing with all of us swimming and hanging out on a little ledge that was just under the water line.

I think for both you and I it was probably a lack of experience and proper tools. As my tool arsenal grew, so did the fit and finish of my projects.


I'm in the aviation industry and run a facility up here at the airport. People from work are shocked to see me in regular clothes which is usually jeans and boots and friends are shocked to see me in the fancy clothes i wear to work.
 
OP
C

C91x

Well-known member
Joined
Aug 26, 2015
Messages
267
Location
Prescott Valley
After driving the car like that for a few months I quickly grew tired of the sloppy handling and 3000rpm at freeway speeds.

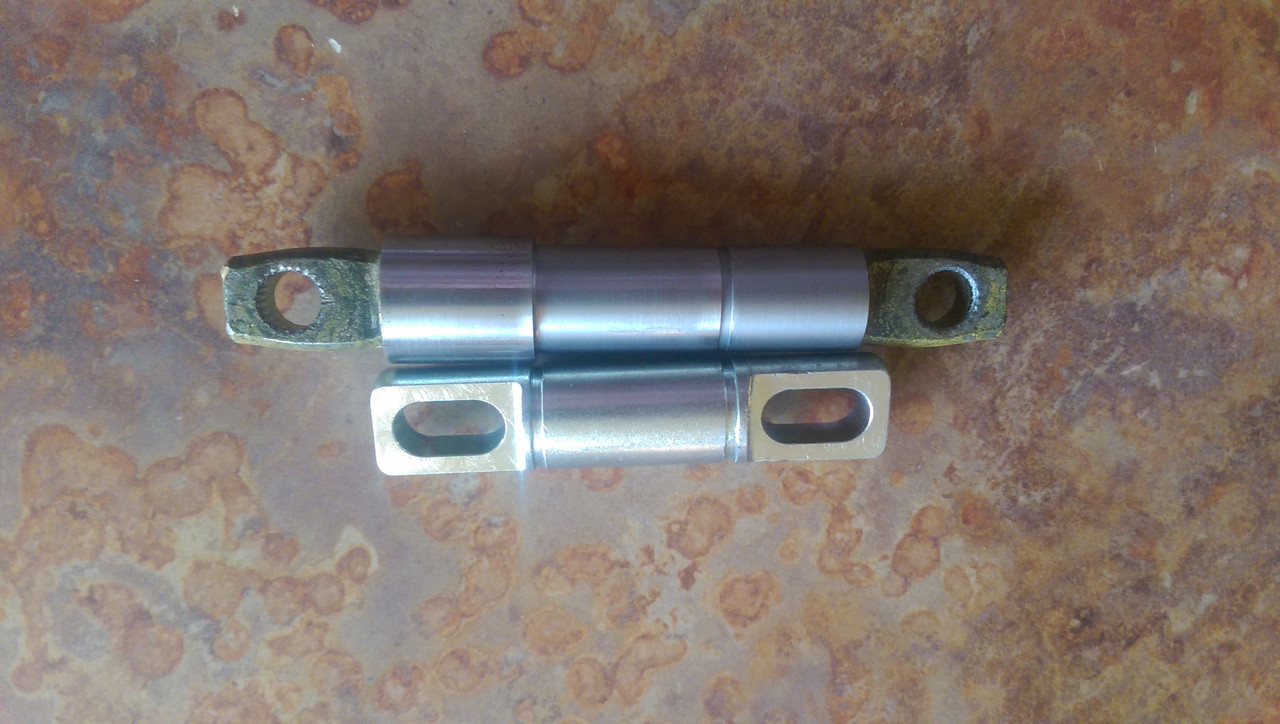
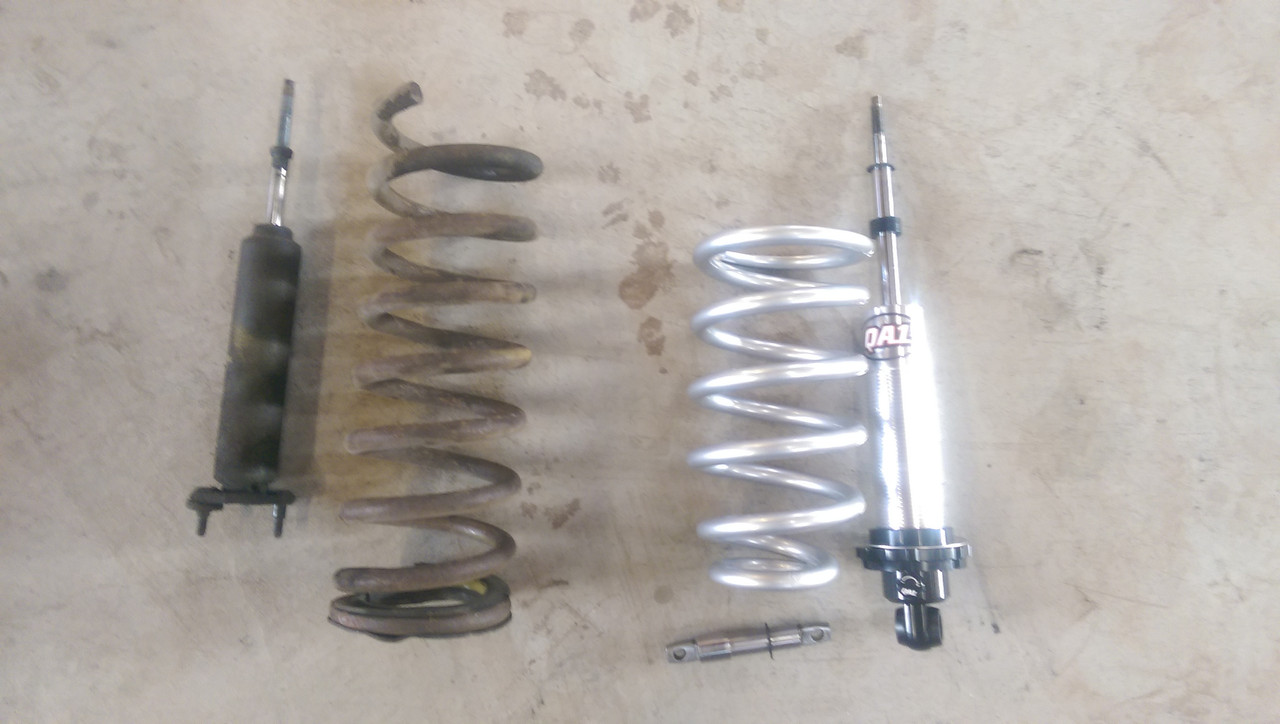
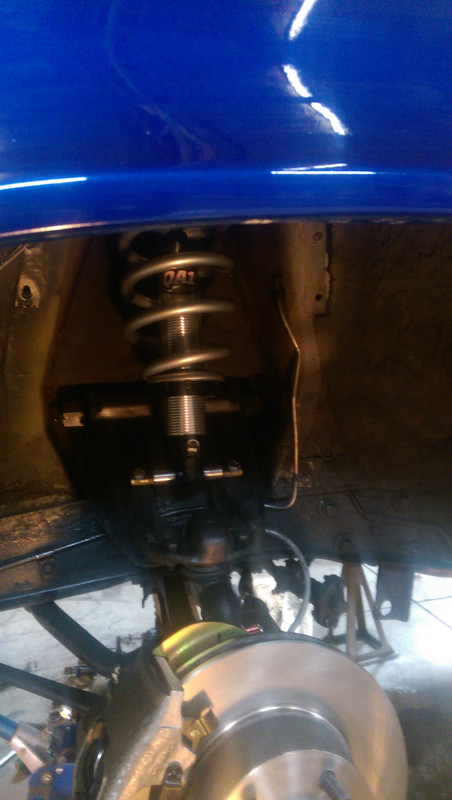
I bought all new bushing for the front end as well as a much larger sway bar. Then i looked into just upgrading the springs and shocks but by the time I did all that it just didn't make sense for the money involved. At that time they did not make a coilover kit for these 66-67 fairlanes so I measured shock compressed and extended length, and also spring diameter. Then I started looking through QA1 website and found QA1 501C for 70-'81 Canaro/Firebird for around $400 with almost identical measurements. The problem was how the old springs mounted to the control arm. They use a spring perch like the old mustangs. I pressed out the stem and it was 7/8's and the poly bushing for the coilovers was 3/4. Thought about drilling out the bushing but decided on turning down the stock mount. Turned it to 3/4" 2/3 of he way down for a shoulder and then made a snap ring groove.

bottom is the stock mount that came with the new shocks


Old vs New


While its apart i might as well upgrade to power disc brakes and do the shelby relocation mod


While I was still messing with this, I went and bought the next piece to the puzzle.

4R70W out of a low mile 2003 v6 mustang
IMAG0240.jpg

Mounting it was easy, a new flywheel and a little rework of the stock trans crossmember along with a shortened driveshaft and it was in. Then the headers wouldn't fit and that took a while to reshape and reweld the collectors. Decided to save $150 and do my own wiring harness for the US Shift controller but it turned into one of those "why didn't i just buy the harness" conversations with myself. Also had to adapt a generic GM TPS for the controller but that wasn't a big deal.

But when it was all said it done it gave me this
DSC-0233.jpg

45 and 1500rpm and 70 was around 21 or 2200 rpm

These upgrades completely changed the car. It handled well, stopped much better, and the drivability was much improved. Being able to adjust shift points, torque converter lockup but more importantly line pressure was amazing. Cruising with the wife at 1/4 throttle and the car shifted nice and smooth like a new car, hammer it and it would go full line pressure with a super firm quick shift.

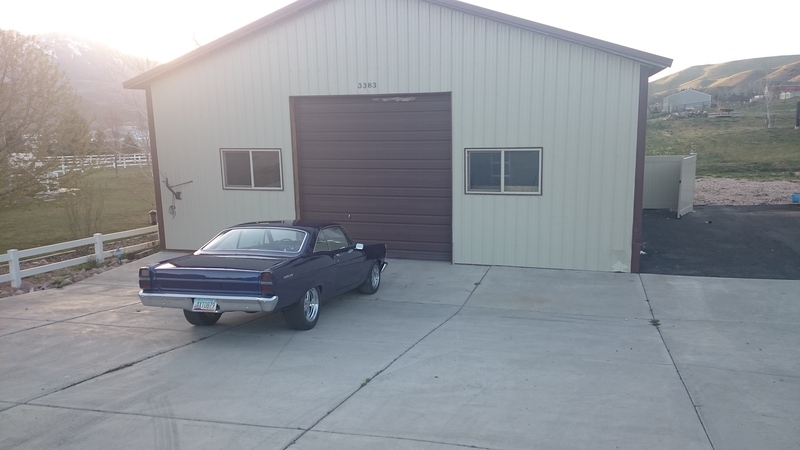
Obviously a bunch more little things with the car but that is how it is today. After i redo the paint, I'm going to go with EFI and an electronic power assist column in it and be "done"
 
To avoid these ads, REGISTER NOW!
Top Bottom