MP&C
Well-known member
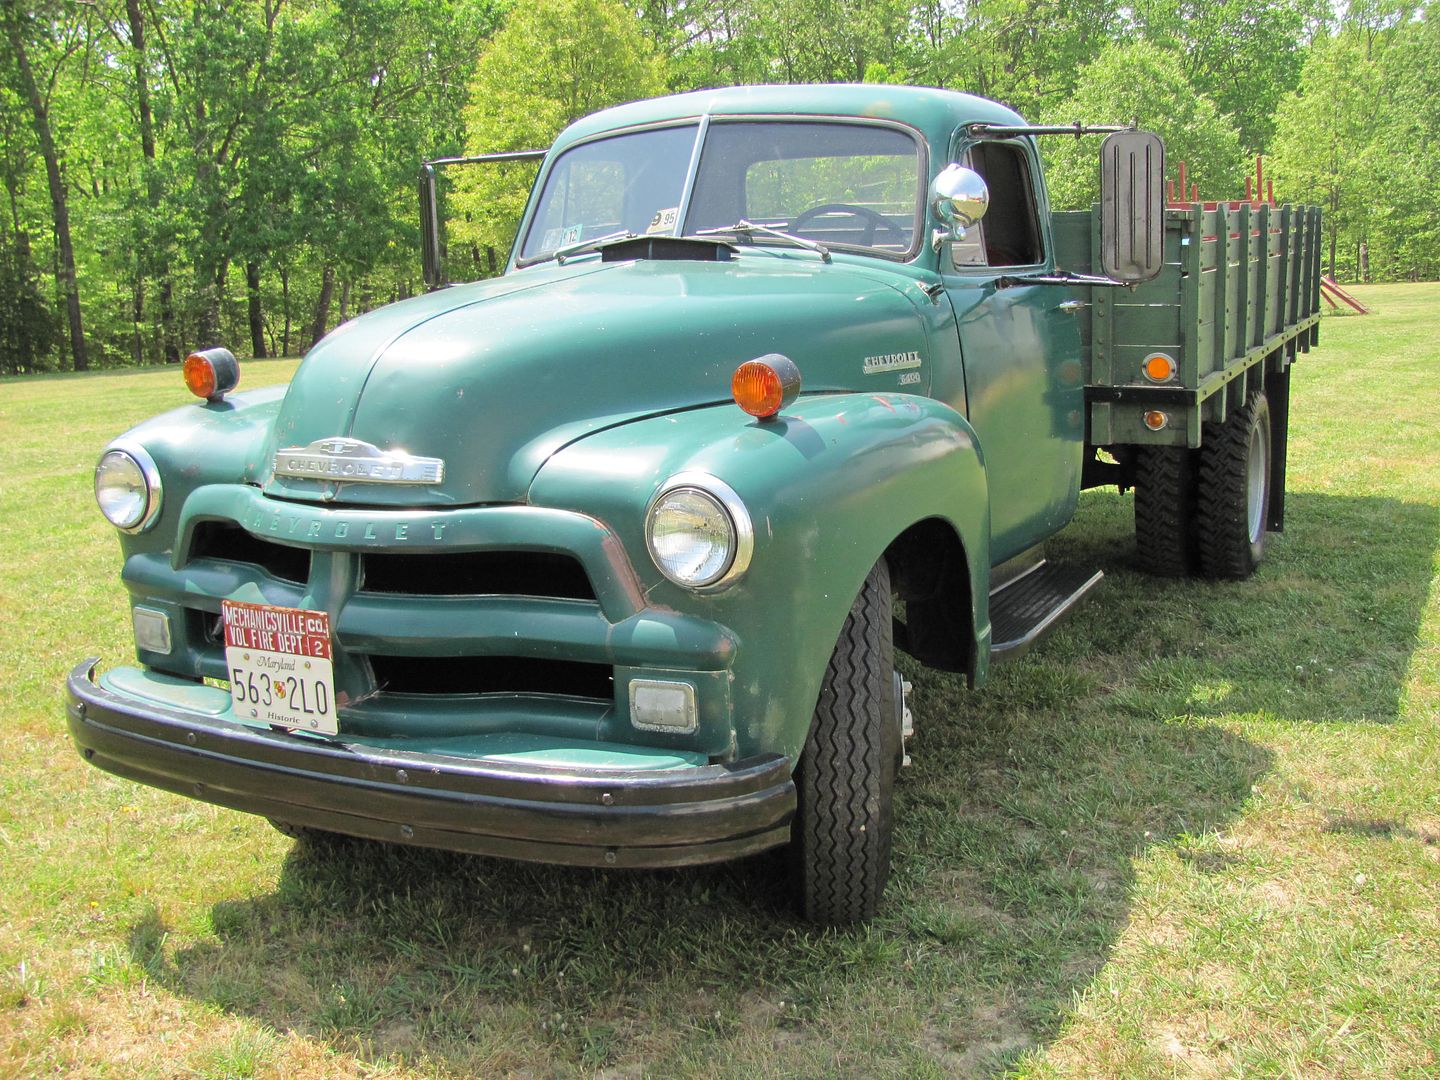
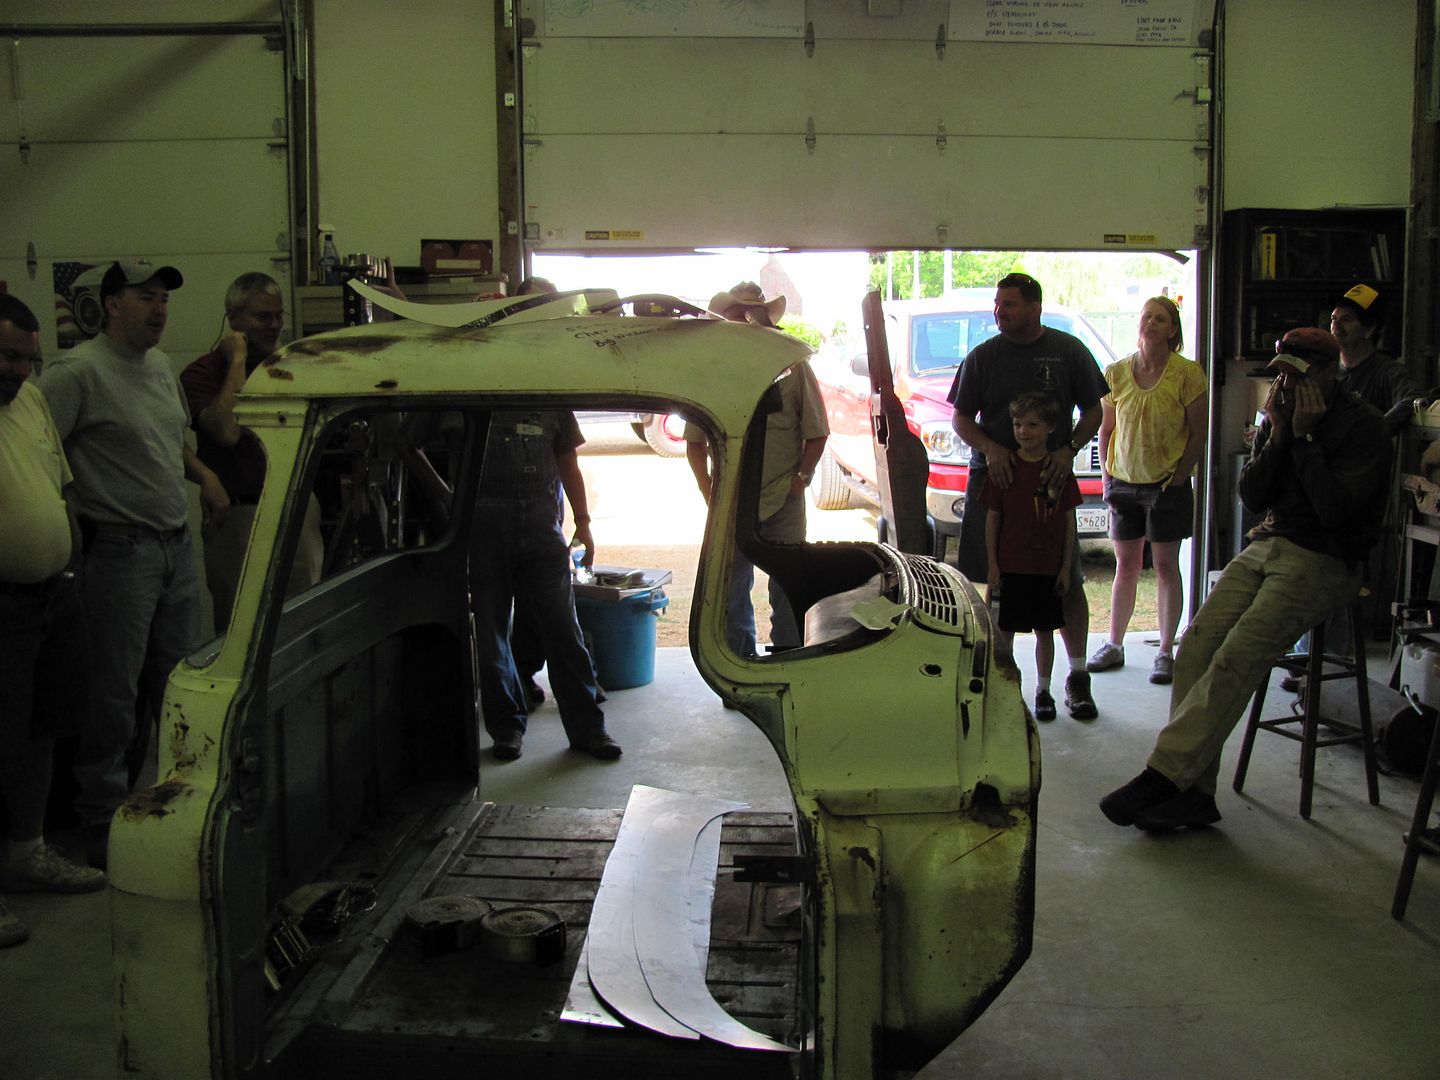
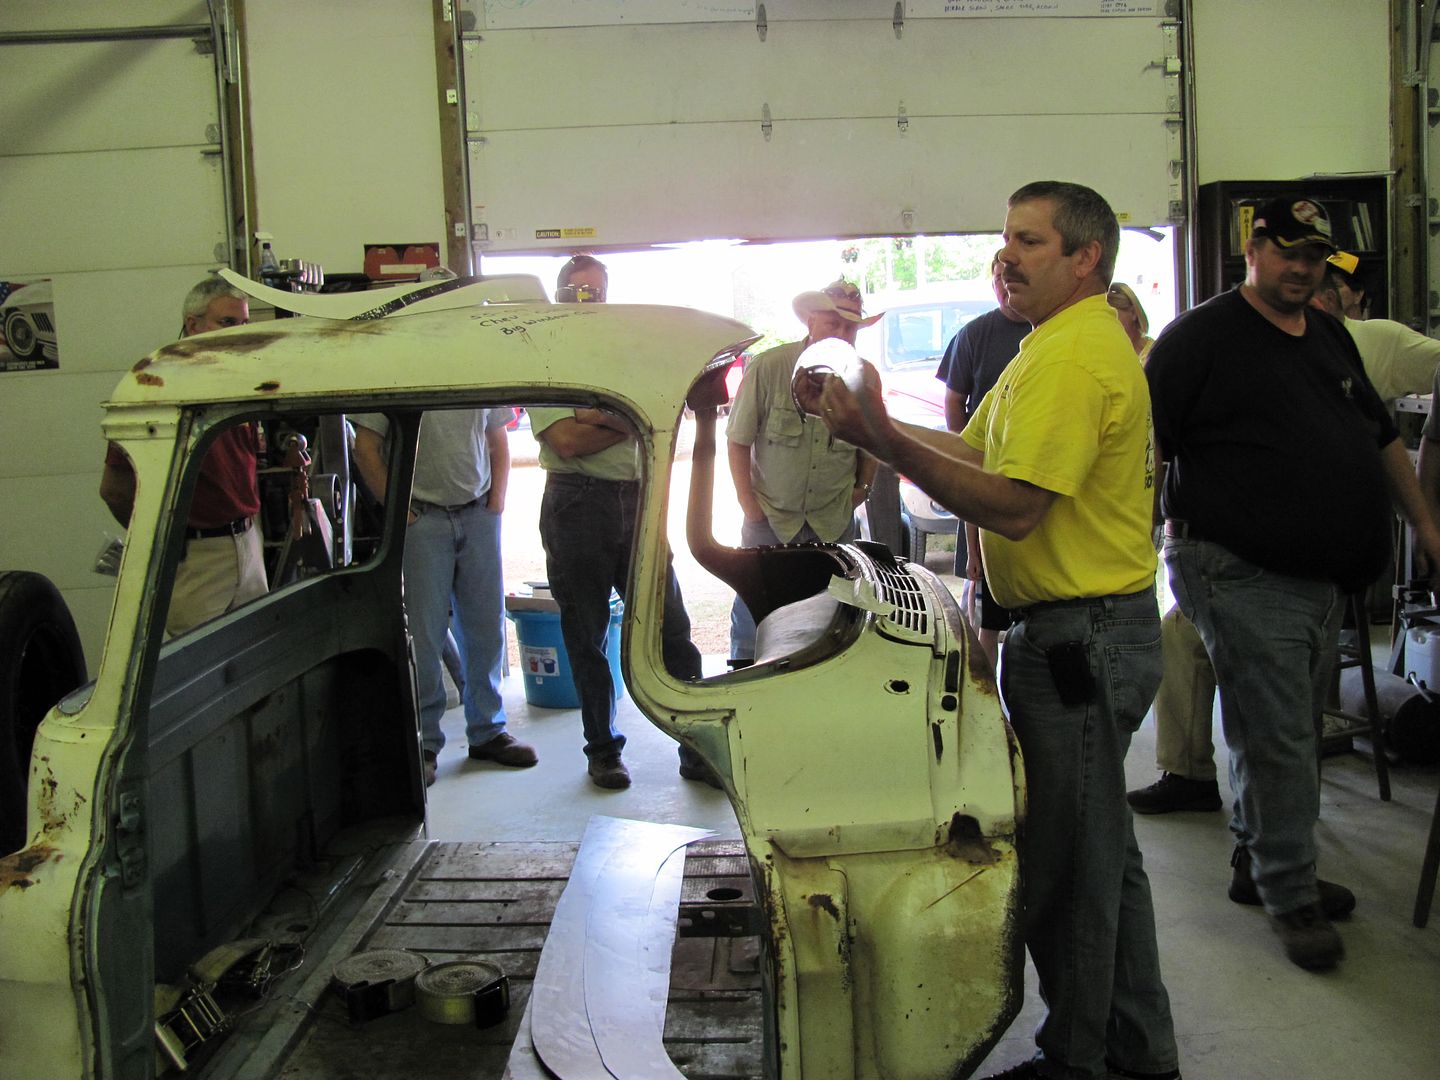
A couple weekends ago, I put on a metalshaping demo for some of the Stovebolt guys in the area.
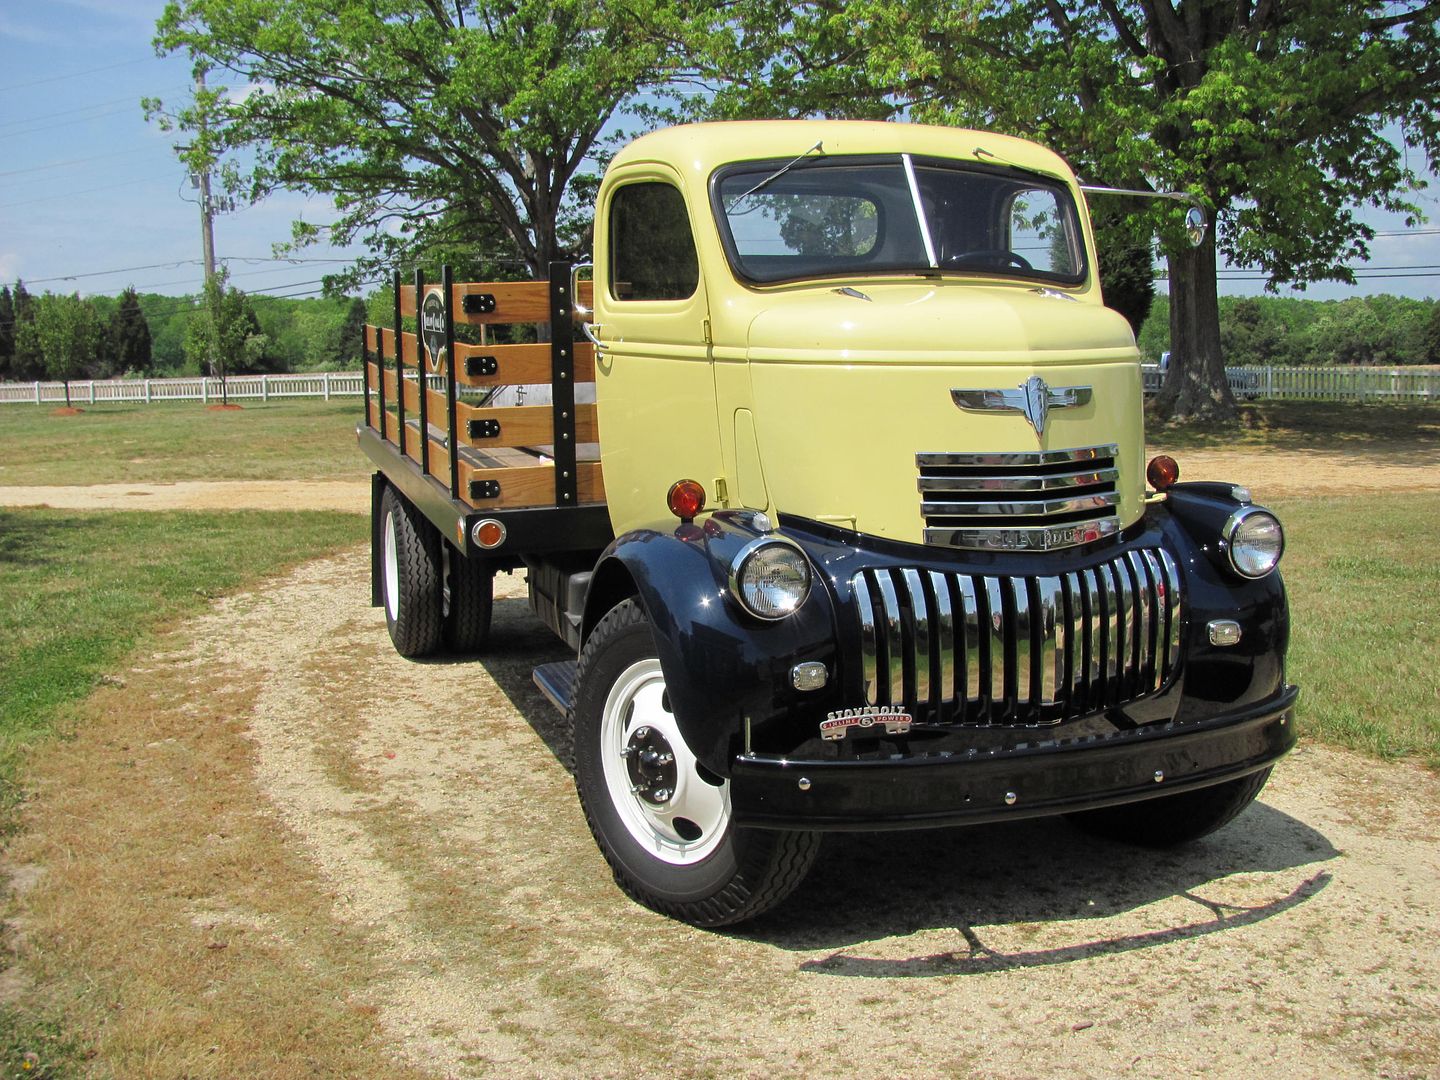
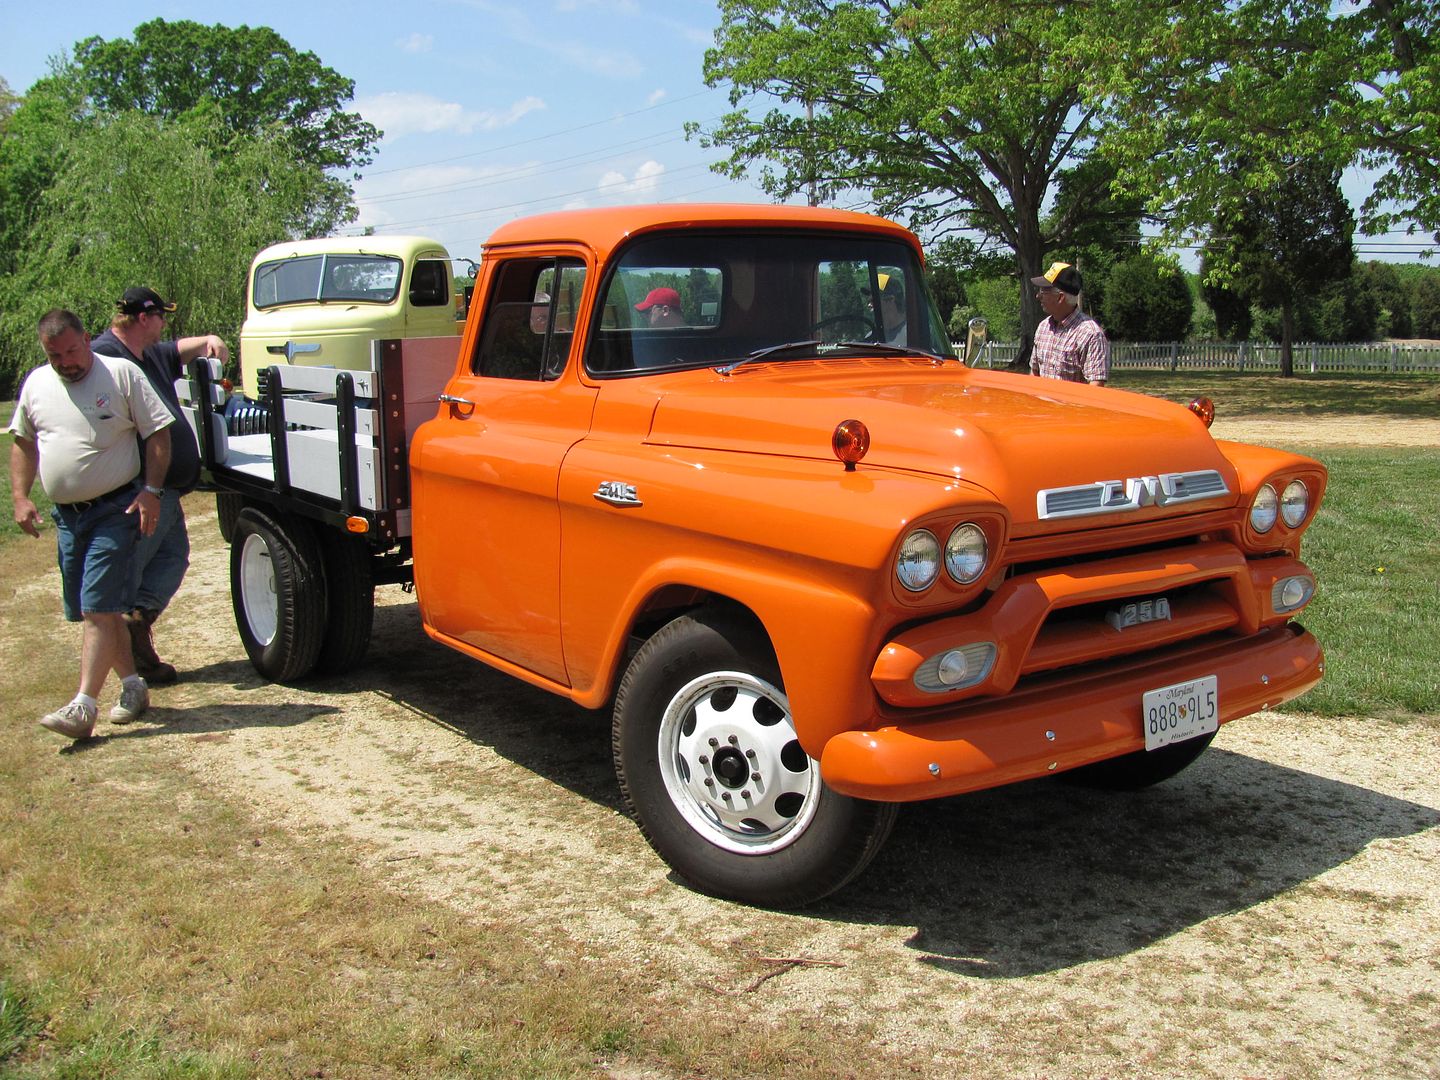
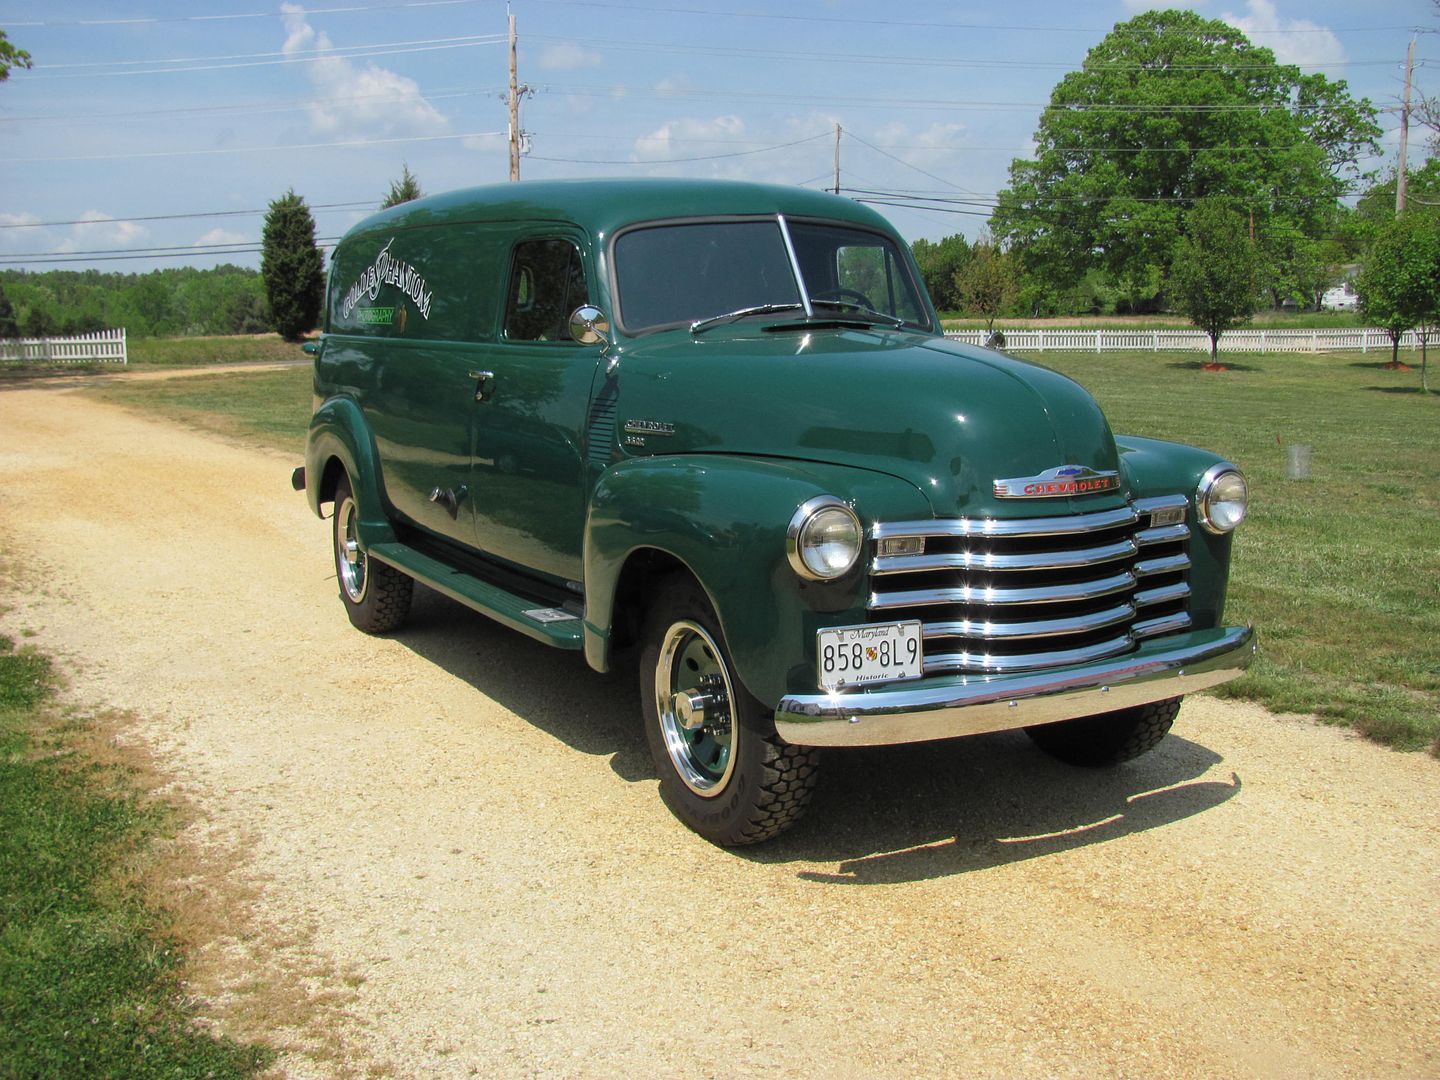
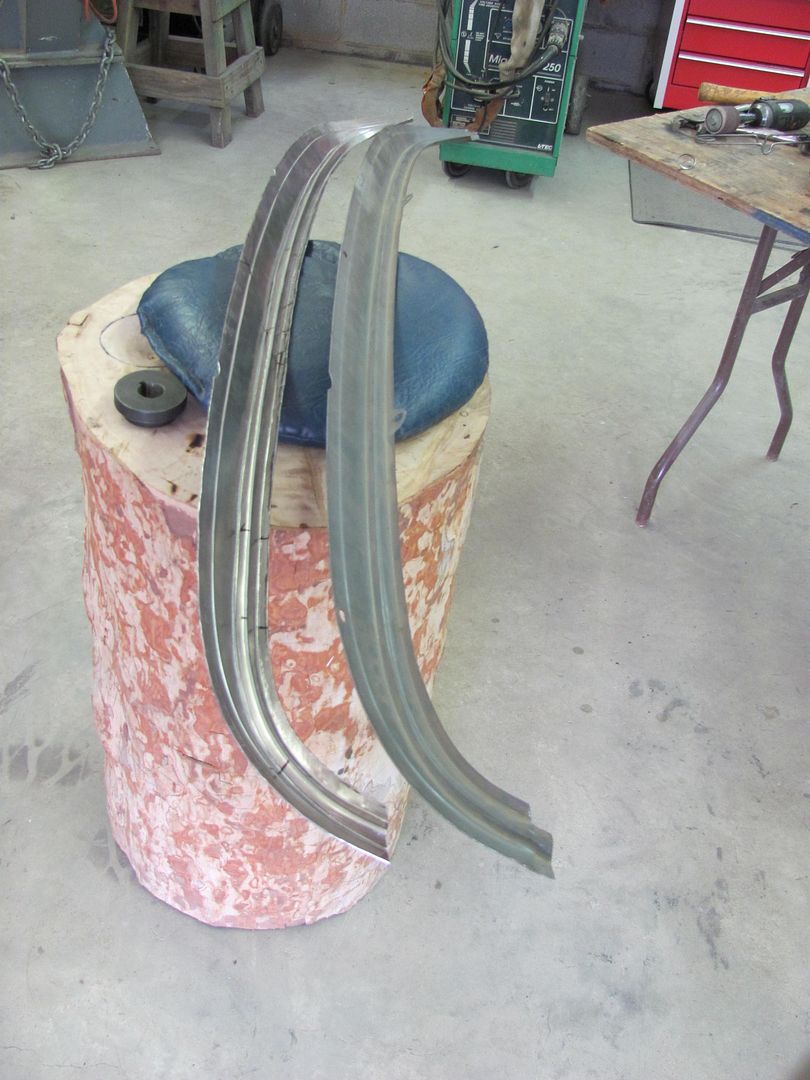
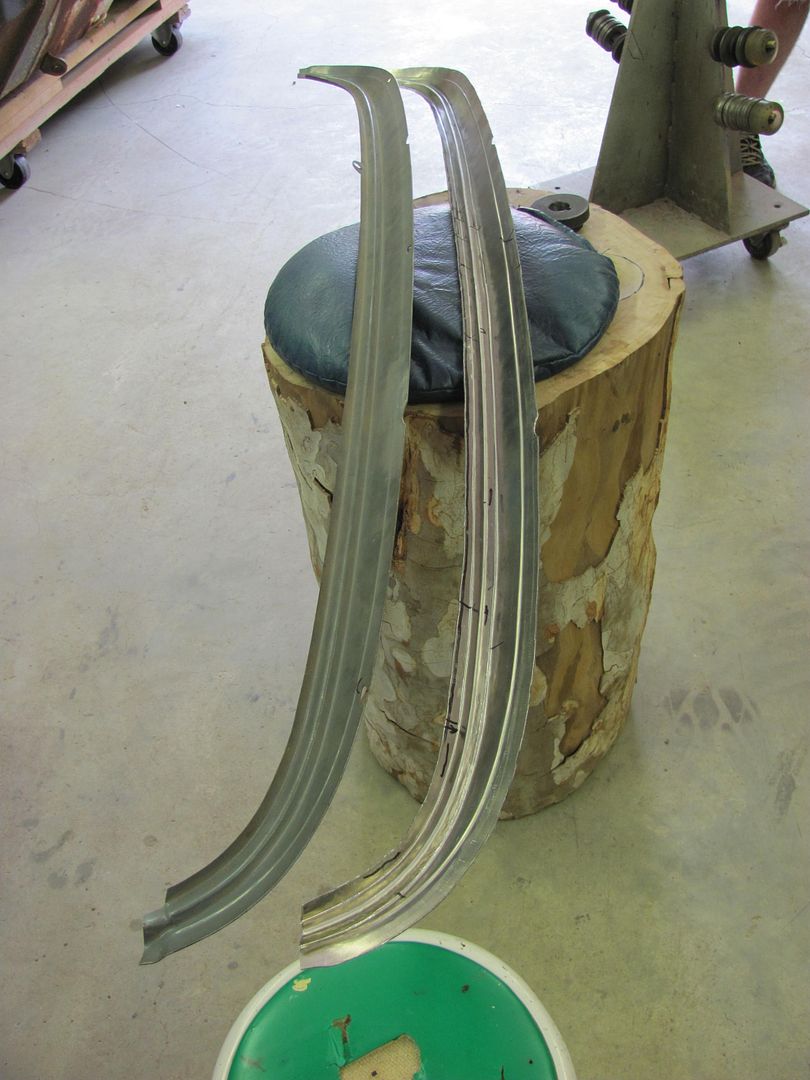
Some of the vintage tin that showed up:
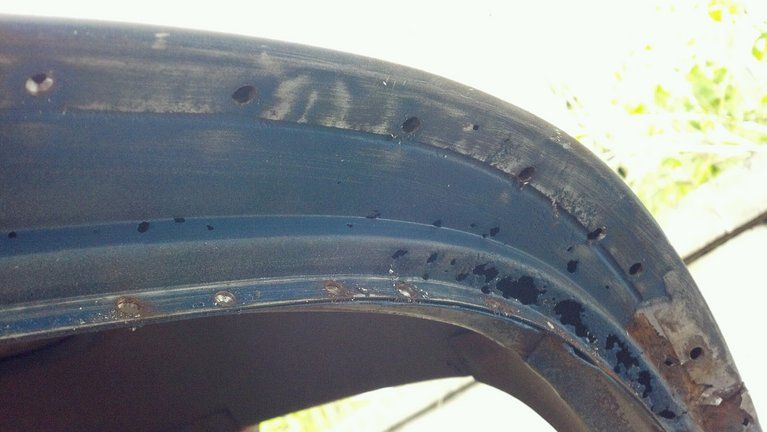
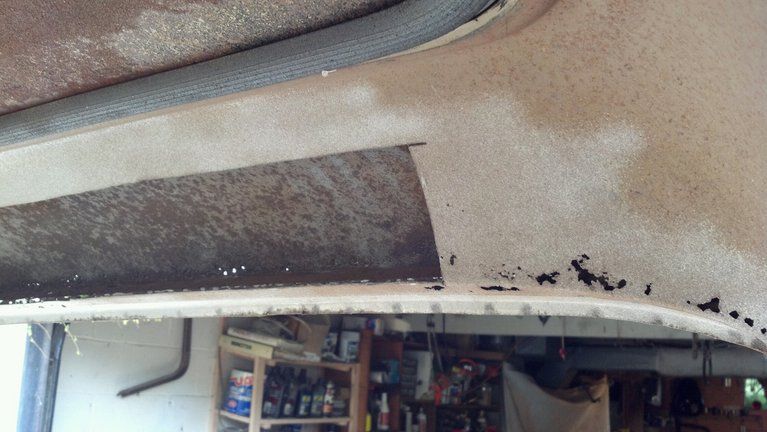
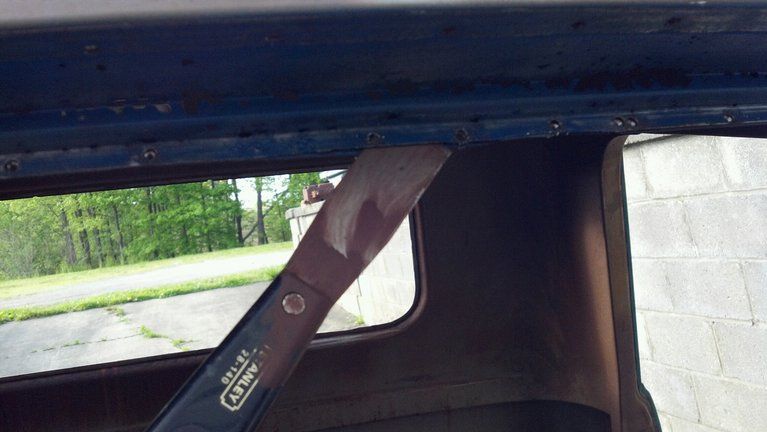
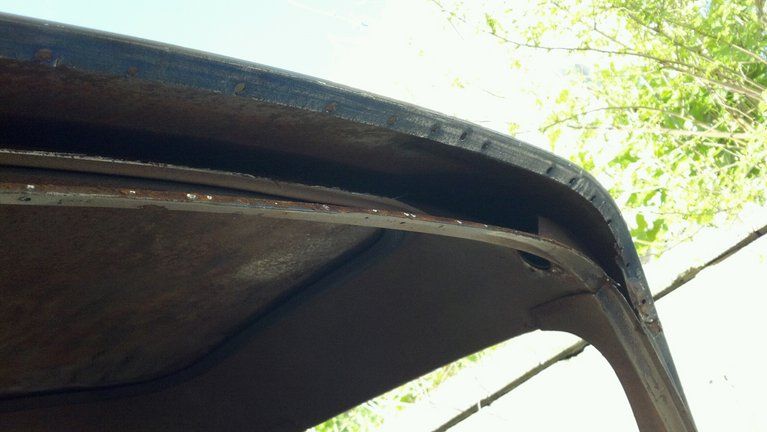
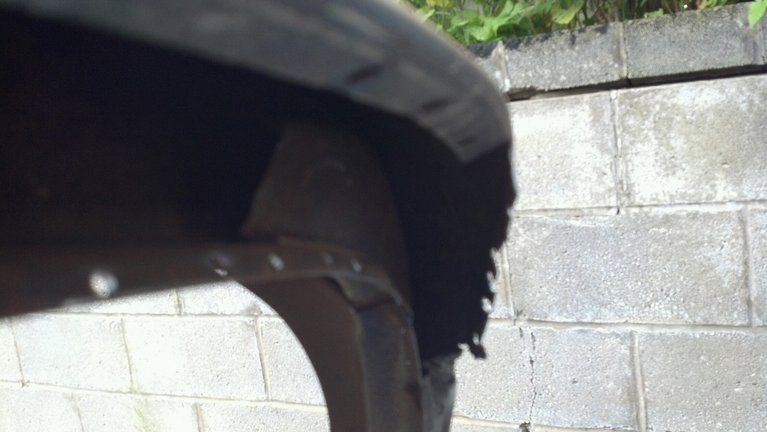
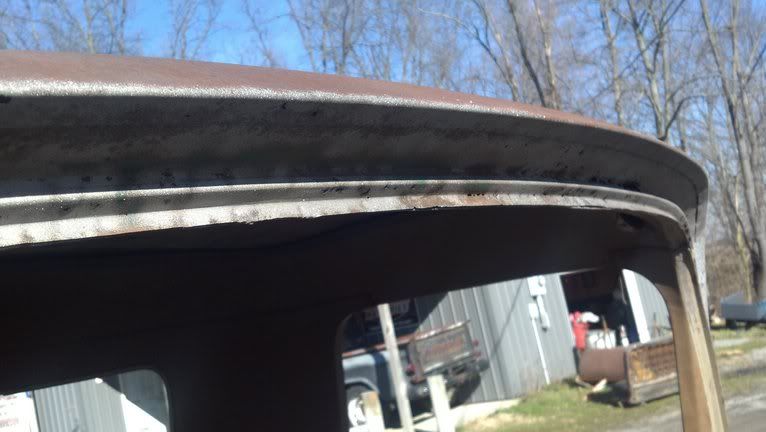
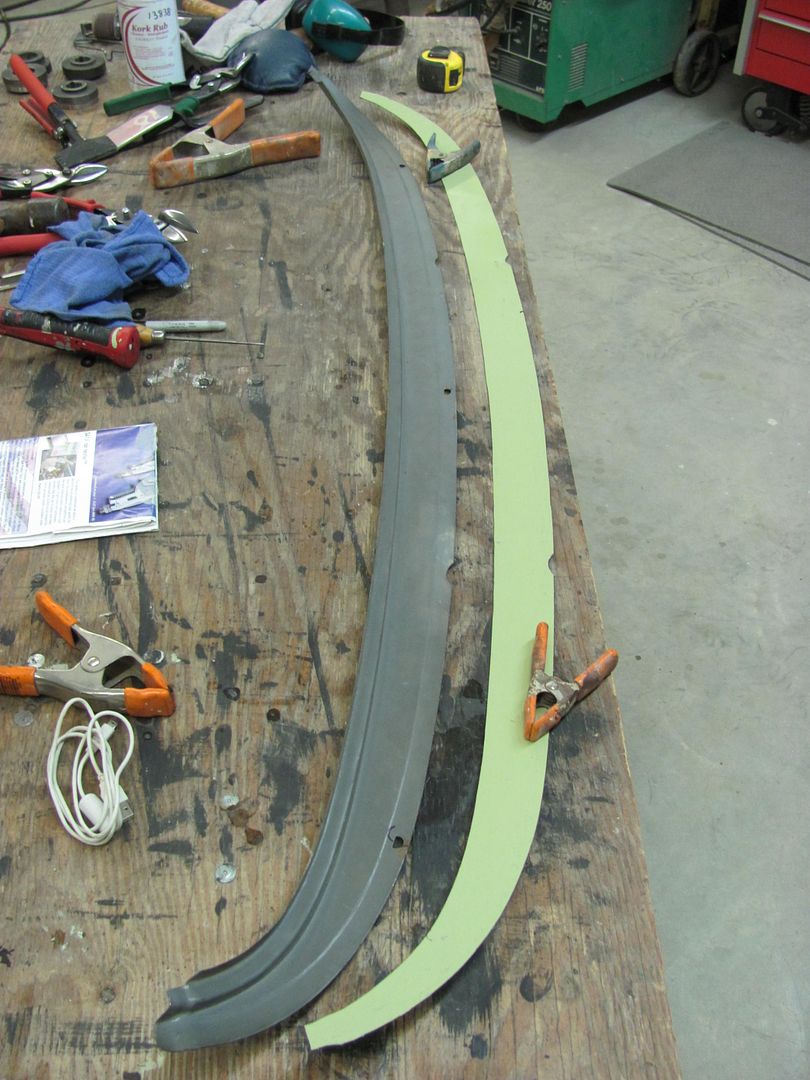
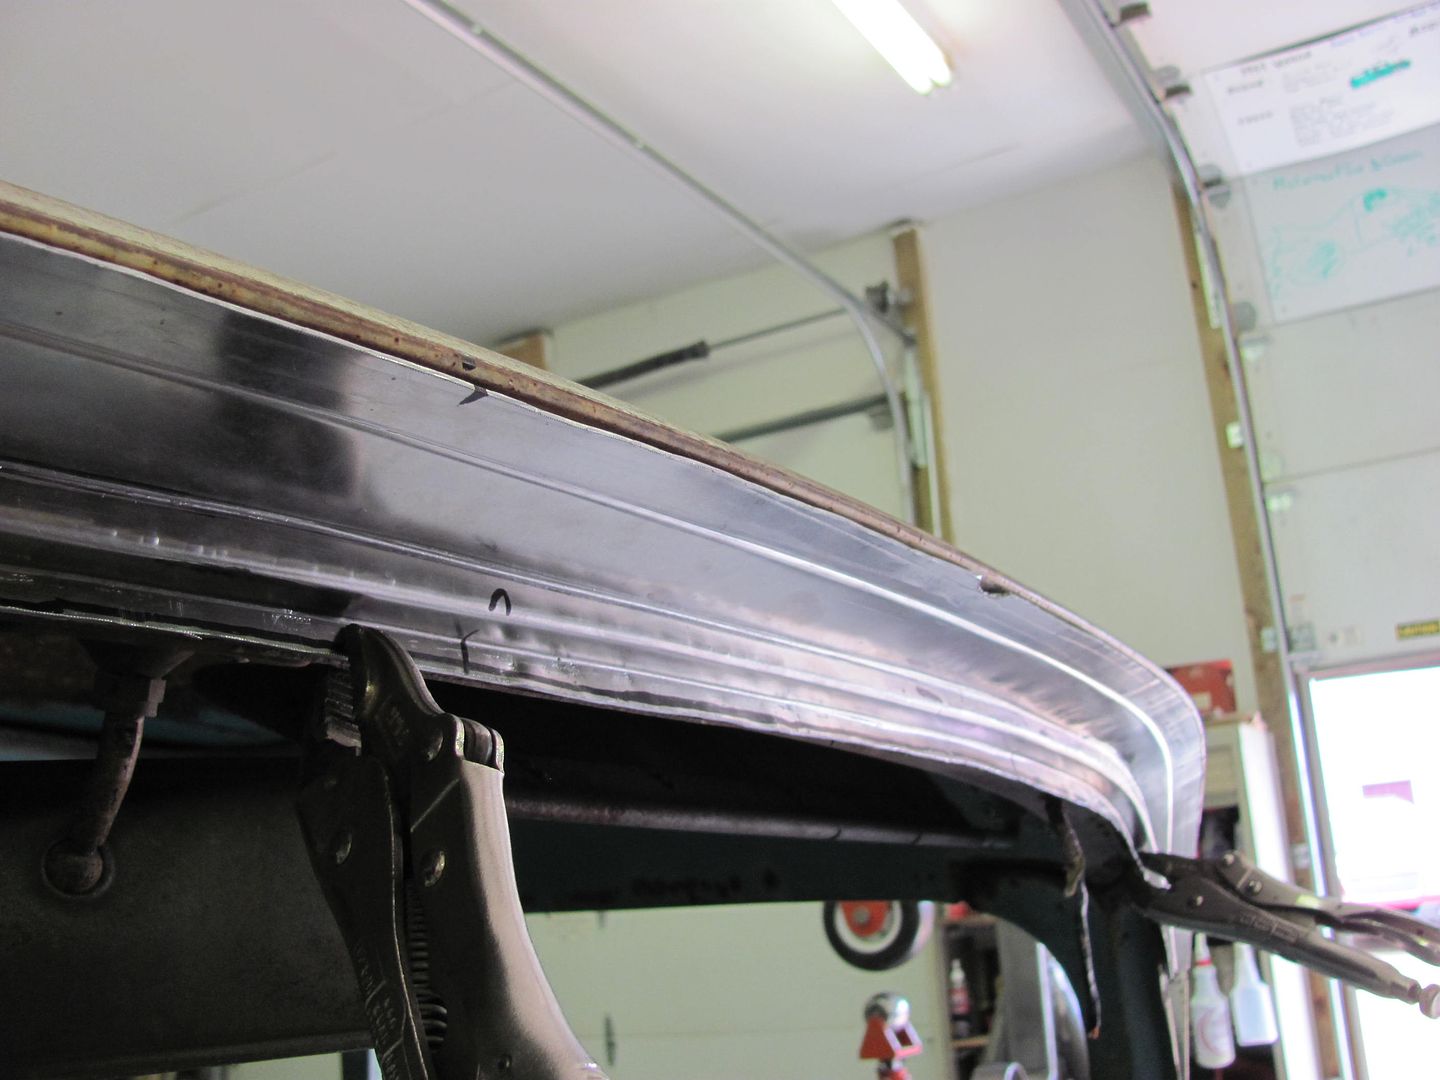
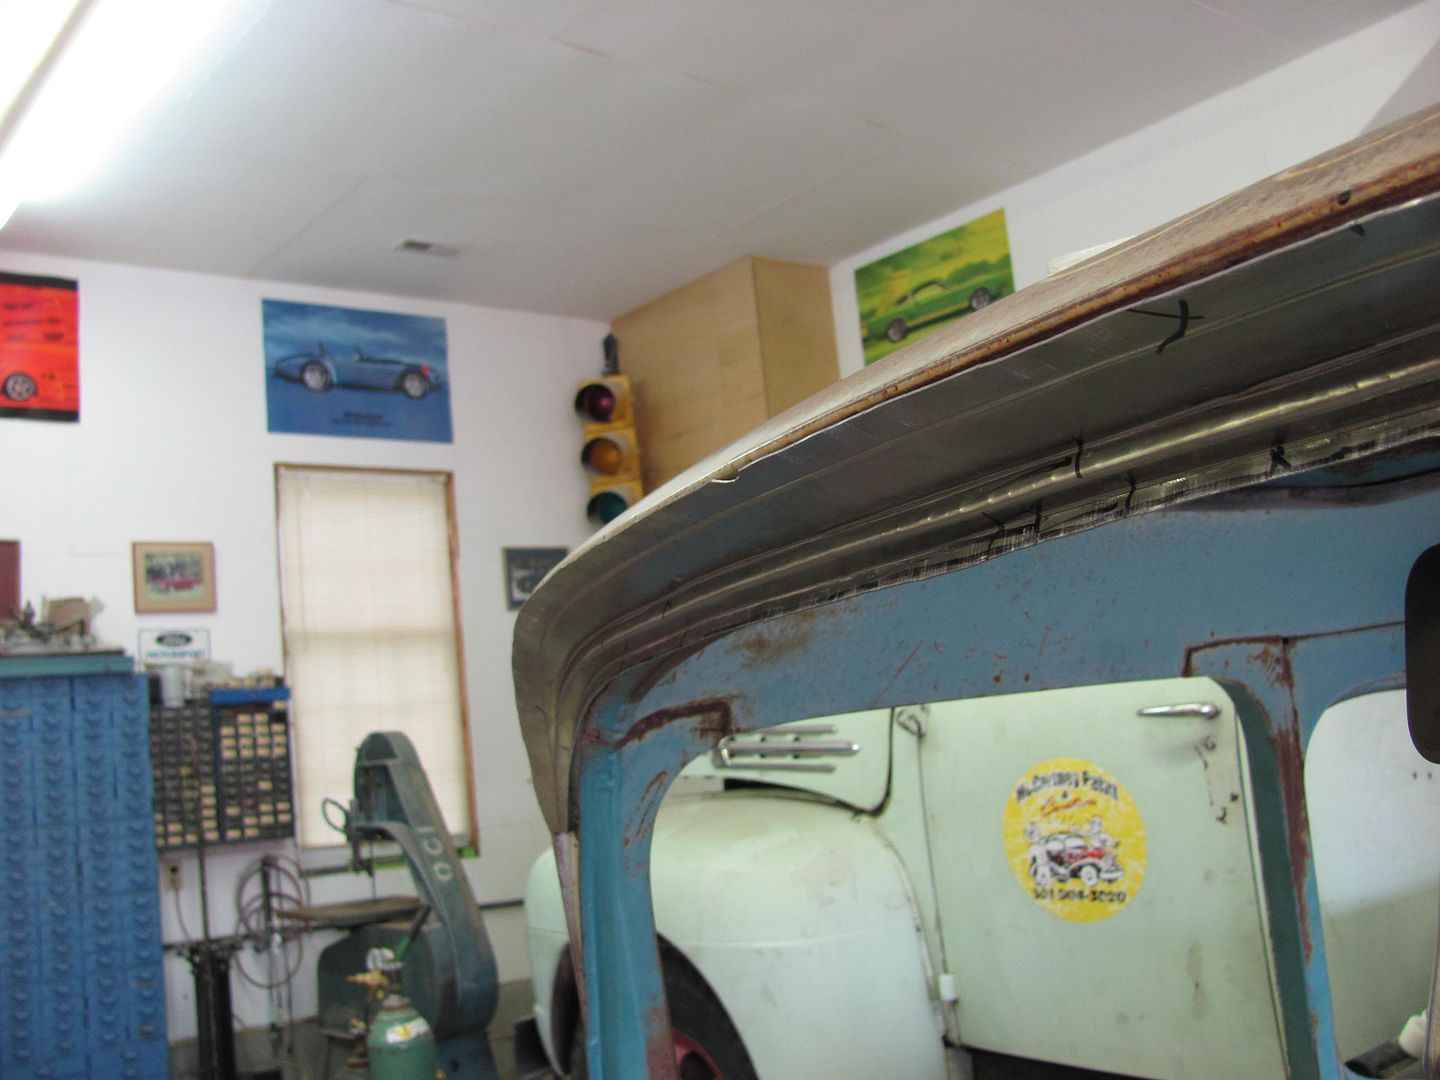
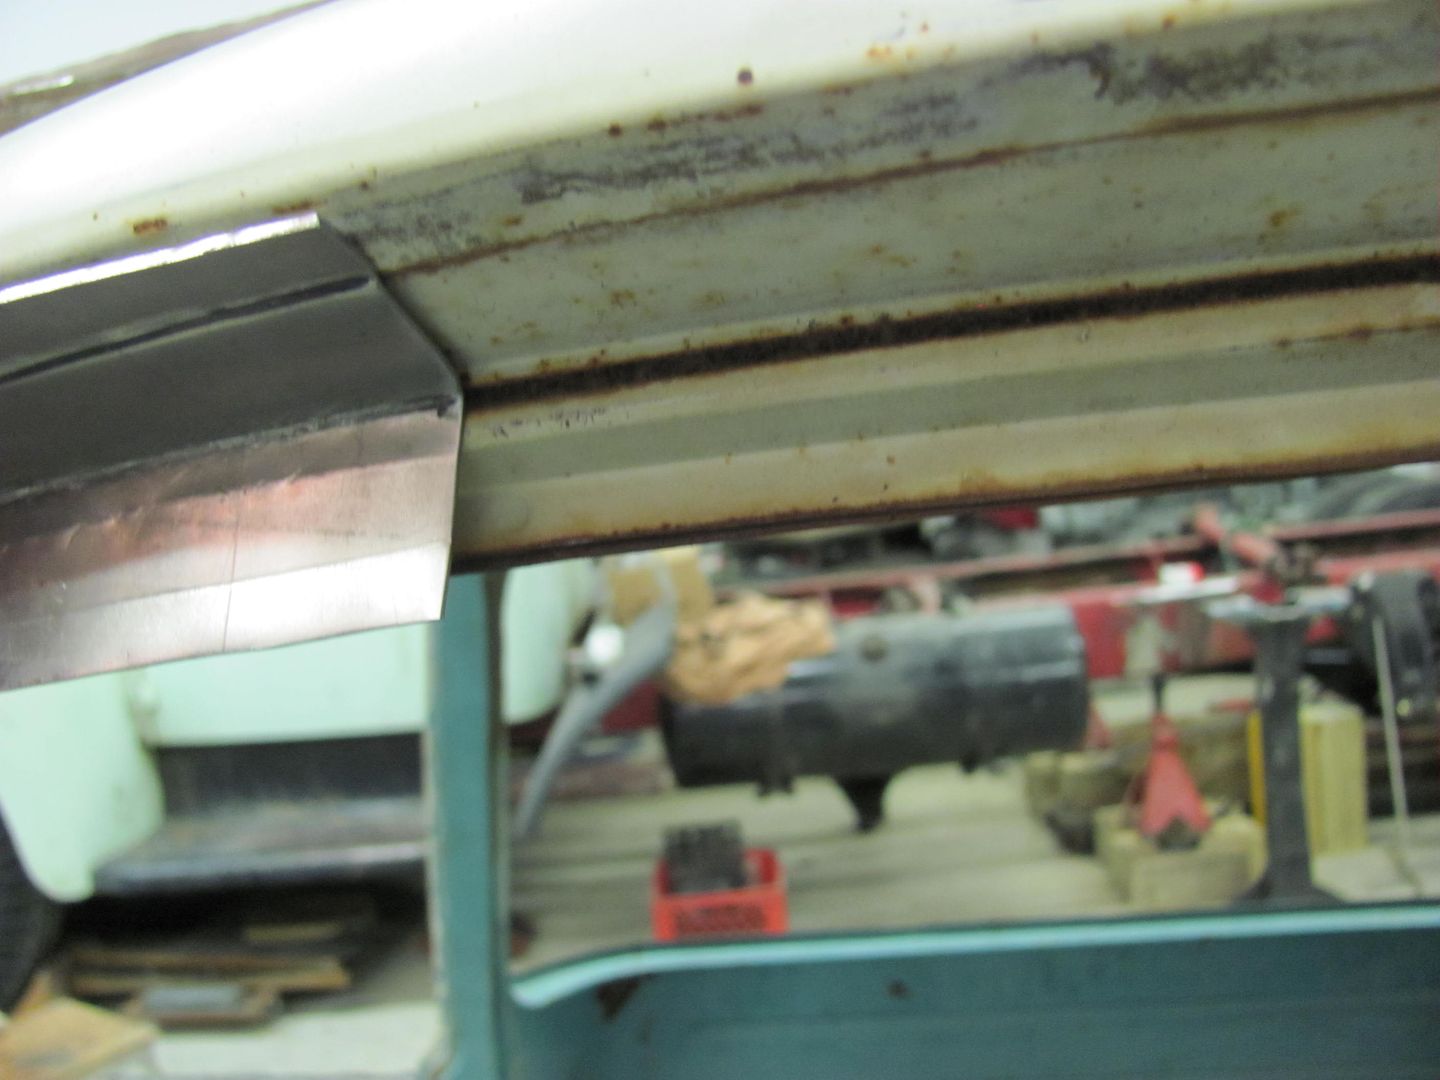
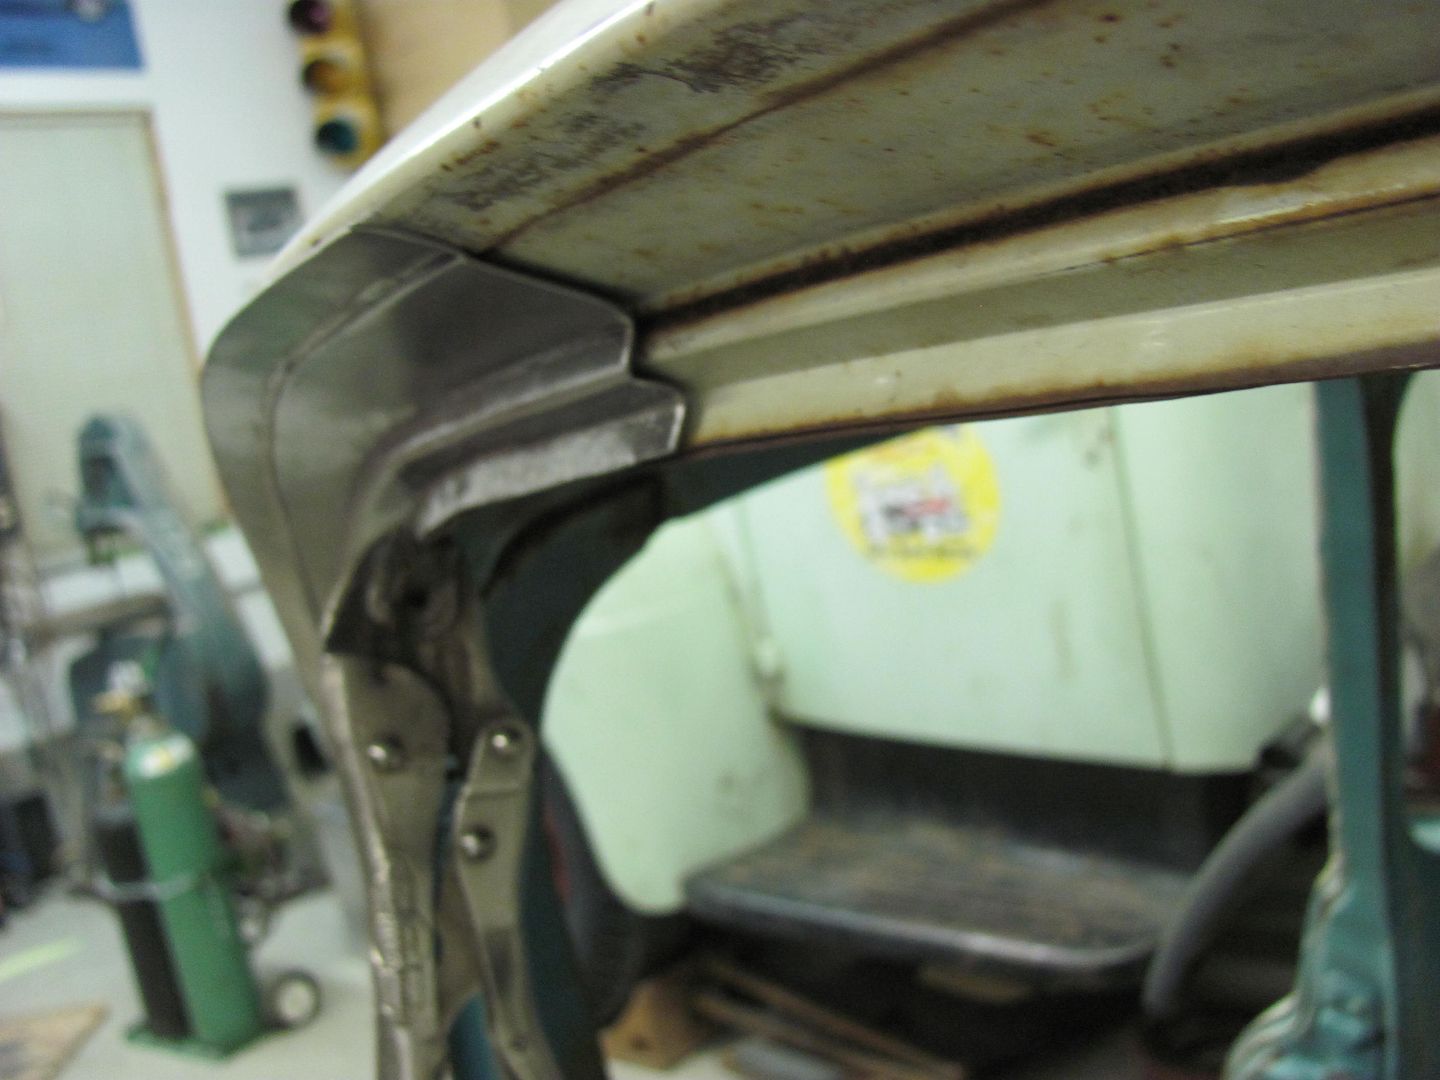
In order to have a specific fabrication project to work on, we chose the panel just above the windshield of the Task Force trucks (1955-59). This is an area commonly plagued with rust issues due to condensation inside the roof:

Where they are now reproducing complete cabs, or roof panels with this panel attached, they have yet to market this panel alone. Since I had just set up my bead roller with the tipping wheel, I thought it would be a good candidate for fabricating this panel.
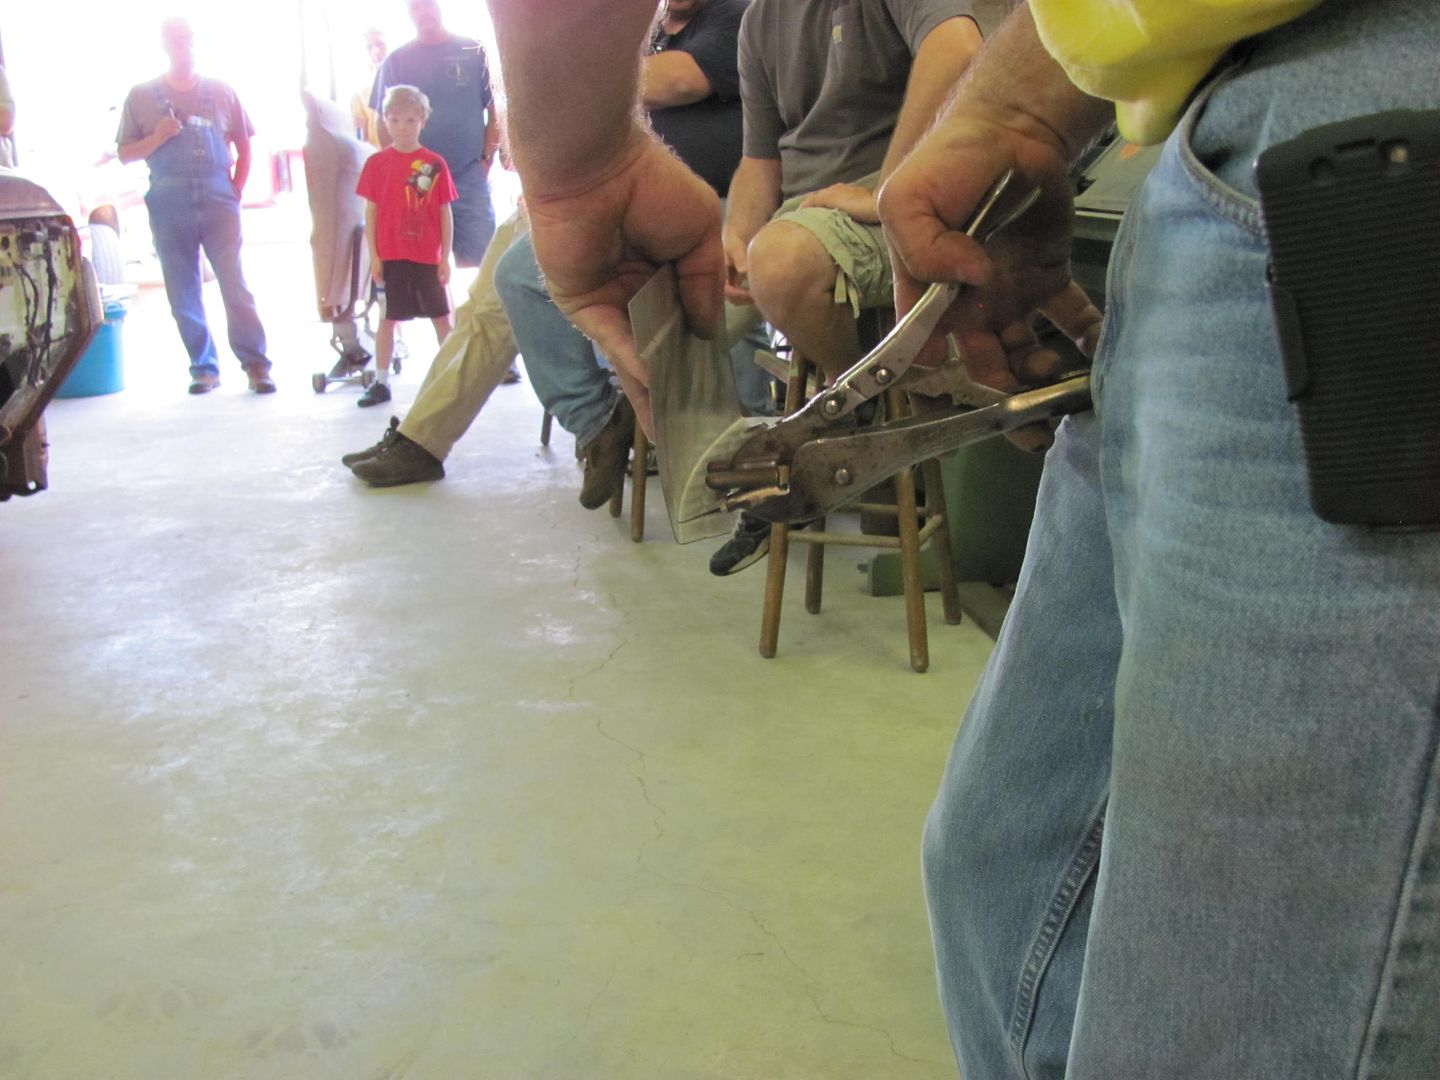
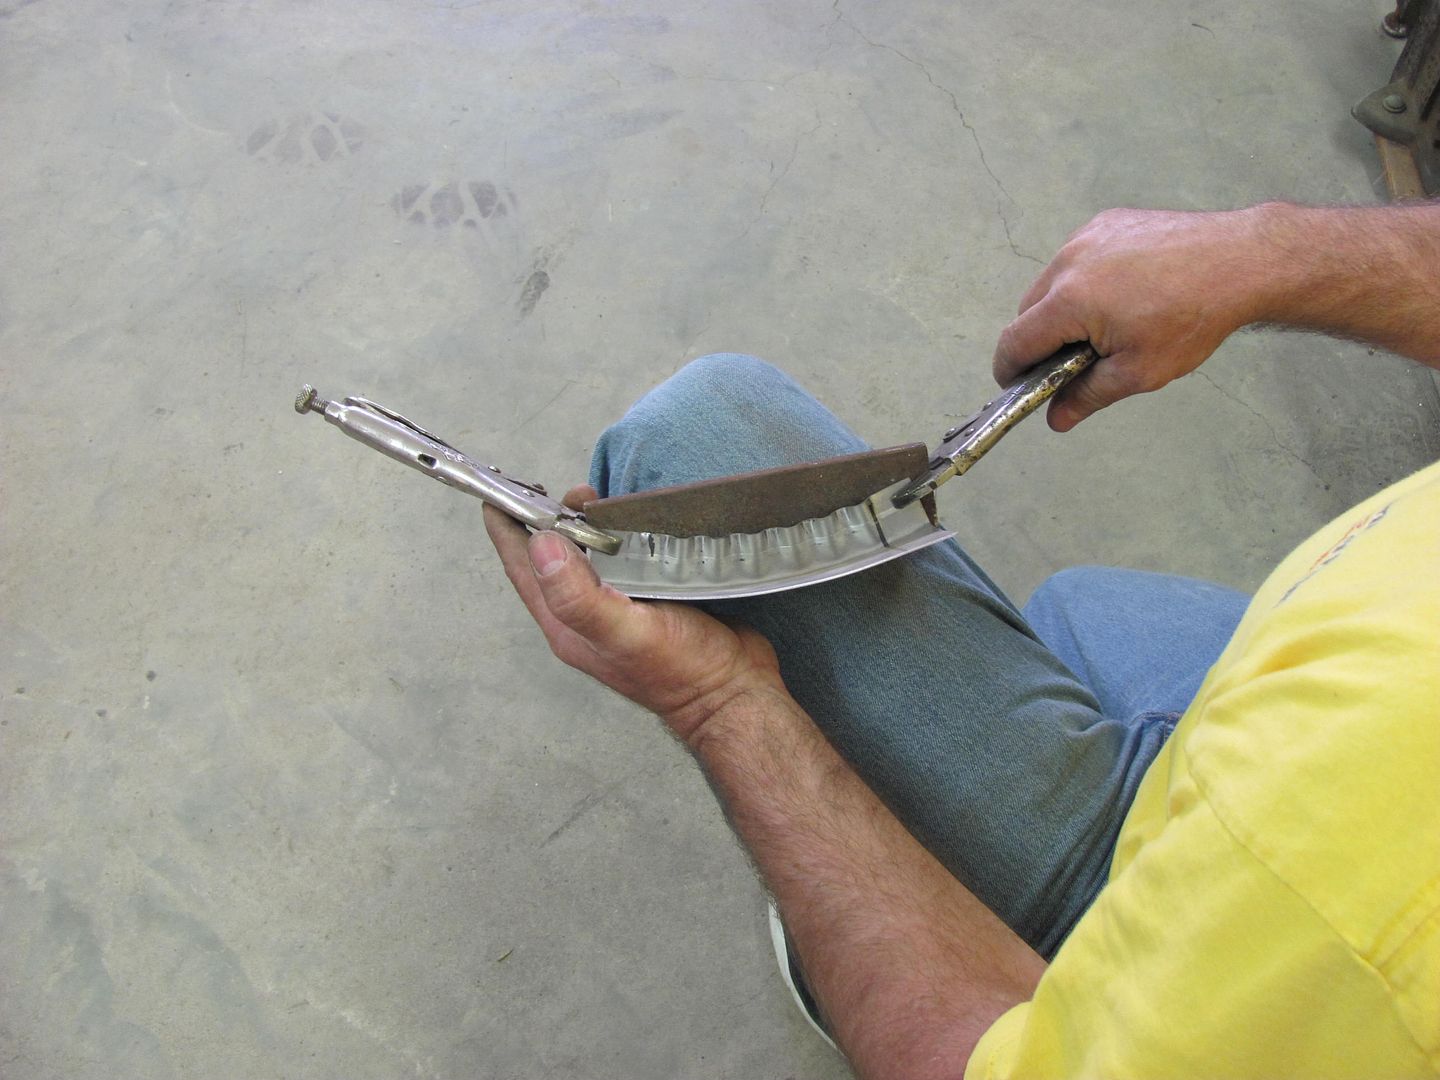
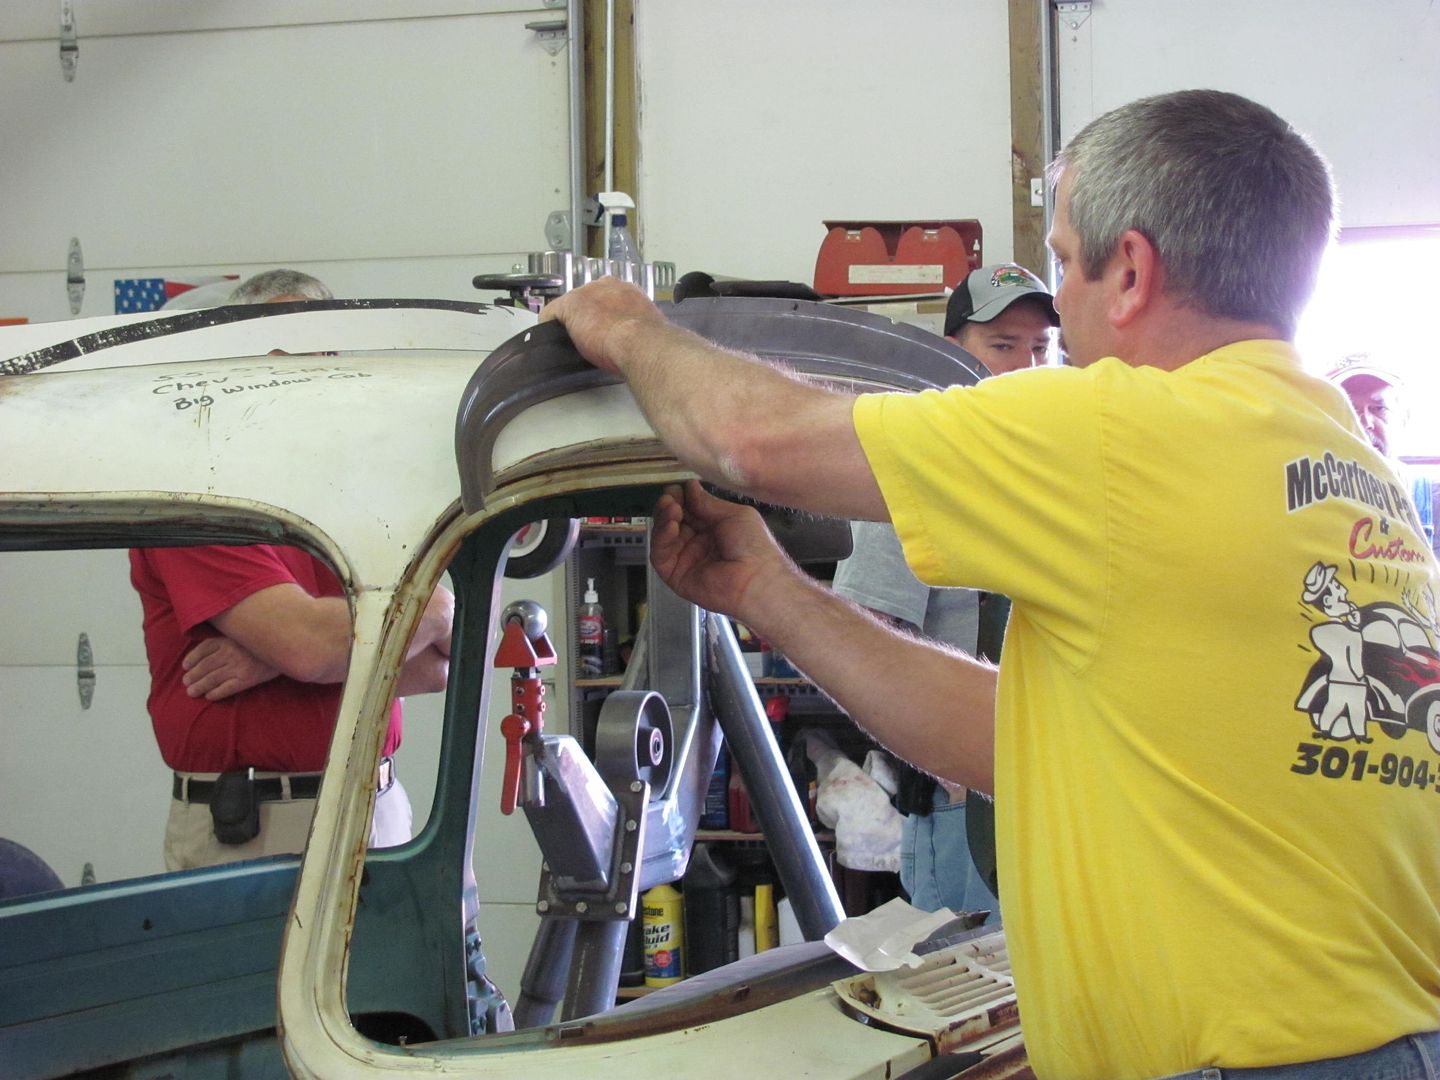
We did start the demo by showing some basic metalshaping, including tuck shrinking using modified vice grips..

One of the questions posed was whether it was better to use and modify poorly fitting reproduction panels or attempt fabrications from scratch. To demonstrate how "tweaking" of reproduction panel creased edges could be accomplished, the following was shown: Two folds were installed in a panel to simulate a factory bend, and then lines drawn in to move the bend to a new location. Hammering gradually from one side to the other did a fairly good job of moving the crease to the new location.

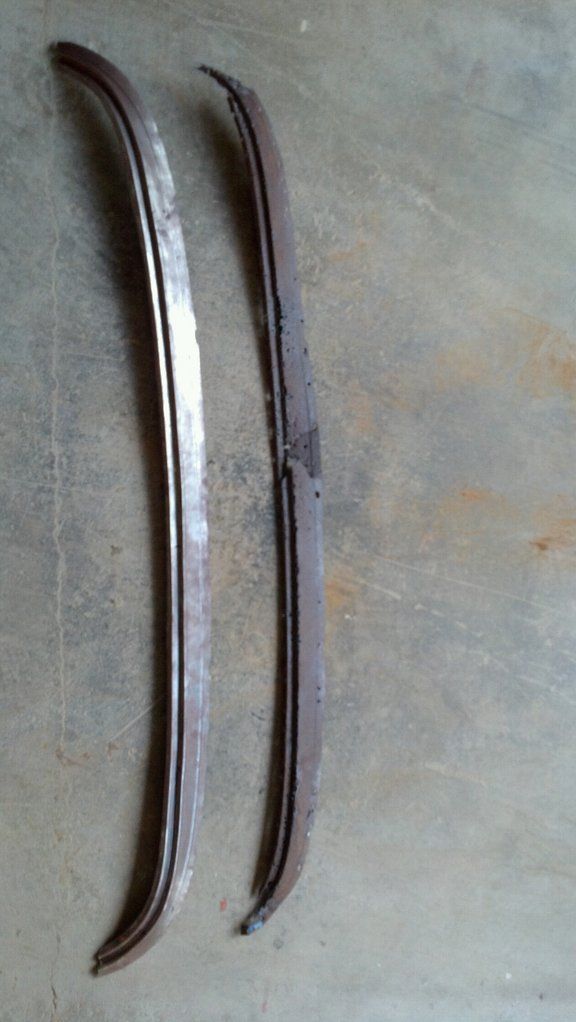
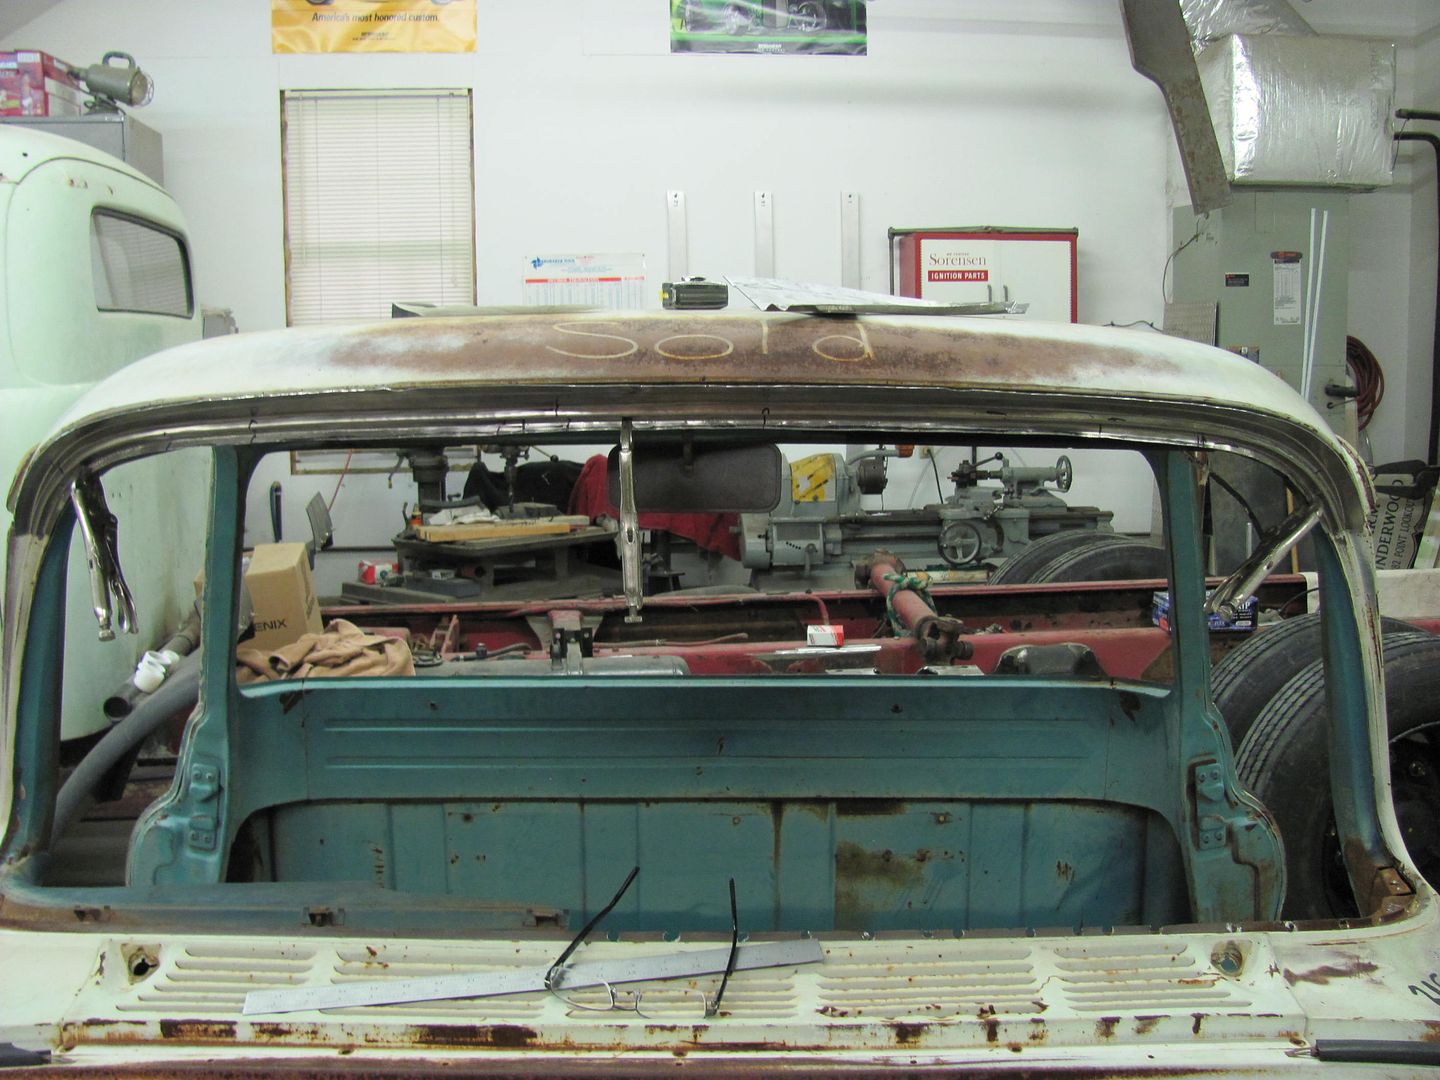
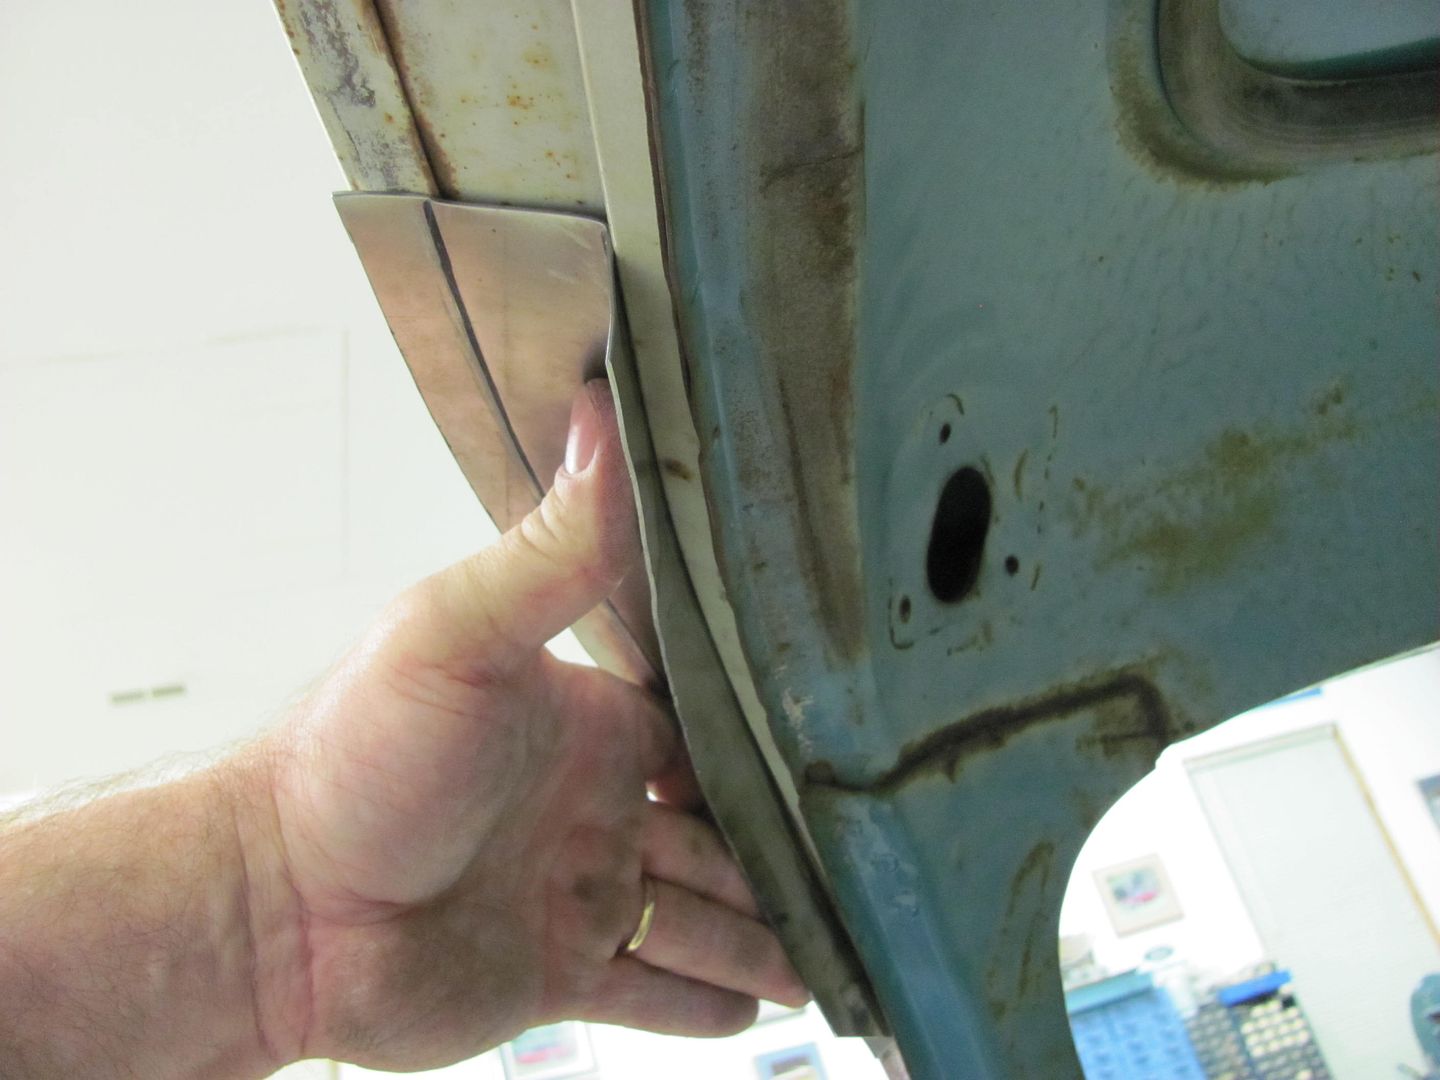
Moving on to our project fabrication, we had brought in a sample cab for fitment. As chance would have it, one of the local guys did have one of these panels in NOS form to also use as a pattern. He has it slated for installation in his own project truck later this year.
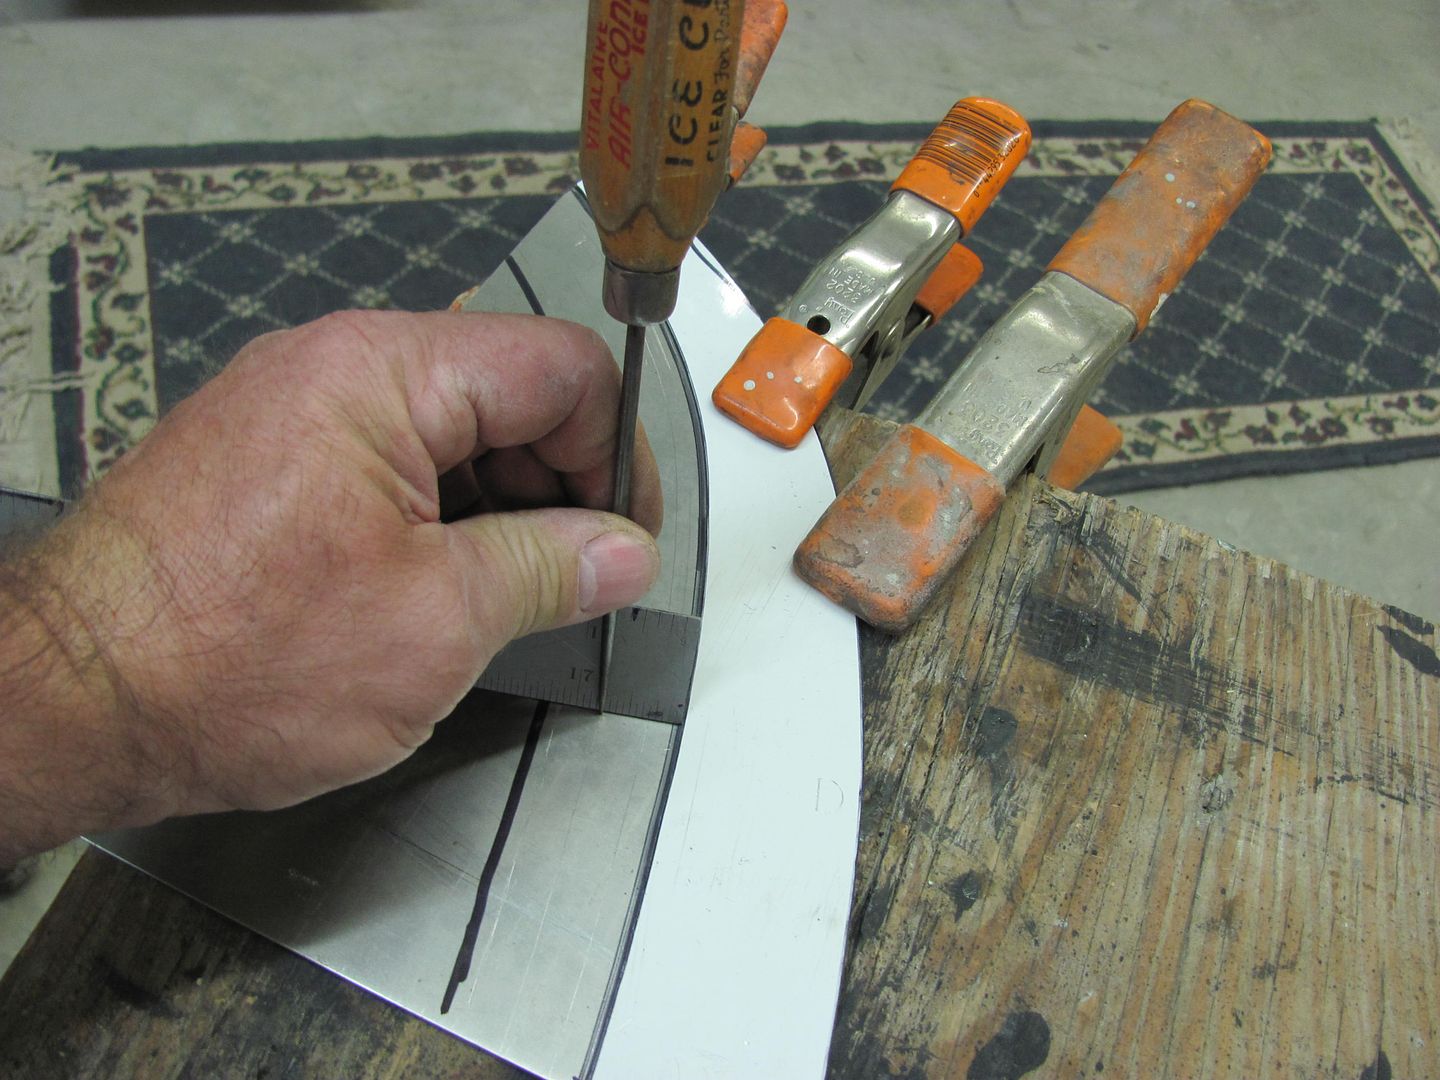
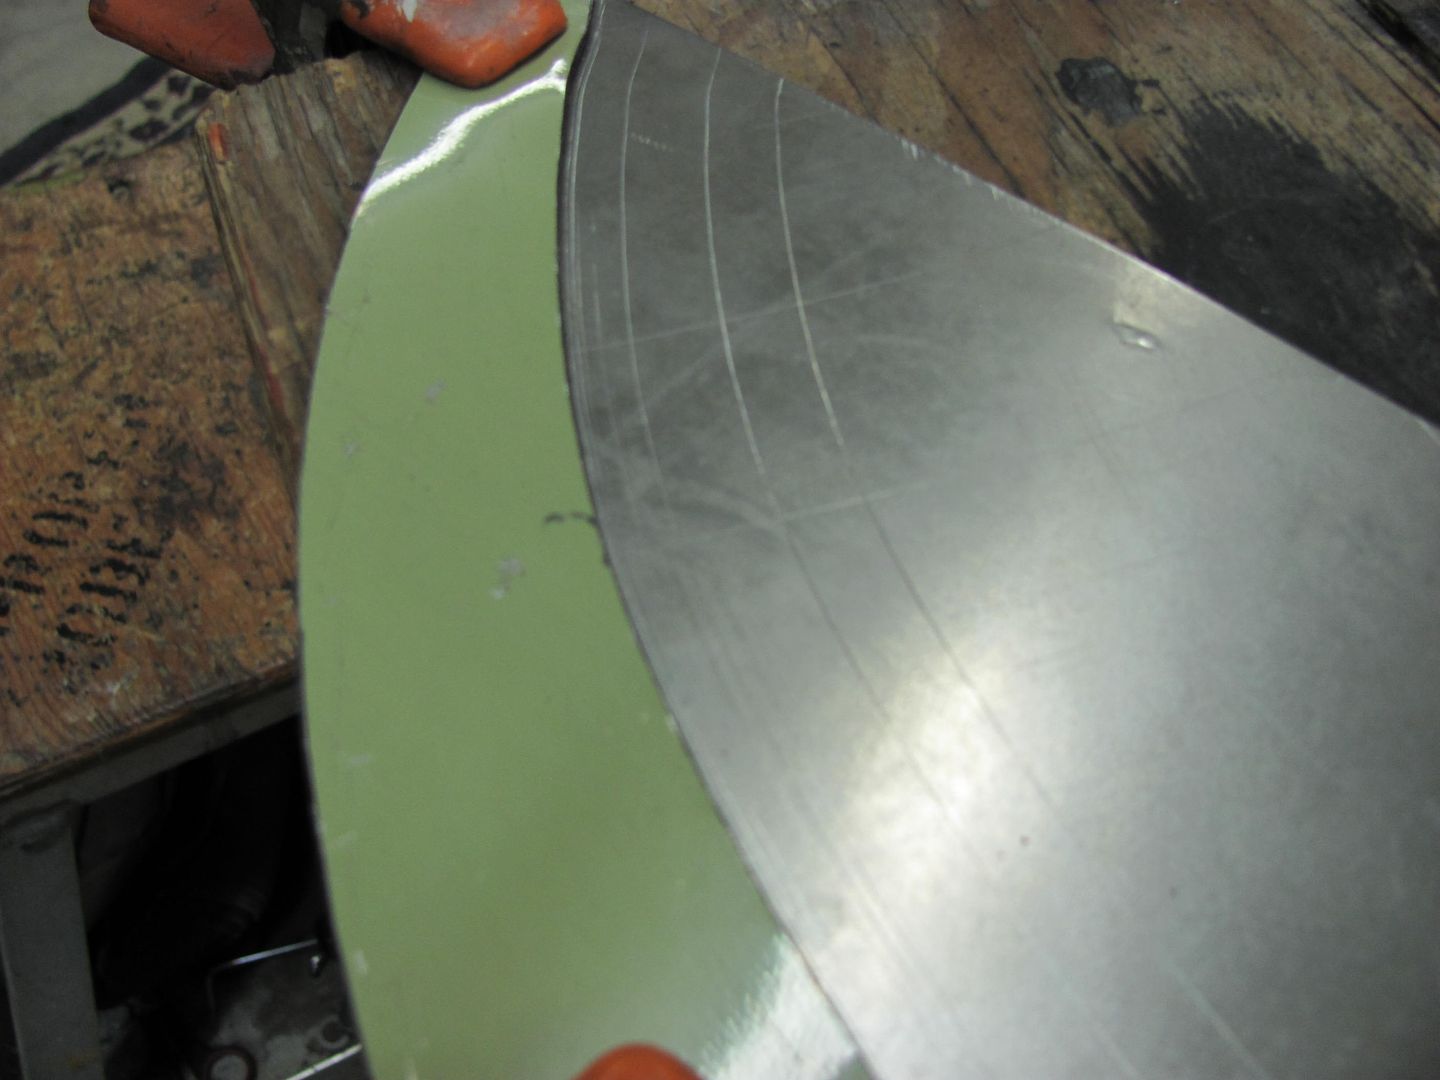
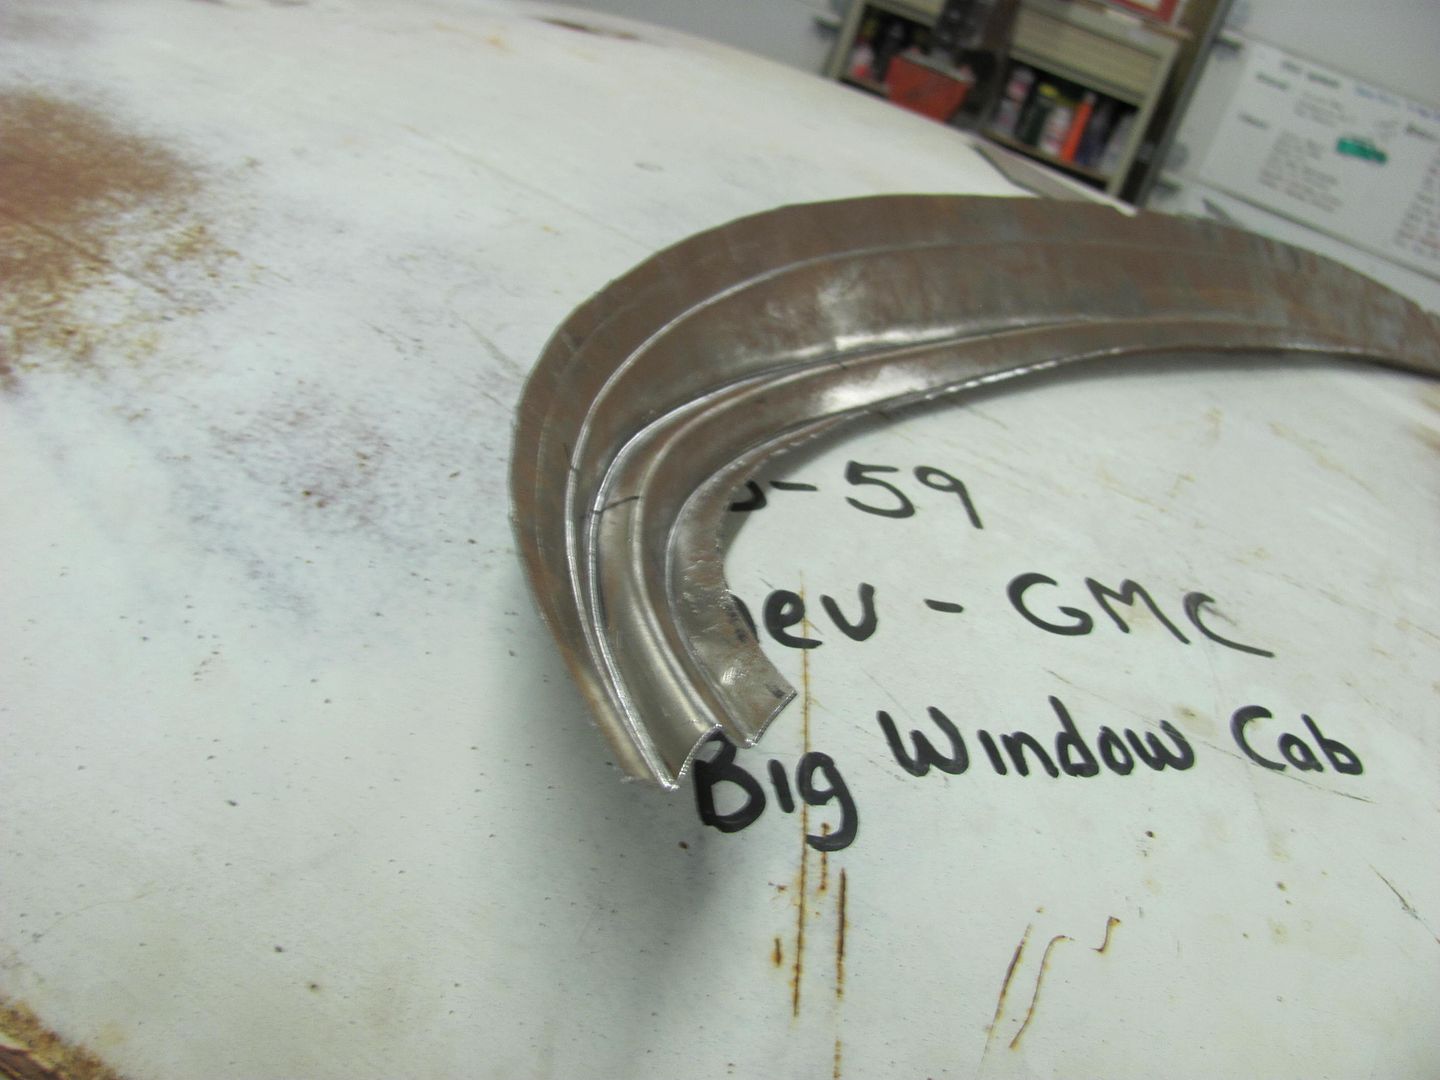
Using some rigid flashing material, a template was made of the upper portion of the NOS panel, and then also compared to the sample cab.
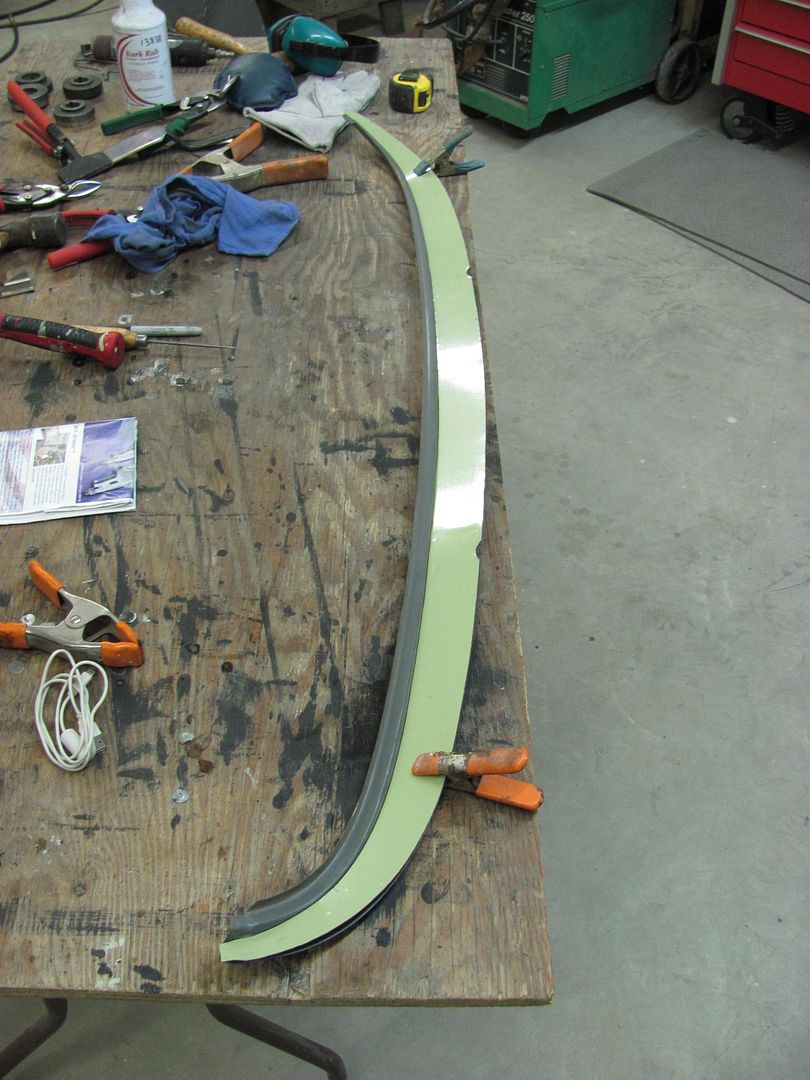
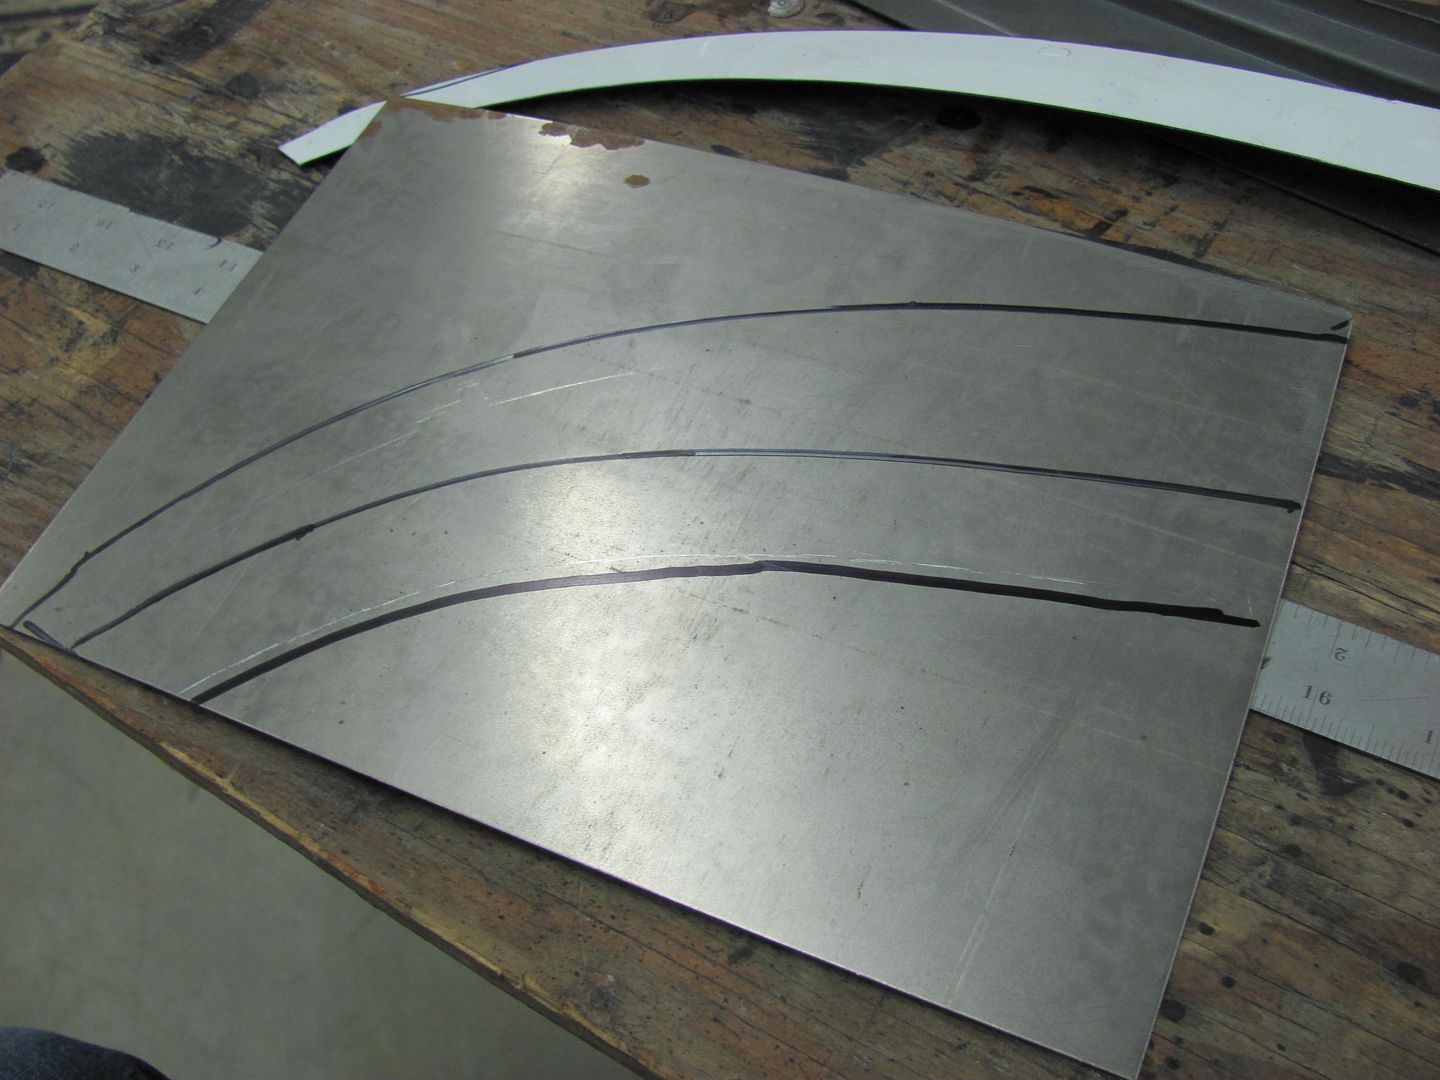
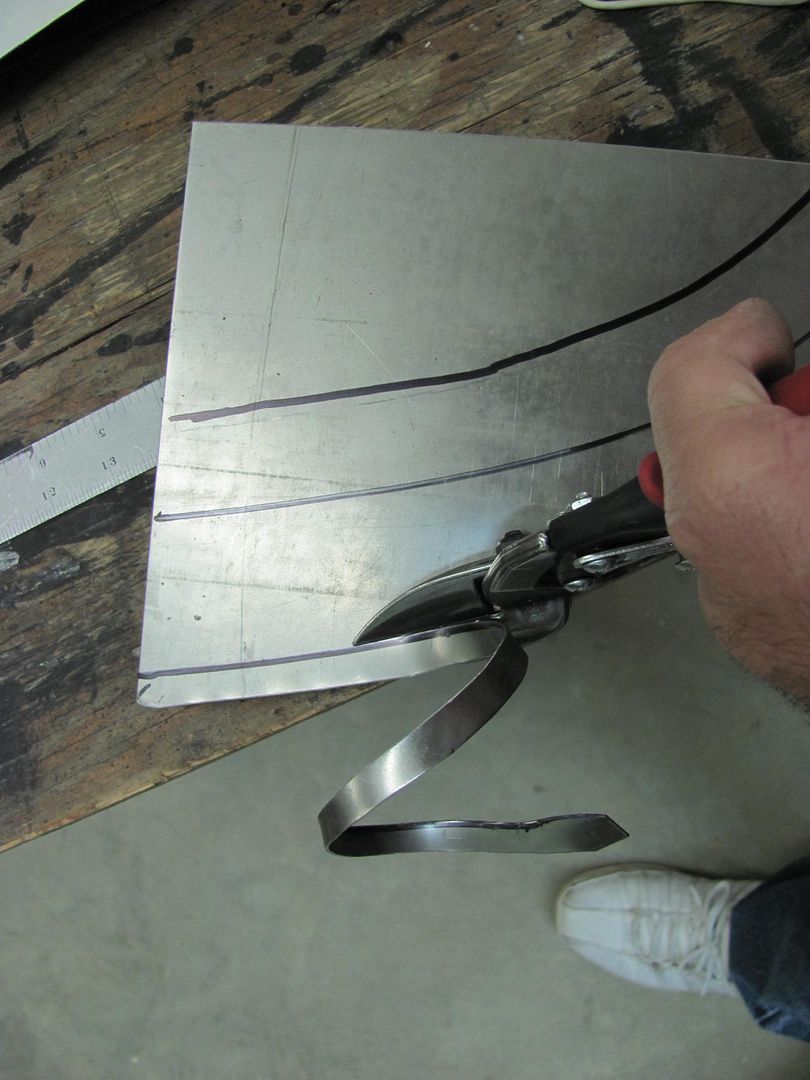
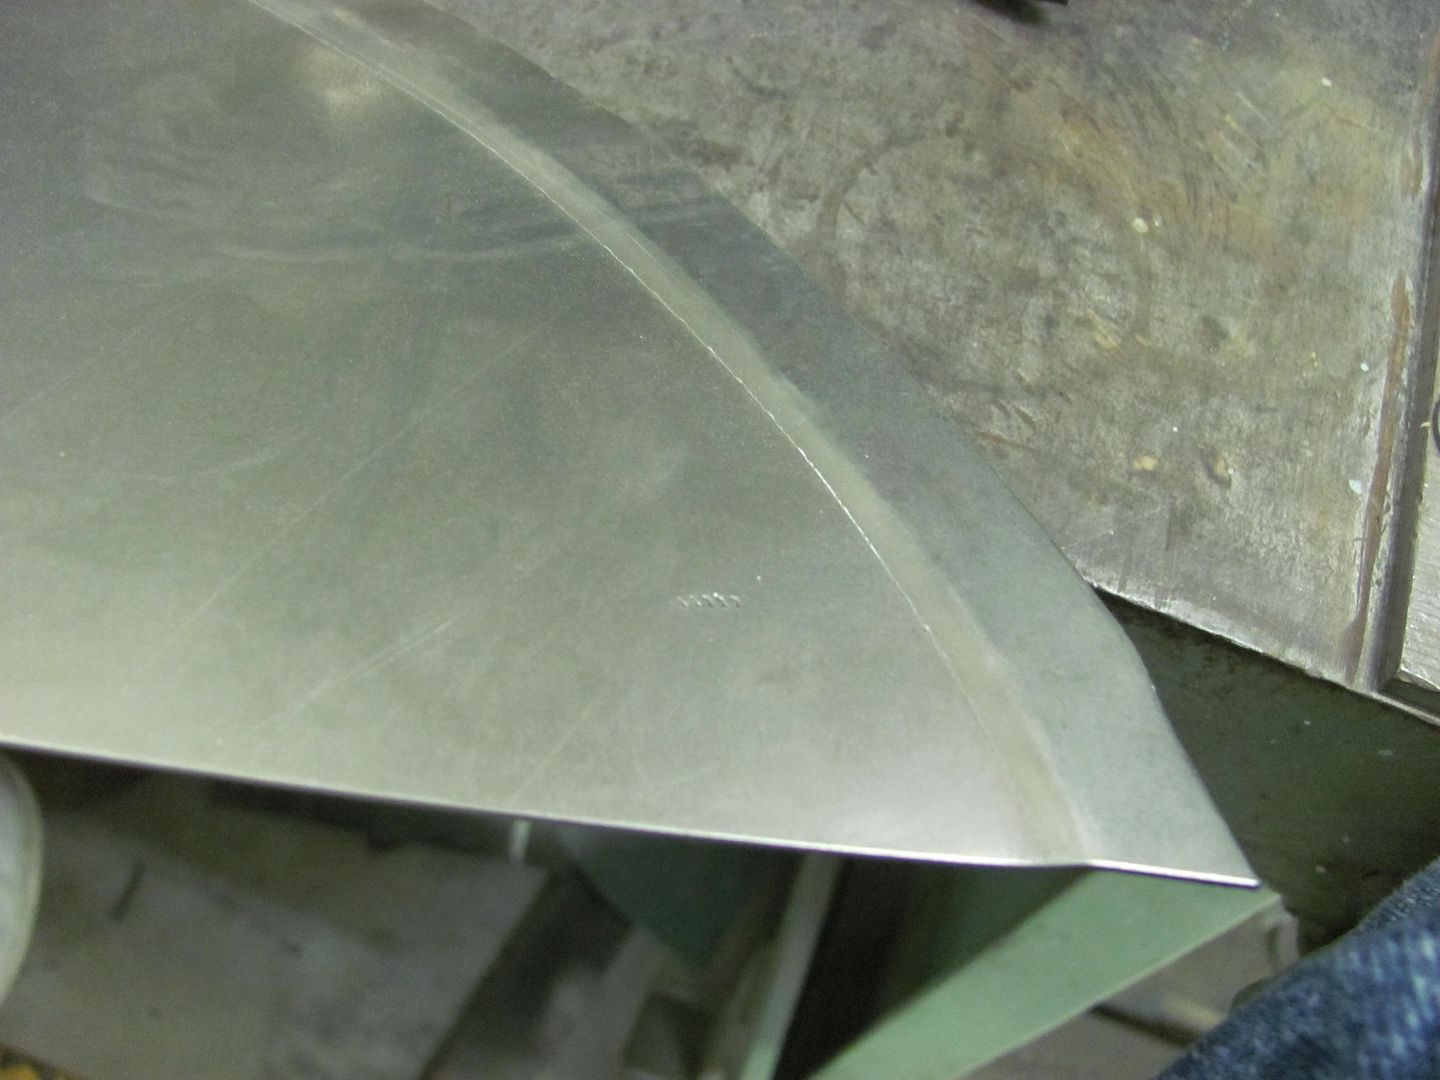
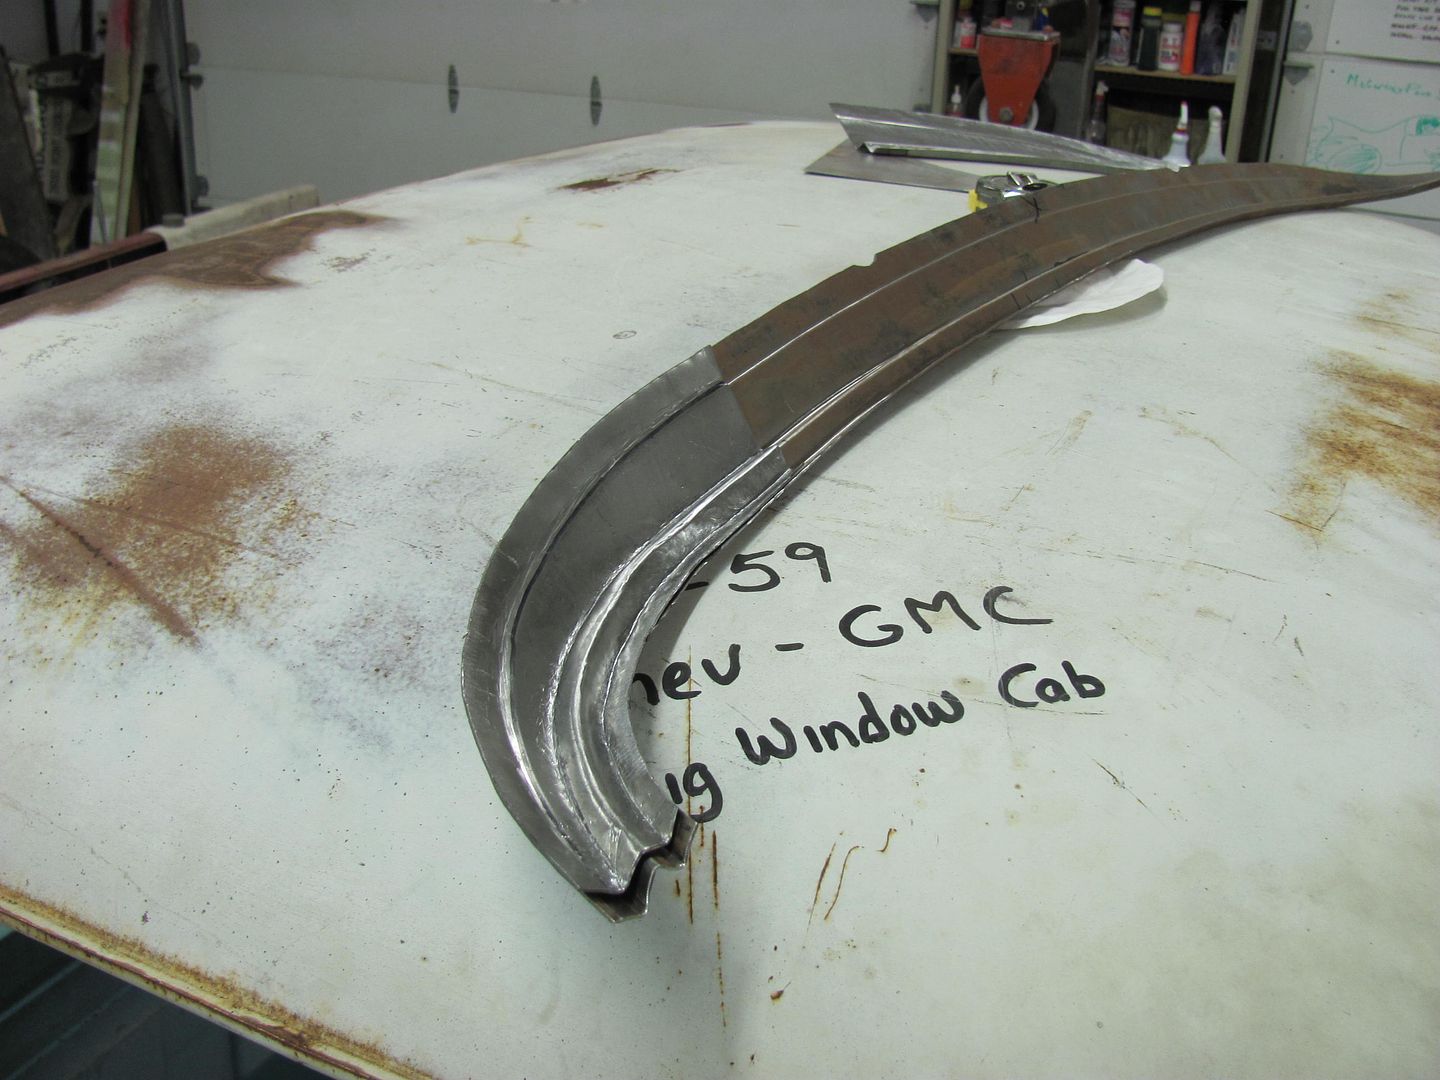
The pattern was transferred to some 18 ga with extra material left on the bottom to make the various folds, and then cut out with snips.
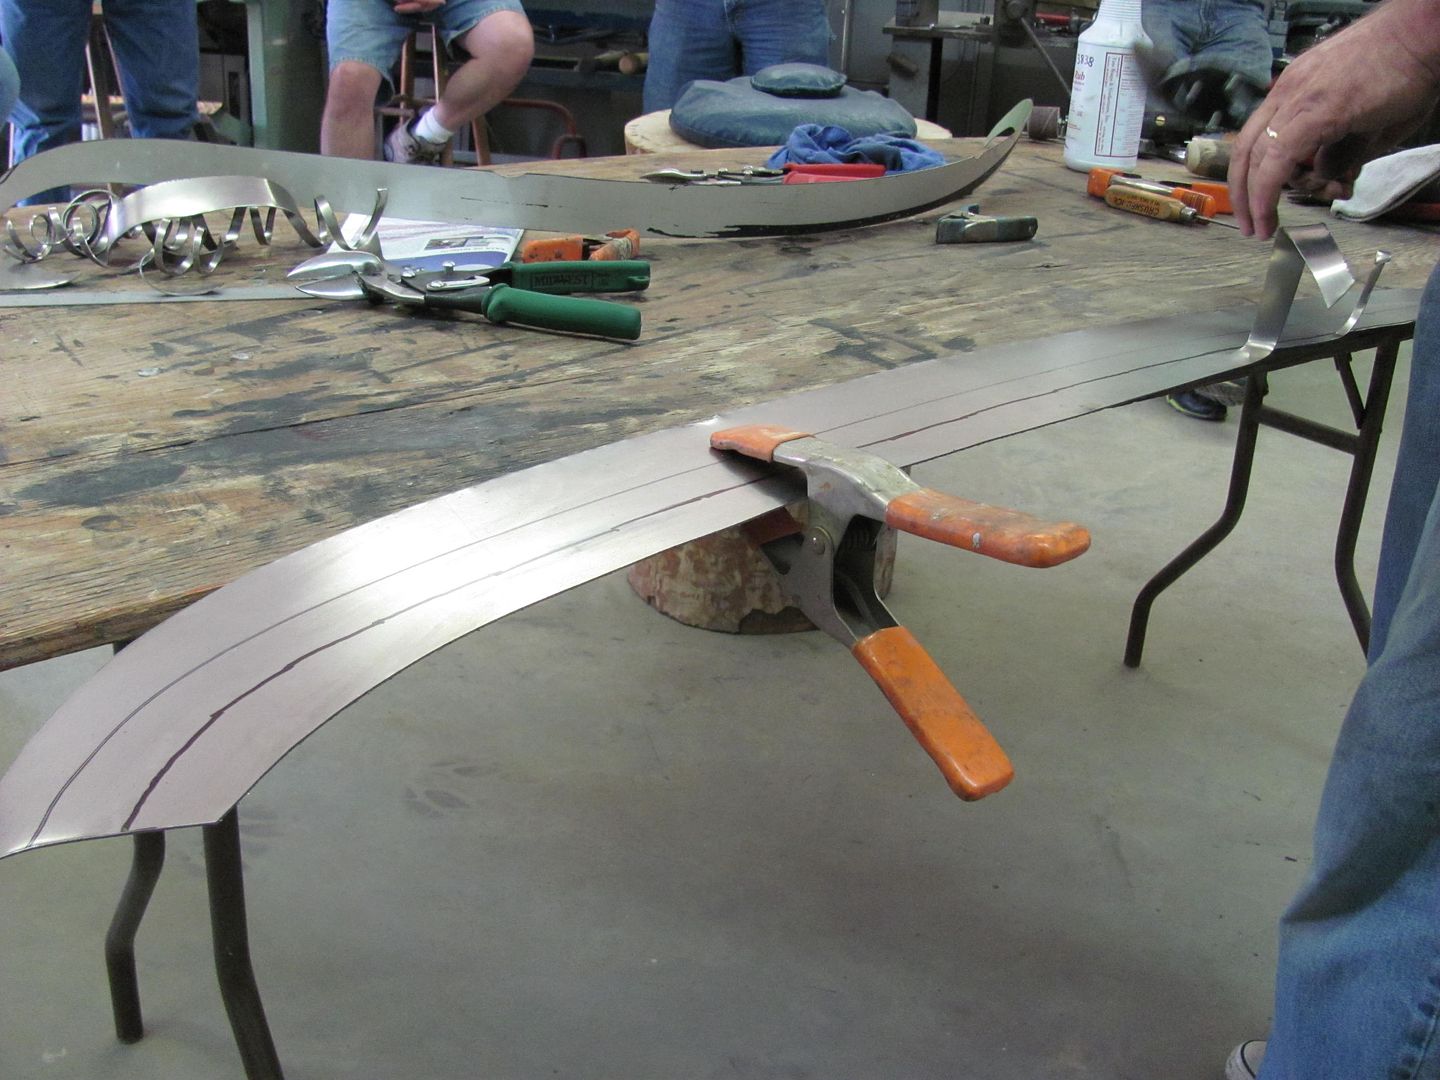
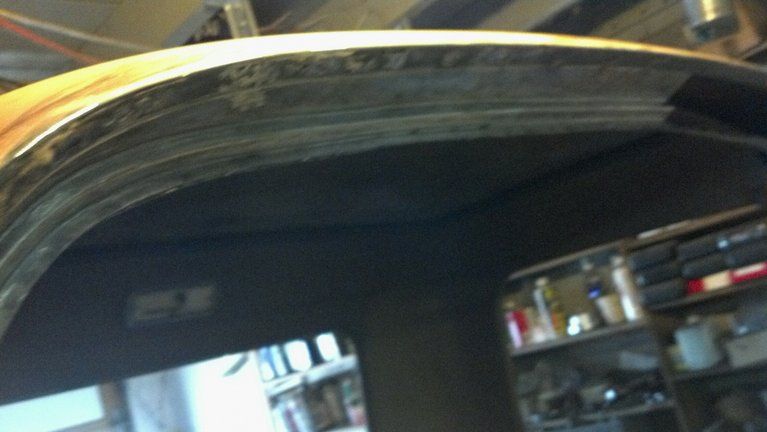
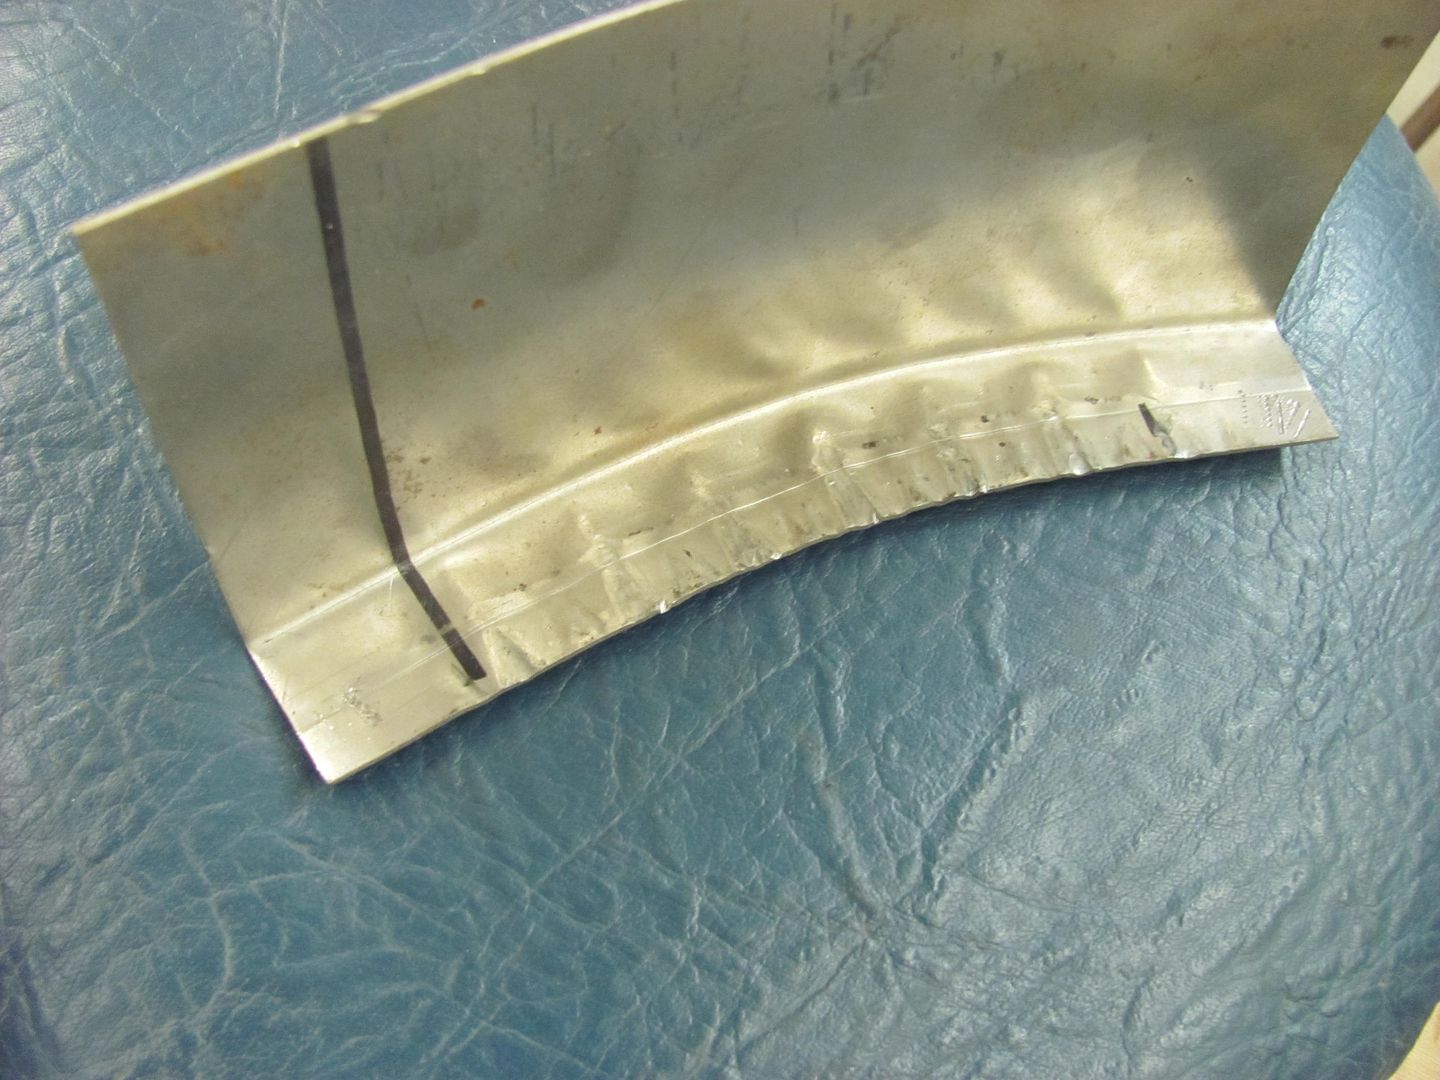
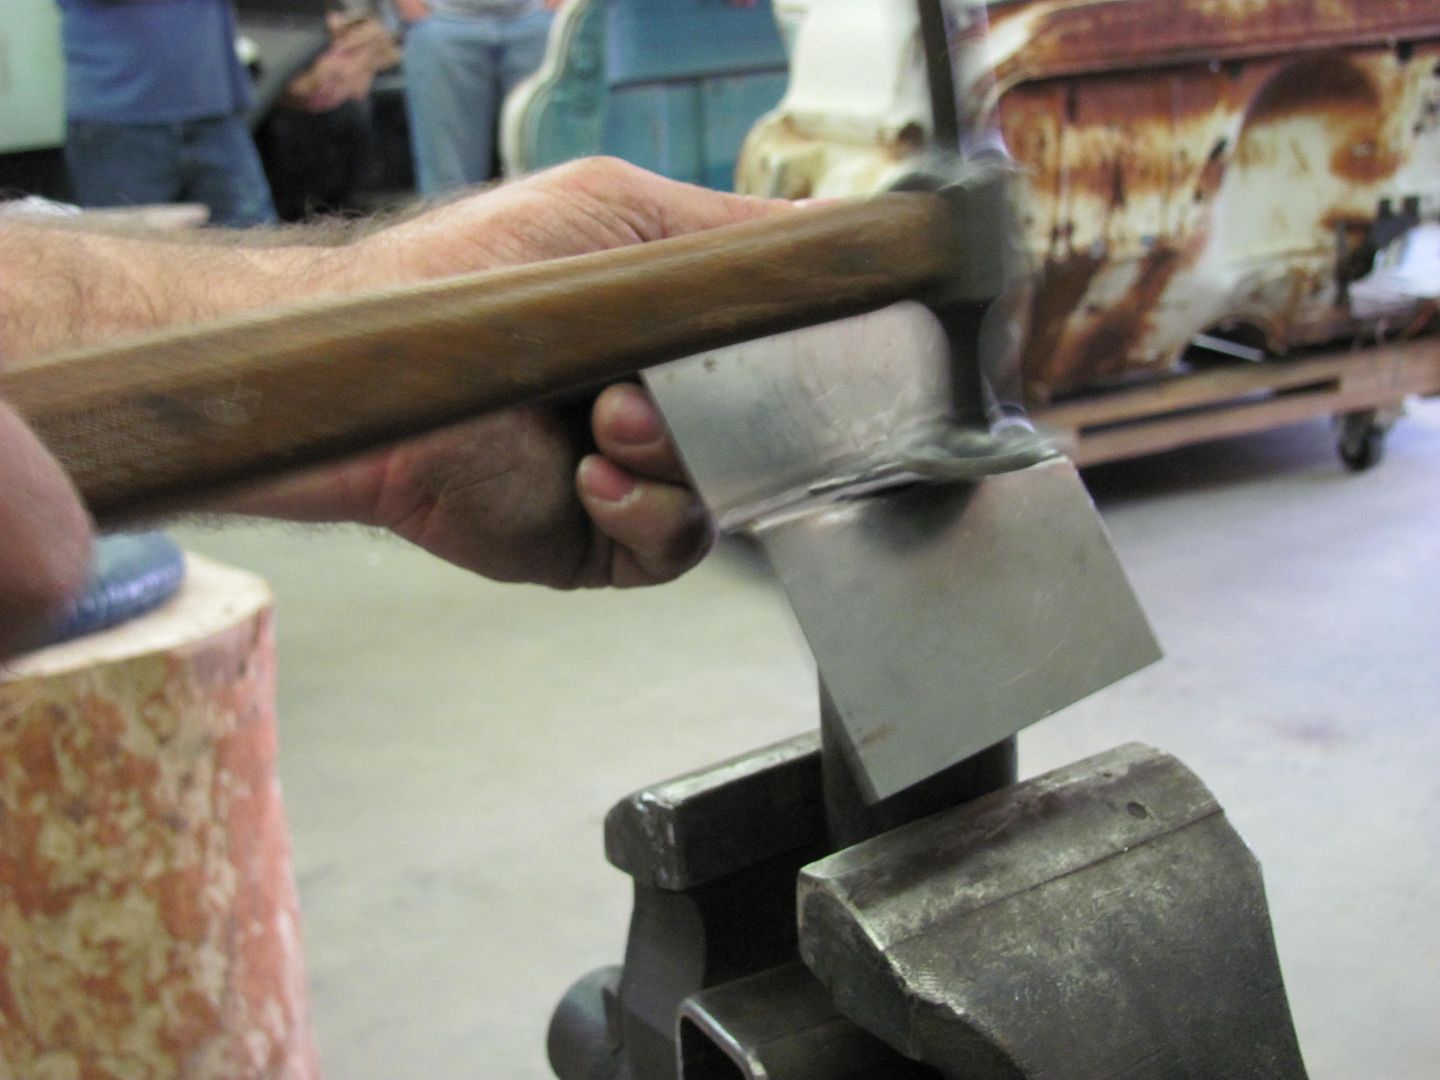
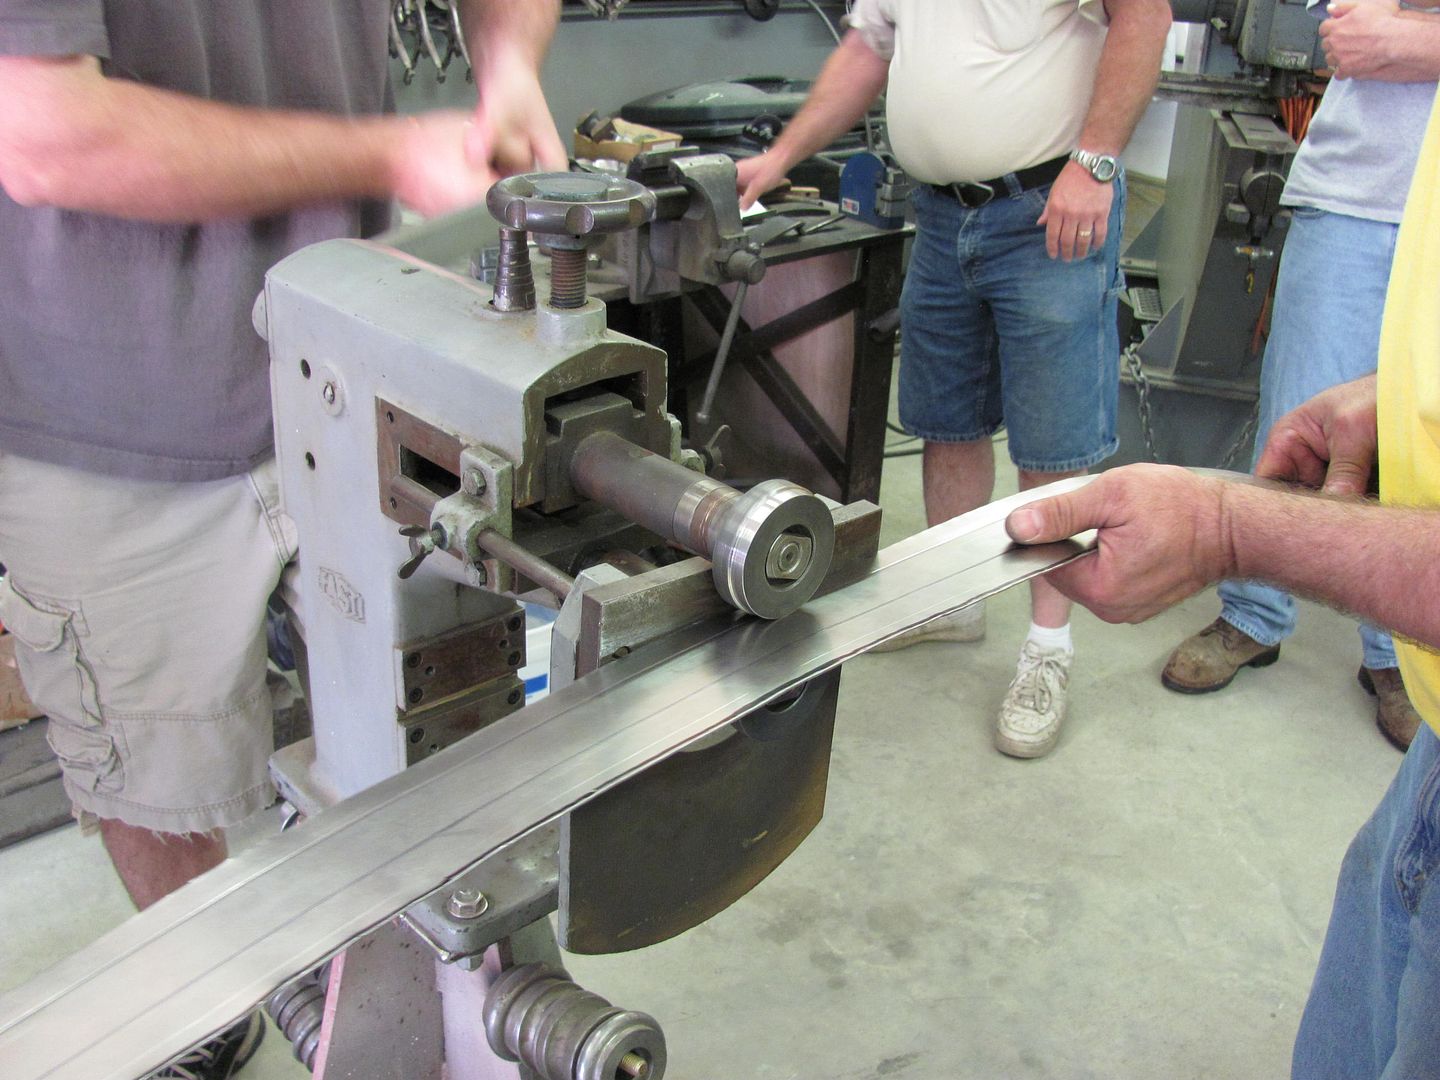
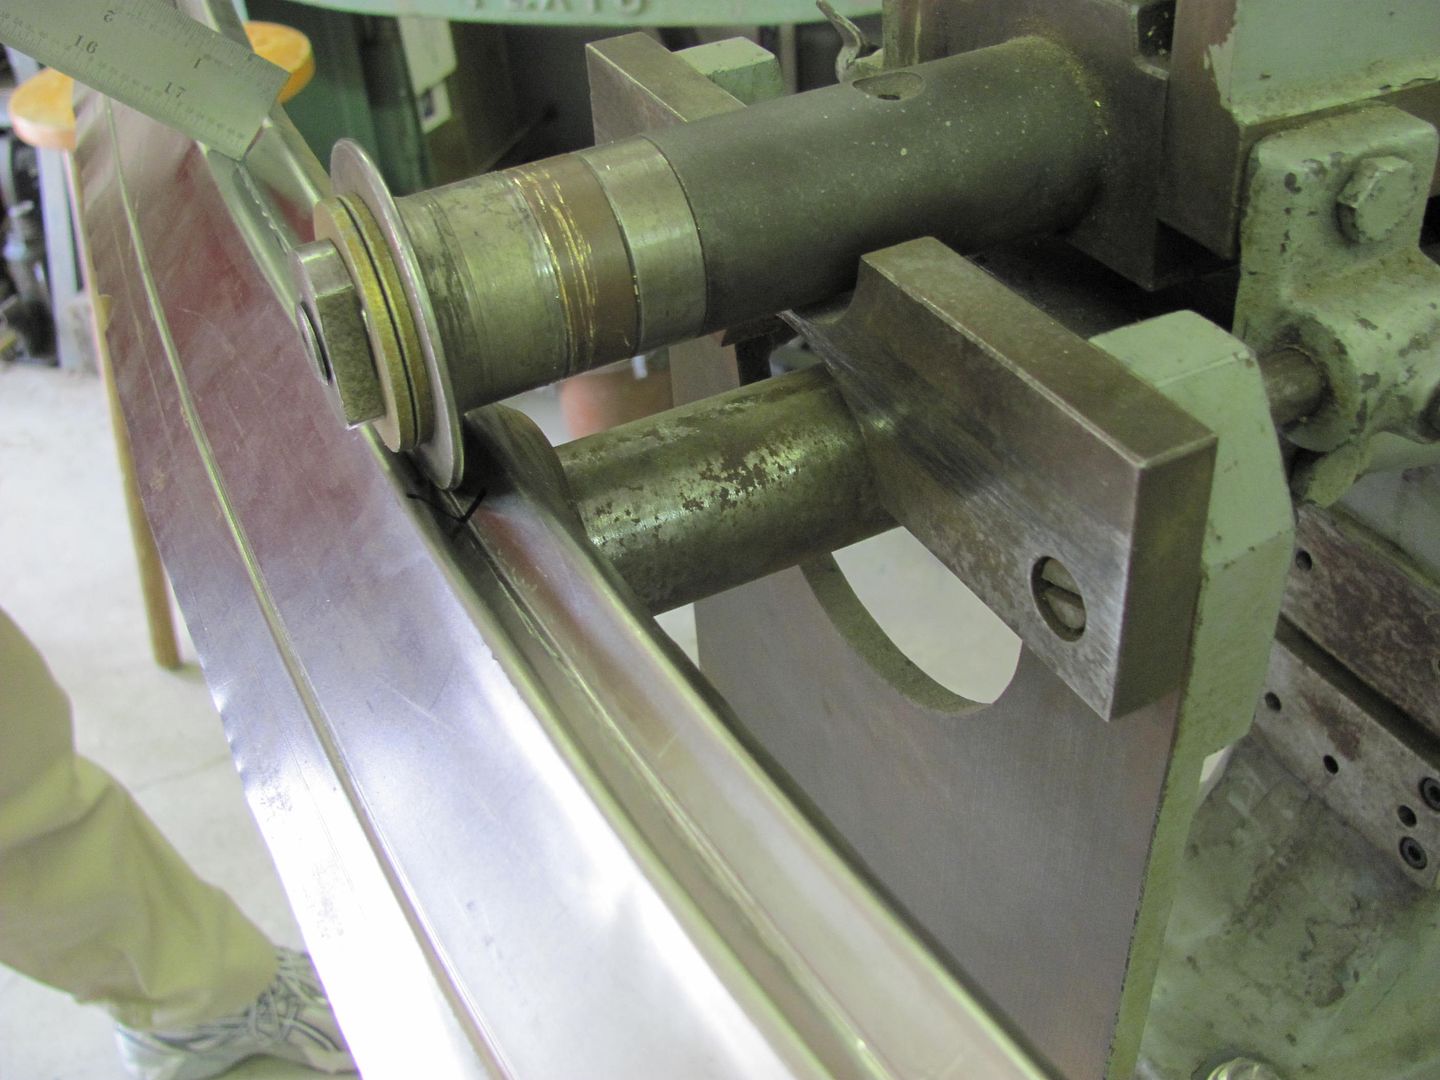
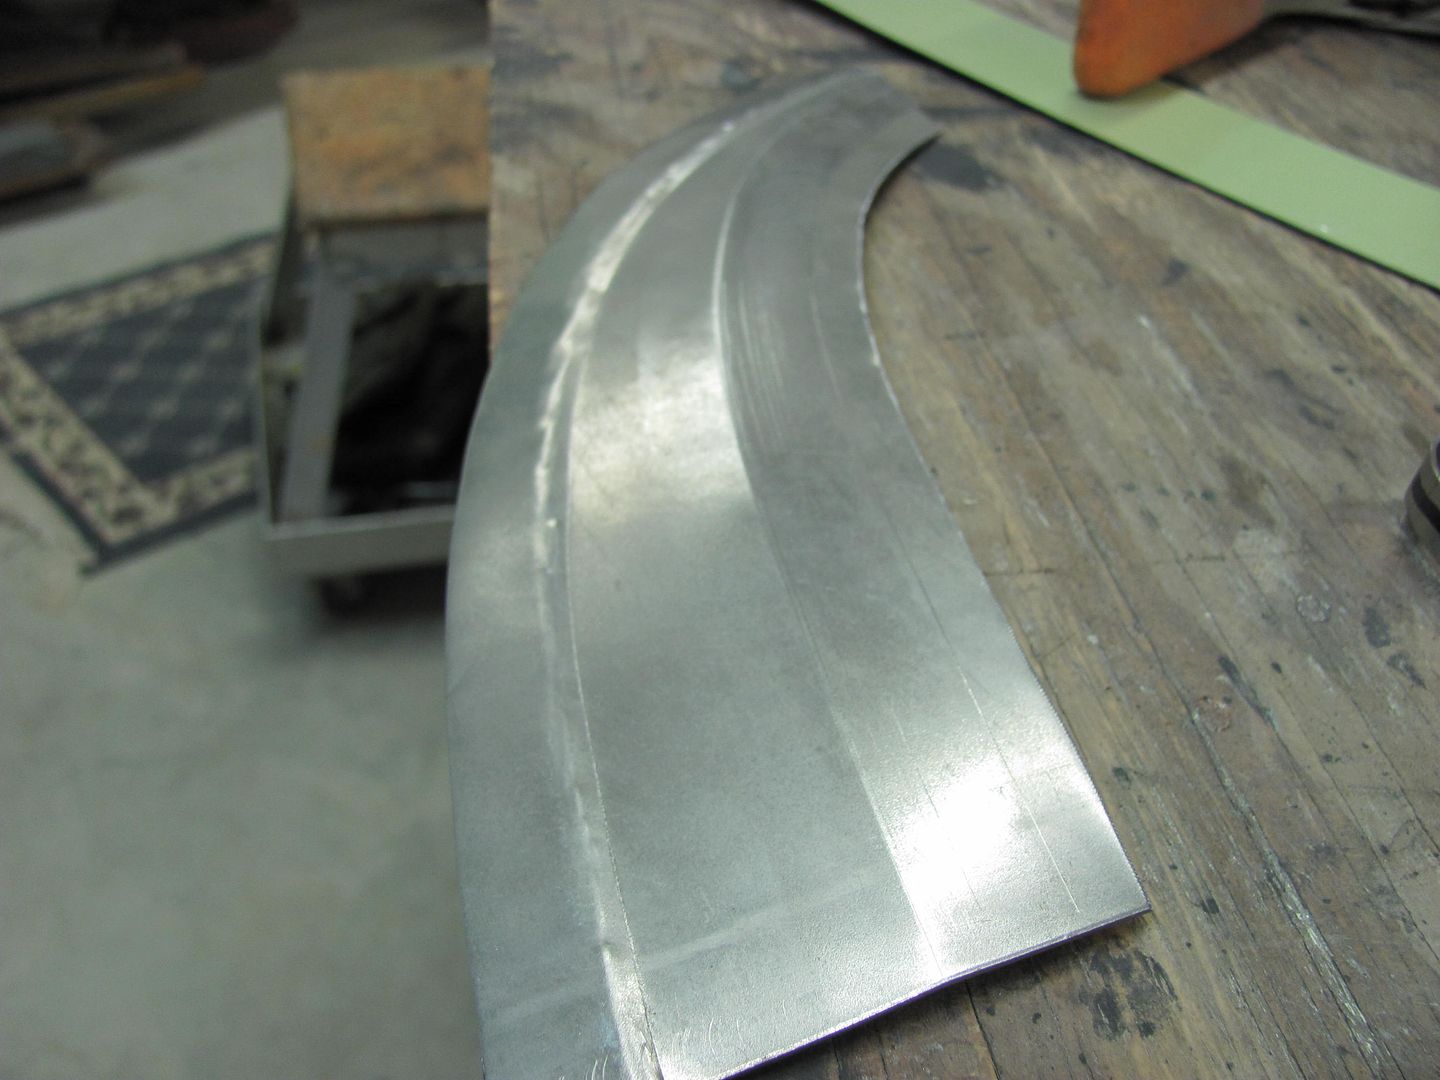
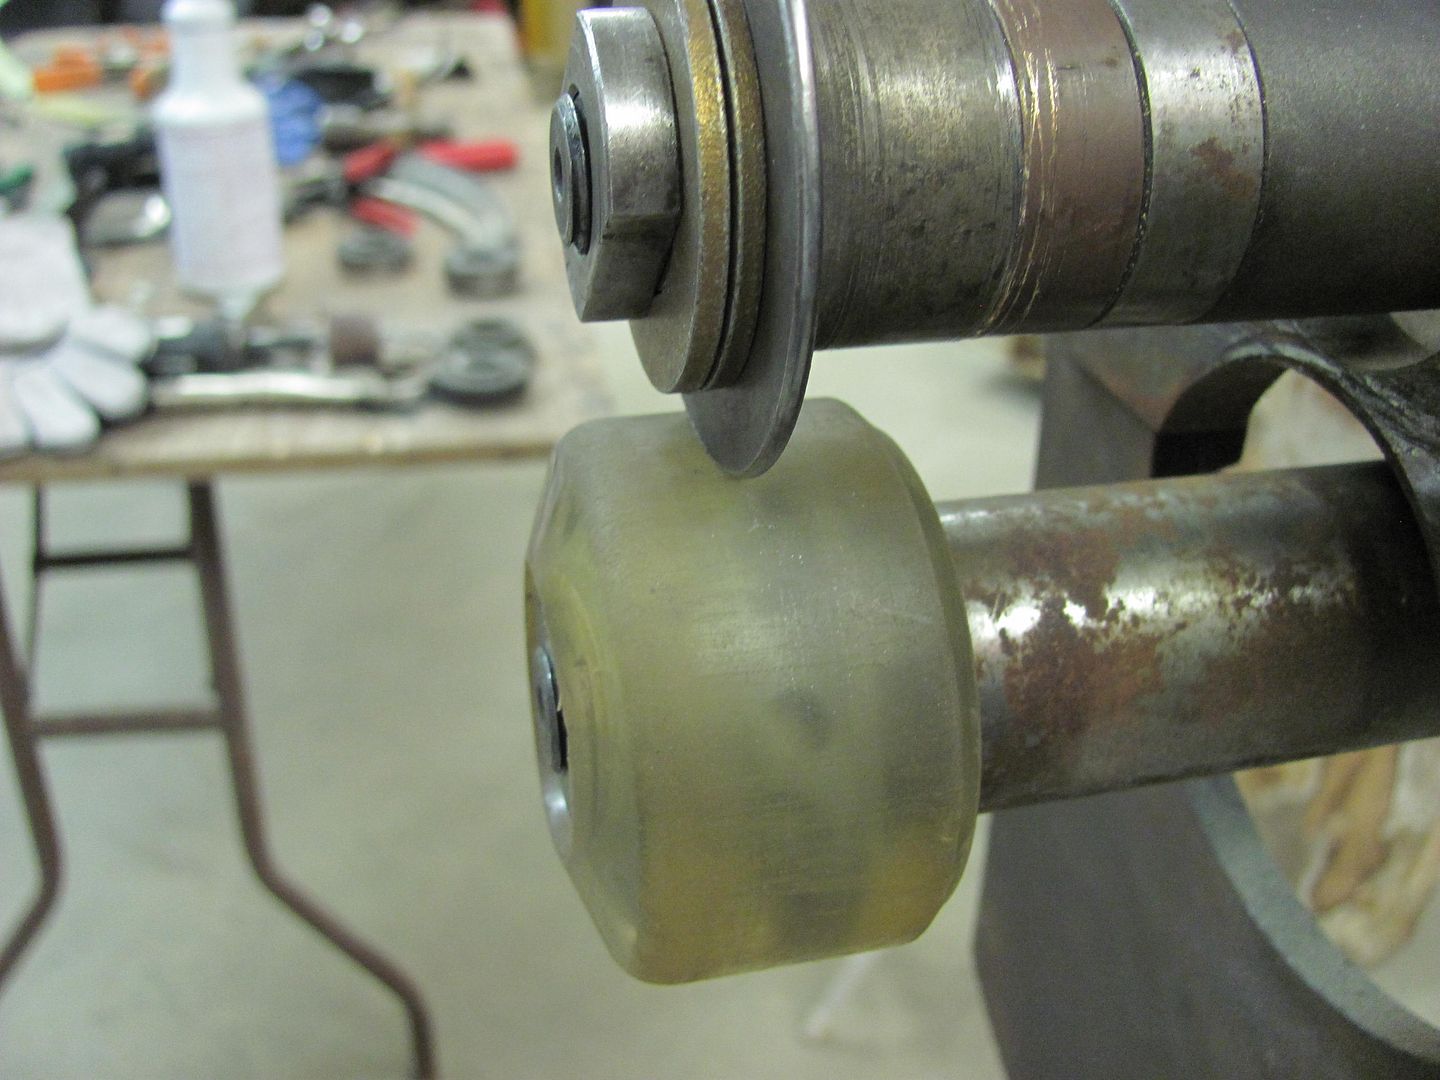
The upper portion is flanged where the roof skin folds over the leading edge, so the flaging dies were used in the bead roller...
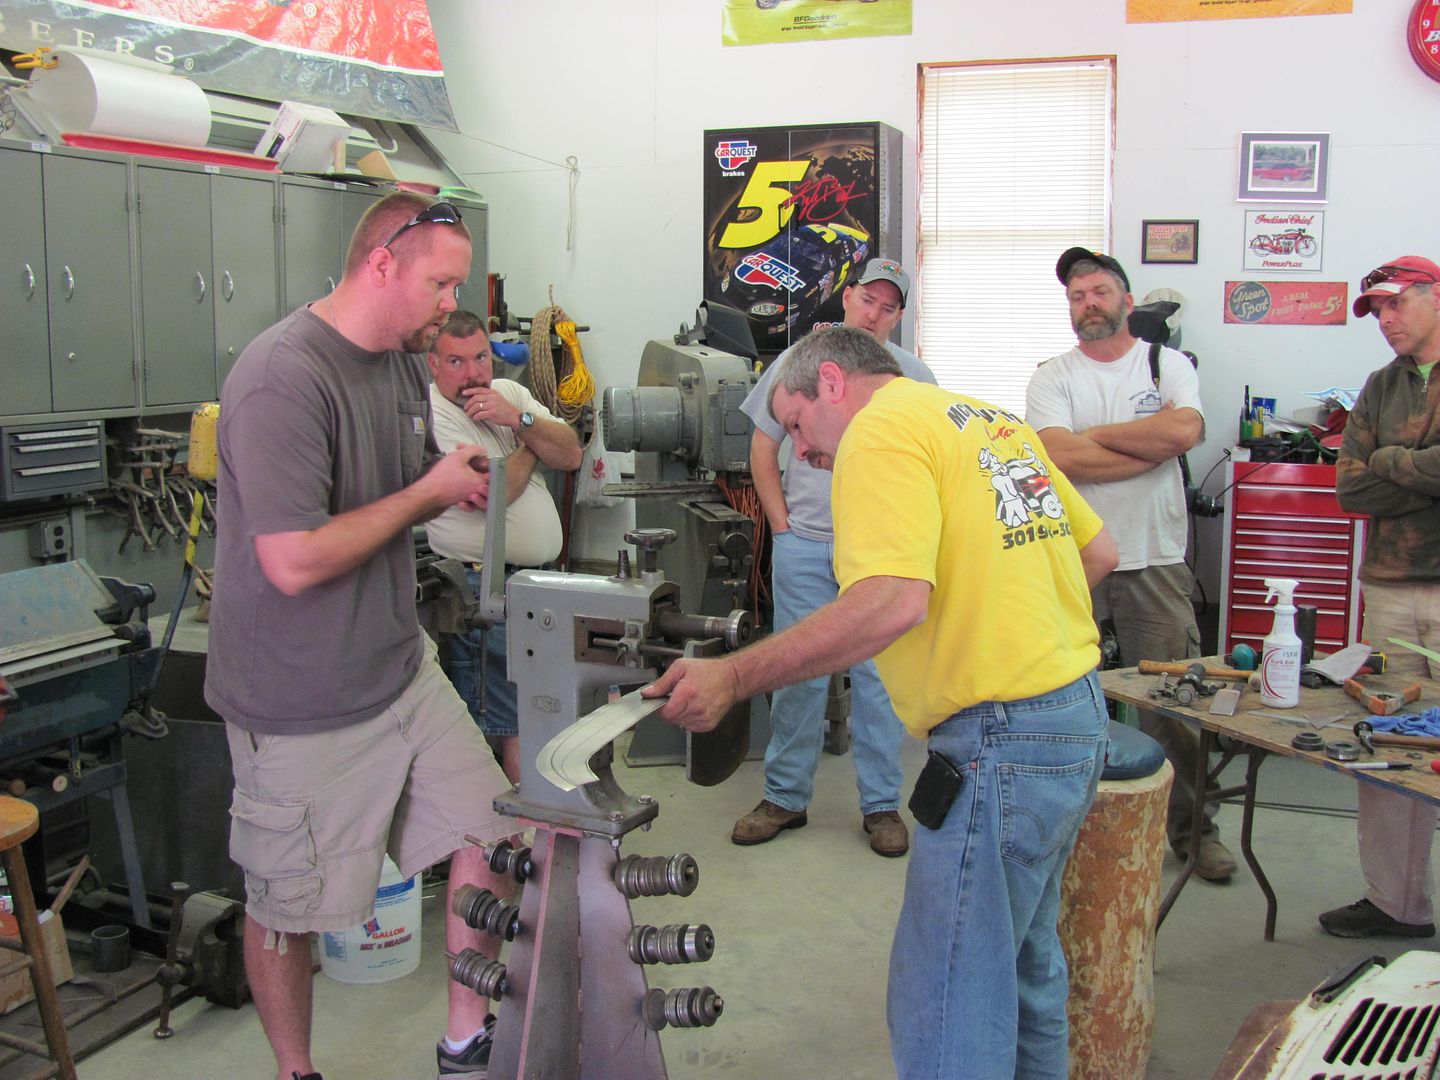
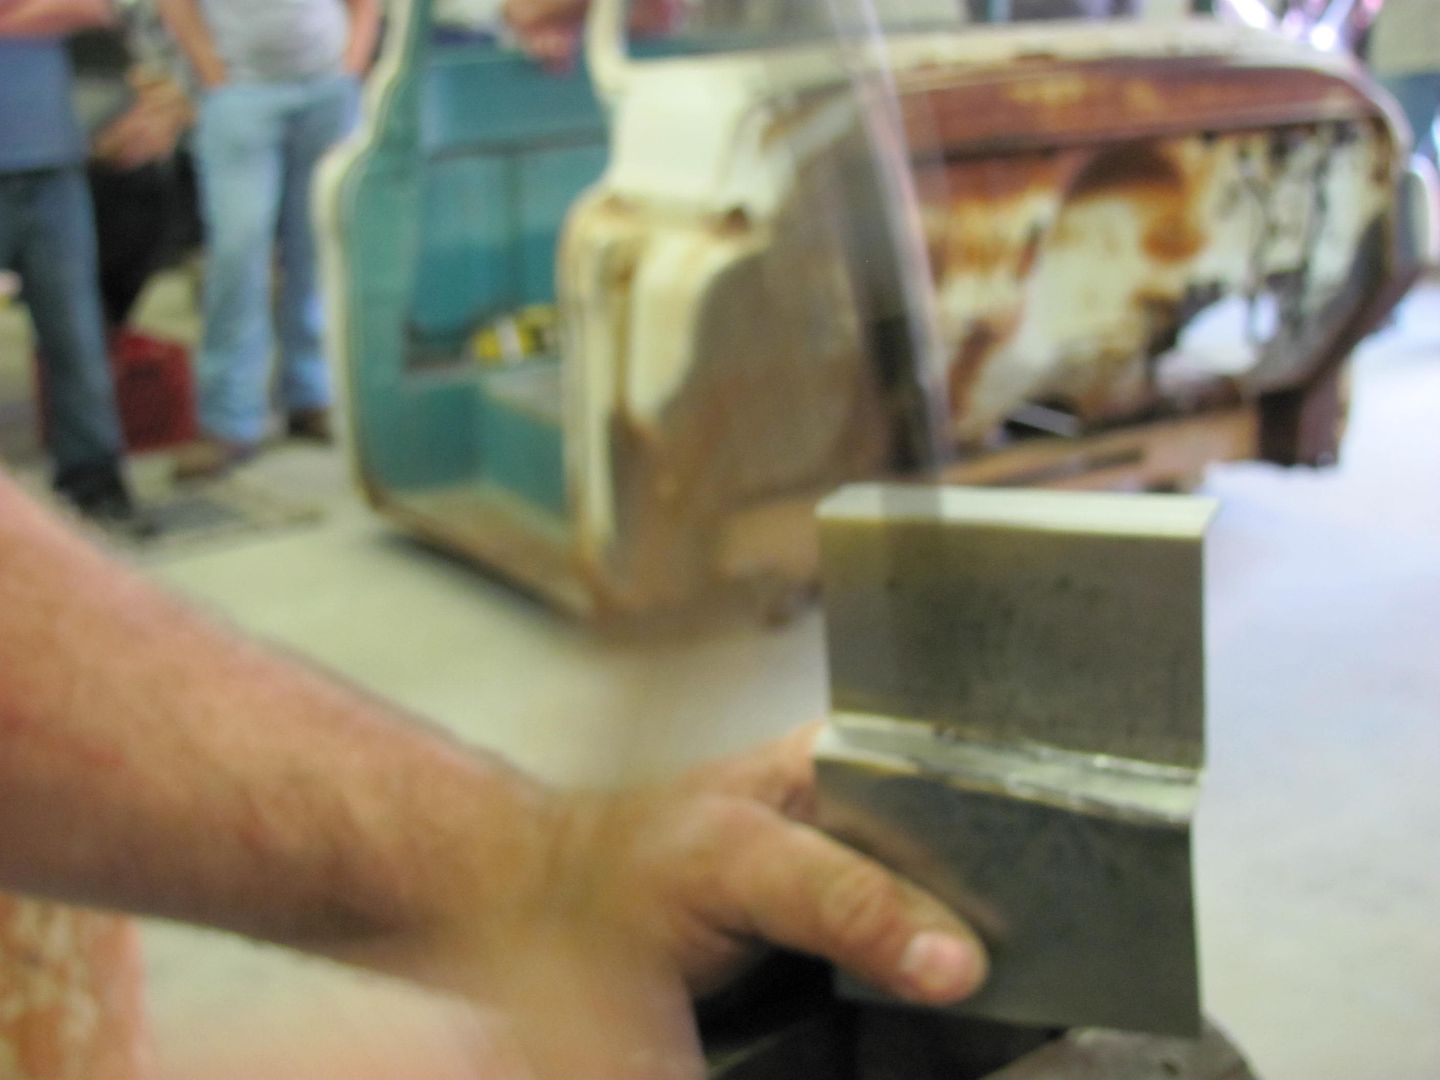
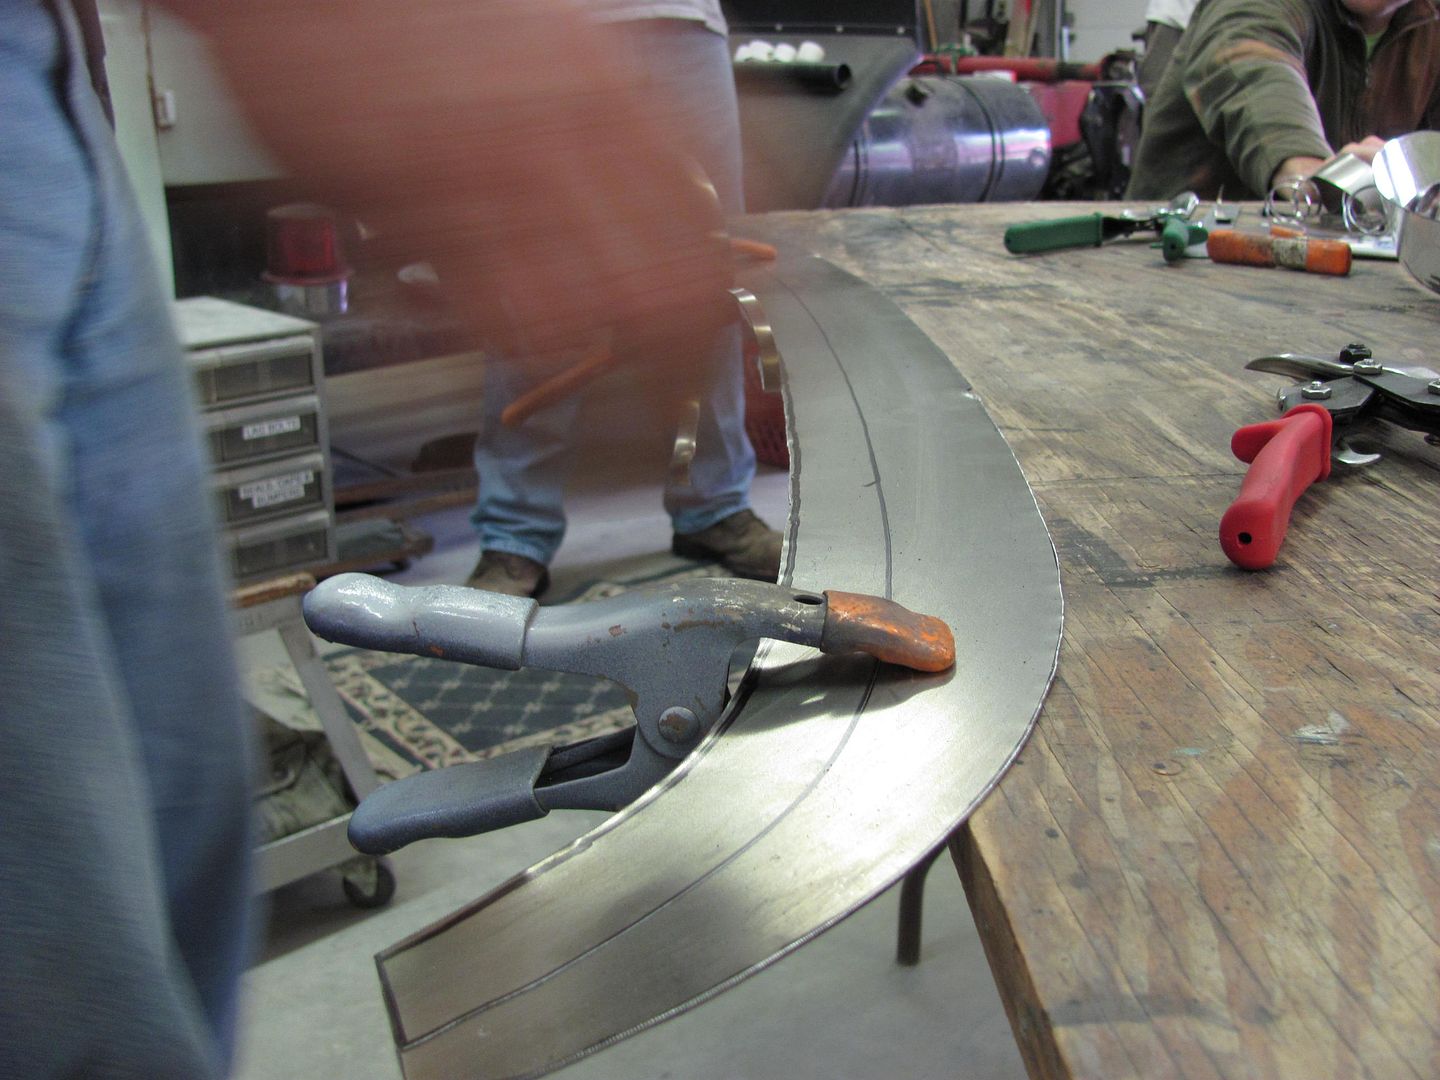
Next we moved on to the tipping dies for the various folds.
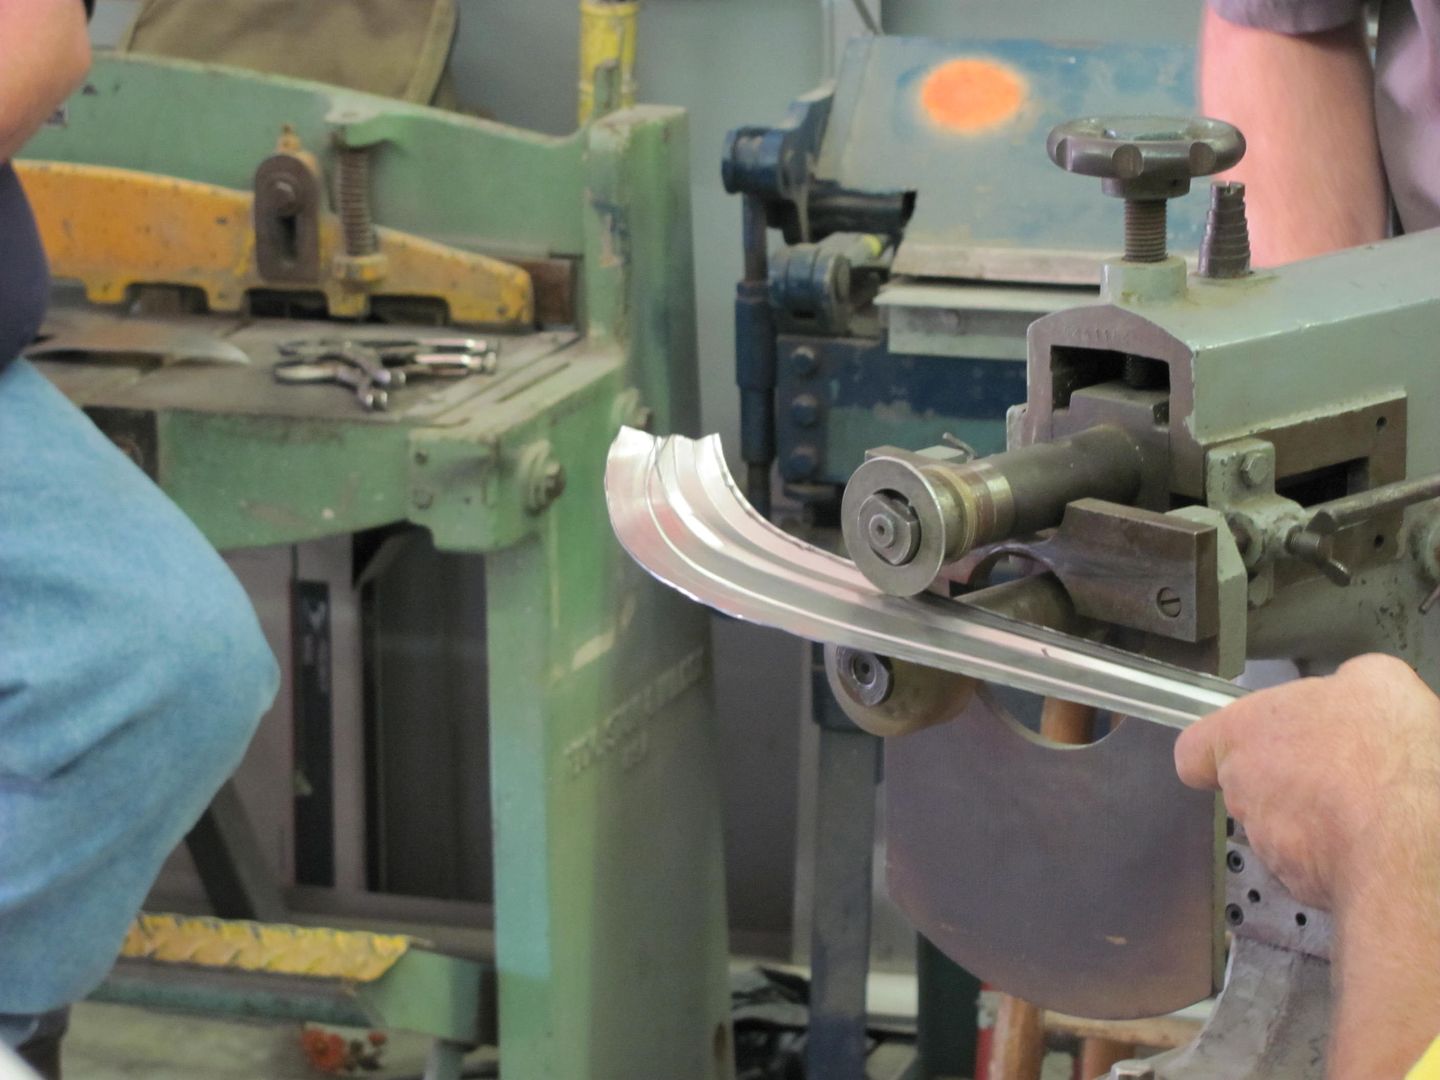
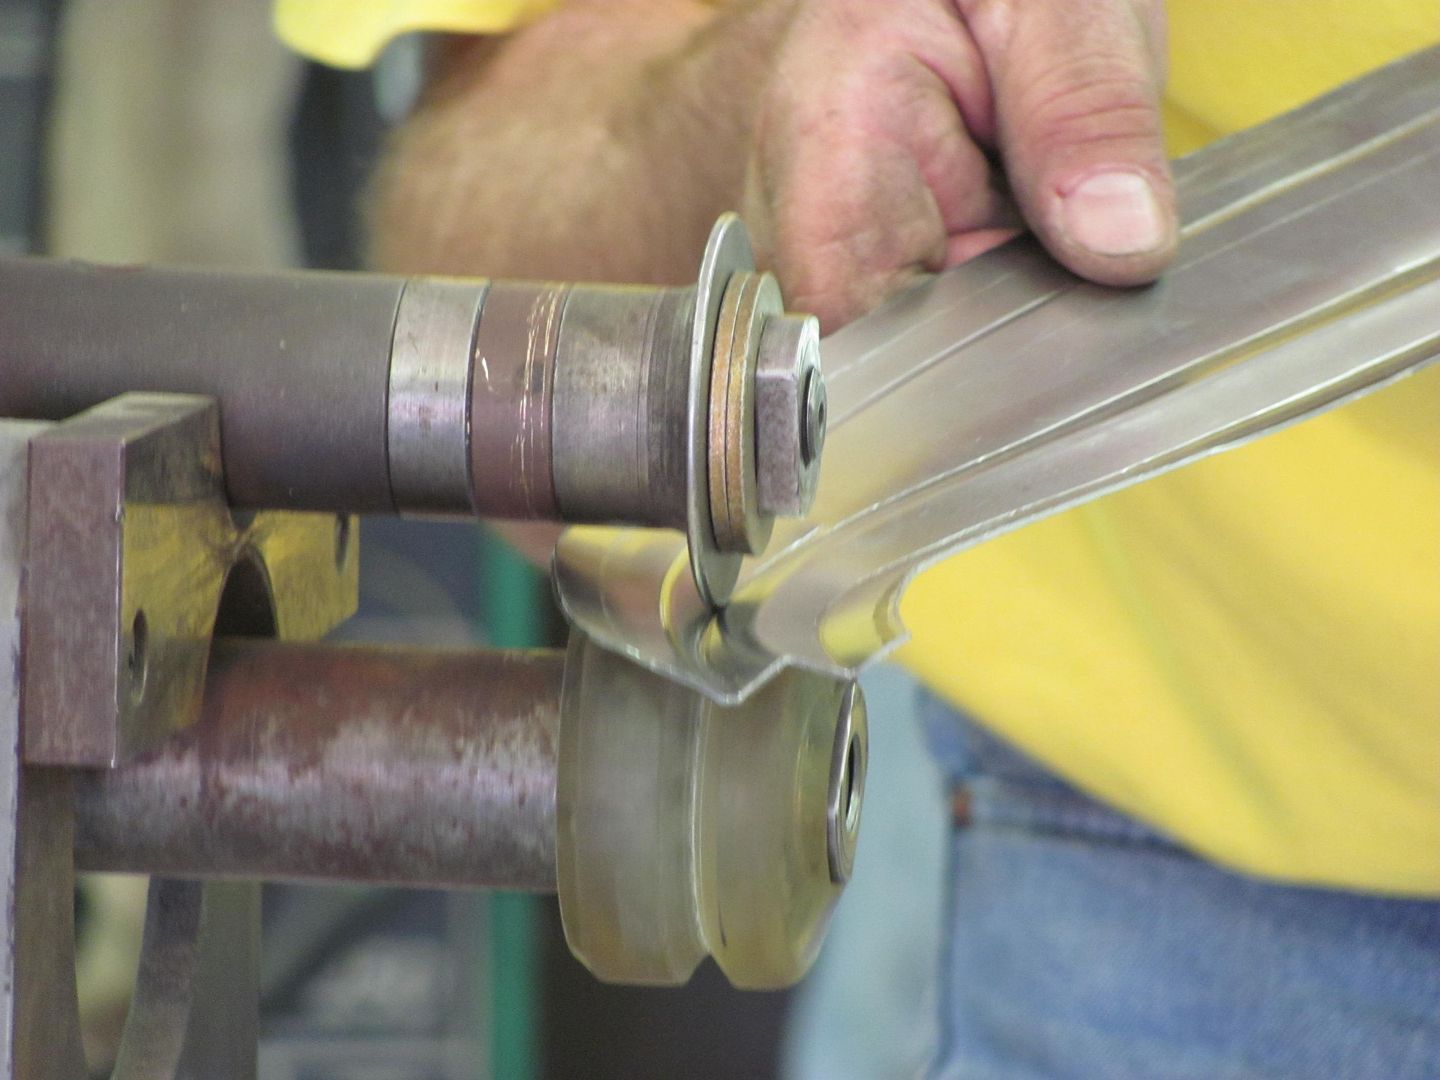
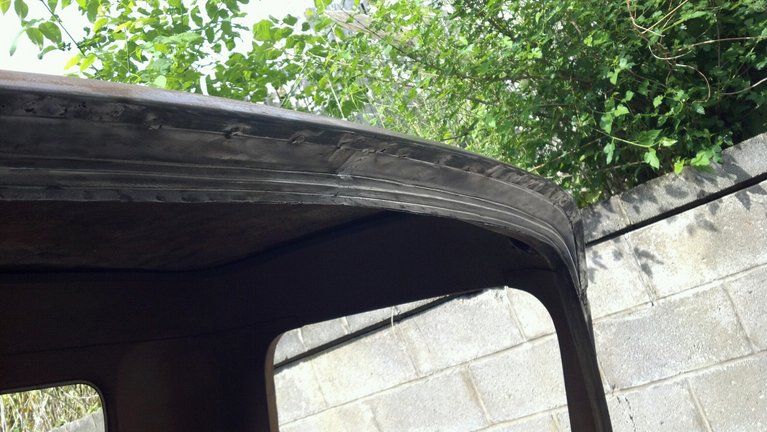
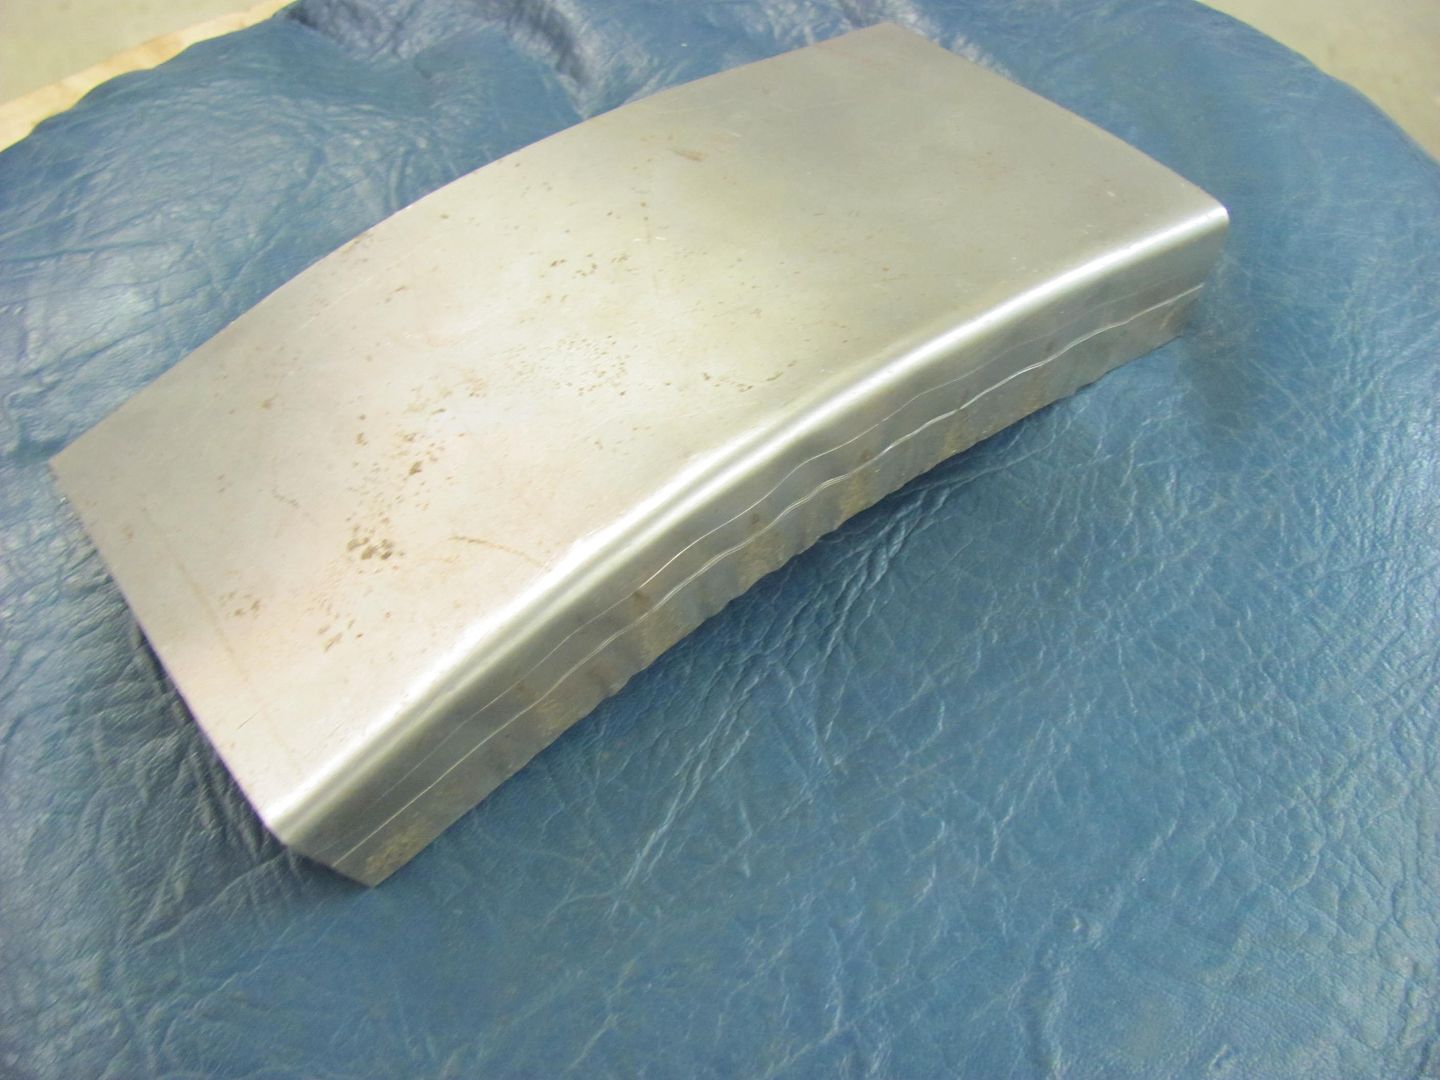
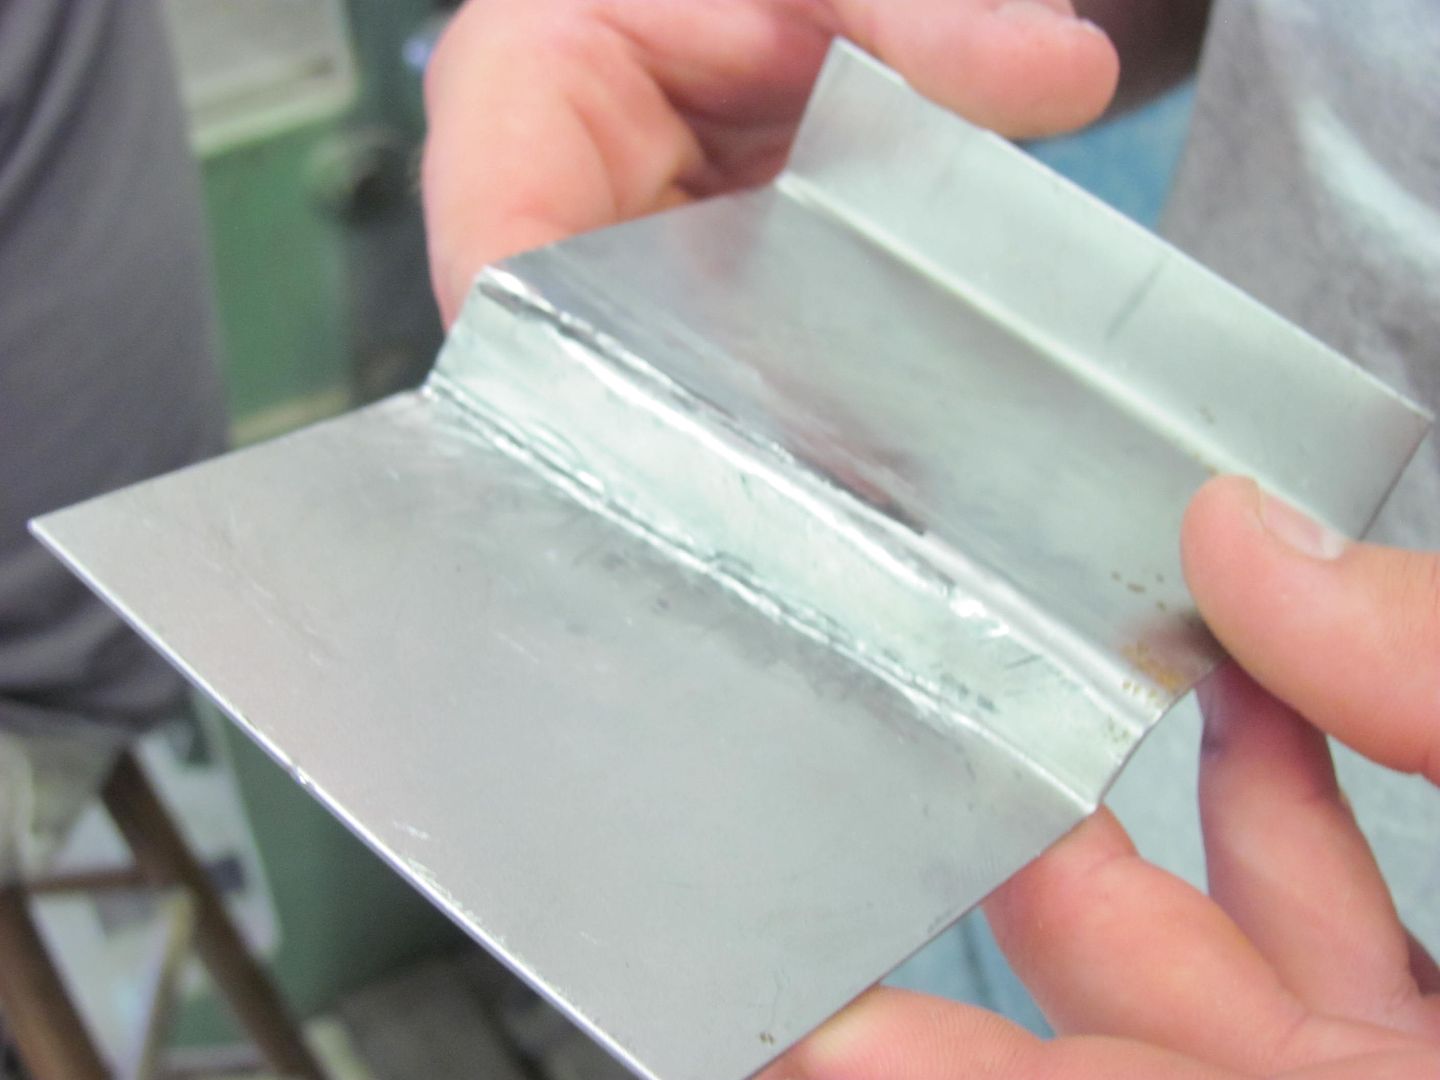
Some areas were touched up with a shrinker and stretcher to help get the panel to better conform to the front of our sample cab...

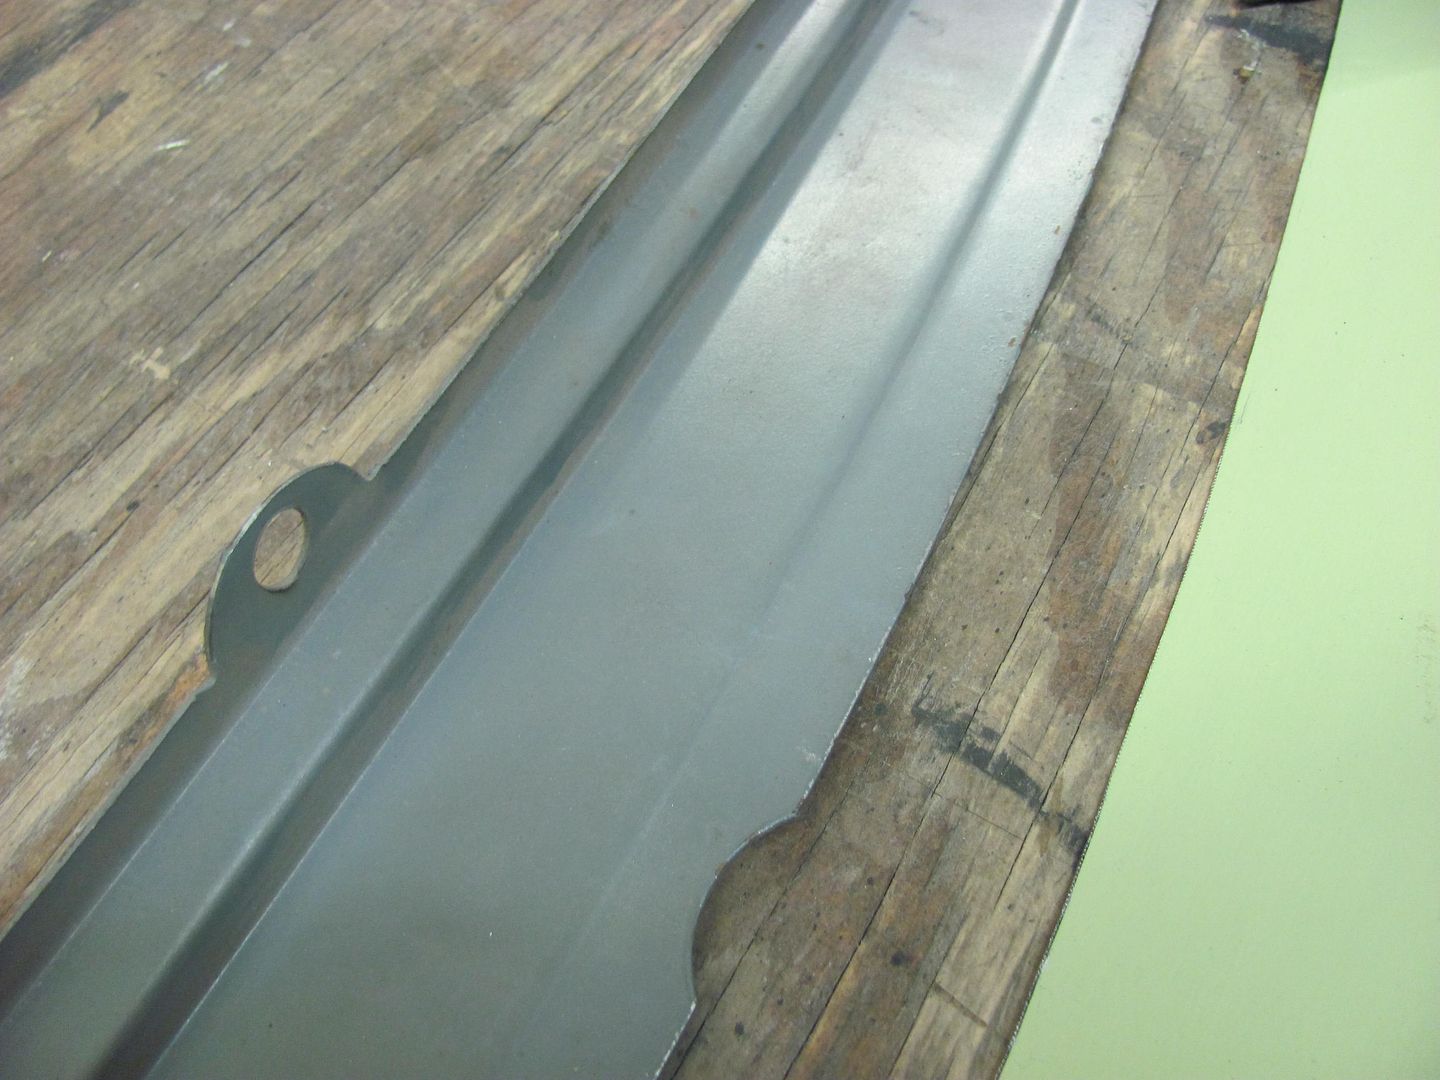
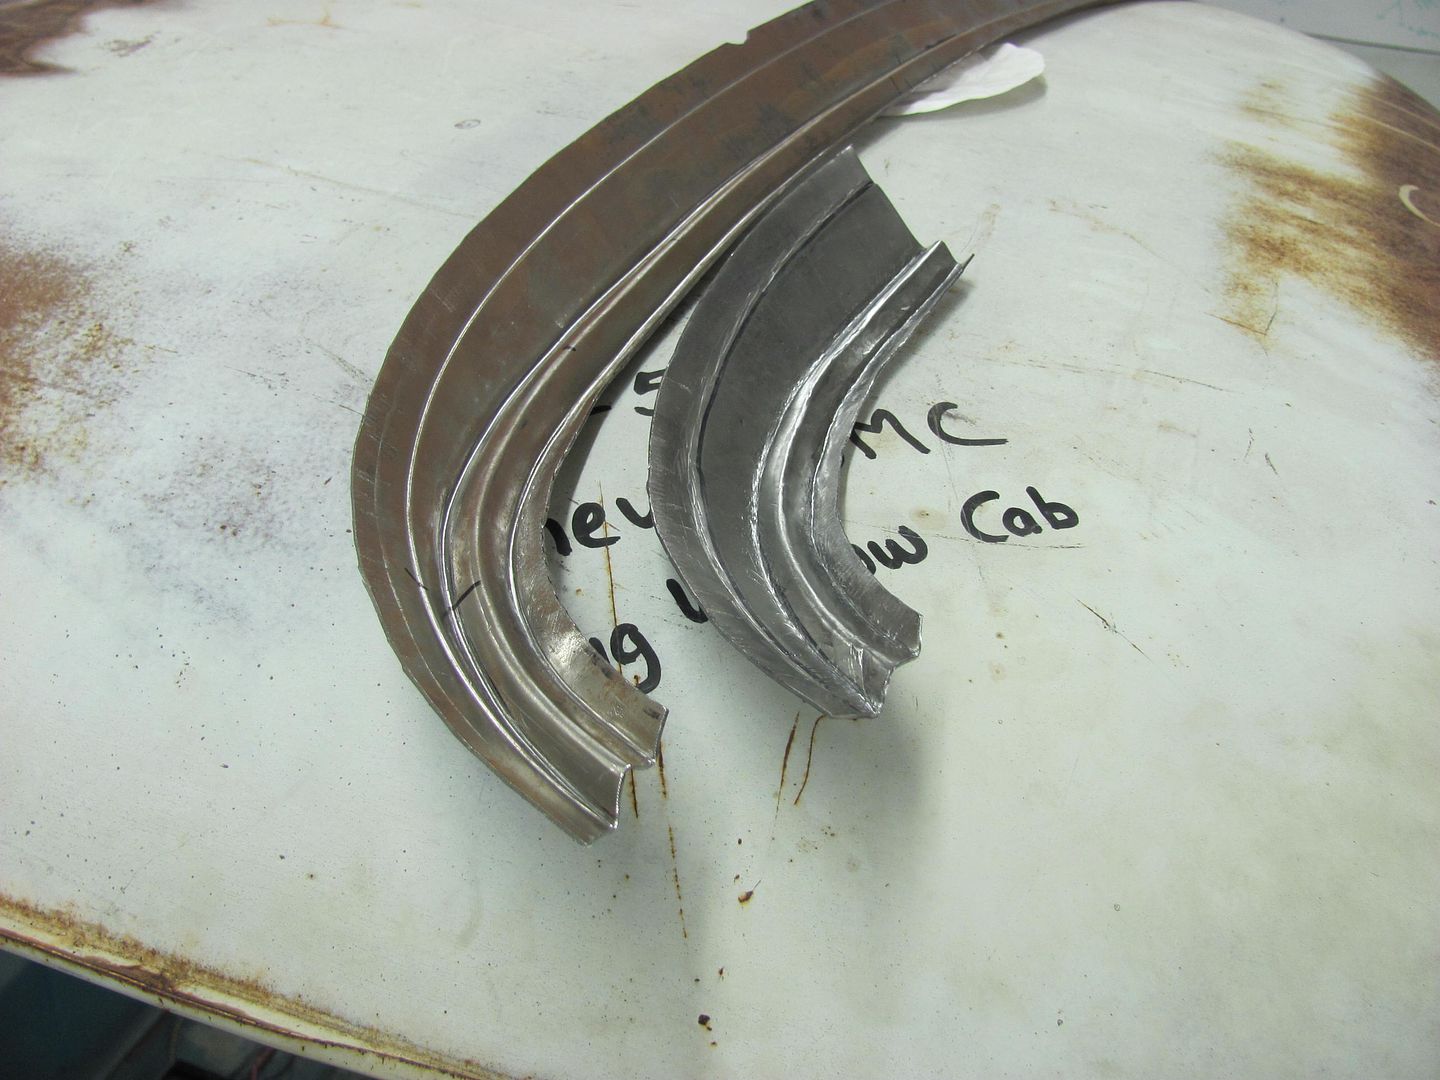
.....and compared to the NOS piece.....
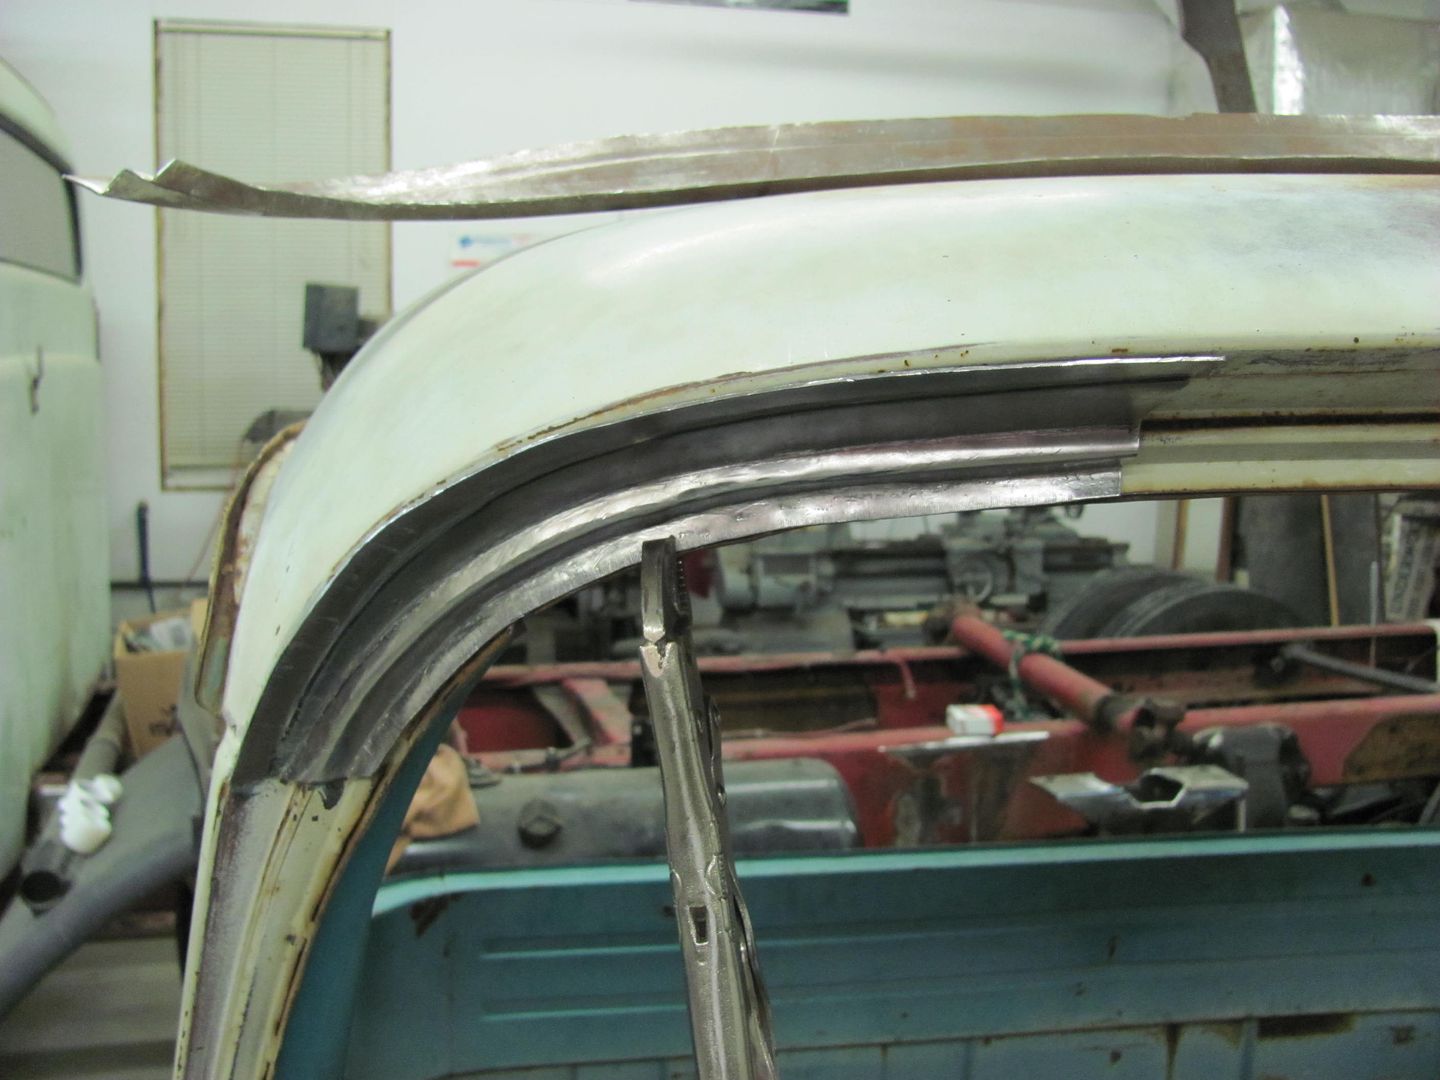
All ready for install........
I also did an end piece using hand tools only, to show it could be made either way. (Someone shouldn't be intimidated for lack of fancy tools).
Layout of the end only "patch panel"
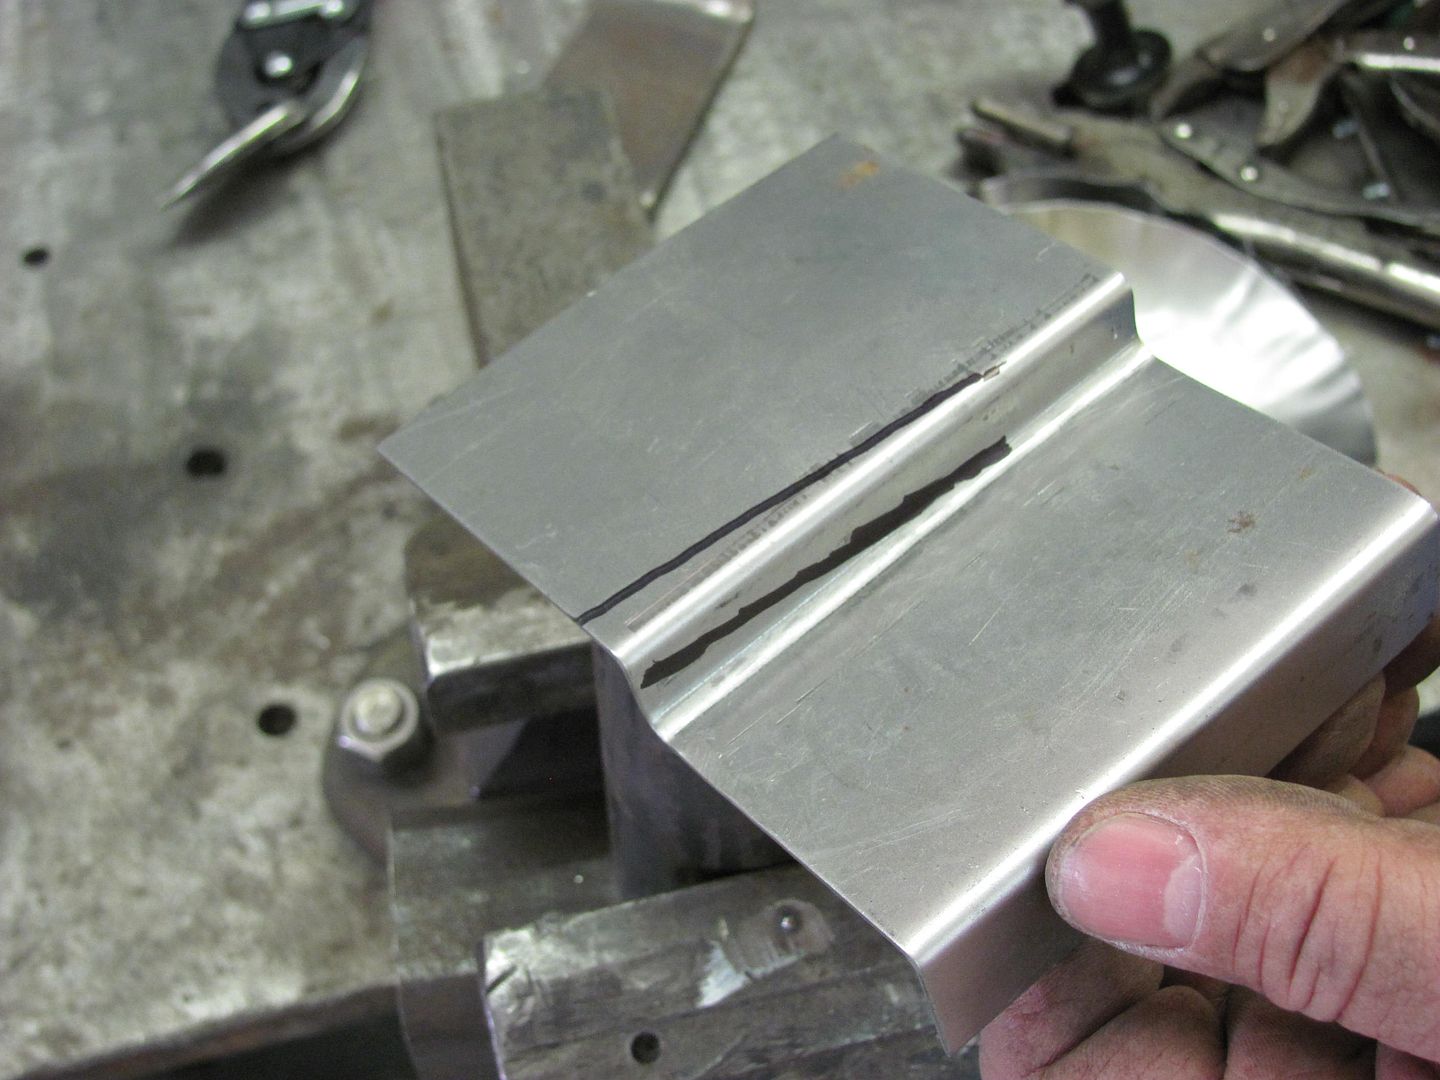
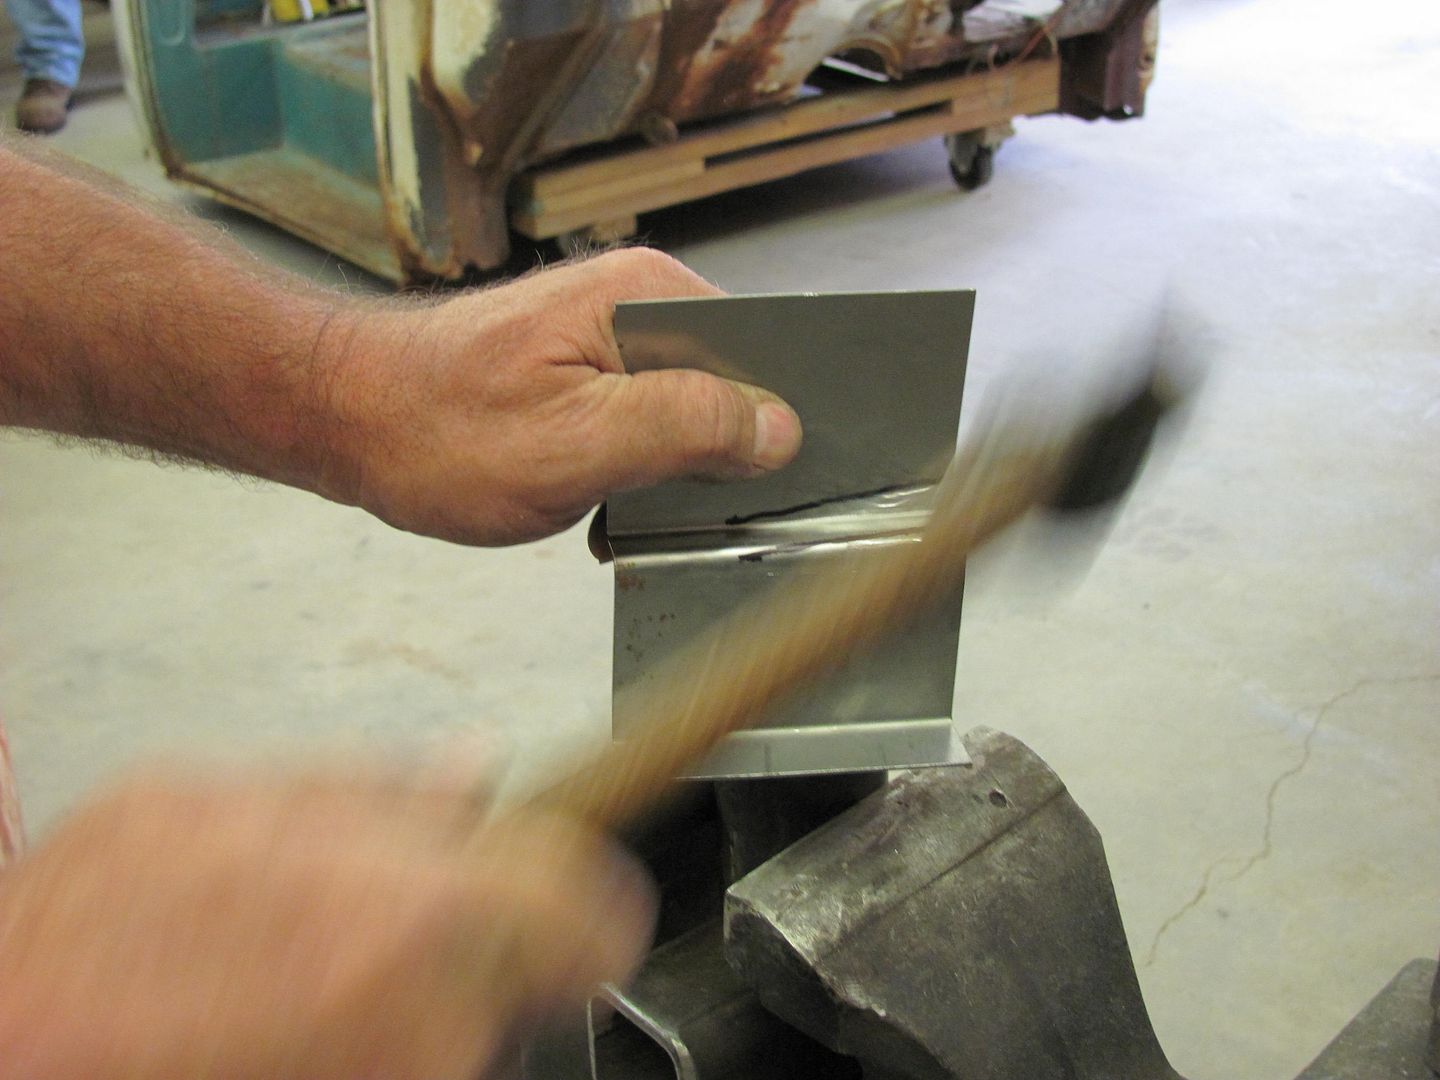
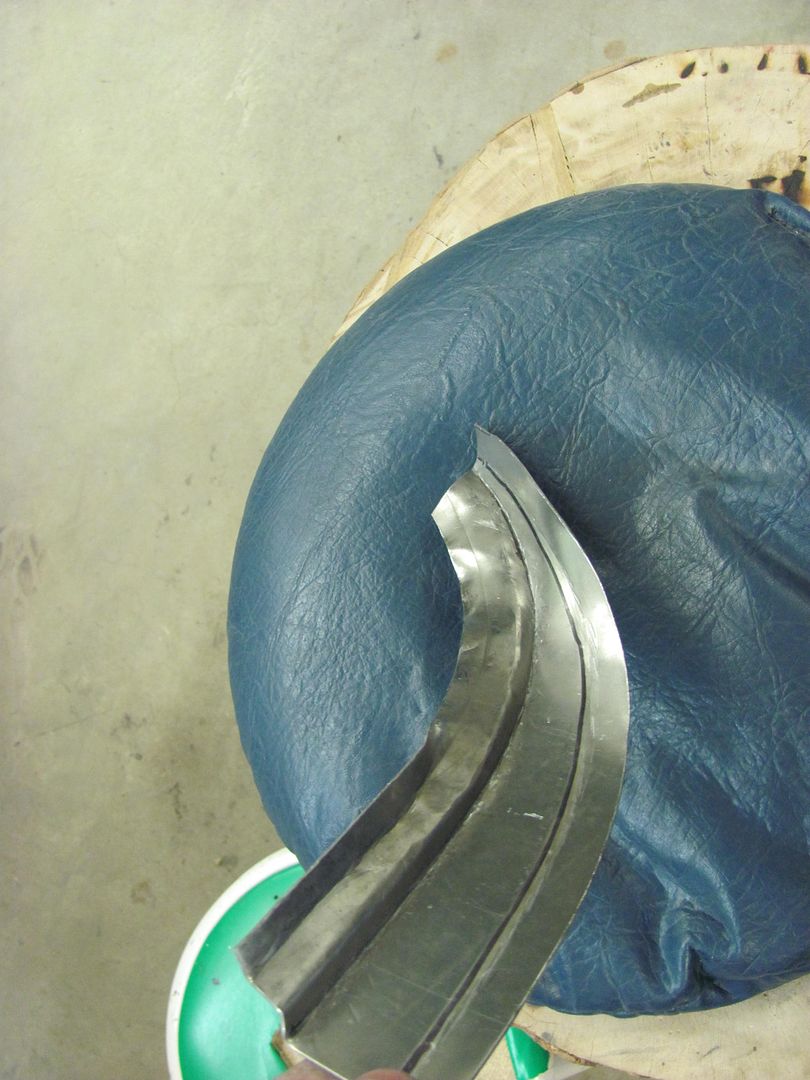
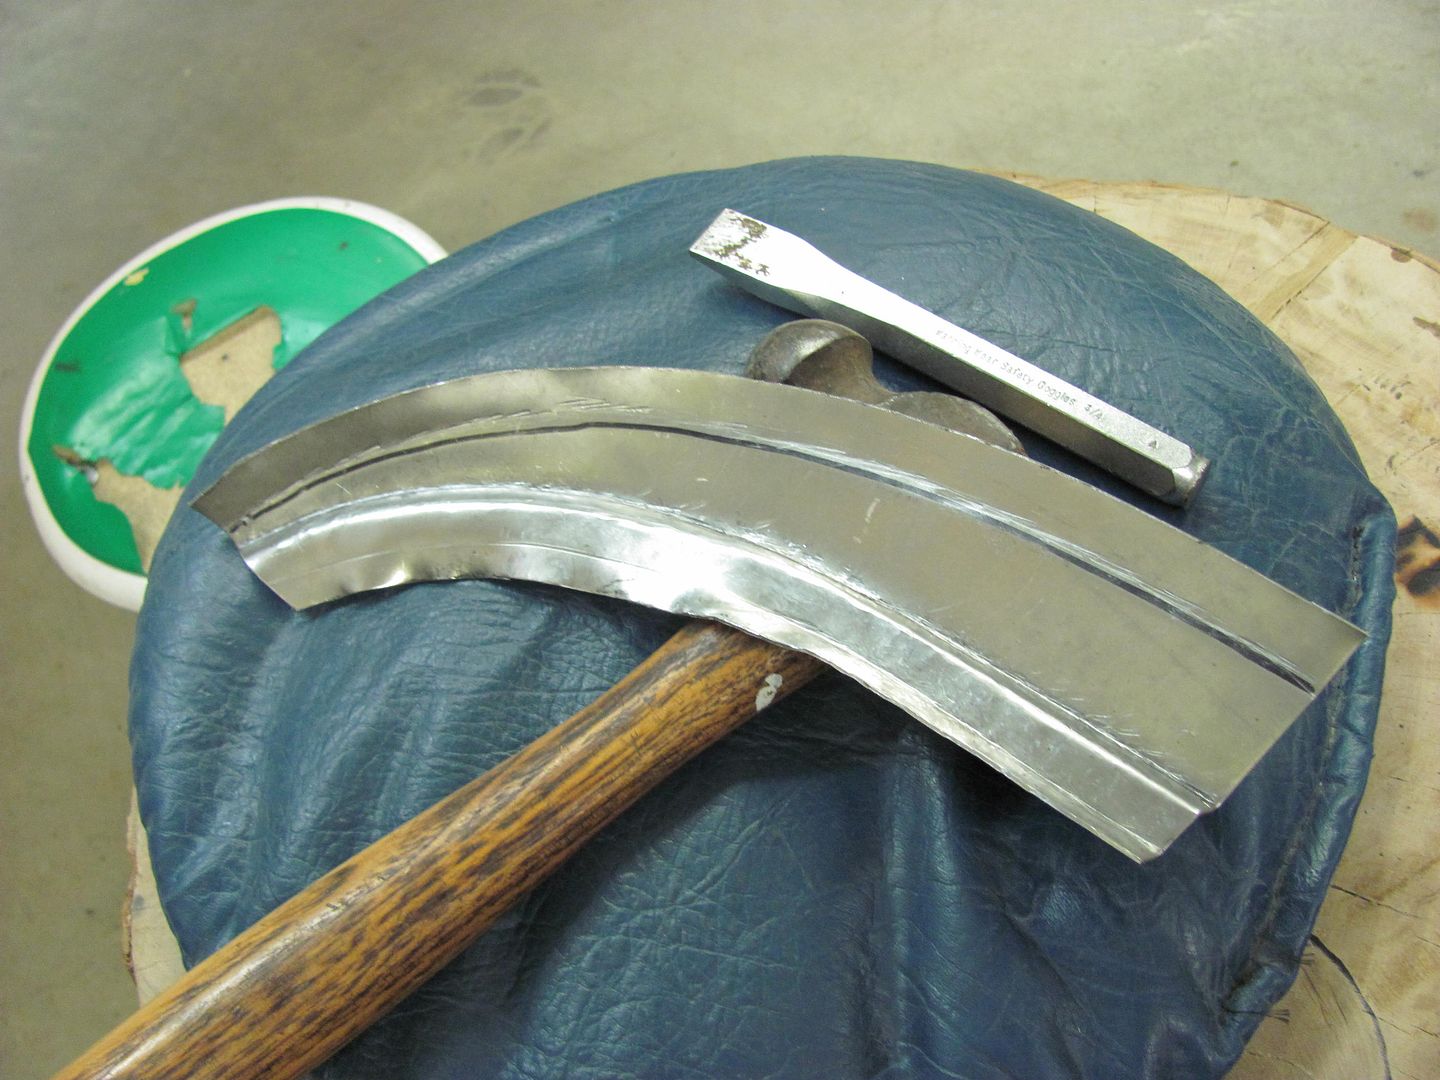
To form the upper flange, a shorter piece had been cut out and clamped to the back side, and a slightly dulled chisel used to form the offset.

The pattern was clamped back onto our work piece to mark the bottom bends/lower edge for cutting.
Next, as we will be hammering, I chose to use the tipping wheel on all the bend lines simply to make a better mark and keep the marks more visible.
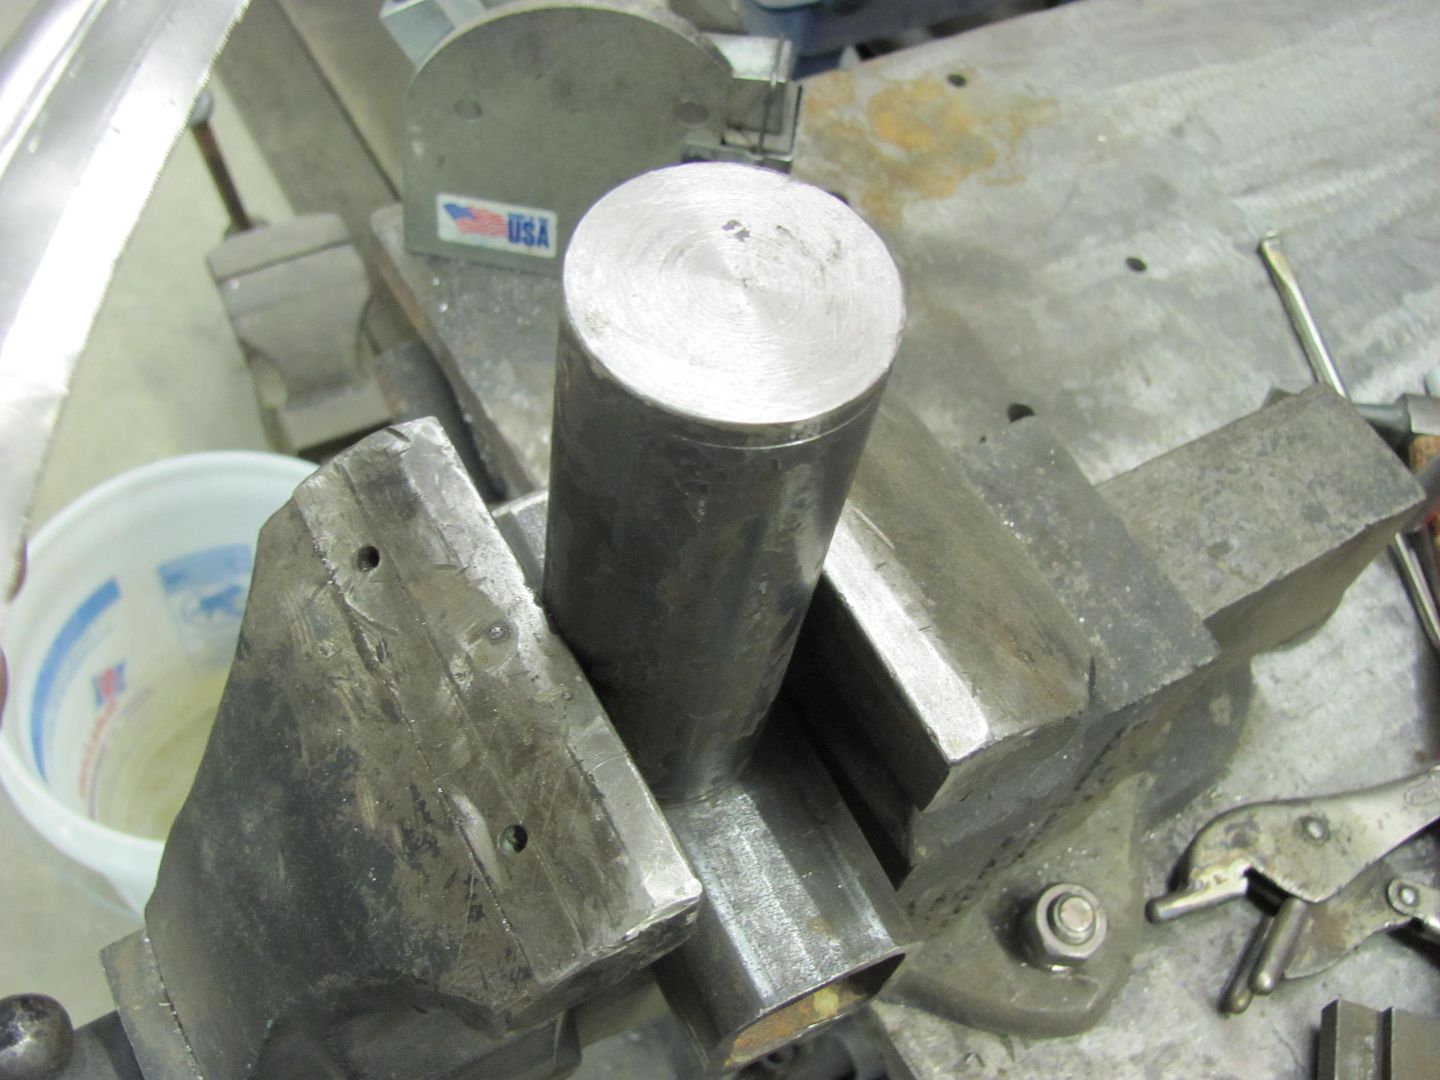
"Custom anvil"
Used a body hammer on the flatter areas, and a dead blow in the radius to minimize any stretching....

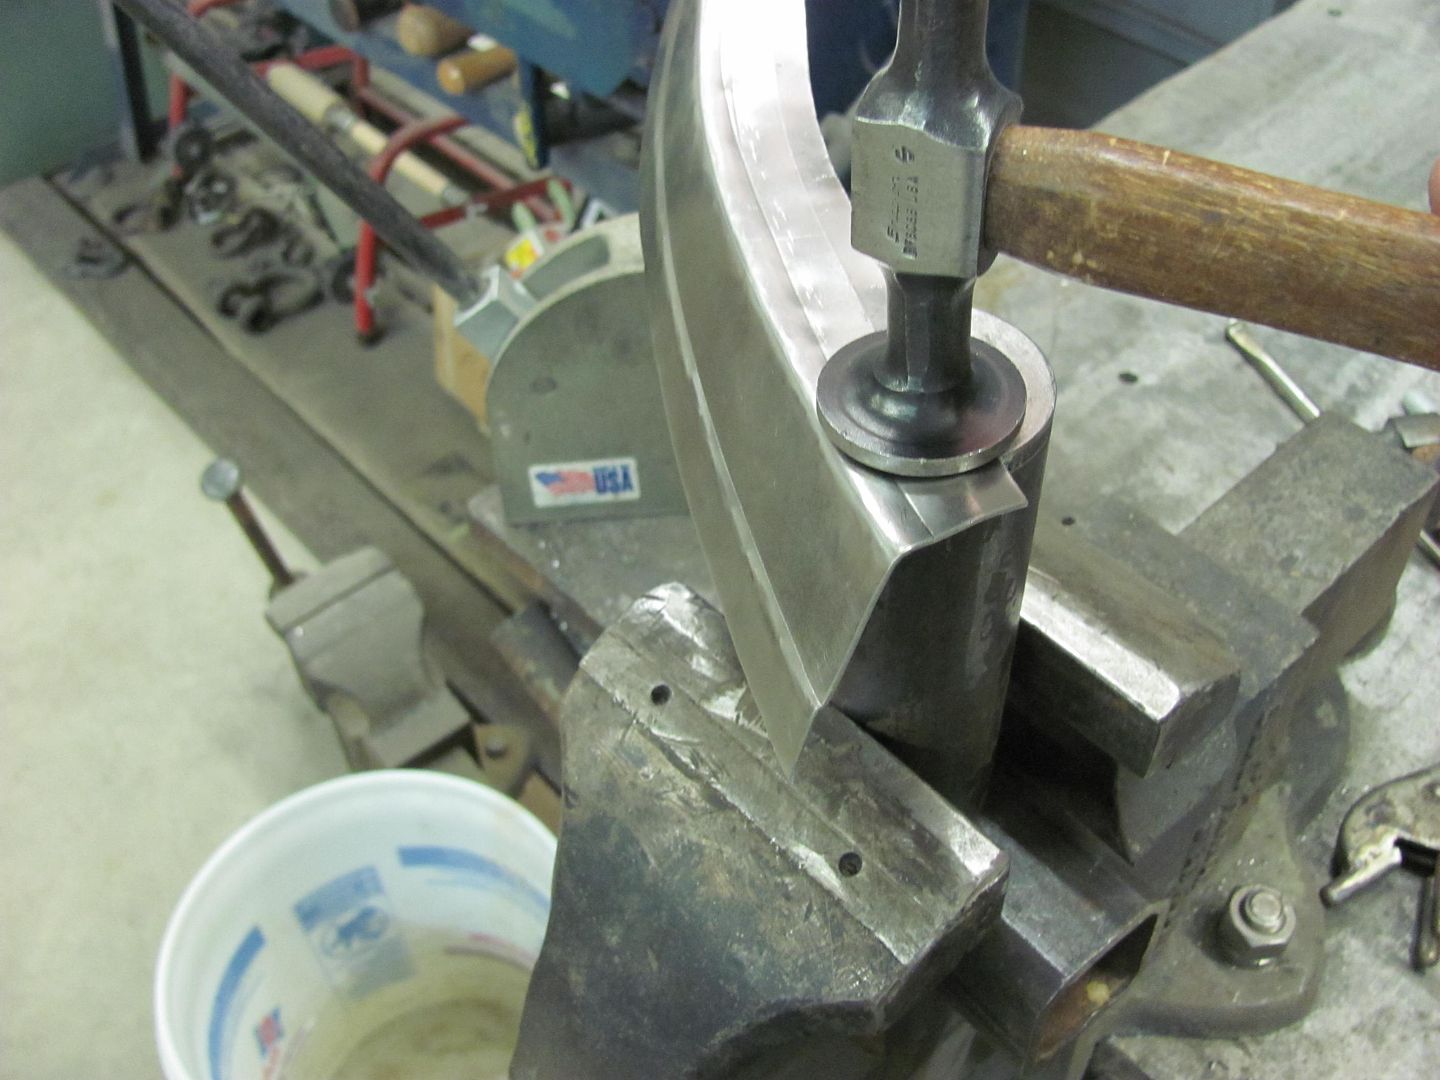
First bend at a full 90, seems to pull the panel to fit the radius pretty well.
Continuing to the other bends, still using the round stock anvil, I did get to where I had to go back to incremental bends again when I got deeper into the radius...
After a bit of Lancaster shrinking along the edges, it was fitting pretty good..
The hammered version would need a bit more cleanup work, but a comparison between the two shows it definitely would be a viable option for someone without the bead roller.
Some of the vintage tin that showed up:
In order to have a specific fabrication project to work on, we chose the panel just above the windshield of the Task Force trucks (1955-59). This is an area commonly plagued with rust issues due to condensation inside the roof:
Where they are now reproducing complete cabs, or roof panels with this panel attached, they have yet to market this panel alone. Since I had just set up my bead roller with the tipping wheel, I thought it would be a good candidate for fabricating this panel.
We did start the demo by showing some basic metalshaping, including tuck shrinking using modified vice grips..
One of the questions posed was whether it was better to use and modify poorly fitting reproduction panels or attempt fabrications from scratch. To demonstrate how "tweaking" of reproduction panel creased edges could be accomplished, the following was shown: Two folds were installed in a panel to simulate a factory bend, and then lines drawn in to move the bend to a new location. Hammering gradually from one side to the other did a fairly good job of moving the crease to the new location.
Moving on to our project fabrication, we had brought in a sample cab for fitment. As chance would have it, one of the local guys did have one of these panels in NOS form to also use as a pattern. He has it slated for installation in his own project truck later this year.
Using some rigid flashing material, a template was made of the upper portion of the NOS panel, and then also compared to the sample cab.
The pattern was transferred to some 18 ga with extra material left on the bottom to make the various folds, and then cut out with snips.
The upper portion is flanged where the roof skin folds over the leading edge, so the flaging dies were used in the bead roller...
Next we moved on to the tipping dies for the various folds.
Some areas were touched up with a shrinker and stretcher to help get the panel to better conform to the front of our sample cab...
.....and compared to the NOS piece.....
All ready for install........
I also did an end piece using hand tools only, to show it could be made either way. (Someone shouldn't be intimidated for lack of fancy tools).
Layout of the end only "patch panel"
To form the upper flange, a shorter piece had been cut out and clamped to the back side, and a slightly dulled chisel used to form the offset.
The pattern was clamped back onto our work piece to mark the bottom bends/lower edge for cutting.
Next, as we will be hammering, I chose to use the tipping wheel on all the bend lines simply to make a better mark and keep the marks more visible.
"Custom anvil"
Used a body hammer on the flatter areas, and a dead blow in the radius to minimize any stretching....
First bend at a full 90, seems to pull the panel to fit the radius pretty well.
Continuing to the other bends, still using the round stock anvil, I did get to where I had to go back to incremental bends again when I got deeper into the radius...
After a bit of Lancaster shrinking along the edges, it was fitting pretty good..
The hammered version would need a bit more cleanup work, but a comparison between the two shows it definitely would be a viable option for someone without the bead roller.