NASTYZEN
Well-known member
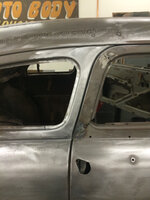
Great progress! That is one bad *** looking build.


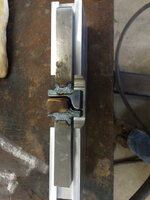
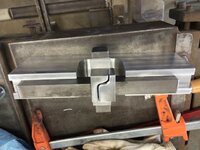
Dies look nice. Yeah, if you're travelling around a corner, you'll need a radius relieved into the die so it will make the corner without binding.
Hint on your welding fixture, fire up the mill and cut some windows. This will allow easy clamping of the shanks to the fixture and clamping of the fixture to the table, as needed...
Also, if you don't have Fay Butler's book on the Pullmax, it does a nice job on going through making various tooling for the machine..
http://www.faybutler.com/pullmax.htm
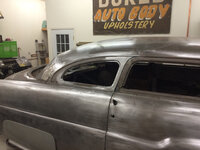
Great work! I sure hope you can keep some of the old pinstriping intact. That would be so cool!
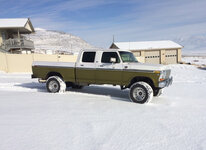
Is the Ford CC yours? Cummins swapped?

As for the crew cab it is mine. I built it and put a 97 cummins in it about 10 years ago.
Not sure how the pins stripping is going to work out. Looking for another dash so I don't have to repaint this one. Thought about assembling and hang on the wall somewhere. May duplicate some of the stripping on another painted dash.
As for the crew cab it is mine. I built it and put a 97 cummins in it about 10 years ago.
Sent from my iPhone using Tapatalk
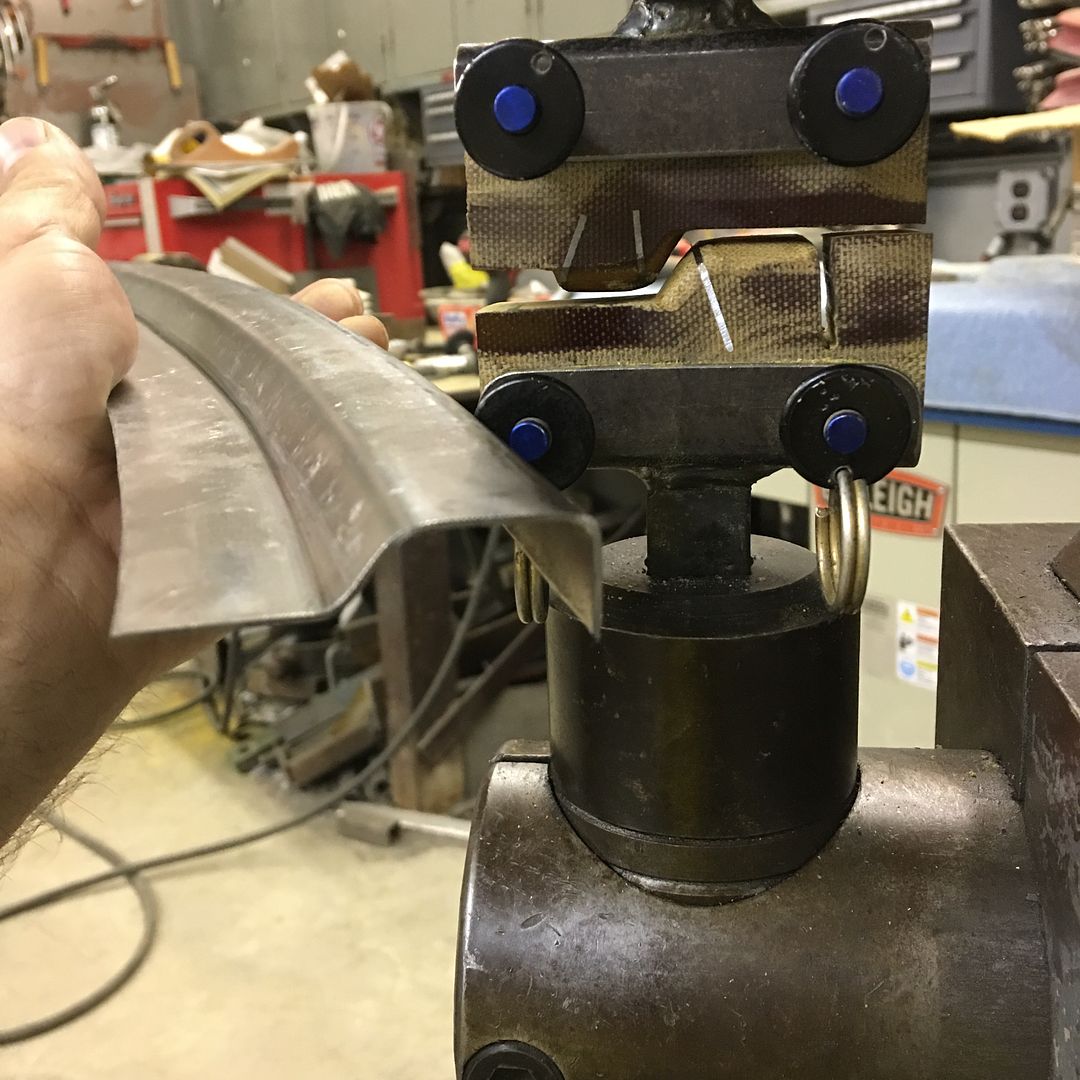
The first one I made I used 1" bar which worked good for straight line or slight radius (hindsight I don't know why I thought it would work for what I needed). Then I made this set out of 3/8x1" flat which I really had no idea if it would work. I ended up relieving a bunch more than shown to make the corners and reduce marking.
I can take a picture of the final dies tomorrow.
I will likely make another set that does one bend at a time so I can have a tapered depth for the rear radius on the same window.
Sent from my iPhone using Tapatalk
This is absolutely my dream truck.....and your building my dream car. Can't wait to see it finished!!!


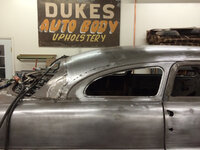
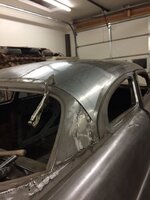
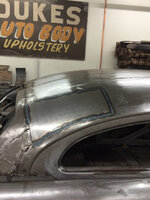
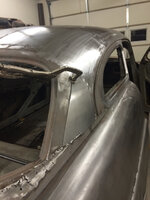
Nice work on the Merc! Looking forward to when you tackle that nightmare on the roof. Do you have a planishing hammer or maybe thoughts of building one? My Milwaukee would be earning its keep on that roof.


So cool! You ever take on any work? If so, we need to chat.


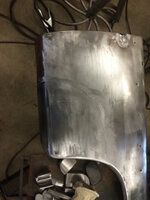
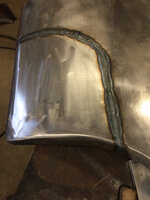
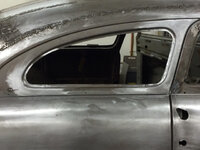
On those new pieces you just welded in, are you cutting out the old and welding them in or are you putting them on over the old?