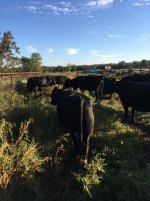
I haven't been to the water outlet after the big rain. Maybe I'll wander down there in a couple of days. It looked good a few days ago after some light rains. It will probably take a year for any settling to show up where we might not have compacted well.
It's junk until it's used, I guess. The junk farm equipment has some good steel, but a lot of it is new enough that it has high strength materials which are a little harder to work with.
My wife had a great time with the ladies and I went grocery shopping and ran a couple of other errands.
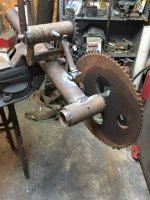
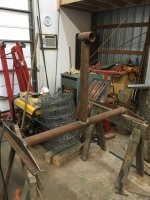
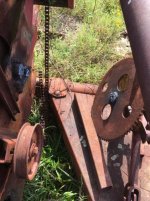
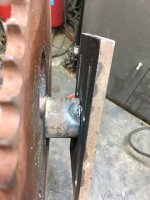
I sweet talked Bob and he agreed to haul the cutting torch out to the haybine.
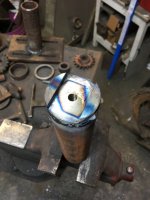
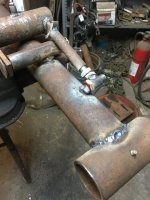
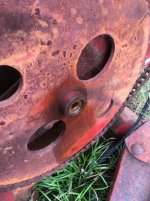
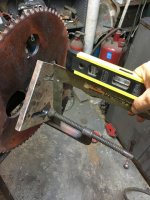
I had to reach through the holes to cut the shaft off, took a little time and made a mess. But it came off.
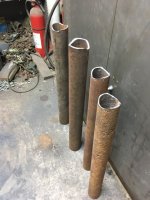
Normally I don't like cutting shafts and could have eventually got the sprocket off. However this sprocket is on the end of a 12 ft auger which is all bent up. I paid $200 for the haybine in 1985 and used it a couple of years. It has a 12 ft cut which was really too wide for fields I have to get into. I've scavenged lots of parts off it over the years. It owes me nothing at this point. Still has lots of iron.
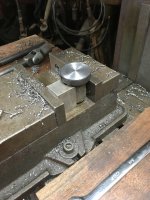
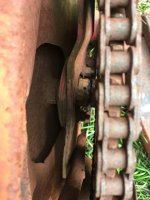
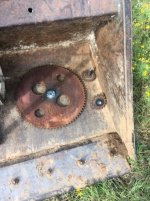
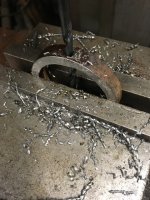
Also cut off a couple of idlers. One is solid teeth but worn too much to use, the other is stamped two piece so I may or may not use it for my drive sprocket.
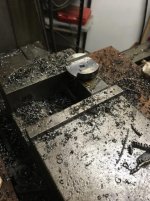
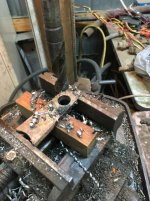
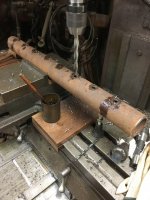
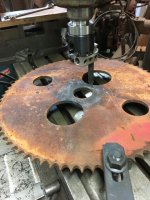
The hub was welded from one side only so I cut it out and mounted the sprocket in the mill. Ground a narrow cutter with a radius to cut through the plate.
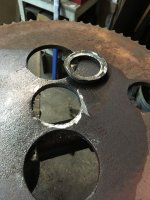
Plate was very hard (designed to wear well against the chain). Had to sharpen the cutter three times to get through. It is cut through here, but the cutter was dull and just pushing the metal instead of cutting it. It will come out easily with a hammer and chisel.
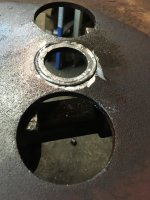
That's a 2-3/8" hole so the sprocket should slip right on the pivot pipe.
Couple of weeks ago I went to see a new doctor. He gave me a clean bill of health, but we got to talking. He and his 15 year old son are coming out tomorrow to do some foundry work...
Thanks for stopping in.

 )
)
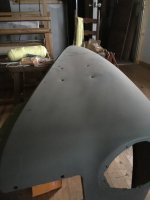
 I have bought running boards and the brace underneath which totaled $500. I didn't buy floor boards.
 I have collected junk for years. Of course what I build then has to be designed around junk I have available. So sometimes my stuff looks a little funny because of what I had. I hate to go buy stuff for two reasons: money and the time it takes to round it up. One of the few disadvantages of living out in the sticks.


")


 People would come in and keep glancing at the frames, then just lose their cool and stare, no diploma, just PE licenses.