To avoid these ads, REGISTER NOW!

Compressor drain valve - replace with extended ball valve setup

stickshift

Well-known member
Joined
Nov 16, 2011
Messages
1,245
Location
northeastern US
Compressor old style drain valve - replace with extended ball valve setup

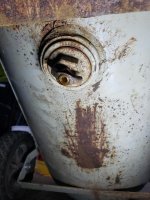
Picked up a used air compressor. It has the old style drain valve where you have to partially unscrew it to drain, which is a real pain, in addition to the usual hassle of reaching to the very bottom of the tank.

I'd like to replace it with a 1/4 turn ball valve and extend it out so that I can operate the valve with my foot.

There's not much ground clearance, and I'd like to not decrease the clearance, since this is a portable compressor and I'll have to move it around and want to minimize risk I shear the fitting off and ruin the tank's threads. I may also add something to pad the steel 'foot' of the compressor (maybe a piece of 1/2" foam board scrap) to reduce vibration back to pump and motor, so that will improve ground clearance a little.

I'm thinking all brass fittings to avoid rust, or does it not matter if I go with galvanized pipe or black pipe?

For the first fitting, I'm thinking either a 1/4" street elbow or a tee fitting, whichever has the lowest profile (again, trying to maximize ground clearance), then a 1/4" ****** that extends out to one side of the steel 'foot' on the handle end of the compressor, then a 1/4" ball valve. I'll zip tie (and eventually ask a friend to weld) the ****** to the steel 'foot', so that operating the ball valve (with my foot) doesn't apply any torque to the elbow at the tank's drain hole.

Thoughts on this plan?
 

Attachments

  • 2020-10-10 18.35.17.jpg
    2020-10-10 18.35.17.jpg
    149.2 KB · Views: 117
  • 2020-10-12 11.52.53.jpg
    2020-10-12 11.52.53.jpg
    105 KB · Views: 105
  • 2020-10-12 11.50.55.jpg
    2020-10-12 11.50.55.jpg
    156.4 KB · Views: 106
To avoid these ads, REGISTER NOW!

Bigblockyeti

Banned
Joined
Feb 1, 2018
Messages
2,550
Location
Upstate, SC
I put a 1/4" NPT street elbow on mine, a short ****** and a 1/4 turn ball valve, I don't open it with my foot as you only have to bump it wrong once to have a big mess. If you do break it off, brass will be much easier to extract and less likely to mess up the female threads.
 

Jswain

Well-known member
Joined
Apr 26, 2013
Messages
2,466
Location
Calgary, AB
Mount two hockey pucks under the front leg and it will give you some clearance and reduce vibrations a bit.

I like the brass / stainless because as you mentioned it won't rust. The street elbow is a good one as well to save clearance and if you're scared of breaking it off you could go for a higher pressure fitting 3k/5k/7500psi which will give it a thicker wall/harder to break but it's likely not to be a problem
 
Last edited:
OP
S

stickshift

Well-known member
Joined
Nov 16, 2011
Messages
1,245
Location
northeastern US
your plan makes sense. you can always plumb the valve up higher with flexible copper so you can operate it by hand instead of foot
I like the idea of the valve higher up so that it can be operated by hand without reaching down to nearly the ground. If the valve is up higher, won't some of the water remain in the line between tank and valve? Or is the idea that massive air pressure will push out all the water in front of it?
 

Aquamoose

Well-known member
Joined
Jan 28, 2014
Messages
365
Re: Compressor old style drain valve - replace with extended ball valve setup

I have the same style compressor. At the end of the day, I simply tip it vertically, reach down to open the valve, and set it back down all while still on my feet.


Sent from my iPhone using Tapatalk
 
OP
S

stickshift

Well-known member
Joined
Nov 16, 2011
Messages
1,245
Location
northeastern US
The water will blow out of the line with the air pressure
OK, great. Would be pretty sweet to run the line up along the handle of the compressor, and have the ball valve in easy reach, maybe with an elbow pointed downward to redirect water/air down.

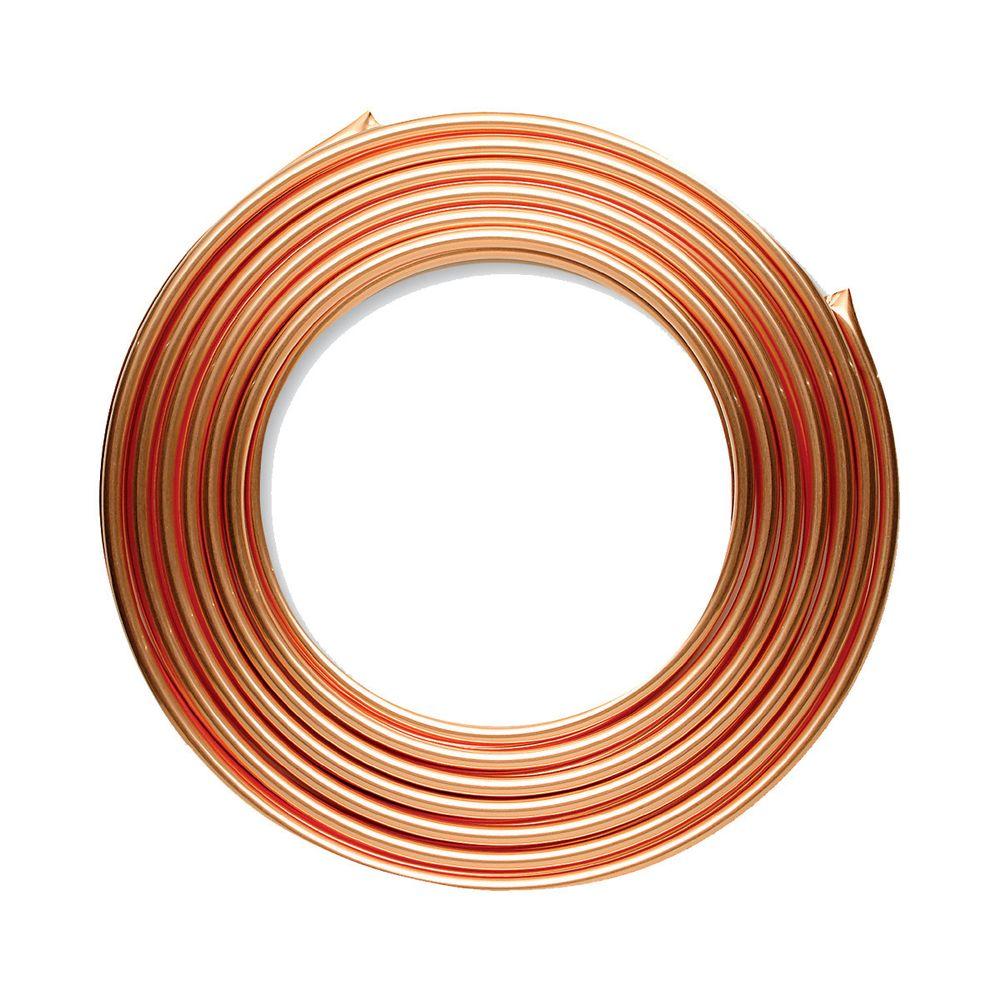
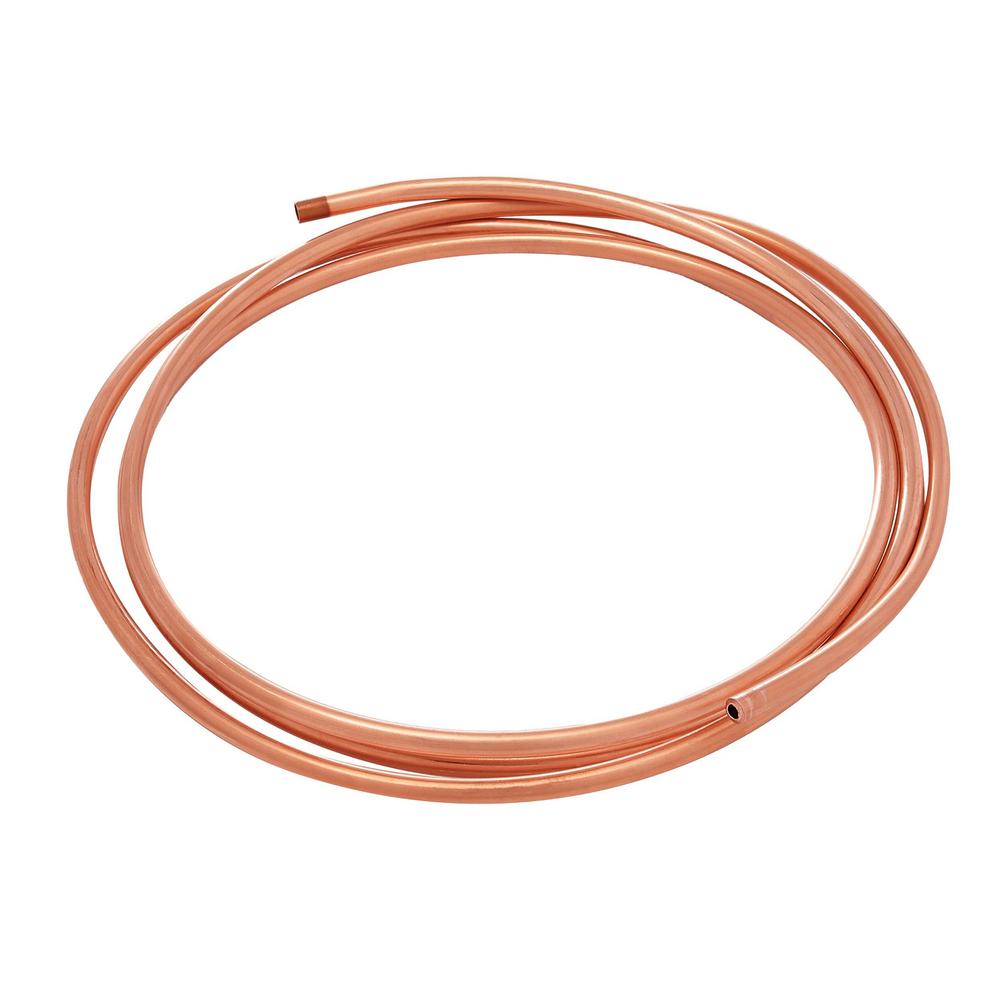
When you say flexible copper, do you mean this?
https://www.homedepot.com/p/Everbilt-1-4-in-x-10-ft-Soft-Copper-Refrigeration-Coil-Tubing-1-4-R-10RE/203654086

copper-everbilt-copper-pipe-1-4-r-10re-64_1000.jpg


How do you make the connection from threaded pipe fittings to this?
 

The Cobbler

Super Moderator
Staff member
Joined
Oct 24, 2013
Messages
26,049
Location
Niagara Region, Ontario, Canada
yes that type of copper, or use nylon plastic tubing . depending on if you're using flared or compression fittings there are fittings available.
a stationary compressor I used for quite a while I used a pc of air hose & a blow gun for draining. grab the blow gun, open the door & shoot away .
 
OP
S

stickshift

Well-known member
Joined
Nov 16, 2011
Messages
1,245
Location
northeastern US
OP
S

stickshift

Well-known member
Joined
Nov 16, 2011
Messages
1,245
Location
northeastern US
yes that type of copper, or use nylon plastic tubing . depending on if you're using flared or compression fittings there are fittings available.
a stationary compressor I used for quite a while I used a pc of air hose & a blow gun for draining. grab the blow gun, open the door & shoot away .
nylon plastic tubing can withstand 120-125 PSI? I'm talking about piping between tank and valve, not downstream of valve.

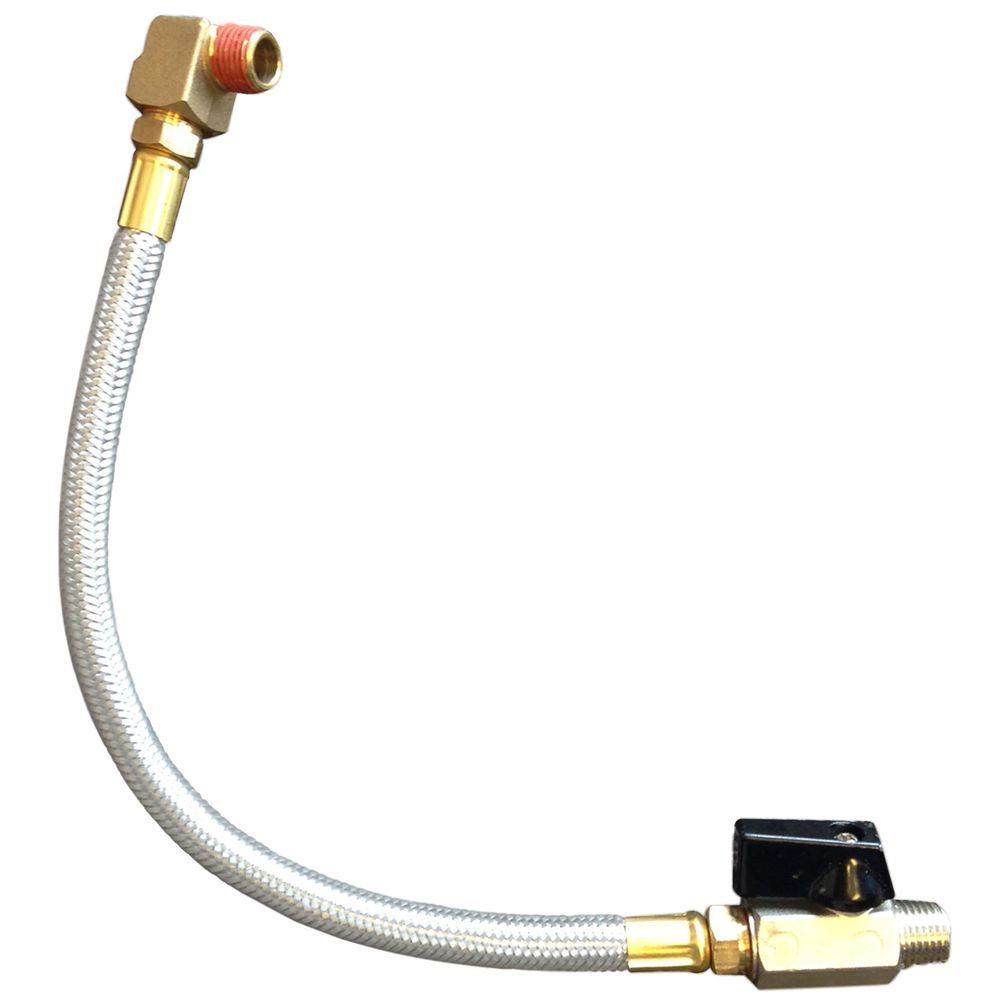
The HD Husky extended tank drain valve use braided steel flex hose. If cheaper nylon hose would have sufficed, I'd figure they would have used it. Too bad the Husky setup doesn't use a longer hose and a valve with a larger handle, it would have been perfect.

husky-air-compressor-parts-072-0023h-64_1000.jpg
 

Ing3018

Well-known member
Joined
Sep 3, 2009
Messages
189
Location
Michigan, USA
nylon plastic tubing can withstand 120-125 PSI? I'm talking about piping between tank and valve, not downstream of valve.

Yes, it's fine for this kind of use. I used 3/8 o.d. clear nylon tubing as the drain for mine. Sees constant 175 psi. The small stuff can handle the higher pressures and is good for these non-mainline uses. Flexible copper tubing is fine too.
 

NUTTSGT

Super Moderator
Staff member
Joined
Sep 14, 2009
Messages
51,239
Location
Northern Central Ohio
Got a welder ? You could bend up some steel and weld it to the wheel mounts and back foot. Gaining 1.5" of clearance would make alot of difference and not make it too top heavy.

Looking at the 2nd picture, you may already have room to re-drill the holes for the wheel bolts. Maybe a strip of PT deck board bolted to the back would give you enough clearance ?
 
OP
S

stickshift

Well-known member
Joined
Nov 16, 2011
Messages
1,245
Location
northeastern US
Yes, it's fine for this kind of use. I used 3/8 o.d. clear nylon tubing as the drain for mine. Sees constant 175 psi. The small stuff can handle the higher pressures and is good for these non-mainline uses. Flexible copper tubing is fine too.
Good to know. Had no idea this kind of tubing could withstand high pressure.
 
OP
S

stickshift

Well-known member
Joined
Nov 16, 2011
Messages
1,245
Location
northeastern US
Got a welder ? You could bend up some steel and weld it to the wheel mounts and back foot. Gaining 1.5" of clearance would make alot of difference and not make it too top heavy.

Looking at the 2nd picture, you may already have room to re-drill the holes for the wheel bolts. Maybe a strip of PT deck board bolted to the back would give you enough clearance ?
No welder, but I could raise up the steel foot using hockey pucks or similar as suggested earlier. PT wood could also work, but I'm also going for vibration absorption.

And you're right, there does seem to be room to drill new holes and drop the wheels a bit lower. But I'll rig up the extended drain valve setup and see how it looks. I can probably raise up the handle end of the compressor when moving it around, such that the fitting at the tank bottom doesn't make contact with anything.
 
To avoid these ads, REGISTER NOW!
OP
S

stickshift

Well-known member
Joined
Nov 16, 2011
Messages
1,245
Location
northeastern US
From browsing HD website, here's the sequence of fittings I came up with to be able to run the drain valve up to where the handle is (making it easy to reach the valve from a standing position). As far as I can tell, these are all suitable for high pressure air use. Starting from the tank's female threaded drain:
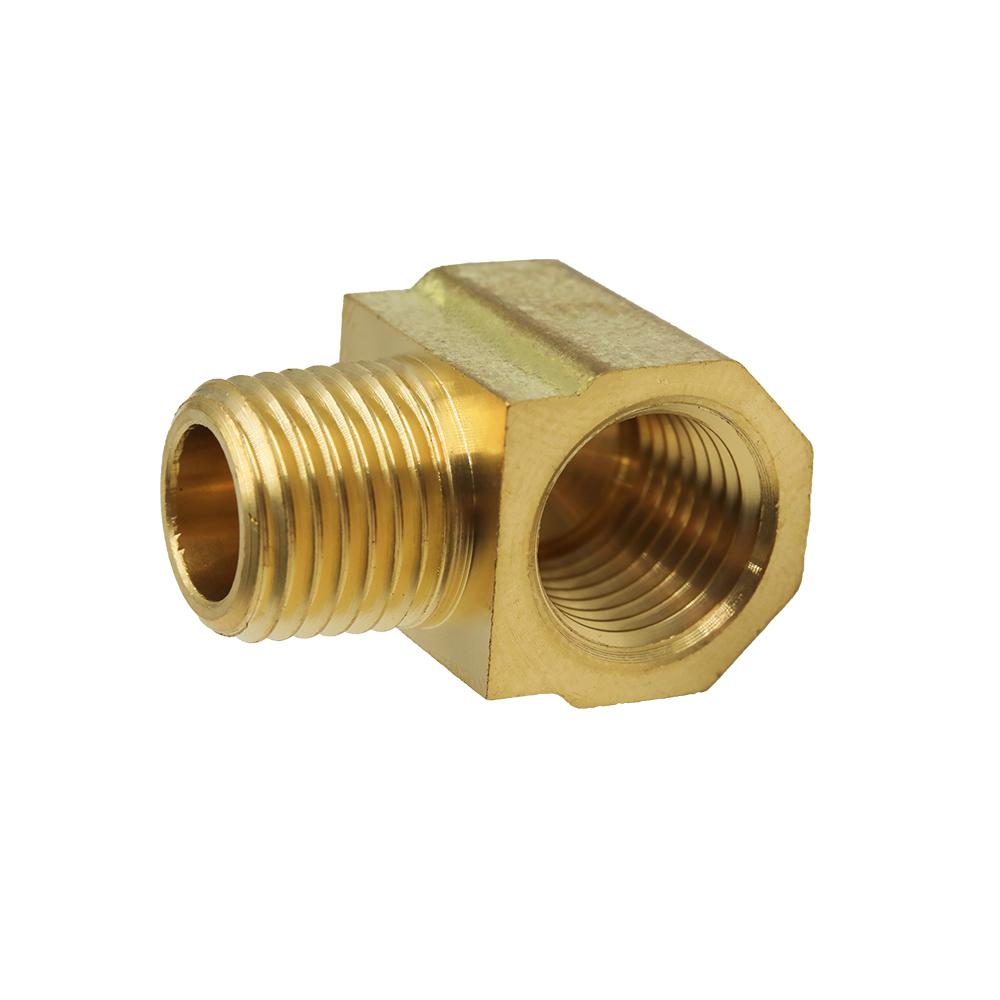
1/4 in. MIP x 1/4 in. FIP 90-Degree Brass Street Elbow Fitting
brass-everbilt-brass-fittings-802099-64_1000.jpg


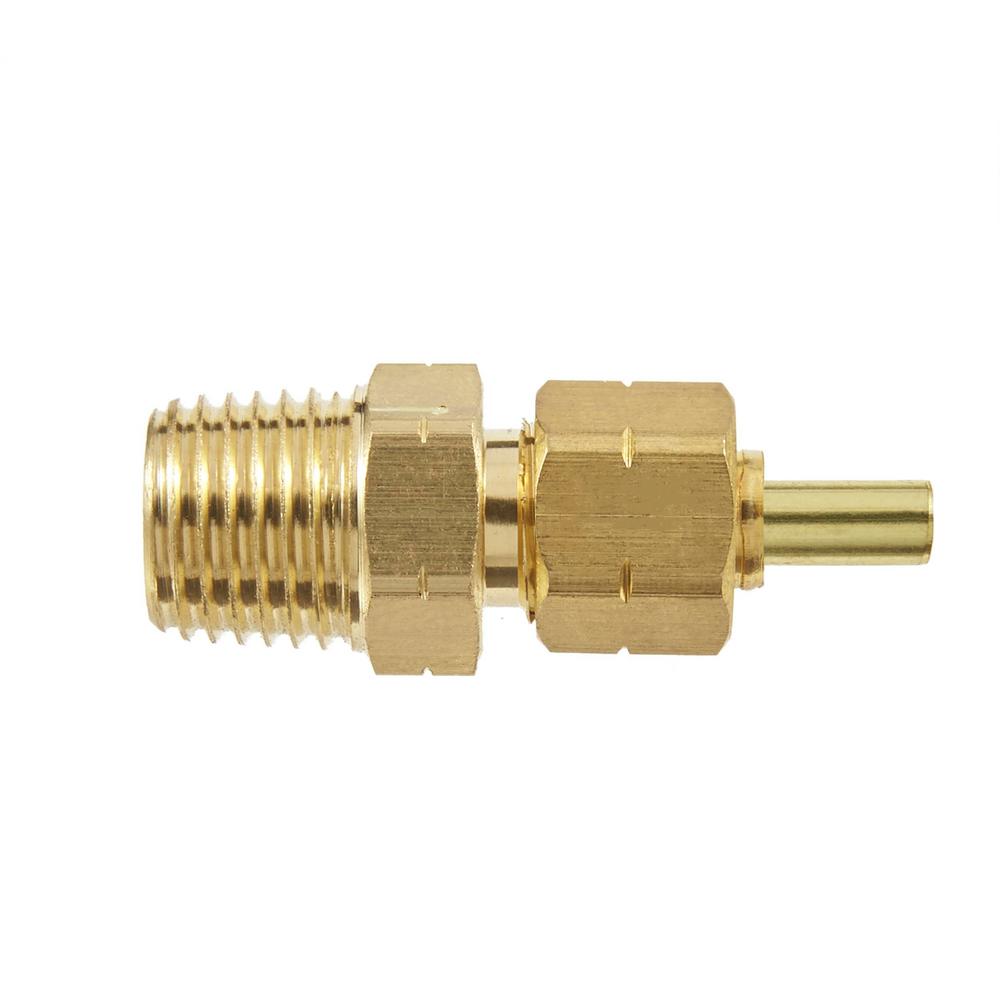
1/4 in. OD Compression x 1/4 in. MIP Brass Adapter Fitting
brass-everbilt-brass-fittings-801079-64_1000.jpg


1/4 in. x 10 ft. Soft Copper Refrigeration Coil Tubing
copper-everbilt-copper-pipe-1-4-r-10re-76_1000.jpg


Another 1/4 in. OD Compression x 1/4 in. MIP Brass Adapter Fitting

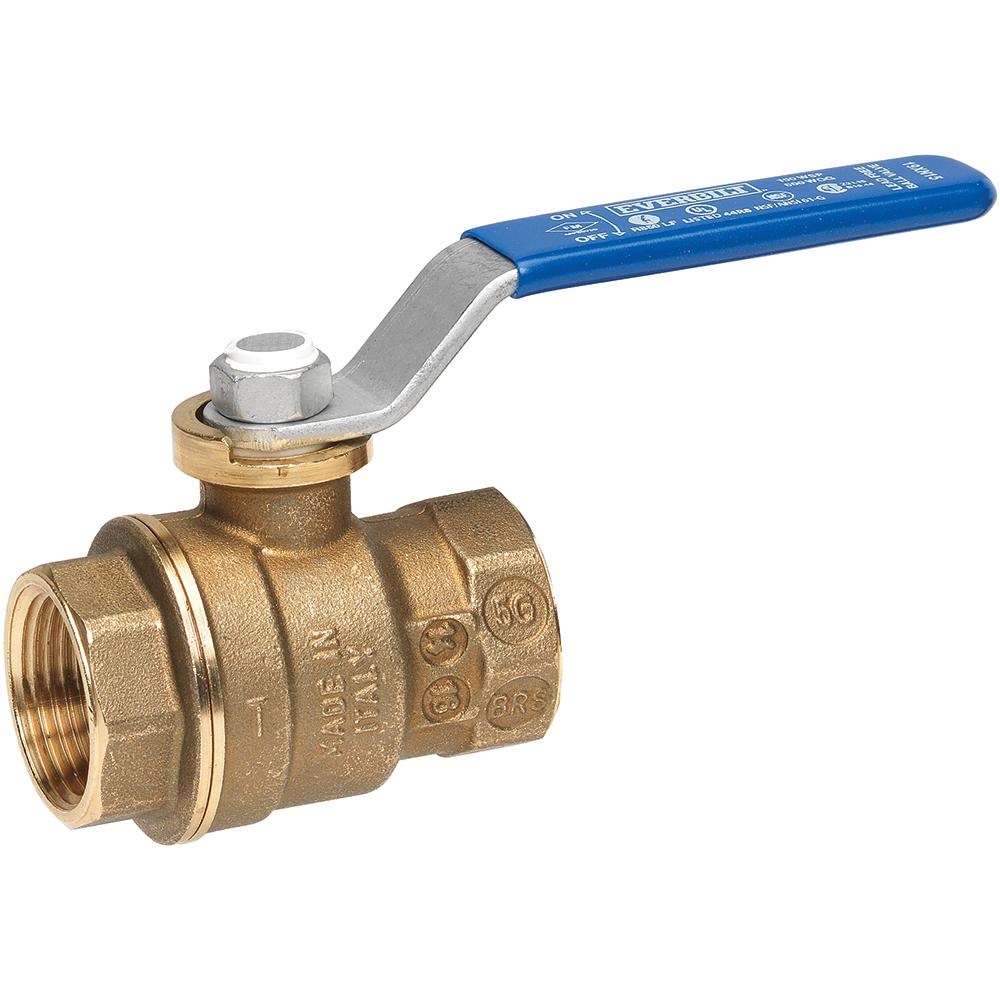
1/4 in. Lead Free Brass Threaded FIP x FIP Ball Valve
everbilt-ball-valves-116-2-14-eb-64_1000.jpg


Then to redirect water and air downward, another 1/4 in. OD Compression x 1/4 in. MIP Brass Adapter Fitting and a bit of that flexible copper.

Works out to ~$35 in parts. A little steep, but if it works well, worth it to not have to reach down to nearly the ground to drain water from the tank. Easier it is to drain, the more often I'll do it. But if there's a cheaper way to accomplish the same thing, I'm all ears.
 
OP
S

stickshift

Well-known member
Joined
Nov 16, 2011
Messages
1,245
Location
northeastern US
Or how about this more simplified (and cheaper) setup:

same elbow out of the tank as before:
1/4 in. MIP x 1/4 in. FIP 90-Degree Brass Street Elbow Fitting

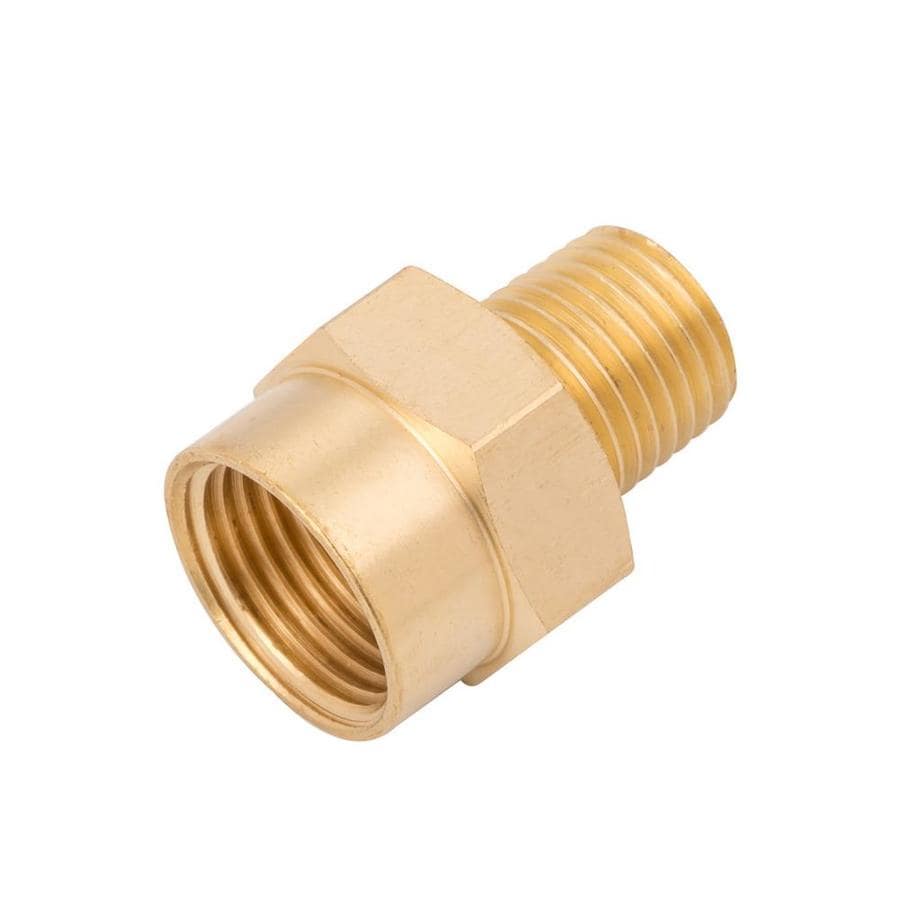
adapter to step up from 1/4" NPT to 3/8" NPT:
1/4-in x 3/8-in Adapter
879686002024.jpg


then a short air hose, kinda like what @The Cobbler described earlier.
3/8 In. X 3 Ft. Air Hose Lead
image_15340.jpg


finish with ball valve:
Brass 3/8-in FNPT Ball Valve
611918068718.jpg


With the hose zip tied to the handle, I can use some kind of clip to retain the ball valve. When I want to drain, release ball valve from clip, aim at the lawn and blast away.
 
Last edited:

Jswain

Well-known member
Joined
Apr 26, 2013
Messages
2,466
Location
Calgary, AB
Yeah I'd just go with a street elbow/long enough ****** to get the valve out from underneath the tank and a ball valve. Cheapest and easy to operate with your foot or bite the bullet and bend down once per use, maybe at the same time you're plugging in the power or air line
 

redmondjp

Well-known member
Joined
Nov 25, 2014
Messages
2,318
Location
Redmond, WA
One thing to keep in mind here, is that besides being the cheapest for the manufacturer, the other primary advantage of the petcock drain valve is that it holds all of the water inside the tank, where if the water freezes, it will do no damage.

The risk of moving the valve out (and don't get me wrong, I have done this myself a few times) is that the pipe leg between the tank and the valve can fill up with water, which if allowed to freeze can cause a problem. If you are diligent about draining the tank, it shouldn't be an issue. If you aren't, and you have the compressor in a place where it could freeze, you can use heat tape or a small incandescent light bulb on a timer or temperature switch to keep that area warm.
 
OP
S

stickshift

Well-known member
Joined
Nov 16, 2011
Messages
1,245
Location
northeastern US
One thing to keep in mind here, is that besides being the cheapest for the manufacturer, the other primary advantage of the petcock drain valve is that it holds all of the water inside the tank, where if the water freezes, it will do no damage.

The risk of moving the valve out (and don't get me wrong, I have done this myself a few times) is that the pipe leg between the tank and the valve can fill up with water, which if allowed to freeze can cause a problem. If you are diligent about draining the tank, it shouldn't be an issue. If you aren't, and you have the compressor in a place where it could freeze, you can use heat tape or a small incandescent light bulb on a timer or temperature switch to keep that area warm.
That's a good point and not one I've seen mentioned before.

It's a portable 20 gal unit, so I will typically be draining it after use, especially in the winter.
 
OP
S

stickshift

Well-known member
Joined
Nov 16, 2011
Messages
1,245
Location
northeastern US
I removed the cover to the air filter. It uses pieces of foam as the filter, not the pleated paper circular filter I had on my prior much newer compressor. I guess I can replace with a similar porous foam? Or is there specific air compressor filter foam I should be using?

Pic with foam removed. Is that little pinhole (red arrow) the air intake? Seems rather small for a 20 gal compressor, no?
 

Attachments

  • 2020-10-14 18.26.50.jpg
    2020-10-14 18.26.50.jpg
    148.8 KB · Views: 34
  • 2020-10-14 18.28.39e.jpg
    2020-10-14 18.28.39e.jpg
    150.5 KB · Views: 41

The Cobbler

Super Moderator
Staff member
Joined
Oct 24, 2013
Messages
26,049
Location
Niagara Region, Ontario, Canada
Is that not two larger holes, one on either side of the small hole?
they are the mounting posts fro the filter cover, but yes, there's usually 2 holes in those compressors. I think the small hole is it on this unit and the original filter was a felt type , set in the chanel along the leading edge of the housing there. there are retrofits for a screw in filter, but a bit pricey. I started to make a few but got sidetracked! LOL
 
OP
S

stickshift

Well-known member
Joined
Nov 16, 2011
Messages
1,245
Location
northeastern US
Is that not two larger holes, one on either side of the small hole?
Are you referring to those depressions on either side, or the small threaded holes? The latter are the mounting posts for the filter cover.

The former - not sure, there is a very small gap between the edges of those depressions and the material beneath, so it does seem like air could pass through there. :confused:
 

Jswain

Well-known member
Joined
Apr 26, 2013
Messages
2,466
Location
Calgary, AB
Yeah I seen the mounting posts I meant the larger holes above them in the picture. There wouldn't be much room between the head & the valve plate but I'd guess those are your intake holes

I'd guess the small one mayyy be a crankcase breather if it doesn't have an externally mounted one

Turn it on and see if the two larger ones are sucking and the smaller one blows a little air out of it
 
Last edited:
OP
S

stickshift

Well-known member
Joined
Nov 16, 2011
Messages
1,245
Location
northeastern US
Yeah I seen the mounting posts I meant the larger holes above them in the picture. There wouldn't be much room between the head & the valve plate but I'd guess those are your intake holes

I'd guess the small one mayyy be a crankcase breather if it doesn't have an externally mounted one

Turn it on and see if the two larger ones are sucking and the smaller one blows a little air out of it
You were right, those are air ports. The one on the left is pulsing air out (must be with every piston stroke) and the one on the right is sucking air in. Why would air be coming out from the port on the left? :headscrat Wouldn't the design try to push all the air acted on by the piston into the tank?

Strange too that both are covered by the air filter. Seems you'd only want to cover the air intake. Why slow down air being pushed out?

Didn't notice any obvious flow of air from the tiny hole in the center.
 
Last edited:
OP
S

stickshift

Well-known member
Joined
Nov 16, 2011
Messages
1,245
Location
northeastern US
Got the drain valve done. 1/4" NPT elbow to short (maybe 5') 3/8" hose to 1/4"-to-3/8" NPT adapter to 3/8" ball valve. I wanted the larger ball valve as 1/4" ball valve is tiny and 3/8" is a little easier to handle while ensuring my hand isn't in front of the opening when I open it up.

For a portable compressor that's moved around for use, where I'm not going to have a pan always positioned under the drain, I really like the hose drain. I can point it toward grass, bushes, etc., and let 'er rip. Thanks for the idea @The Cobbler.
 
Last edited:

Jswain

Well-known member
Joined
Apr 26, 2013
Messages
2,466
Location
Calgary, AB
You may have a leaking Reed valve if air is pulsing out of the intake unless the crankcase breather is somehow tied into them. If your fill times are good I wouldn't worry about it, but if it takes a long time to fill I'd be checking it out. Do you have a model # of the pump or some more pictures all around it
 

STREETFIGHTER50

Well-known member
Joined
Sep 24, 2013
Messages
89
I put a 1/4" NPT street elbow on mine, a short ****** and a 1/4 turn ball valve, I don't open it with my foot as you only have to bump it wrong once to have a big mess. If you do break it off, brass will be much easier to extract and less likely to mess up the female threads.

This exactly
 
OP
S

stickshift

Well-known member
Joined
Nov 16, 2011
Messages
1,245
Location
northeastern US
You may have a leaking Reed valve if air is pulsing out of the intake unless the crankcase breather is somehow tied into them. If your fill times are good I wouldn't worry about it, but if it takes a long time to fill I'd be checking it out. Do you have a model # of the pump or some more pictures all around it
I'll take a look for at pump for model # and will post up more pics.

Fill times seems ok on this old (but new to me) 20-gal unit. Longer than the fairly new 10-gal compressor I sold, but doesn't seem to take 2x as long (but my perception of time might be thrown off - that 10-gal comp was painfully loud, while this old belt drive is much quieter so I'm less aware of time passing). I'll have to time it.
 
Last edited:
To avoid these ads, REGISTER NOW!
Top Bottom