V-10 Killer
Well-known member
Thanks! I found out this truly amazing trick, if I step away from the computer, I can actually do stuff!
I'm sorry, but that can't actually work


Thanks! I found out this truly amazing trick, if I step away from the computer, I can actually do stuff!
I'm sorry, but that can't actually work

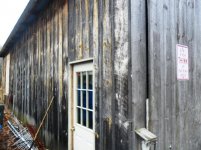
Just curious, how many sq ft of concrete did you pour? We want to put a shop up at our pasture, but we were thinking shop first, concrete later because of the cost. I like the view from your office space. Hope you get back to work soon so you can finish your space.
solange er nicht verlieren.
Kinda OT but you can see some more great BARN pics on Ohio Barn site--get some more ideas--NOt that you need any ideas--you have a great space just like it is--the windows will bring in some great light, very cleverly styled.
Mike

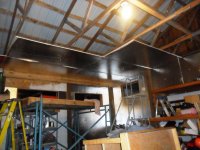
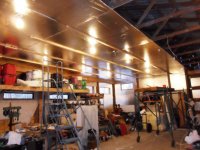
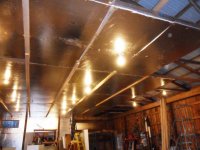
You going to put a tin ceiling up? I've been buying sheets at Menards.... best prices vs. HD or Lowes! And they have it in stock, 8'-16' long.


It might not make for much of a picture, but 240V is a serious step forward. Congratulations.