Kevin54
MEMBER EMERITUS
Damn man, that is some fantastic looking work!!!! If I lived in Milford, I'd be hanging out at your shop every day just to learn something.


Awesome work. I have always wanted to learn metal shaping. By the way, I drive through Milford twice a day to and from work. I would gladly work for free in exchange for training.
By the way, where in Milford is your shop located? I think you are the closest GJer to me.
i am on deerfield rd, in between st rt 28 and 131
I have been taking 131 home lately because traffic is getting so bad on 50. I don't travel Deerfield much, but I'm sure I have passed your shop and just didnt realize it was there. You truly do some nice work.
stop in some time
Welcome to the GJ from Anderson Twp. Beautiful work. are you going to be st the pumpkin run this weekend?


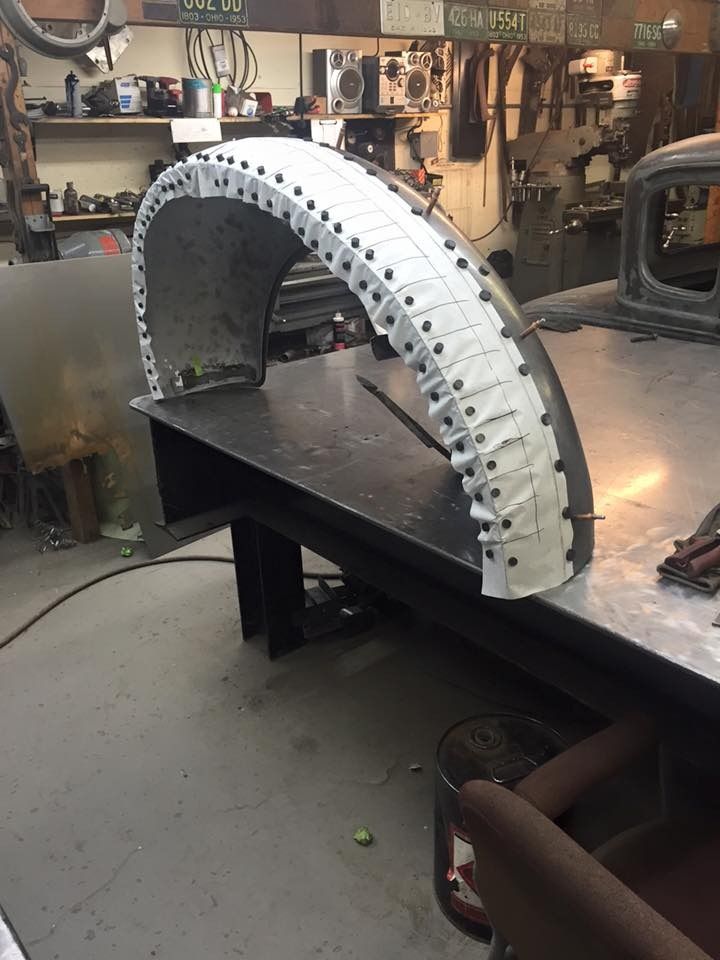
 Could you explain a little more as to how you get your metal pattern off of your paper template? I mean. that I know what you are doing with the paper and the magnetics, but the paper has some serious wrinkles in it. So how do you go from a wrinkled up paper with lines and magnets on a fender, to making a flat blank, to making a finished fender?
If you would, when you get some free time
And if you do find time to do a small write-up about it, it doesn't have to be a complex part with a bazillion lines and circles and magnets, but just something simple as all of the basics are there whether the part is large or small. I have seen where ones would take multiple layers of shipping tape and covering a part, running the tape in all directions, then trying to iron it out into a flat pattern to transfer that to a piece of sheet metal, but I have not seen how you do it, done before.
And again....whenever you get a free moment. I know that with your projects you have been showing, that you must not have any free time at all.
Thanks so much, and keep posting away. I just may have to make a special trip to your shop someday just to follow you around and see how you do what the magic is that you do.

Do you have any Youtube videos?
I'd love to see how you can get a panel with 2 different radius done like the one in the first picture. Anyone can bend something over a old welding cylinder but how do you get that panel curved like that?

Amazing work! The spare tire well is crazy, a huge amount of shaping going on to make that happen.
What's the advantage to shaping the inner fenders in one piece that basically are three flat pieces connected at 90 degree angles? Is it faster than welding up out of three pieces, or does it just make a better part?
Mike your work is beyond words although freakin amazing is a good starting point.
Now that you've explained your process for developing a shape, can you tell us what kind of paper you are using for your templates. From the pics it almost looks like unlabeled Tyvek house wrap or something like that.
How much time does it take for some of these pieces we see, like the spare tire well?
with making the spare tire well in 1 piece has multiple benifits. the first is the time saving factor. with making in 3 pieces you would have to make the pieces, trim to fit, weld, grind, and metal finish out. which is very time consuming. so in 1 piece you can knock off hours in the crappy work. the second is you never want to weld in a 90* corner, you cant metal finish it out, or blend out into a radius. and third it is a smoother more uniform shape that flows out nicer


