ZBear
Well-known member
Hello Z and welcome!
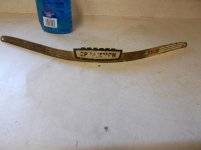
I can't recall ever seeing a Craftsman 150 repop trim piece. If you're not a purist, you may be able to do something creative with the old piece.
The only other option is to find a replacement from a donor machine or ebay. There's one on ebay at the moment, but it's outrageously priced and in poor condition.
Anyway, we need pictures! Before, during and after your refurb.
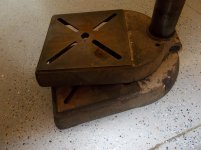
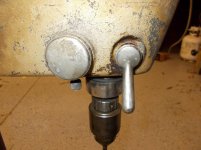
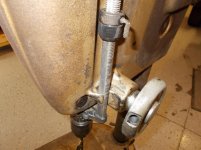
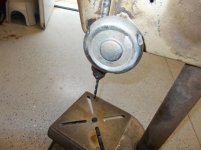
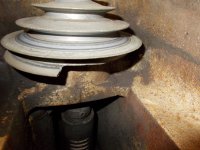
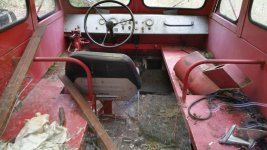
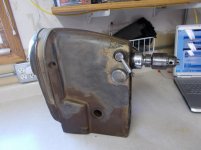
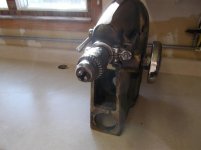
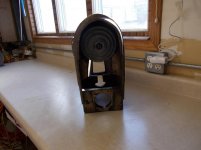
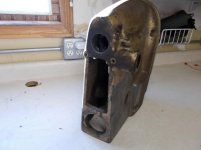
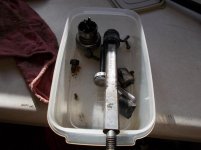
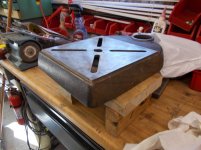
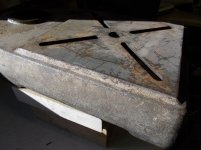
Here are a couple pictures. It looks worse with all the caked on grease removed but there will be a lot of mineral spirits to be used plus wire wheel I am afraid. The shop had a smoky forge near everything was soot covered and ground metal dust. By spring hoping it looks a lot better.