
sheltonfilms
Well-known member
- Joined
- May 28, 2014
- Messages
- 157
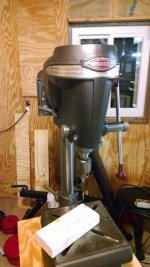
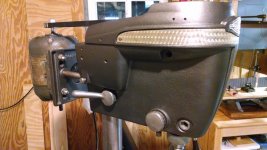
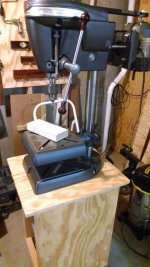
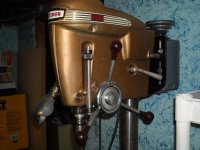
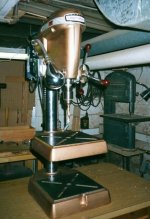
Question for FrankLee and all. Last night I bought a 103.23130. Its in good condition but the spring return is not working. I reviewed the spring adjustment section you have here and it still won't return after tightening. How do I check and replace the spring? What else could be the problem? Any guidance anyone could provide would be greatly appreciated. Thank you very much.
Do you feel tension as you turn the adjustment knob on the left side?
If so quill and feed pinion may just need to be oiled. There is an oil port on the right side where the feed pinion goes into the headstock.
Sent from my iPhone using Tapatalk


")


 </MARQUEE>