Motor Shaft Burr From Set Screw
Exactly.
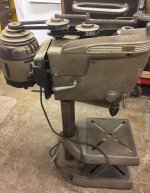
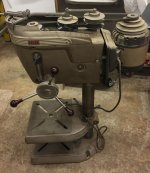
Here's a picture I just took of the motor I'm working on this morning. The shaft is badly scarred. It required a puller to remove the pulley.
I'll be cleaning off that burr, but I'm going to flip the motor and reverse the rotation when I install it on dp#56. I like the terminal end of the motor facing down.

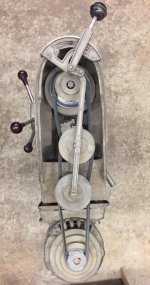
Im going to take measurements shortly on the two motor pulleys I have.
But I wonder if Iam better off keeping them. Most people are trying to slow these still presses down and if these are smaller diameter on the motor it should do just that. I don't plan on leaving the speed set that high. I just had it like that for testing. I will likely only use it on the lowest two speeds.
With the correct pulley the speeds are 5000, 2390,1280, and 610. If my pully is smaller across the board all of those numbers should be slightly lower.
Exactly.
Here's a picture I just took of the motor I'm working on this morning. The shaft is badly scarred. It required a puller to remove the pulley.
I'll be cleaning off that burr, but I'm going to flip the motor and reverse the rotation when I install it on dp#56. I like the terminal end of the motor facing down.

Last edited: