
ddawg16
Well-known member
I started my garage build back in October of 2008......I had many posts documenting it's progress....then I got asked today where my link was to my garage build (and jeep build...another story). Makes sense....so I've pooled all the picks and put them in chronalogical order....
First...a little background....
Old garage was a detached 2 car, 18'x20' in the rear of the property. Besides no storage in the attic, any time it rained, water would pour in through the back and side walls due to them being below grade. Additionally, we planned on doing a 2-story addition to our house so we know we needed storage space while the build was going on. Add in that my wife likes to paint (needs a place for it) and I like to do wood working (paint and sawdust mix too well), and we knew we needed a larger garage....
This is what we were putting up with....

The wood fence has been there for over 50 years and is home to lord knows how termites.
It took 6 months to get the plot plan approved. Part of our problem was that we wanted to build as close to the property line as possible. As long as it is "just a garage", we can build right on the property line and up to 15' high.
A little advice to anyone going through the planning part....when they ask you what the garage is for, do not mention storage or wood working...it's "just a garage", nothing more, nothing less.
Once the plot plan was approved, it was construction plan time....that took another 6 months....because I was building a 2-story garage, I had to have engineering. When it was all said and done....I was approved...placement was 6" from the side property line and 2' from the back. What it meant to me was that I didn't have to eat up any more of my yard for my new 20'x25' garage...I was able to use up the wasted space.
Because I have never done a big concrete project, I sub'd out the foundation and block wall to replace the old wood fence. I learned quite a bit on that exercise....like, what NOT to do....next time I'll just hire the same Jose and Jose that the contractor did.
Some of the best money spent was getting a survey done. It cost $800 but I know exactly where my property line is....it allowed me to actually move over about 6" more than I thought I could. It also showed the neighbor that his tree (which was 6" from the property line) needed to come down. I paid for the removal...but at least there were not upset neighbors...
By October of 2008 I had all my permits....while some people seem to think that California is outragous on costs....all my permits cost me a total of $550.
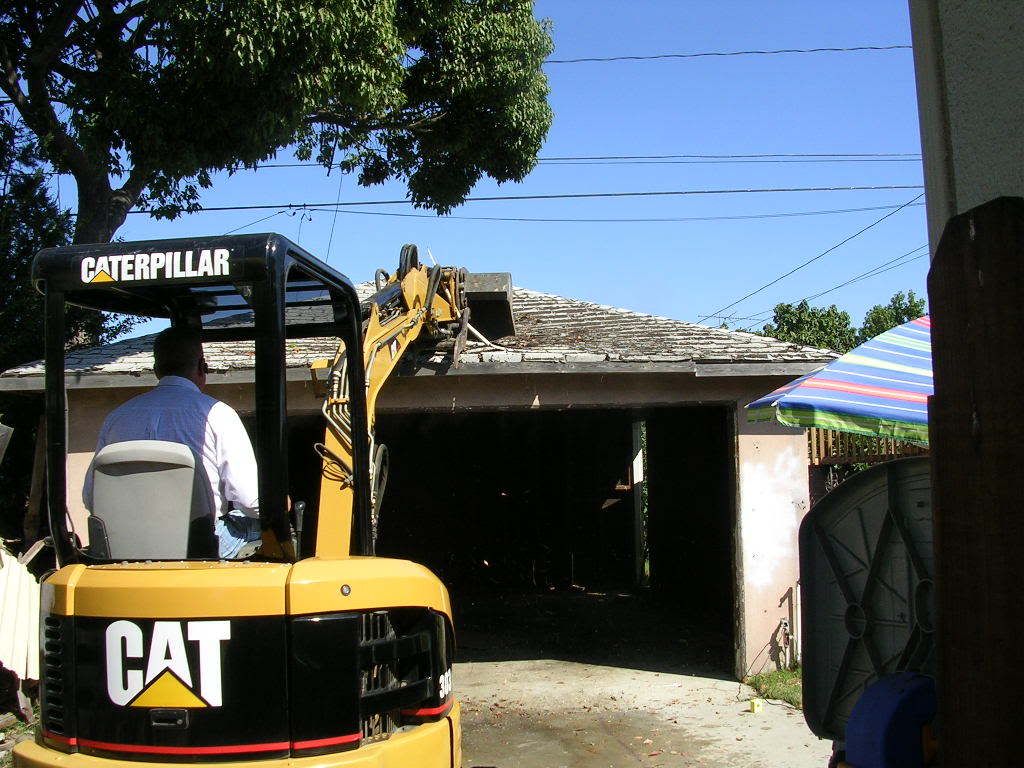
So on one sunny October day....in roll the demo guys....at the end of the day it was all over....
Going....
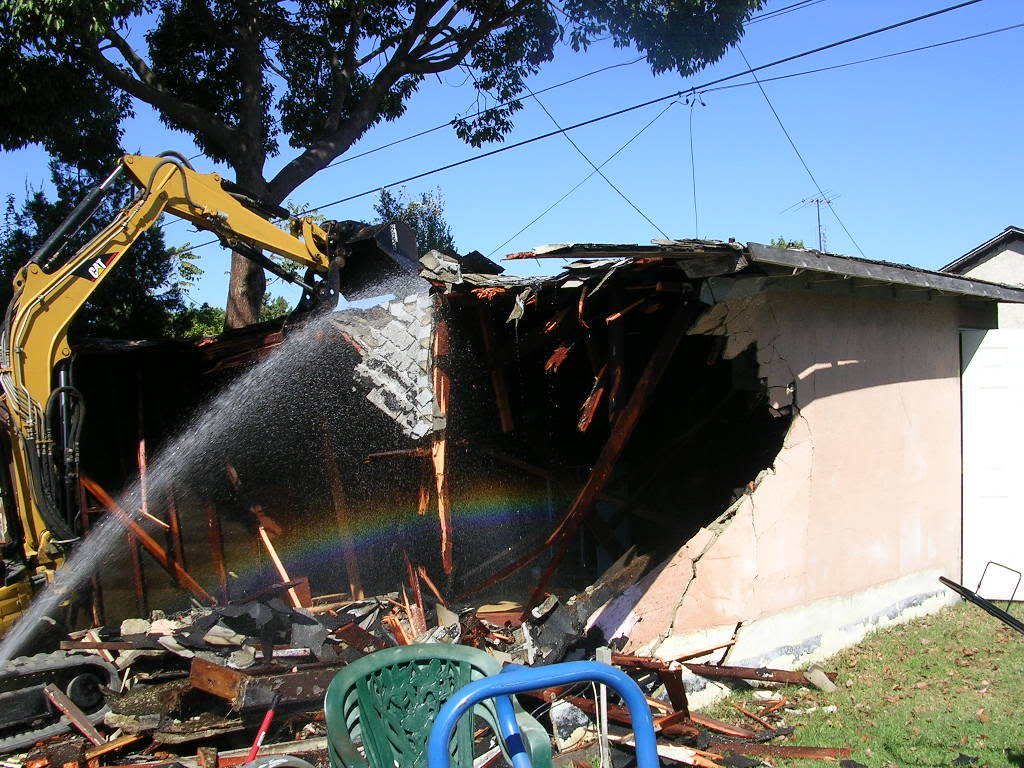
Going.....
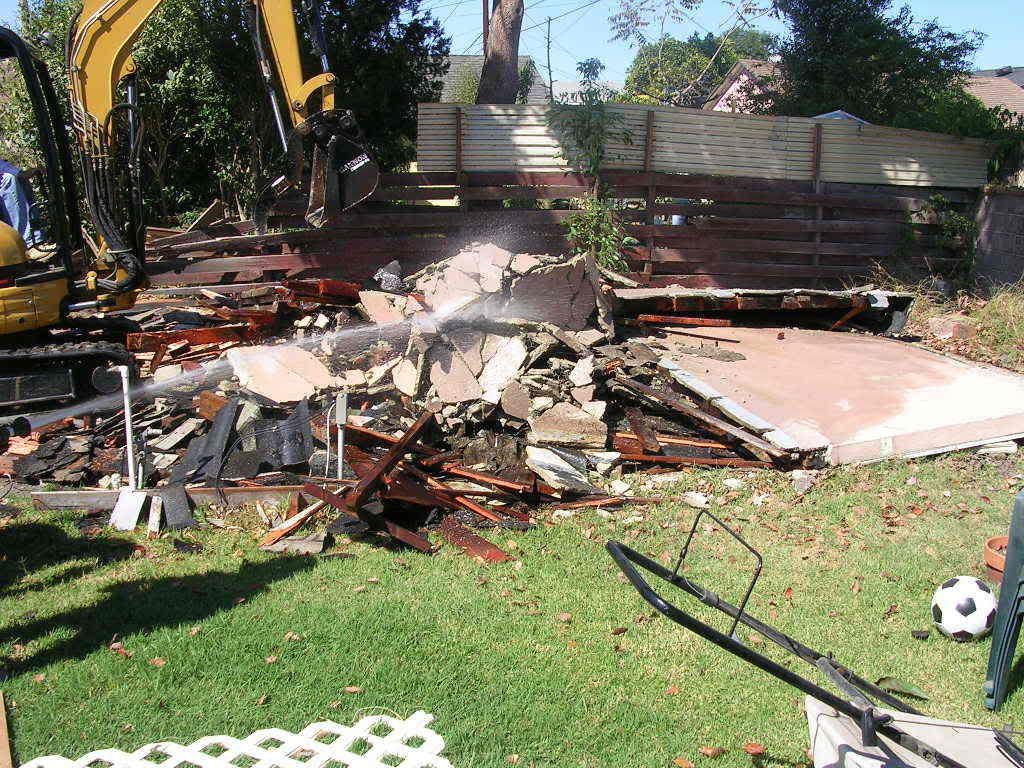
Gone!
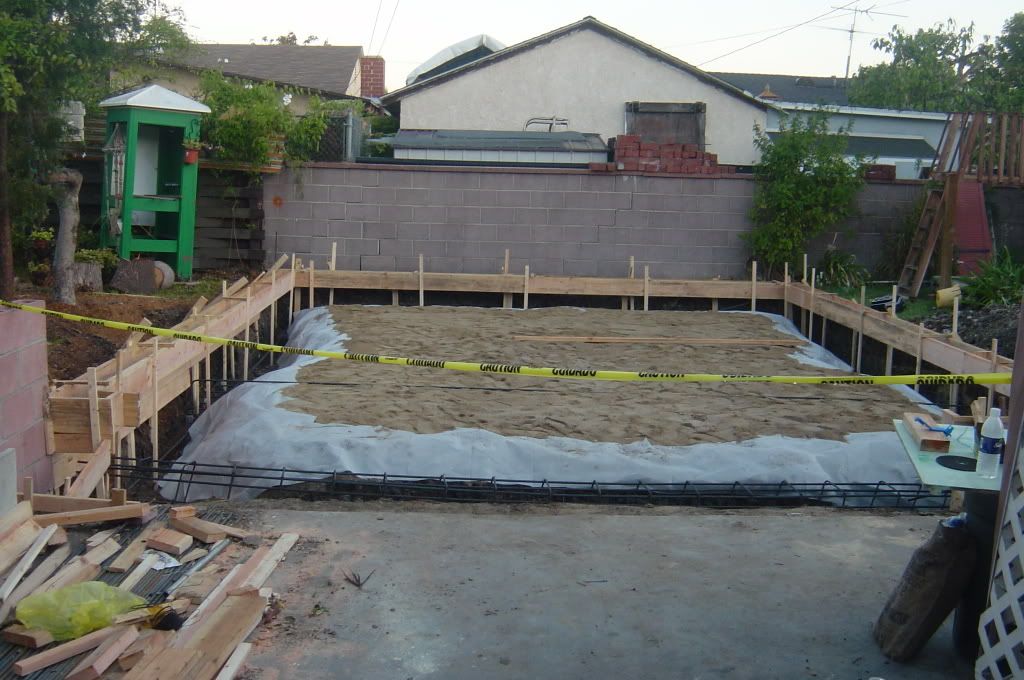
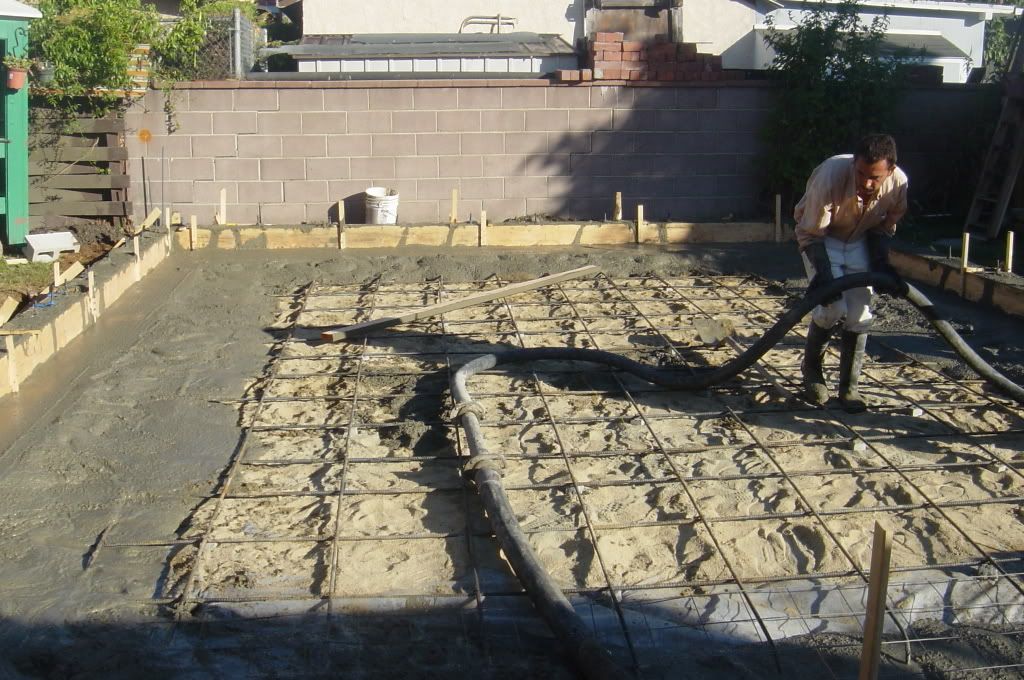
Next was the foundation....what should have been a 1 week job took 3 weeks...and the ******* contractor tried to get more money out of me when he underestimated the concrete...that slab took 20 yards.....
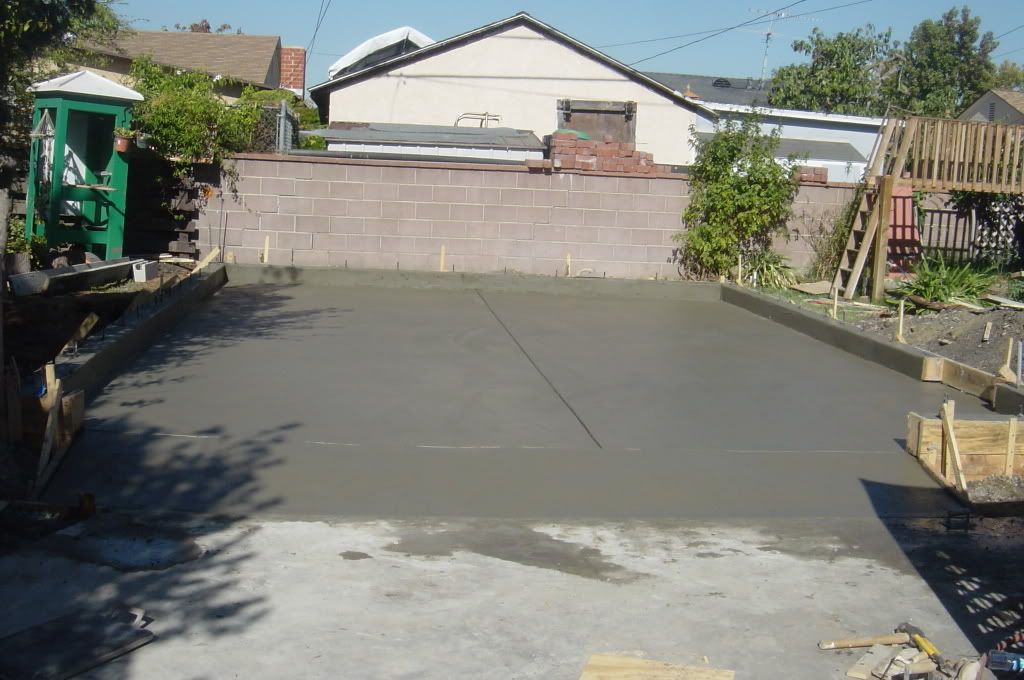
I gave the slab a week to dry....while keeping it wet....???? Seems like a contridiction....
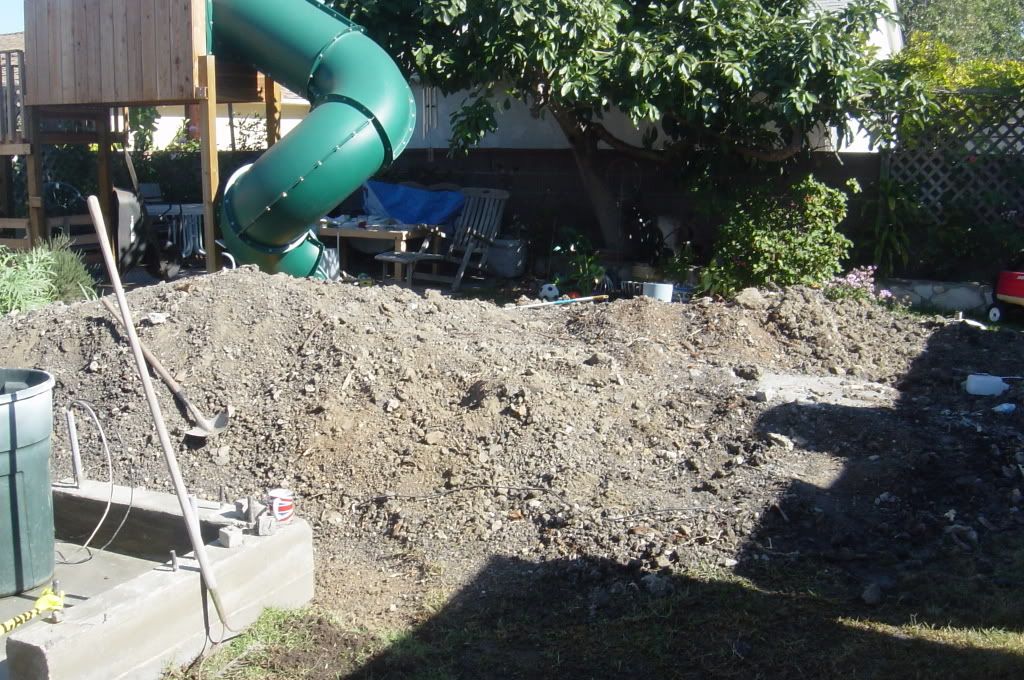
See this pile of dirt? That is what was left over from the foundation work. Unless your contract for the foundation contractor stipulates what to do with it....your stuck with it....it took me 3 months to get rid of this dirt...each week I would fill up 2 of my trash cans and the trash cans of the neighbors on both sides....but i got rid of it.
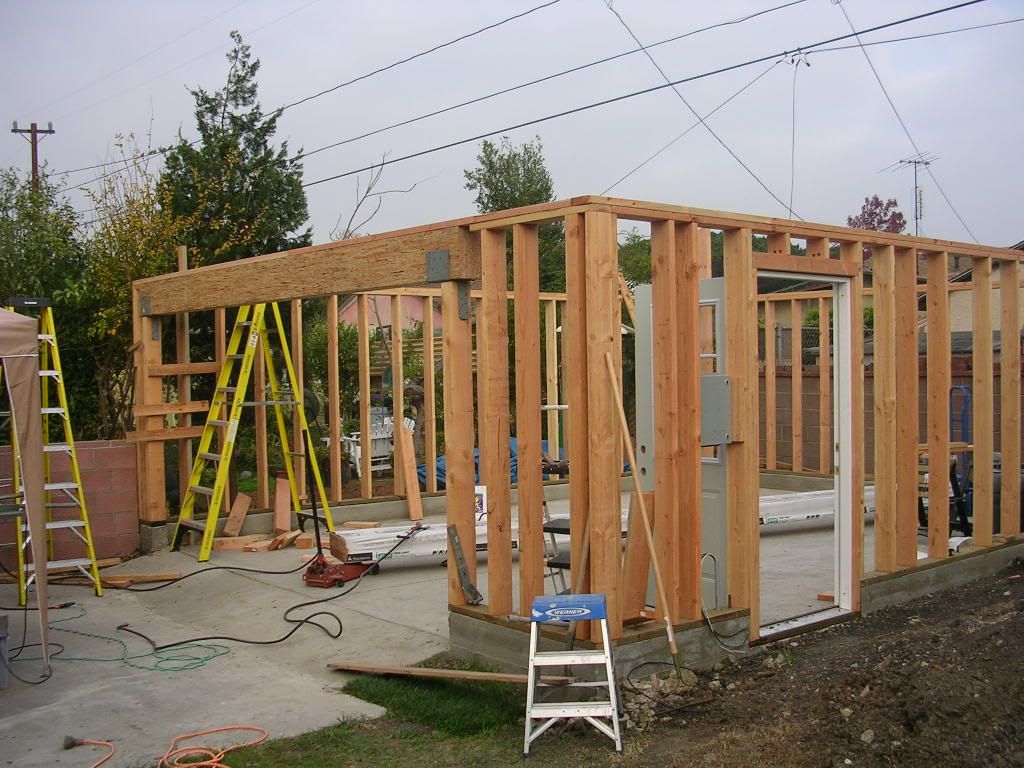
With the concrete dry enough to work with...it was framing time...truth is, this is some of the most fun I have had. It's like a grown mans erector set...the first floor took me about a week to get up.
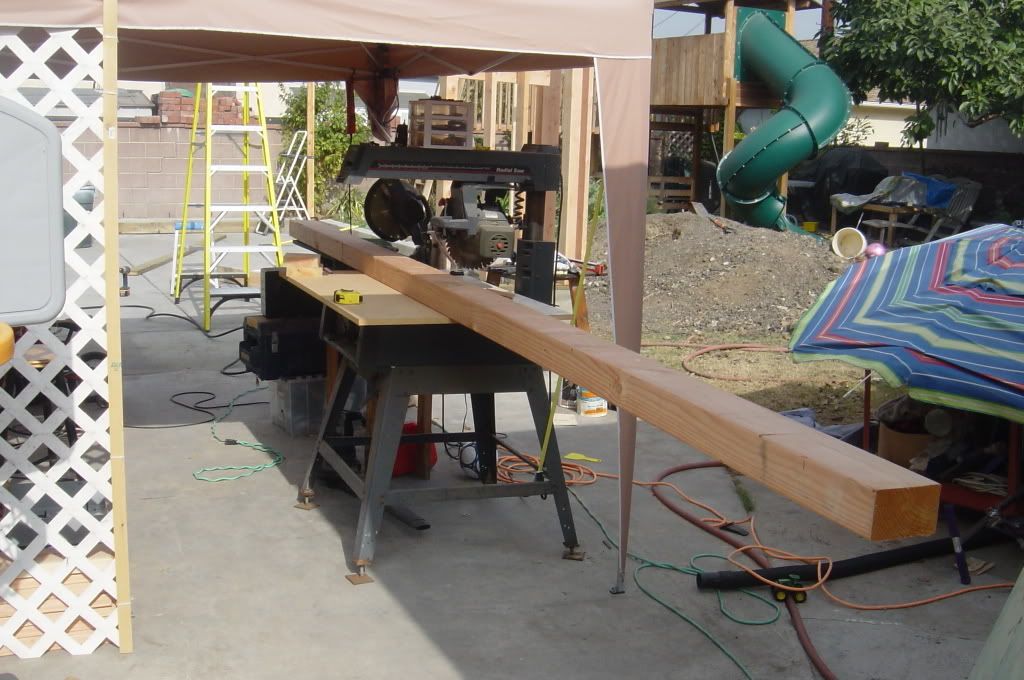
This setup was how I was cutting most of my wood....I had my radial arm saw and a table for my compound miter saw setup together....it let me cut some really long pieces using either saw.
This was after about 1 week.
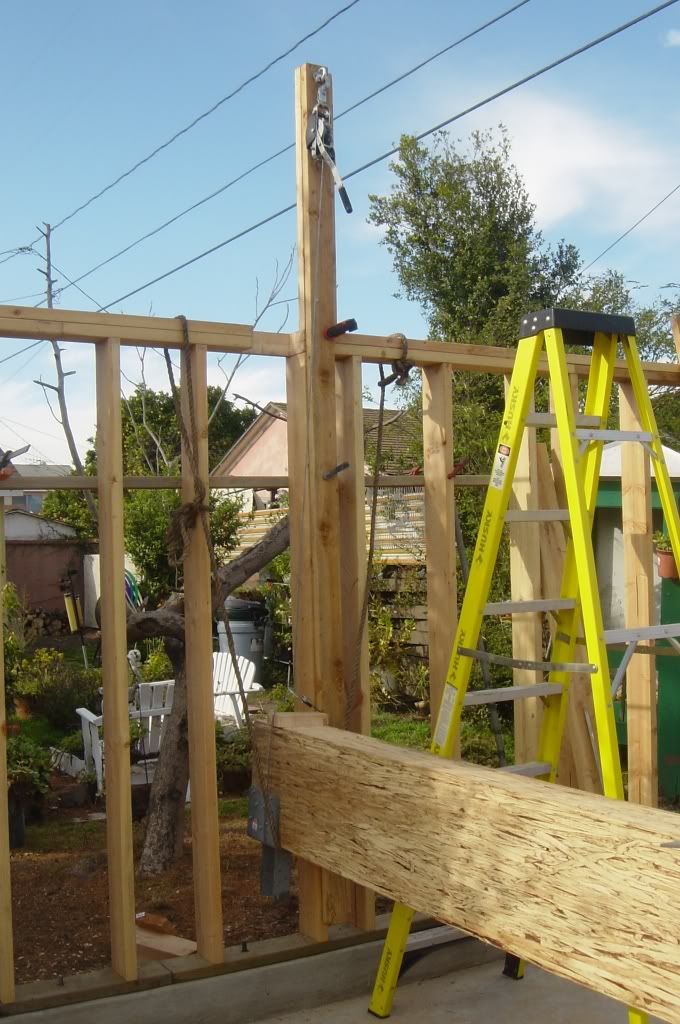
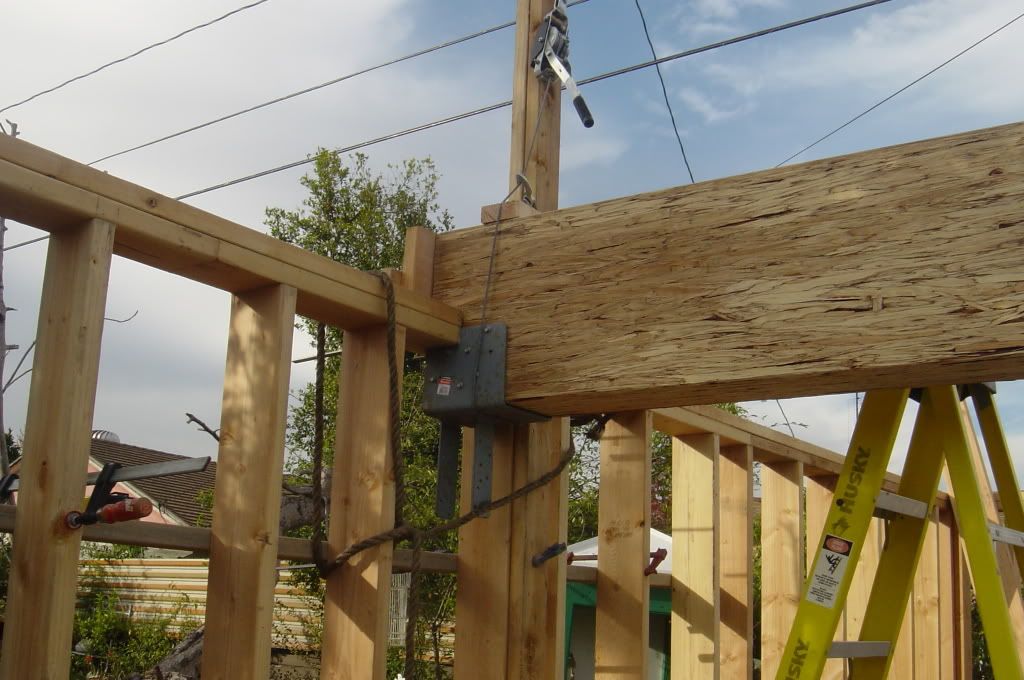
Because of the span and second floor, I had to have a large beam across the middle....7"x16" PSL 20' long...weighed about 650 lbs....raised it myself. It was actually pretty easy.....I used 2 come-alongs attached to boards sticking up above the top plate. It took me about 3 hours for setup and about 30 minutes to crank it into position.
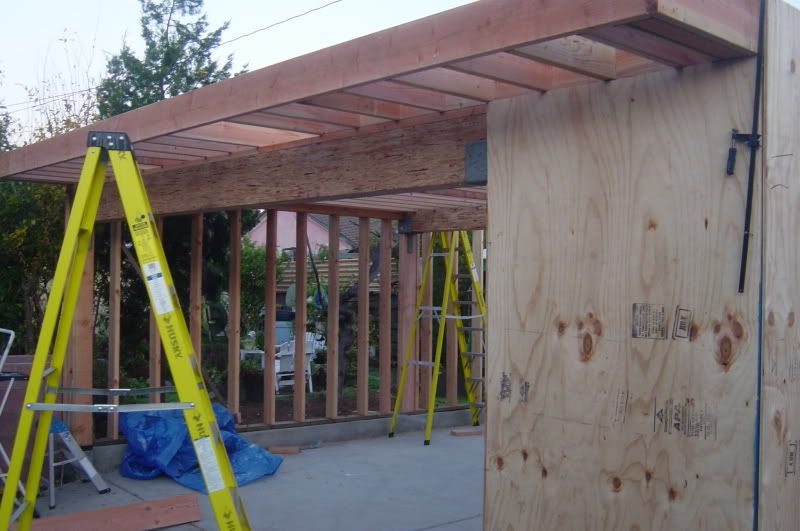
Once that beam was in I could start putting up the floor joists.
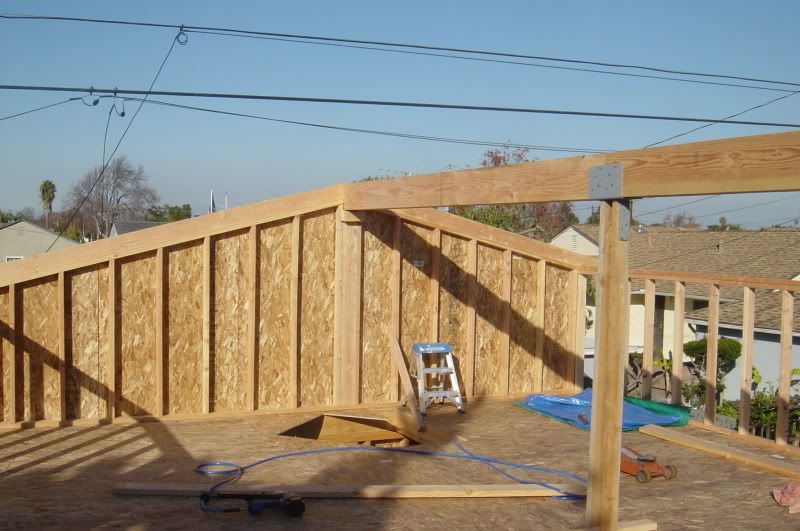
The second story is starting to take shape..

This is the ridge beam for the roof. You can see the hole where the spiral stairs will come up.
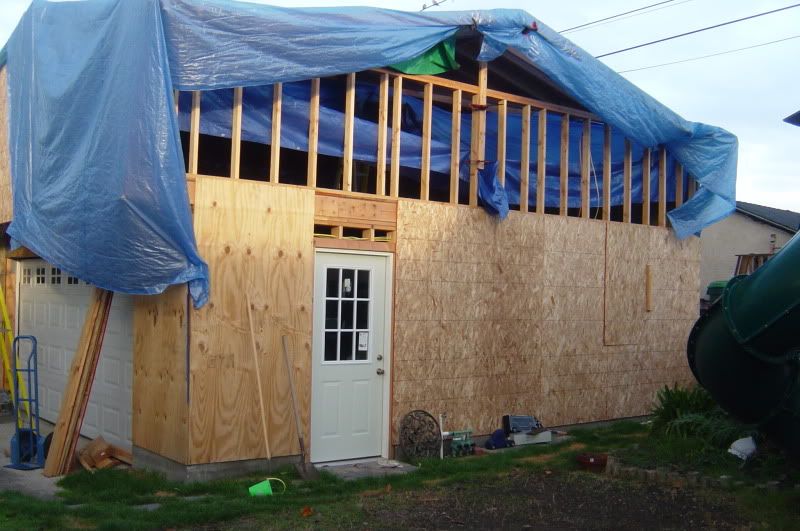
This photo is in the late January 2009 time frame. We were having a lot of rain....and I was spending way too much time out of town....only half the roof was done so we were using a lot of tarps to 'try' and keep things dry.
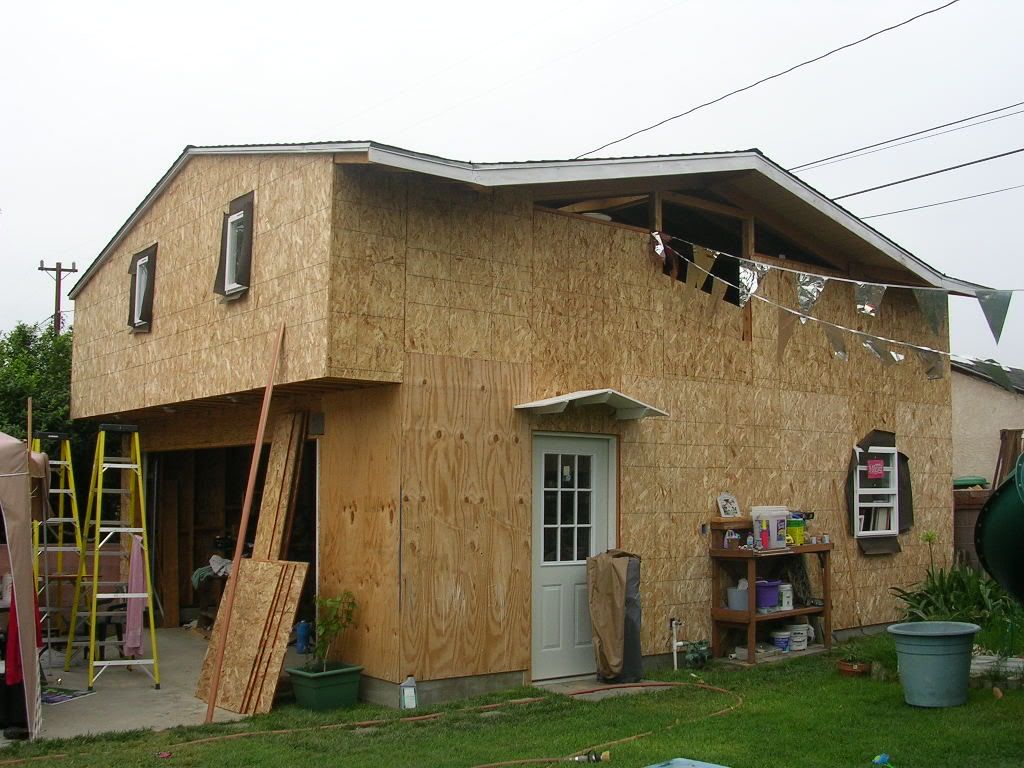
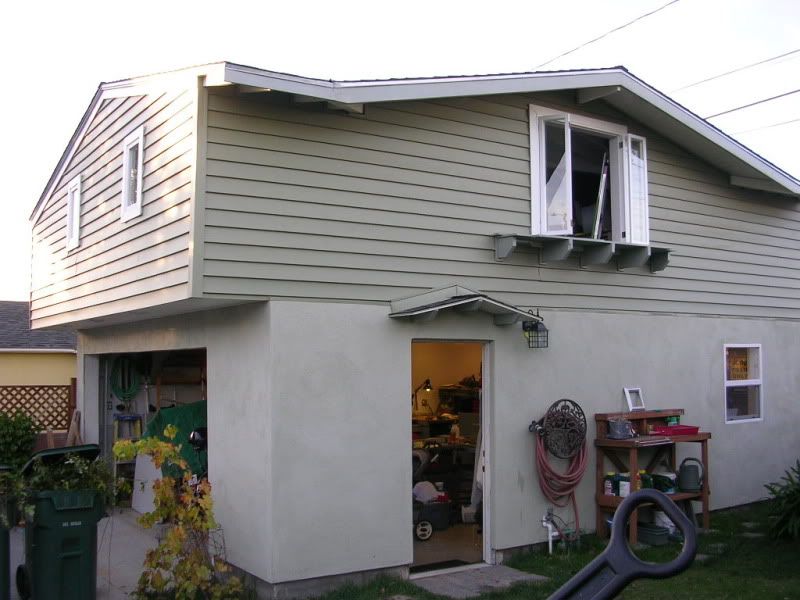
By March the roof was done and all the sides closed up. Windows were in and most of the electrical was done.
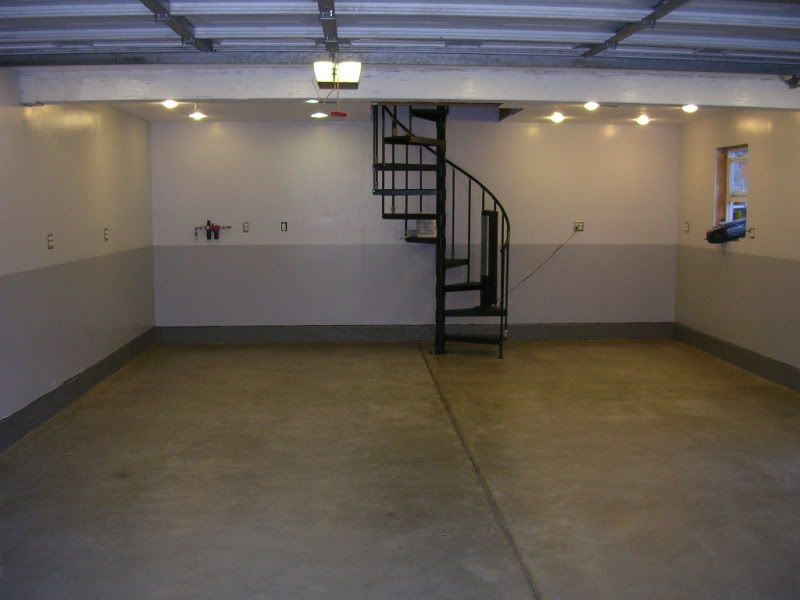
This is the spiral stair case. We chose this over traditional stairs because we wanted to keep the maximum amount of floor space and we figured that our 3 little ones would be less likely to run up and down these vs straight stairs.

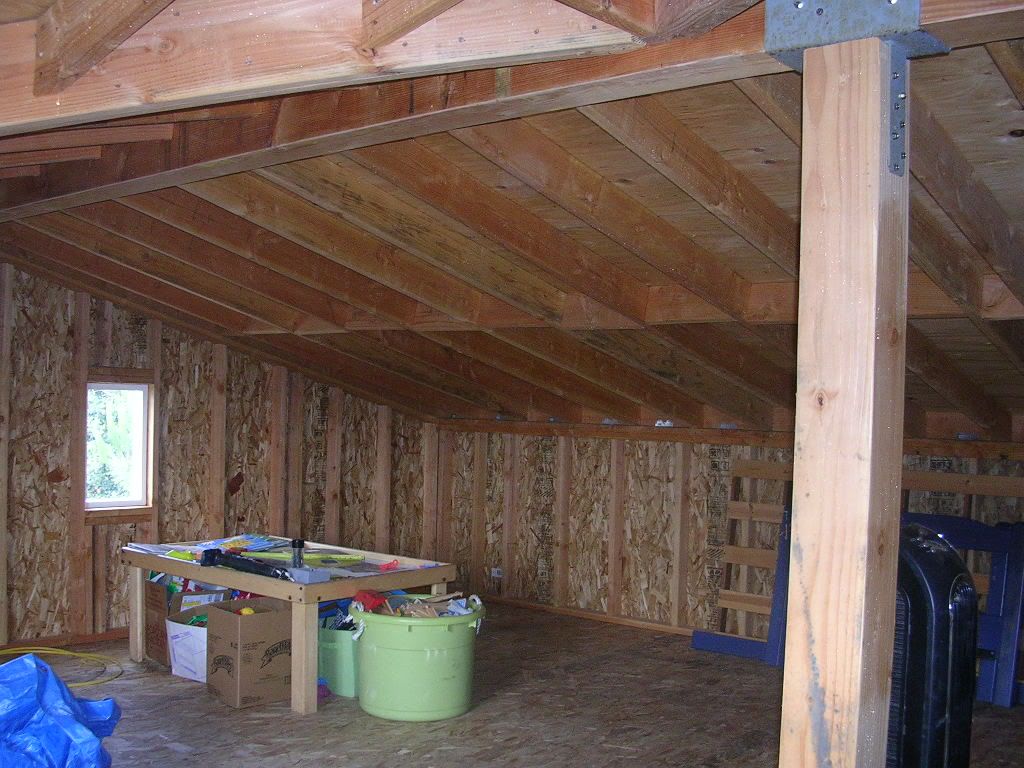
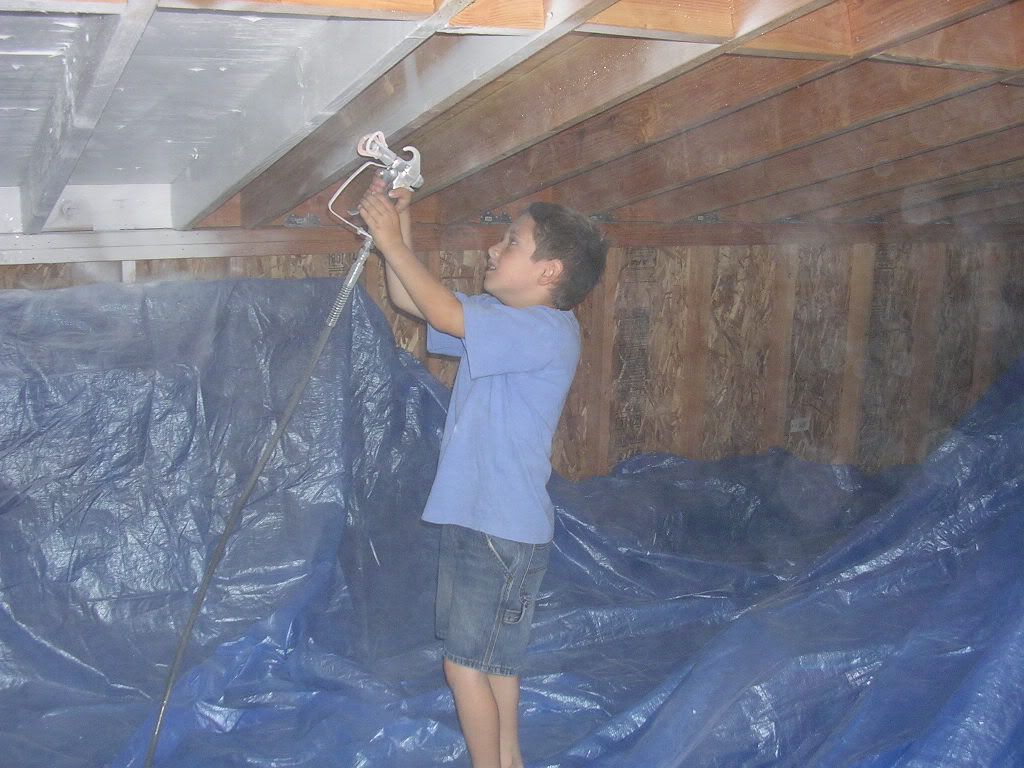
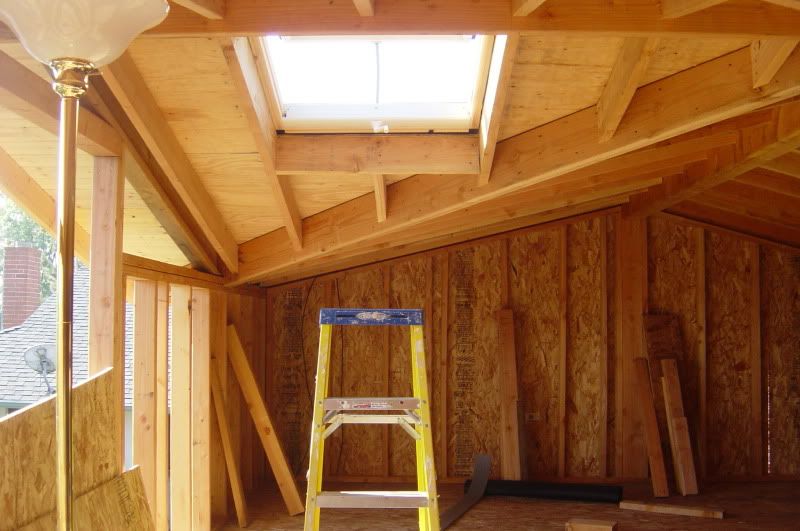
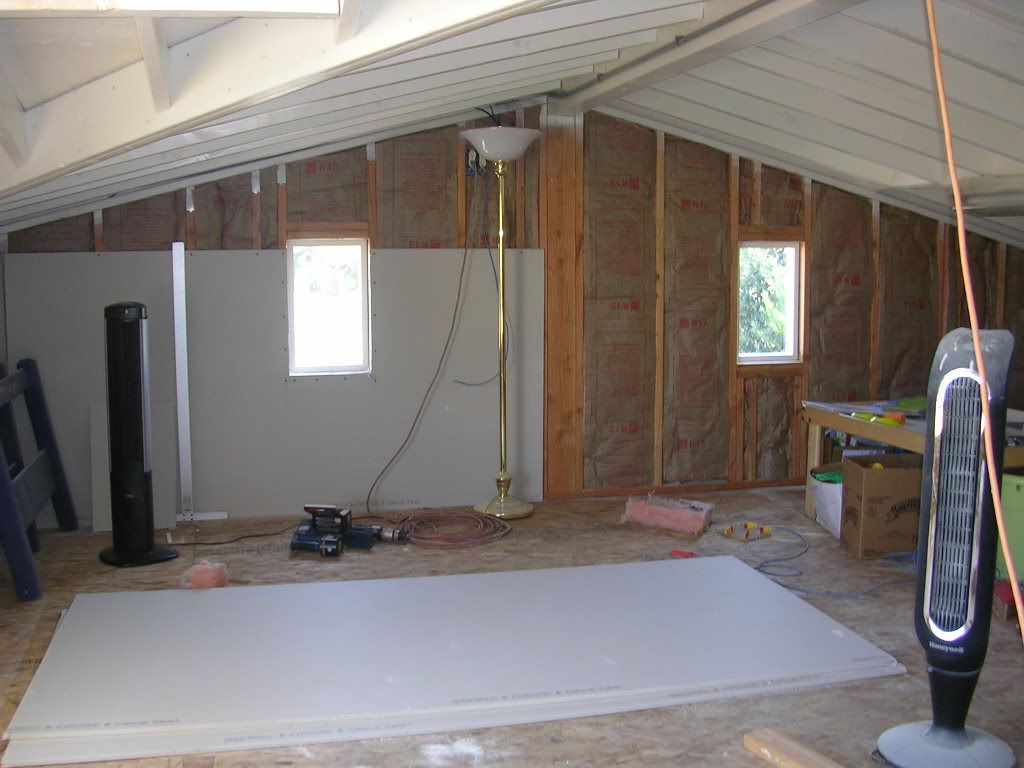
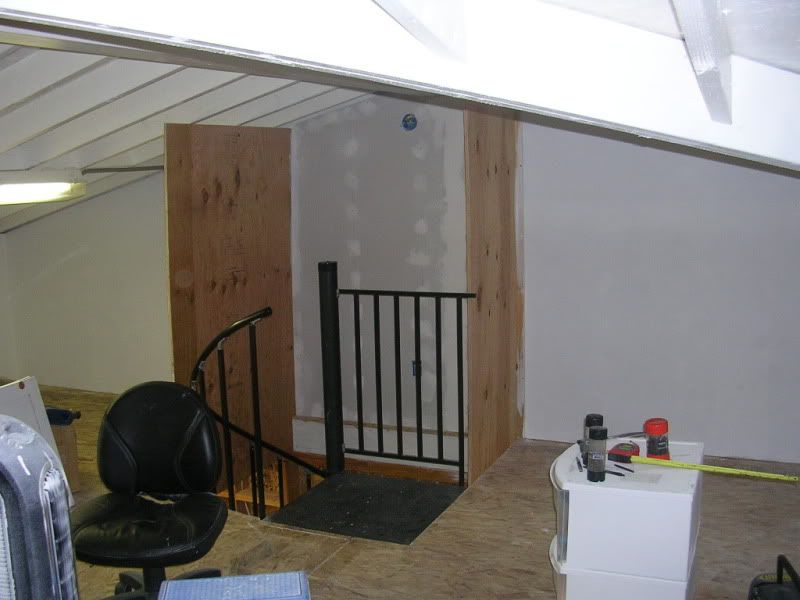
Because the 'attic' is going to be used a lot, I wanted the lighting to be good and not smell. Bare wood absorbs smells, holds dirt and has that old wood smell over time....so I painted the ceiling....this is what it looks like before.....
My oldest son wanted to help....and yes, I know he is not wearing a mask....I caught a ton of flack from the GJ members...
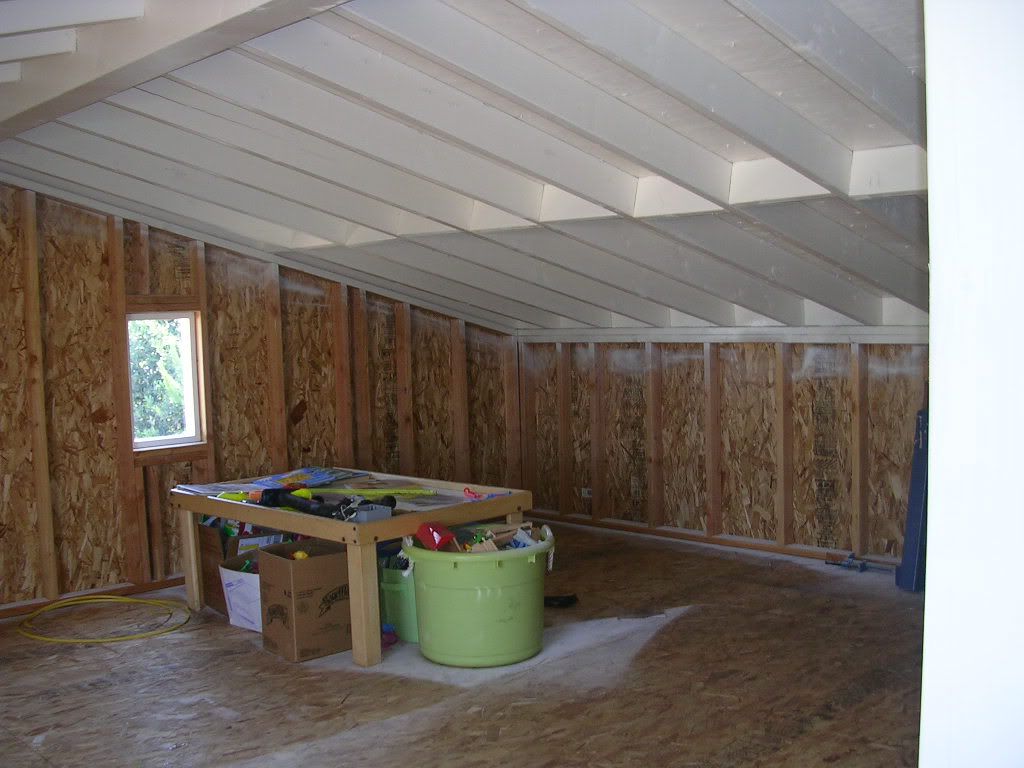
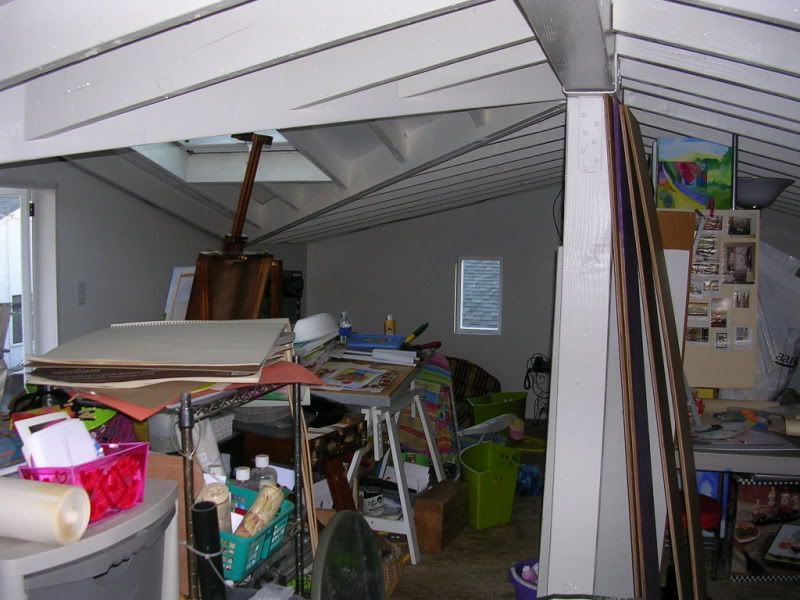
And the finished result.
First...a little background....
Old garage was a detached 2 car, 18'x20' in the rear of the property. Besides no storage in the attic, any time it rained, water would pour in through the back and side walls due to them being below grade. Additionally, we planned on doing a 2-story addition to our house so we know we needed storage space while the build was going on. Add in that my wife likes to paint (needs a place for it) and I like to do wood working (paint and sawdust mix too well), and we knew we needed a larger garage....
This is what we were putting up with....
The wood fence has been there for over 50 years and is home to lord knows how termites.
It took 6 months to get the plot plan approved. Part of our problem was that we wanted to build as close to the property line as possible. As long as it is "just a garage", we can build right on the property line and up to 15' high.
A little advice to anyone going through the planning part....when they ask you what the garage is for, do not mention storage or wood working...it's "just a garage", nothing more, nothing less.
Once the plot plan was approved, it was construction plan time....that took another 6 months....because I was building a 2-story garage, I had to have engineering. When it was all said and done....I was approved...placement was 6" from the side property line and 2' from the back. What it meant to me was that I didn't have to eat up any more of my yard for my new 20'x25' garage...I was able to use up the wasted space.
Because I have never done a big concrete project, I sub'd out the foundation and block wall to replace the old wood fence. I learned quite a bit on that exercise....like, what NOT to do....next time I'll just hire the same Jose and Jose that the contractor did.
Some of the best money spent was getting a survey done. It cost $800 but I know exactly where my property line is....it allowed me to actually move over about 6" more than I thought I could. It also showed the neighbor that his tree (which was 6" from the property line) needed to come down. I paid for the removal...but at least there were not upset neighbors...
By October of 2008 I had all my permits....while some people seem to think that California is outragous on costs....all my permits cost me a total of $550.
So on one sunny October day....in roll the demo guys....at the end of the day it was all over....
Going....
Going.....
Gone!
Next was the foundation....what should have been a 1 week job took 3 weeks...and the ******* contractor tried to get more money out of me when he underestimated the concrete...that slab took 20 yards.....
I gave the slab a week to dry....while keeping it wet....???? Seems like a contridiction....
See this pile of dirt? That is what was left over from the foundation work. Unless your contract for the foundation contractor stipulates what to do with it....your stuck with it....it took me 3 months to get rid of this dirt...each week I would fill up 2 of my trash cans and the trash cans of the neighbors on both sides....but i got rid of it.
With the concrete dry enough to work with...it was framing time...truth is, this is some of the most fun I have had. It's like a grown mans erector set...the first floor took me about a week to get up.
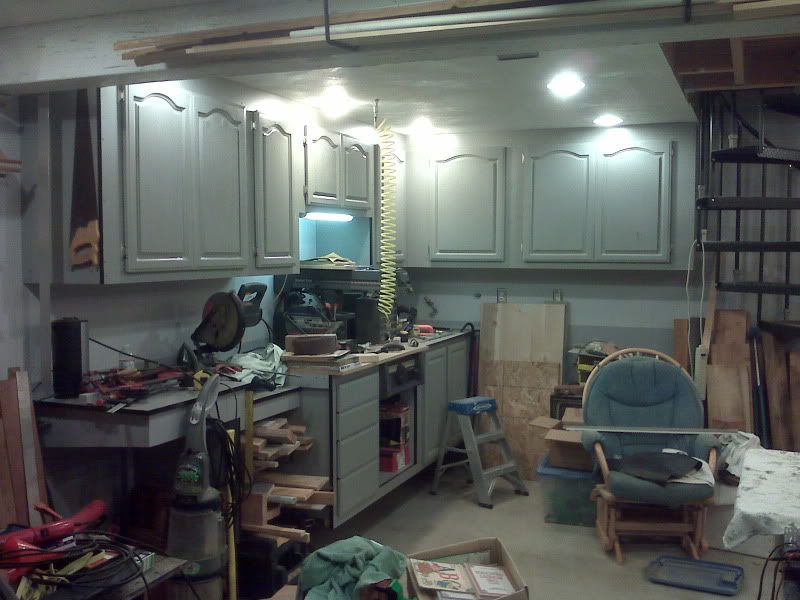
This setup was how I was cutting most of my wood....I had my radial arm saw and a table for my compound miter saw setup together....it let me cut some really long pieces using either saw.
This was after about 1 week.
Because of the span and second floor, I had to have a large beam across the middle....7"x16" PSL 20' long...weighed about 650 lbs....raised it myself. It was actually pretty easy.....I used 2 come-alongs attached to boards sticking up above the top plate. It took me about 3 hours for setup and about 30 minutes to crank it into position.
Once that beam was in I could start putting up the floor joists.
The second story is starting to take shape..
This is the ridge beam for the roof. You can see the hole where the spiral stairs will come up.
This photo is in the late January 2009 time frame. We were having a lot of rain....and I was spending way too much time out of town....only half the roof was done so we were using a lot of tarps to 'try' and keep things dry.
By March the roof was done and all the sides closed up. Windows were in and most of the electrical was done.
This is the spiral stair case. We chose this over traditional stairs because we wanted to keep the maximum amount of floor space and we figured that our 3 little ones would be less likely to run up and down these vs straight stairs.
Because the 'attic' is going to be used a lot, I wanted the lighting to be good and not smell. Bare wood absorbs smells, holds dirt and has that old wood smell over time....so I painted the ceiling....this is what it looks like before.....
My oldest son wanted to help....and yes, I know he is not wearing a mask....I caught a ton of flack from the GJ members...
And the finished result.


")


