Thanks Trapps, but "done" didn't last long....
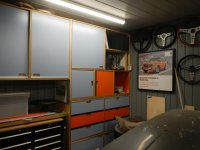
Because I can't leave well enough alone and I don't like waste, I decided to change a few things on the wall cabinets. I was not happy with the orange door in the last section, which you can see below. So I made use of some ply and laminate scraps to make a couple changes
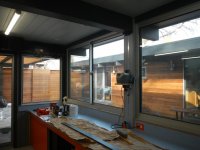
I bought only enough blue laminate to complete the cabinets and I recently noticed that the color was discontinued. I didn't have a single piece of laminate that could cover the roughly 15"x15" door. But there are blue shelves that are larger than the door.... So I decided to sacrifice a shelf to re-make the door. In the above photo you can see that the cabinet door to the far left is over-closing because the shelf that acts as the door stop for the frameless cabinet had been removed.
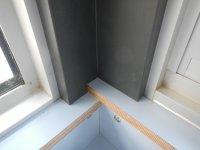
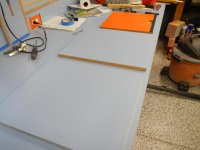
The plan was to replace the orange door (top) with a new blue door by cutting down a blue shelf (middle). To replace the shelf, I needed to make a larger piece by glueing scraps together. Then it was covered with two laminate scraps. If you look carefully at the bottom piece in the photo, you can see the seam. I made another orange shelf in the same manner. I wasn't worried about the seams because the shelves sit about 7' up and the tops wouldn't be very visible.
Except for a guide that slipped when routering the finger cutouts for the handle, it was a quick and easy job.
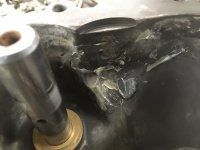
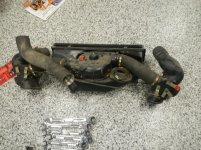
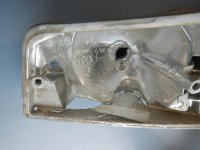
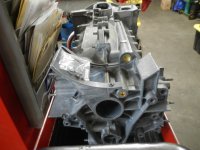
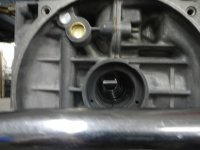
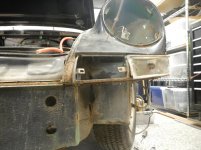
Targa update. The cleaning and machining of the engine case is done. But the bad news is that a couple heads were not usable because of heavy corrosion of the valve seats.


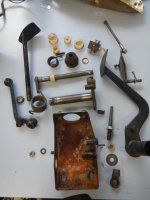
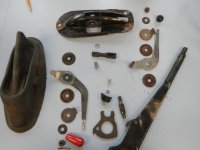


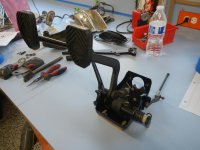
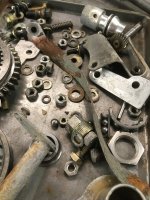
 who decides to work on a transmission when they don't even have the right tools?
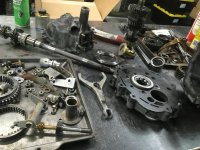