In The Doghouse
Well-known member
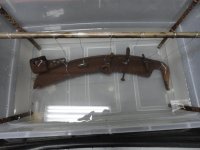
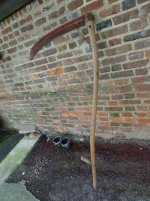
A friend wants an old scythe from the family farm restored to hang as decoration. I have been learning the techniques of the Dielectric process. Have any of you done this?
I have some rebar I can use, but it has a rusty surface already. Can I use it as is, or do I need to first de-rust the rebar? As you know the rebar is knobby and doesn't sand very easily.
A video I watched instructed to use Arm & Hammer Super Washing Soda. I should be able to find this at the local Walmart, unless it too is sold out. Might other household cleaners work just as well?
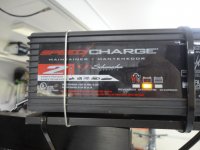
I have the Battery Tender brand trickle charger. Will this work for this application?
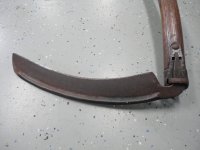
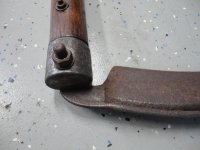
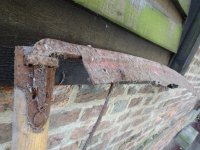
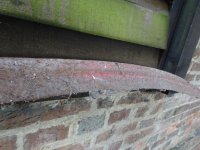
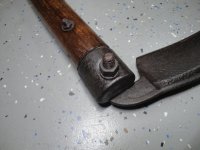
After rust removal, what color should these be painted? I figured semi-flat black for the collar and fastener hardware. Maybe a John Deere green for the blade, or Allis Chalmers red or something.
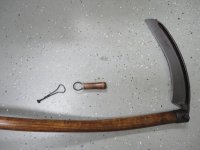
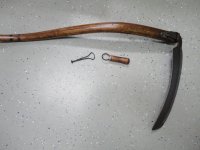
The wooden shaft of the scythe was pressure washed last week. It will be sanded, stained and polyurethane coated. I think it will turn out nice.
I'm attaching a photo of the parts of concern.
I have some rebar I can use, but it has a rusty surface already. Can I use it as is, or do I need to first de-rust the rebar? As you know the rebar is knobby and doesn't sand very easily.
A video I watched instructed to use Arm & Hammer Super Washing Soda. I should be able to find this at the local Walmart, unless it too is sold out. Might other household cleaners work just as well?
I have the Battery Tender brand trickle charger. Will this work for this application?
After rust removal, what color should these be painted? I figured semi-flat black for the collar and fastener hardware. Maybe a John Deere green for the blade, or Allis Chalmers red or something.
The wooden shaft of the scythe was pressure washed last week. It will be sanded, stained and polyurethane coated. I think it will turn out nice.
I'm attaching a photo of the parts of concern.

 to that ^^^^^^^^^^^^^^^^^^^^^