
You are using an out of date browser. It may not display this or other websites correctly.
You should upgrade or use an alternative browser.
You should upgrade or use an alternative browser.
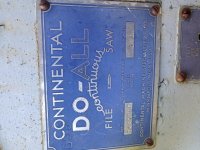
Do-All Band Saw ID
- Thread starter cooljoe57
- Start date

It' been a while, but i think that is one of their smaller bandfile machines. You CAN convert them to a saw if you have the ambition.
Any idea as to what it might take to convert one? Change blade/file guides?
jabberwoki
Well-known member
Man that will be very cool restored. I have a good guy at do all that's very helpful .
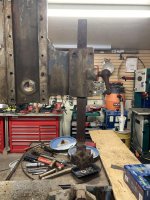
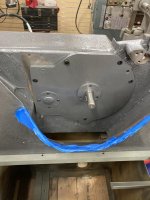
Well I decided to go ahead and pick it up. This ones going to be a long term project (all ready have a few others ahead of this one). But here are some pics of it.
Attachments


That looks like it will keep you busy for a while, great find. ")
jabberwoki
Well-known member
I must say I`m envious of that project. Cannot wait to see it started and done. Are you thinking back to stock?
I need a Do-All band saw.
jabberwoki
Well-known member
Tons on flea bay
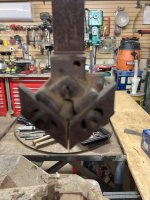
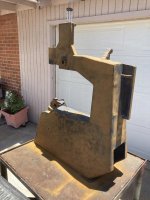
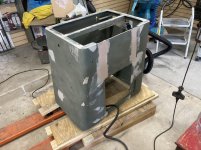
Honestly i'm not 100% what i'm going to do just yet. She needs quite a bit of work. Its been sitting outside for the past 10+ years. So first will be a full dissemble and then we'll see if theres any major damage or repairs needed. Overall it looks like it'll just be a clean and repaint/regrease.
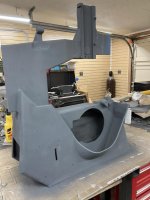
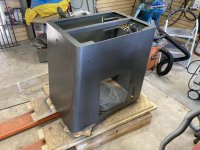
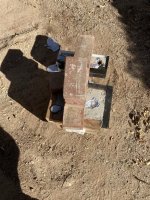
Well its been a few years, but I finally got some time to fix this old beast up. Far from perfect, but it runs and cuts. Didn't take as many pictures (or as even very good ones at that) as I'd like to have, but here they are.
Attachments
-
 upper casting preblast back.jpg121.6 KB · Views: 13
 -
 upper casting pre blast.jpg137.8 KB · Views: 12
 -
 upper blade guide.jpg106.4 KB · Views: 12
 -
 upper arm before.jpg130.9 KB · Views: 12
 -
 upper after wet blast back.jpg92.5 KB · Views: 12
 -
 tensioner before.jpg92.8 KB · Views: 13
 -
 bottom blade guide.jpg103.1 KB · Views: 12
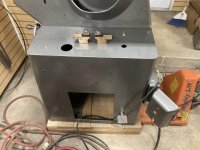
Some pre paint, and after paint
Attachments


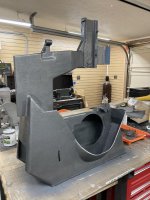


Some more progress
Attachments


More during and after
Attachments
-
 wheel cleaning.jpg111.3 KB · Views: 8
 -
 upper blade guide cleaning.jpg78.2 KB · Views: 7
 -
 upper blade guide after.jpg86.8 KB · Views: 7
 -
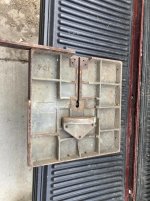 table pre blast.jpg148 KB · Views: 7
 -
 new dust chute.jpg151.1 KB · Views: 7
 -
 lower blade guid after.jpg102.5 KB · Views: 7
 -
 gear box mounted painted.jpg106.8 KB · Views: 7
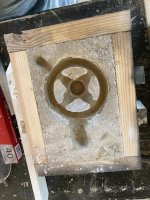
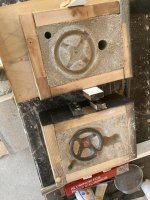
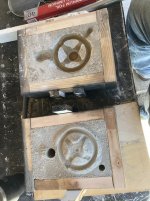
Some of the cover both before and after
Attachments
-
 upper cover preblast inside.jpg146.7 KB · Views: 5
 -
 upper cover preblast 2.jpg158.1 KB · Views: 5
 -
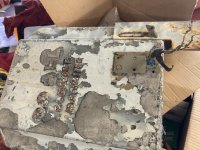 upper cover pre blast.jpg156.4 KB · Views: 7
 -
 upper cover paint mounted.jpg148.9 KB · Views: 9
 -
 top cover painted.jpg147.7 KB · Views: 6
 -
 speed selector pre blast.jpg134.2 KB · Views: 6
 -
 cover latch pre.jpg129.6 KB · Views: 7
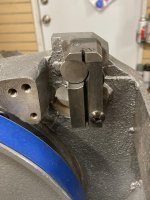
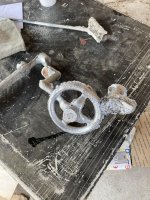
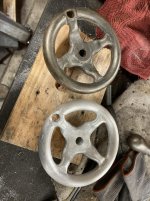
One of the handwheels had been broken during a move, so i attempted my first try at aluminum casting. I'm happy with how it came out.
Attachments

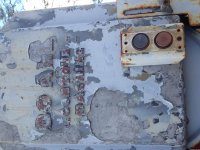
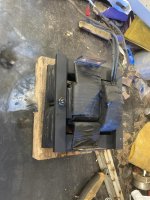
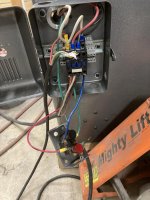
The blade welder/brazer was almost beyond repair, but I was able to clean and repair everything. The original switch had cracked, and I couldn't find a replacement that worked in the same configuration. I was able to find a new faceplate for the switch. So I made a new mount that entrapped the switch body and glued it back together so it couldn't come apart again.
Attachments
-
 heat switch after.jpg118.9 KB · Views: 6
 -
 bottom of blade welder complete.jpg103.5 KB · Views: 6
 -
 blade welder plate during.jpg146.4 KB · Views: 5
 -
 blade welder complete mounted.jpg148 KB · Views: 7
 -
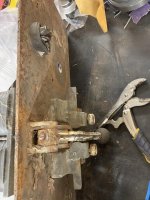 blade weld plate pre.jpg104 KB · Views: 5
 -
 blade weld contact pre.jpg83.4 KB · Views: 5
 -
 blade contact pre clean.jpg89.2 KB · Views: 5
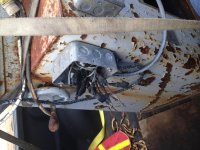
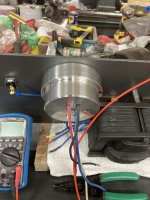
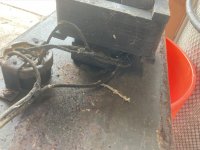
The rest of the welder, and wiring.
Attachments
-
 transformer pre clean paint.jpg110.7 KB · Views: 8
 -
 transformer cleaned painted.jpg115.9 KB · Views: 7
 -
 pass throuhg bushing.jpg61.6 KB · Views: 7
 -
 original switch broken.jpg147.5 KB · Views: 7
 -
 old welder switch.jpg147.4 KB · Views: 7
 -
 new switch mount.jpg97.1 KB · Views: 7
 -
 wiring testing.jpg115.6 KB · Views: 7
Roberts210
Well-known member
"....runs and cuts" is good. Great job. We're all jealous.