Bolster
Well-known member
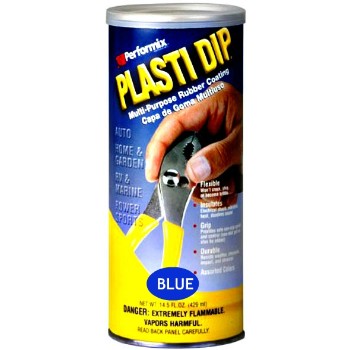
Has this stuff improved any, since I last used it about 20 years ago? Not too impressive at the time, it went on real thin. But in the picture it's going on nice and thick...smoke and mirrors? Or the real deal?
Last edited:


")
 Would appreciate it if someone could take a few minutes to do a few pictures as to how too.
 Same here.