thundermug
Well-known member
Absolutely amazing. Your work will be in museums one day, if not already. Seriously, great work.


...The excitement was soon over as a few people complained to me I won...


I should explain more that for 18 years I built models and everyday I had e-mails from people wanting me to explain to them how to make models . It is very time consuming but I tried to tell them. It took so much time but I did it. Now the models are done I just want to share what I do now with a few pics each week . I hope you can get a few ideas from my weekly photos.
Thanks
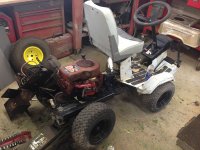
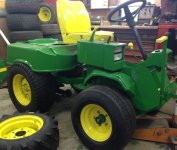
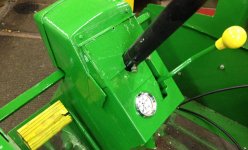
Another project pulled out of the shop , let it set a couple weeks now before fine sanding and buffing it out.
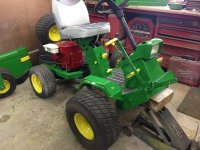
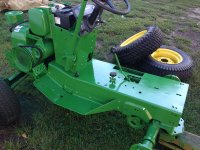
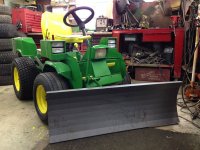
One day next week I'll pull all three 110's out for the first pic of them side by side. This one will get the snowblower mounted on it ,
THINK SNOW