evintho
Well-known member
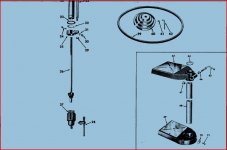
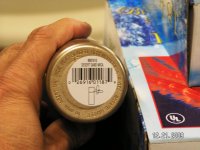
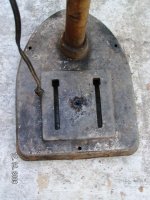
The serial # is on the tag on the base. That'll tell you exactly what it is.
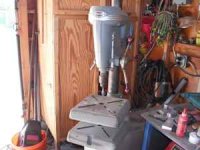
Waiting for pics!
Waiting for pics!


Crash - I have a friend who is a professional printer. He should be able to make a sticker; I hope! I'd have to carefully take the aluminum off, press it flat and then photograph it or scan it? What do I do to address the part I messed up? Use Photoshop to repair it graphically? Any advice about that appreciated.
Also, I know nothing about rivets except pop rivets. I assume I have to grind off the rivet head or drill them out? Where do I get a solid head rivet to replace them and how do I clinch the rivet when I try to replace the tags?
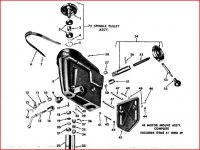
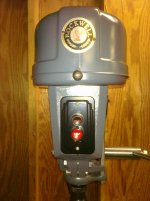
i have the same one
P.S. What are your color opinions?


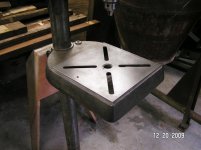
 Its bad enough that I didn't want to try to remove the post from the base for fear I'd break the thing completely. I know its possible to weld cast iron but I'm not sure its worth the cost. I've also decided to let go of the idea of powder coating- not sure it's worth it now. I'm going to rattle can it and see how it looks.
 P.S. to Evintho - How the heck do you remove the post from the base anyway? I took the small squarehead bolt out of the base and tried to twist it off - no friggin' way! Next I thought about beating on it some with a rubber mallet...that's when I stopped.
If I COULD get it off without breaking the casting I might have a contact who knows an especially good structural welder. But cast iron? I don't know.
If I COULD get it off without breaking the casting I might have a contact who knows an especially good structural welder. But cast iron? I don't know.
If I did that I'd have 3 or 4 pieces! Stargeezer,
I seem to remember hearing that to actually WELD (not braze) cast iron you have to heat up the whole casting...not sure to what temp?...I wanna say about 400 degrees? Did the guy that brazed yours, preheat it? I'm gonna make some calls about it tomorrow.
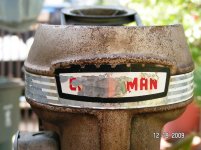
So, let's see it!
Has it worked fine for you? What do you generally use it for?
...they were going to trash it! I said screw that I'm taking it.