
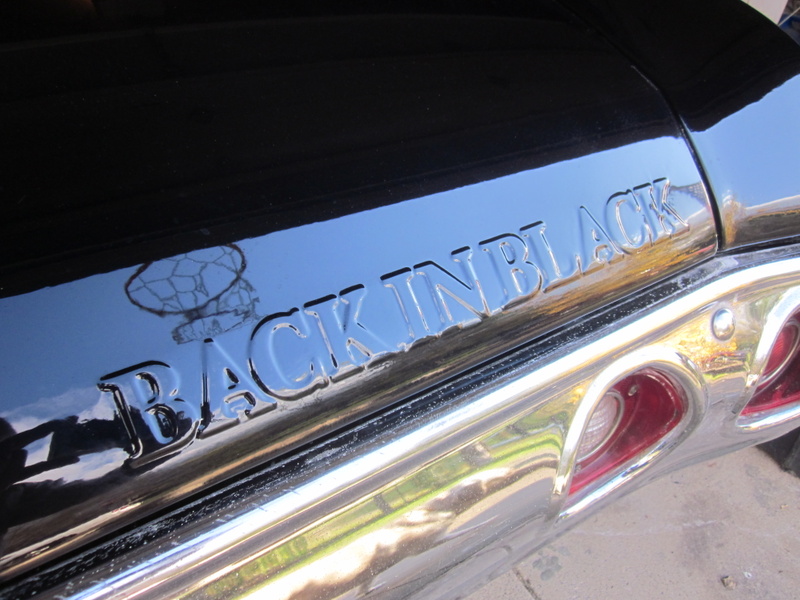
When I was building my 1972 Chevelle SS, the name I decided on was based on the history of the car. Since it was originally blue but would ultimately be black, what better name would there be than Back In Black? I decided it would look cool to emboss the name in the trunk lid like on the AC/DC album cover.
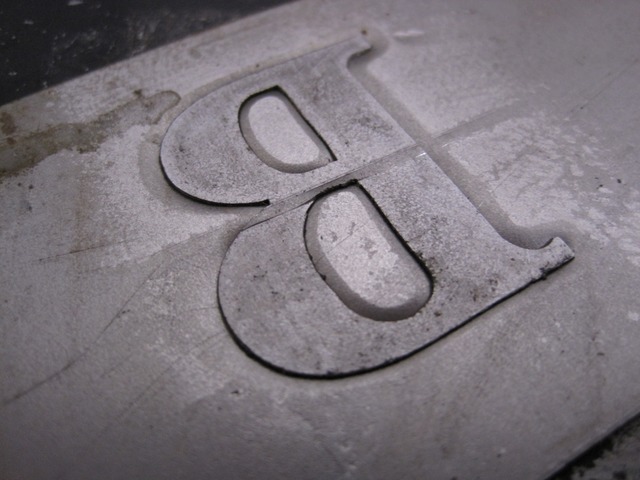
I made a full size printout of the name using the appropriate font, cut out the letters and glued them to a piece of sheet metal. After a bit of trial and error, I determined that .025" thick sheet made the best looking relief. Then came the somewhat tedious process of cutting them out using a punch and needle files. Luckily, a few of the letters were used more than once.


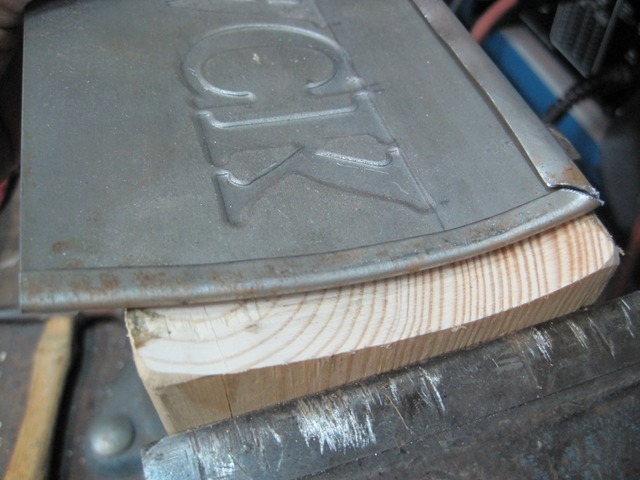
The embossing technique consists of making a sandwich of the letters, the sheet to receive the embossing and a piece of very hard (95 durometer) polyurethane rubber. This sandwich is placed in a hydraulic press between twp pieces of steel plate and squeezed under great pressure. It took about 35 tons of pressure over the area of a few letters at a time to get the crisp appearance I was looking for. As you can see in the last picture, the rubber pushed the metal flush around the letters. Some of them were difficult to remove.


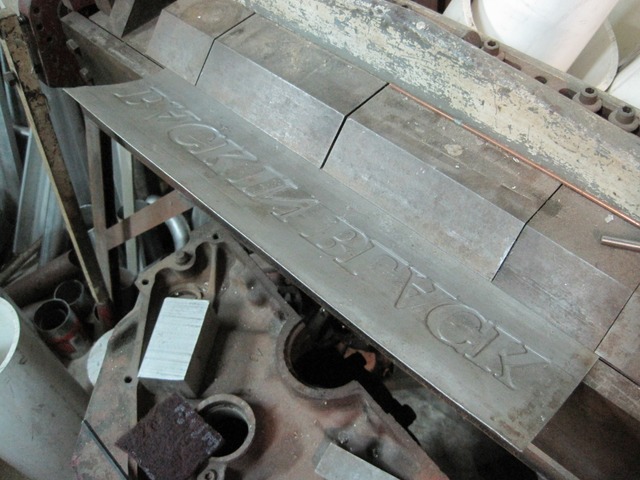
Once all of the letters were embossed into the full size sheet, hems were formed on the right side and bottom to match those on the trunk lid. I used a brake for this and to give the panel the rough curve of the trunk lid. Fine tuning was done over a piece of PVC pipe and on a wooden form.


When I made the cut-out in the trunk, the upper edge pulled in. I didn't notice it until I started welding when it pulled in even more. I had stretch the area with a hammer and dolly to move it back out as I welded. The key to a warp free job is to use lots of tack welds, no larger than those in the picture. Each one was cooled with a wet rag before another was made. Moving around a lot and grinding them down with the edge of a cut-off wheel also keeps heat from building up in a localized area and causing warps. Next comes metal finishing. My goal is to use as little filler as possible, none near the lettering.


I made a full size printout of the name using the appropriate font, cut out the letters and glued them to a piece of sheet metal. After a bit of trial and error, I determined that .025" thick sheet made the best looking relief. Then came the somewhat tedious process of cutting them out using a punch and needle files. Luckily, a few of the letters were used more than once.
The embossing technique consists of making a sandwich of the letters, the sheet to receive the embossing and a piece of very hard (95 durometer) polyurethane rubber. This sandwich is placed in a hydraulic press between twp pieces of steel plate and squeezed under great pressure. It took about 35 tons of pressure over the area of a few letters at a time to get the crisp appearance I was looking for. As you can see in the last picture, the rubber pushed the metal flush around the letters. Some of them were difficult to remove.
Once all of the letters were embossed into the full size sheet, hems were formed on the right side and bottom to match those on the trunk lid. I used a brake for this and to give the panel the rough curve of the trunk lid. Fine tuning was done over a piece of PVC pipe and on a wooden form.
When I made the cut-out in the trunk, the upper edge pulled in. I didn't notice it until I started welding when it pulled in even more. I had stretch the area with a hammer and dolly to move it back out as I welded. The key to a warp free job is to use lots of tack welds, no larger than those in the picture. Each one was cooled with a wet rag before another was made. Moving around a lot and grinding them down with the edge of a cut-off wheel also keeps heat from building up in a localized area and causing warps. Next comes metal finishing. My goal is to use as little filler as possible, none near the lettering.
Last edited:
 Is the .025" sheet the actual stock you are forming into or the thickness of your letter-punches?


