To avoid these ads, REGISTER NOW!

Ethan's Garage Make Over

ConcreteAce

Well-known member
Joined
Aug 25, 2012
Messages
46
Location
Spring Texas
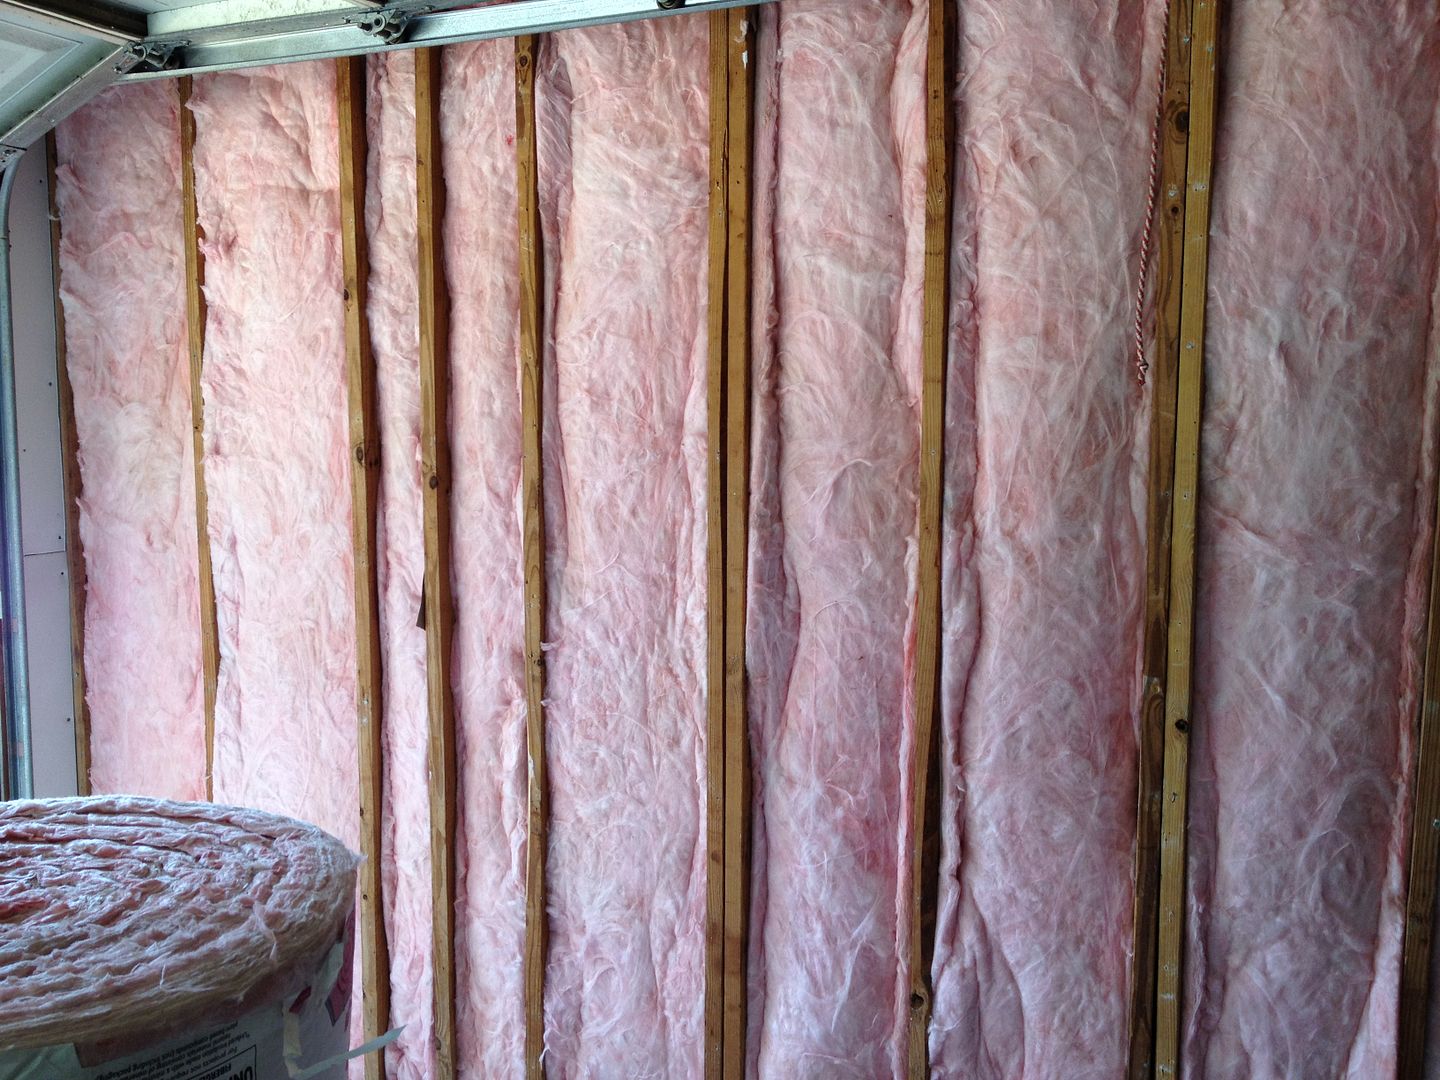
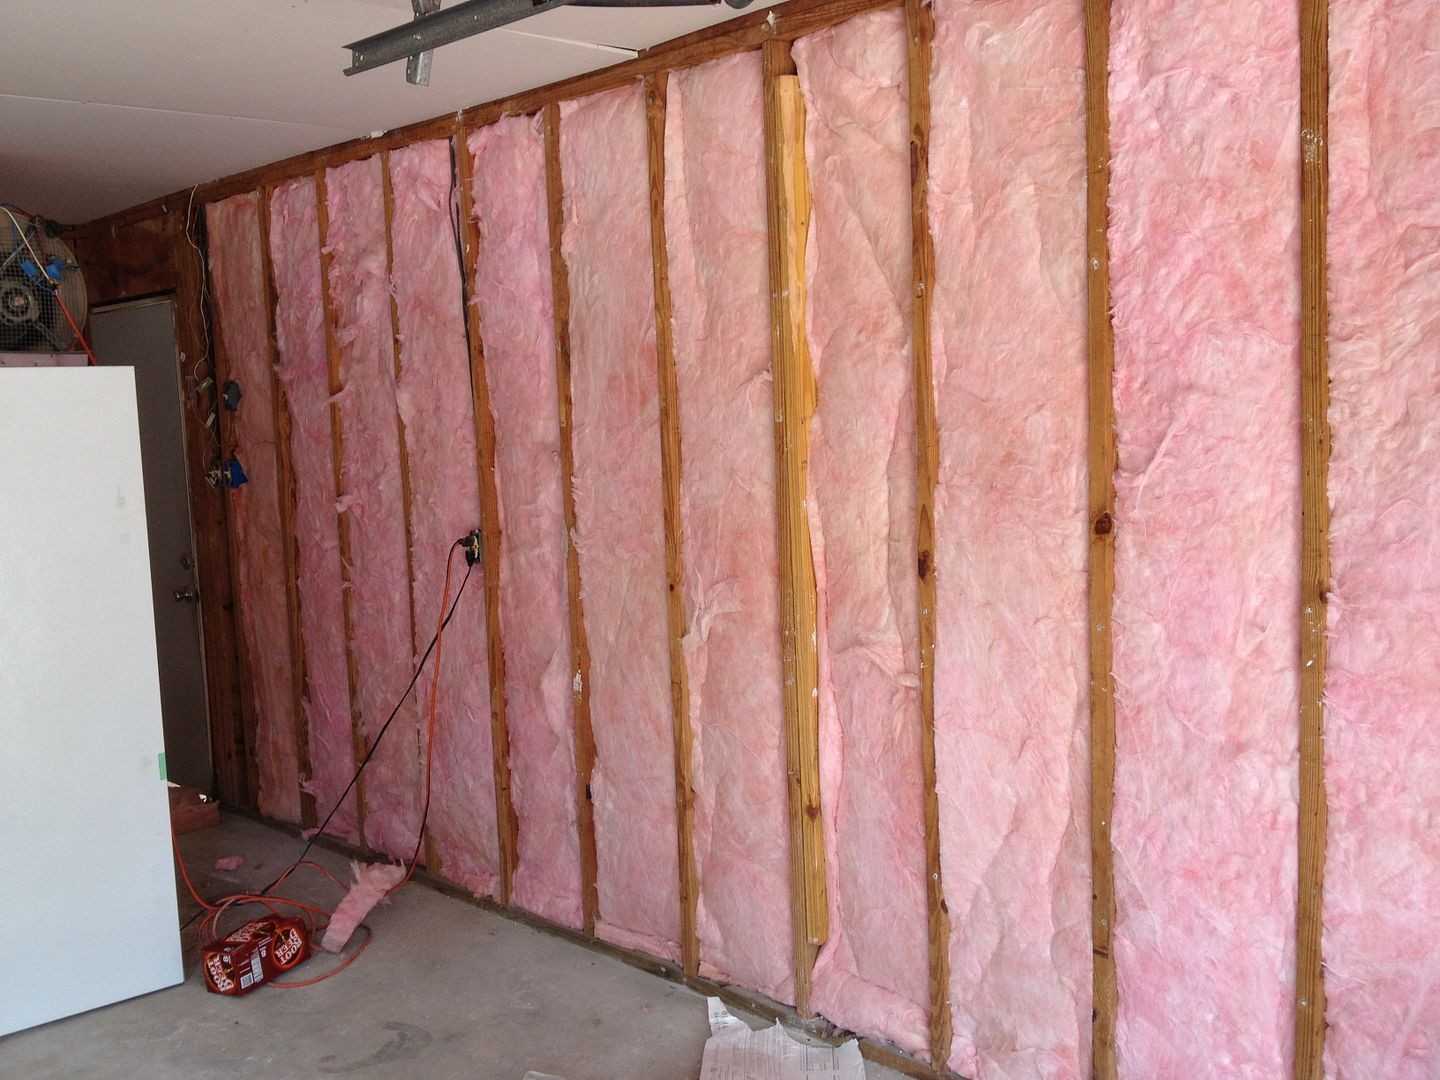
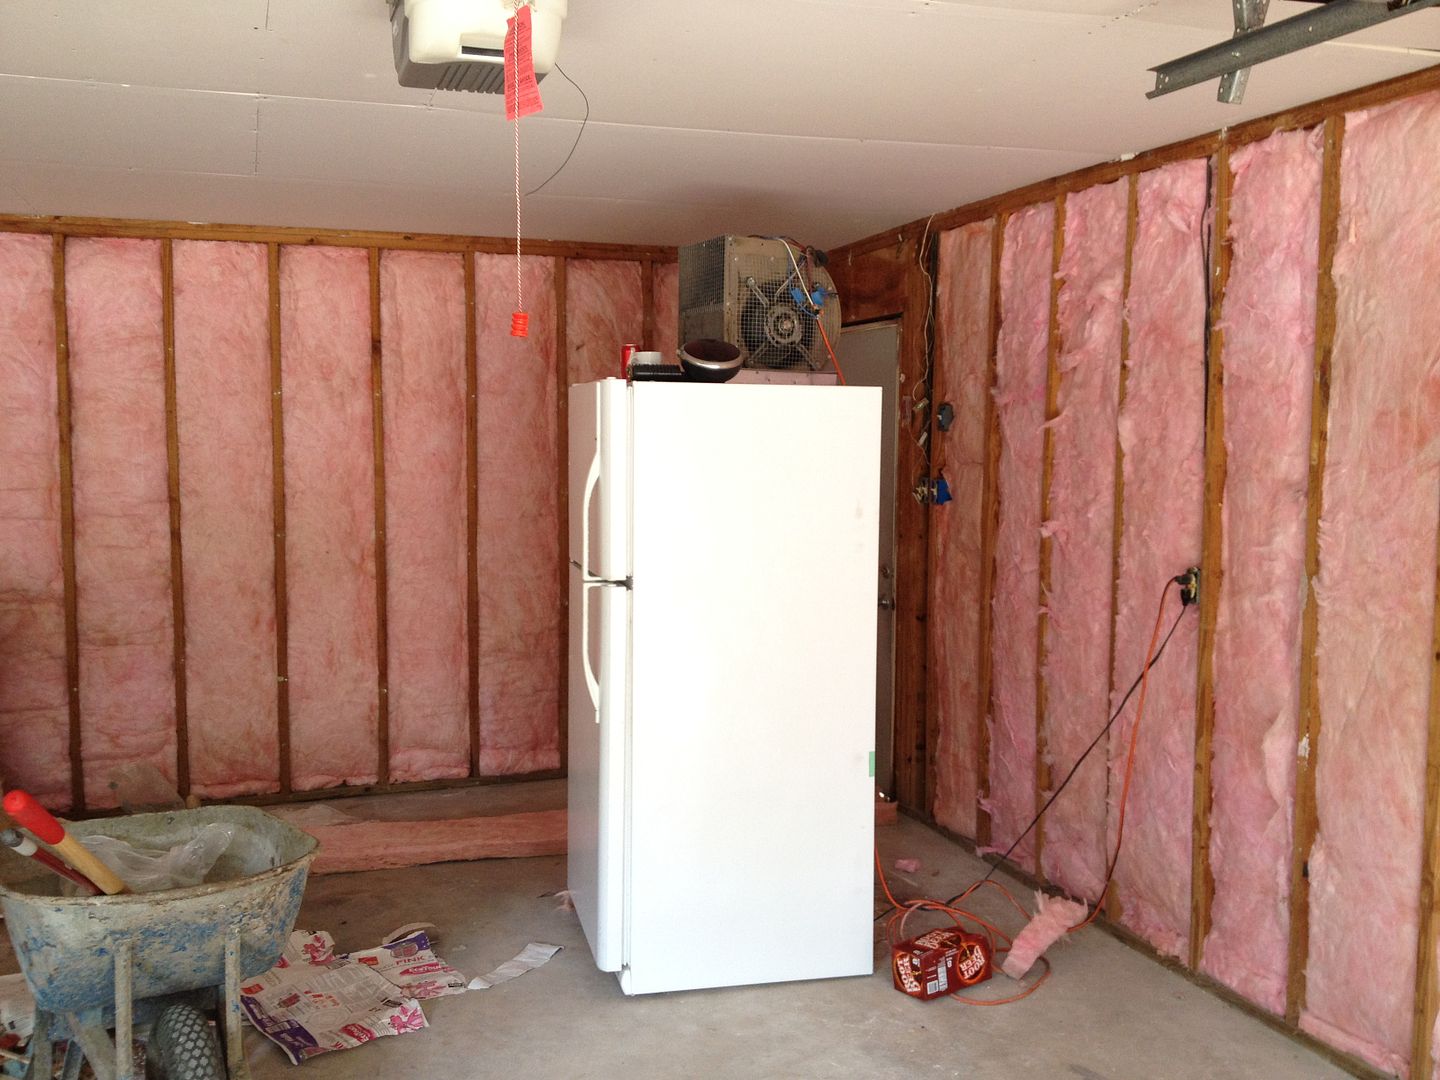
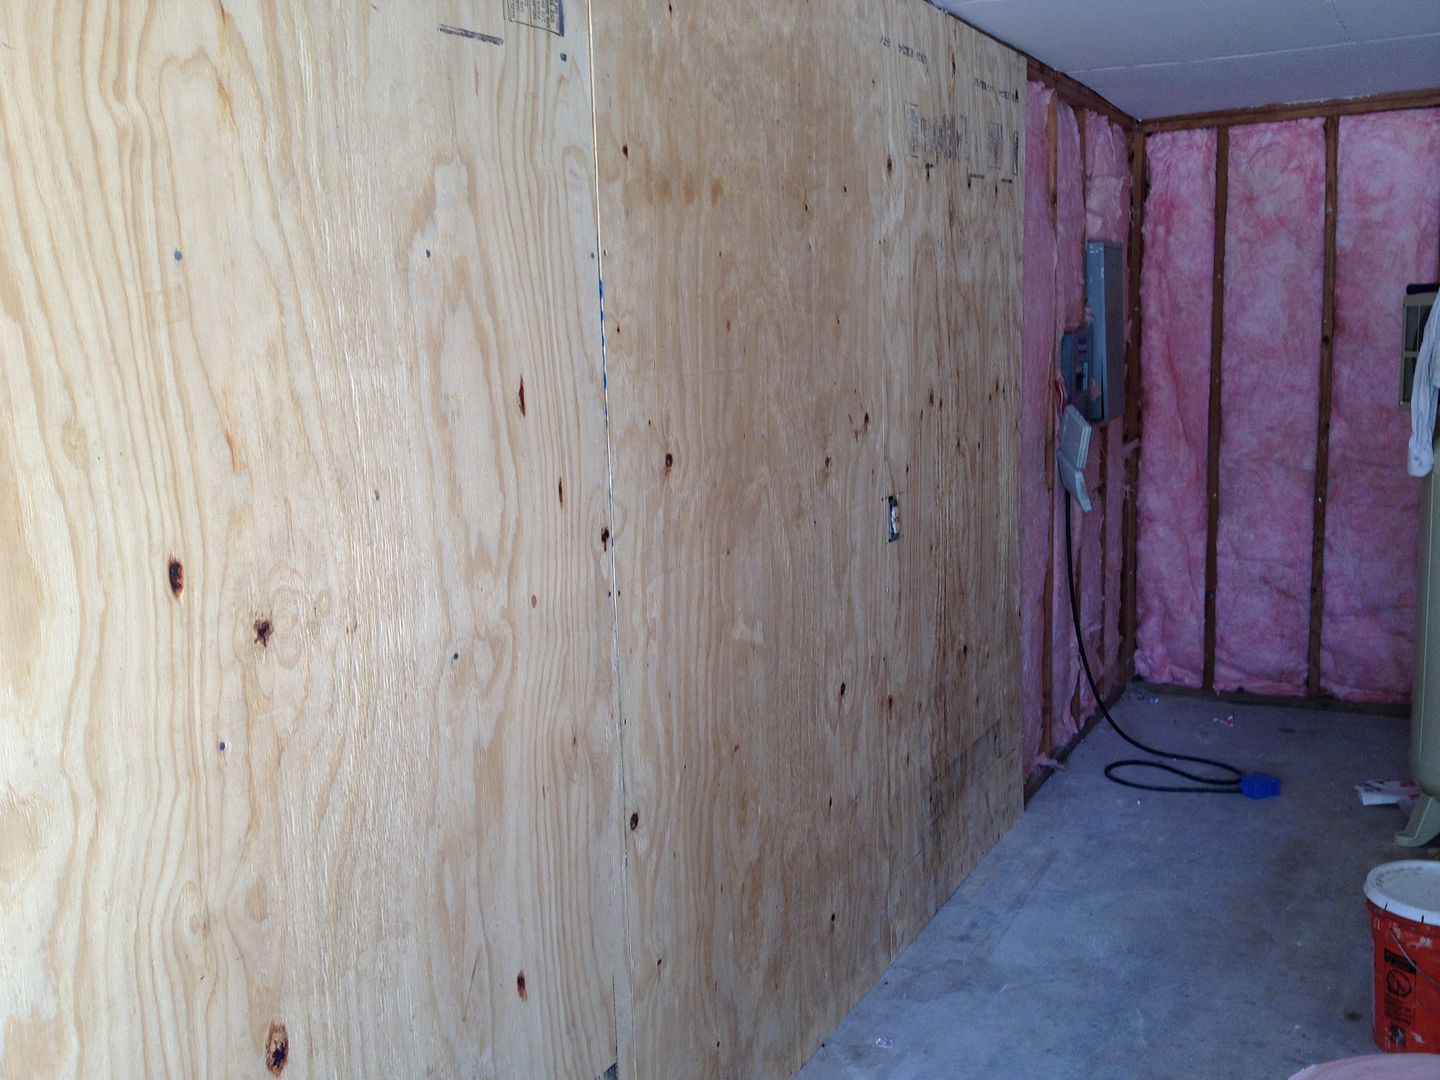
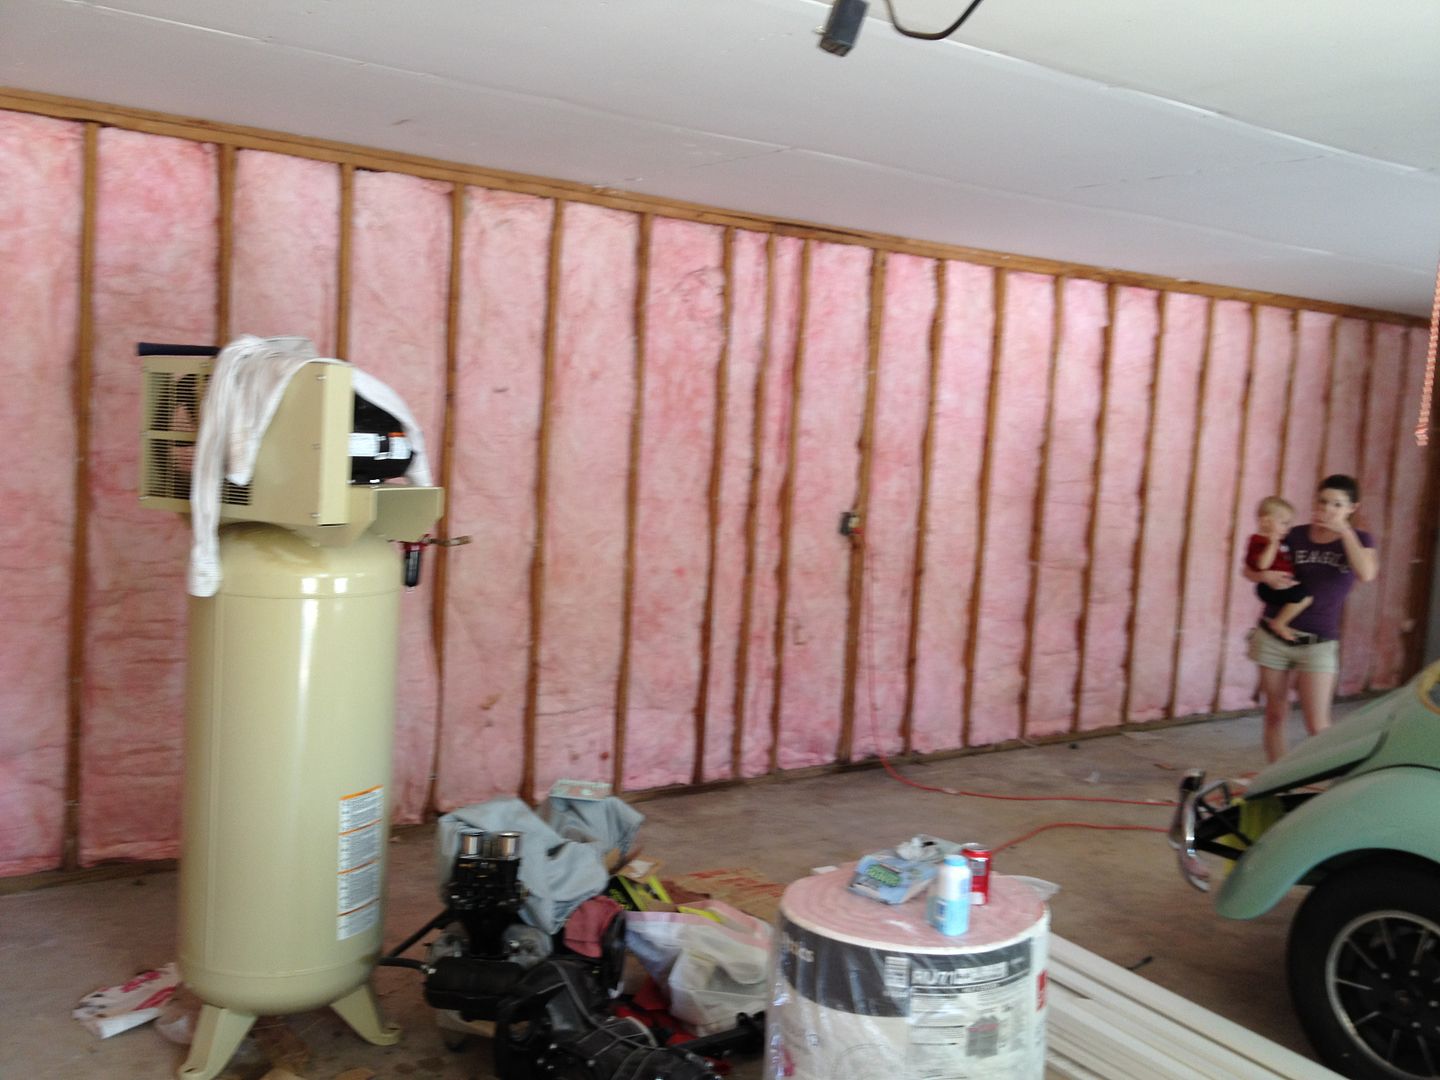
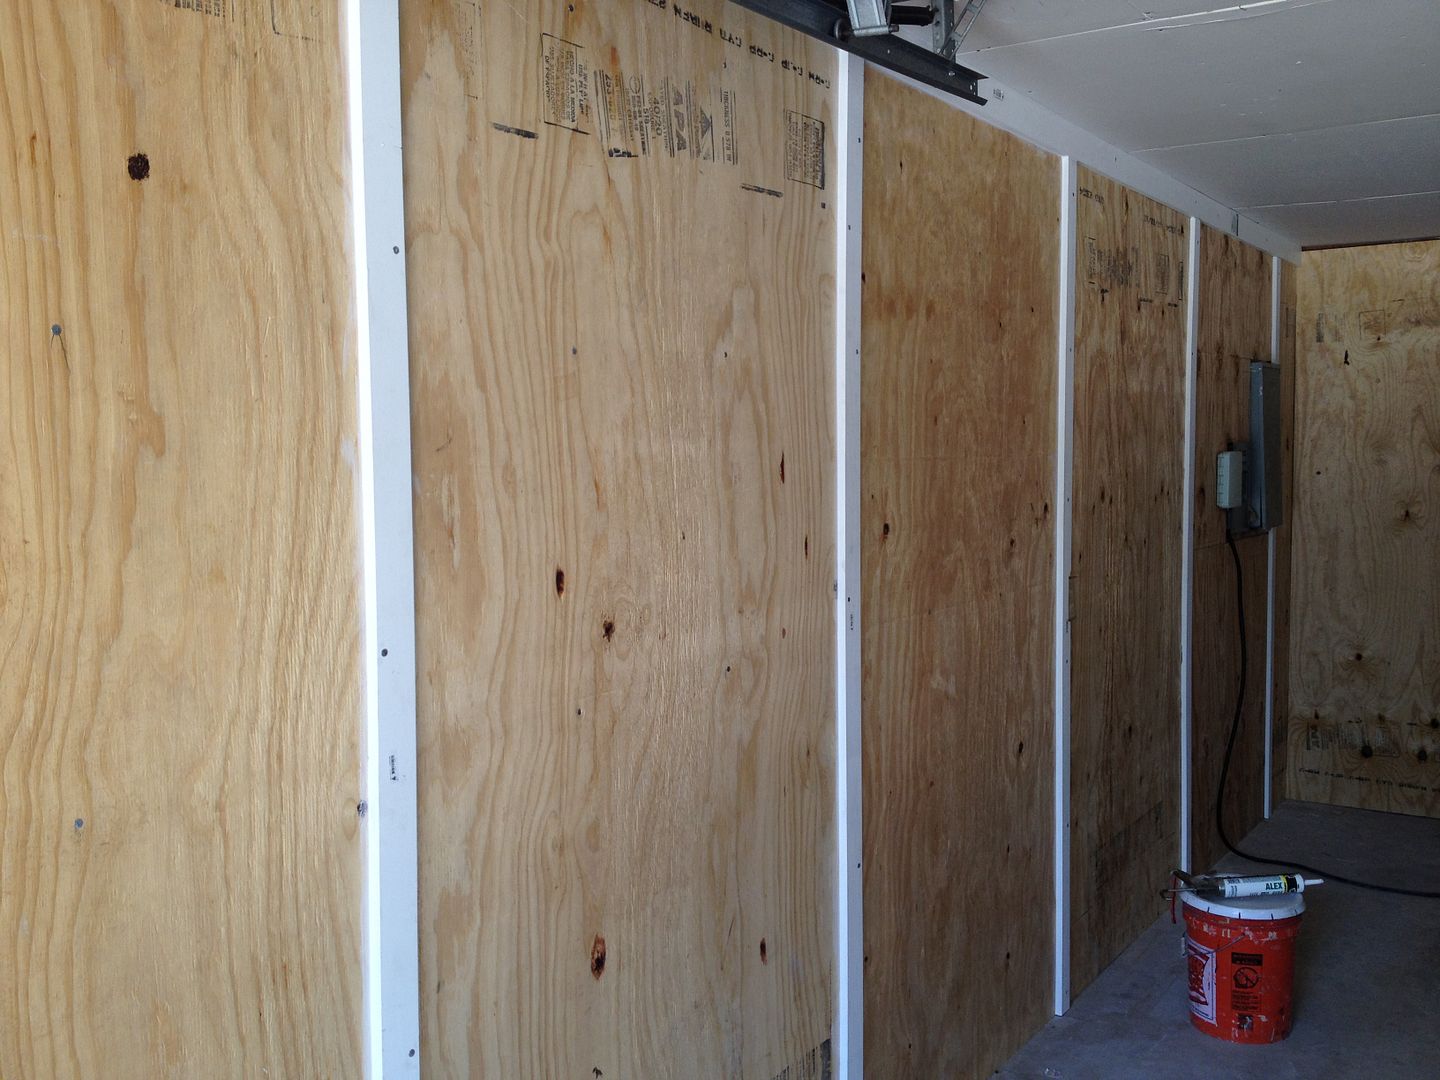
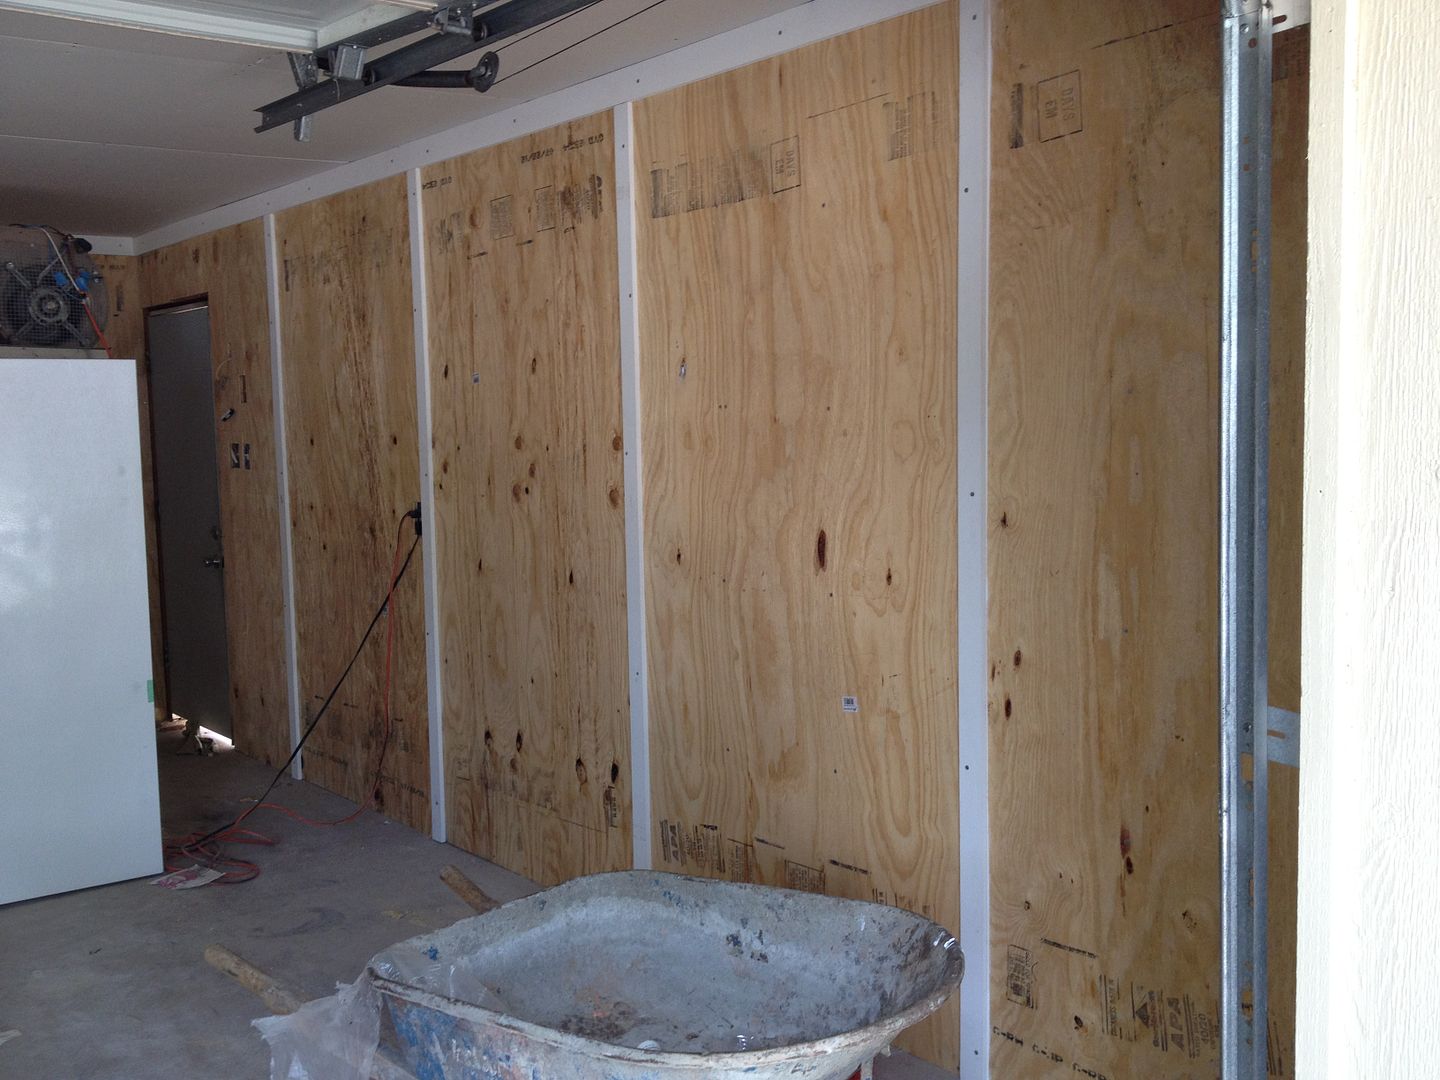
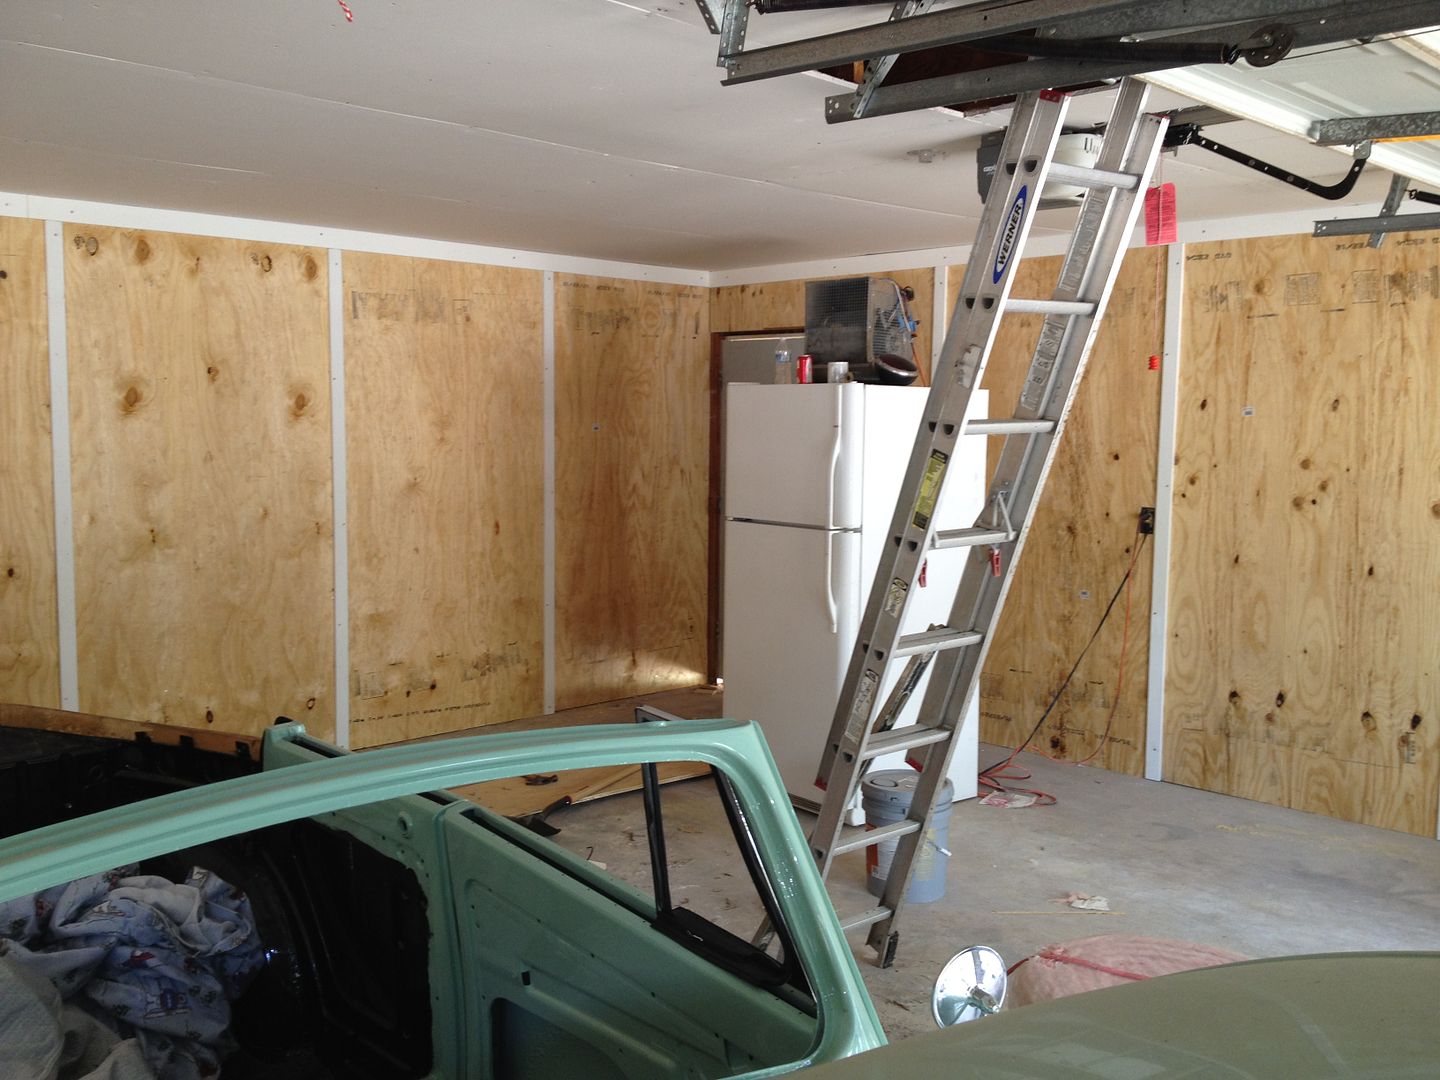
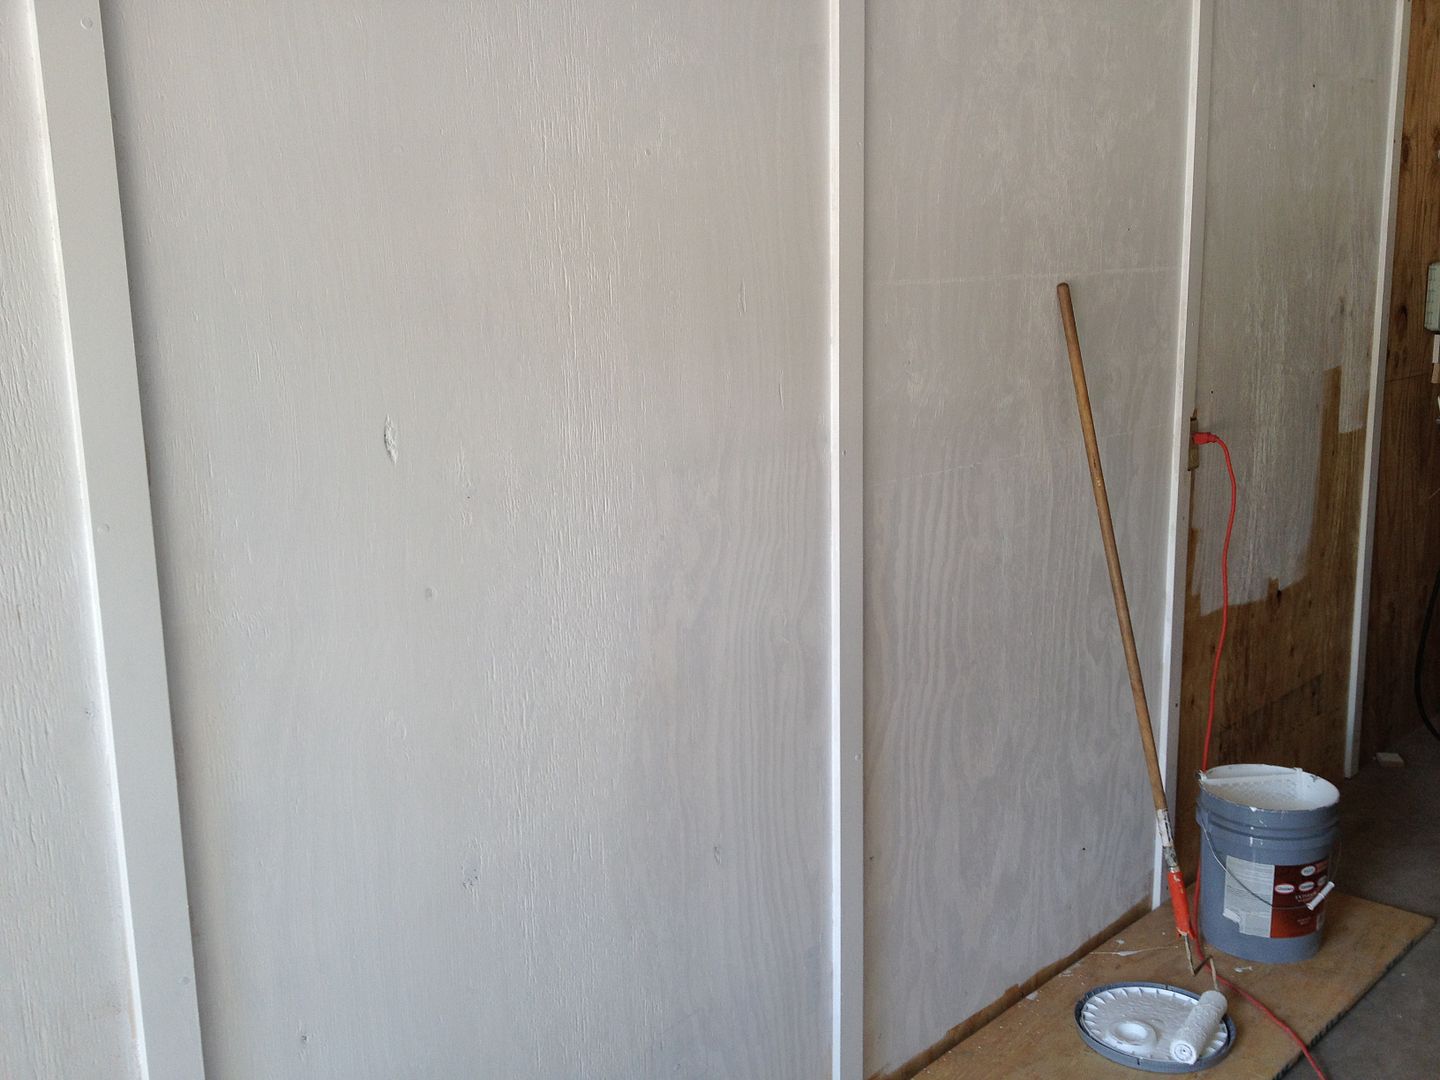
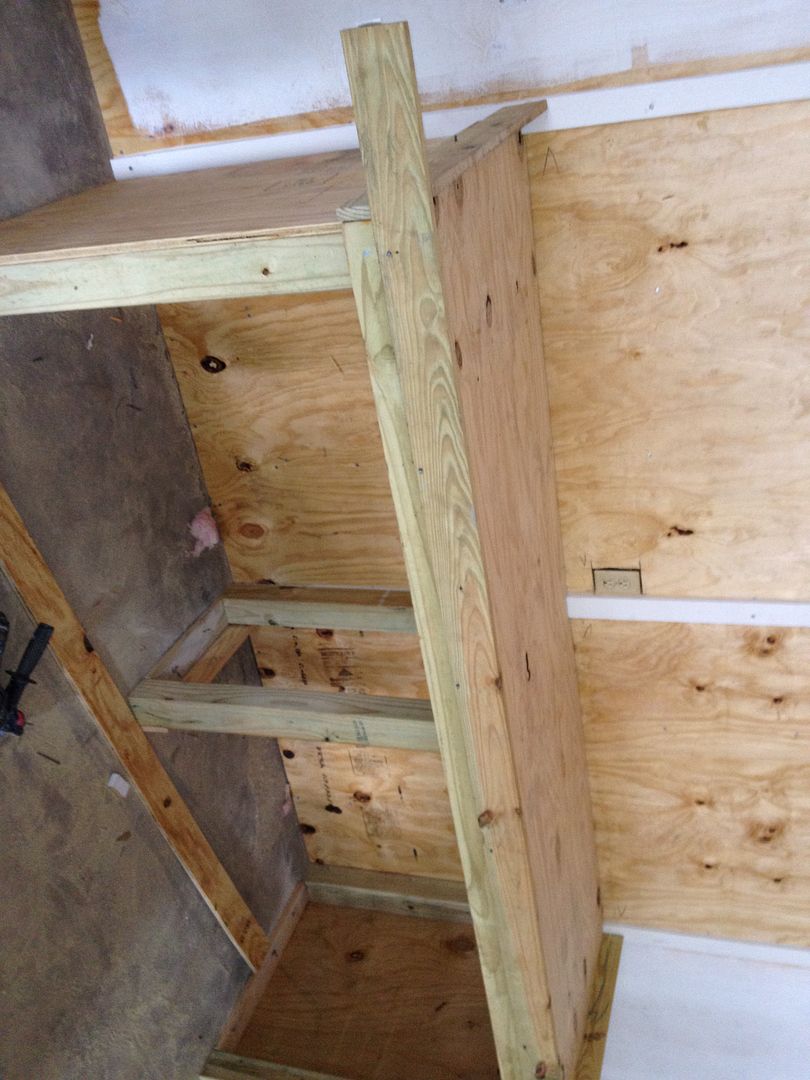
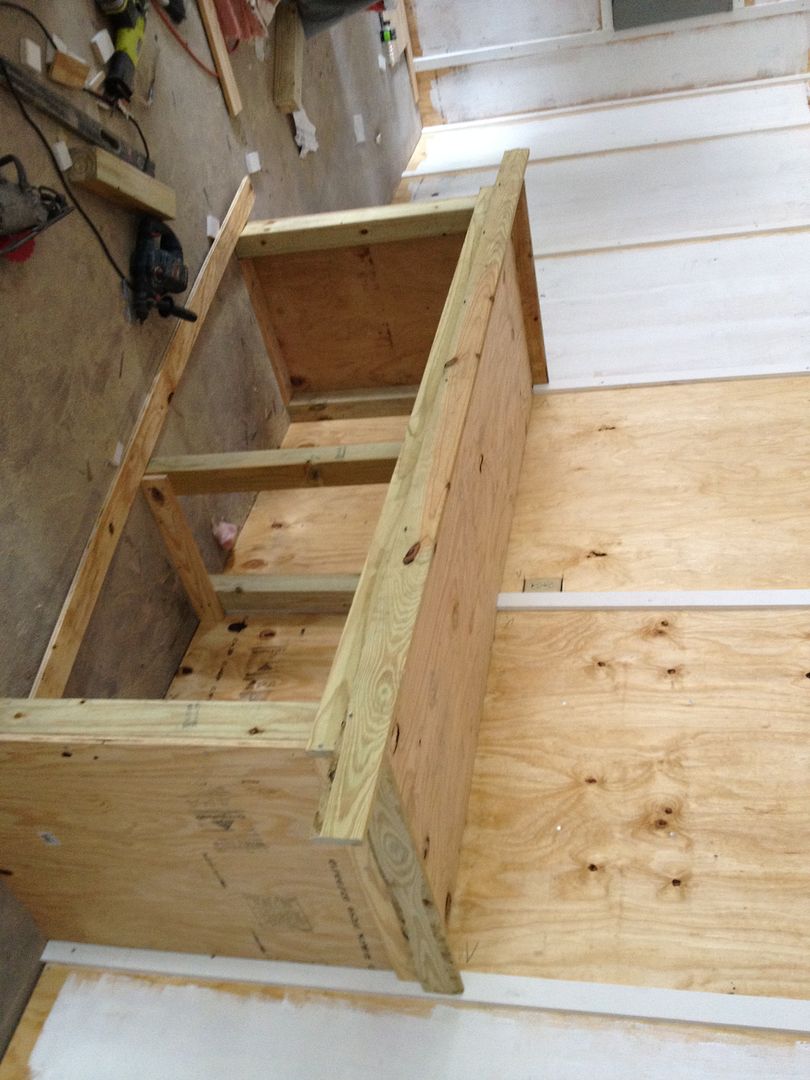
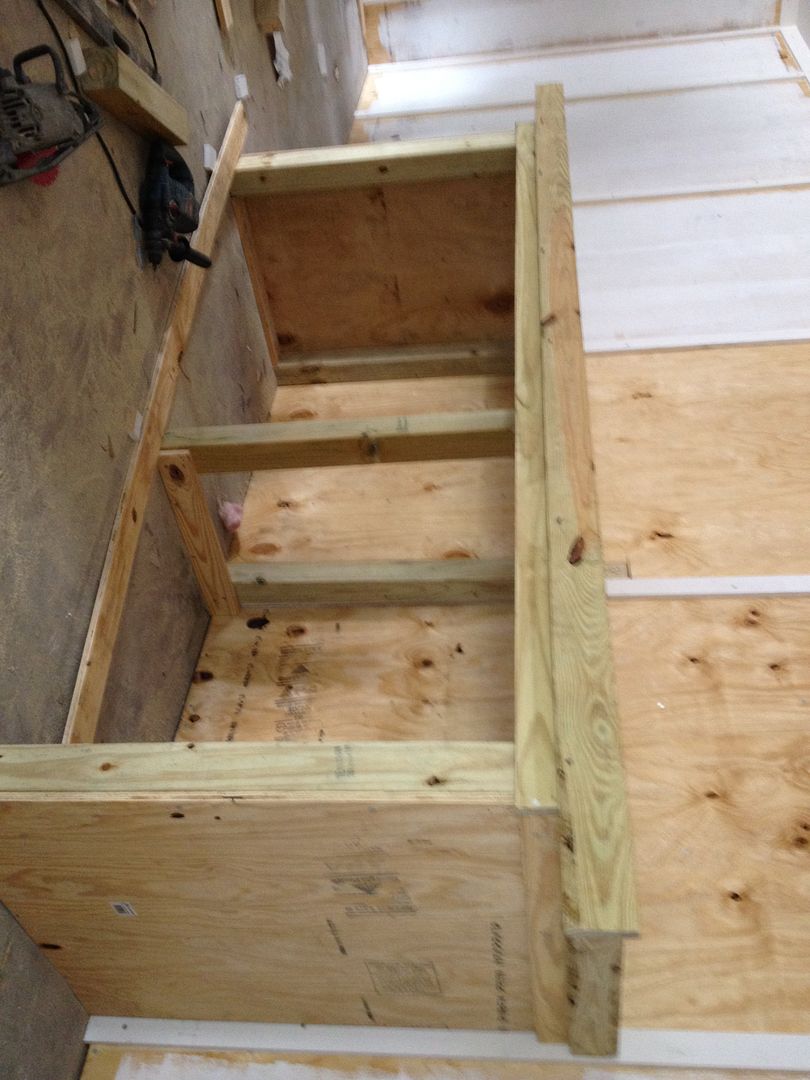
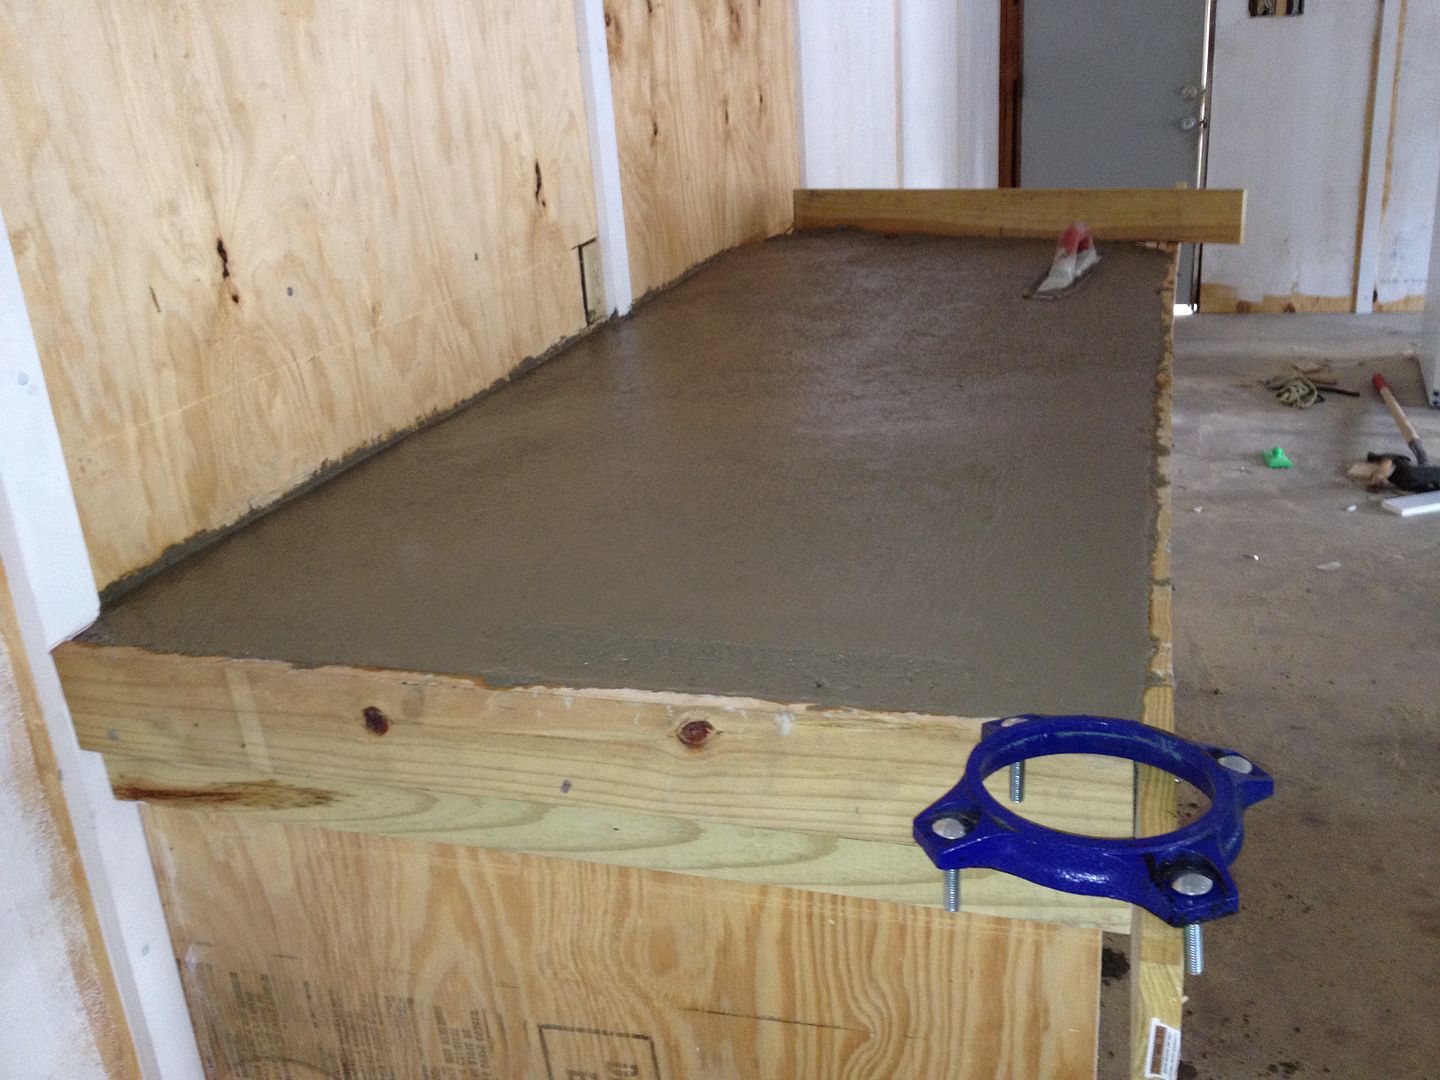
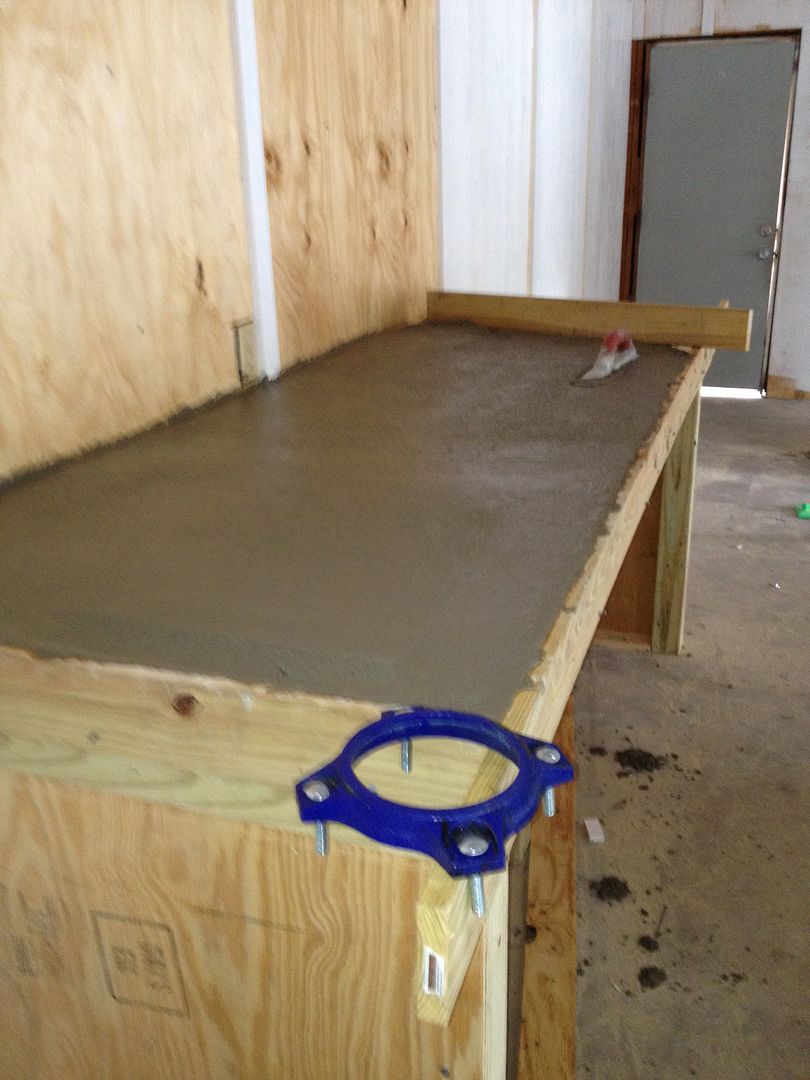
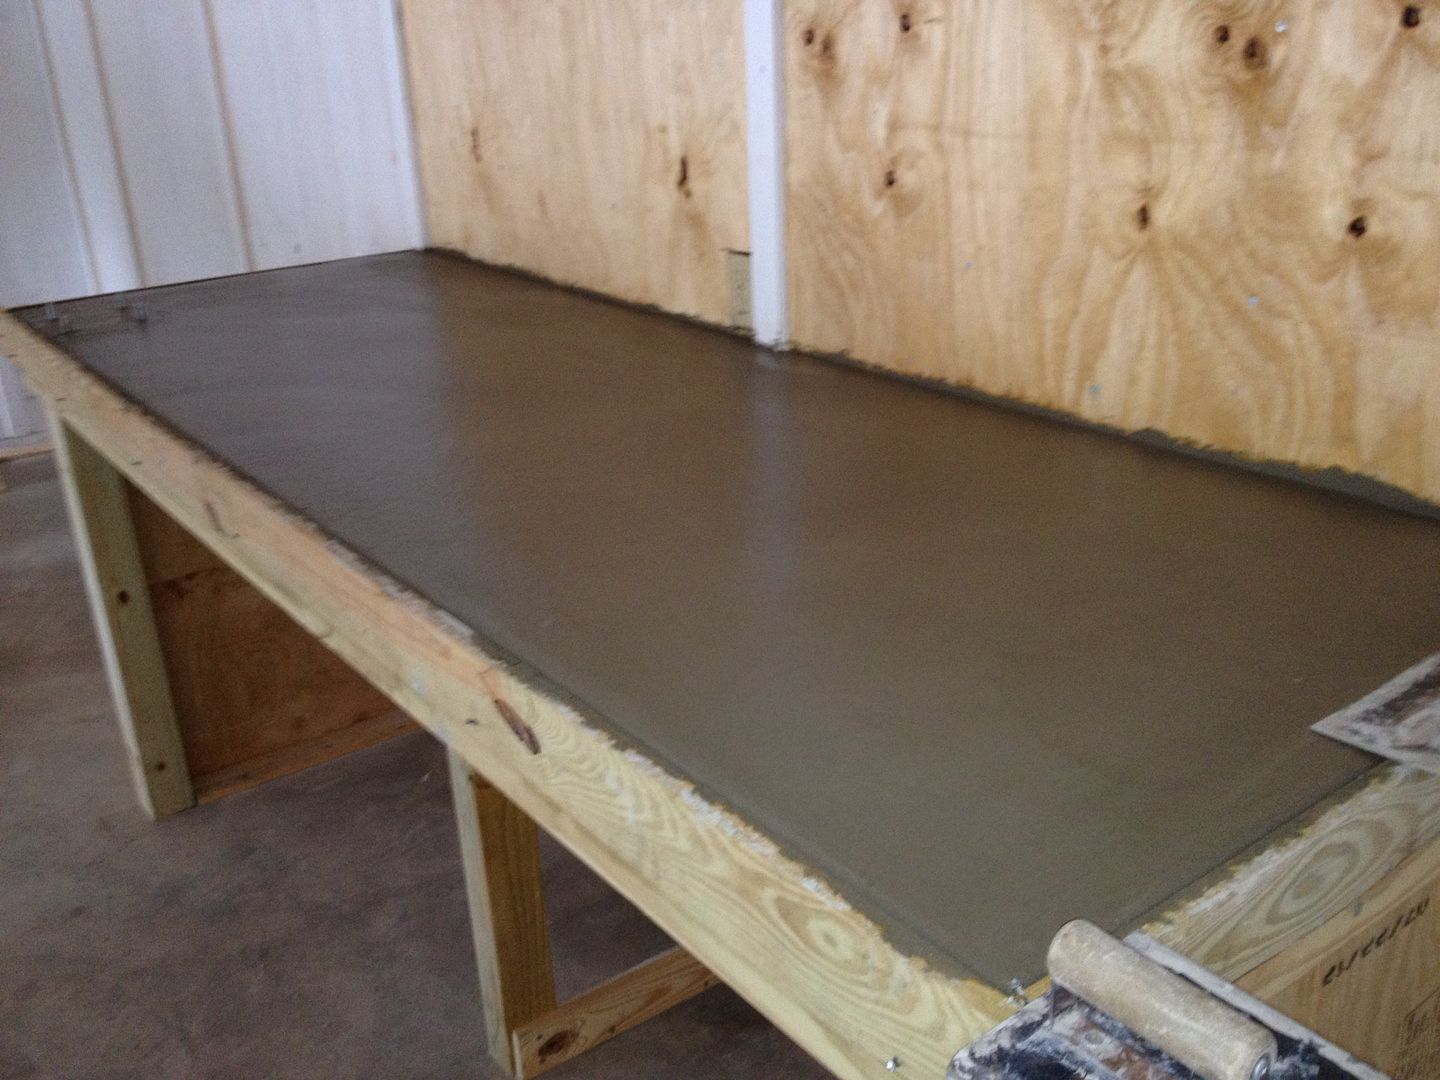
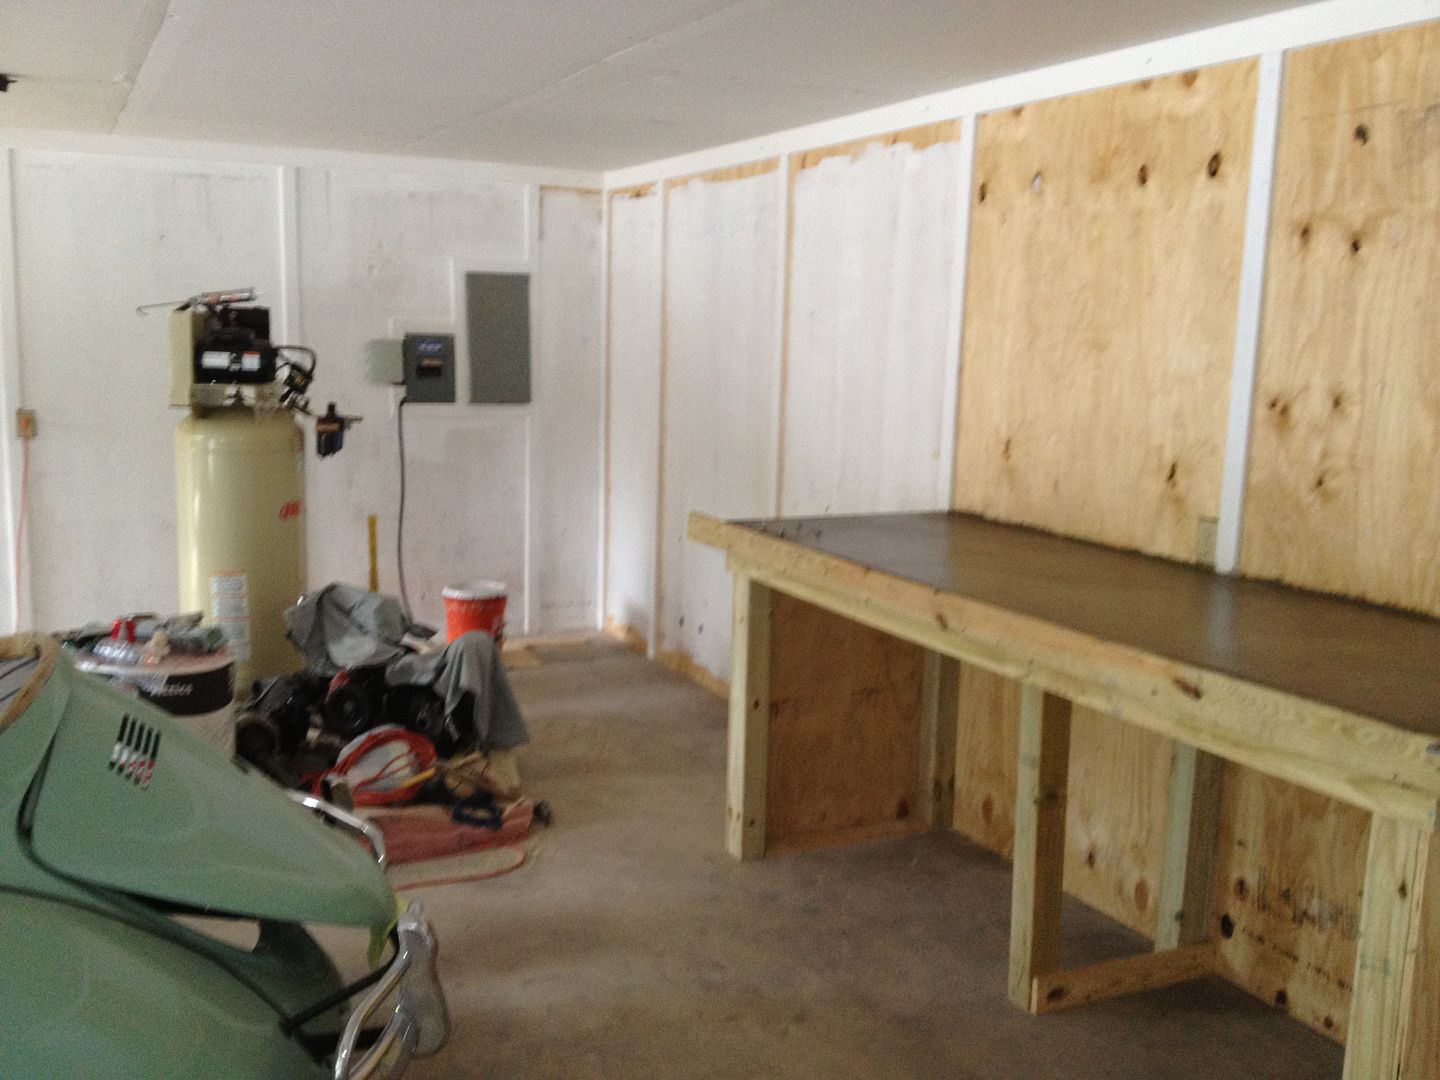
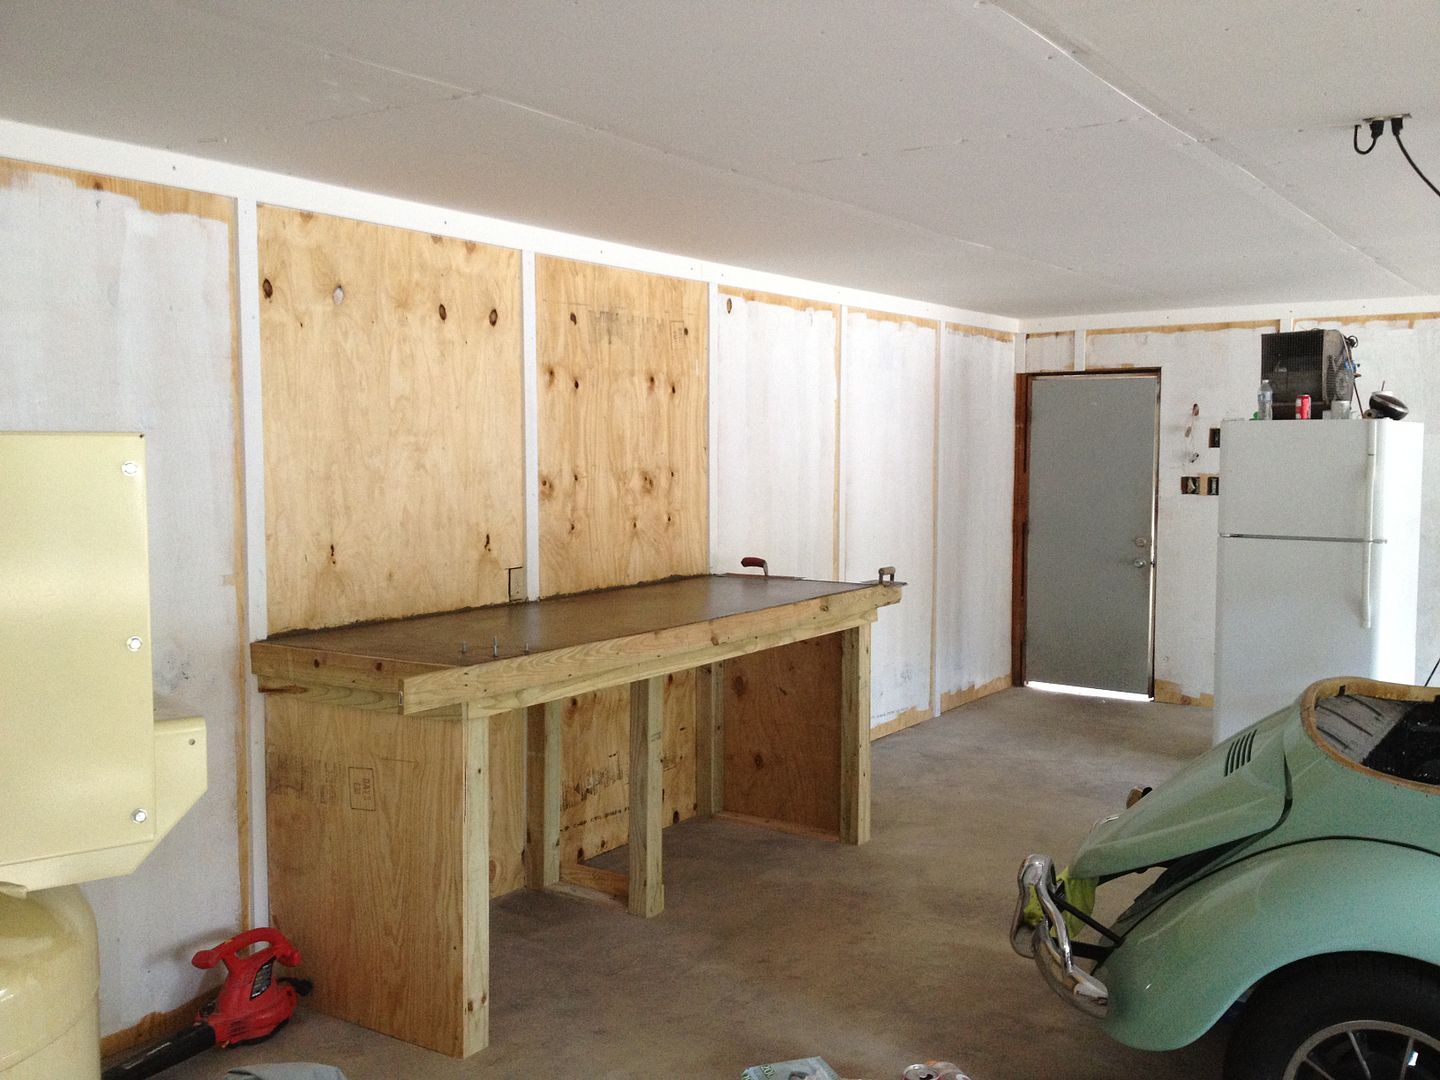
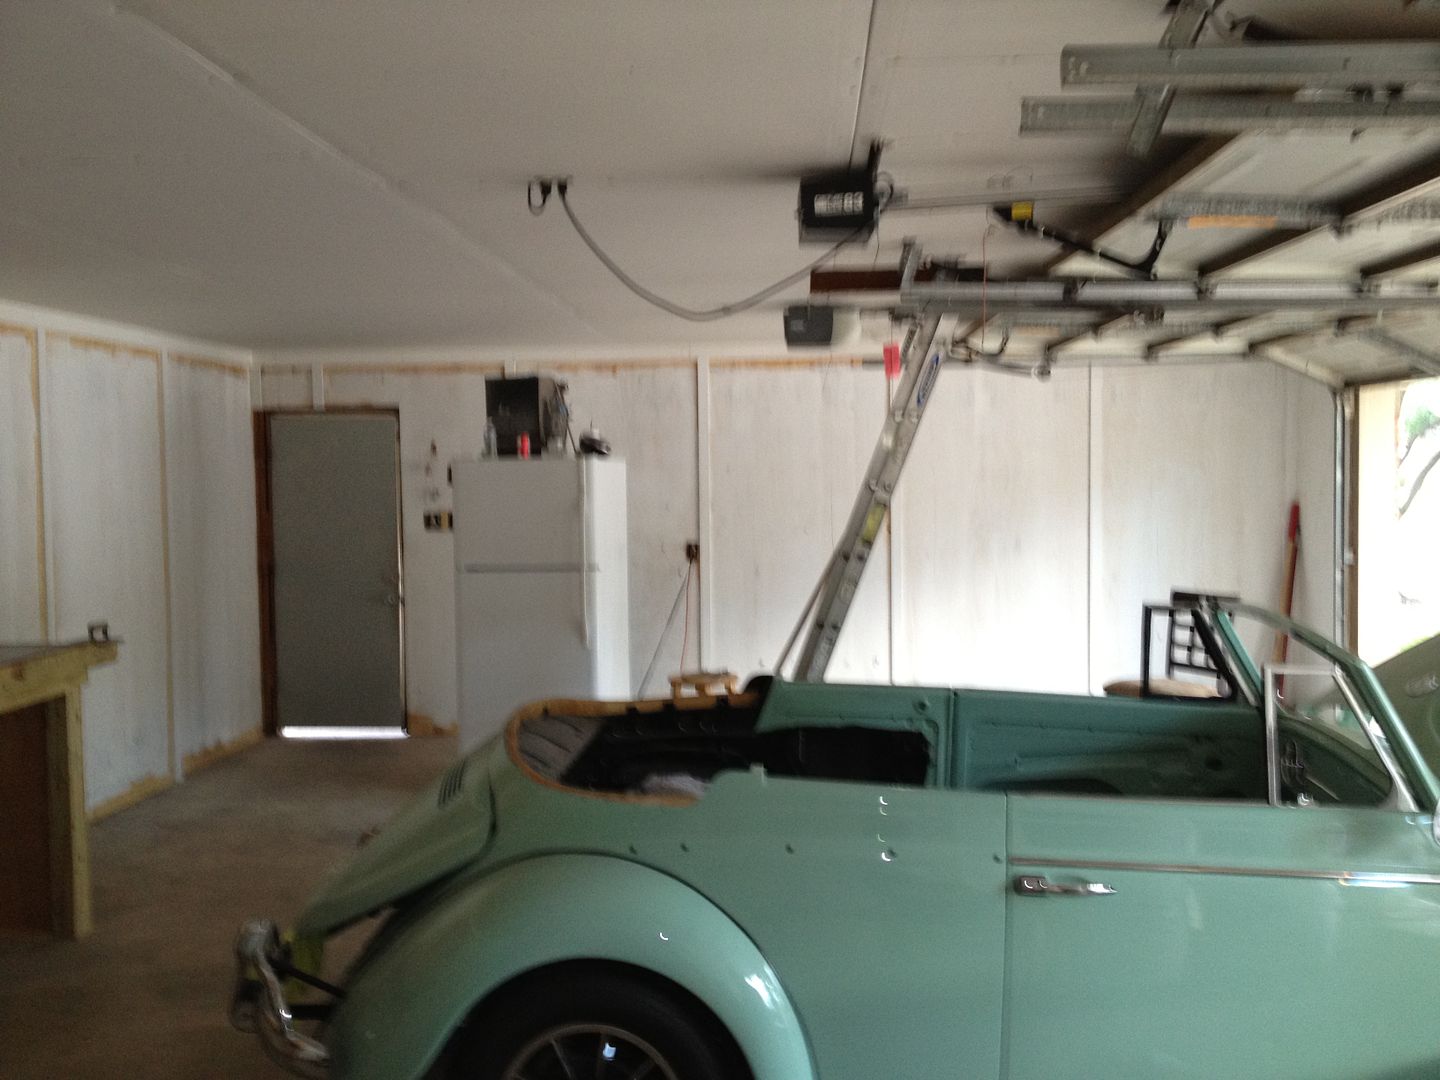
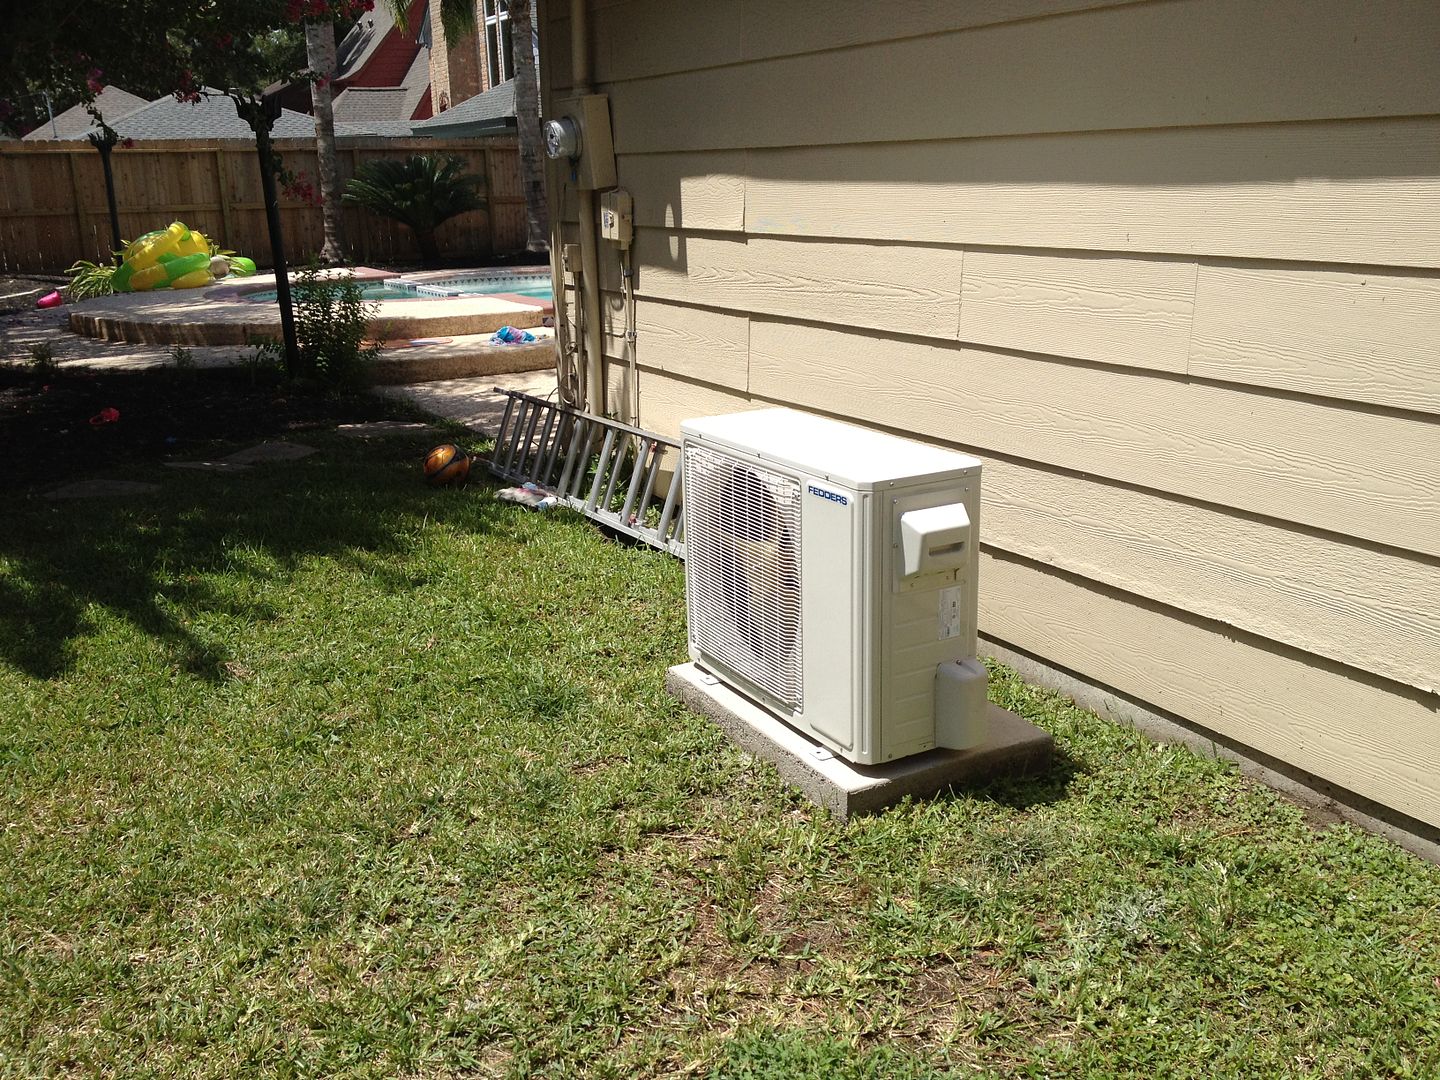
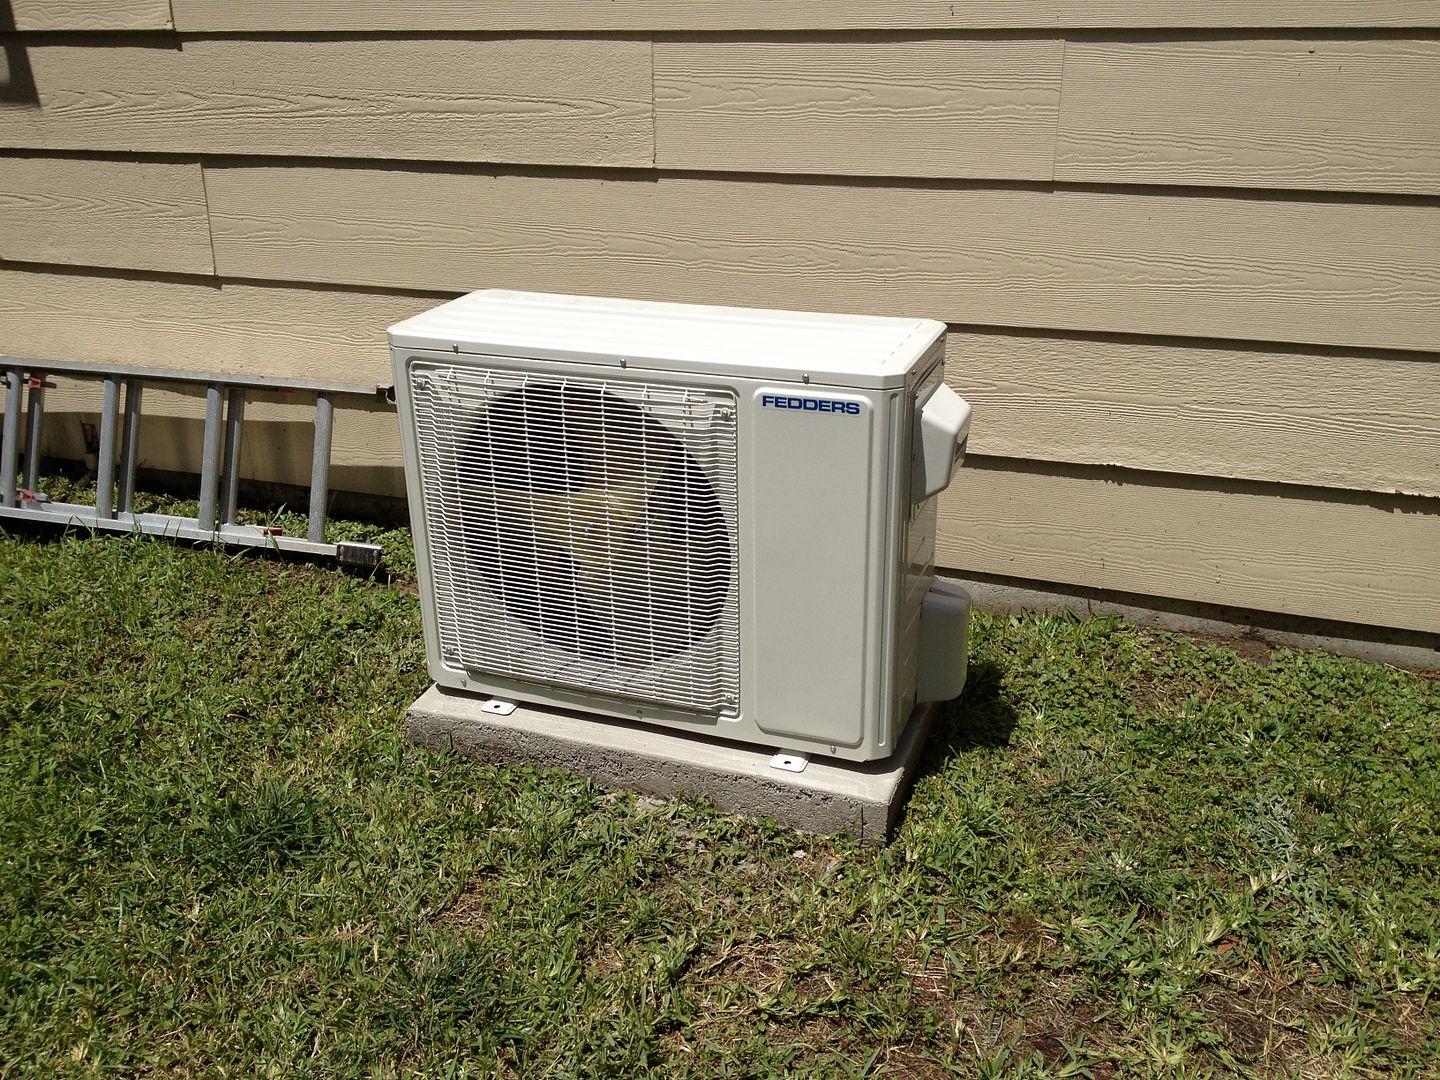
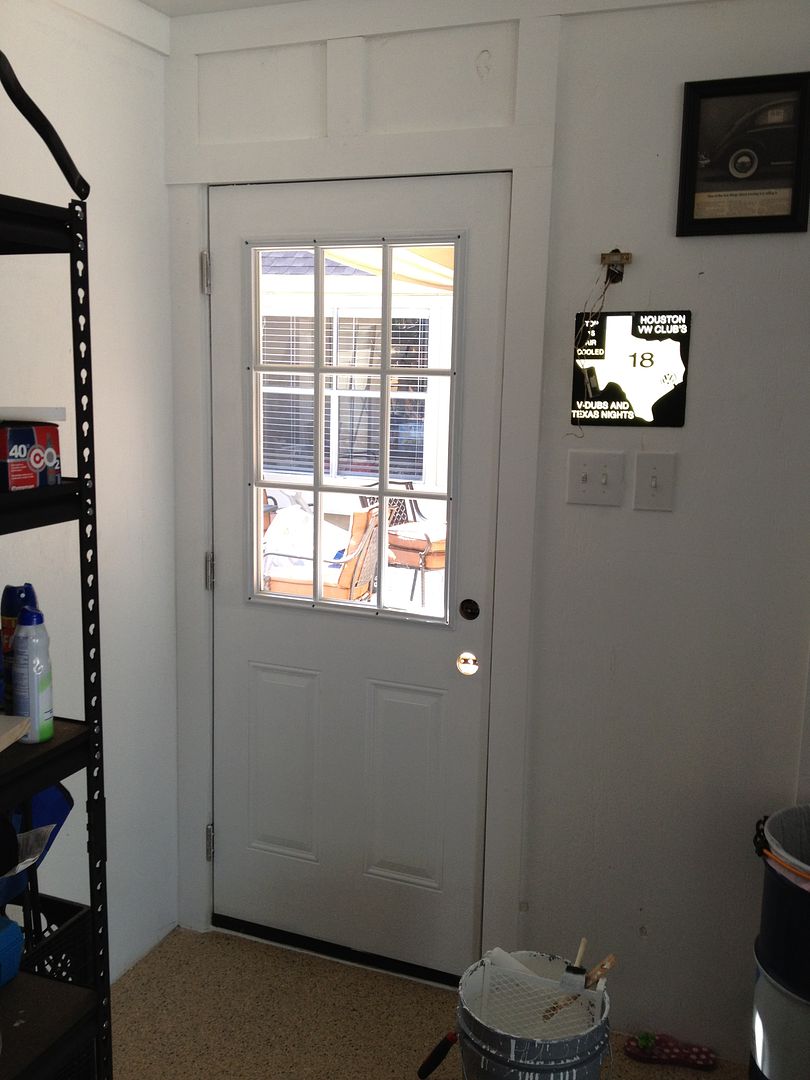
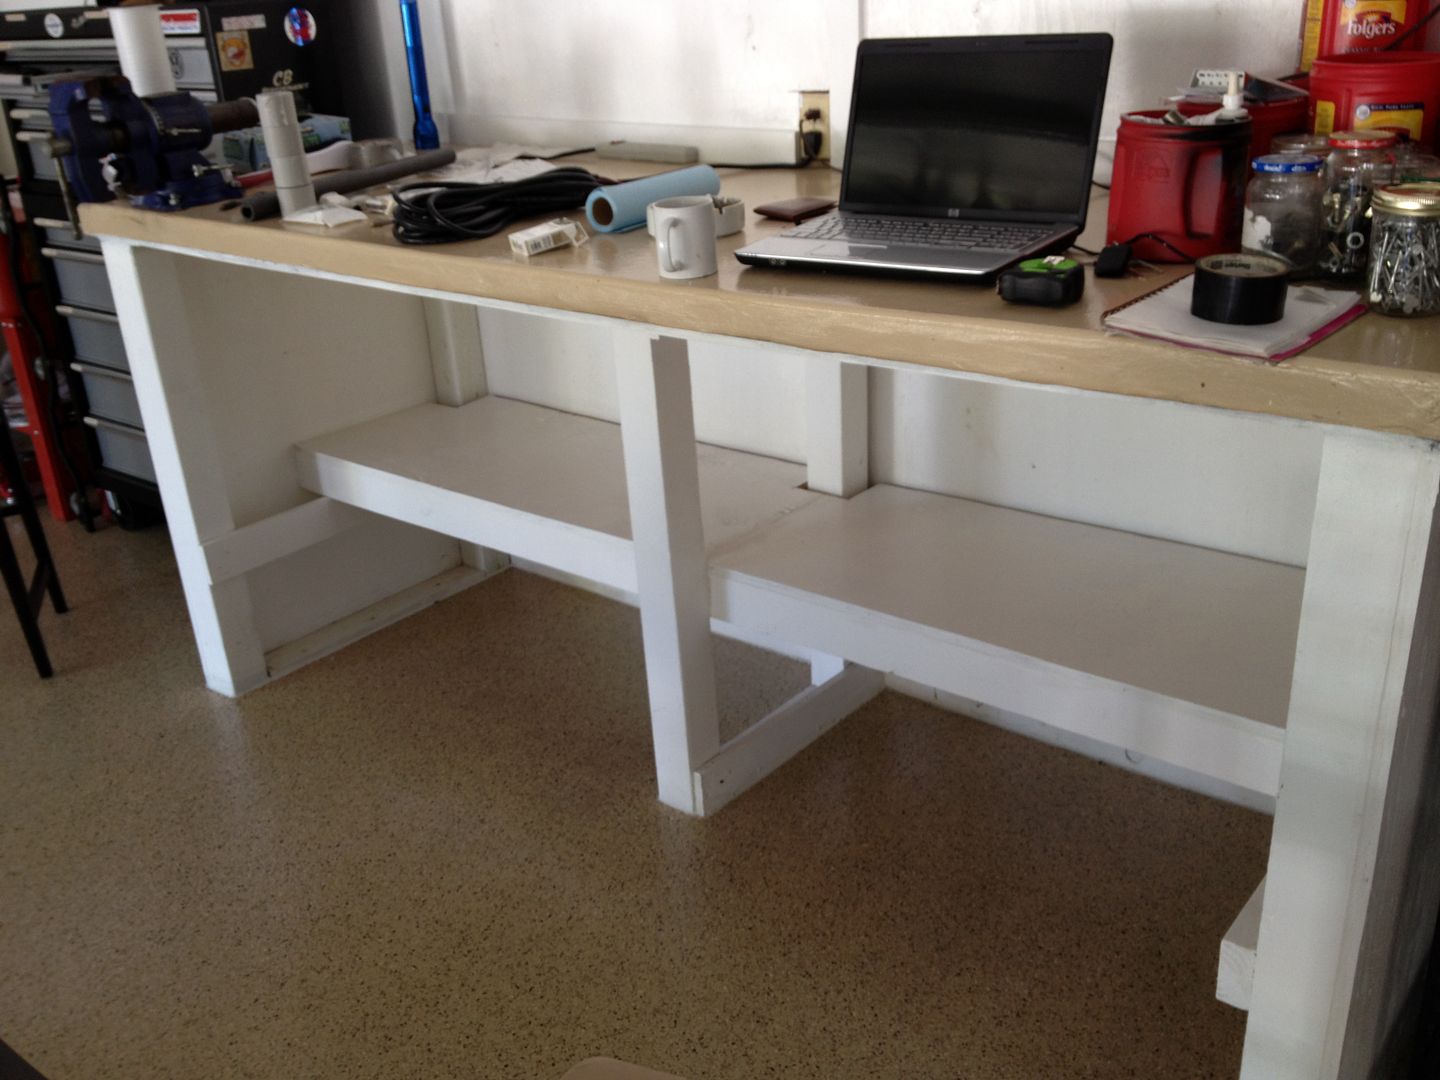
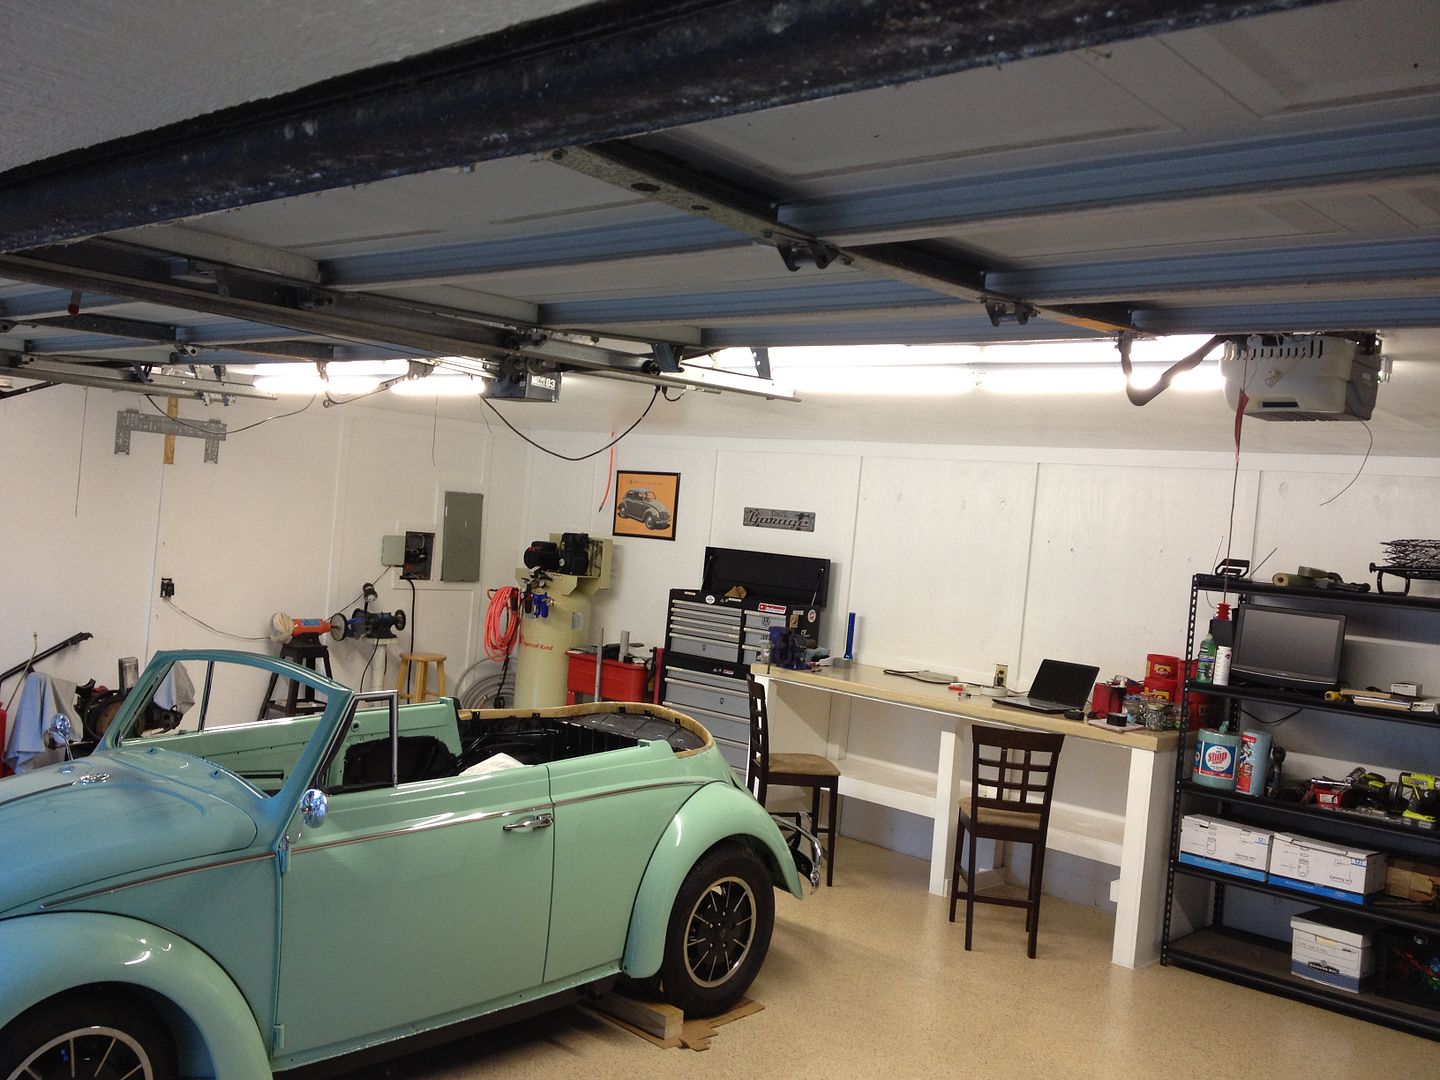
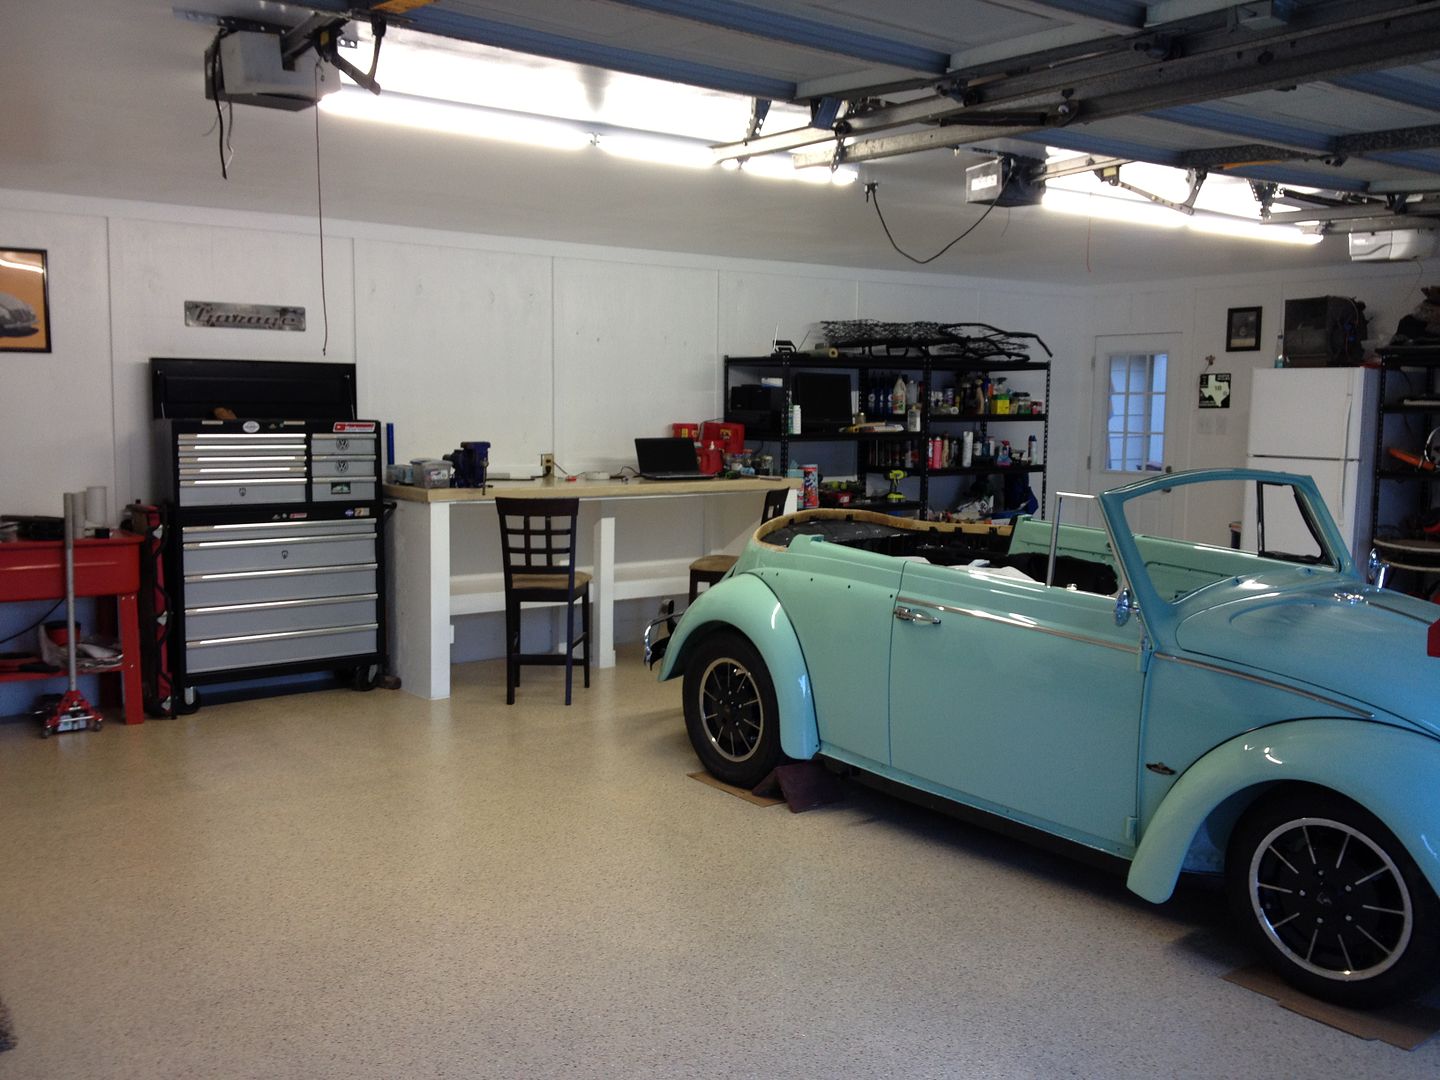
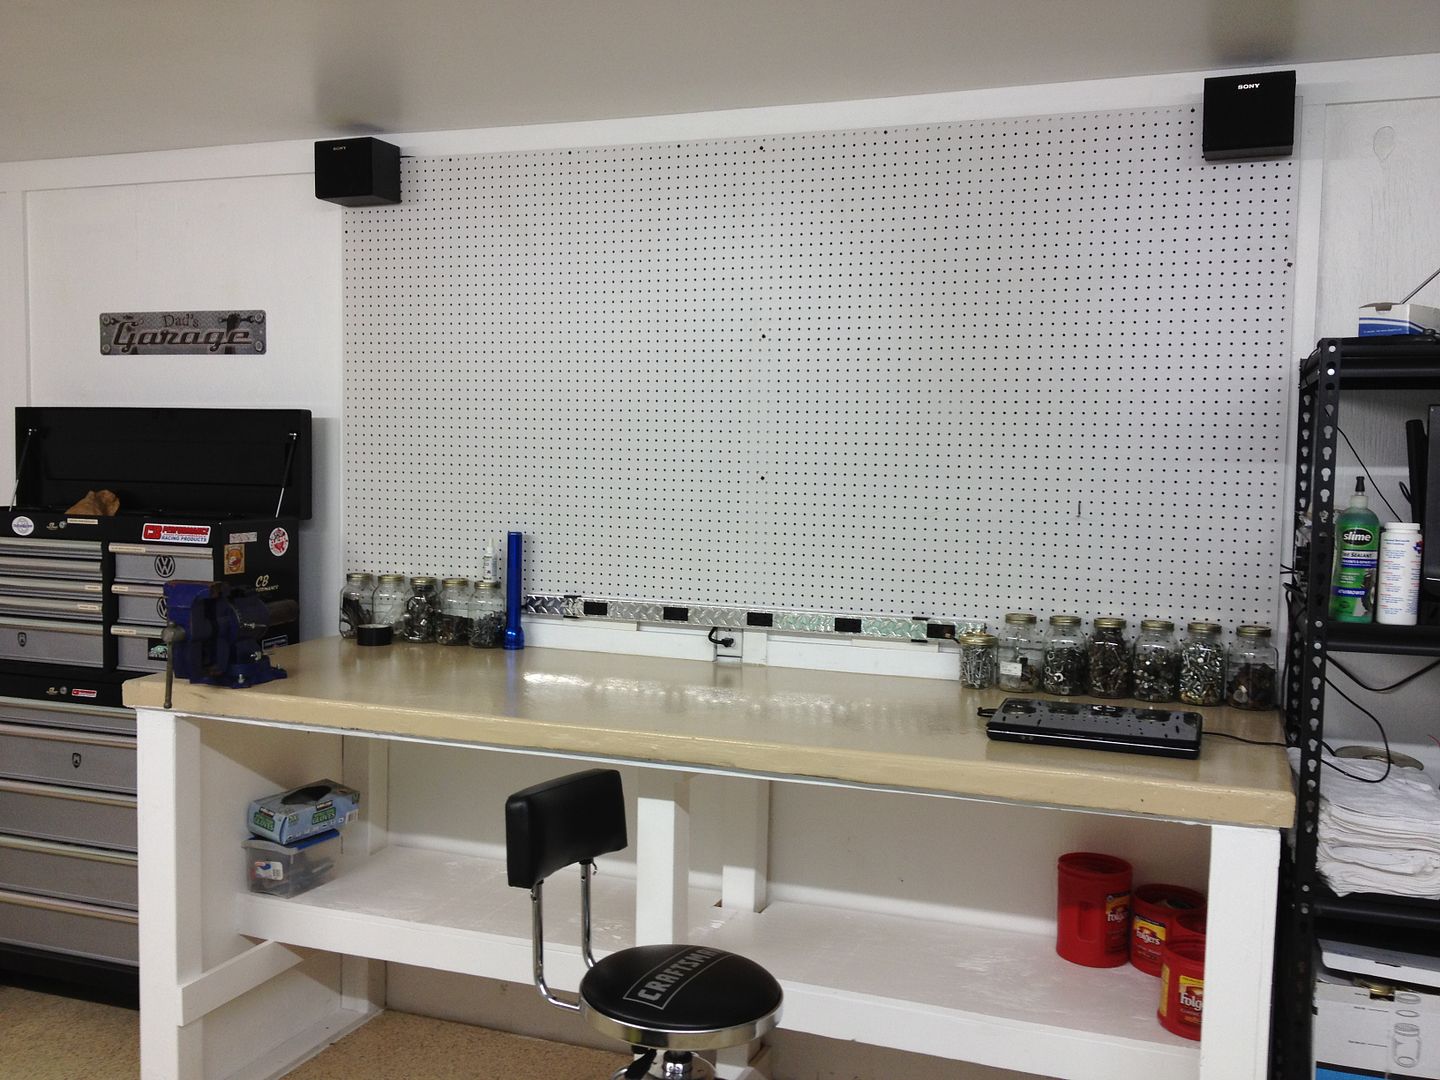
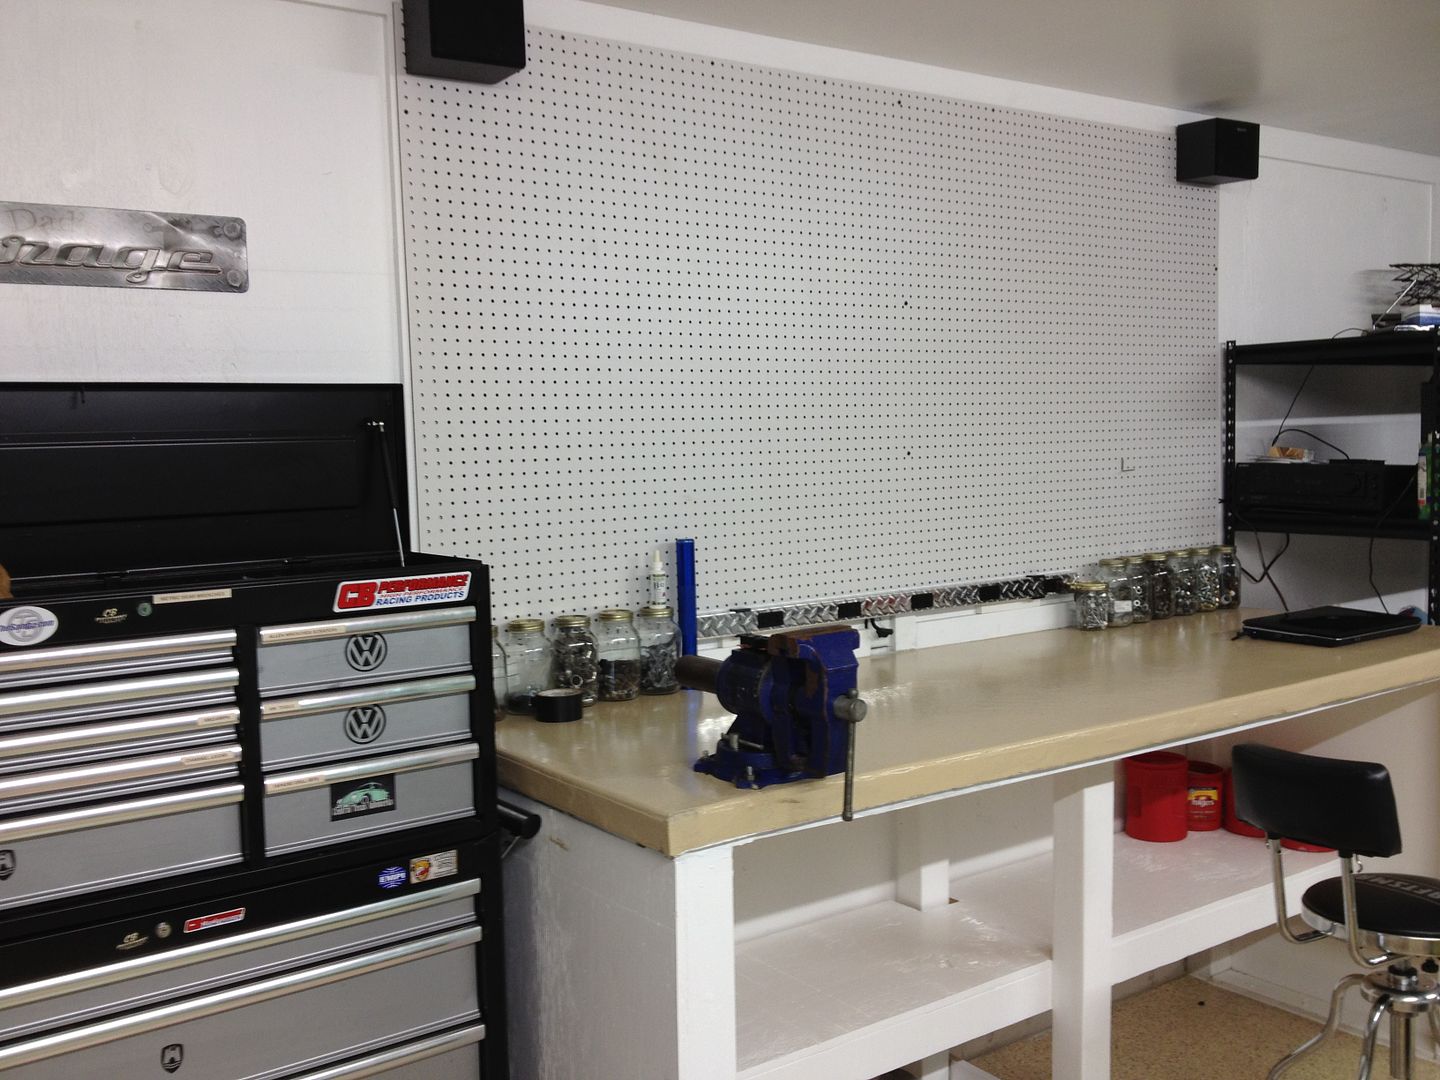
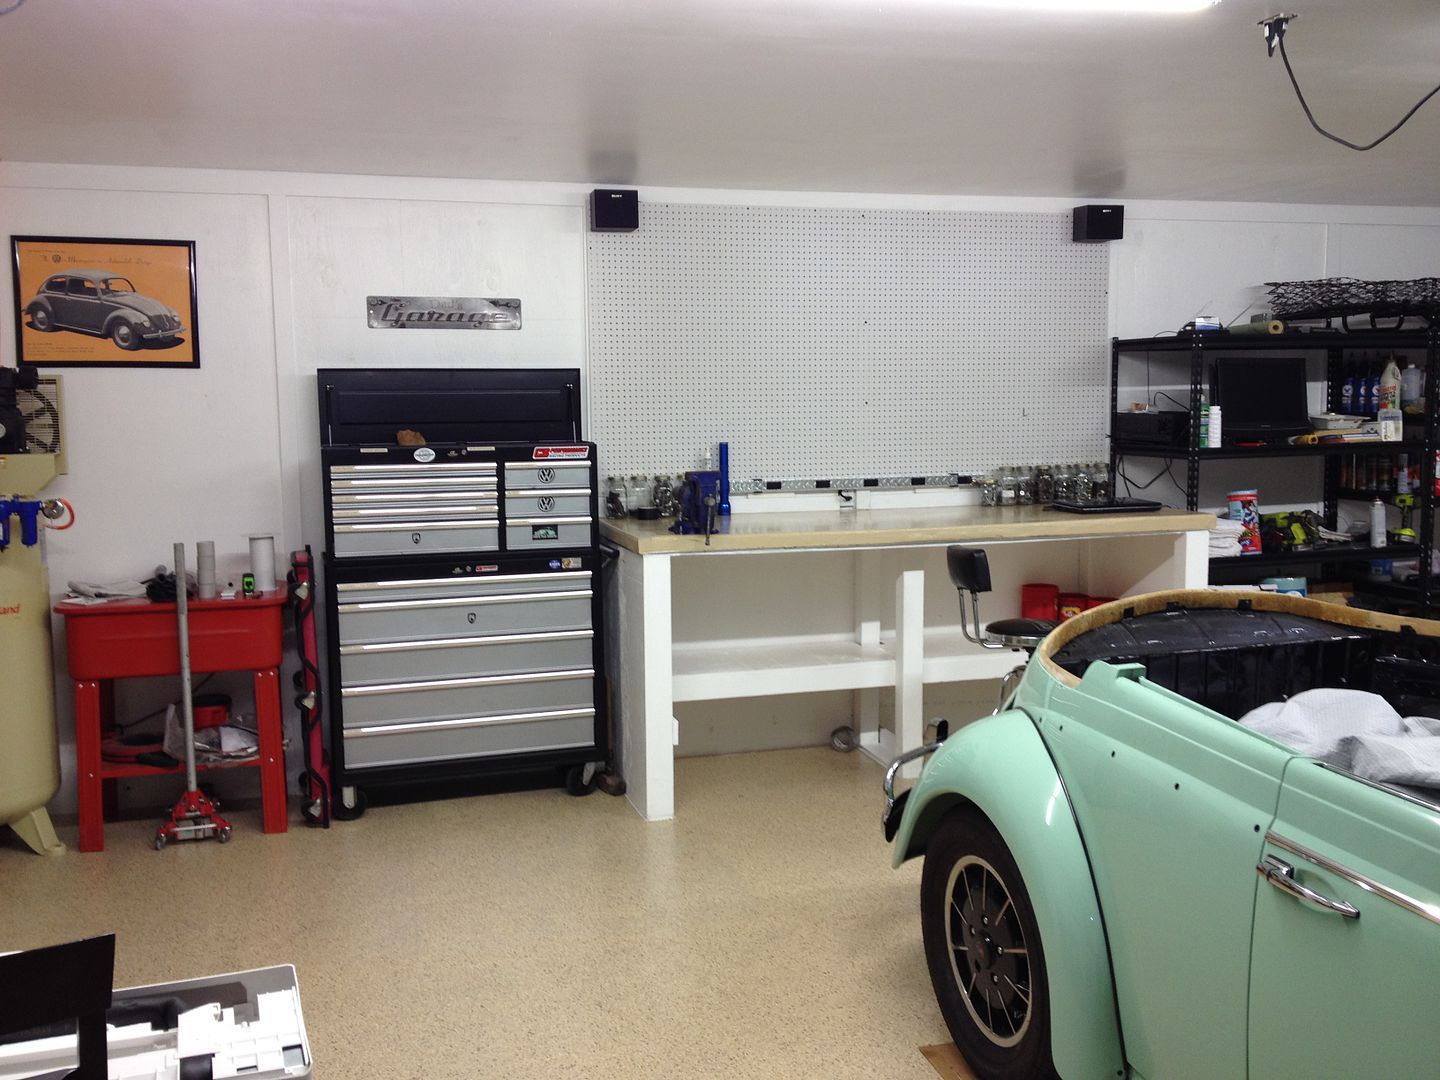
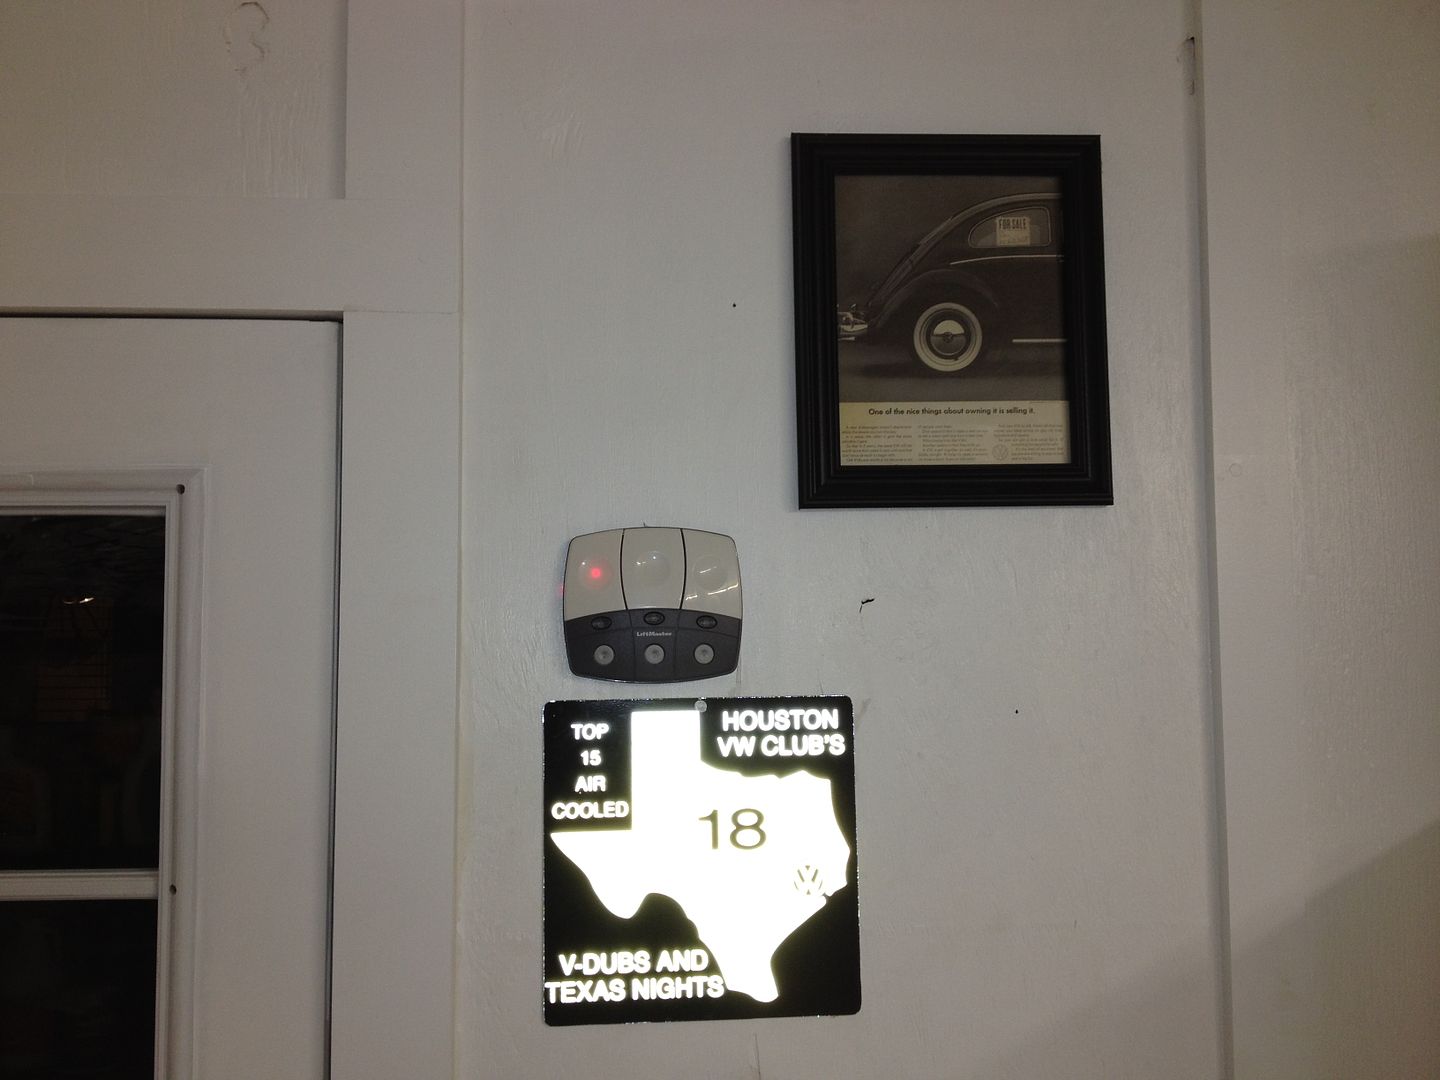
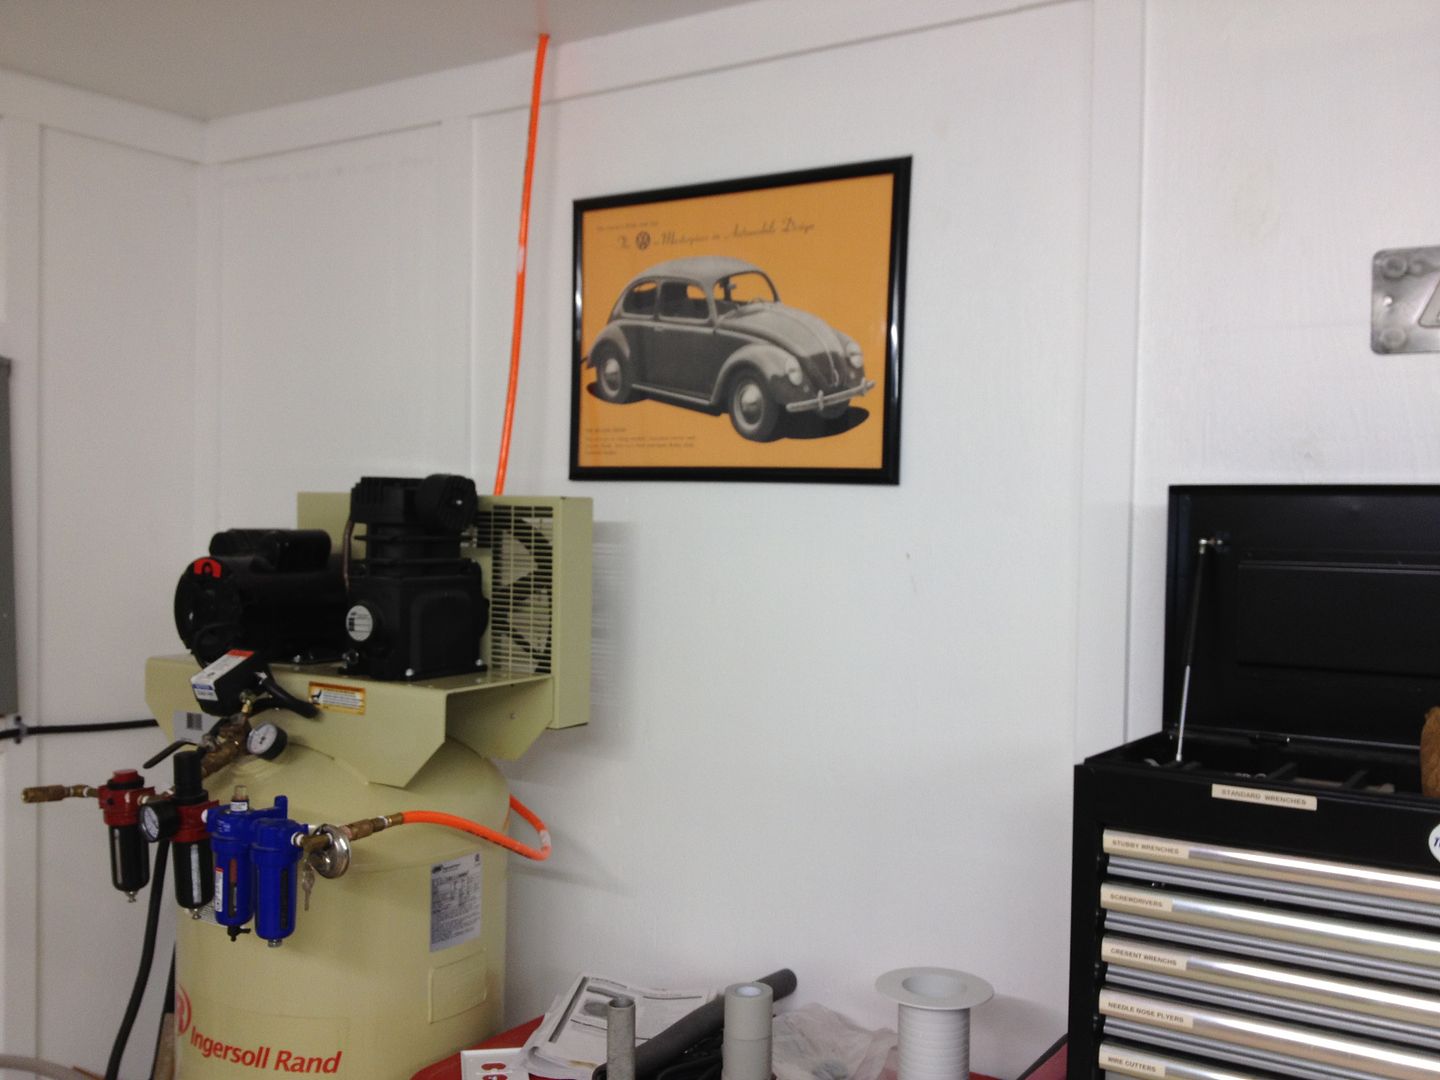
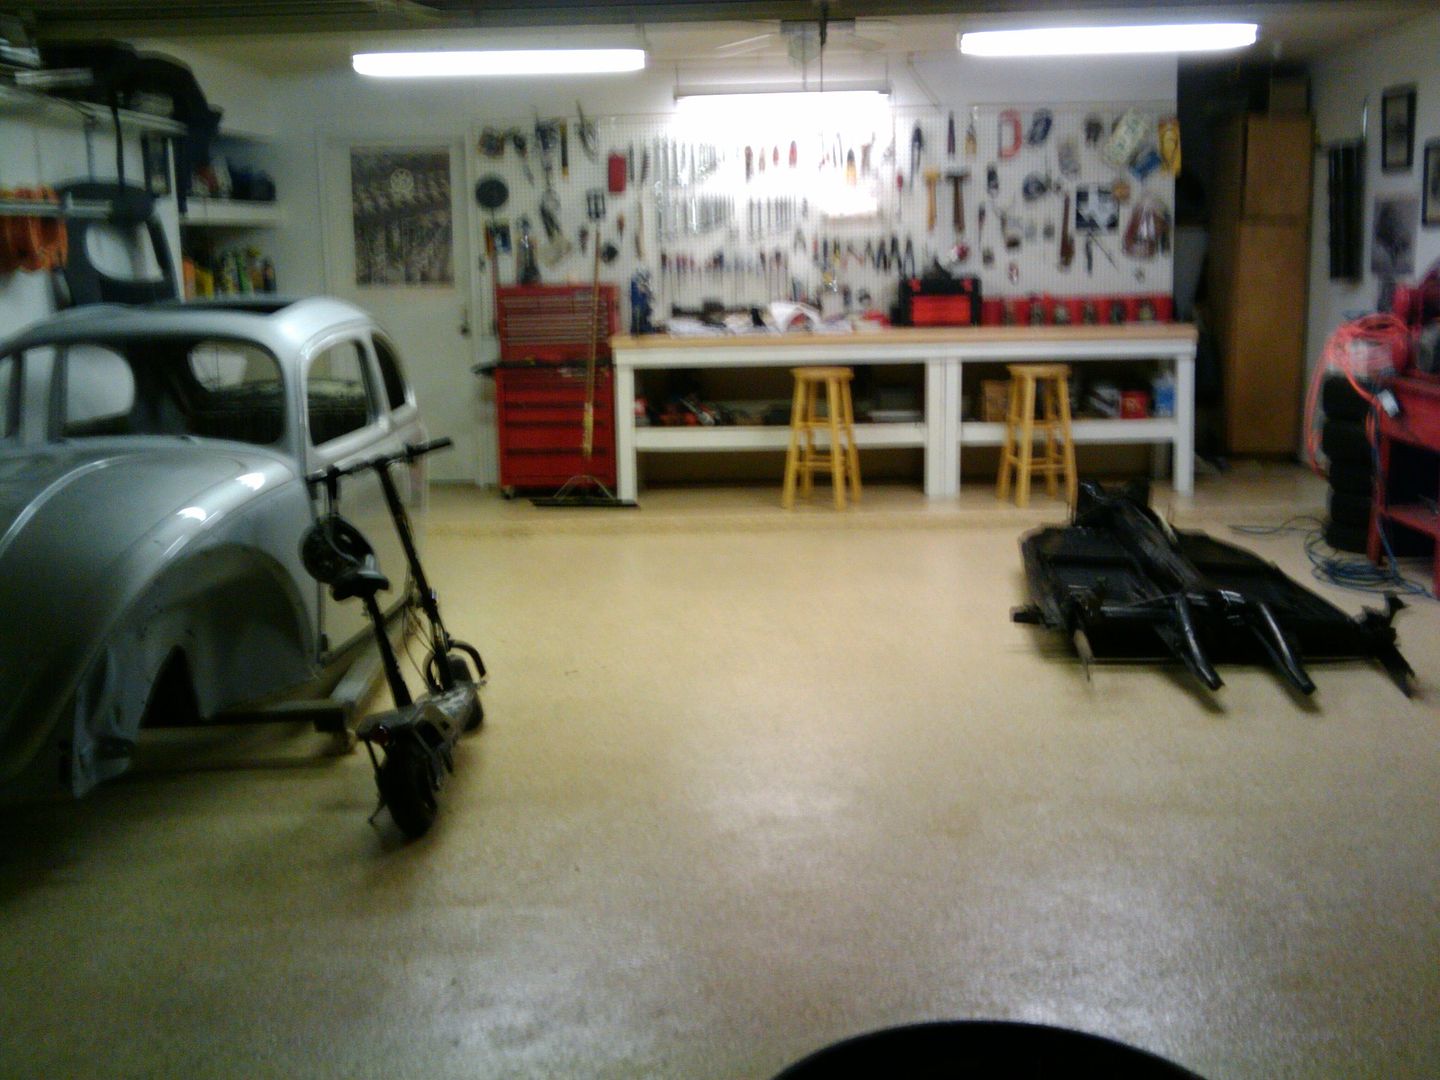
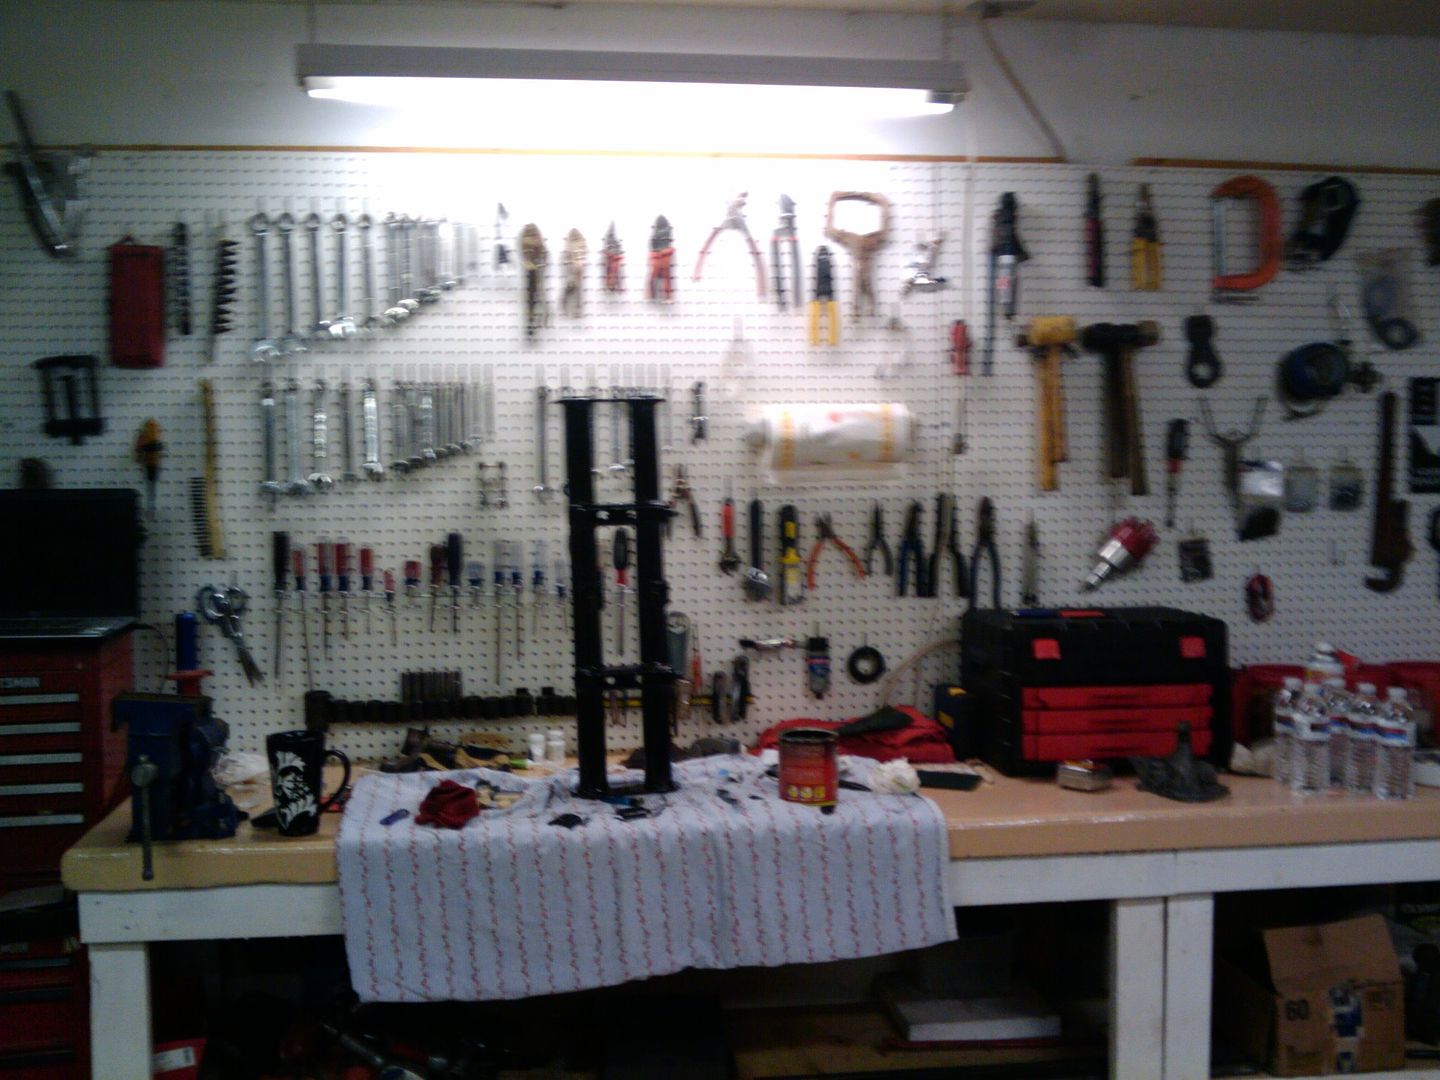
I have been on this site many times just to browse all the cool builds. Well for my birthday this year my wife bought me the materials to spruce up my garage. I started by removing the old sheet rock due to the fact their was no insulation. The previous owner sometime over the years had hung 1/4 inch sheet rock, it was barley there and only attached with a few nails. It came off so clean I could have re used it. But I decided to go back with 3/4 inch plywood. I also poured a new work bench out of concrete. Painting the fresh plywood seems to be a bigger job than I had anticipated and I also learned that I really **** at caulking. I know some people are not real fond of big white boxes, but I like a real bright garage to work in so I have always painted them in glossy white. Makes it easier for me to clean the greasy finger prints off the walls:D
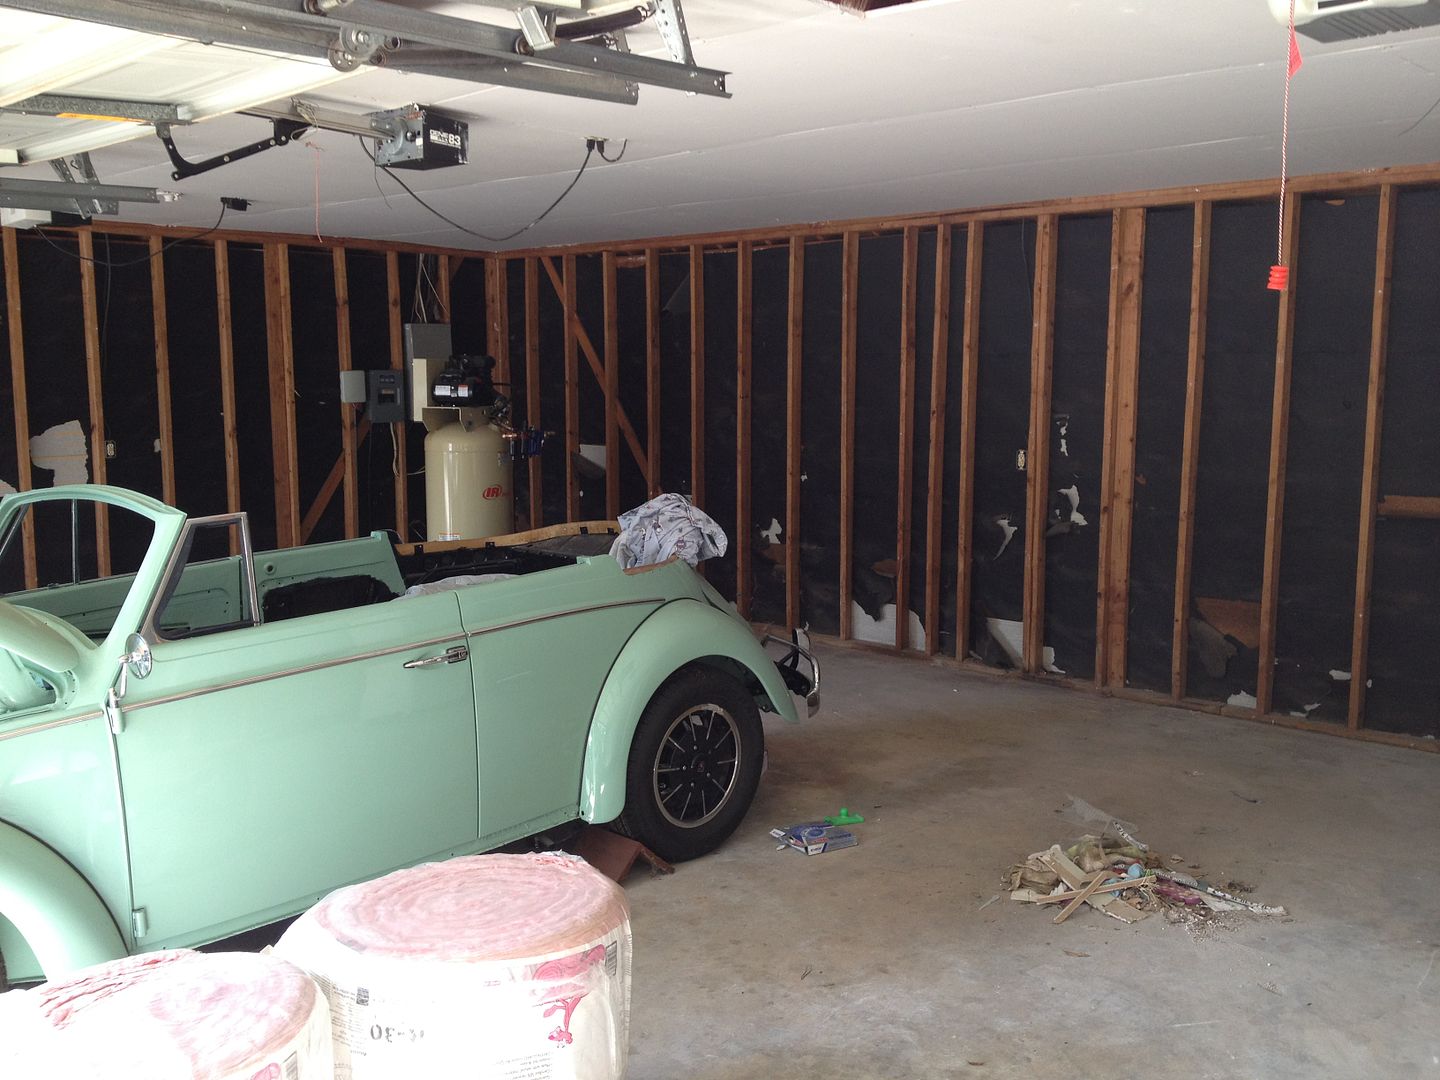
Here is the only before picture I have of my garage.(forgot to take one)
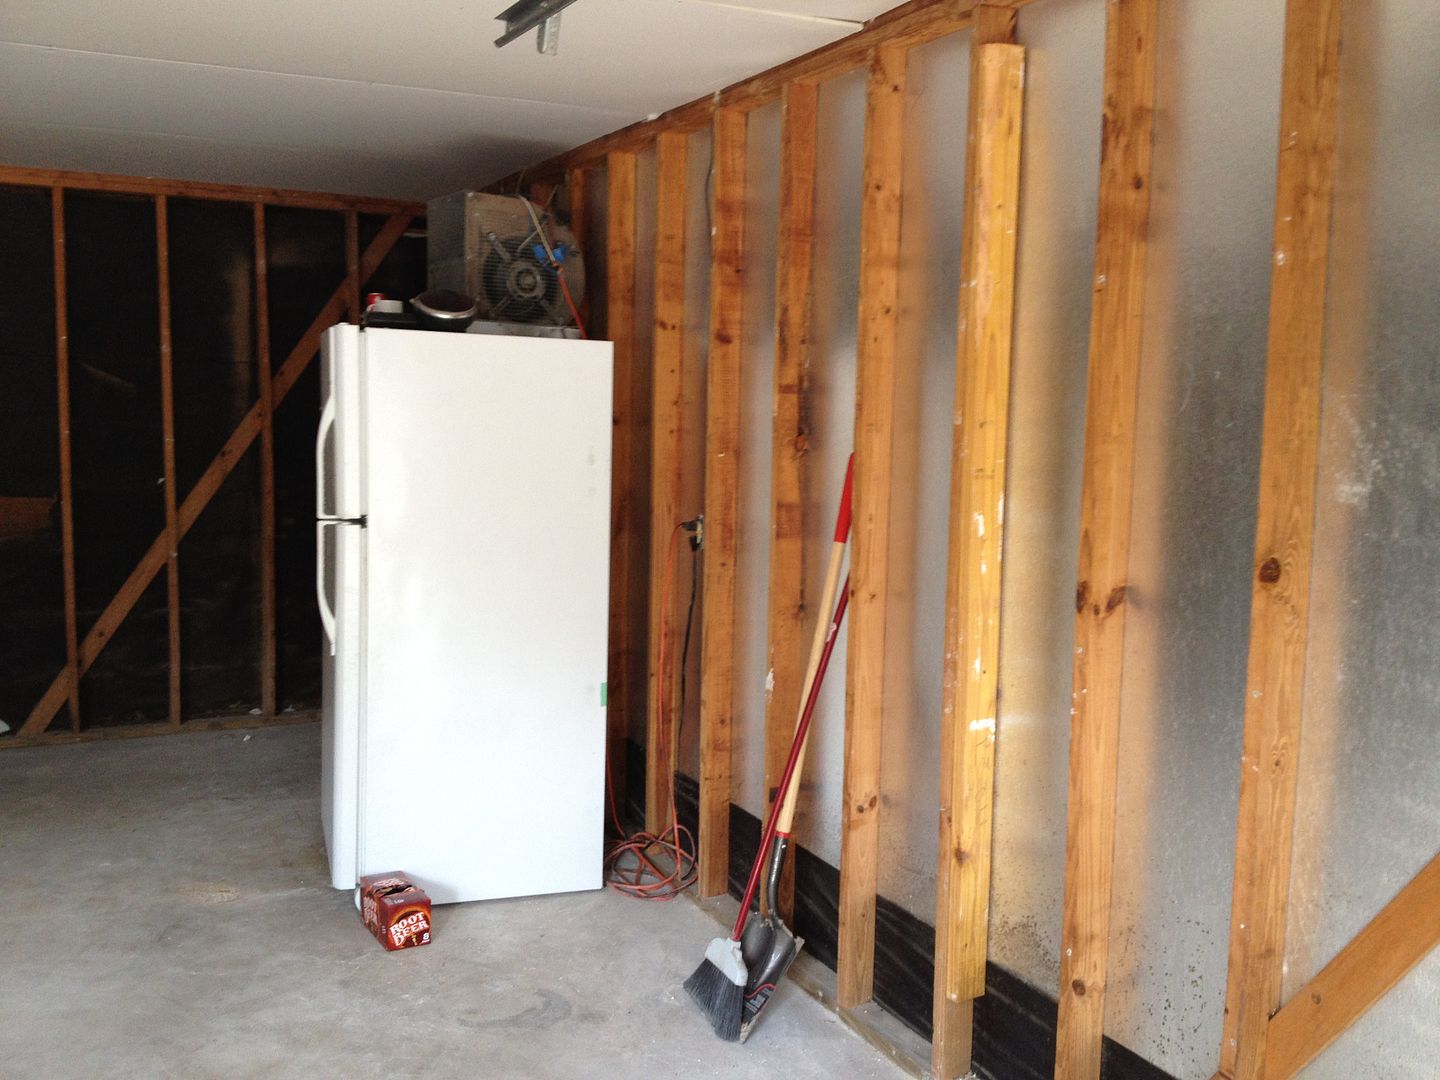
2012-03-12200228.jpg

2012-03-12201811.jpg

Day one carnage
null-22.jpg

null-21.jpg

null-20.jpg

null-19.jpg

null-18.jpg

null-17.jpg

null-16.jpg

null-15.jpg

null-14.jpg

null-13.jpg

null-12.jpg

null-11.jpg

null-10.jpg

null-9.jpg

null-8.jpg

null-7.jpg

null-6.jpg

null-5.jpg

null-4.jpg

null-3.jpg


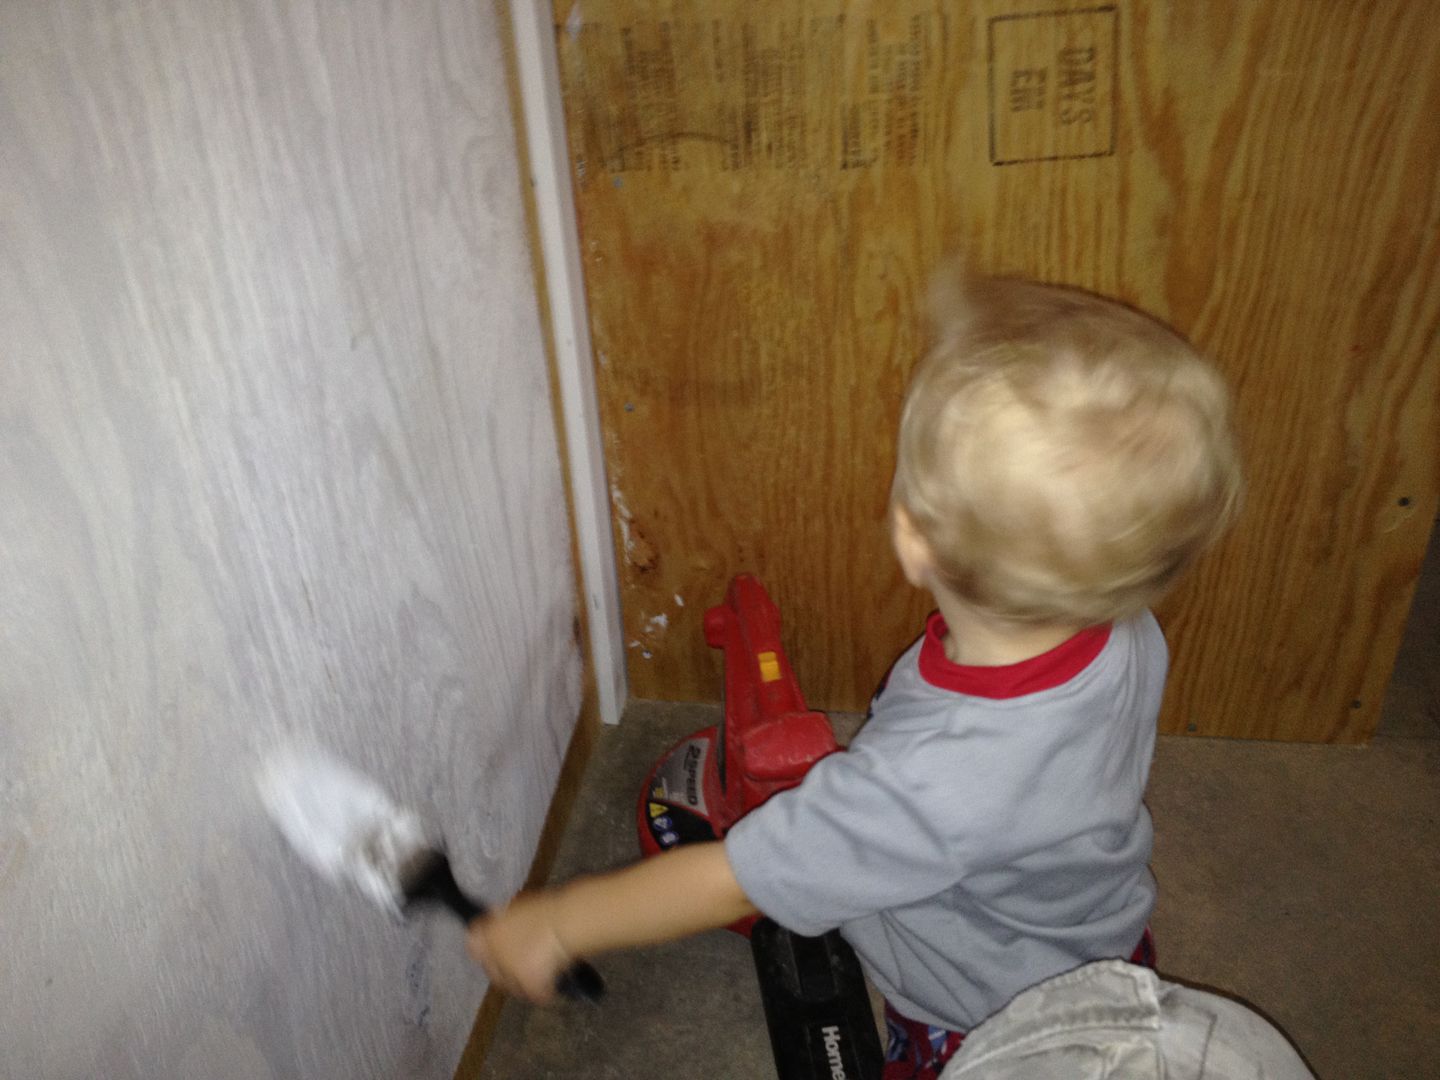
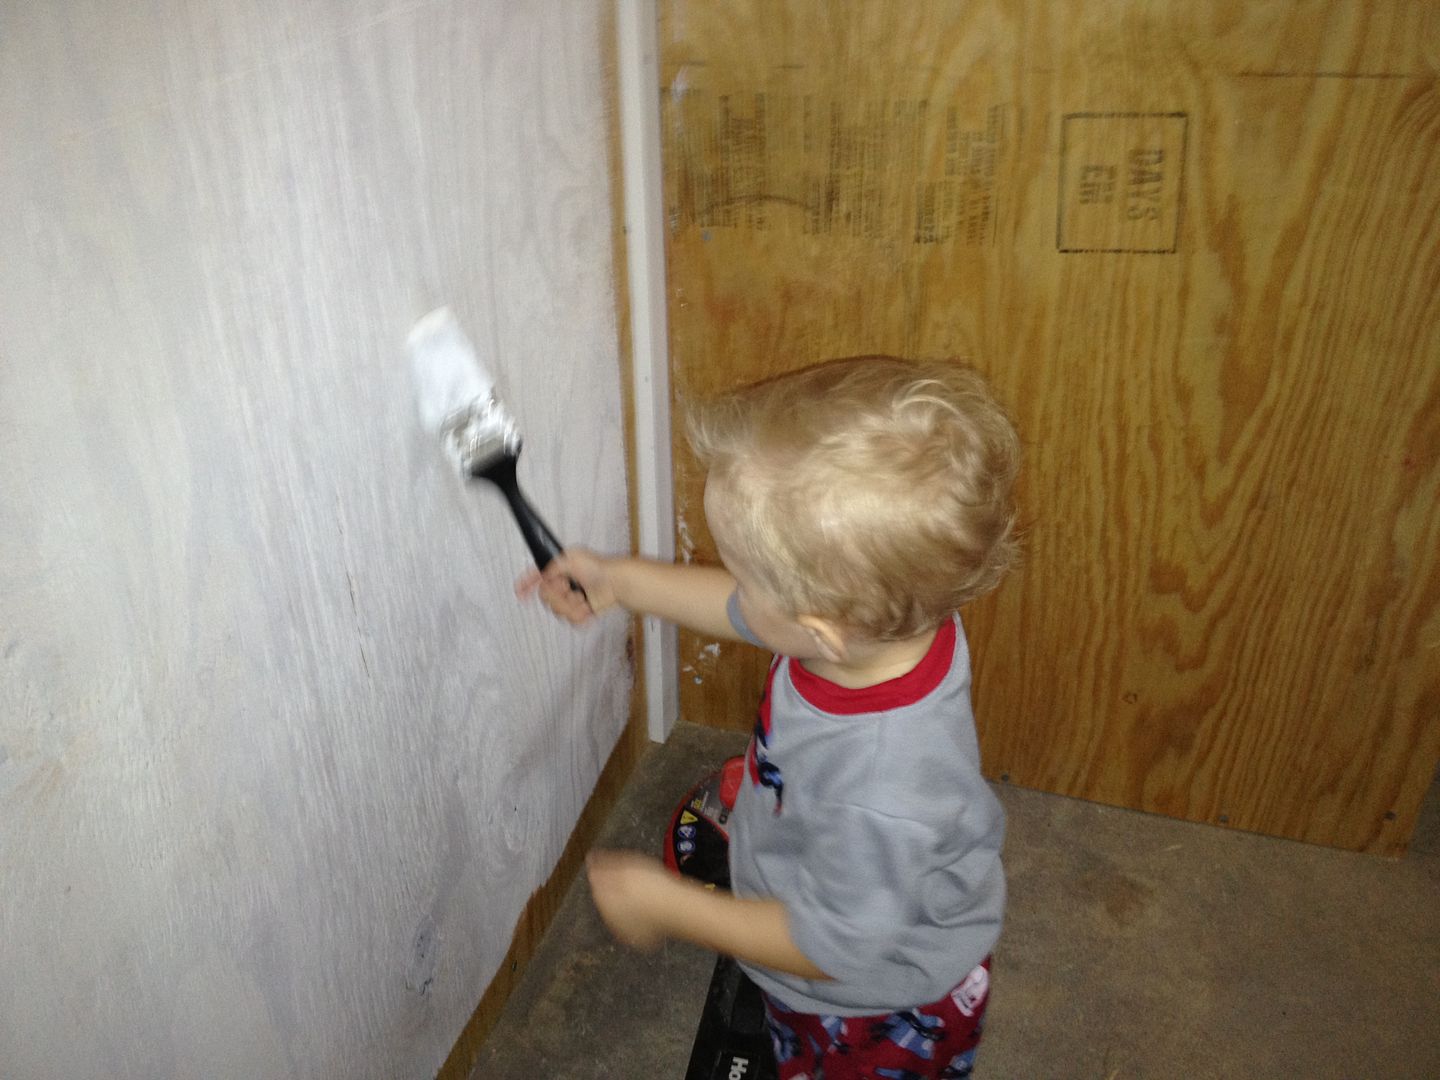
My big helper. (yes he had paint on that brush)
null-2.jpg

null-1.jpg

null.jpg
 
To avoid these ads, REGISTER NOW!

Dan in Pasadena

Well-known member
Joined
Feb 18, 2009
Messages
13,106
Location
Pasadena, CA
Looks good but I have a couple questions:

Why a bench top made of concrete? Not the most durable for hammering on. (Did you put an wire fabric in there?) Since you were using 3/4" plywood you could have just doubled that up for a very tough top.

Why the bats between the plywood sheets? Don't get me wrong, I think it looks good - I used bats between my 4x8 pegboard sheets but just wondering why?
 
OP
C

ConcreteAce

Well-known member
Joined
Aug 25, 2012
Messages
46
Location
Spring Texas
I poured my work bench out of concrete at my last house.
workbench007.jpg

workbench2016.jpg

You would be surprised at how handy it is to hammer on a concrete bench. I had that bench for six years. It was freaking Awesome not even a crack after six years of abuse. I set anchor bolts in the concrete for my vise. It is also way quieter hammering on it than a plywood bench or a stainless steel bench. I poured 4500 psi concrete 3" thick with #6 steel mesh.

I used the bats just to give it a finished look. I was not to fond of the seams.
 

BRIANBB

Well-known member
Joined
Aug 27, 2010
Messages
394
Location
Katy Texas
Looks just as good on this forum as it does on DLK! I'll have to drive the buggy over to check it out. See ya at the night show.
Brian Boggs
 
OP
C

ConcreteAce

Well-known member
Joined
Aug 25, 2012
Messages
46
Location
Spring Texas
Here are some more pictures to catch up.
Walls are done, and attic is now insulated. Paint isnt the best on the walls. They really could use another coat or two due to the fact that you can still see the black letters that are printed on the plywood, but for a garage they are fine.
null-26.jpg

null-25.jpg

null-23.jpg


null-24.jpg

Step one of the floor is done. After prepping the slab I used Arizona Polymer products. I used AP on my last floor and it held up well. Its a two to three day system.
null-34.jpg

null-33.jpg

null-32.jpg

null-31.jpg
 

Jack Olsen

Super Moderator
Staff member
Joined
Mar 22, 2009
Messages
6,678
Location
Los Angeles
The floor looks beautiful. Walls and countertop, too.

3/4" seems like massive overkill for the walls -- and I say that as a compliment. :)
 
OP
C

ConcreteAce

Well-known member
Joined
Aug 25, 2012
Messages
46
Location
Spring Texas
some more pictures to catch this thread up.
Well ceiling is done. gotta wait a couple of hours and then Ill start painting it. Then all I will have to do is rehang my lights and haul all the junk back in.
null-44.jpg

null-45.jpg

null-46.jpg

null-47.jpg

null-39.jpg

null-40.jpg
 
OP
C

ConcreteAce

Well-known member
Joined
Aug 25, 2012
Messages
46
Location
Spring Texas
Looks really nice. More pictures of the VW's?

Those VW's are nice!

I am a VW nutcase.
Here is the build thread on the green vert
http://www.dlkweb.org/phpBB3/viewtopic.php?f=8&t=3394&start=0

And the white ragtop
http://www.dlkweb.org/phpBB3/viewtopic.php?f=8&t=4151&start=0

pic's of the 56 oval
http://s117.photobucket.com/albums/o70/ethandunlap/1956 Hardtop/


And this is my current project that I picked up a couple of weeks ago
http://www.dlkweb.org/phpBB3/viewtopic.php?f=8&t=5237&start=0
 

Dan in Pasadena

Well-known member
Joined
Feb 18, 2009
Messages
13,106
Location
Pasadena, CA
Wow, your garage just looks great. What are your further plans? What will you do under the bench since its so wide open? Do rolling tool boxes fit under there? Can't wait to see it finished.
 
OP
C

ConcreteAce

Well-known member
Joined
Aug 25, 2012
Messages
46
Location
Spring Texas
Wow, your garage just looks great. What are your further plans? What will you do under the bench since its so wide open? Do rolling tool boxes fit under there? Can't wait to see it finished.

I built a shelf under it yesterday with leftover plywood. I also plan on installing some 4" drawers under the top itself. I figured they would come in handy for small things.
null-73.jpg

null-70.jpg
 
OP
C

ConcreteAce

Well-known member
Joined
Aug 25, 2012
Messages
46
Location
Spring Texas
With this post I will catch everyone up to today. I am now 5 days into the project.
with help from some friend I got my big stuff moved back in.
null-66.jpg

null-65.jpg

null-60.jpg

null-59.jpg

null-58.jpg


I have always wanted AC and Heat
null-68.jpg

null-67.jpg

gonna look good on the wall.
null-69.jpg


I installed a new door yesterday. I went with one with a window, I am glad I did I really like it. And the install went real smooth up until When I was painting we got a big wind that sent the old door flying and hit me in the back causing a 6 inch gash. It pretty much floored me.
null-77.jpg

null-76.jpg

null-75.jpg

null-74.jpg

all painted up to match the house also poured a new thresh plate.
null-71.jpg


I got the 8ft HO T5 lights installed
null-72.jpg


The shelf under the bench is done. I still have to paint it.
null-73.jpg

null-70.jpg


Also got the AC pad poured outside. Moving right a long.
 
OP
C

ConcreteAce

Well-known member
Joined
Aug 25, 2012
Messages
46
Location
Spring Texas
I am at the point that I need to figure out what kind of insulation to put on my garage doors. I have searched online and I cant seem to make up my mind on what product to use.
 
To avoid these ads, REGISTER NOW!

Dan in Pasadena

Well-known member
Joined
Feb 18, 2009
Messages
13,106
Location
Pasadena, CA
Not sure of the correct name but a lot of guys use the aluminum faced foam board that comes 4x8 from Home Depot held in with metallic tape. Comes in a variety of thicknesses from 1/2" to I think 2". The better stuff is aluminum faced on BOTH sides. I've been told it's best to leave a small dead space behind it using spacer blocks. Don't know if that's true but I'm guessing Texas weather is HOT in the summer?
 
Last edited:
OP
C

ConcreteAce

Well-known member
Joined
Aug 25, 2012
Messages
46
Location
Spring Texas
Our summers are pretty hot. I was thinking about using that board that you are talking about I think some call it duct board. I looked at some at the depot but it seamed to have a very low R value.
 

Dan in Pasadena

Well-known member
Joined
Feb 18, 2009
Messages
13,106
Location
Pasadena, CA
I was looking at it only days ago. The kind with single sided metallic skin does have a low R value. The 1-1/2" two sided was much better.

FYI, the salesman said to leave 1/2" dead air behind it and it'll make a big difference. I'm only interested in it for cosmetic reasons so I didn't really care.
 
OP
C

ConcreteAce

Well-known member
Joined
Aug 25, 2012
Messages
46
Location
Spring Texas
Got the outside unit set in place. I'm going to make a list today of what I will need to run the lineset and the wiring. Hopefully I will have that all done tomorrow or monday at the latest
null-79.jpg

null-78.jpg
 

RCH99

Active member
Joined
Jan 12, 2011
Messages
29
Location
The Woodlands, TX
Ethan, where did you happen to get that split ac unit? Some place locally, or did you order it from somewhere? I need one....
 
OP
C

ConcreteAce

Well-known member
Joined
Aug 25, 2012
Messages
46
Location
Spring Texas
@RCH99 I bought it online it is on sale right now payed $937 shipped to my door.
I wanted one with the inverter technology. and since my garage is 685 sqft I needed a 18000 btu unit. Fedders may not be the best brand out there, but it had good reviews and it was about $300 cheaper than the Toshiba unit I had my eye on at first. Hopefully it will be a good unit. Here is a link to the website I bought it from.
http://www.heatandcool.com/18-000-BTU-FEDDERS-18-SEER-p/fedders-18.htm
 
OP
C

ConcreteAce

Well-known member
Joined
Aug 25, 2012
Messages
46
Location
Spring Texas
Trivial update....but.....I got the back of the new door painted as well as the shelf under the bench. I am so sick of caulking and painting. I really have a lot of respect for those who paint for a living now.
null-80.jpg

null-81.jpg


Now I need to find a 3 button garage door control panel. I have looked at Home Depot as well as Lowes All they have are the single buttons. I really don't want to have three single buttons.
 
OP
C

ConcreteAce

Well-known member
Joined
Aug 25, 2012
Messages
46
Location
Spring Texas
Found a 3 button control panel for my garage http://www.liftmaster.com/lmcv2/pages/productmodeldetail.aspx?modelId=8112 hopefully that will work for my situation even though my garage openers are Genie.
Still have the peg board to put up and a shelf above the bench. Garage doors still need to be insulated. I have to run my wiring for the AC as well as the line set. Right now I am going through my many coffee buckets of bolts and transferring them to mason jars so that I can at least see what I have. I have also been slowing organizing the shelves. Its coming a long.
null-82.jpg

null-83.jpg
 

tjmonsen5

Well-known member
Joined
Oct 14, 2009
Messages
1,341
Location
Crystal Lake IL
Very nice garage! I like this, its more of a "realistic" garage, not a giant pole barn which I will never be able to build. I like getting ideas from garages like yours. It sure cleans up nicely!
 
OP
C

ConcreteAce

Well-known member
Joined
Aug 25, 2012
Messages
46
Location
Spring Texas
Thanks for the compliments! This has been a bigger project than I had first thought. I did get the main power supply and ac disconnect installed today. Luckily my main electrical box is on the same wall as the AC unit I only had to run 12ft of wire. I was real disappointed that the end fitting of the "AC Whip" I bought is bigger than the pre punched hole in the panel on the outside unit, I am not sure what to do about that yet.
Once it cools off today I will run the lineset from the garage.

This hole is at the bottom of the box in the garage.
null-91.jpg


Im not an electricion so I am not sure how this is supposed to be finished out but I caulked around the hole once I installed the conduit.
null-90.jpg


null-89.jpg

null-87.jpg


I made a big mistake here that I did not catch until before I put the cover on. I wired the disconnect up wrong the first time.
null-88.jpg


Good thing I checked before I closed it up. Now it is right.
null-84.jpg


Finished
null-85.jpg


I had a hard time removing the punched out tabs on the box, I am not sure if there is a tool for this or not, but I was really not pleased with the way the pipe fit in there.
 
OP
C

ConcreteAce

Well-known member
Joined
Aug 25, 2012
Messages
46
Location
Spring Texas
Well a little more progress. I still have not run the lineset for the AC yet. I should get to that in the next day or so. I have to have it done by Saturday.

I added some peg board behind my bench.
null-93.jpg
I also added some speakers for tunes and a power strip. I got my vice locked down as well.
null-94.jpg

null-95.jpg


My three button garage door control panel came in
Im glad this mess is gone.
the old single switches
null-80.jpg

The new and improved
null-92.jpg


also started hanging some VW garage art
null-97.jpg


My youngest son got me this for my birthday
null-96.jpg

And my daughters contribution
null-98.jpg


I have not decided if I want to do something VW/Car related to my peg board or really use it to hang tools like I did in my last garage.
here is a pic of my last garage
2010-10-07212616.jpg

2010-10-06223519.jpg

I do want to add a shelf about 12" from the ceiling. The problem with this work bench is that I poured it 2'9" wide for more room and I am only 5'7" and cannot reach the peag board very well. I wanted more working space though. Hence the reason for wanting something like a shelf up top. Plus My old peg board seemed so cluttered.

Now the bad news....This garage build has taken its toll on my emotions. I made a very costly mistake I was working on the garage with the doors open, and one of the coolest dogs I have ever owned got out and was killed. I am not sure what happened. I found him in my flowerbed next to the house. A good friend of mine thinks he was hit by a car and probably ran up to the flower bed and passed away. I bought the dog for my wife 6 years ago, but for some unknown reason he latched on to me. I know most everyone would not call him a man's dog he was after all a Poodle. I have had many of my friends laugh at me because he followed me everywhere, and would always jump in my lap when I would wind down in my chair in the evenings. He was a cool dog and he will be missed.
This is him and my daughter when we first got him
RIP Action Jackson Dunlap. I will miss you.
001.jpg

002.jpg

003.jpg

eb038.jpg

jackson.jpg
 

JCQuick

Well-known member
Joined
Nov 29, 2008
Messages
4,932
Location
Apopka Fla.
AWESUM garage make over.:thumbup: Love the VWs too.:3gears: sorry to hear about your dog small dogs are just as cool as big dogs :beer:
 

jpbrowni1

New member
Joined
Jun 24, 2011
Messages
3
Looking good Ethan. Do you mind taking some close up pictures of how you have you air filters mounted to your compressor? I have a similar compressor and filter/regulator stack that are currently connected by a hose.
 
OP
C

ConcreteAce

Well-known member
Joined
Aug 25, 2012
Messages
46
Location
Spring Texas
Looking good Ethan. Do you mind taking some close up pictures of how you have you air filters mounted to your compressor? I have a similar compressor and filter/regulator stack that are currently connected by a hose.


No problem. Here you go. On the left hand side I only have one water separator. This side is mainly used for general use (airing up tires ect) The right hand side I used one water separator and flowed it into another water separator that is also air pressure regulator and they dump into a desiccant air dryer. I set this side up so that I could spray primer on parts. I also have a inline desiccant filter on my gun.
null-102.jpg

null-101.jpg


This hose that you see going in the ceiling goes across the garage and hooks into a hose reel.
null-100.jpg

null-99.jpg


I was going to pipe it with PVC but It was less work using the hose. I got lazy:)
 

Flyguy30263

Member
Joined
Aug 30, 2012
Messages
10
New member here, first post. I joined so I could post in this thread. I'm really glad I stumbled onto this thread. Your Garage turned out great. I've been looking for an affordable ductless system and the one you bought looks like the ticket. I would like to know exactly which Arizona Polymer products you used. I went to their site and they have so many options I got a headache trying to figure out what would work best. One more question, how loud is your compressor? I recently finished a truck rebuild at my Dad's shop and the compressor would drive you crazy running all the time. I'm planning on putting mine outside so I can hear myself think. Thanks for sharing your outstanding transformation.
 
Last edited:
OP
C

ConcreteAce

Well-known member
Joined
Aug 25, 2012
Messages
46
Location
Spring Texas
I used their Granitex 2 Day System http://www.apfepoxy.com/colorchipflooring.asp

After initial prep I put down a coat of their pigmented epoxy 550
http://www.apfepoxy.com/productprofile.asp?od=5&cd=1

I did a heavy broadcast of their vinyl chips
http://www.apfepoxy.com/productprofile.asp?od=3&cd=8

Scraped, blowed and picked up all the excess chips and then applied two coats of their Polyurethane 100.
http://www.apfepoxy.com/productprofile.asp?od=1&cd=2

Their maybe better and cheaper systems out their, but I have had great success with their products.

My compressor is not very loud at all. I thought about mounting it outside as well but not because it was loud but because it takes up so much room.
 
To avoid these ads, REGISTER NOW!
Top Bottom