e-tek
Well-known member
Hey guys, I'm gonna repost some of the photo's from my Challenger build so I can share them with some publications. With any luck we'll get them published!
---------------------
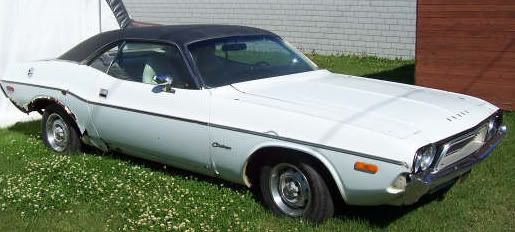
As I found it. A 2-owner 1974 Dodge Challenger, bought new in Saskatoon, SK and spending it's entire life on a farm just north of the city. The car had been driven to the very end of it's life (the current set of radials had belts and wires showing!),it's a true survivor, never having been in a major accident, never having had any major work done. At one point in it's life it was sprayed red, then returned to white, but during those repaints, no cut-and-patch rust work was ever done. As well, other than the M/T valve covers and an 030-over rebuild, the original drive train remained, including the pedestrian 318ci-2bbl mill running 230 HP, slapstick 727 ****** and the 8 3/4inch rear end - along with all the original smog equipement! 1974 was not kind to power palnts and although the real musclecar era was now over, the styles lasted a few last years. Interestingly, the 1974 model is the rarest of all, with production numbers dwindling to just over 11,000 units, from highs of over 77,000 units in 1970.


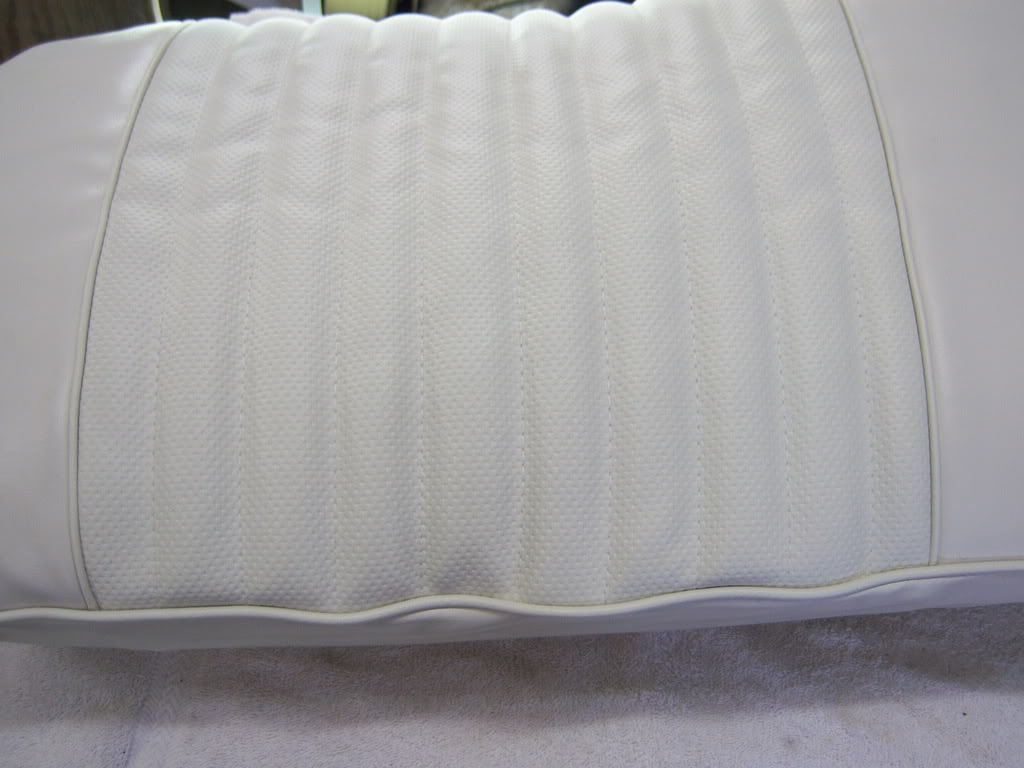
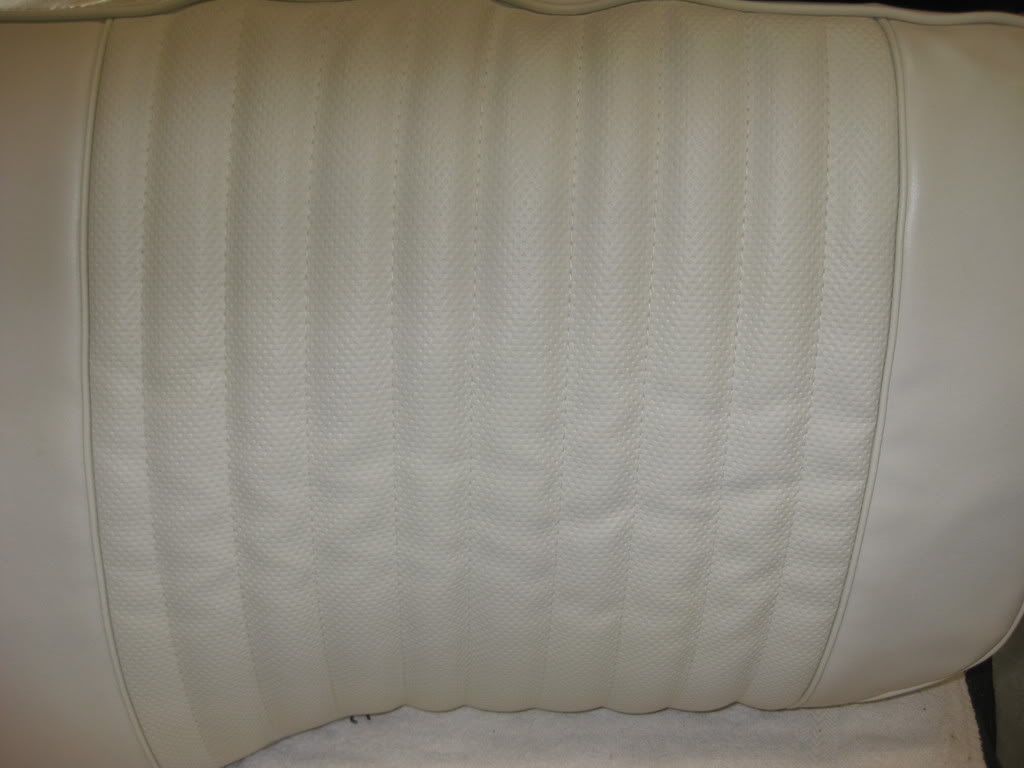
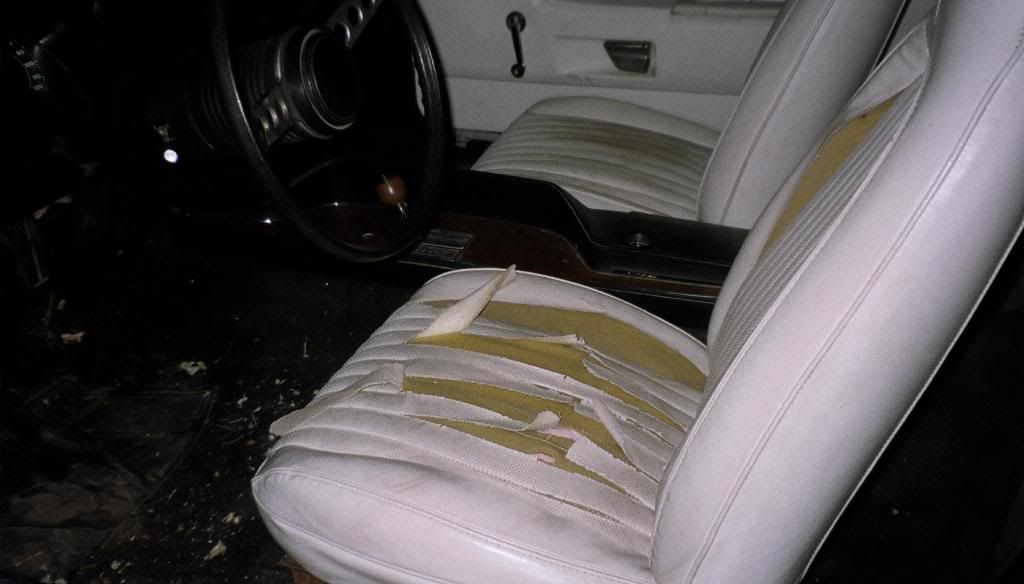
Of course the interior was "all original" too!
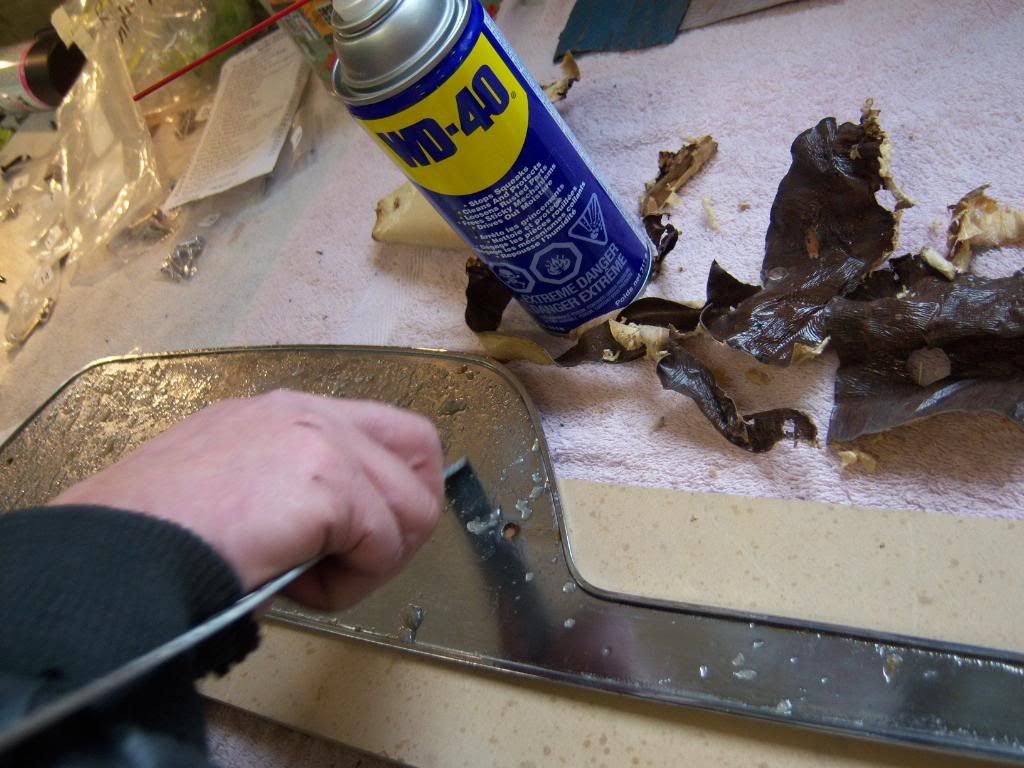
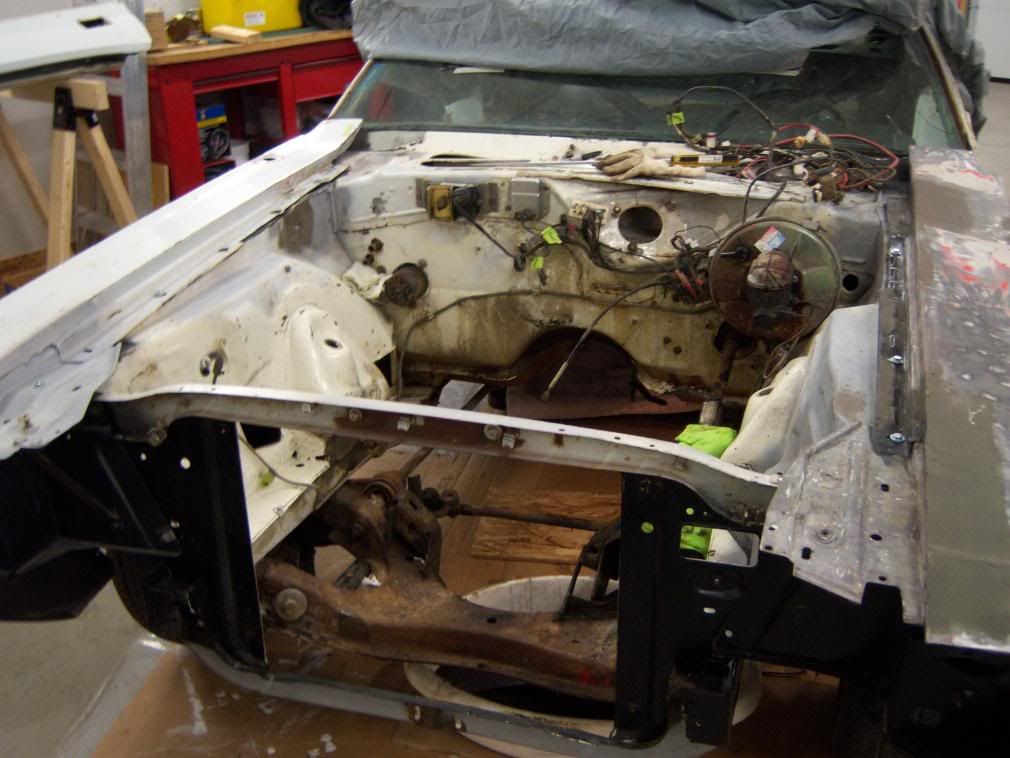
Teardown. Once I got it into the shop - under it's own power I should stess - I began disassembly in earnest. Everything was tagged, small items where bagged and photo's of everything where taken.

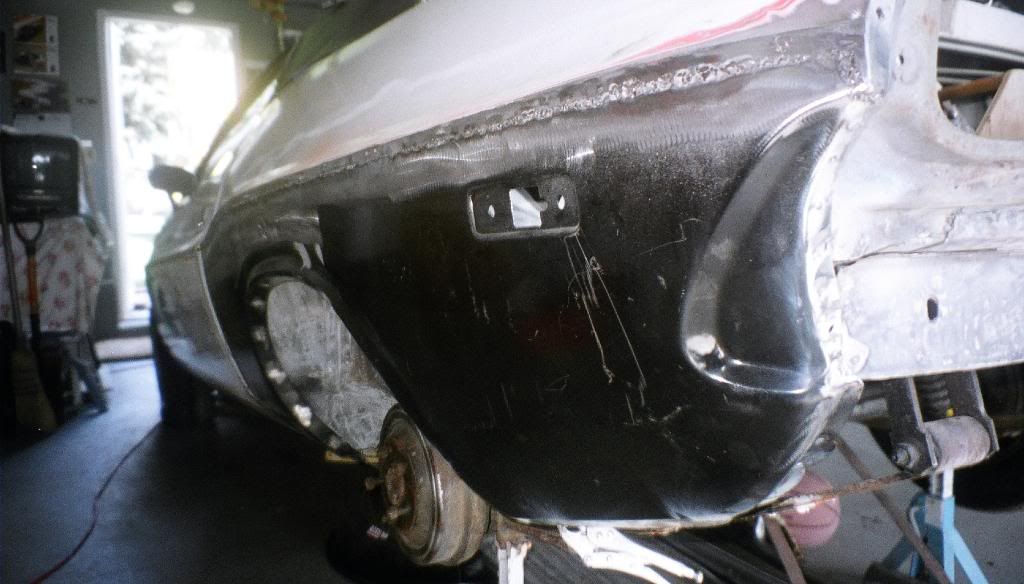
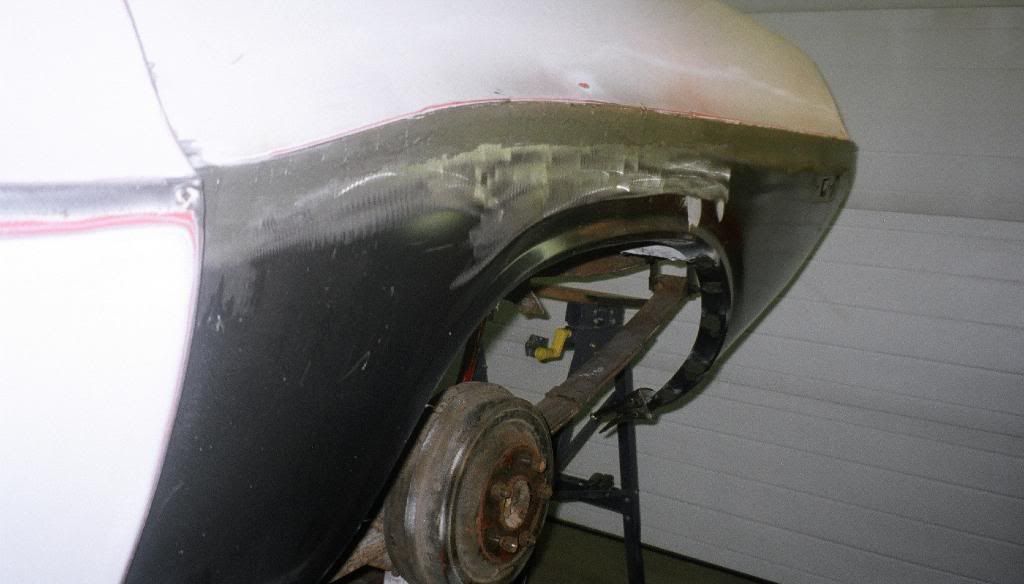
Cutting the quarters, the inner wheel houses, trunk drop offs and rockers. Having the new pieces aided greatly in seeing where to cut and where the edges where. Several splices where made, in order to maintain most of the original metal and for ease of installation.


Welding on the replacement panels. The most imporant part when replacing any sheet metal is to clamp everything together, with every other attaching panel - several times. Once everything was lined up and attachement points checked, I uses short sheet metal screws to attach it all, then re-installed the deck lid and doors to check gap spacings.
Drivers floor pan rusted through where the drivers foot rests. This is a common rust point and luckily has some fairly obvious cut points. All supports and parts left intact where sandblasted or ground down to clean metal, treated with MetalReady, a rust converter and then coated with POR 15 rust paint. Welding surfaces where coated with a Zinc weld-through primer.


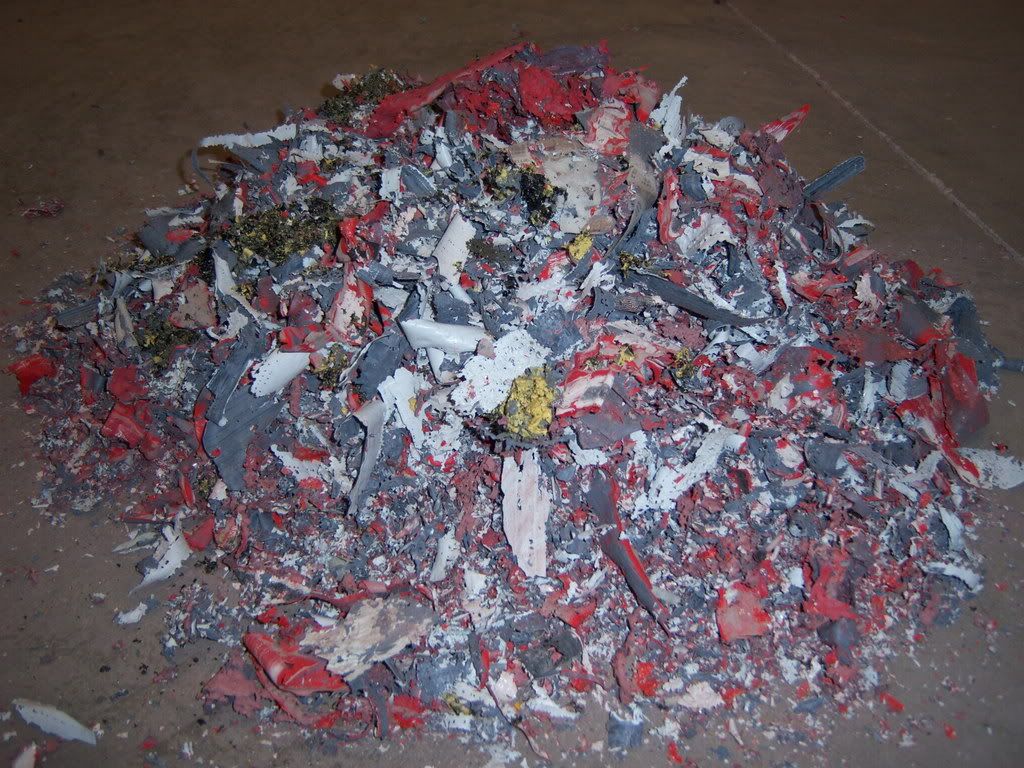
Stipping the paint - white, red, white...it's all gotta go!

And it did! Stripping was done with Aircraft Brand stripper. As each application removes about one coat of paint, 3 applications where required. After the stripper was all cleaned off, the remaining factory primer was remived with 80 grit on the DA sander. This left a nice surface for the application of etch primer.
Spraying Primer - Etch primer, then several coats of high-build primer set the base for the first round of block sanding. Adter the high-build cured, I used flat-black spray bombs for a guide coat. I have learned to find this step crucial as it allows highs and lows to be seen very easily. On my last application of high build, I tinted the last coat with a half-ounce of black which gave a similar, but much more uniform effect.

Getting to the engine. The original 318 mill was sent to a local rebuilder to check the surfaces and magnaflux the block and heads. All checked out, so I had them install the cam bearings and the valve seats. The rest I did myself. When I got the block bock from the rebuilders, I had it on the stand while I was installing all the frost plugs and when I turned it upside down to get at the last ones, I heard a slight clunking sound...upon further inspection, I find they had left a frost plug in the block. I had to remove two plugs from the rear to get it out as it was jammed near a cylinder sleeve. Although the rebuilder gave me a couple "free" plugs to repalce the onces I had to pry back out, they didn't take responsibility for the mishap.
The missed frost plug:

Honing the cylinders:

Chasing the threads:

Going back together - Pretty!
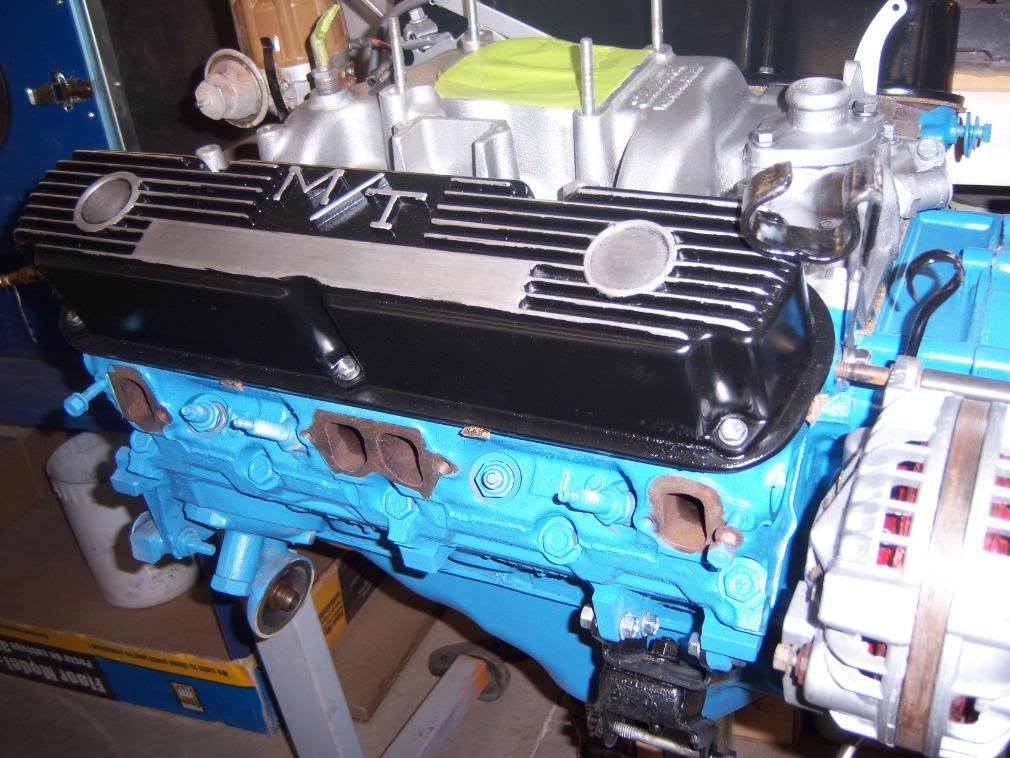
Original 2 barrel and manifold came off...period correct Thermoquad and Edelbrock Performer Intake went on.
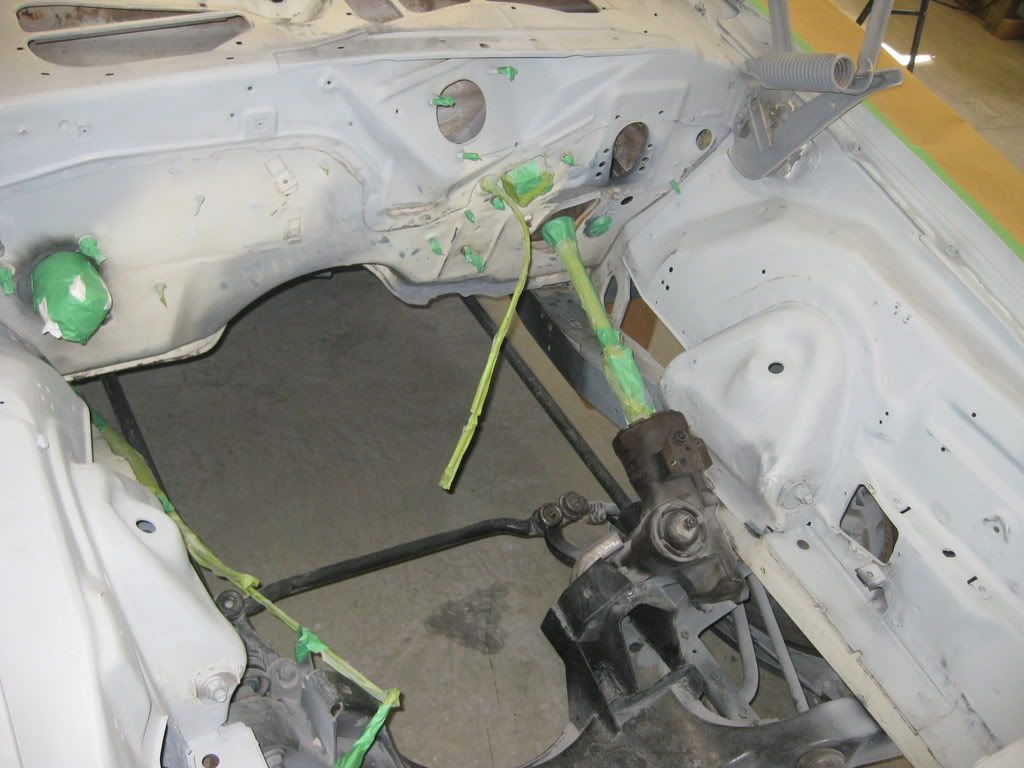
Final prep of the exterior:

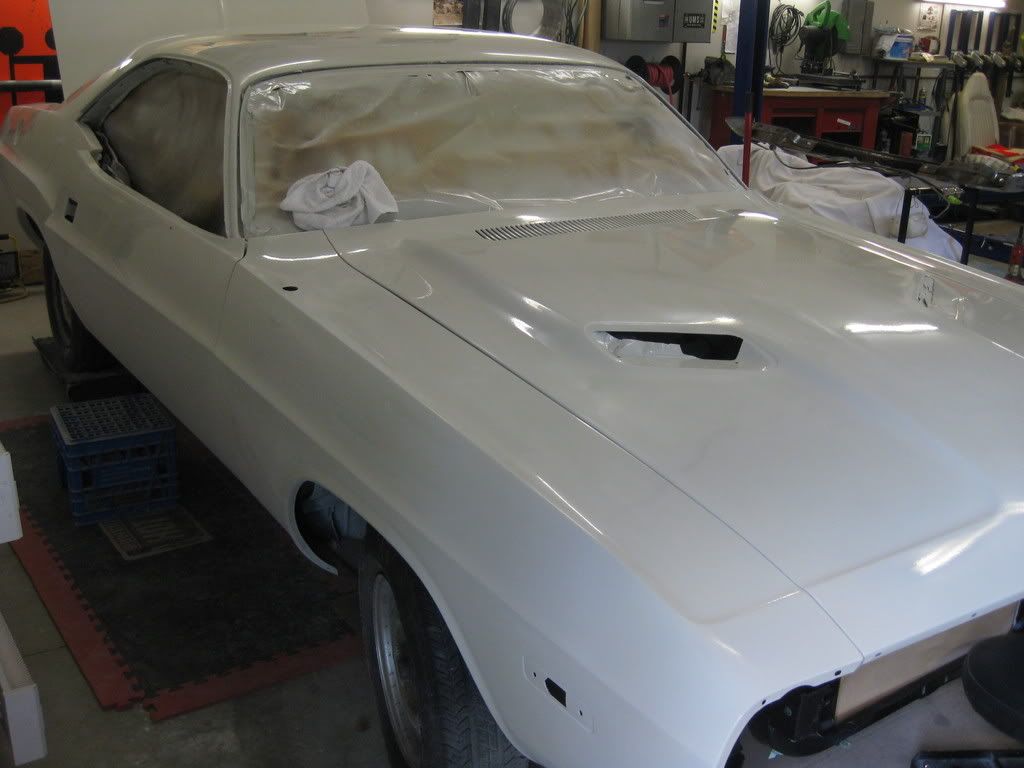
Finally painted. All done by myself in my home shop. I cordon off a 20 by 15 foot area with poly plastic hung from aircraft wire. A filter on one end allows air drawn in and my 1/3hp fan with reostat keeps negative pressure and clears out overspray.

Tail panel painted to match the original "Organosol" product, by mixing in a 10% flattening agent and spraying heavy.

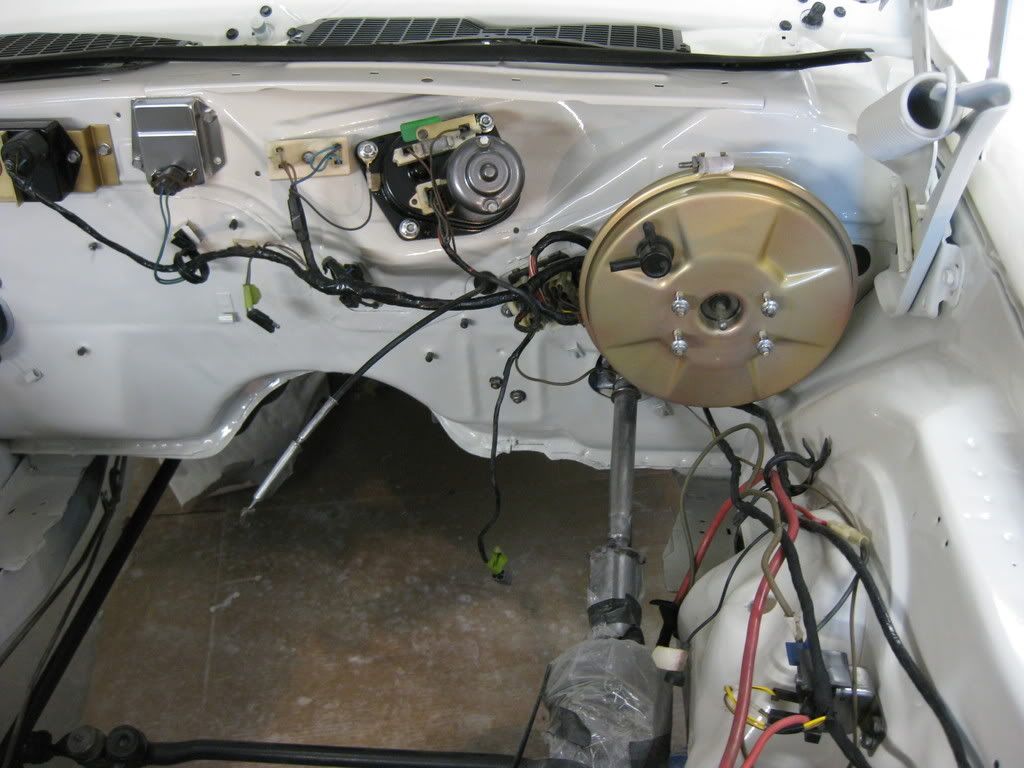
Engine on test stand awaiting run up and tune. By doing it this way I hope to save myself many hours of "over-the-fender" time, which could result in possible damage to the fresh paint.

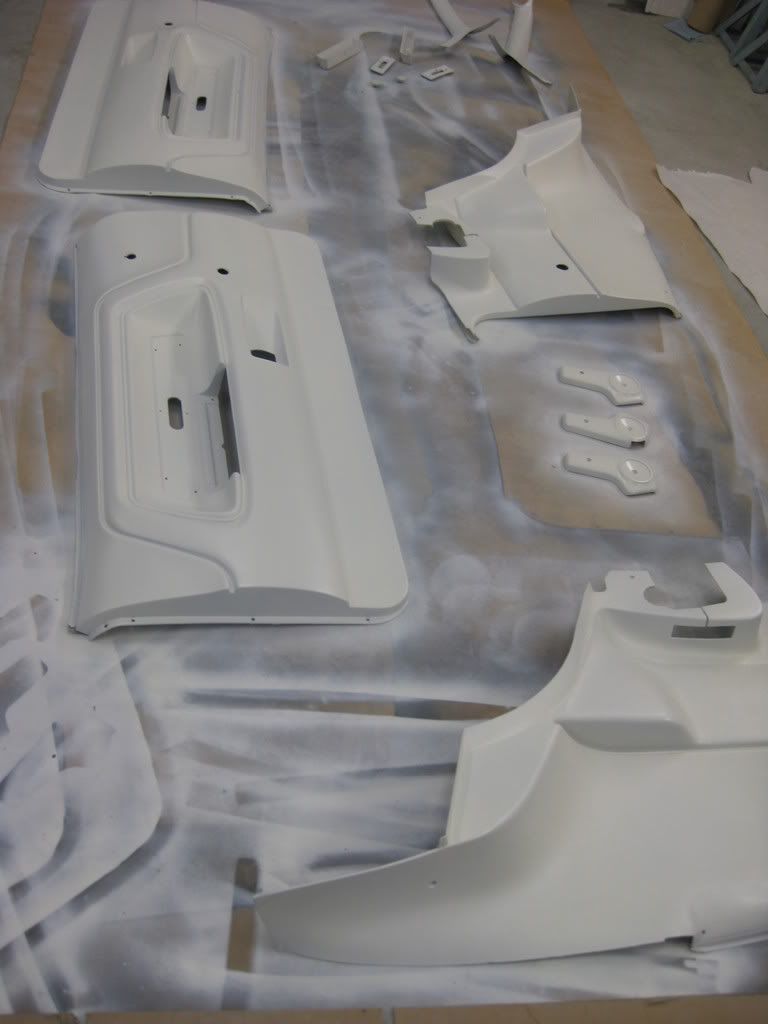
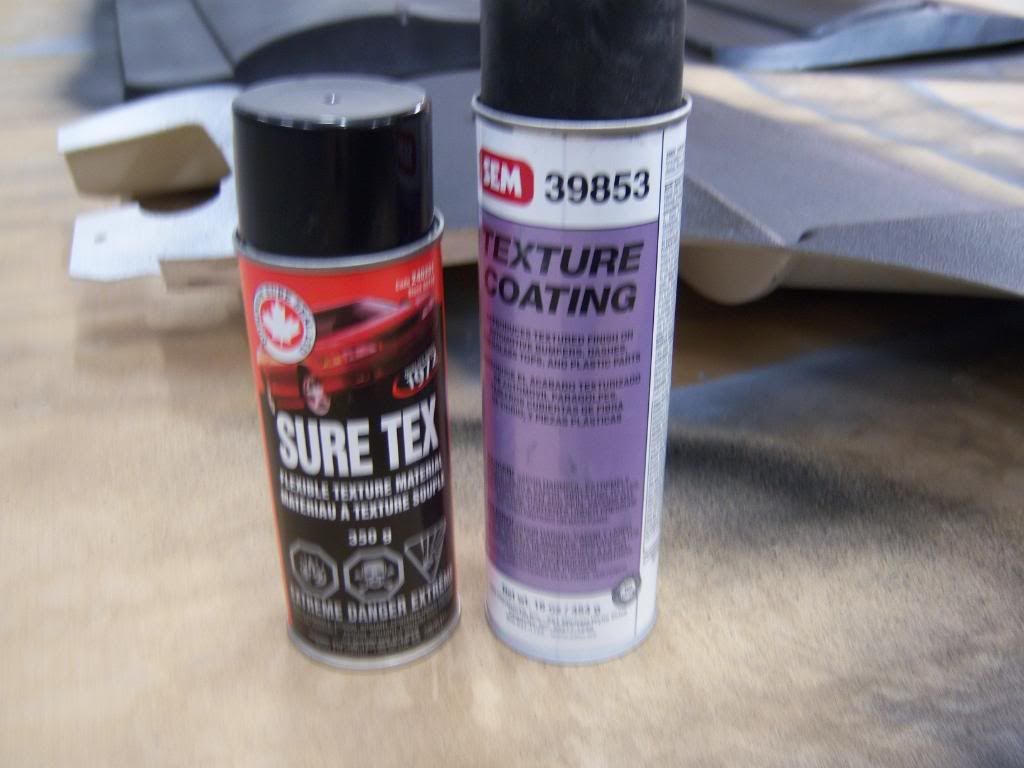
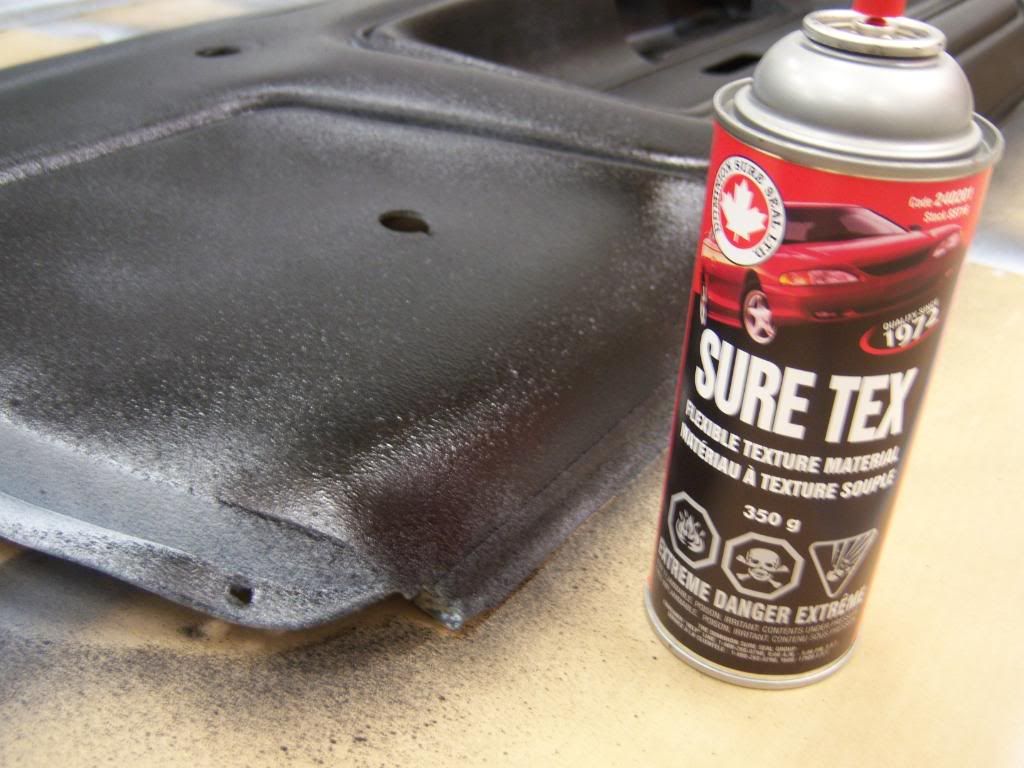
Re-texturing some interior pieces. Oddly, all texture spray comes in black. That's fine for dashed and consoles, a little trickier for white door panels!


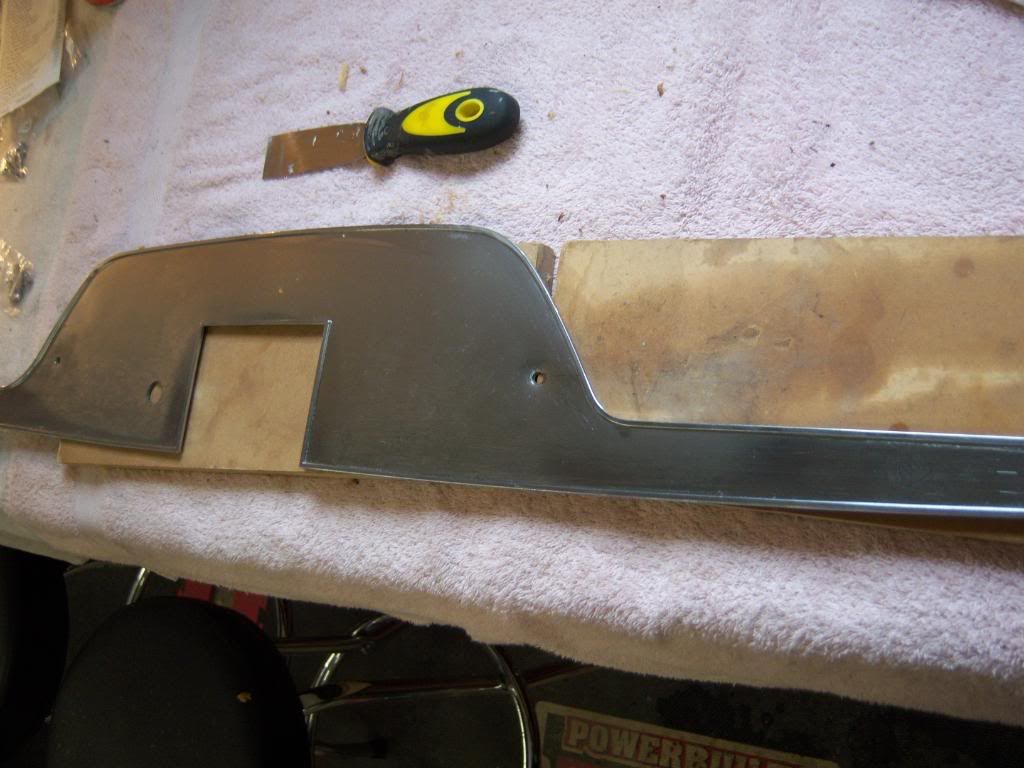
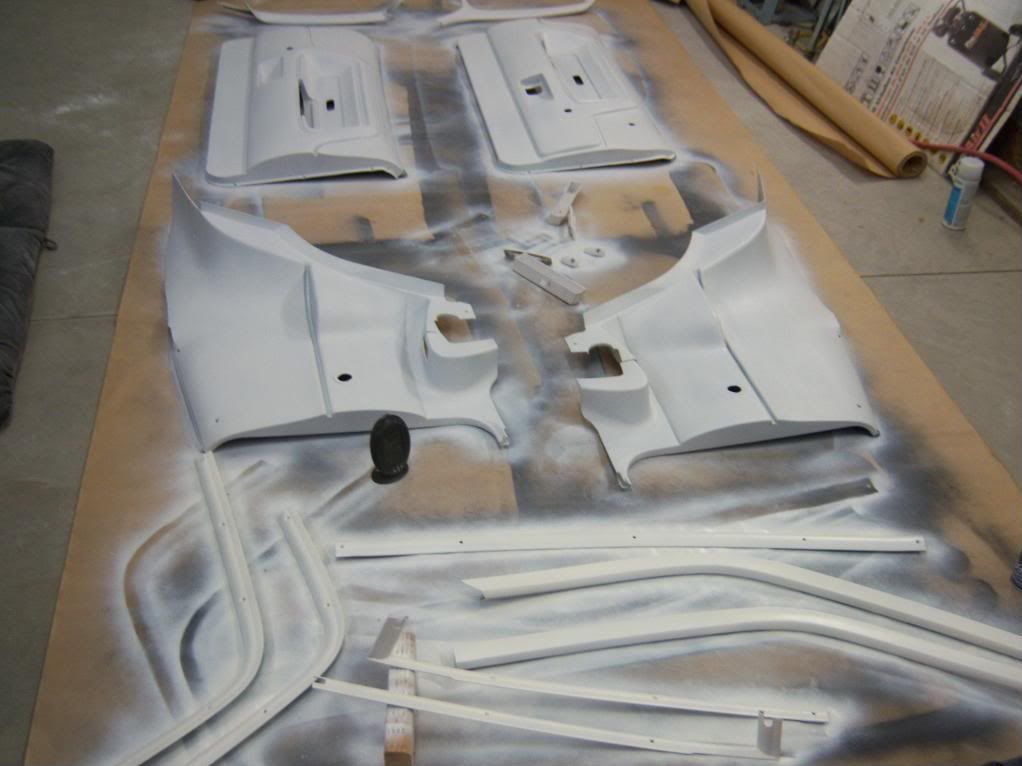
Trim all painted:
So that's where it stands right now. A couple more weekends to finalize the interior, which includes new carpet, seat upholstery, door panels, dash and headliner. Once that is done, I'll do a final cut and polish on the exterior and begin the clean up and replacement of the exterior pieces. A lot of late nights have brought me a long way - a few more might get it finished!!

---------------------
As I found it. A 2-owner 1974 Dodge Challenger, bought new in Saskatoon, SK and spending it's entire life on a farm just north of the city. The car had been driven to the very end of it's life (the current set of radials had belts and wires showing!),it's a true survivor, never having been in a major accident, never having had any major work done. At one point in it's life it was sprayed red, then returned to white, but during those repaints, no cut-and-patch rust work was ever done. As well, other than the M/T valve covers and an 030-over rebuild, the original drive train remained, including the pedestrian 318ci-2bbl mill running 230 HP, slapstick 727 ****** and the 8 3/4inch rear end - along with all the original smog equipement! 1974 was not kind to power palnts and although the real musclecar era was now over, the styles lasted a few last years. Interestingly, the 1974 model is the rarest of all, with production numbers dwindling to just over 11,000 units, from highs of over 77,000 units in 1970.
Of course the interior was "all original" too!
Teardown. Once I got it into the shop - under it's own power I should stess - I began disassembly in earnest. Everything was tagged, small items where bagged and photo's of everything where taken.
Cutting the quarters, the inner wheel houses, trunk drop offs and rockers. Having the new pieces aided greatly in seeing where to cut and where the edges where. Several splices where made, in order to maintain most of the original metal and for ease of installation.
Welding on the replacement panels. The most imporant part when replacing any sheet metal is to clamp everything together, with every other attaching panel - several times. Once everything was lined up and attachement points checked, I uses short sheet metal screws to attach it all, then re-installed the deck lid and doors to check gap spacings.
Drivers floor pan rusted through where the drivers foot rests. This is a common rust point and luckily has some fairly obvious cut points. All supports and parts left intact where sandblasted or ground down to clean metal, treated with MetalReady, a rust converter and then coated with POR 15 rust paint. Welding surfaces where coated with a Zinc weld-through primer.
Stipping the paint - white, red, white...it's all gotta go!
And it did! Stripping was done with Aircraft Brand stripper. As each application removes about one coat of paint, 3 applications where required. After the stripper was all cleaned off, the remaining factory primer was remived with 80 grit on the DA sander. This left a nice surface for the application of etch primer.
Spraying Primer - Etch primer, then several coats of high-build primer set the base for the first round of block sanding. Adter the high-build cured, I used flat-black spray bombs for a guide coat. I have learned to find this step crucial as it allows highs and lows to be seen very easily. On my last application of high build, I tinted the last coat with a half-ounce of black which gave a similar, but much more uniform effect.
Getting to the engine. The original 318 mill was sent to a local rebuilder to check the surfaces and magnaflux the block and heads. All checked out, so I had them install the cam bearings and the valve seats. The rest I did myself. When I got the block bock from the rebuilders, I had it on the stand while I was installing all the frost plugs and when I turned it upside down to get at the last ones, I heard a slight clunking sound...upon further inspection, I find they had left a frost plug in the block. I had to remove two plugs from the rear to get it out as it was jammed near a cylinder sleeve. Although the rebuilder gave me a couple "free" plugs to repalce the onces I had to pry back out, they didn't take responsibility for the mishap.
The missed frost plug:
Honing the cylinders:
Chasing the threads:
Going back together - Pretty!
Original 2 barrel and manifold came off...period correct Thermoquad and Edelbrock Performer Intake went on.
Final prep of the exterior:
Finally painted. All done by myself in my home shop. I cordon off a 20 by 15 foot area with poly plastic hung from aircraft wire. A filter on one end allows air drawn in and my 1/3hp fan with reostat keeps negative pressure and clears out overspray.
Tail panel painted to match the original "Organosol" product, by mixing in a 10% flattening agent and spraying heavy.
Engine on test stand awaiting run up and tune. By doing it this way I hope to save myself many hours of "over-the-fender" time, which could result in possible damage to the fresh paint.
Re-texturing some interior pieces. Oddly, all texture spray comes in black. That's fine for dashed and consoles, a little trickier for white door panels!
Trim all painted:
So that's where it stands right now. A couple more weekends to finalize the interior, which includes new carpet, seat upholstery, door panels, dash and headliner. Once that is done, I'll do a final cut and polish on the exterior and begin the clean up and replacement of the exterior pieces. A lot of late nights have brought me a long way - a few more might get it finished!!
Last edited:
")