To avoid these ads, REGISTER NOW!

Fancy Floor Jack restoration (Blackhawk SJ18)

don long

Well-known member
Joined
Mar 31, 2012
Messages
8,856
Location
southern california
I'm far enough along to start this thread on restoring my SJ18 jack
I found it in Salt Lake City Utah one night while surfing the internet.I called my Daughter who lives up there and she and my SIL ran out and picked it up for me.
She called mr the next day to tell me that a friend of theirs was bringing it to me in So Cal that weekend. She's a great gal.
I got the jack and put it in my shop. I've been looking at this project for the last 9 months and finally put it up on the bench and got started taking it apart

2022-07-03 13.21.53.jpg

It was in pretty good shape so the first thing I did was to take the Blackhawk cover off and found that the previous owner started cleaning the jack up.
I pulled the top plate of the off and to my pleasant surprise, I found the teardown sheet and a partial repair kit inside
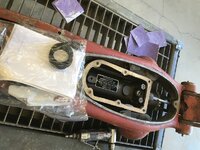
2022-07-04 14.10.35.jpg2022-07-04 14.12.20.jpgNow I'm armed and ready to attack.
I started at the top end of the handle and working my way down. The top knob was easy to pop off and I got lucky when the retainer spring jumped into my shirt pocket when I pushed a punch through the release hole and pulled up on the knob. I was on my way

2023-02-27 13.45.21.jpg

With the rods free at the top of the handle I went sown to the hinge and took both pins out of the handle

2023-02-27 13.55.22.jpg

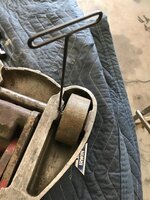
Now the handle is free but the control rods are still connected at the base of the jack. To get them loose the trigger held the larger rod so I freed the trigger and that freed the rod and I pulled it out of the shaft . Next I pulled the handle shaft upward until the smaller rod was completely exposed.

2023-02-27 13.56.39.jpg
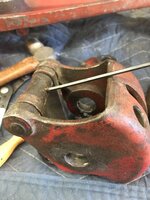
The small rod was my next focus. The handle hinge is holding the rod from coming out so I lowered the hinge until I could see what was keeping the rod from coming free. What I saw was a little confusing. There were no screws to loosen and no evidence of a pin to drive out.

2023-02-27 14.01.36.jpg

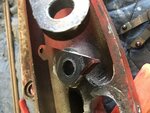
After a long examination I realised that the ring in the groove was the issue. It had to come out of the groove to let the pin holding the knuckle fall out

2023-02-27 16.53.07.jpg
2023-02-27 16.53.36.jpg
 
To avoid these ads, REGISTER NOW!
OP
D

don long

Well-known member
Joined
Mar 31, 2012
Messages
8,856
Location
southern california
The other 1/2 of the knuckle was much easier to handle, it pulled right out and knowing how it comes apart it was a snap

2023-02-27 14.04.05.jpg

2023-02-27 14.02.33.jpg

The handle hinge was my next focus and that was very easy to remove

2023-02-27 14.01.28.jpg

It was being held by the 2 straps attached to the pump ram and a 3"x1/2" pin and a spacer. when I turned the spacer I found an allen screw holding everything together

2023-02-27 16.45.49.jpg

The pin was grooved for the allen screw to hold it in place and with the screw gone the pin slid out the side no problem

2023-02-27 16.47.40.jpg

The other end of those bars were held to the ram with snap rings so it was easier to release them first. Giving me full access to the hinge.

With the back end of the jack removed I went after the wheels next. The back wheels were held in by a screw through the body of the jack on either side

2023-02-27 15.11.47.jpg

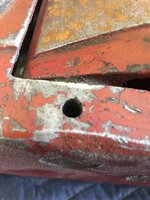
THe front wheels were riding on one shaft and that shaft was held in place by another set screw on the left side on the bottom of the jack body

2023-02-27 15.21.09.jpg


Now that the wheels are now away from the frame I went to the front of the jack to see what it would take to pull off the lift plate.
 

Attachments

  • 2023-02-27 16.53.36.jpg
    2023-02-27 16.53.36.jpg
    182.6 KB · Views: 16
Last edited:
OP
D

don long

Well-known member
Joined
Mar 31, 2012
Messages
8,856
Location
southern california
The lift plate was held on by one set screw on a knuckle of the lifting arm

2023-02-27 15.22.52.jpg
With the screw out the plate lifted out no problem. So next was the knuckle. Like the rear knuckle the front wes held on with an allen screw in the center of the housing holding the pin from moving side to side on the lifting arm. there are 2 pins in this knuckle. The second pin holds the support arem to the knuckle to make it pivit when the arm is raised

2023-02-27 15.32.14.jpg
The support bars are held in place with snap rings at the knuckle and fancy pins that go through the body and have small push fingers that bring the lift arm down when the pressure is released and all that is held in place with another snap ring.

2023-02-27 15.43.10.jpg

With all that the front and rear of the jack is apart so the lift arm is next and it only has one shaft that it rides on and to my surprise the holding screw is on the top of the jack on the right side of the lifting arm.

2023-02-27 15.24.19.jpg

And with that screw removed the shaft had to be driven out of the body. Then the lift atm lifts out leaving the push arm coming from the hydraulic pump and it is just sitting in the nose of the pump.
The only piece left in the body of the jack is the pump and it was held in by 4 bolts and on 2 of the bolts are the springs that pull the arm down when the pressure of the pump is released (sorry forgot to shoot that) but here is the brains of the jack

2023-02-27 18.15.49.jpg
 
Last edited:
OP
D

don long

Well-known member
Joined
Mar 31, 2012
Messages
8,856
Location
southern california
Now for the fun stuff.

With the body of the jack stripped it's time to make it pretty again so first I stripped tha paint off the body using an 80 grit grinding disc on my die grinder. Before going too far I hit the area where I started grinding with my 80 grit sand paper and my pistol grip air sander to be sure that the grinder marks would sand out and they did so I continued grinding until all the paint was gone and the few knicks on the body were feathered out as well as possible. Then I ran the sander over the entire body to get it smooth. The few places that didn't feather out were filled with bondo and sanded smooth.
2023-03-06 13.18.51.jpg

2023-03-06 13.18.56.jpg

2 pieces of this jack are the focal points The lifting arm and the pump cover. I want them to stand out so I thought they should be smoothed out and chromed. First I tackled the lifting arm. Grinding away all the casting marks and sand pits. First with the die grinder for the ruff cut then the pistol grip sander with 3 different grits to make the piece super smooth.
This shot was taken before I was finished sanding with 80 grit paper

2023-02-27 18.01.28.jpg

Next I went after the pump cover. It had several dents in it. I took a hammer and dolly to it and smoothed out the dents. Then with my metal file and pick I worked out the finer dings until I was satisfied that it would look good I then took my small sander and worked out the deep gouges left by the file I decided to send some parts to the chrome shop for some nice bling and that included the lift pad. I ground on it for a while to make it smooth .
Each piece has been sand blasted, smoothed and polished to make the jack a slick looking piece
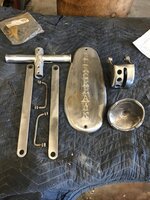
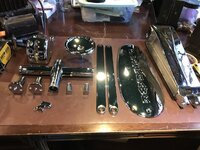
Here are all the parts after cleaning and polishing

2023-02-28 17.41.36.jpg
 
OP
D

don long

Well-known member
Joined
Mar 31, 2012
Messages
8,856
Location
southern california
There are 2 pieces missing from that pile.
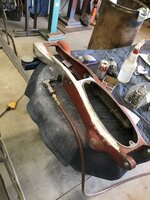
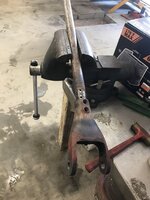
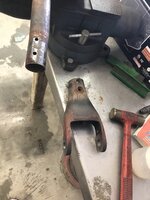
The jack handle is not there because I hadn't finish stripping it. The bottom of the handle has a larger hinge piece that I couldn't get off with out a fight

2023-03-15 12.26.35.jpg

With a lot of heat, a squirt bottle and a big hammer I won the fight

2023-03-15 12.26.48.jpg
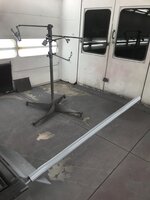
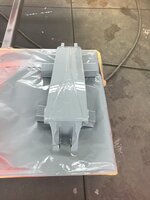
Giving these 2 parts the same treatment as the others and it is time to put all of them in the paint booth for some primer

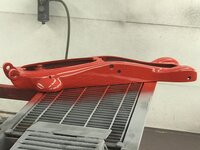
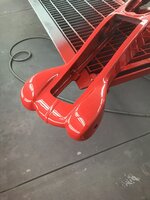
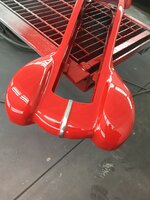
2023-03-16 18.20.53.jpg2023-03-16 18.21.07.jpg2023-03-16 18.21.19.jpg

A lot of sanding a second coat of primer and more sanding and the parts went back into the booth for some color

2023-03-20 18.06.32.jpg
2023-03-20 18.07.02.jpg
2023-03-20 18.07.23.jpg

Did I mention that I wanted the center arrow to be chromed? well that meant that the line on the nose of the jack needs to shine also so I gave it some love before painting and now I can pull the tape and get an idea of how it will look all shiny

2023-03-20 21.58.57.jpg

Now we will have to wait til I get the chrome back from the plater and I've ordered a complete overhaul kit for the pump so we will see which one comes first

To be continued
 
Last edited:

Offcenter12

Well-known member
Joined
Feb 3, 2018
Messages
151
Location
Seattle
Criminys Don, you make that stuff too nice to use! Great job as always. How goes the cabover?

John
 

LXCam

ALLIANCE MEMBER
Joined
Apr 23, 2013
Messages
19,199
Location
AZ
Now that's style. I can't wait to see the finished product.
 
OP
D

don long

Well-known member
Joined
Mar 31, 2012
Messages
8,856
Location
southern california
Criminys Don, you make that stuff too nice to use! Great job as always. How goes the cabover?

John
Thanks John
The cabover is still in the shop so that's a good thing
There's more style in this old jack than probably anything built since. Fantastic save👍
You are soo right Jack
Now that's style. I can't wait to see the finished product.
Cam
I'm working on it but being held up by my vendors!!!
 

no704

Well-known member
Joined
Apr 27, 2016
Messages
5,229
Nice job on the write up and photos. Must be nice to have a paint booth!
 
  • Like
Reactions: LSU
OP
D

don long

Well-known member
Joined
Mar 31, 2012
Messages
8,856
Location
southern california
Nice job on the write up and photos. Must be nice to have a paint booth!
Thanks 704
The booth was a lucky find on Craigs list and coming from the collision industry I have a good friend that has a spray booth company and he sent his crew over on a weekend to put it up for me. It makes working in my shop much more fun
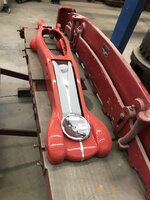
Boy Don, that red is popping! Awesome work!
Thanks MP&C
I couldn't be happier with the way that jack body looks. I'm anxious to get the rebuild kit for the pump and the chrome back from the plater
So I can finish it and get it out with the rest of this display
_81A1344 (Large).jpg
 
OP
D

don long

Well-known member
Joined
Mar 31, 2012
Messages
8,856
Location
southern california
Thanks Key

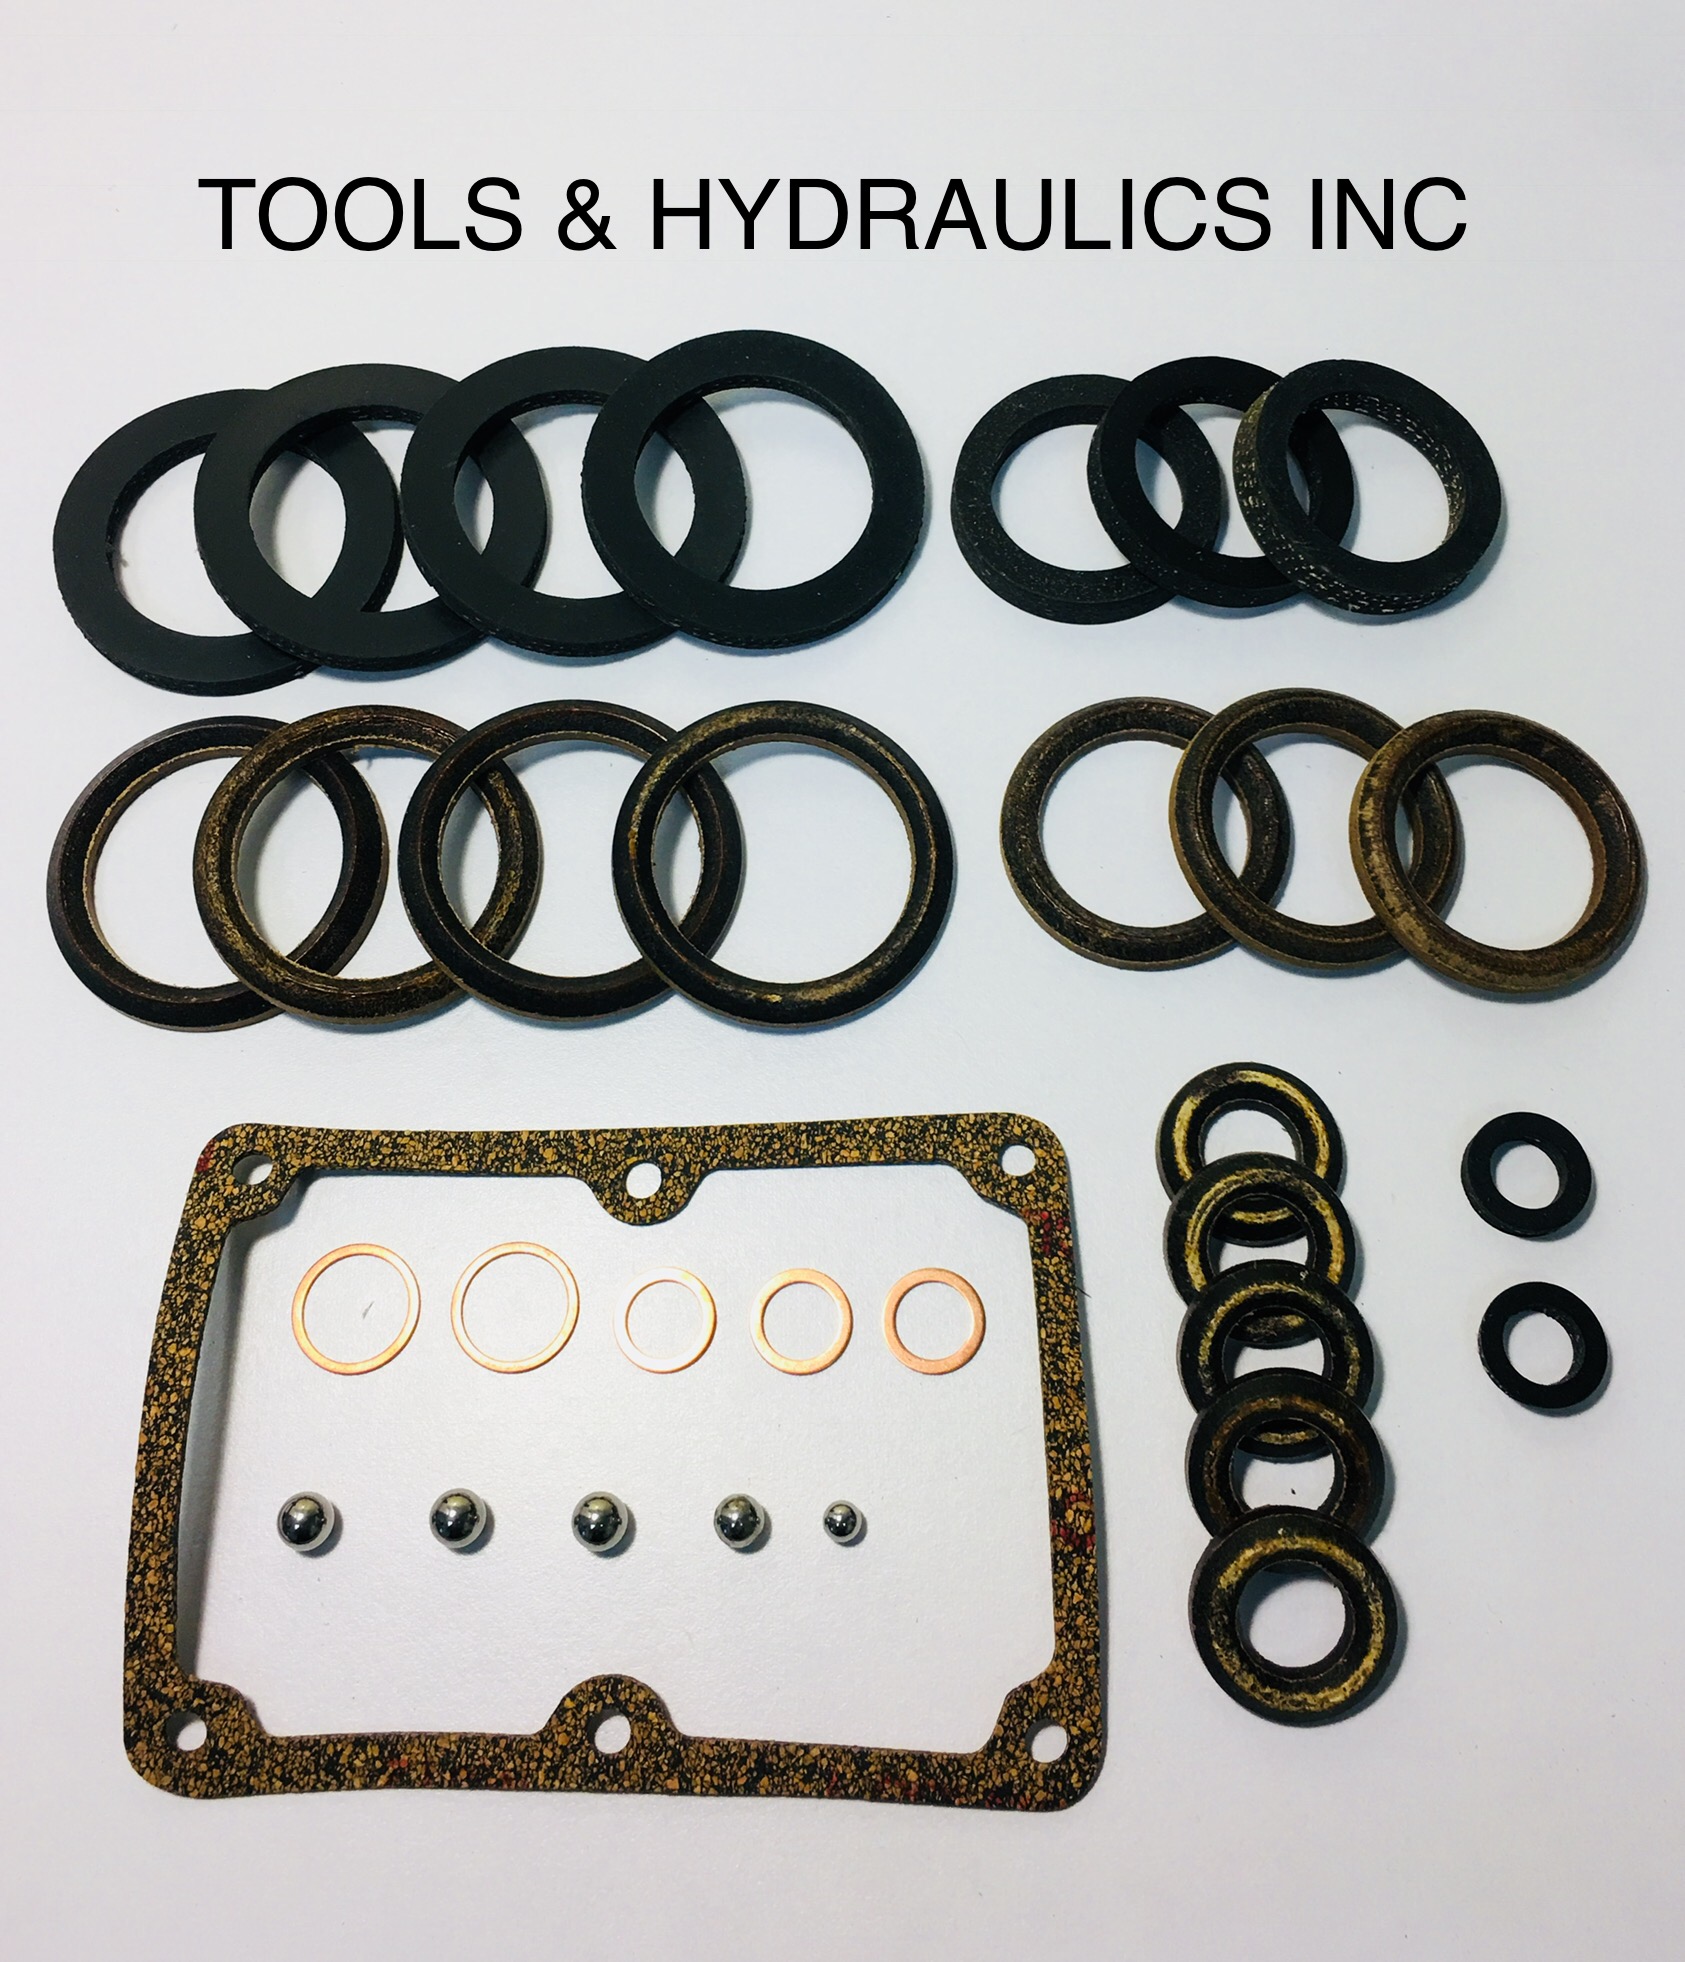
Today I received the repair kit for the SJ18 so I went to work rebuilding the pump.
IMG_2540.JPG
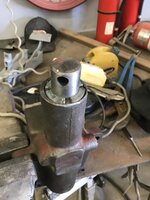
I tackled the lifting ram first. I pulled the nut off the front of the pump using a punch and light hammer
2023-03-21 13.13.37.jpg
2023-03-21 13.15.35.jpg
Then I pulled the ram out of the pump so I could get to the packings
2023-03-21 13.18.35.jpg
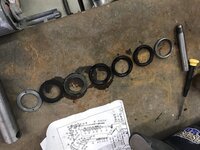
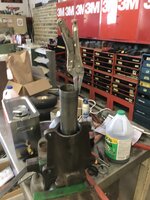
As I pulled each piece out of the pump I placed them in the order they came out so I could match them with the new ones and replace them in the proper order
2023-03-21 13.26.23.jpg
Setting all the parts out of the package and in order as per the layout I was able to choose the correct parts and match them with the old ones.
IMG_2547.JPG

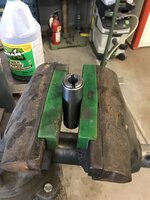
Next I went after the packing inside the ram and followed the same procedure

2023-03-21 14.01.45.jpg

Reversing the order I soaked the packings in hydraulic oil and put the ram back together.
IMG_2548.JPG

IMG_2549.JPG

Then put the ram back into the pump and the front 1/2 of the pump was finished.

Looking at the pumping end of the pump I'm thinking that this end may cause some problem. So I stopped for the evening to find the other half of the repair chart which has come up missing.
Fortunately I took a picture of it and put it in my computer so I'll print it out for tomorrow.
IMG_2553.JPG
 
Last edited:

Steve from Socal

Well-known member
Joined
Jan 27, 2009
Messages
3,509
Location
Hutchinson Ks.
Don,

Fantastic work as usual, do you know if the supplier of your rebuild kit would have a kit for a S-14?

I have an S-14 and have not had any luck with support for that model?
 
To avoid these ads, REGISTER NOW!

jjeffries

Well-known member
Joined
Sep 7, 2013
Messages
91
A floor jack styled with the same care as a locomotive or vehicle. And what skill must have gone into making the tooling to cast that main frame/body? Amazing.

John
 
OP
D

don long

Well-known member
Joined
Mar 31, 2012
Messages
8,856
Location
southern california
Well the day started out pretty good , but by the end of the day I have more work to do than I wanted.

While working on my El Camino bumper brackets a friend dropped in to visit. He bumped the table and a bracket fell off and hit the nose of the jack putting a big chip over the left front wheel, Now I'll be repainting the pretty jack again

IMG_2600.JPG
 
OP
D

don long

Well-known member
Joined
Mar 31, 2012
Messages
8,856
Location
southern california
I'm expecting the chrome back any day now so I went ahead and reshot the jack body to repair the big chip and there was also a run in the lower handle piece that needed addressing so now all that is done and I'm anxiously waiting to put the jack back together and get it into the party garage
 
OP
D

don long

Well-known member
Joined
Mar 31, 2012
Messages
8,856
Location
southern california
We are back in full swing on this project. Now that the chrome is back there is a little body work that still needs to be done. I sent the cover plate out to the chrome shop before I finished straightening it because the bondo wouldn't stay while in the chrome tank.
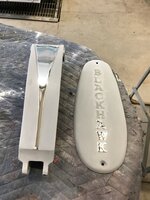
Well now that it's back it's time to finish it. The only part of the cover plate that will be shinny chrome is the letters BLACKHAWK so I masked them off.

IMG_2727.JPG

Then I sanded the chrome with an 80 grit disc and gave it a coat of bondo to fill the small imperfections left in the cover.
A little block sanding and the cover is ready to get primed

IMG_2730.JPG

Next up is the lifting arm. It too has too much chrome on it so I proceeded the same way. First I masked the arrow on the top of the arm

Note (my office cieling is green and the chrome picked it up well last night as I sat at my desk and masked up the pieces)

IMG_2728.JPG

You can see the small pitts showing in the chrome. I told the plater not to work about those areas only the arrow because I plan to paint that area. So today a grinder removed the excess chrome and a light coat of bondo was applied to fill those bad spots

IMG_2729.JPG

A little more sanding and off to the spraybooth the 2 pieces went today for primer

IMG_2733.JPGIMG_2734.JPG
 
OP
D

don long

Well-known member
Joined
Mar 31, 2012
Messages
8,856
Location
southern california
I was able to spend a little time in my shop this afternoon so I played with the jack parts a little.
Now that the primer is dry on the last 2 pieces I sanded them and pulled the tape off to get an idea of what the parts will look like after painting them. I like what I'm seeing with the new chrome on them

IMG_2765.JPG

I had to stop working for dinner so I finished pulling the tape on the cover this evening at my desk
A little clean up around some of the letters and I think I'm liking the new look for the jack

IMG_2776.JPG
 

IndyGarage

Well-known member
Joined
Apr 29, 2010
Messages
9,738
Location
Indy
Awesome. Personally I do not have the patience to work on tools like you do, but I appreciate there are folks like you that do it.
 
  • Like
Reactions: LSU
OP
D

don long

Well-known member
Joined
Mar 31, 2012
Messages
8,856
Location
southern california
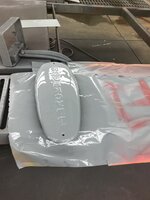
Finished painting all the parts for the jack so on friday when all the paint is good and dry I hope to be putting this jack back together.

Here are some progress shots.
Before painting the lift arm

IMG_2809.JPG

Tha arm painted

IMG_2933.JPG

The pump cover before paint

IMG_2777.JPG

After paint

IMG_2934.JPG

Now to put the jack back together with all the chrome!!! I can hardly wait to see what it will look like.
 
Last edited:
OP
D

don long

Well-known member
Joined
Mar 31, 2012
Messages
8,856
Location
southern california
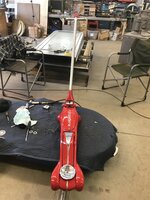
Well here it is ready to go into the party garage after a little tweaking in the morning.

This is how my morning started out

IMG_2936.JPG

By noon the jack looked like one

IMG_2938.JPG

The rest of the day I fought with the handle. getting one thing fixed and then something else fell out of place until this last time putting the handle together again
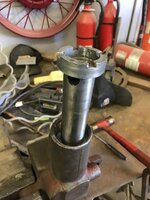
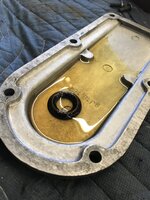
IMG_2939.JPG

IMG_2943.JPG
 
To avoid these ads, REGISTER NOW!
Top Bottom