Ok, back to the house garage. Today, I decided to insulate the garage doors. After insulating the walls, drywalling and painting it, I felt this would only make sense.
I went to Lowes and bought 4 sheets of this
3/4" x 4 x 8.
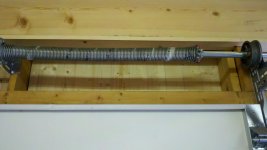
to put on these
The first door all done. I cut each panel 20 1/4" x 53" which allowed me to bend the panels into place but still have a somewhat tight fit. I didn't want them moving all around when the doors go up and down.
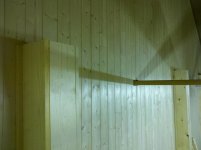
I used the leftover pieces to do the second door and was pleasantly surprised at how it turned out. I was afraid it would looked pieced together.
I used small pieces and wedged them into the frame to secure the panels even more.
It really cleaned up the look of the doors and kinda matches the diamond plate on the lower walls.
Added benefit of reflecting any and all available light is a nice plus, too!!


 But I'm off this weekend


