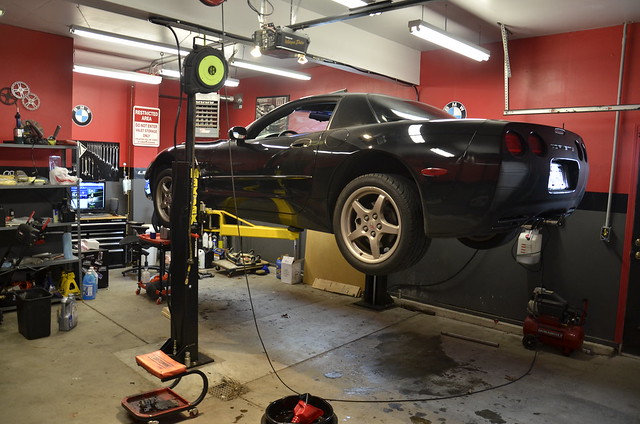
I had not really done any cleaning or improvements to the garage itself in over 2 years, so I finally made time to perform some work that I'd been wanting since we had moved in. The concrete floor was physically in good shape with only very minimal pitting but the constant work on other cars had left lots of stains and oil all over the place. My good friend works for a floor repair contractor, so it was a no brainer to use his experience in getting the floor coated.
Friday night: clean, scrub, degrease, then bust out the diamond grinders. One large unit for big surface area and I ran the smaller one for corners and edges.

Pre/post grind


The amount of dust, even with a full size industrial vacuum running, was insane. Even with a respirator, eye protection, and double hearing protection I was feeling it after the job. Next time: use kneepads!

Being as my garage is a "working" space, I opted for an "industrial" color/flake pattern, to hopefully hide some of the future scars from dropping tools and parts.

Saturday morning:
After much vacuuming and sweeping we filled some small cracks.

Then came set up of the mixing station and equipment for base coat. Cut in edges, squeegee open areas, backroll, repeat. We had to move quickly due to the fast cure time of the material, but it went well.

The custom stainless baseplate for the MaxJax lift was taped off to leave a nice sharp edge. I'll be hitting it with a wire wheel after the floor has cured to give the stainless a nice shine against the contrast of the floor. The garbage bag in the middle is protecting the floor drain.

While I finished up backrolling the front of the floor from the driveway, the man in the spiked shoes began the "broadcast of the flake system" (lots of lingo in the flooring industry). Notice how filthy the walls look I'll need to scrub those!

Sunday was flake vacuuming, scraping, and vacuuming. Then the topcoat (clear) went down.
Final product:


Over the next few weeks I'll be painting the lower part of the foundation/concrete with a gray masonry paint to hide that last bit of exposed stone, washing the walls, and thinking about a new cabinet/storage system to hold all my stuff.
Maybe I'll wrap my C5 in a "Digital Camo" to match the floor...

Friday night: clean, scrub, degrease, then bust out the diamond grinders. One large unit for big surface area and I ran the smaller one for corners and edges.
Pre/post grind
The amount of dust, even with a full size industrial vacuum running, was insane. Even with a respirator, eye protection, and double hearing protection I was feeling it after the job. Next time: use kneepads!
Being as my garage is a "working" space, I opted for an "industrial" color/flake pattern, to hopefully hide some of the future scars from dropping tools and parts.
Saturday morning:
After much vacuuming and sweeping we filled some small cracks.
Then came set up of the mixing station and equipment for base coat. Cut in edges, squeegee open areas, backroll, repeat. We had to move quickly due to the fast cure time of the material, but it went well.
The custom stainless baseplate for the MaxJax lift was taped off to leave a nice sharp edge. I'll be hitting it with a wire wheel after the floor has cured to give the stainless a nice shine against the contrast of the floor. The garbage bag in the middle is protecting the floor drain.
While I finished up backrolling the front of the floor from the driveway, the man in the spiked shoes began the "broadcast of the flake system" (lots of lingo in the flooring industry). Notice how filthy the walls look
I'll need to scrub those!
Sunday was flake vacuuming, scraping, and vacuuming. Then the topcoat (clear) went down.
Final product:
Over the next few weeks I'll be painting the lower part of the foundation/concrete with a gray masonry paint to hide that last bit of exposed stone, washing the walls, and thinking about a new cabinet/storage system to hold all my stuff.
Maybe I'll wrap my C5 in a "Digital Camo" to match the floor...