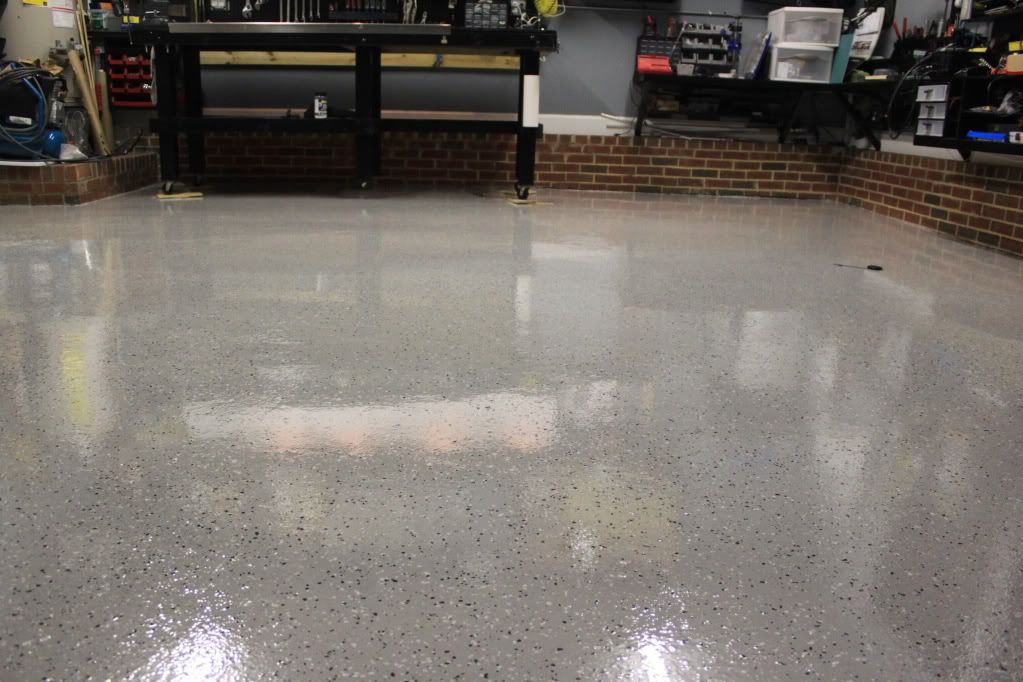
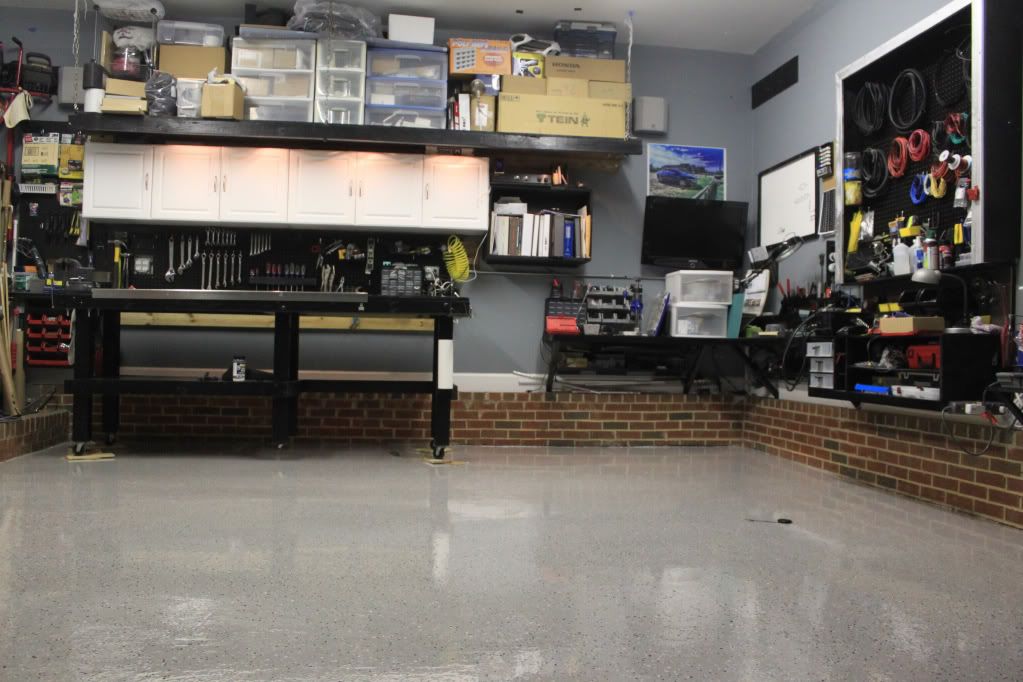
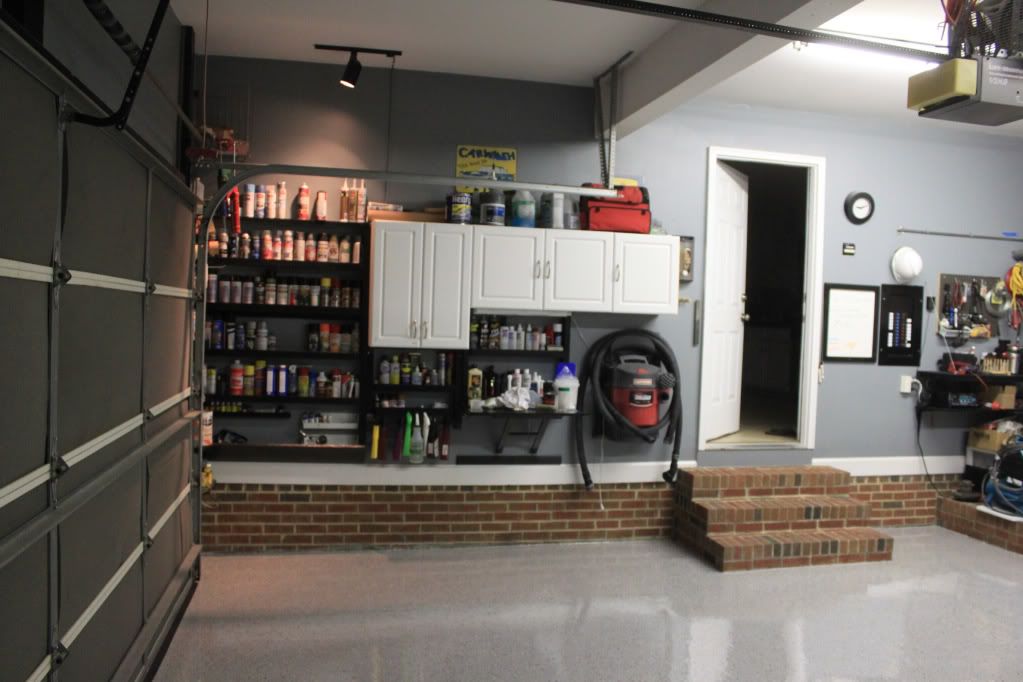
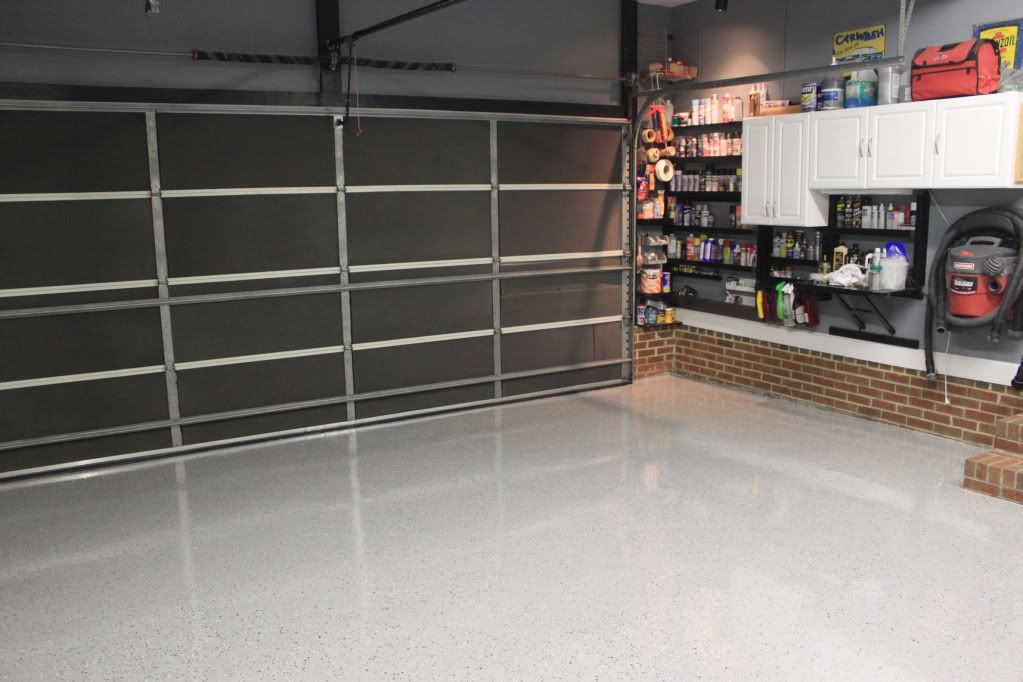
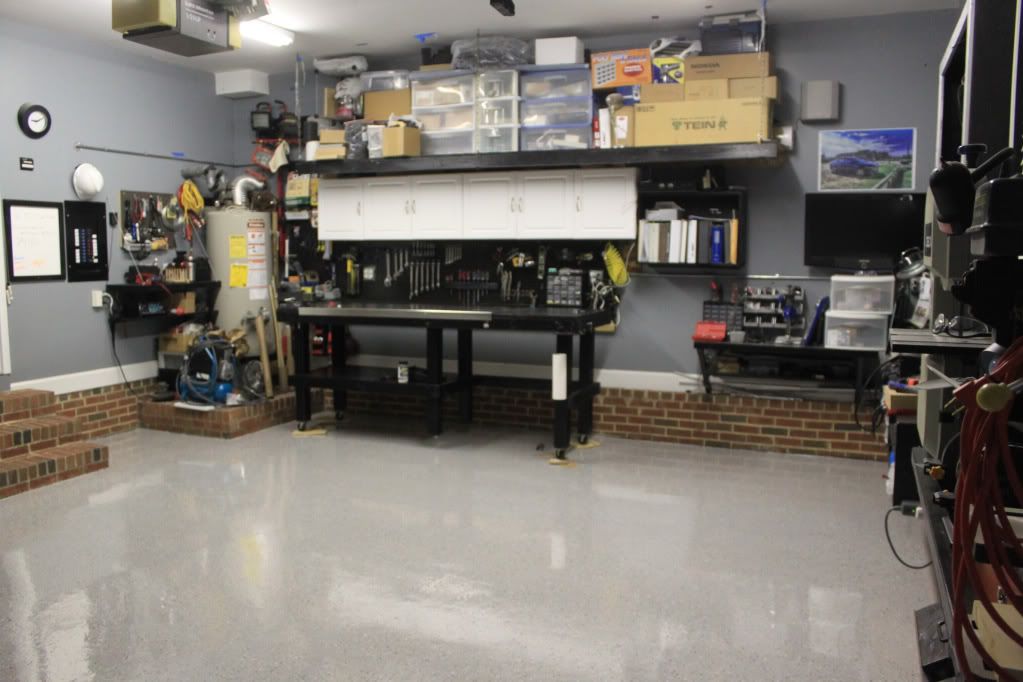
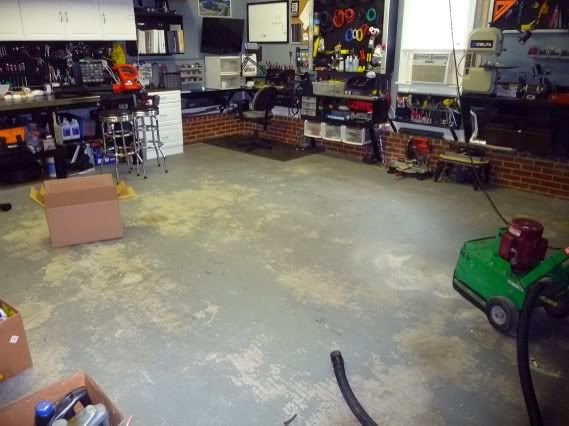
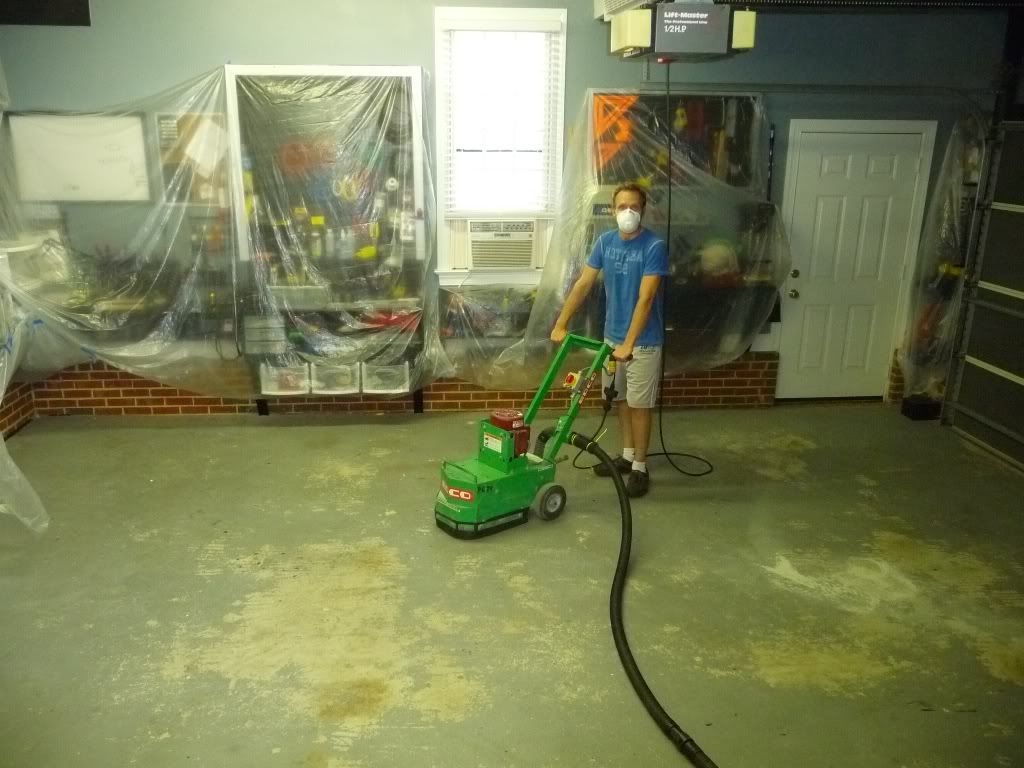
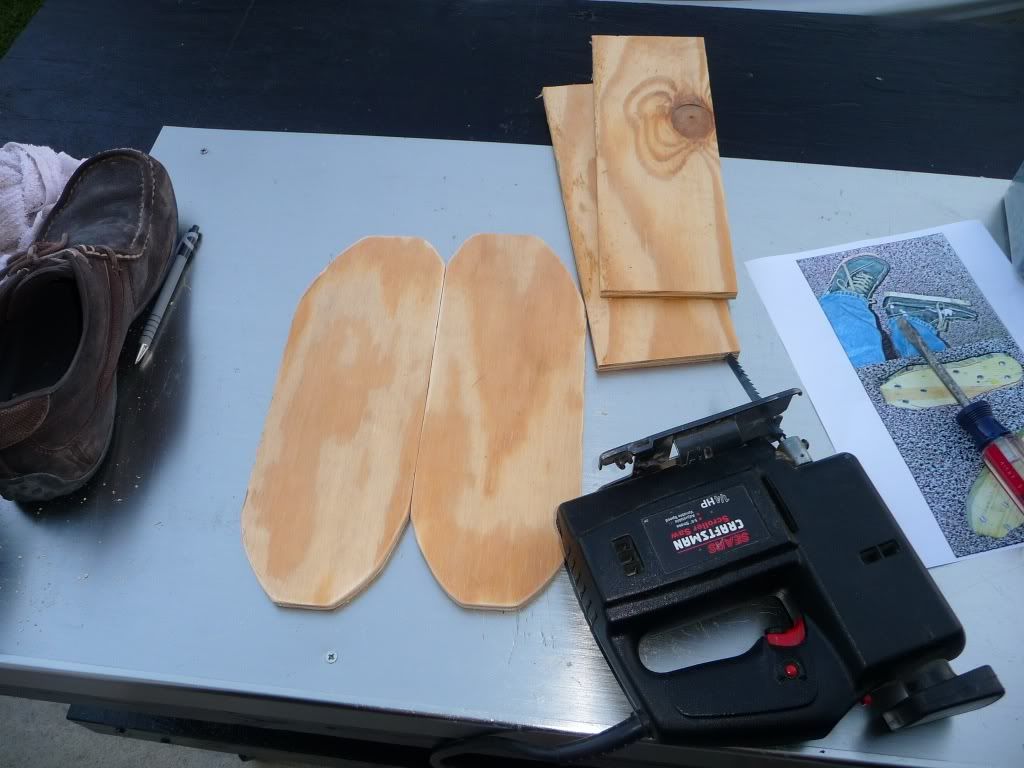
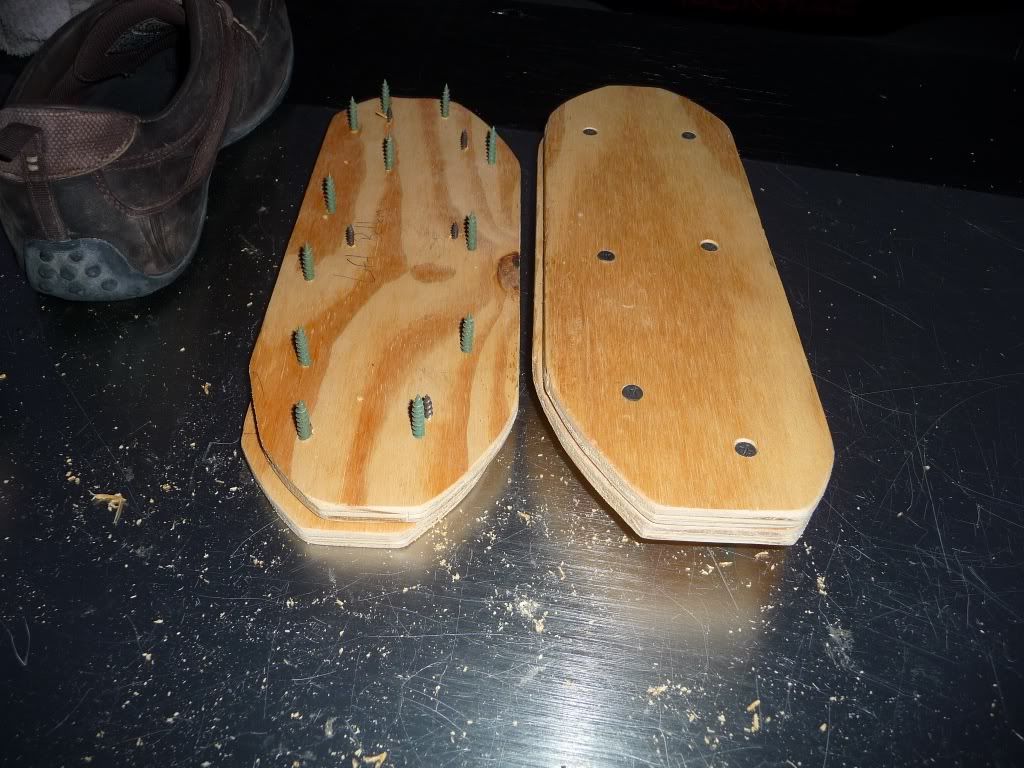
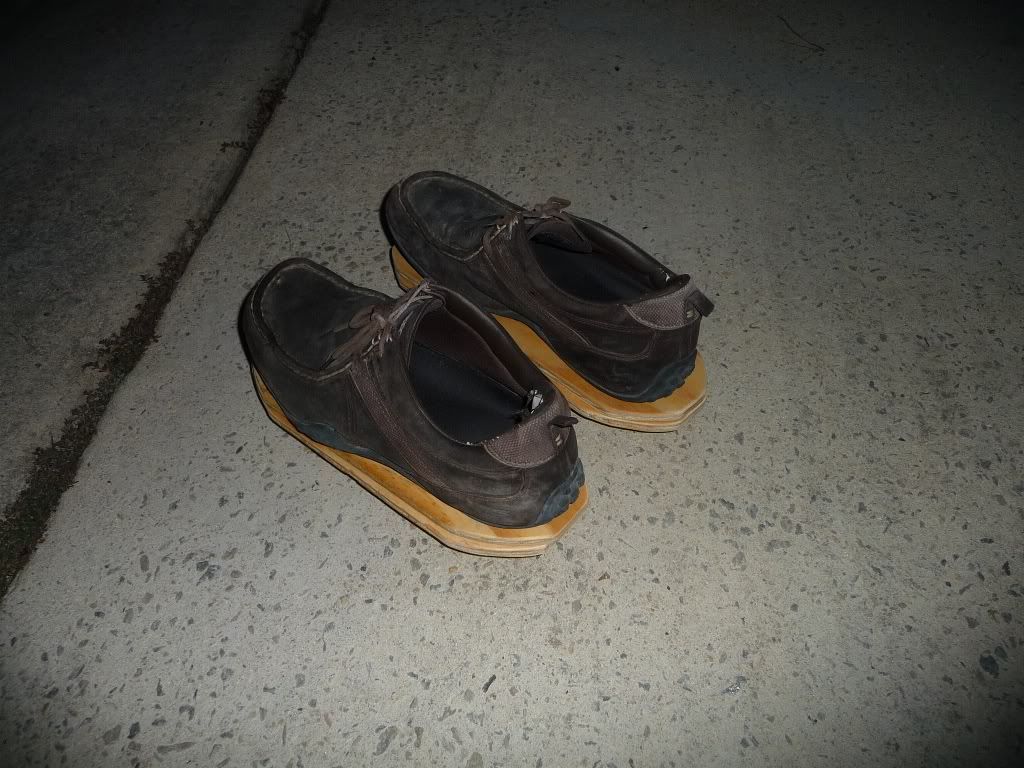
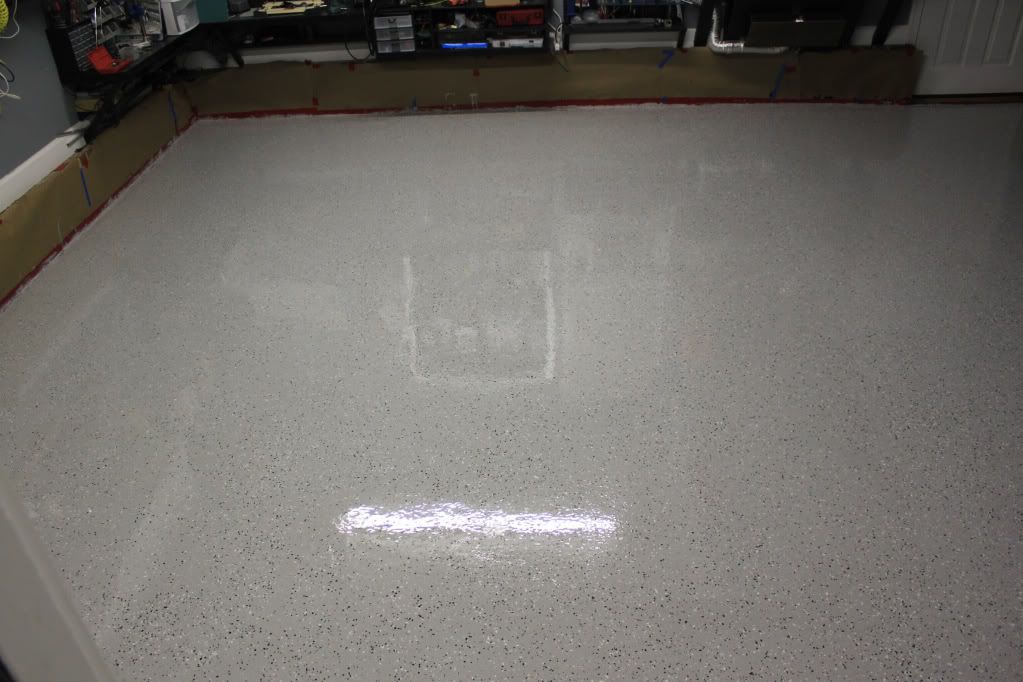
Well it was quite a journey but definitely worth it in the end! Too tired to go into much detail right now but I just wanted to thank everyone here!!
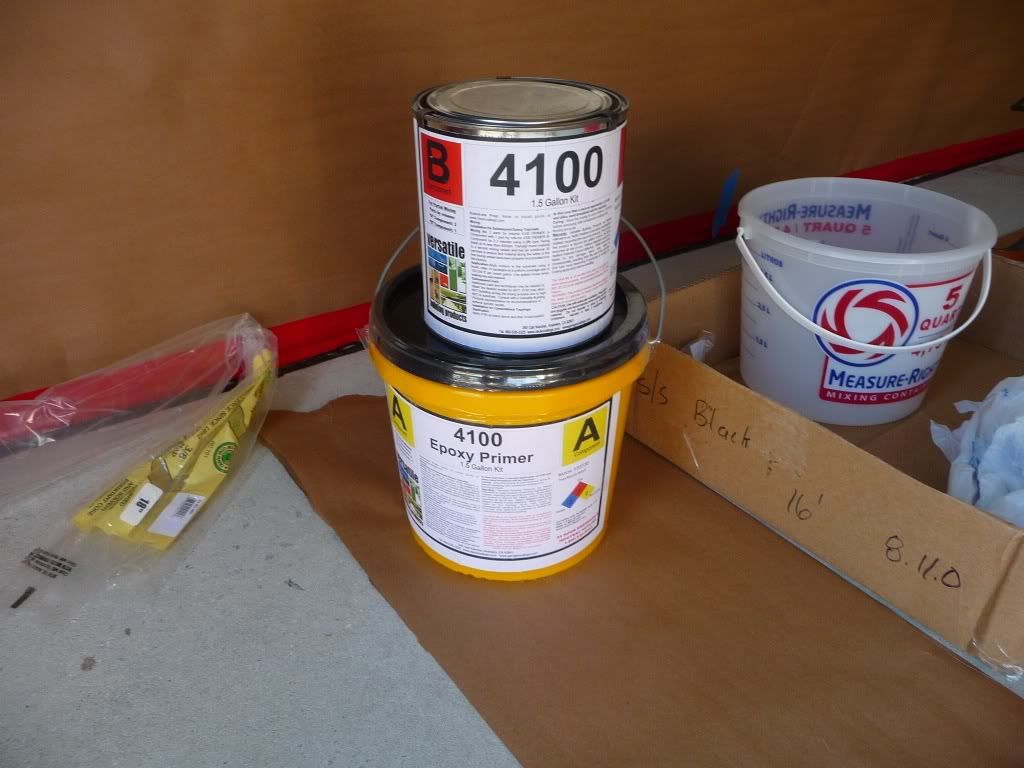
This is what I used
Epoxy Primer 4100 (http://www.garagecoatings.com/Produ...ocking Concrete Floor Epoxy Primer Sealer.pdf)
Epoxy-Coat kit (Light Grey)
Polyurea 5073 Top Coat
(http://www.garagecoatings.com/Produ...ing Clear Polyurea Concrete Floor Coating.pdf)
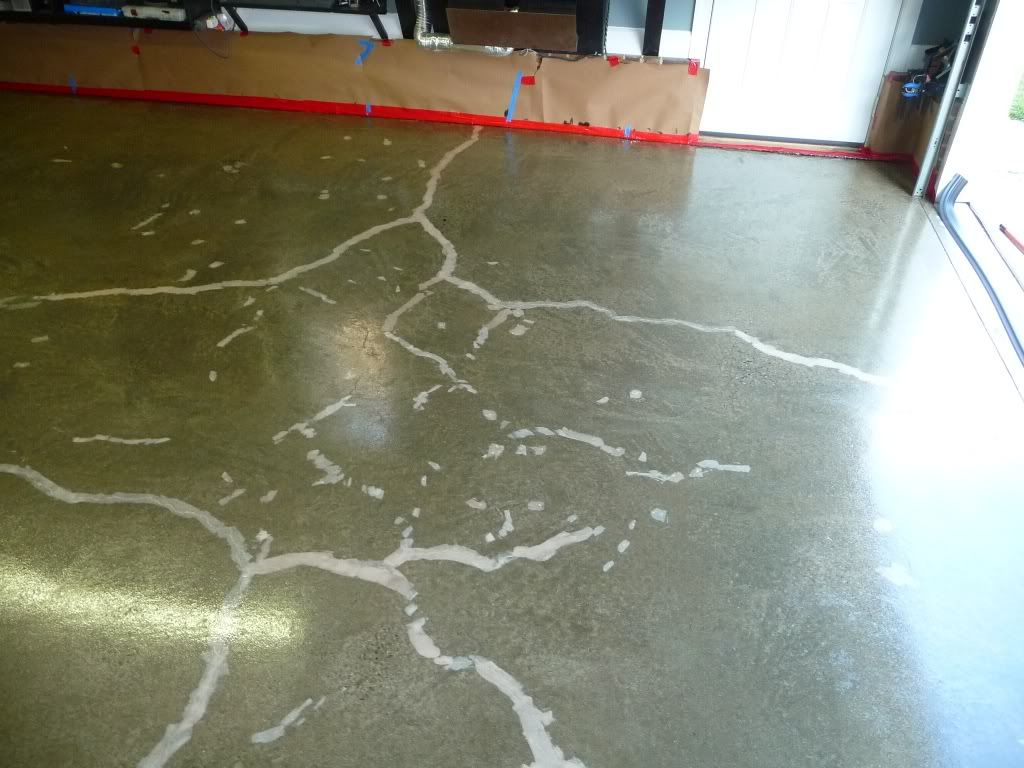
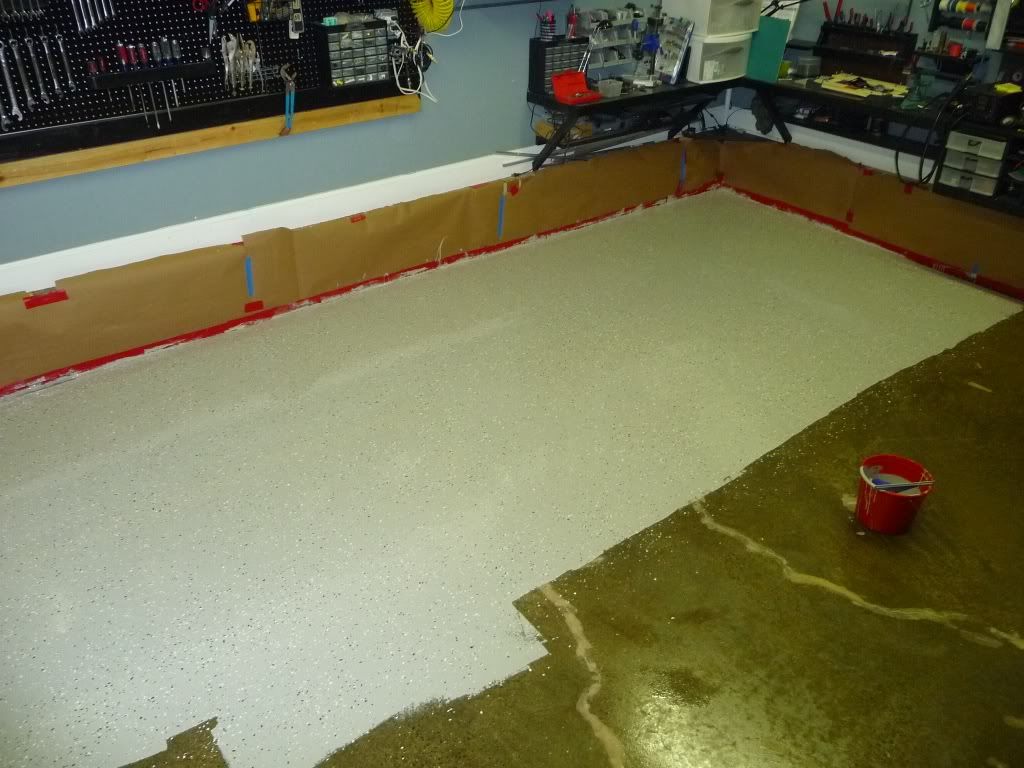
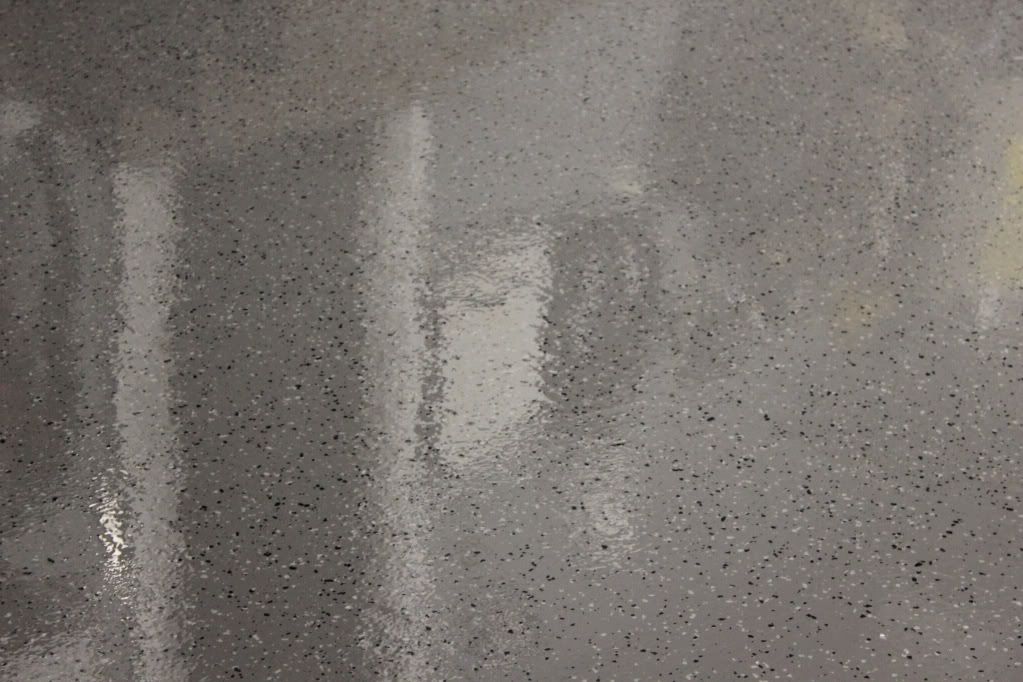
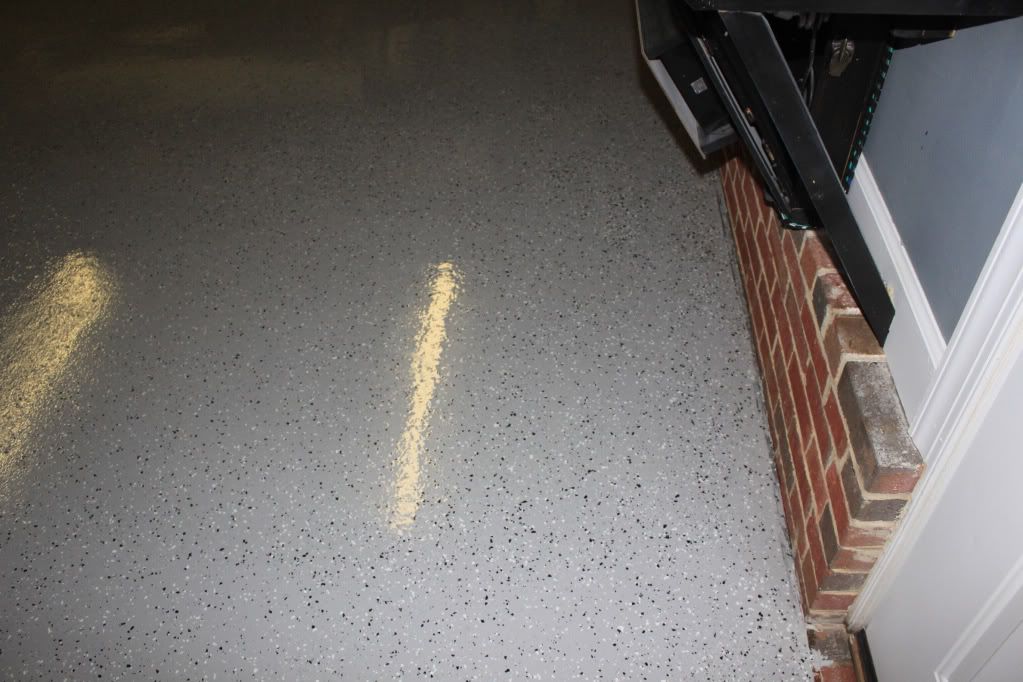
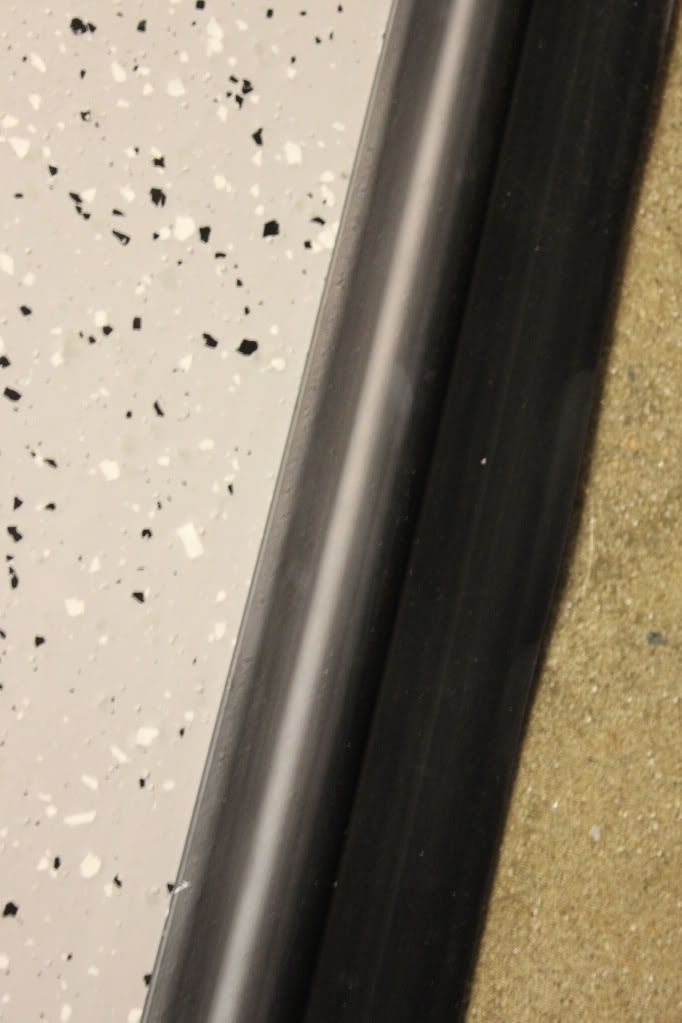
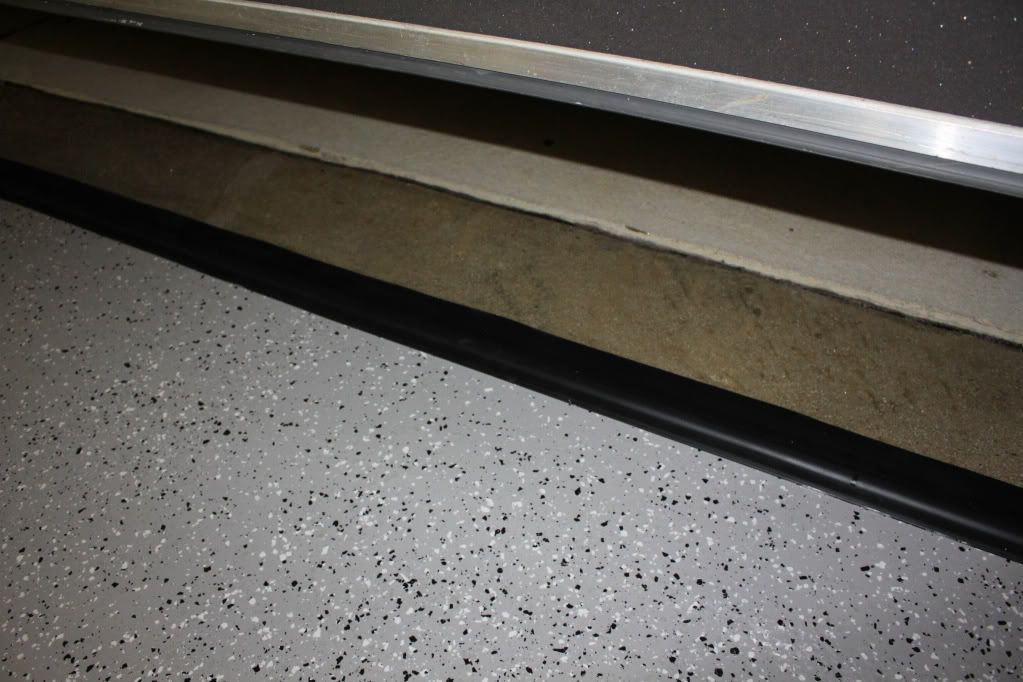
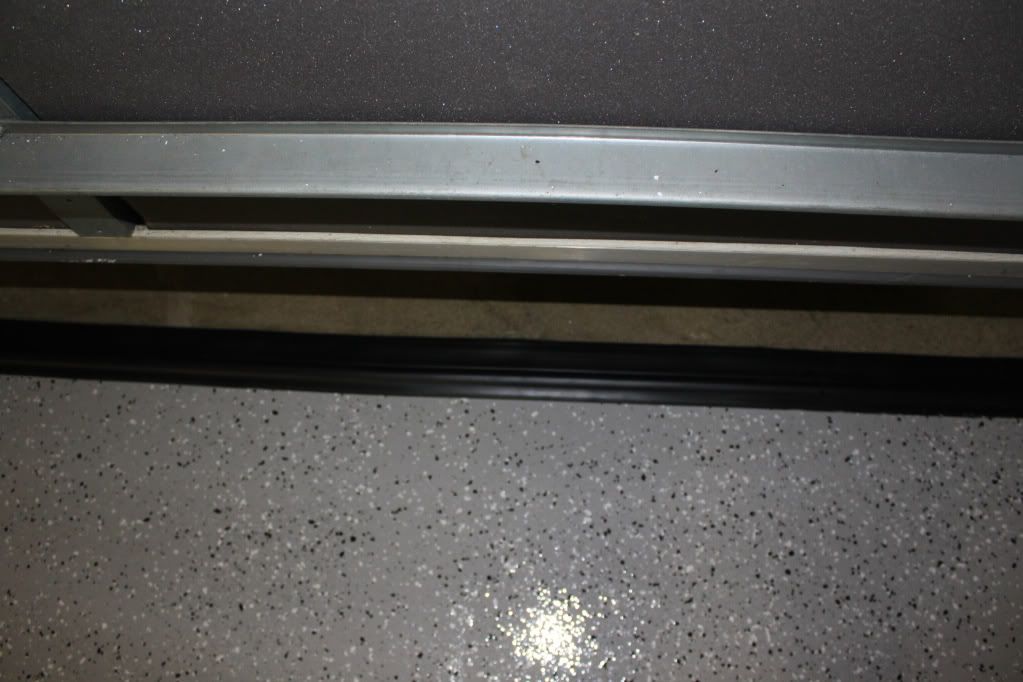
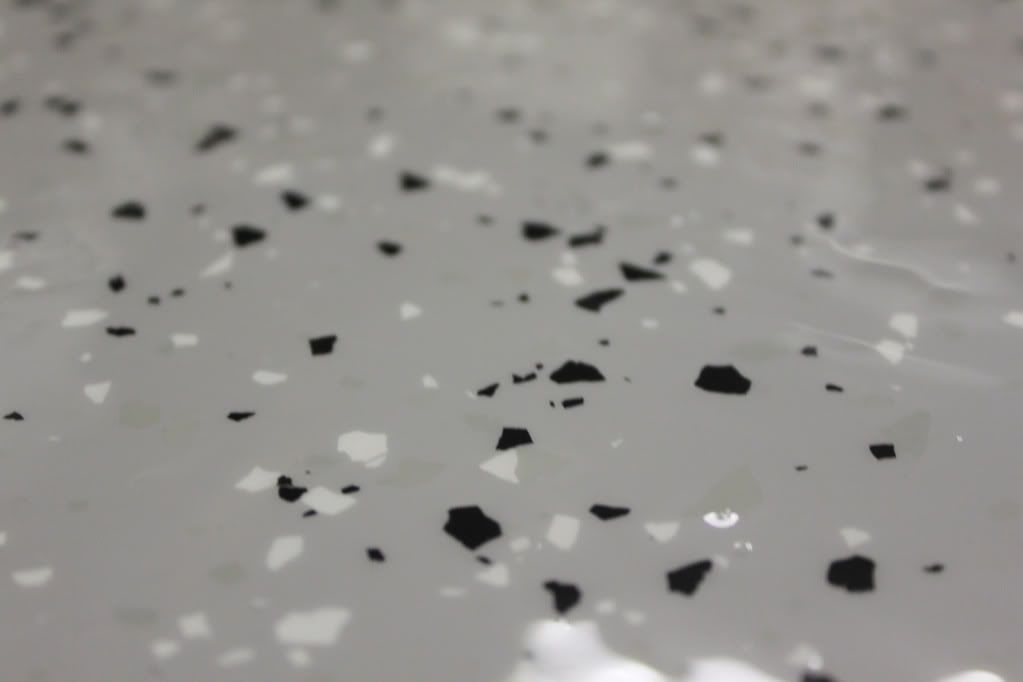
FLAKE BEFORE CLEAR
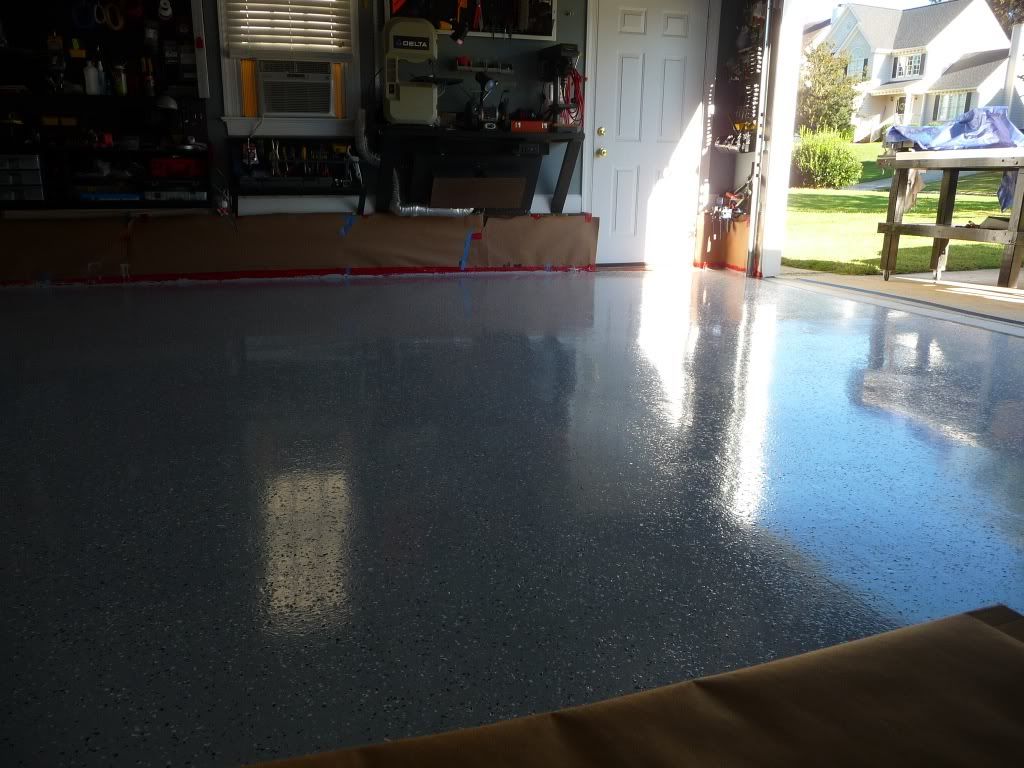
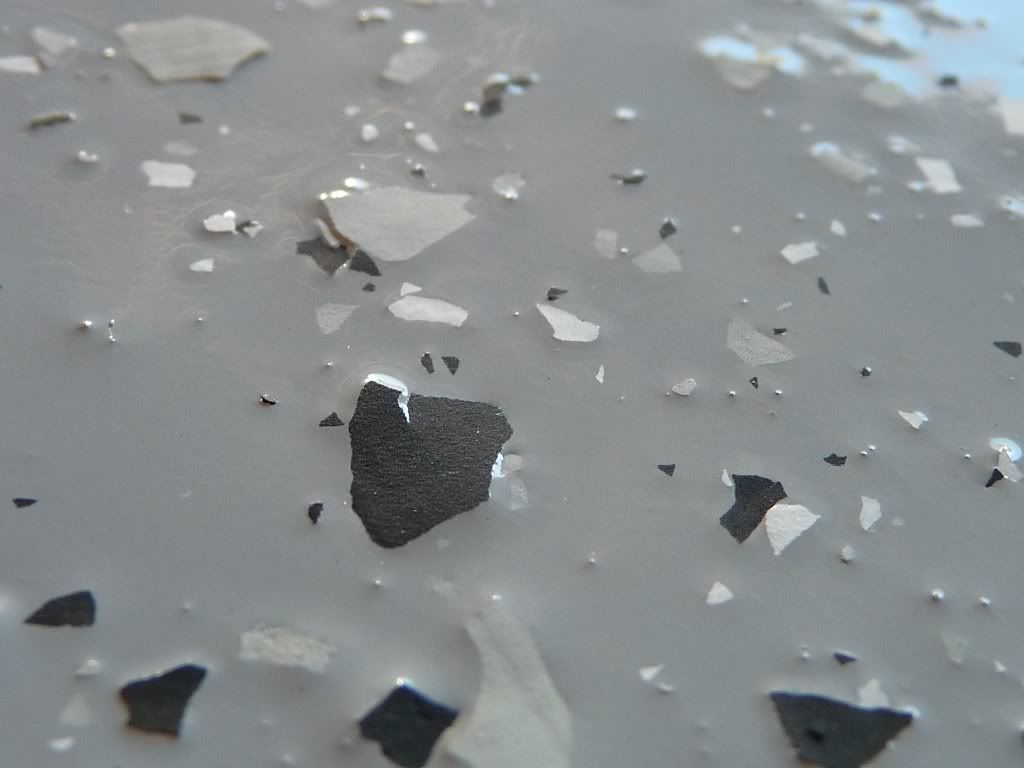
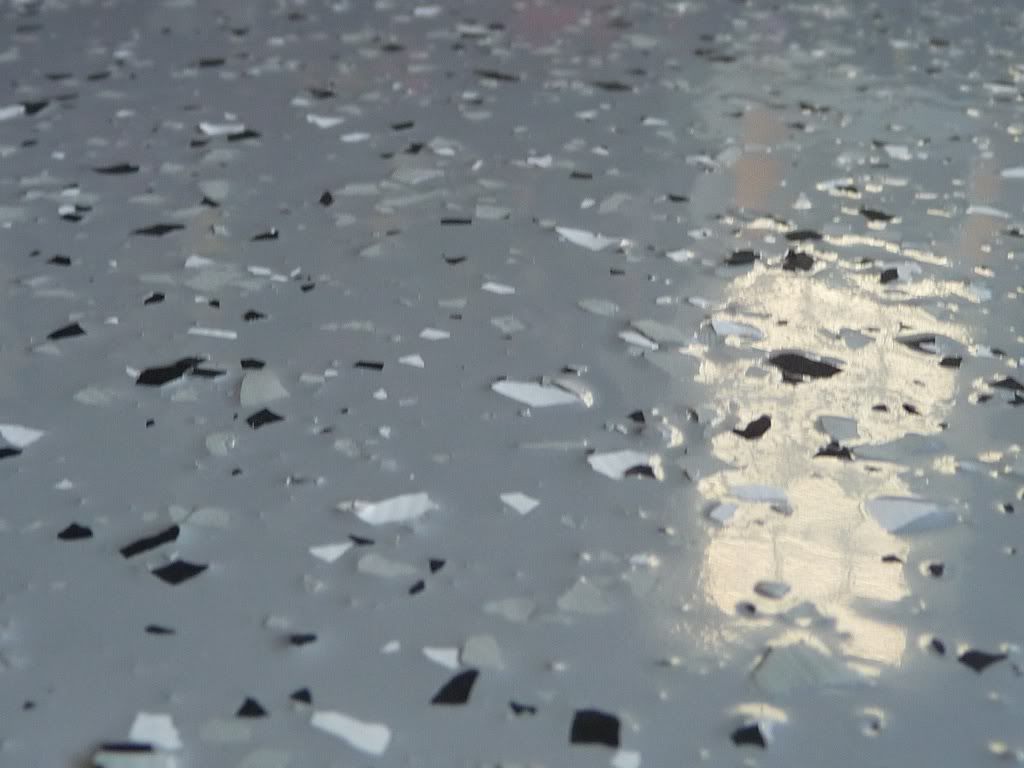
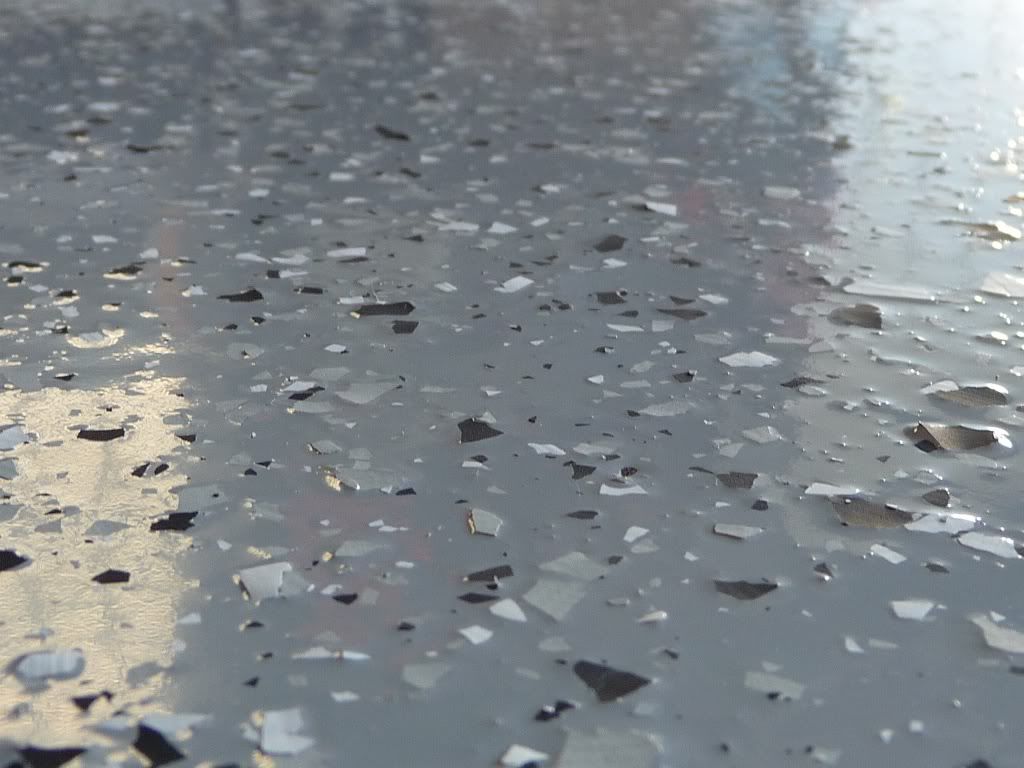
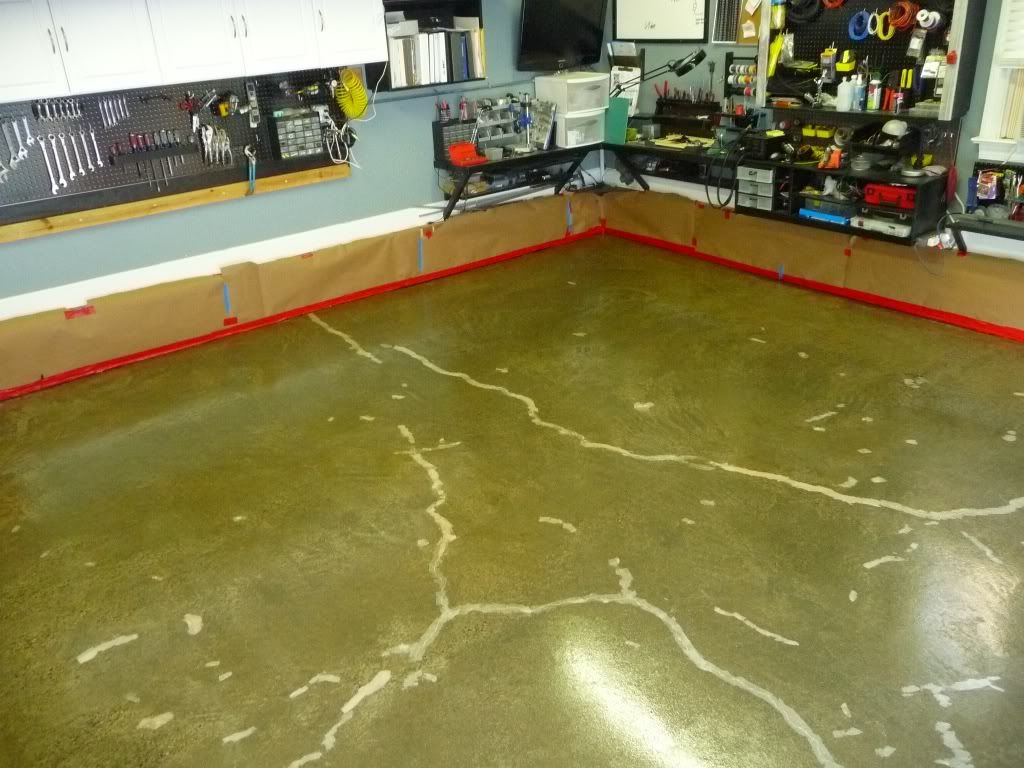
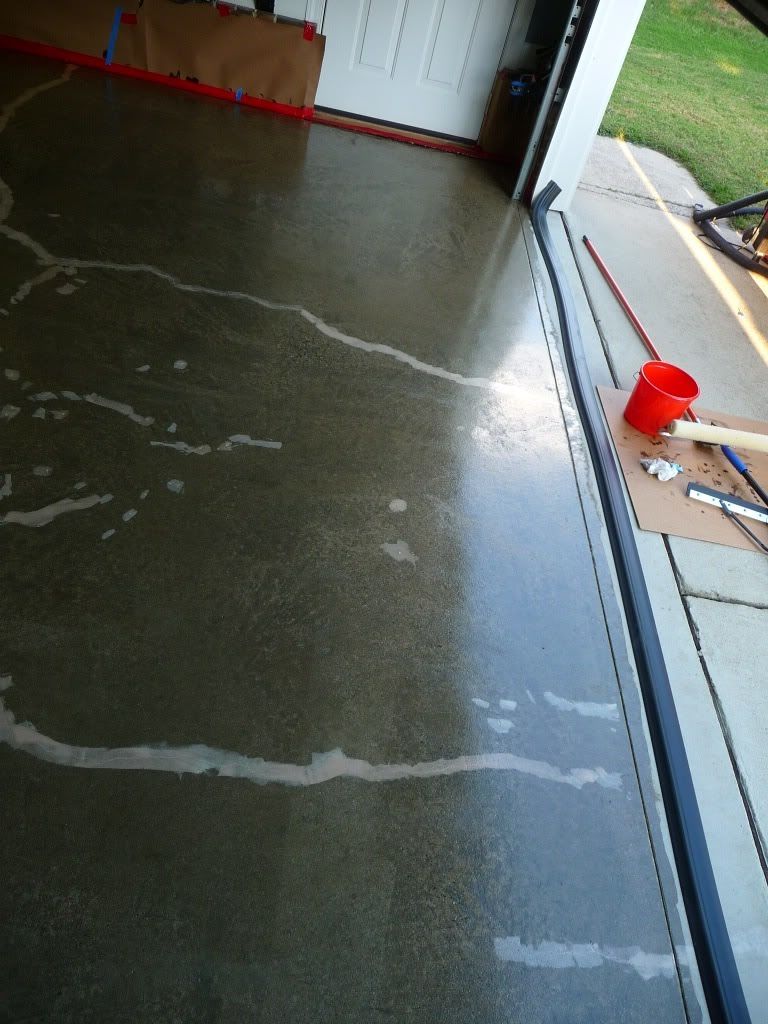
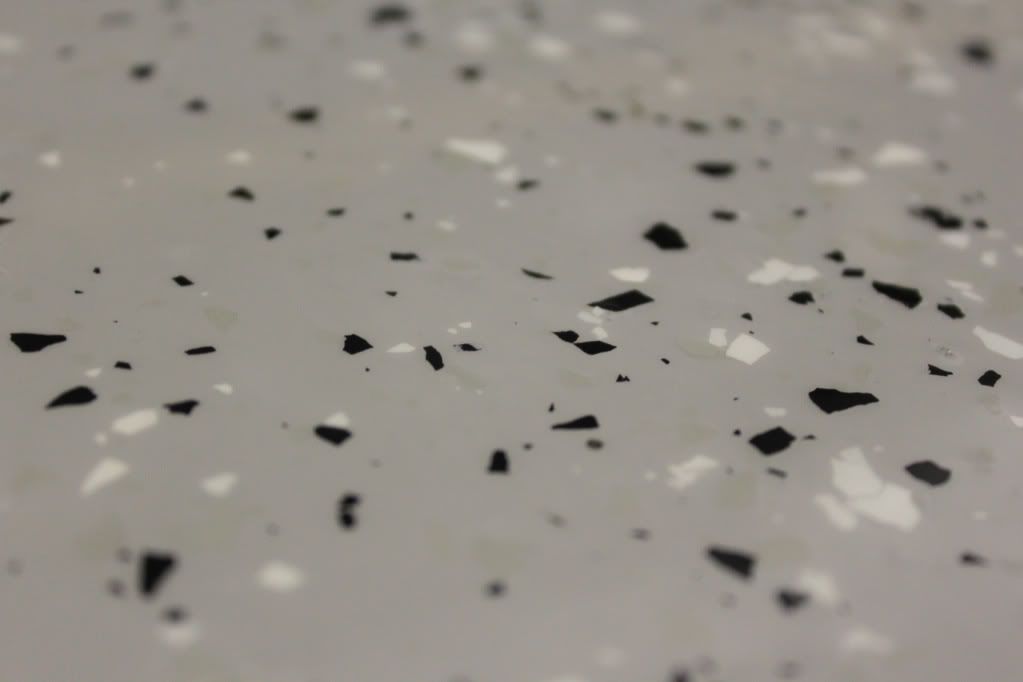
FLAKE AFTER CLEAR

This is what I used
Epoxy Primer 4100 (http://www.garagecoatings.com/Produ...ocking Concrete Floor Epoxy Primer Sealer.pdf)
Epoxy-Coat kit (Light Grey)
Polyurea 5073 Top Coat
(http://www.garagecoatings.com/Produ...ing Clear Polyurea Concrete Floor Coating.pdf)
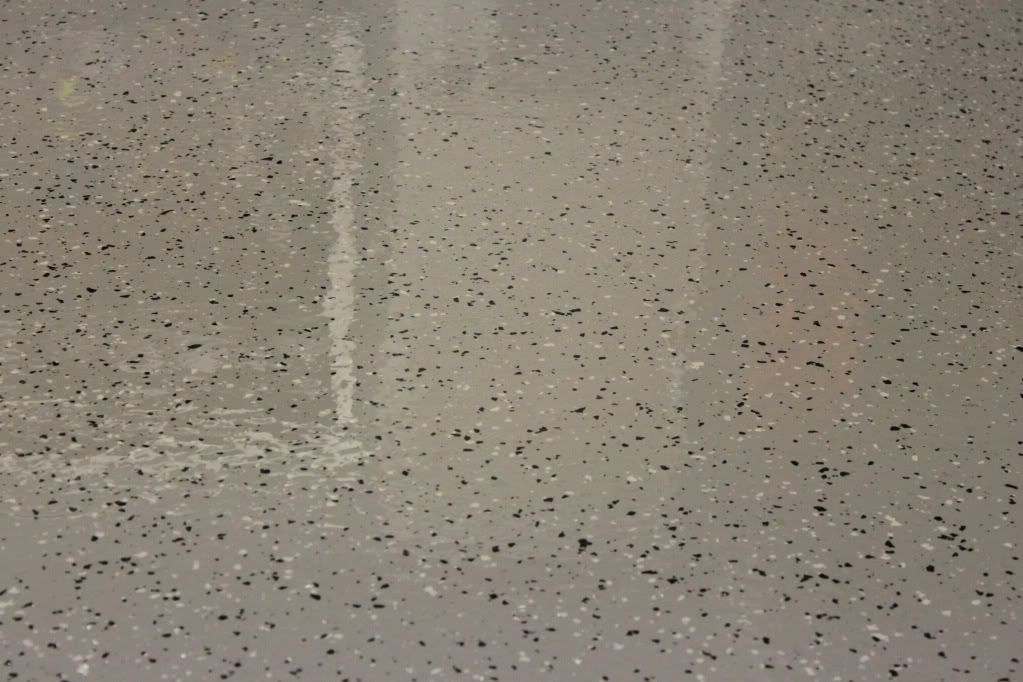
FLAKE BEFORE CLEAR
FLAKE AFTER CLEAR

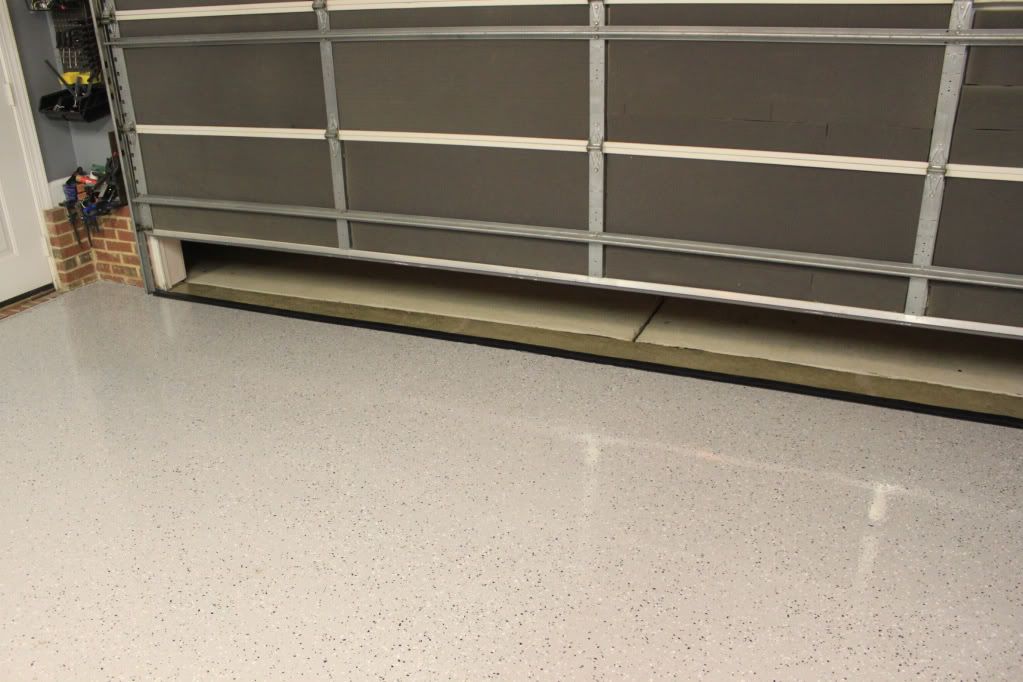
 Nice job on the floor AND the shoes. I envy you guys that can broadcast the flakes that uniformly. Looks great!
") .
.