Yeah, practice on some plain steel.
Welding aluminum is 'different' than steel. With aluminum, generally you have to go hot-n-fast. As well as get it really-really clean before attempting to weld it. Clean of
anything that is not actually aluminum, such as grease, oil, dirt,
aluminum oxide, that sort of stuff.
(with steel, you have to remove the grease, oil, dirt, and
iron oxide in any of its forms such as mill scale or rust before welding.)
Because
ANY weld will turn out better when you are just trying to weld bare shiny
metal. And some welding processes (cough-cough-TIG-cough-cough) will 'tolerate' very little that is not clean bare shiny metal when trying to weld while some other processes (cough- stick aka SMAW-sough) may 'tolerate' more 'crud' and still produce acceptable welds.
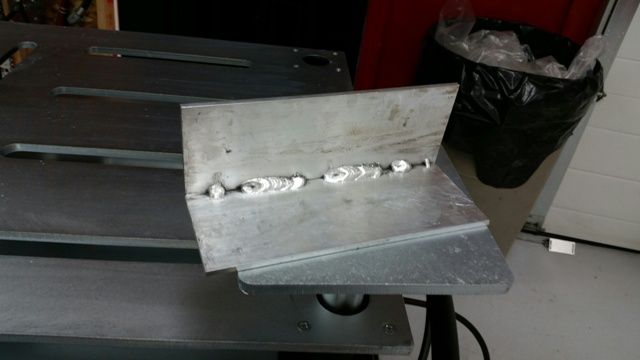
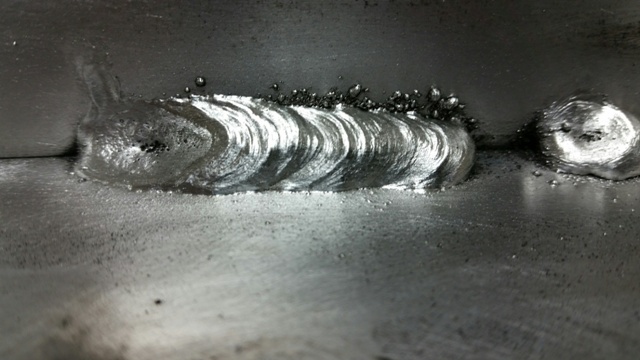
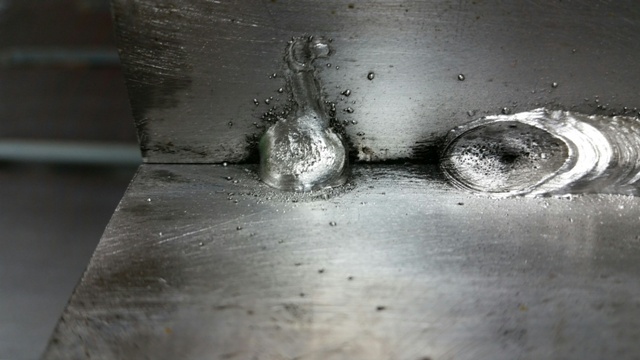
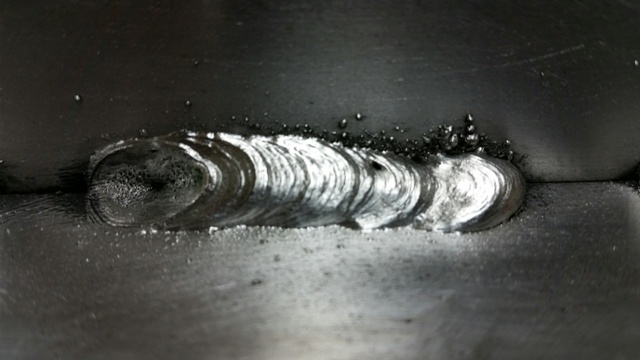
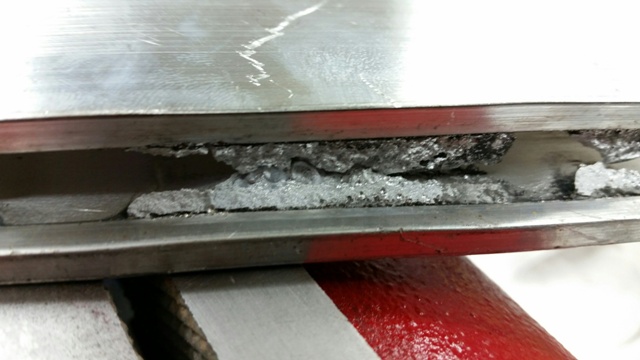
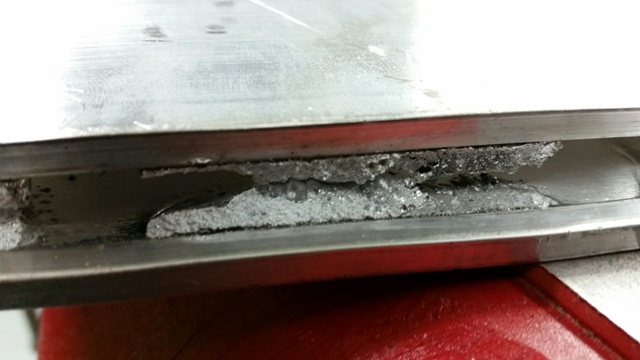
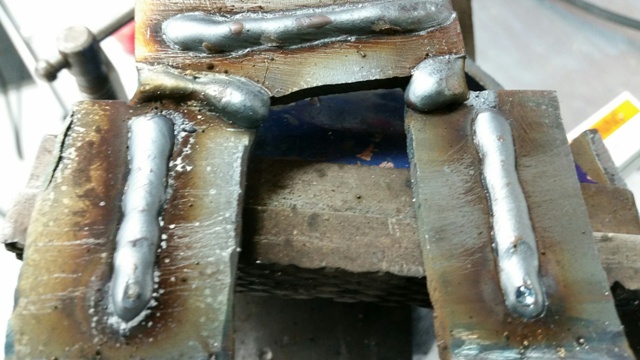
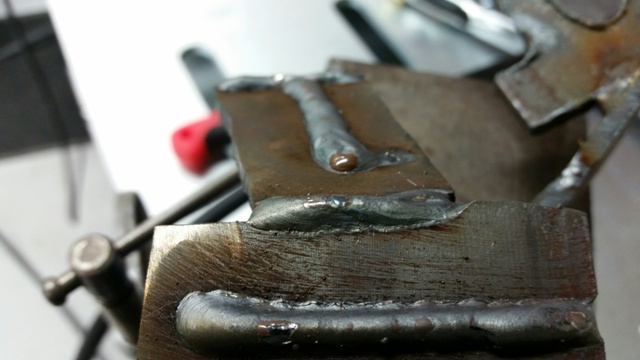
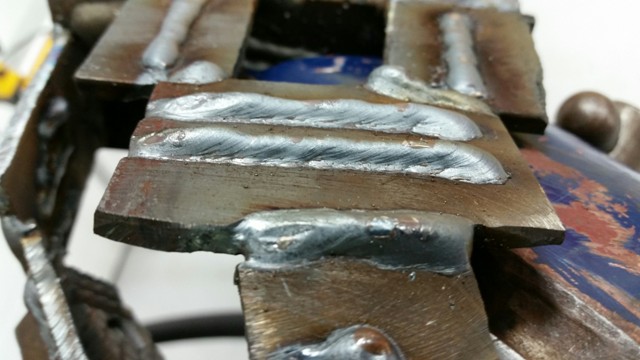
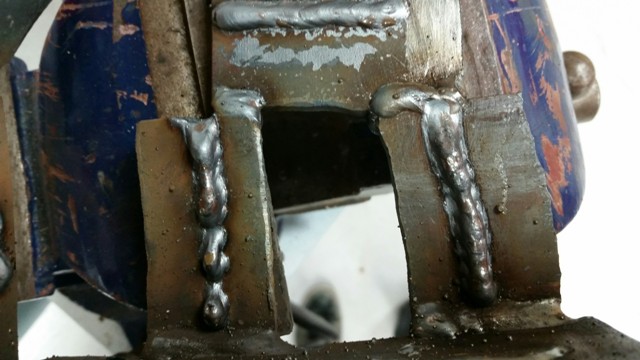
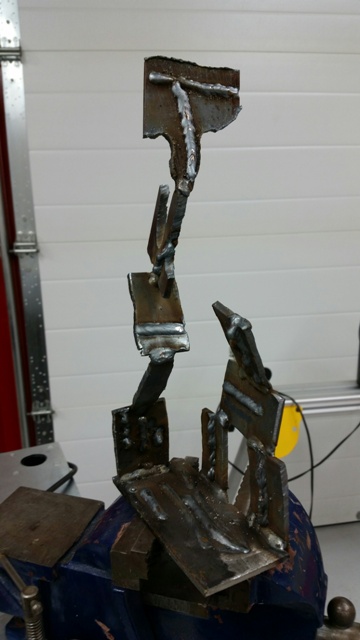
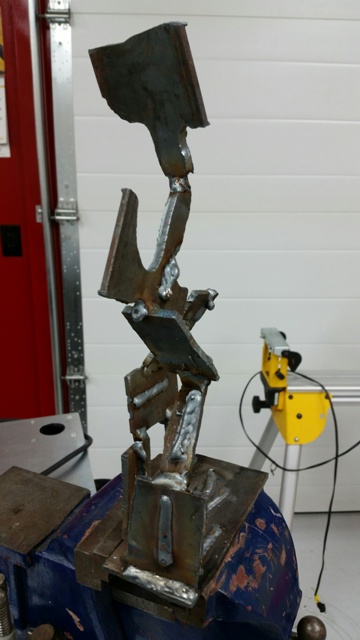
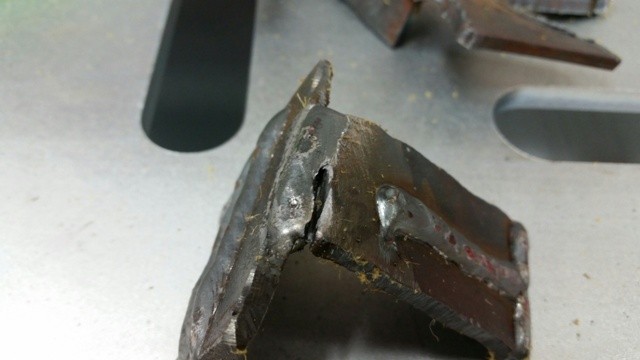
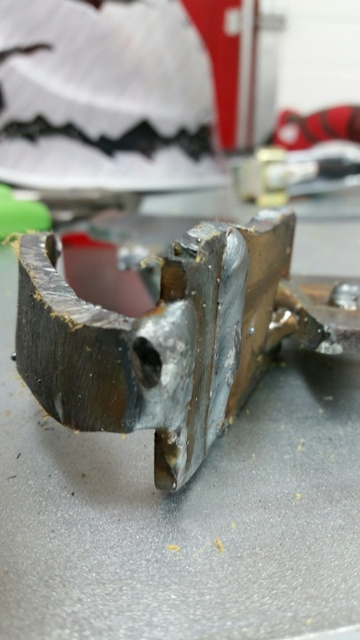
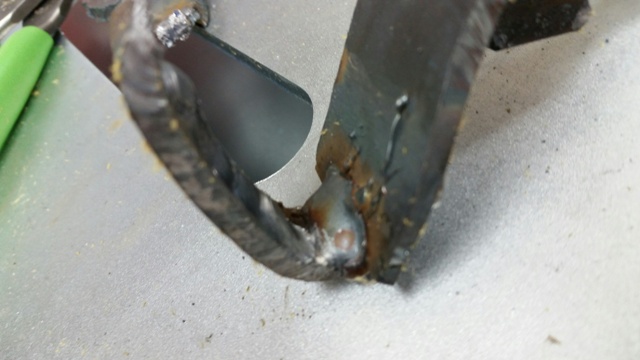
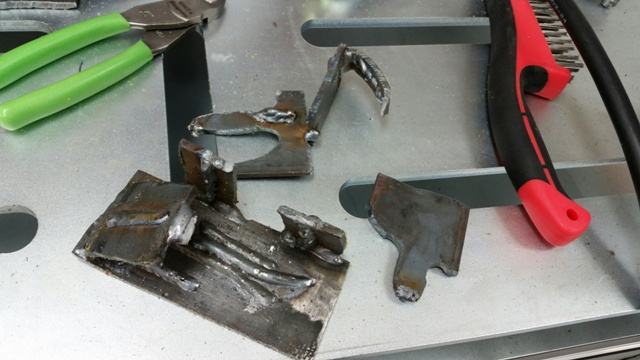
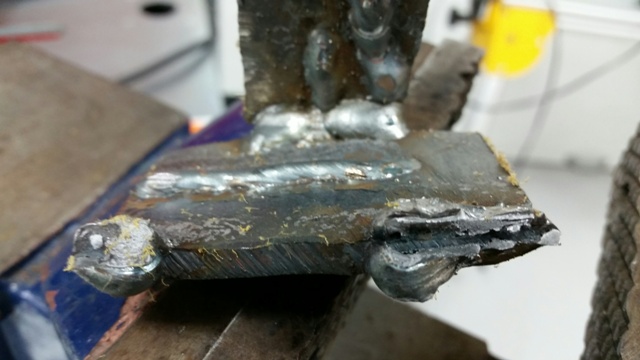
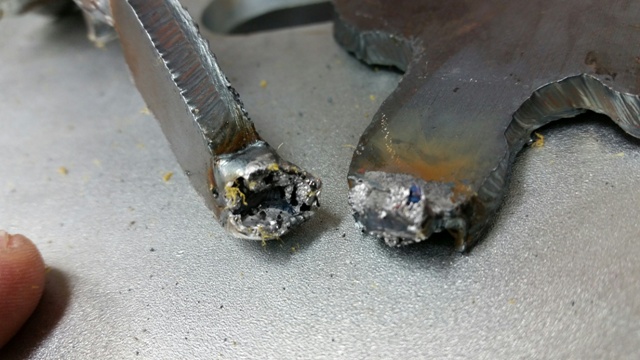
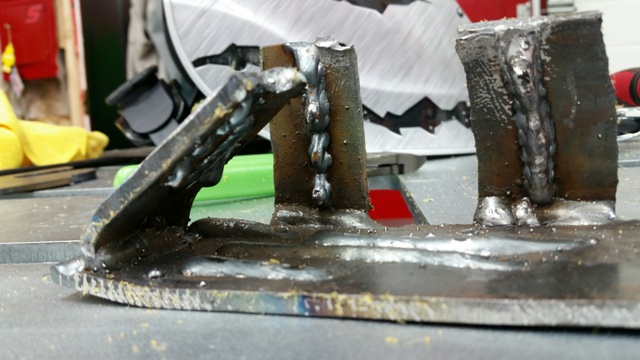
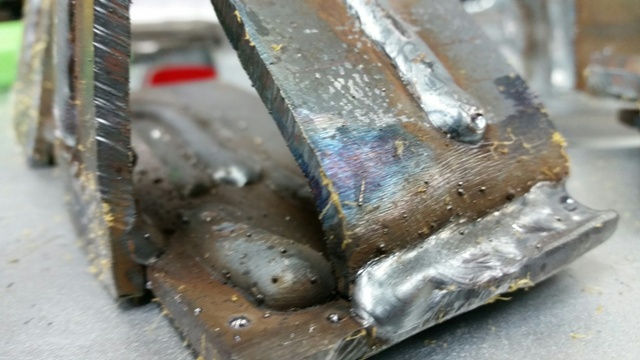
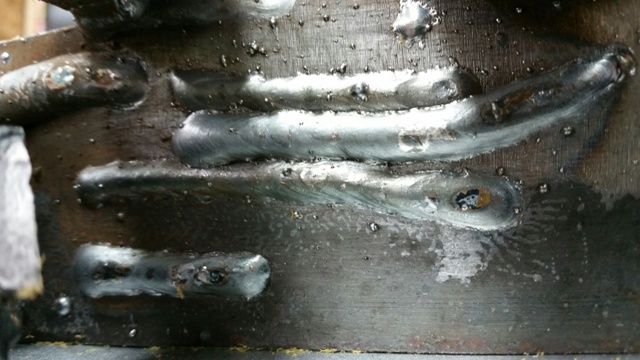
And I'll go a bit harsh here, based on just a few pictures over the Net (decent pictures, btw). Your welds were way to cold and you didn't achieve any sort of adequate fusion or penetration into your plates. See how the 'edges' of the weld bead (the "toes") are very convex and look almost like a water bead sitting up on top of a nicely waxed car hood? That is usually a sign of the filler wire melting and just sitting on top of the plate without the arc actually melting -into- the plate. AKA cold lap, aka inadequate fusion, aka inadequate penetration. Notoriously easy to do with MIG because the filler will almost always melt but getting the arc and weld puddle to melt
into the workpiece is not quite so easy.
Tip: Watch the
puddle of molten metal, and not the bright arc itself. You want (and need) the puddle of the molten filler wire to achieve a Zen state of Oneness with the puddle of molten workpiece metal, so that when the molten metal solidifies you have actually made a weld and not just squirted filler metal on top of the workpiece.

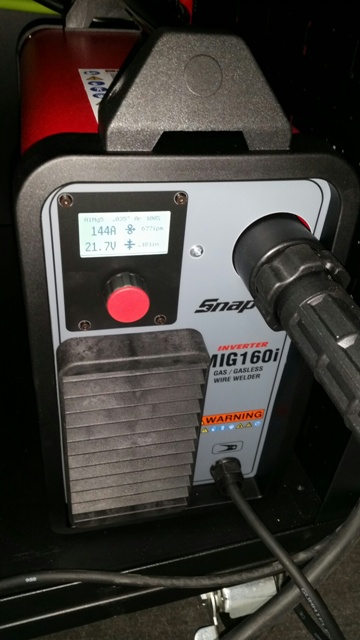
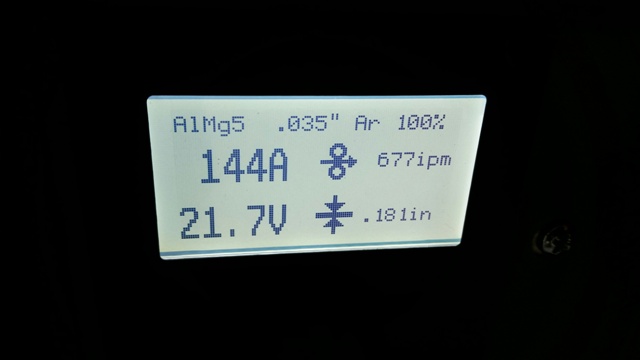
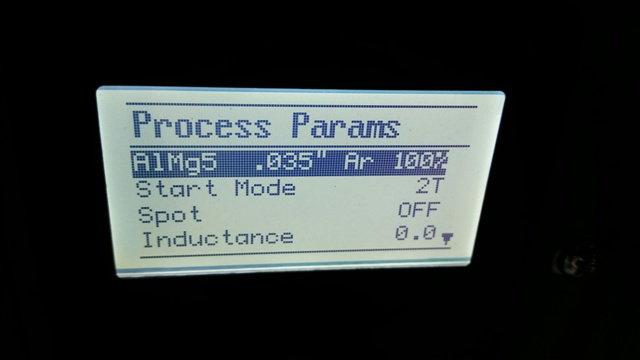
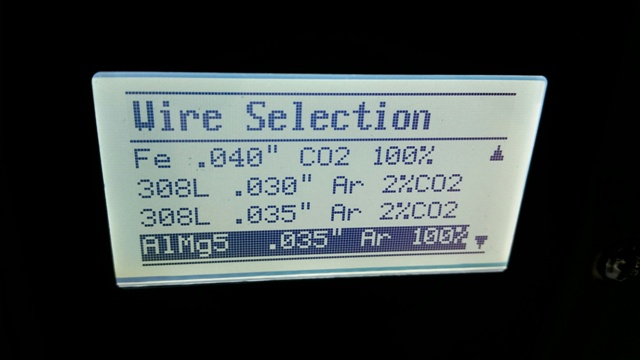
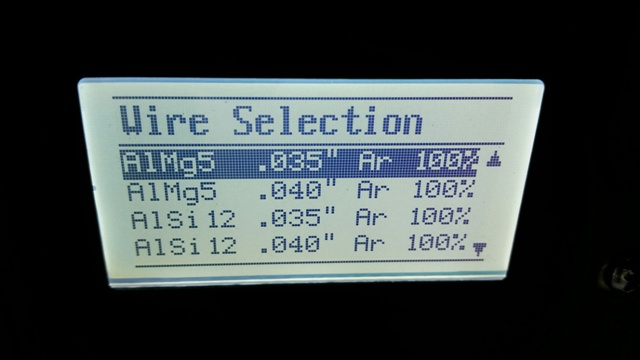
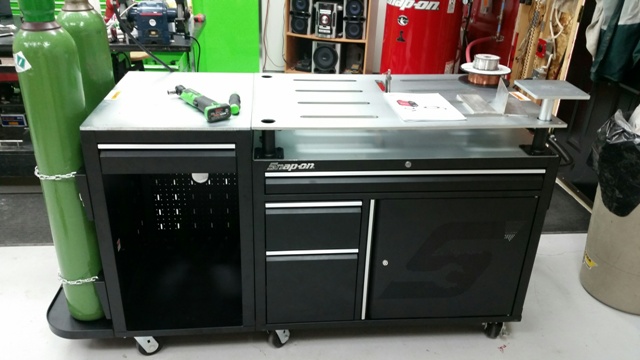
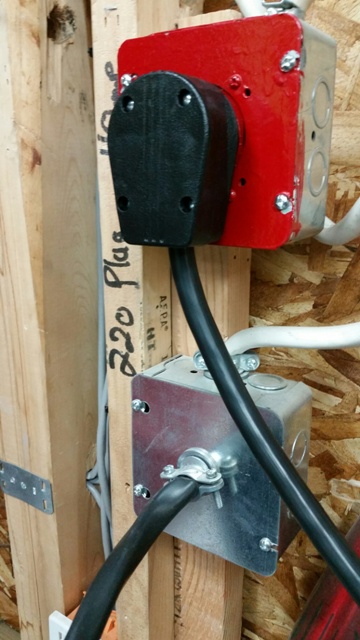
It helps a bit to mention what machine you are using, and the settings you used, when asking for help about how the welds turned out. You mentioned 0.035 aluminum wire and 100% argon, but which alloy wire? 5356 or 4043? (with aluminum, it matters a bit as most 'small' wire feed machines can
not adequately 'drive' 5356 wire because of the needed voltage-amperage characteristics).
For 'small' wire feed machines, the usual shielding gas flow rate is 20 CFH (cubic feet per HOUR). Which should all be in your manual, so RTFM.
Info about welding? Read up on the Lincoln and Miller and ESAB websites. Tons of info there.