mark-NJ
Well-known member
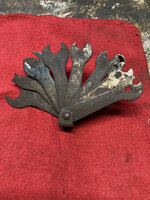
So here's the deal: This very-cool set of thin wrenches was my dad's, and quite likely his dad's before him. From what I can find on line, these were made in the early 20th century:
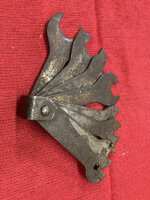
Made in Germany, certainly pre-WWII...

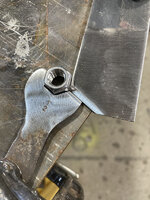
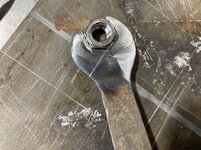
At the tender young age of about 11 or 12, I used these to open a paint can....with the (then-unexpected) consequences. But, at the time...well, hey... "What could go wrong?"

Dad wasn't impressed.
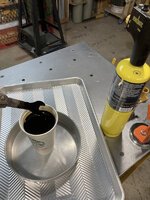
So this weekend, a full half-century (+ a few years) later, I'm going to attempt a repair. I got some annealed 1095, and I'm going to try to TIG a new "ear". From there, I'll shape it, then heat / quench it...hopefully hardening it to where it will be usable.
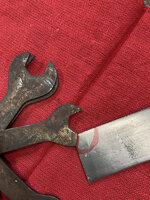
I've never TIG'd 1095 before, but I've read a bit about the importance of pre-heating. I'll figure something out. As for the rod, I keep reading about all sorts of exotic nickel-based rods, but I also keep reading that 70S-2 will work just fine. Any input that y'all want to make is certainly welcome!
One thing's for sure: I don't think I can make it any "more broken", right?
Made in Germany, certainly pre-WWII...
At the tender young age of about 11 or 12, I used these to open a paint can....with the (then-unexpected) consequences. But, at the time...well, hey... "What could go wrong?"
Dad wasn't impressed.
So this weekend, a full half-century (+ a few years) later, I'm going to attempt a repair. I got some annealed 1095, and I'm going to try to TIG a new "ear". From there, I'll shape it, then heat / quench it...hopefully hardening it to where it will be usable.
I've never TIG'd 1095 before, but I've read a bit about the importance of pre-heating. I'll figure something out. As for the rod, I keep reading about all sorts of exotic nickel-based rods, but I also keep reading that 70S-2 will work just fine. Any input that y'all want to make is certainly welcome!
One thing's for sure: I don't think I can make it any "more broken", right?
Last edited: