
e-tek
Well-known member
I have a '46 flathead for my Merc 1/2ton - the one that cracked it's block - that's been sitting in the corner awaiting parts. Although the Merc is running under the power of a 56 Flatty I swapped in, I want to get 'er back to year-correct status when I can (or at least have the engine ready for when I need it!)
So, since I got the parts for the engine and I had a bunch of scrap lying around, I thought I'd make myself a new stand - specifically for flatty's.
The base is courtesy of BendPak! It's made from the end-piece that held the ramps and legs together for shipping my lift. Never throw anything away!

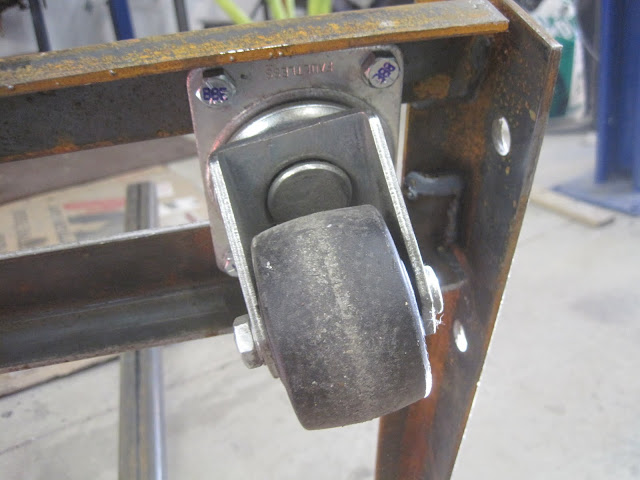
I had these casters sitting in a box for a couple years...finally something to use them on!!
Next, I measured and cut the various bits of scrap, using my other engine stand as a template:
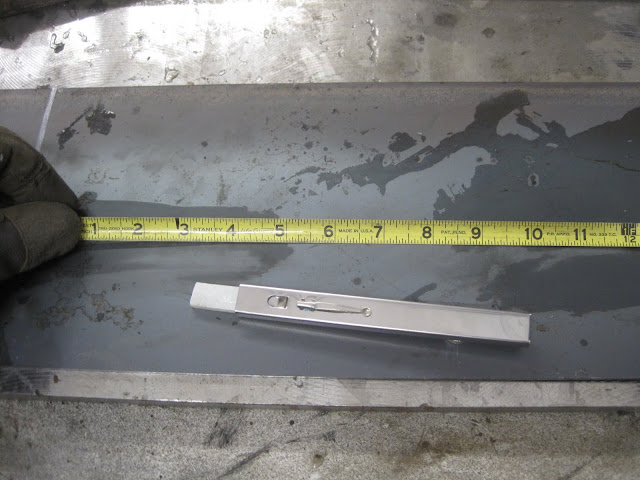
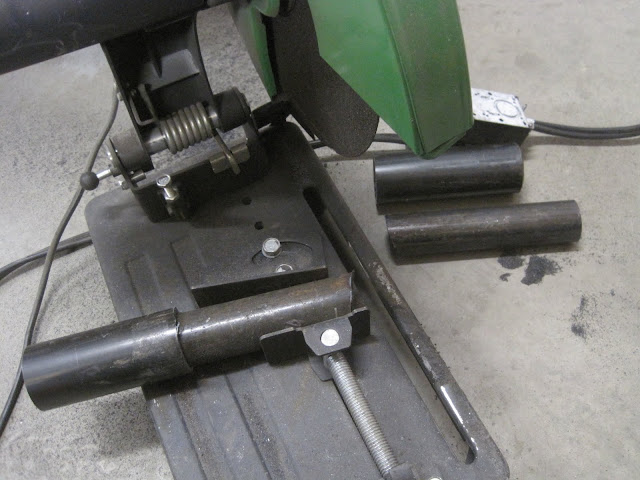
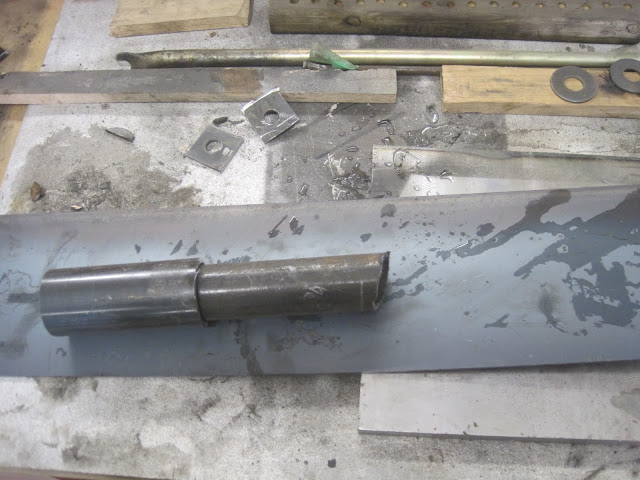
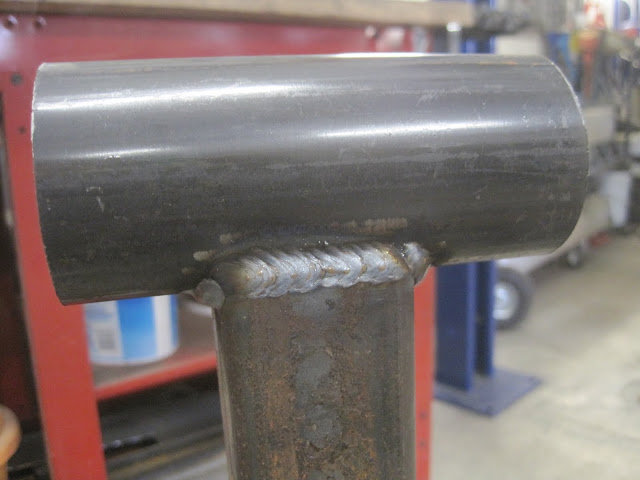
Time for some welding. I notched the upright square tube to accept the round stock and give it a place to sit, which strengthens the weld:
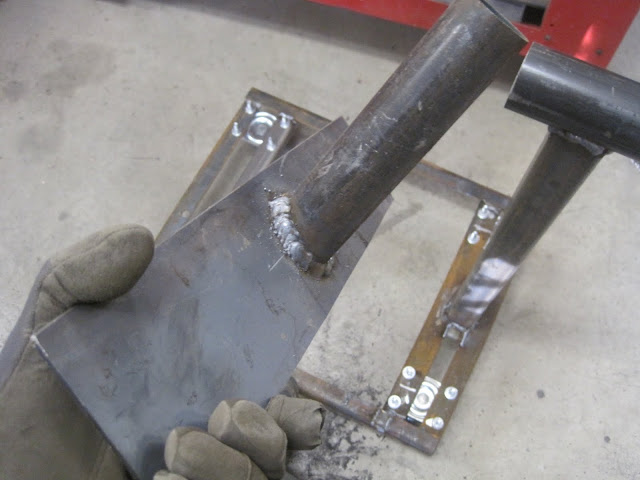
For the flatthead, it's best to attach the engine at the exhaust manifold, rather than the weak 1/2 bellhousing. So I welded this plate to the tube that will swivel.
I eyeballed up the exhaust holes and drilled them on the drill-press. I must've been drunk 'cause I had to file a couple to fit....
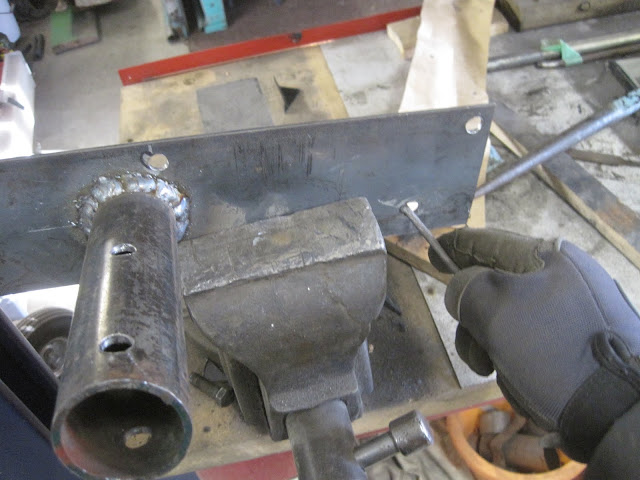
Then I mated up the pieces and drilled some holes, first through the top of the outer tube and into the inner to lock it in position, then I turned the block-plate over and drilled another hole, this time using the same outer hole and into a new hole, so I can turn the engine and lock it upside down.
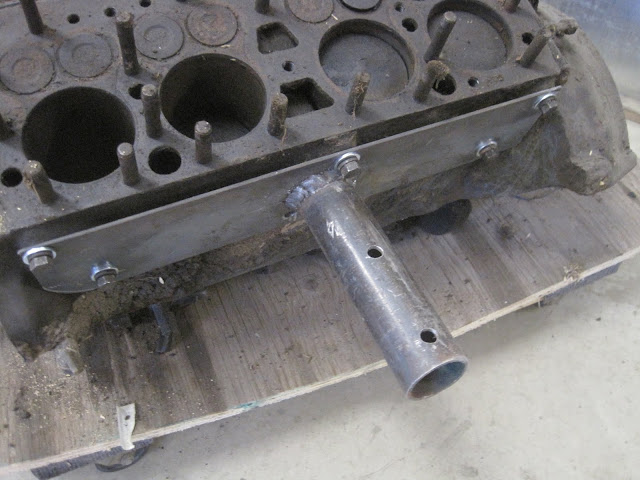
Then I bolted the block-plate onto the block and prepared to lift the block to mate the pieces together...
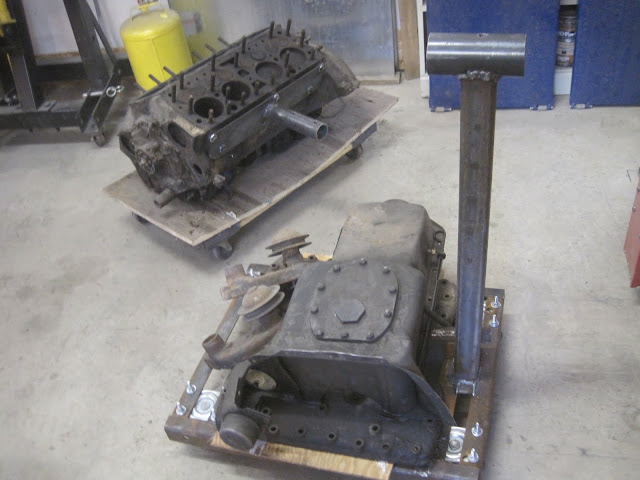
Unfortunately (for me as usual!), I lent my FIL my lifting straps and they have yet to come back....Oh well, it's family....so I had to use this chunk of nylon rope instead...
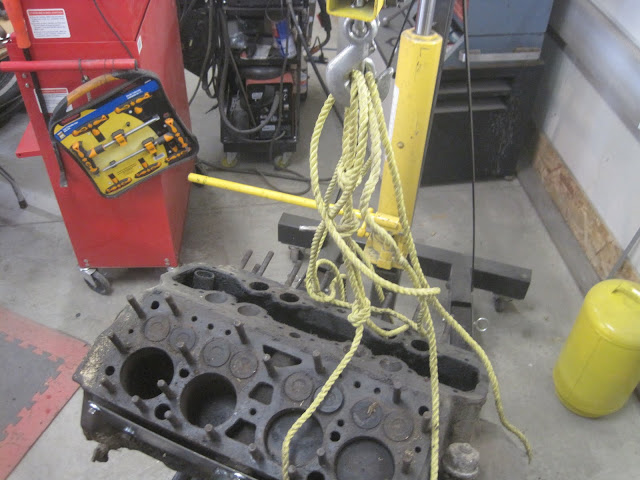
And WALA - new engine stand...total cost: $4.00 in scrap metal, maybe $20 for casters (I think, 'cause either I bought them a while back, or stripped them off something else), some mig wire, gas and my time....pretty cheap!!
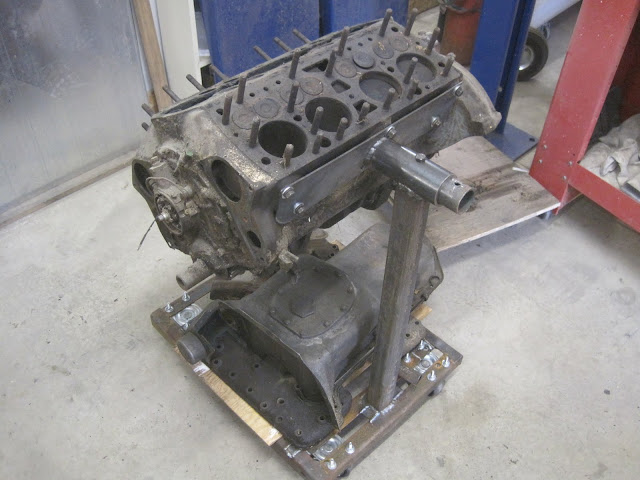
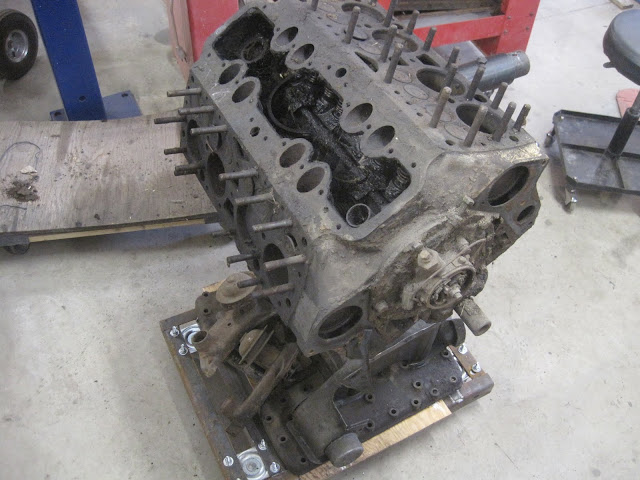
I saw another GJ fabricator weld an old socket onto the end of his in order to accept a breaker bar for turning the engine over on the stand. So other than that (and maybe some POR15), she's done! Thanks for looking!
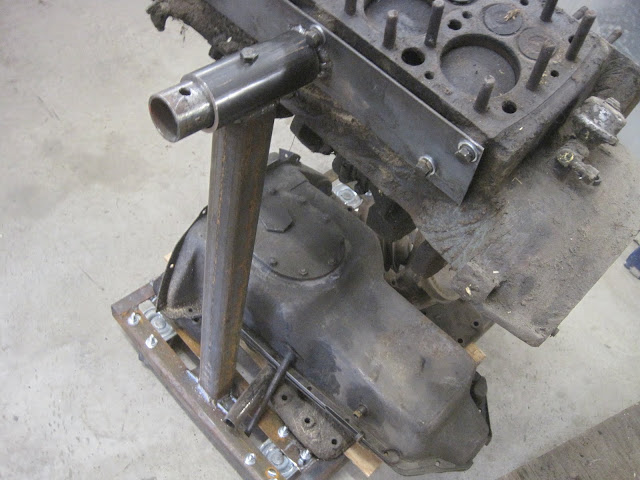
Except for, looking at this view, I have the block-plate on upside down. If I flipped it over, the block would be level....%$&# d'oh!!....Oh well, there's always tomorrow!
So, since I got the parts for the engine and I had a bunch of scrap lying around, I thought I'd make myself a new stand - specifically for flatty's.
The base is courtesy of BendPak! It's made from the end-piece that held the ramps and legs together for shipping my lift. Never throw anything away!
I had these casters sitting in a box for a couple years...finally something to use them on!!
Next, I measured and cut the various bits of scrap, using my other engine stand as a template:
Time for some welding. I notched the upright square tube to accept the round stock and give it a place to sit, which strengthens the weld:
For the flatthead, it's best to attach the engine at the exhaust manifold, rather than the weak 1/2 bellhousing. So I welded this plate to the tube that will swivel.
I eyeballed up the exhaust holes and drilled them on the drill-press. I must've been drunk 'cause I had to file a couple to fit....
Then I mated up the pieces and drilled some holes, first through the top of the outer tube and into the inner to lock it in position, then I turned the block-plate over and drilled another hole, this time using the same outer hole and into a new hole, so I can turn the engine and lock it upside down.
Then I bolted the block-plate onto the block and prepared to lift the block to mate the pieces together...
Unfortunately (for me as usual!), I lent my FIL my lifting straps and they have yet to come back....Oh well, it's family....so I had to use this chunk of nylon rope instead...
And WALA - new engine stand...total cost: $4.00 in scrap metal, maybe $20 for casters (I think, 'cause either I bought them a while back, or stripped them off something else), some mig wire, gas and my time....pretty cheap!!
I saw another GJ fabricator weld an old socket onto the end of his in order to accept a breaker bar for turning the engine over on the stand. So other than that (and maybe some POR15), she's done! Thanks for looking!
Except for, looking at this view, I have the block-plate on upside down. If I flipped it over, the block would be level....%$&# d'oh!!....Oh well, there's always tomorrow!
 Someone in Australia is waiting for things to happen in my shop!!!


 What Tell me who in Australia has you under pressure and I will tell them to steady off.