The very next day, when returning from a market nearby, the car cut out on me and threw a check engine light when taking off from a red light. Seemed to not be running on all cylinders (sounded like a damn Subaru boxer engine), but luckily, I was able to drive it home as this happened about a mile from my house. Immediately checked for codes and found the following:


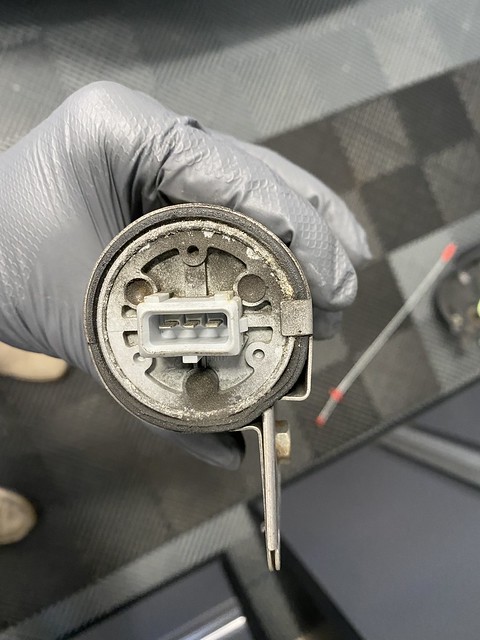
My tuner (Hassan from HTE) said it was most likely plugs or coils, and having never changed the plugs on the car in my ownership, I can only wonder if they're original or not. My mechanic neighbor also thought the plugs were the most likely culprit, noting the recent intake install and tune, and this was probably putting too much of a burden on worn out plugs. So I started the triage by replacing the plugs and, while I'd be shocked if they weren't THE single culprit, they were most definitely a large contributor...these things were toast:


Plugs were all swapped over the weekend, but while I was at it, I decided to try and properly bend the OEM dipstick. I learned a valuable lesson during this time: I don't know how to properly bend pipe. I massacred this thing! So I did what I should have done from the get-go and ordered the CSL dipstick and tube from ECS Tuning Sunday night. It's on the UPS truck today for delivery, which is very impressive (yes, I paid extra for 1 day shipping)!
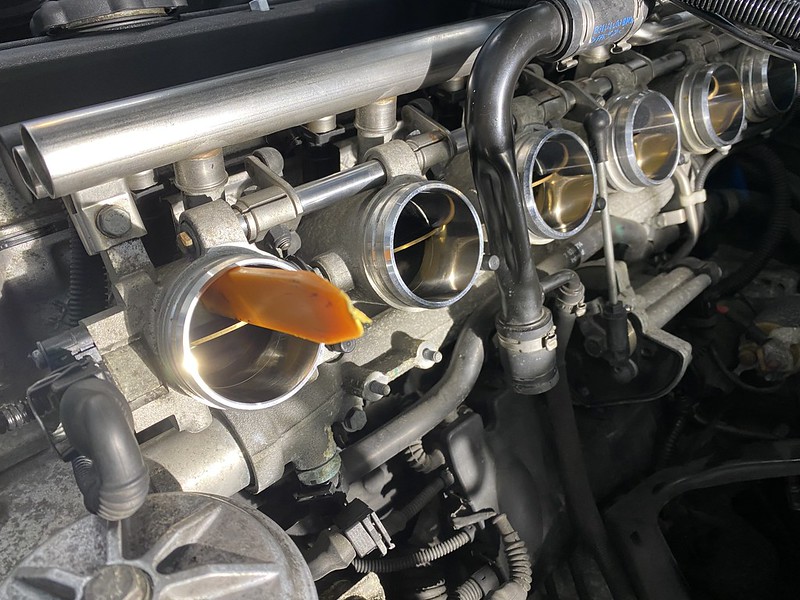
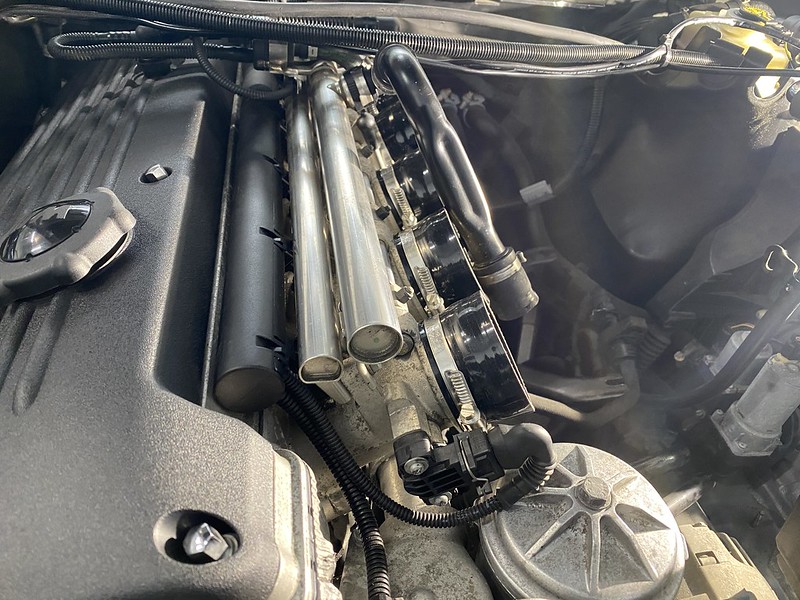
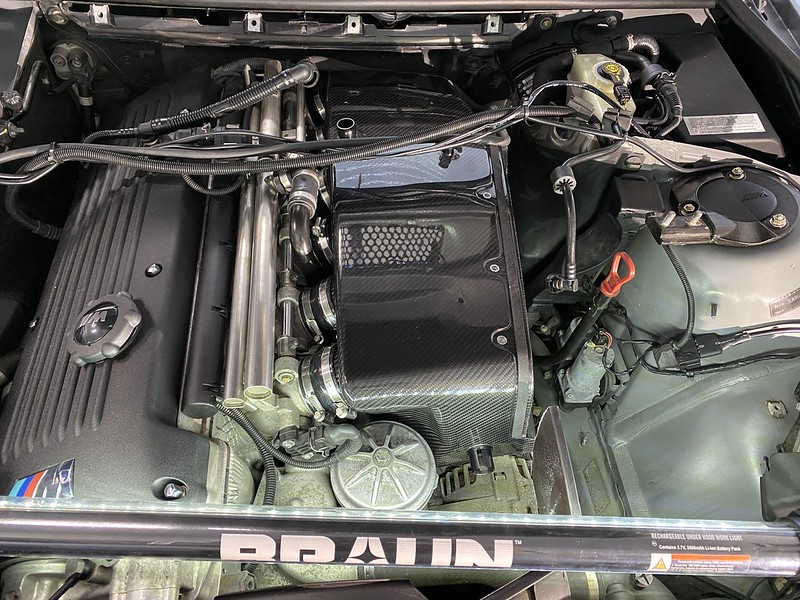
So once the dipstick situation is taken care of, I can reinstall the Karb box and take this thing for a test run and see if the misfiring situation is addressed or not. If not, then time to move coils around and see if they're also a culprit. Fingers crossed it's just the plugs.
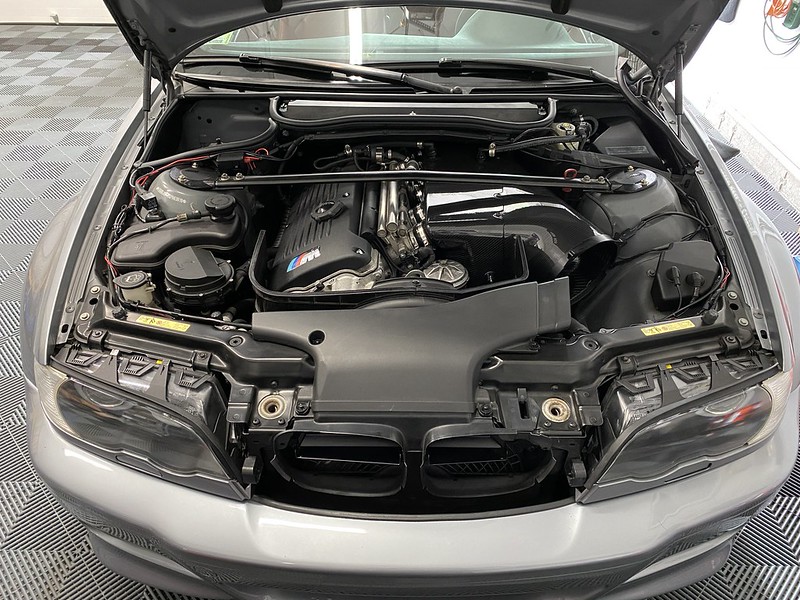
While I had the cabin filter housing out, I decided to throw some Solution Finish on the faded cover:
BEFORE

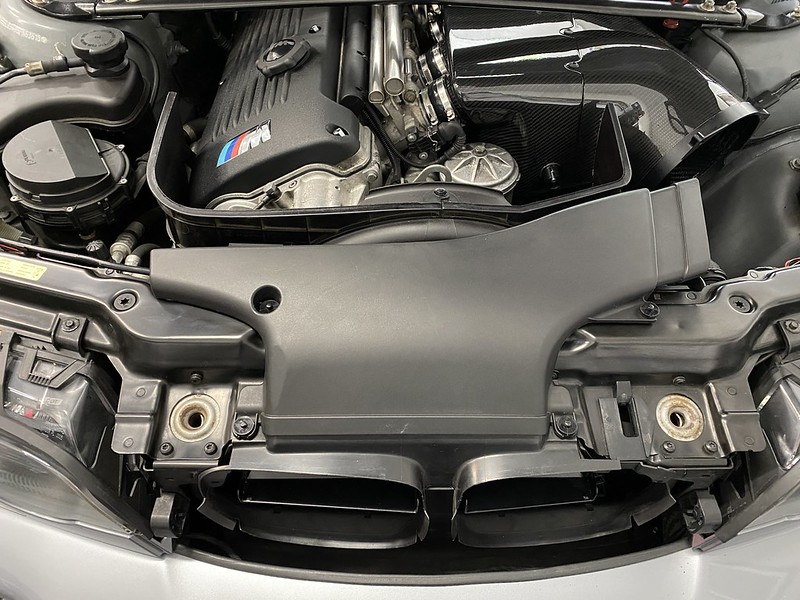
 AFTER
AFTER


And lastly, my new vanity plates came in, after waiting pretty much the length of the pandemic for the MA RMV to allow them again:


")
 Off to the scrapper she goes...


 You mean DEFINITELY overkill!