ODIS
Well-known member
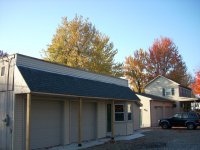
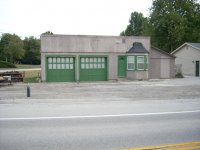
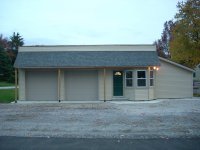
Re: garage refurb
Or, you could build your own version of the Studley Tool Chest:
http://www.google.com/search?q=stud...VOYzQigLg_4CwCg&ved=0CB0QsAQ&biw=1920&bih=947
Ody.
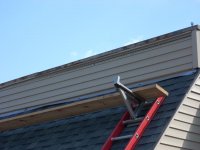
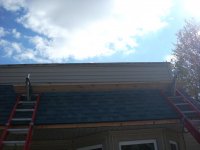
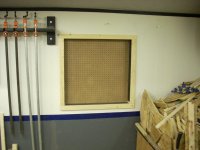
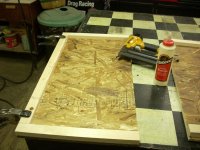
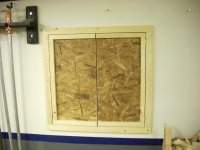
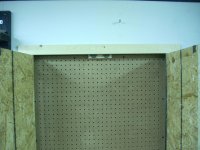
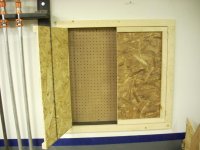
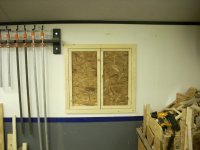
Looks like the beginnings of a handy, if somewhat shallow, cabinet. Some stout hinges, some deep doors with pegboard/shelves/racks and you've got decent extra storage. Years ago, I 'modified' a plywood, recessed, triple medicine cabinet that I tore out in a bathroom renovation and it made a very handy shop cabinet hung over my workbench. I used the same approach with the deep doors/pegboard and it became a great storage for my fastener supply and hooks for paintbrushes, short handsaws, files, etc., etc., etc.. An added bonus for your situation would be that the doors provide even more separation between the warm shop and the frigid winter weather.
Or, you could build your own version of the Studley Tool Chest:
http://www.google.com/search?q=stud...VOYzQigLg_4CwCg&ved=0CB0QsAQ&biw=1920&bih=947
Ody.


")