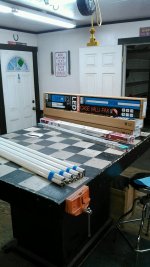
Since the windows are tinted and you really can't see in, I figured I could go one step farther. Completely blocking the view and making the space a little warmer wouldn't cost much. So while making a run for some other things, I picked up a sheet of 1/2" foil faced insulation. It was cut to size and slid in place. I'm only covering the lower section to prevent prying eyes any way to see in. Leaving the top open allows me to still peak my eyeballs through the blinds if I hear anything outside.

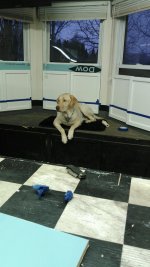
Then it was time to mask them off and try to paint some matching wall stripes. For some reason it was slightly difficult as my helper wasn't cooperating or helping like he should.....

I took him in the house and put three coats on and it still doesn't cover very well. It's Rustoleum Painter's Touch and honestly, the word "****" probably covers the description of the paint better than it does on the project at hand.

I'll try to do a 4th coat today, remove the tape carefully and let it dry before attempting to mask off for the lower gray section.


")


