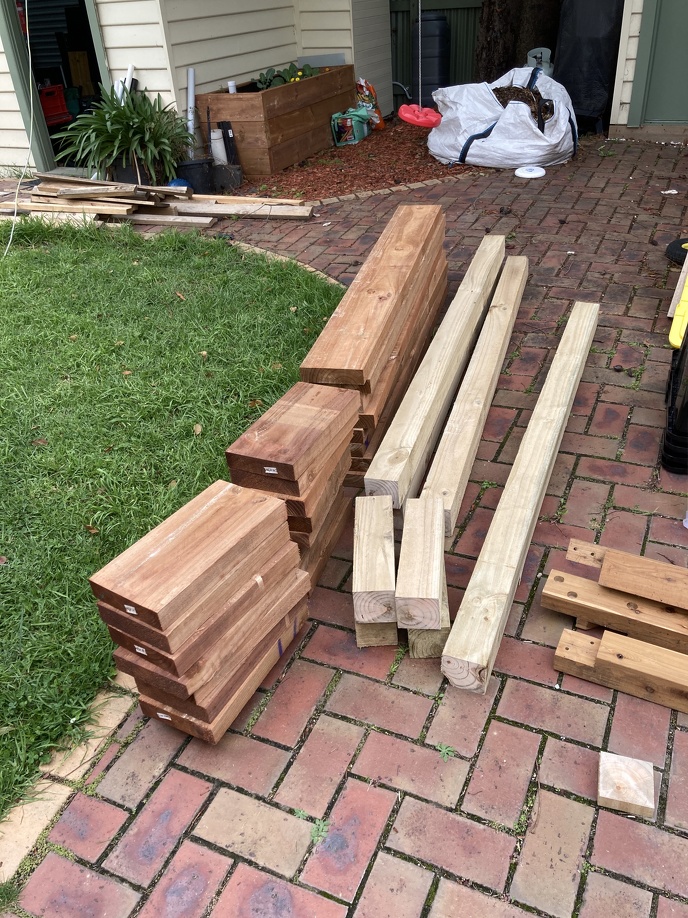
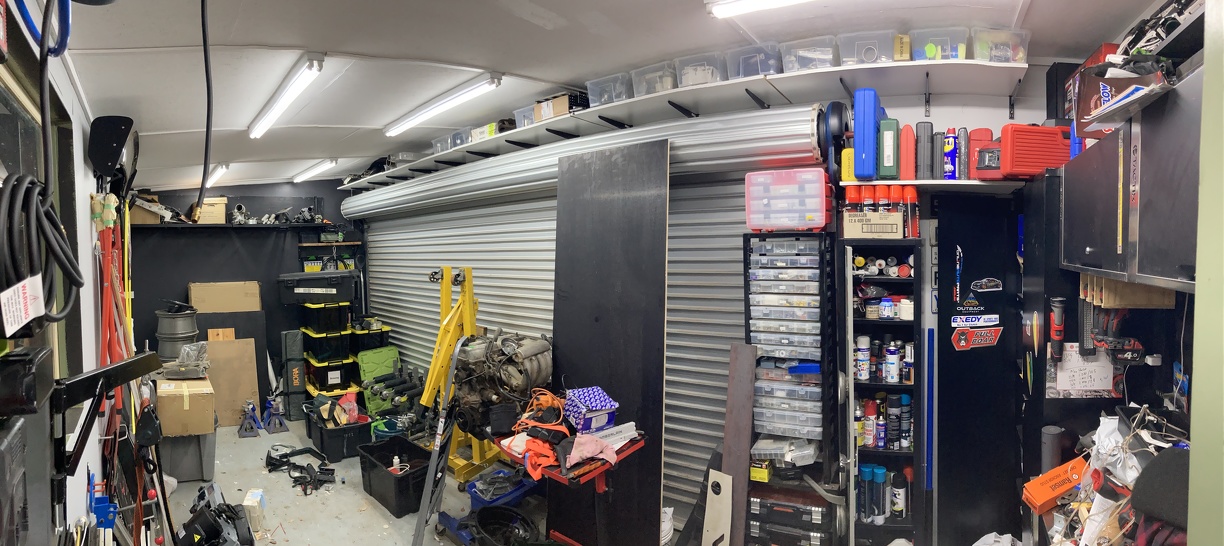
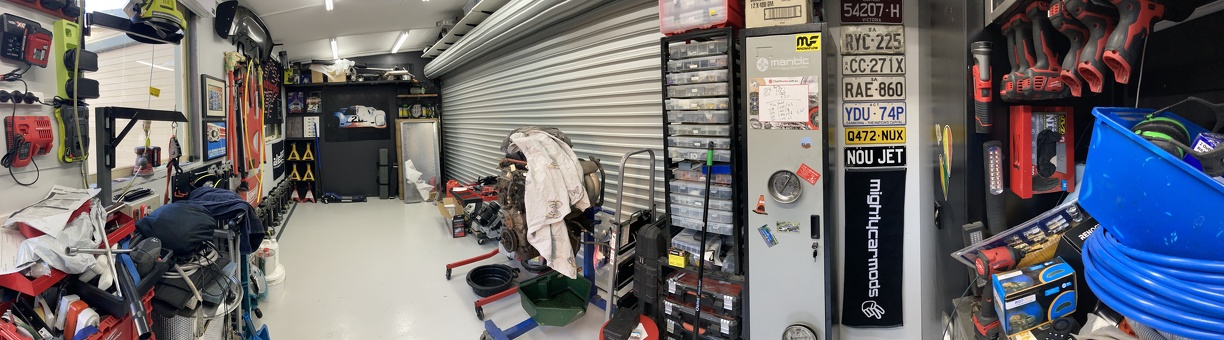
So did a bunch of stuff over the summer, but didnt write up most of it because of reasons... or something. Probably laziness.
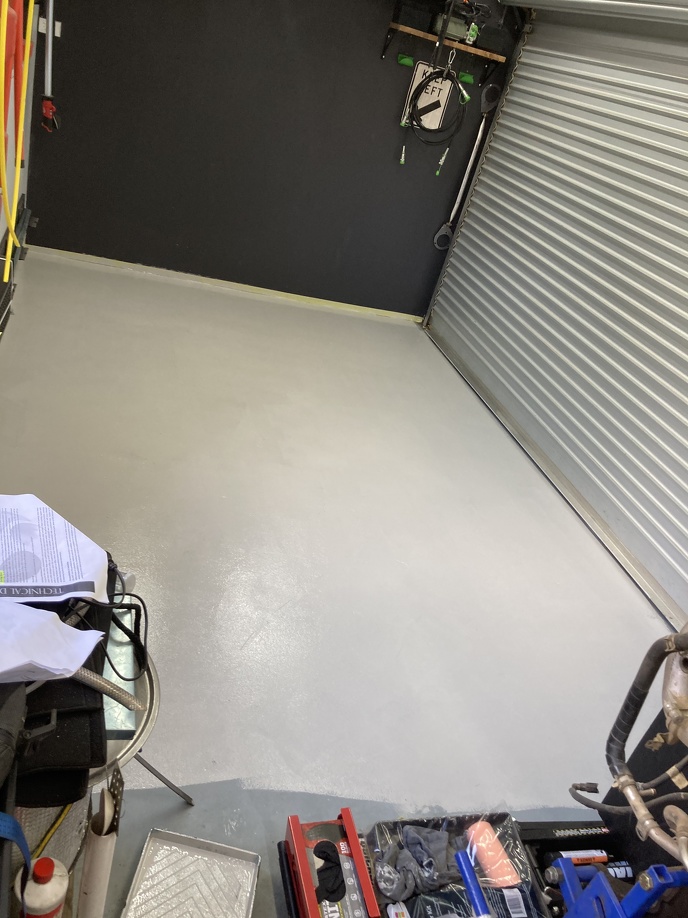
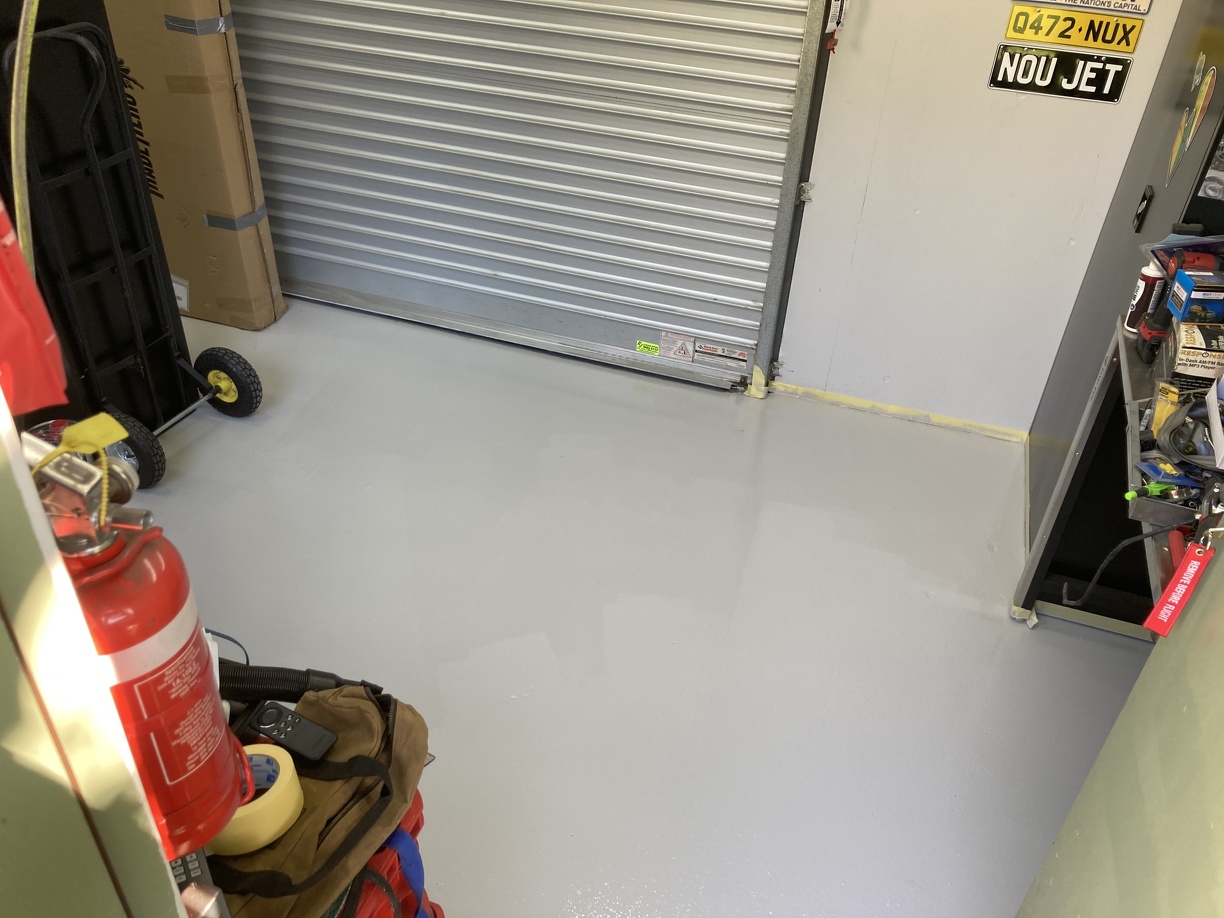
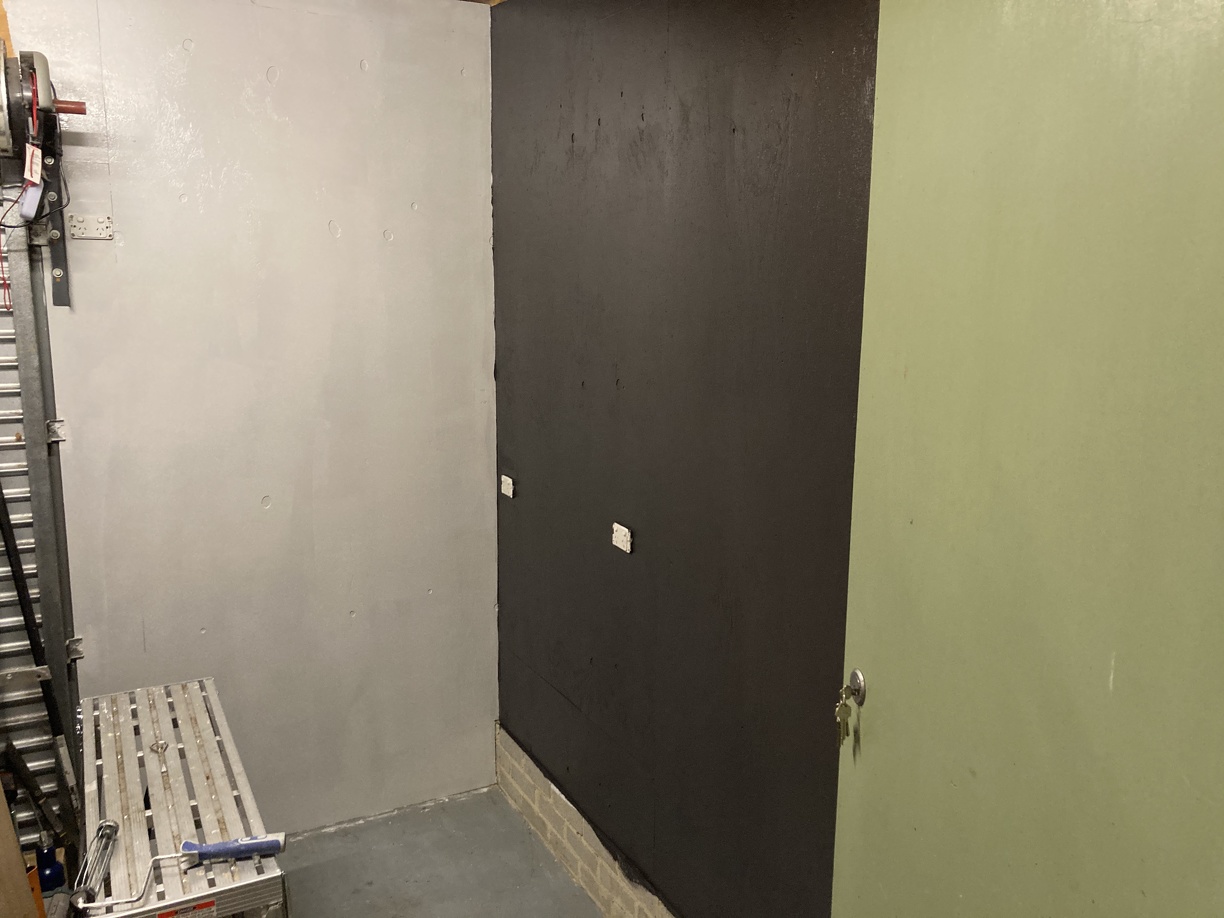
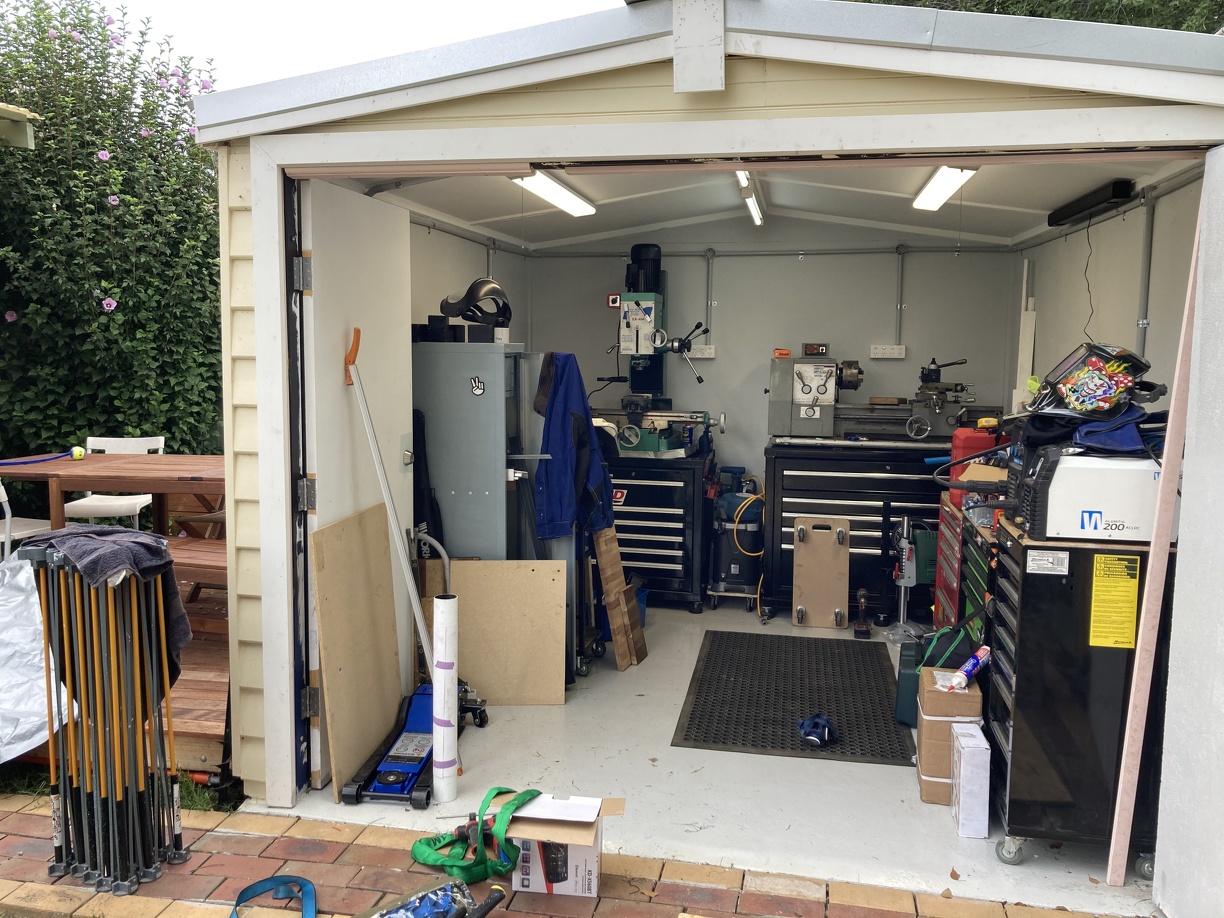
Anyway, first up was cleaning up and tidying one end of the garage so I could paint it and get it sorted out:
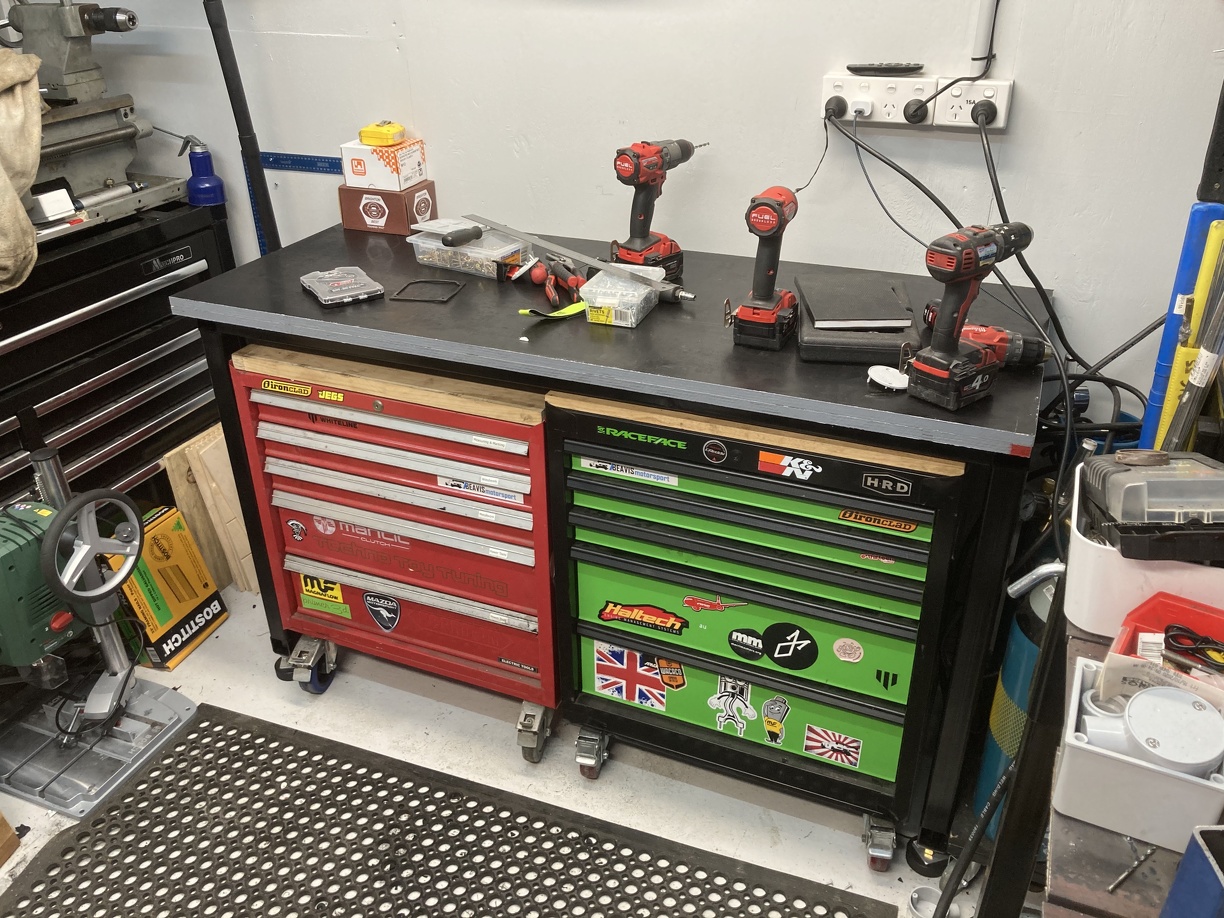
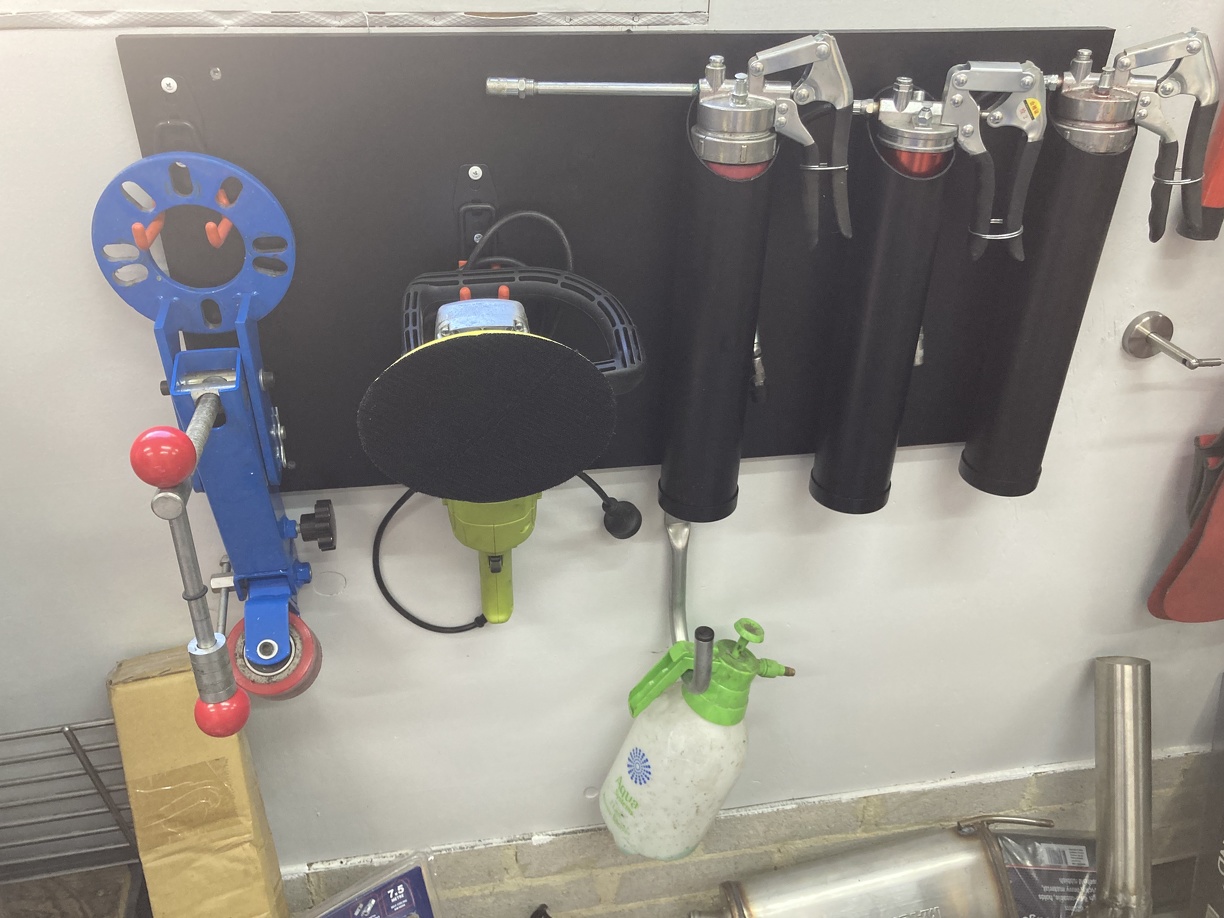
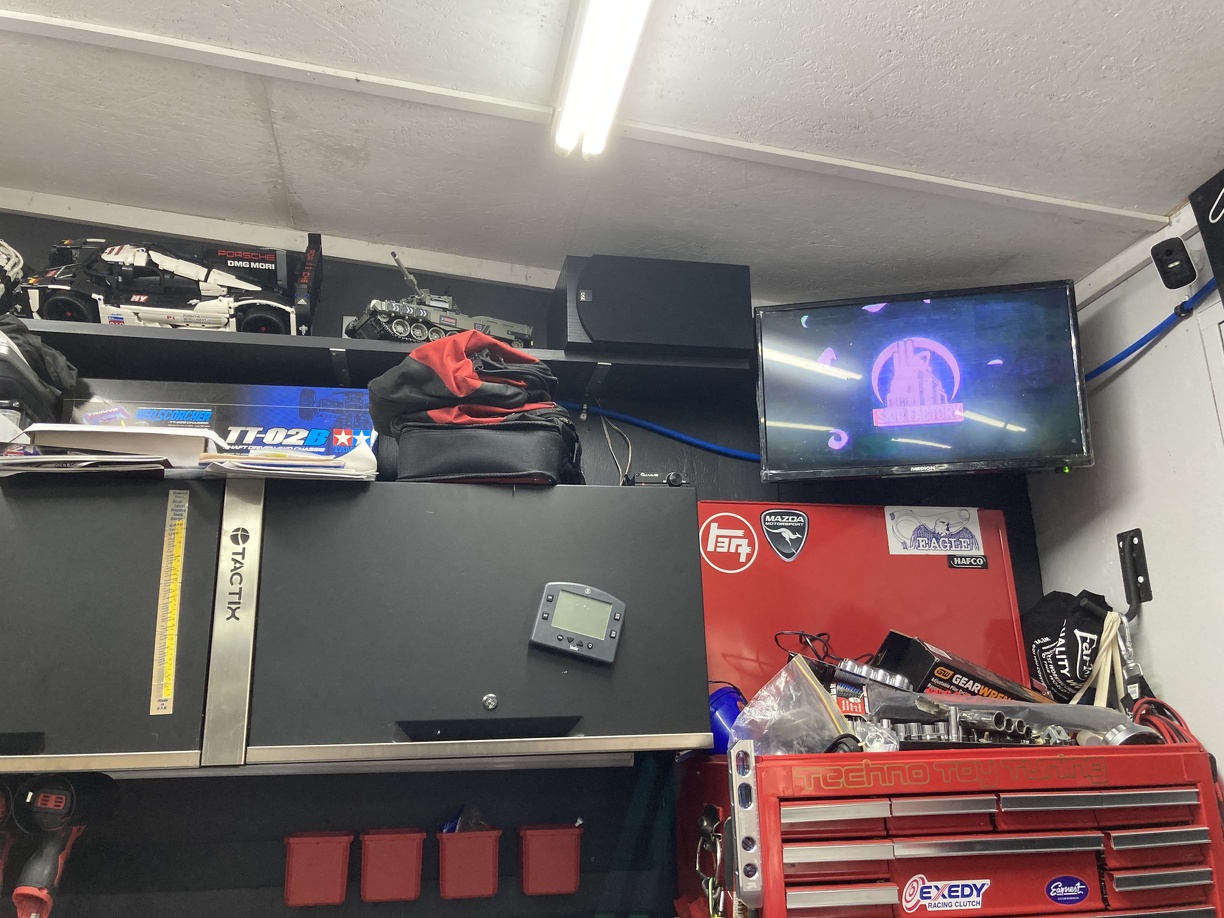
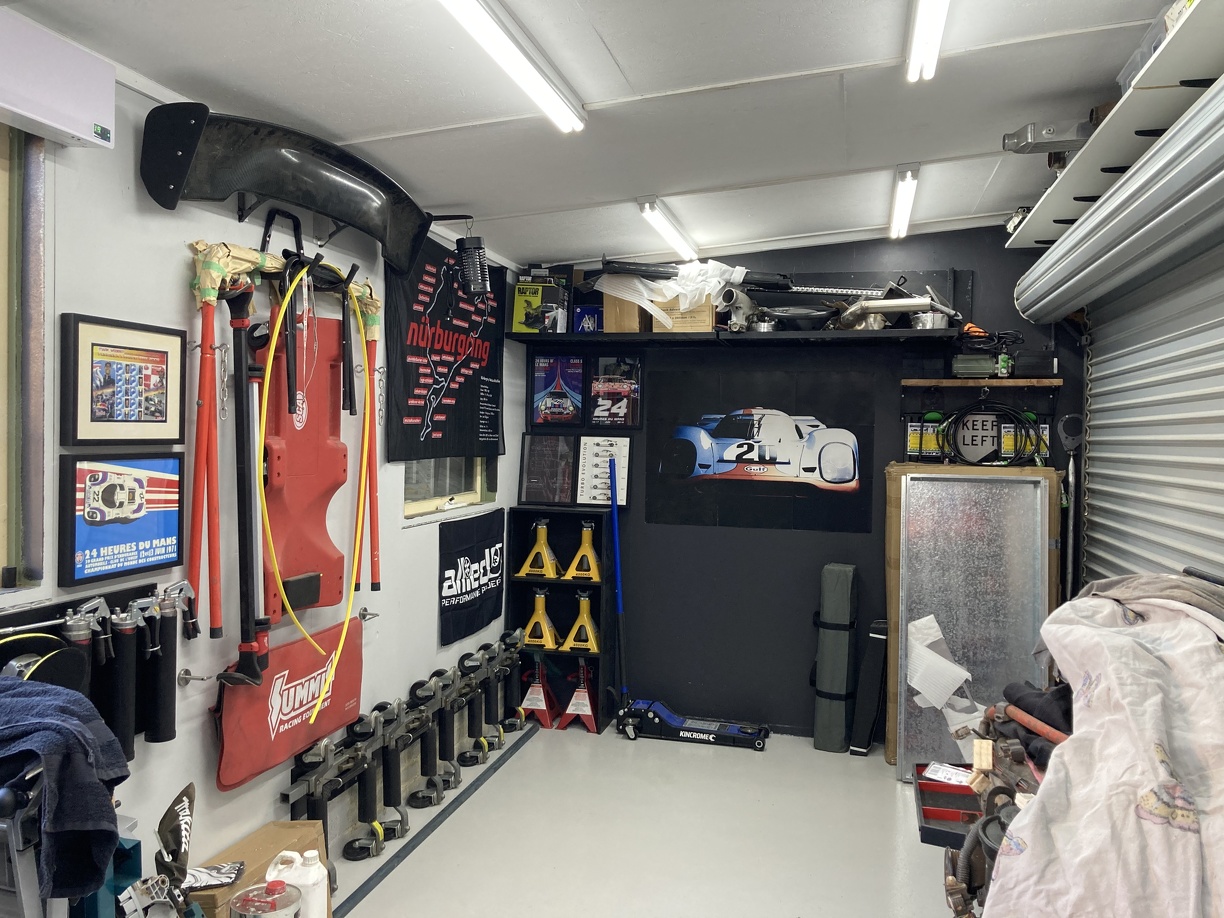
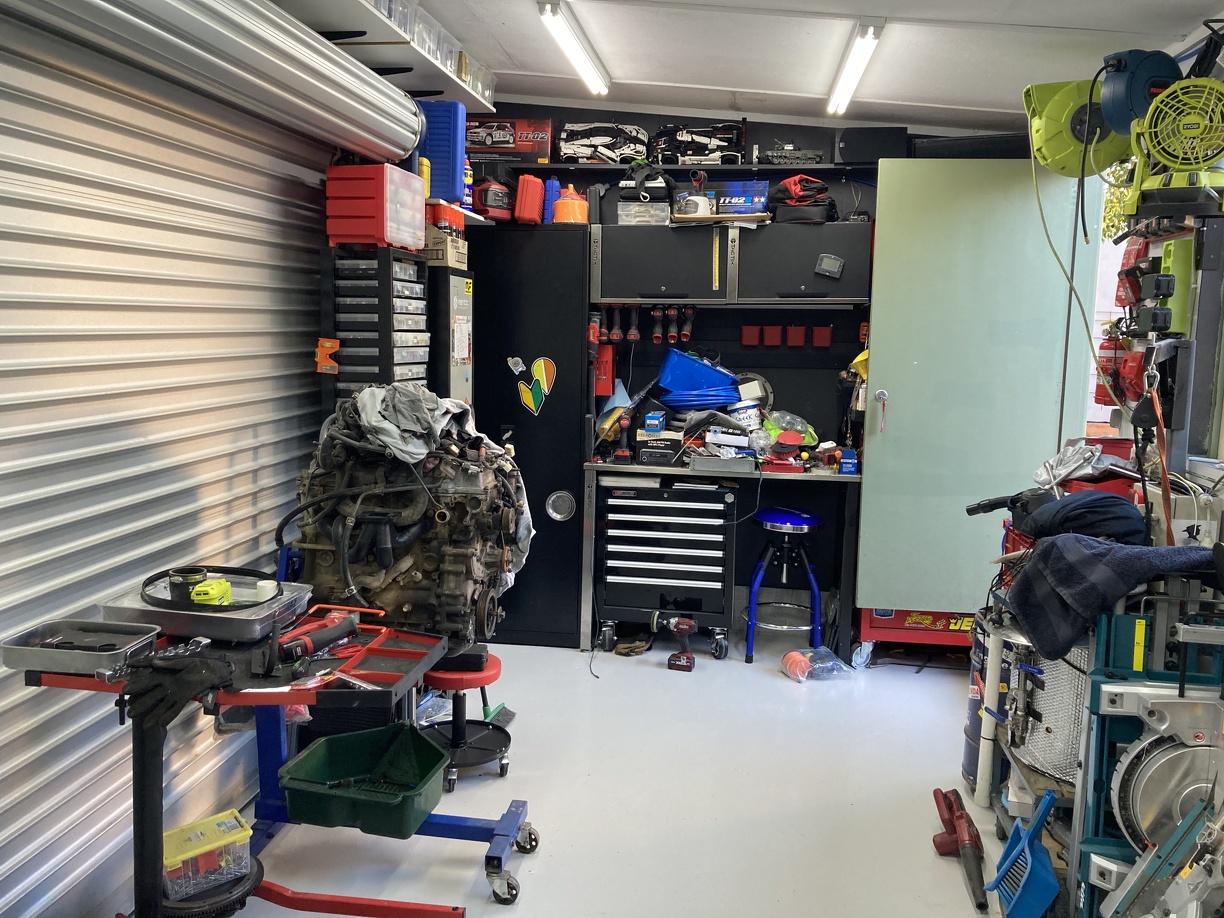
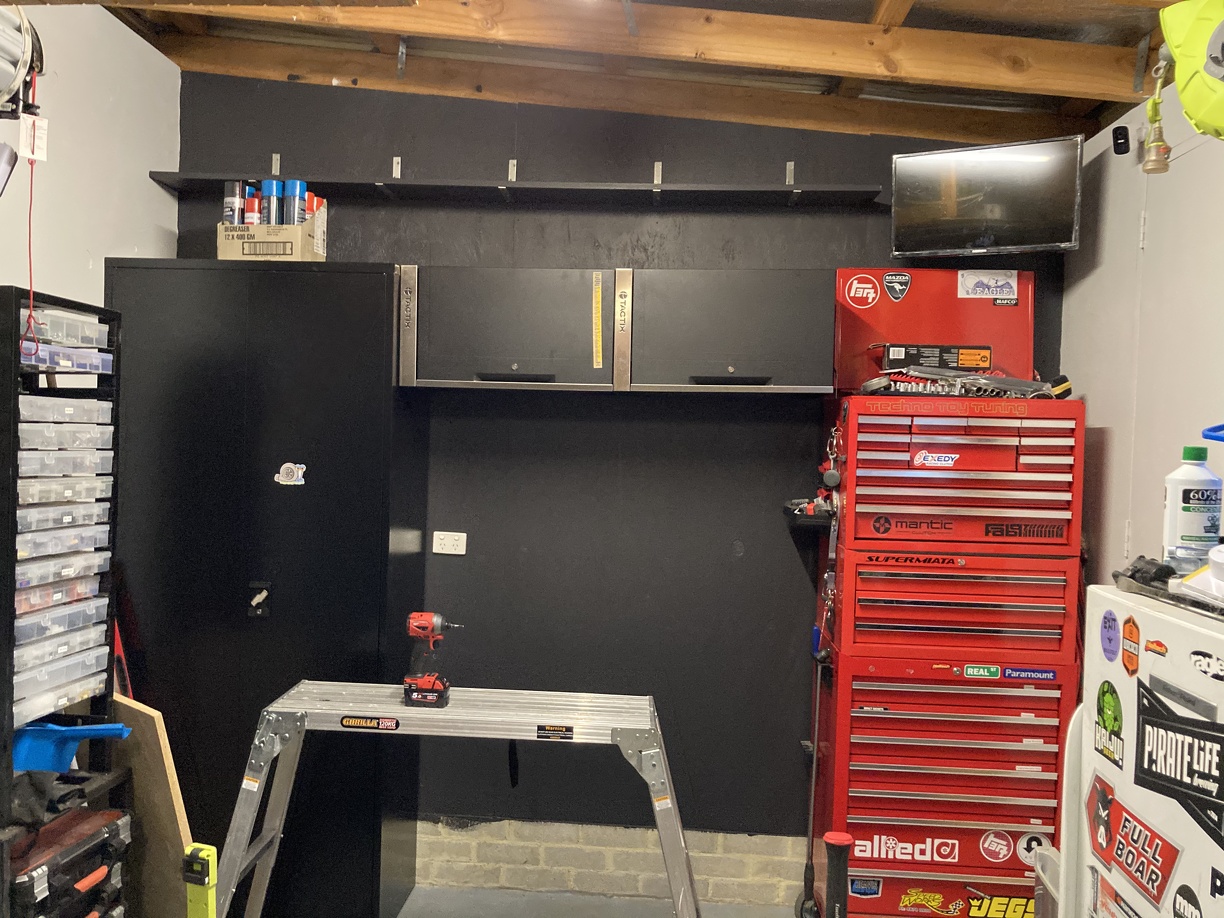
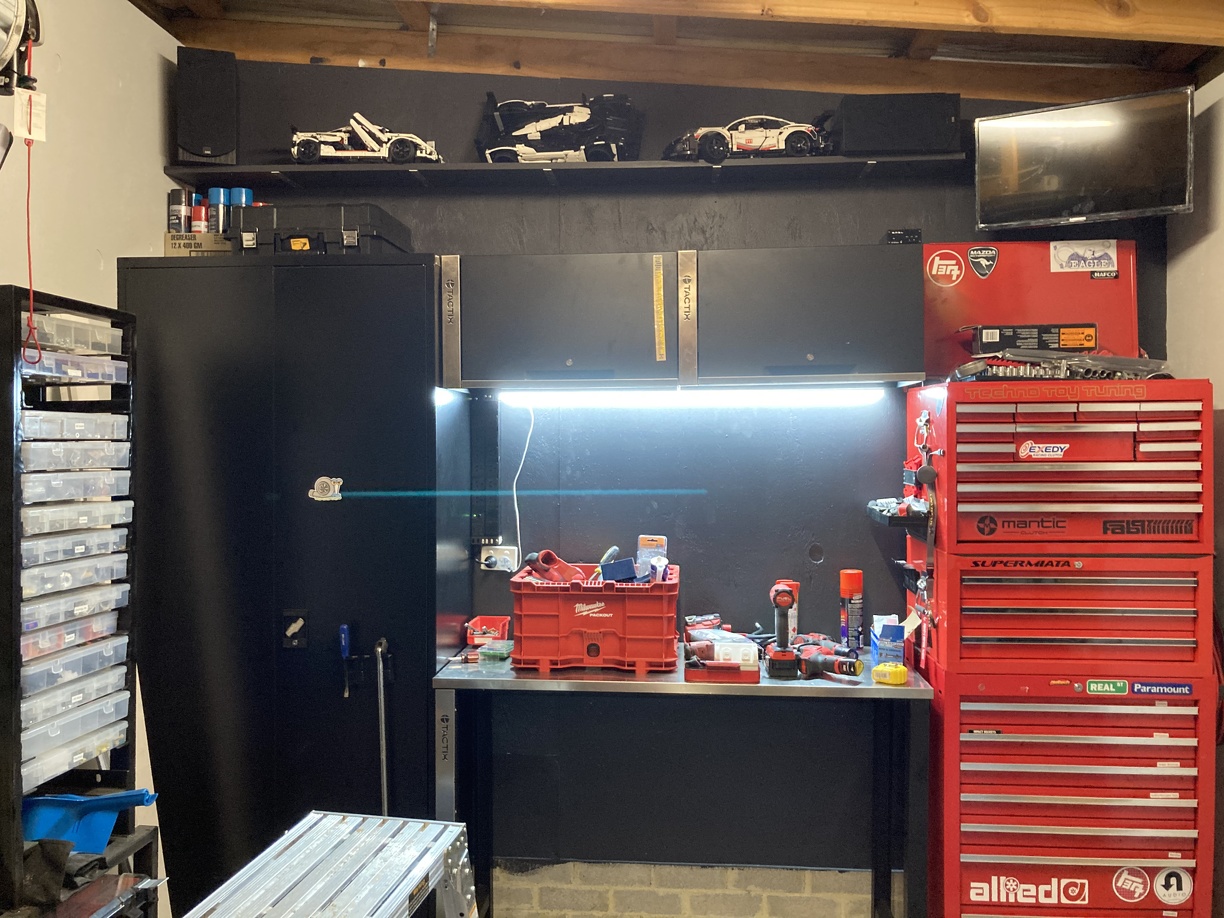
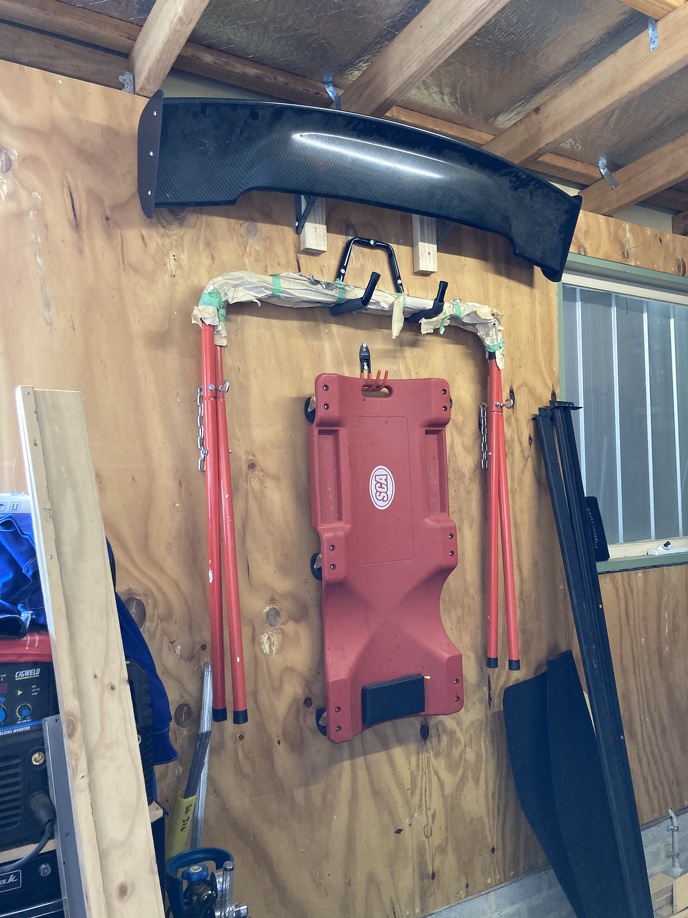
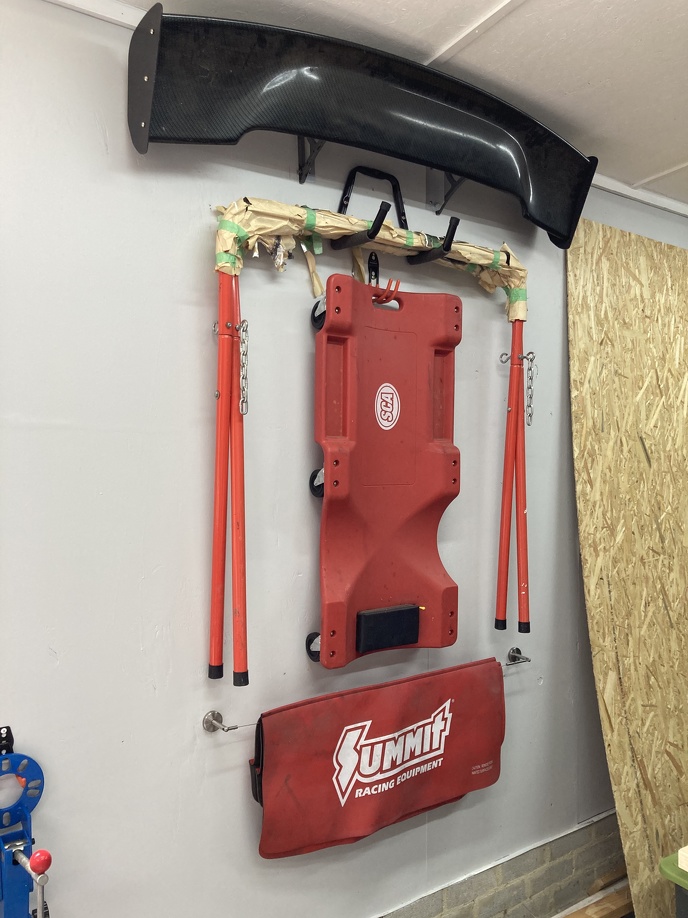
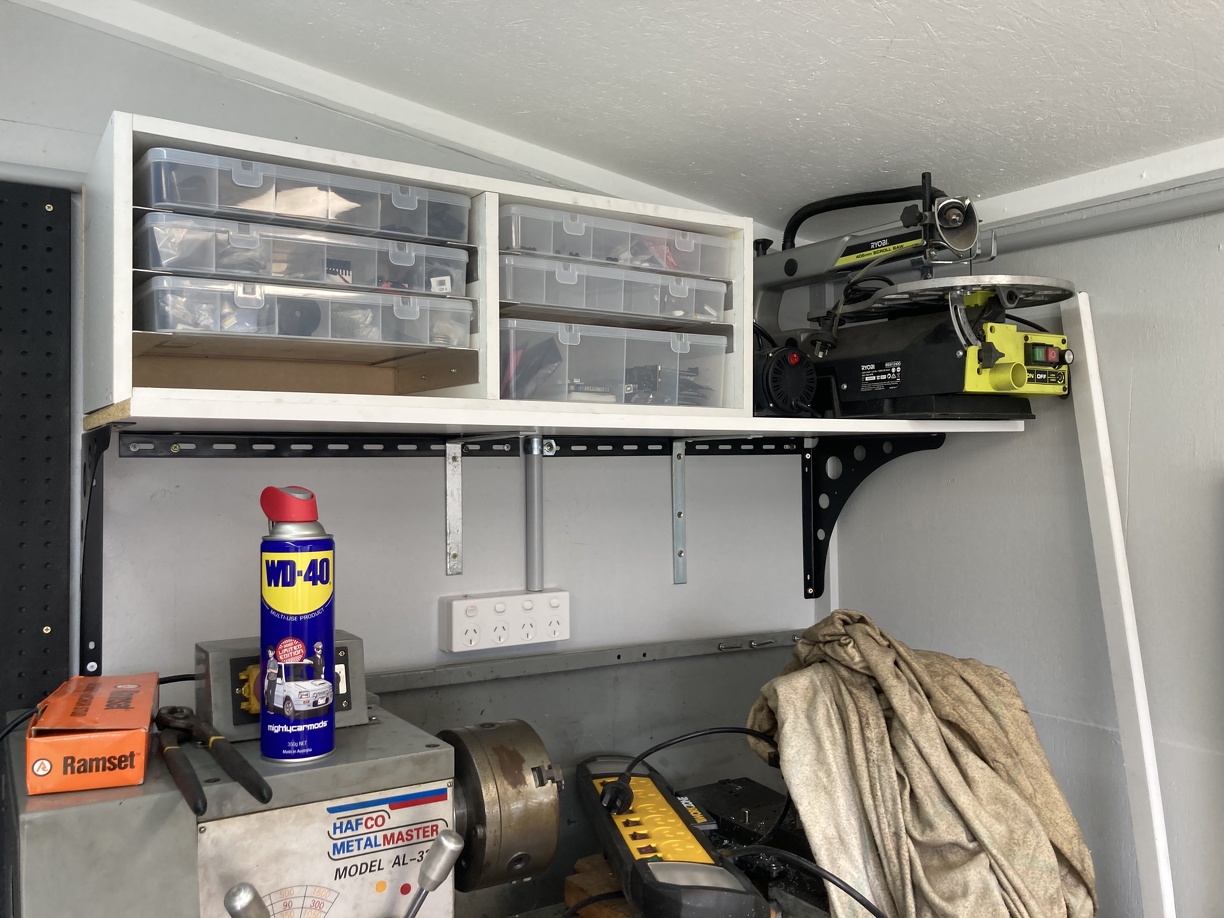
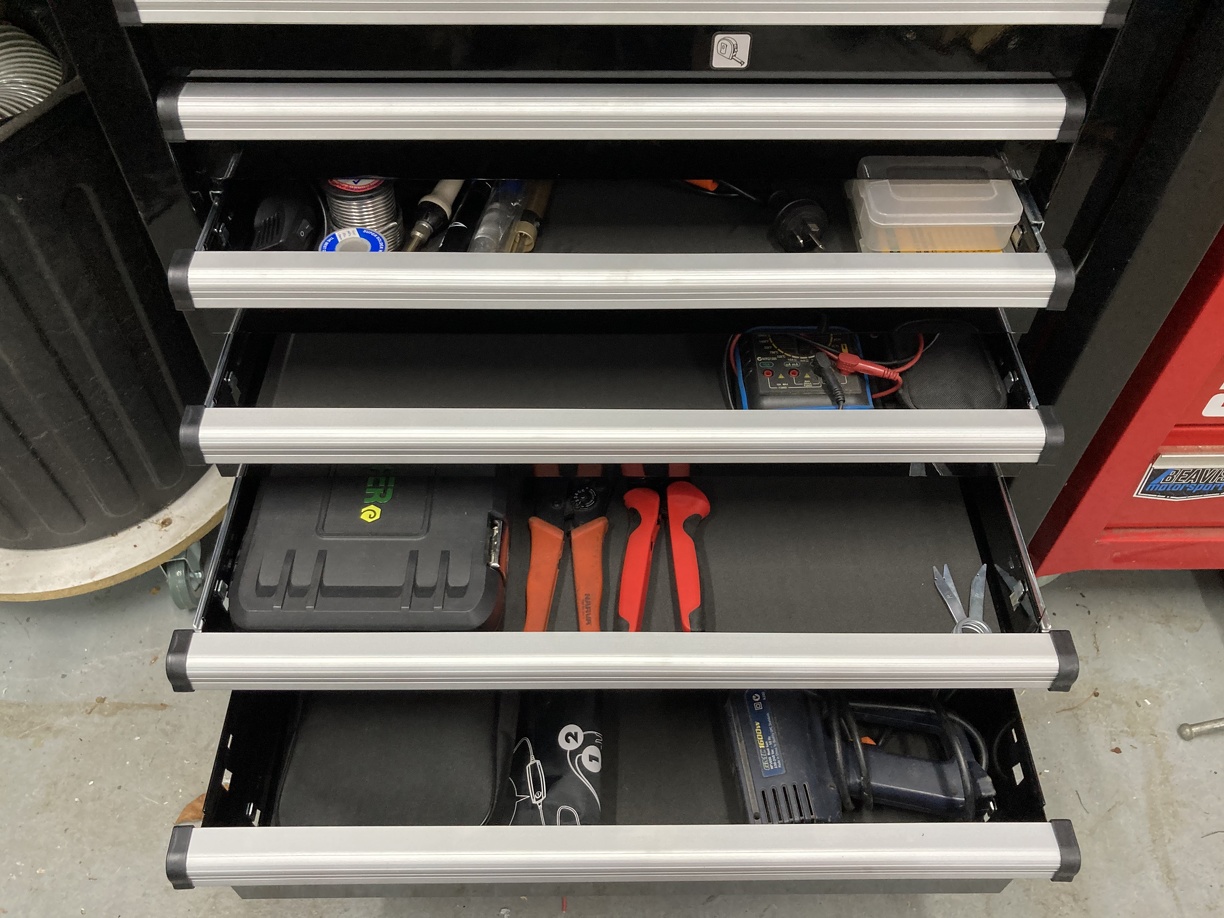
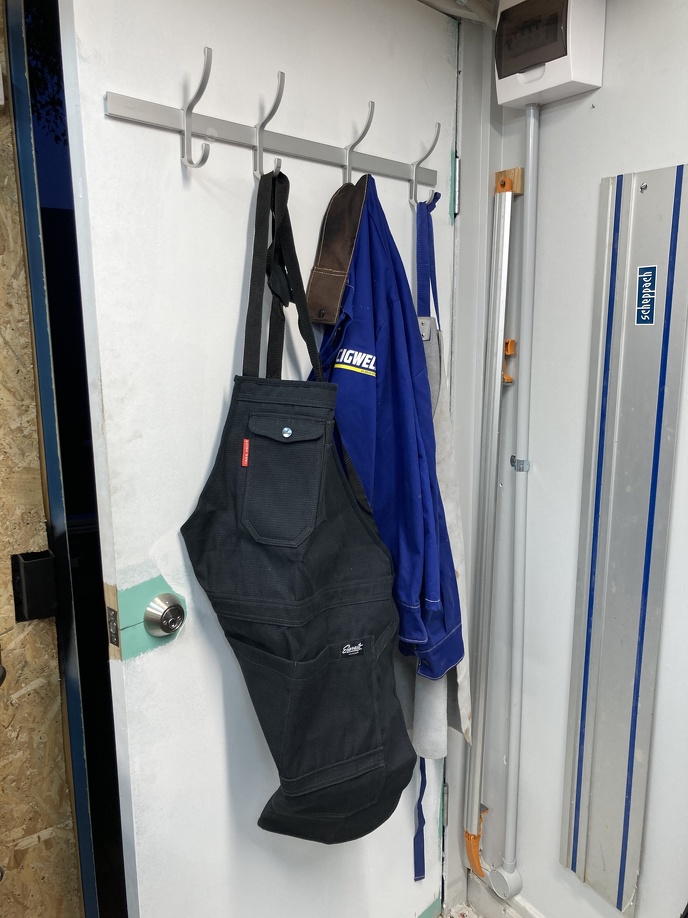
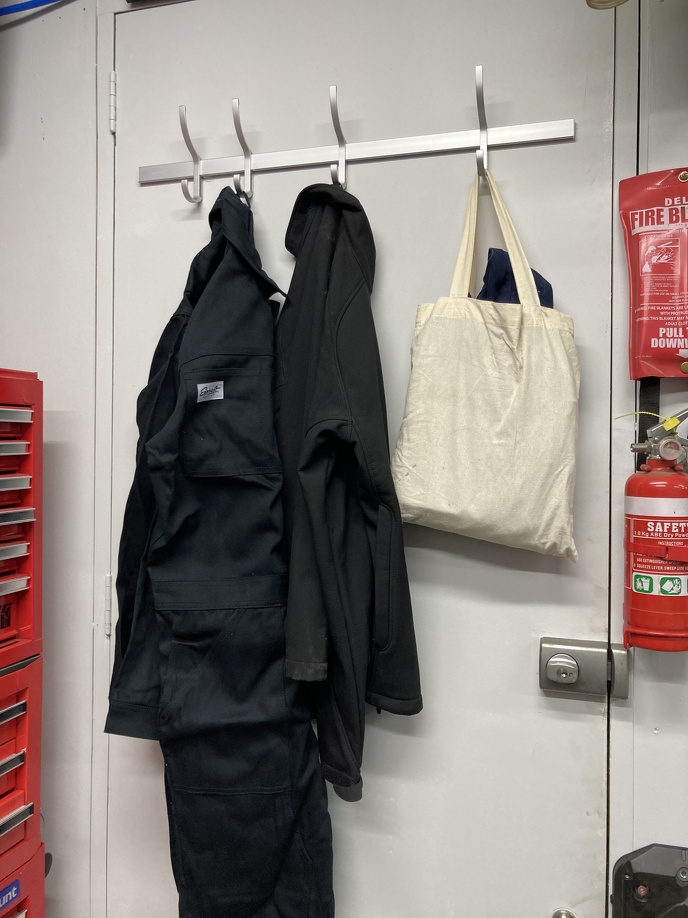
Then moved stuff back in place, added the cabinets above the workbench and a few decorations:
Then it all got hot, so worked inside for a bit and removed the two useless clothes hamper drawers from the laundry and built a basic hole for the upright freezer.
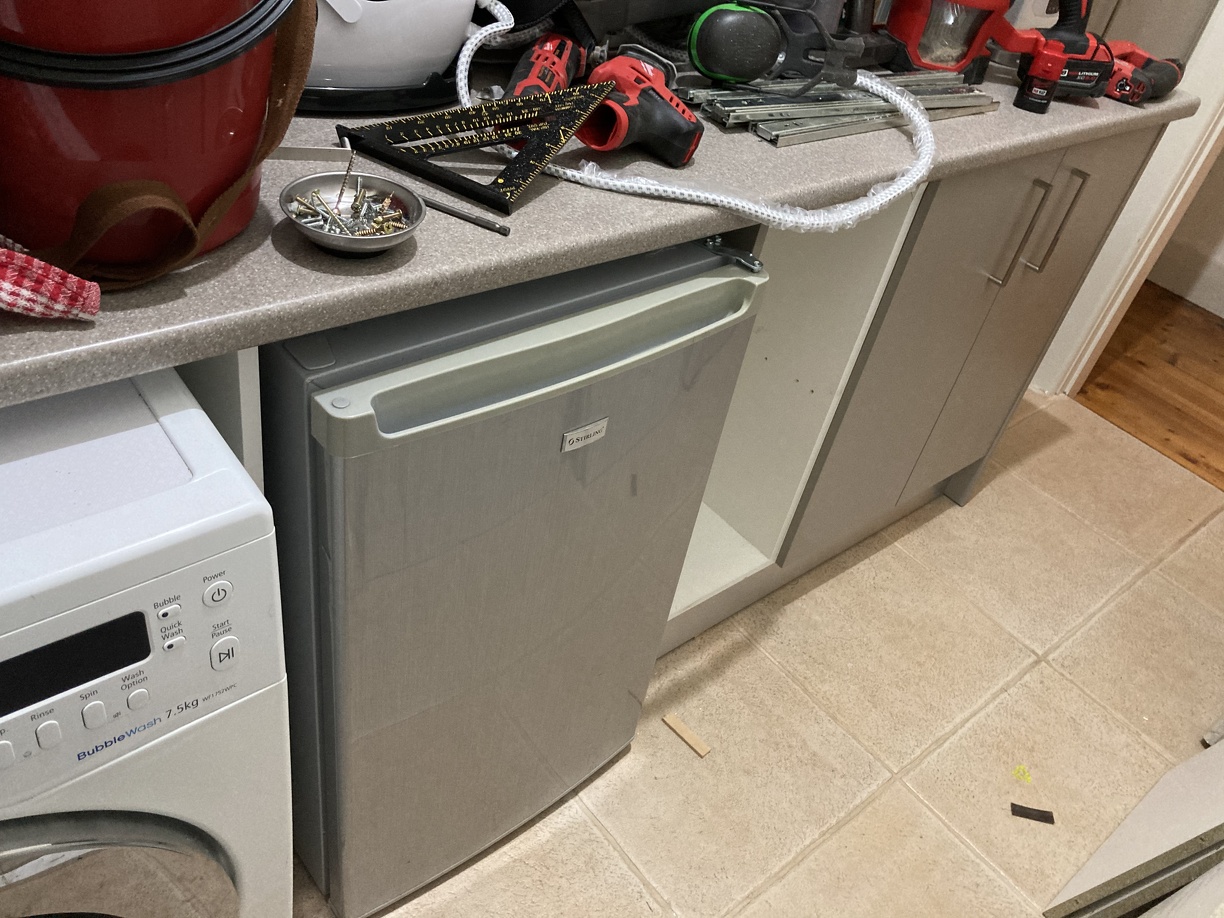
Just needs a shelf cut down to size and to get one of the door frontages edge banded for it and fitted up. For now though it got the freezer out of the garage.
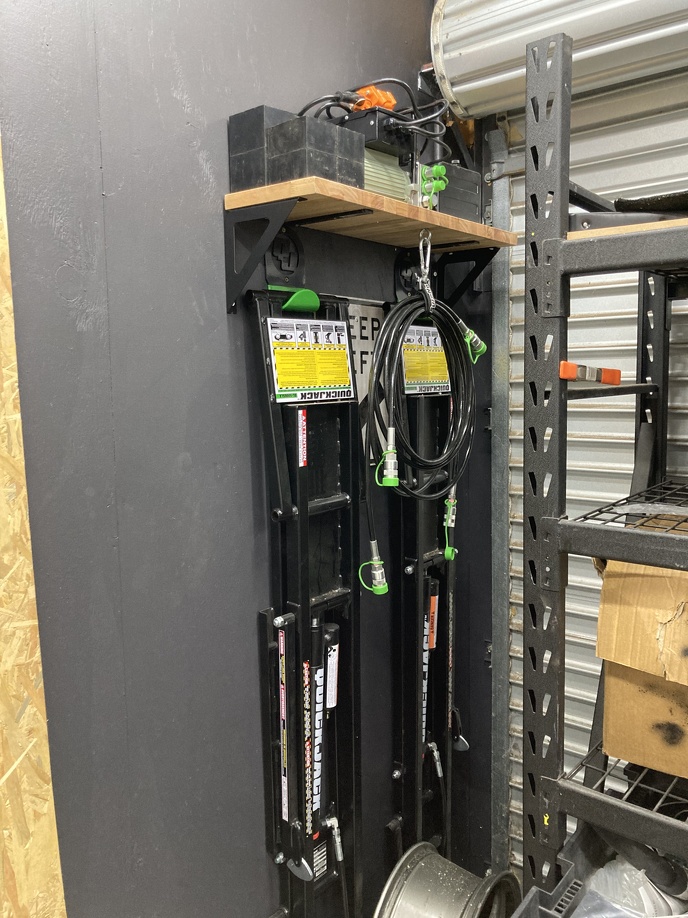
I also built a quick hutch/cupboard for the air compressor on the outer wall of the garage:
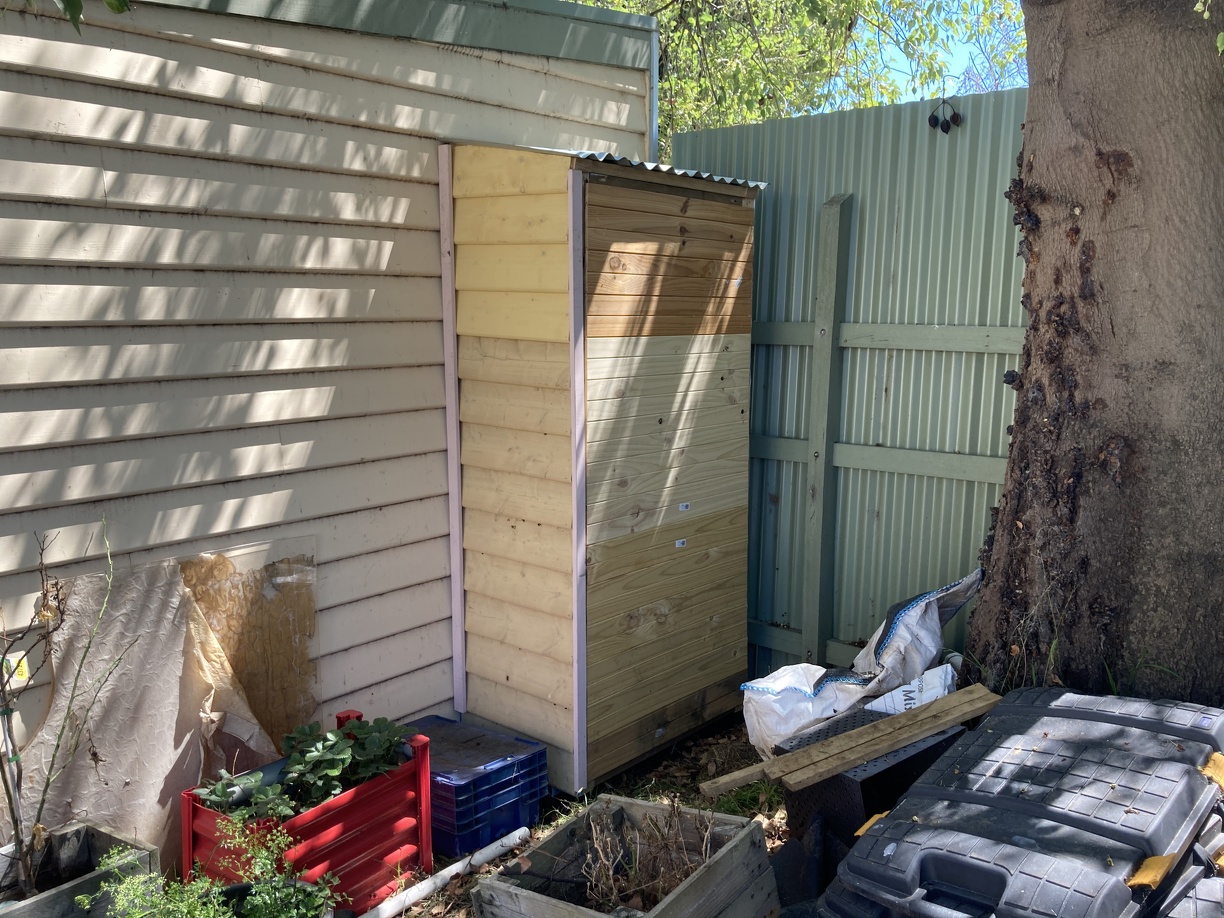
It has an outdoor powerpoint in there, and i lined up all the weatherboards for a different base spacing, then changed my mind, so going to have to deal with it being out of alignment. Ohwell its pretty obscured back there.
Also did a bunch of paving around the edge of the garage/workshop so can now get from the back door to the garage without walking across the lawn:
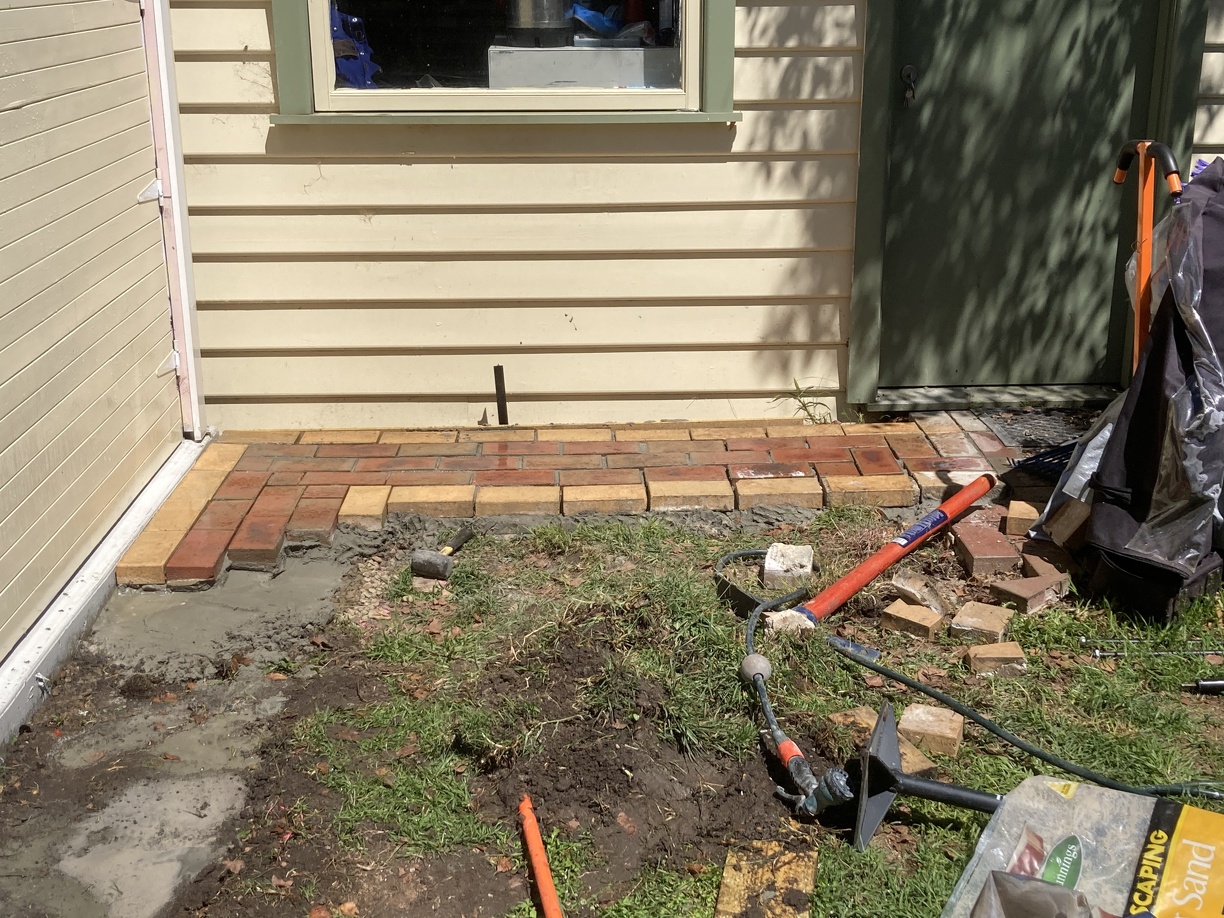
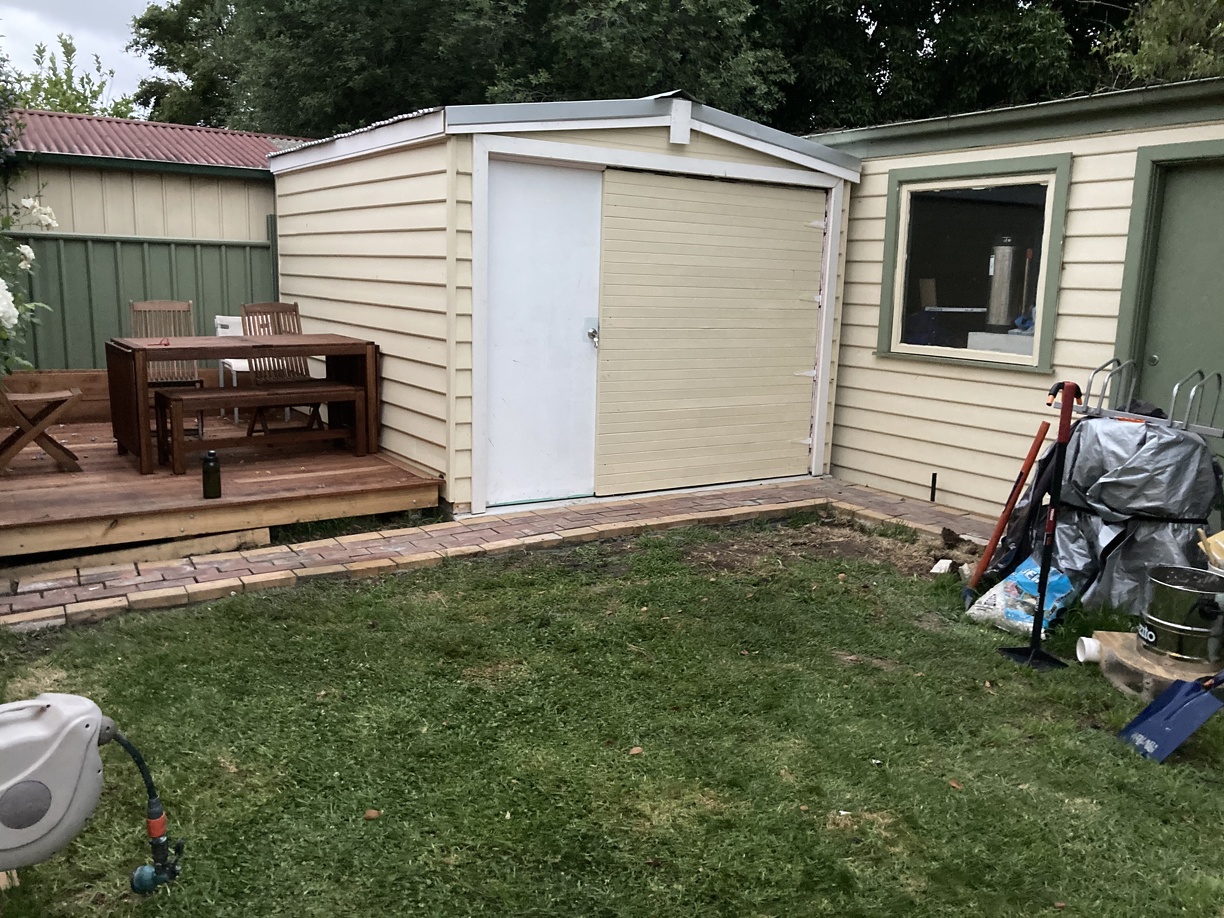
Still need to build the step off the deck.
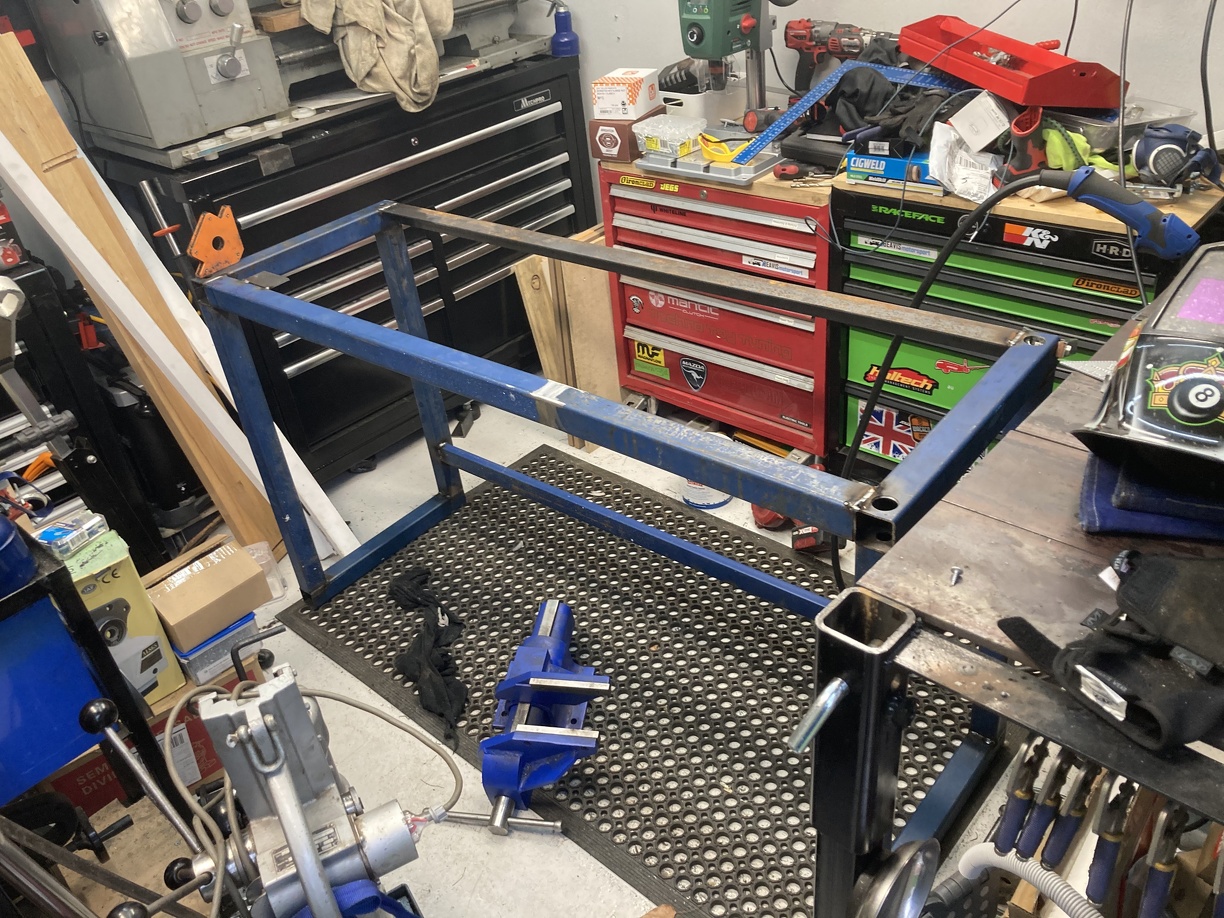
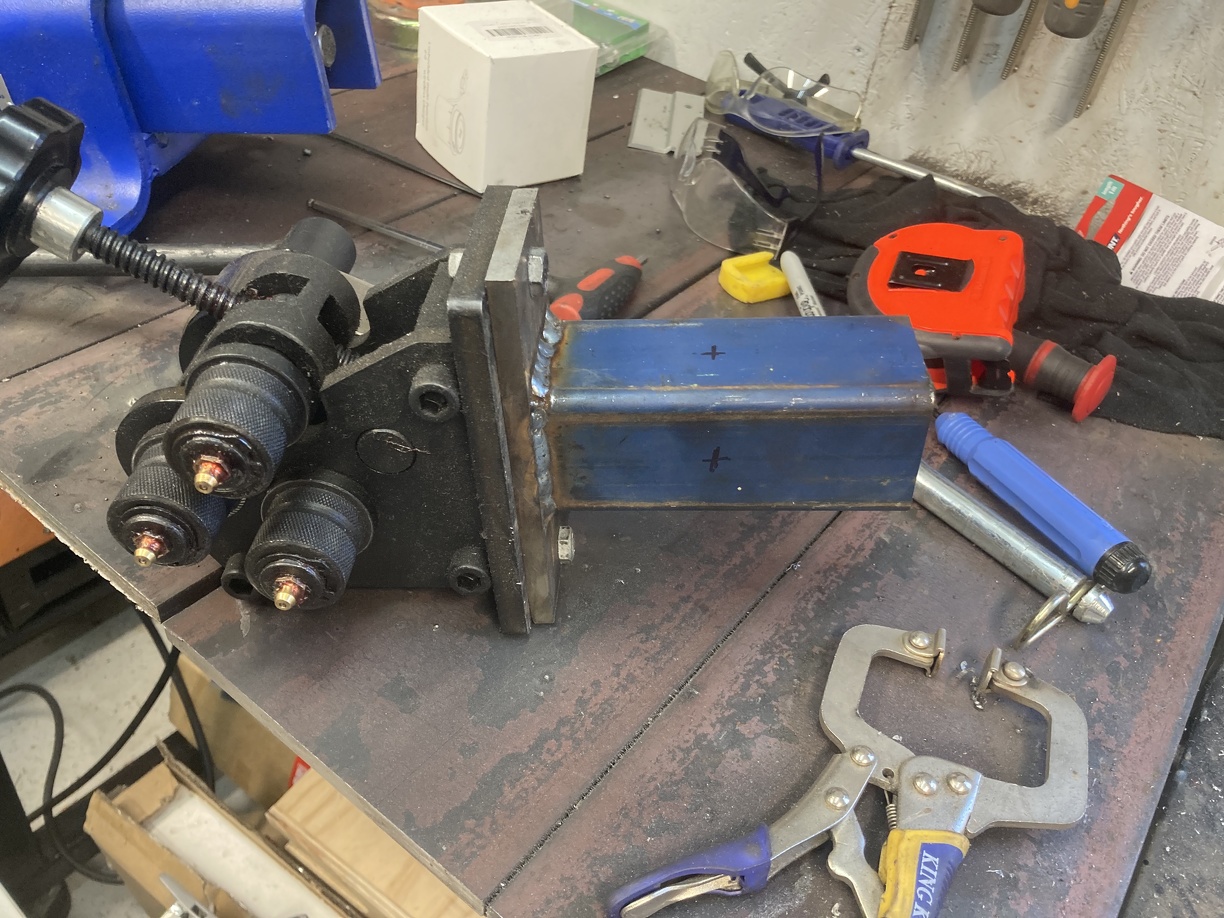
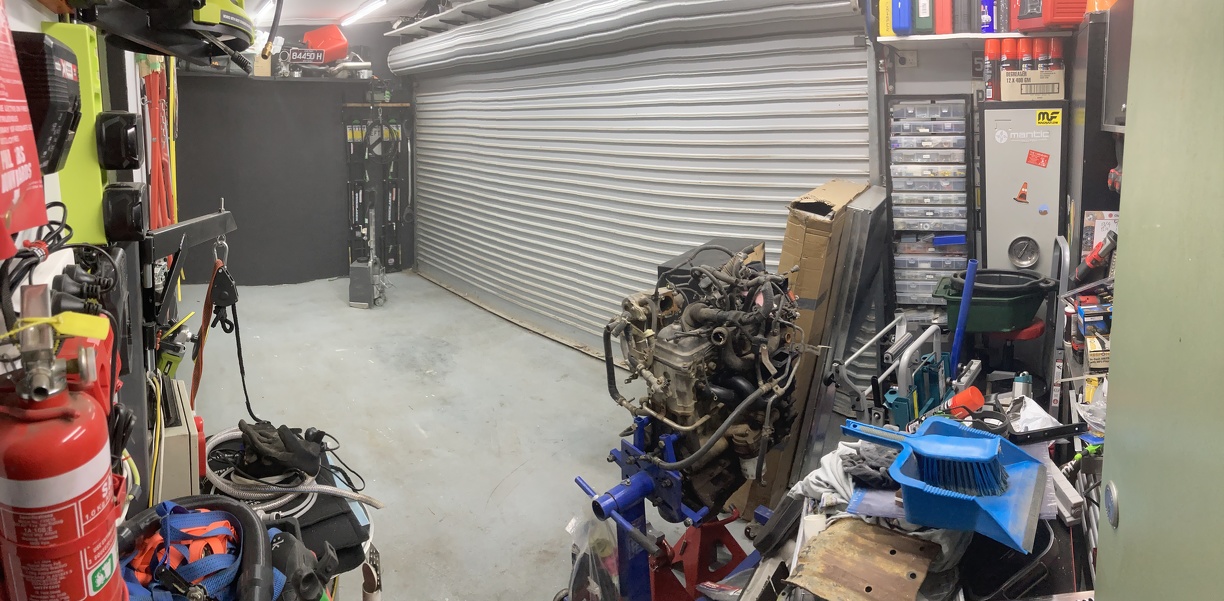
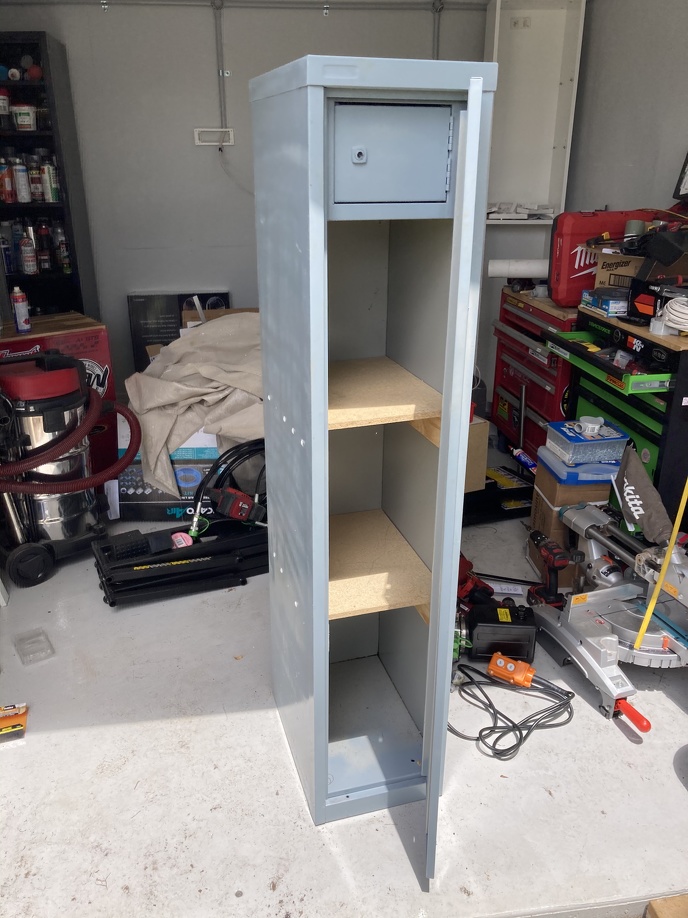
Modified a hard rubbish cabinet to put all my scrap and short machining metal lengths into. Should work pretty well:
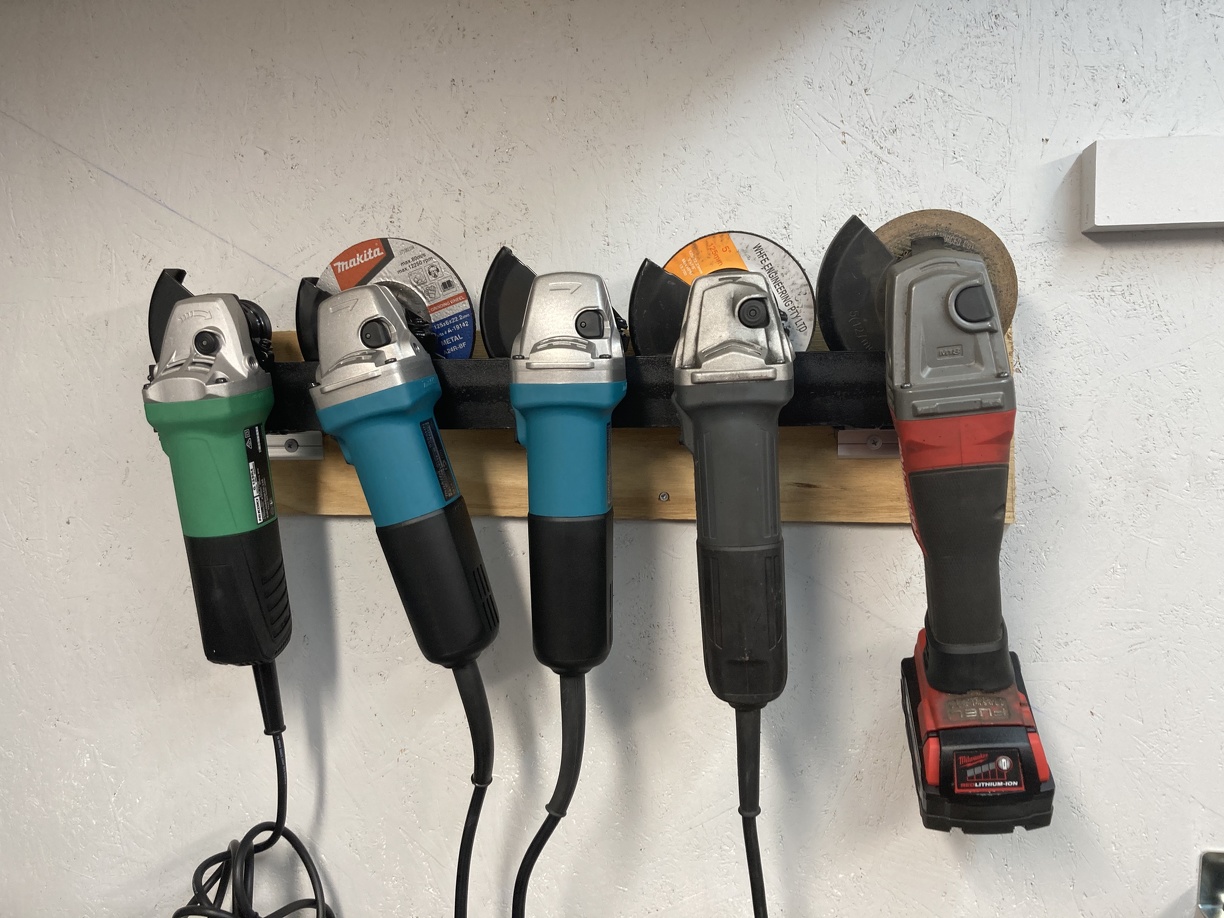
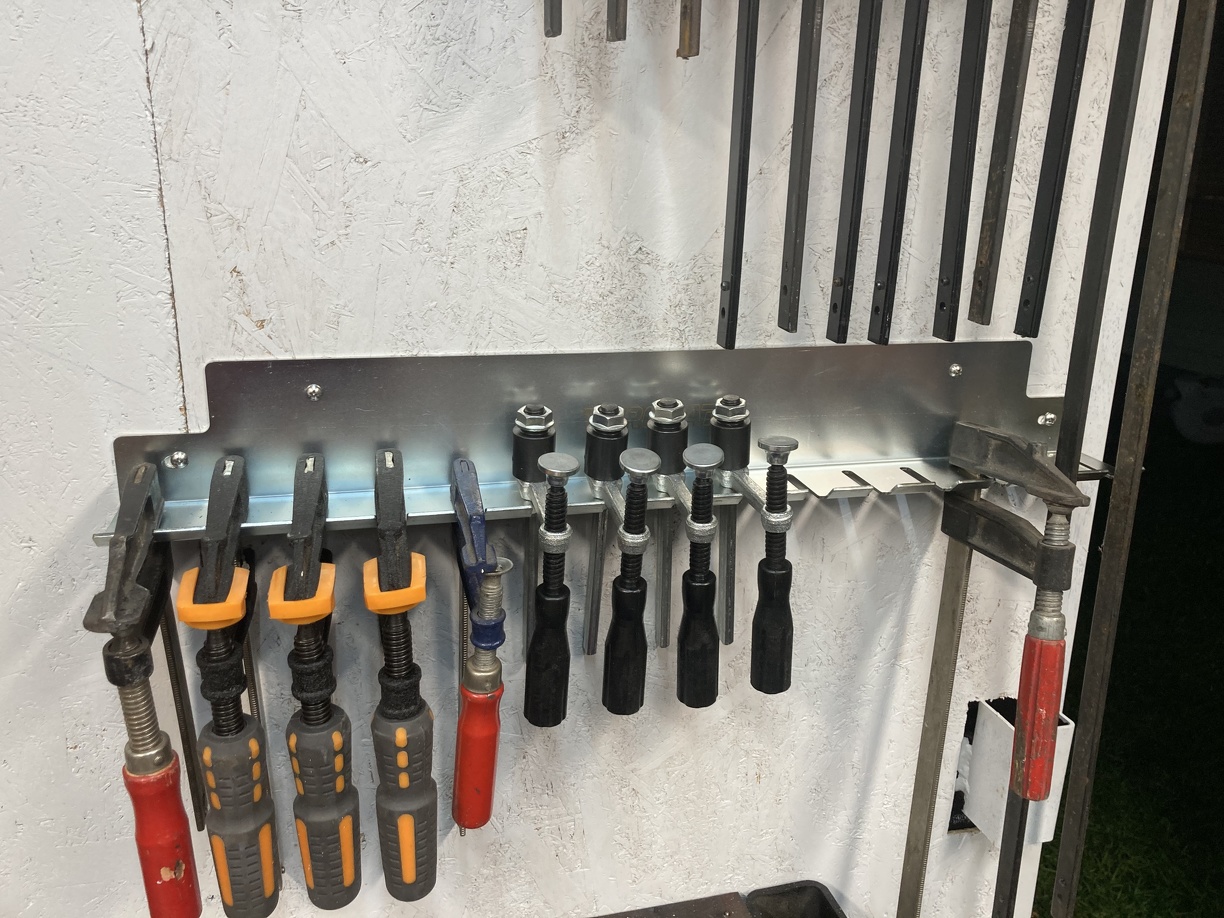
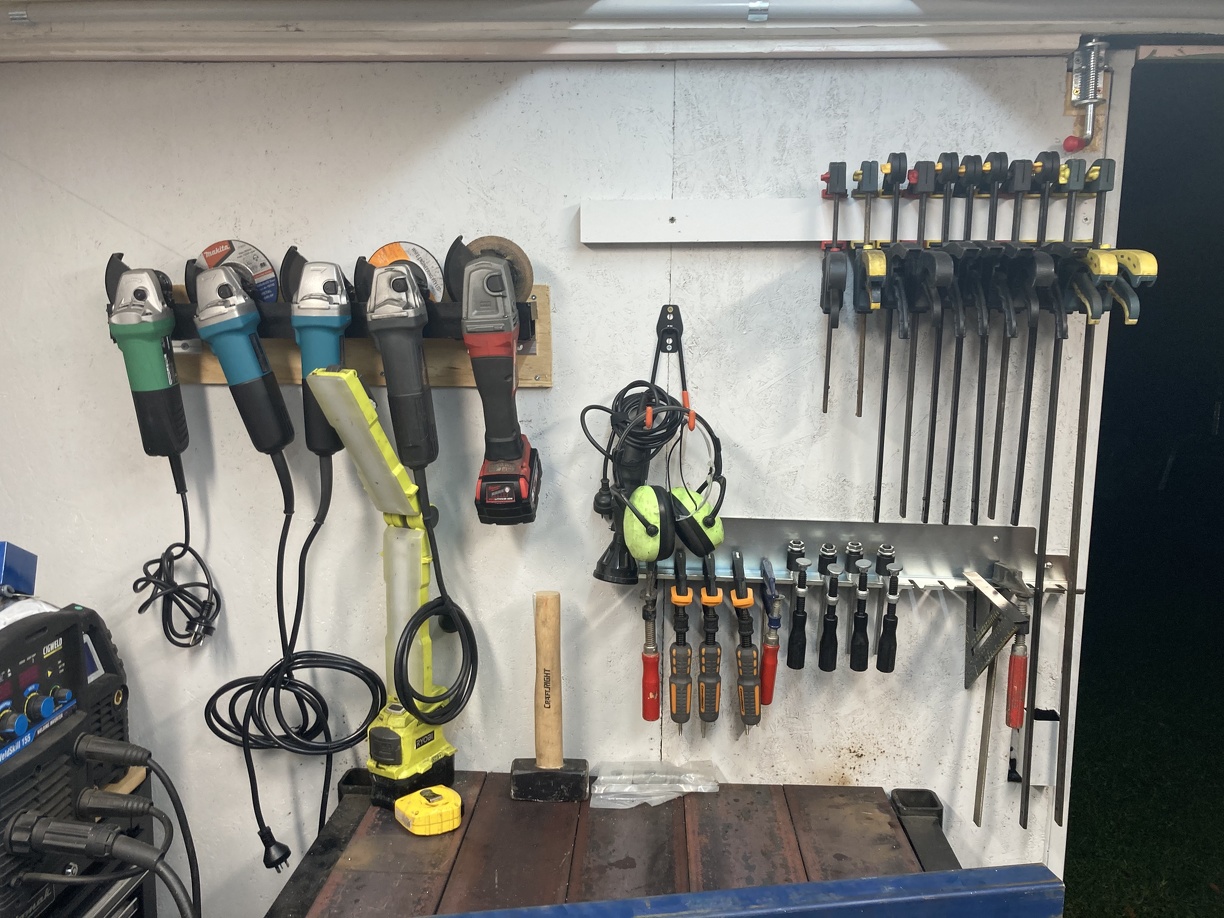
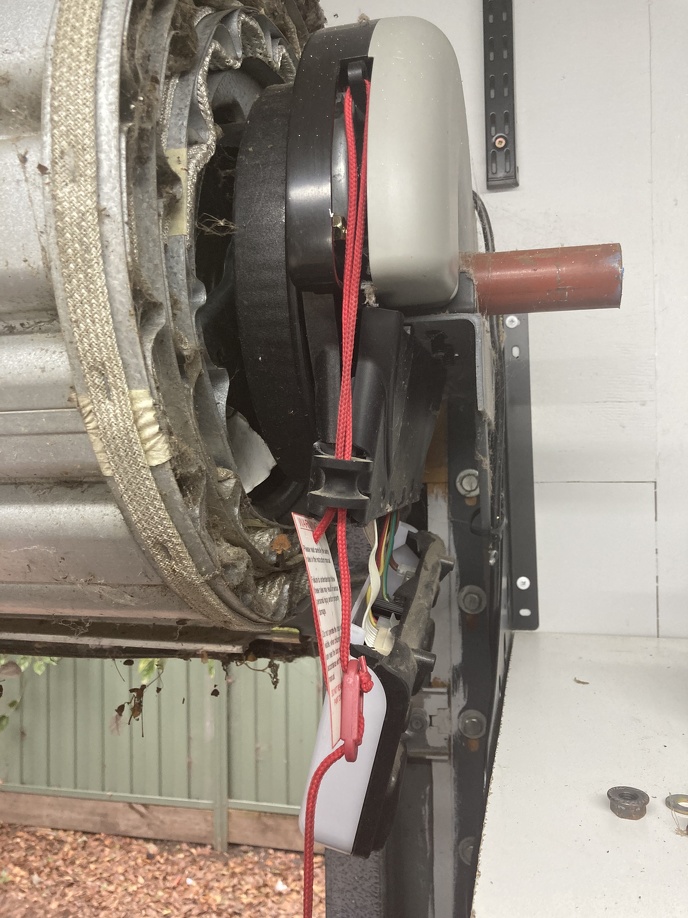
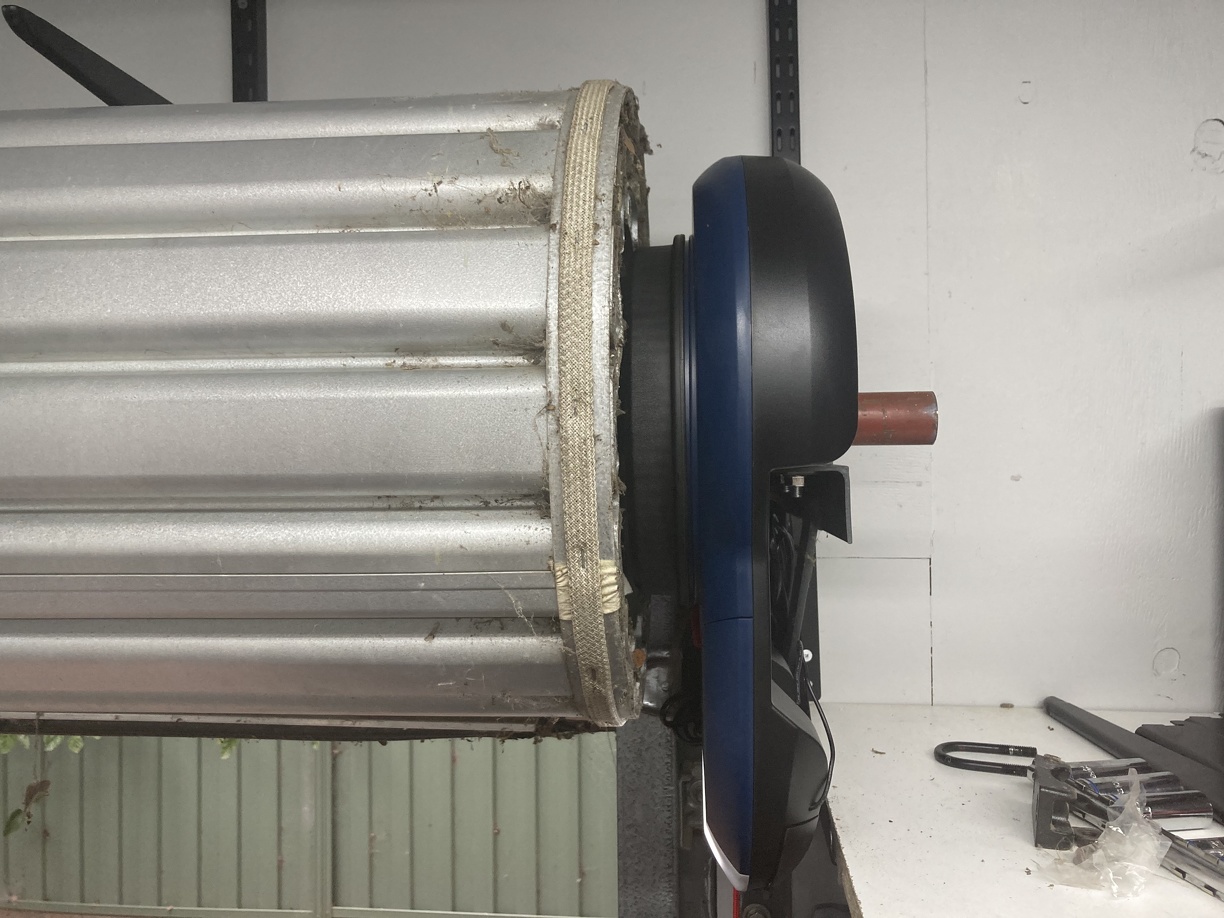
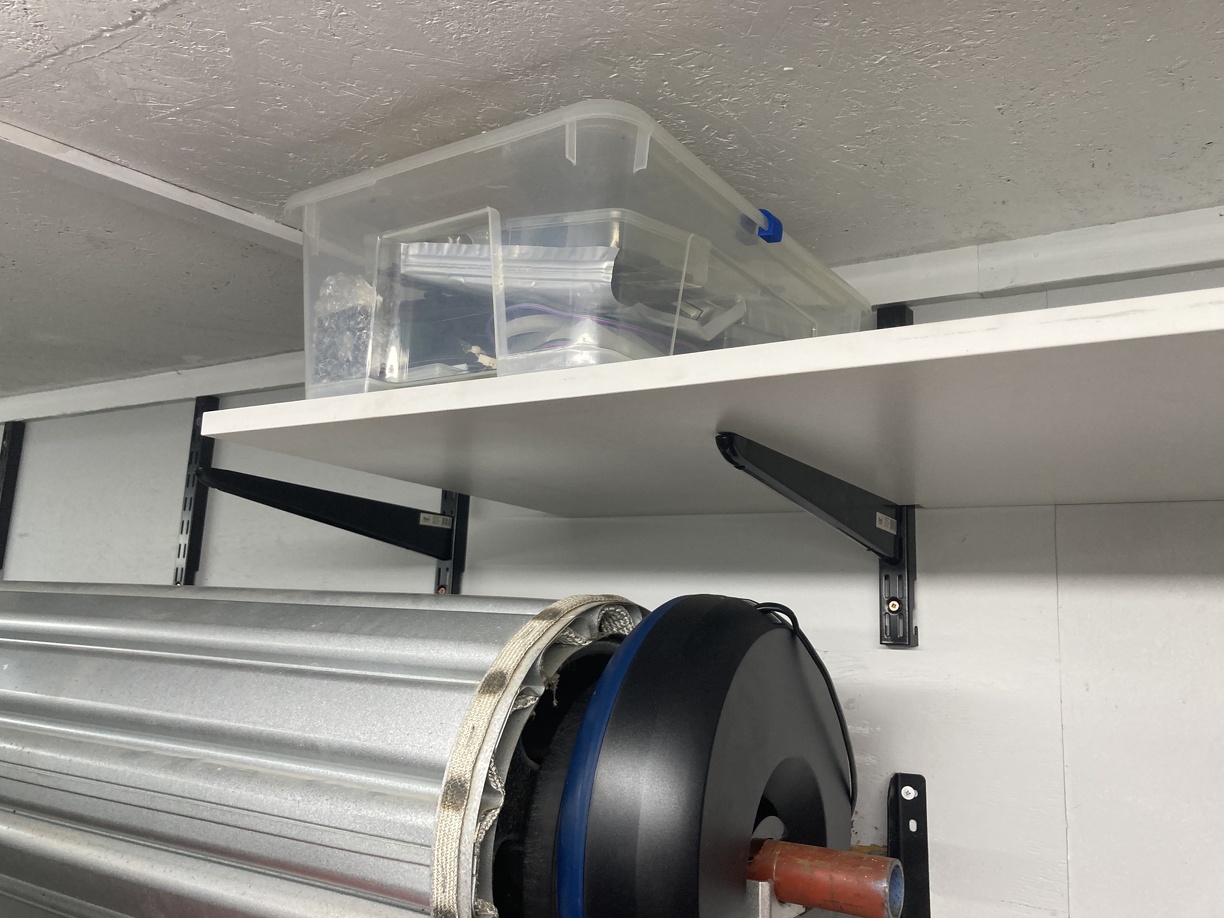
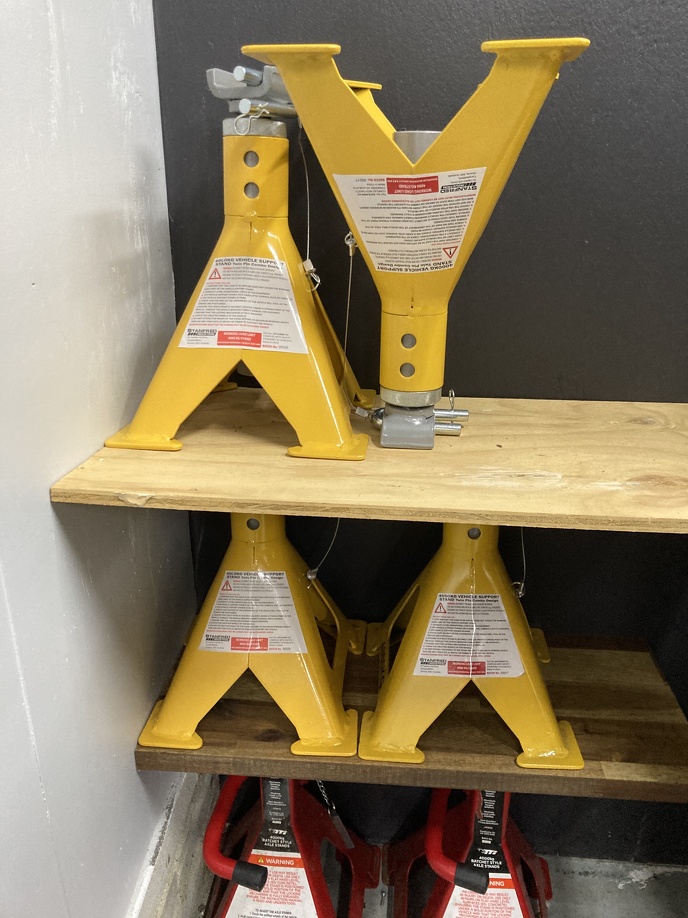
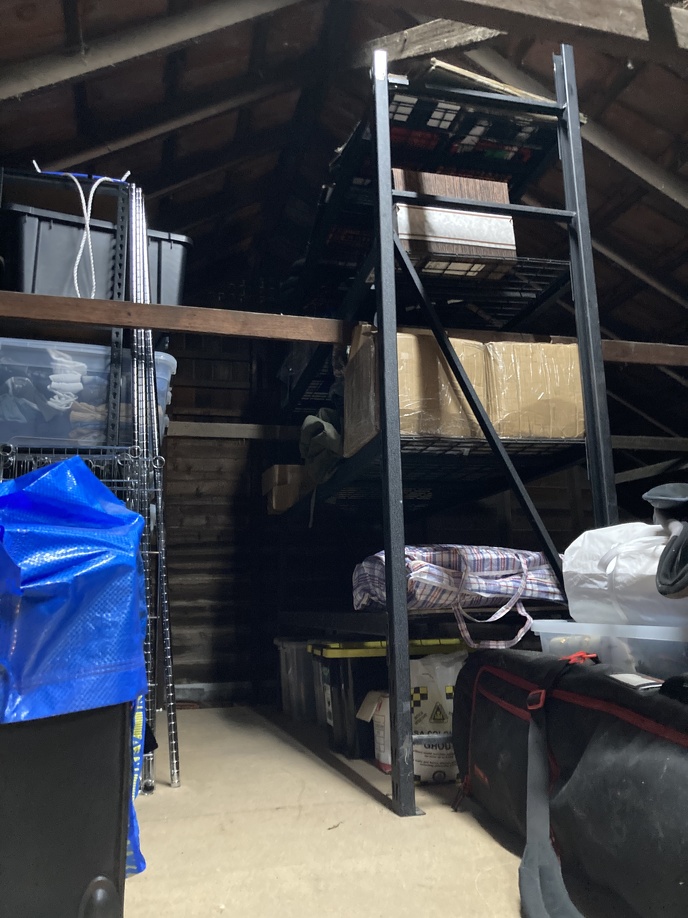
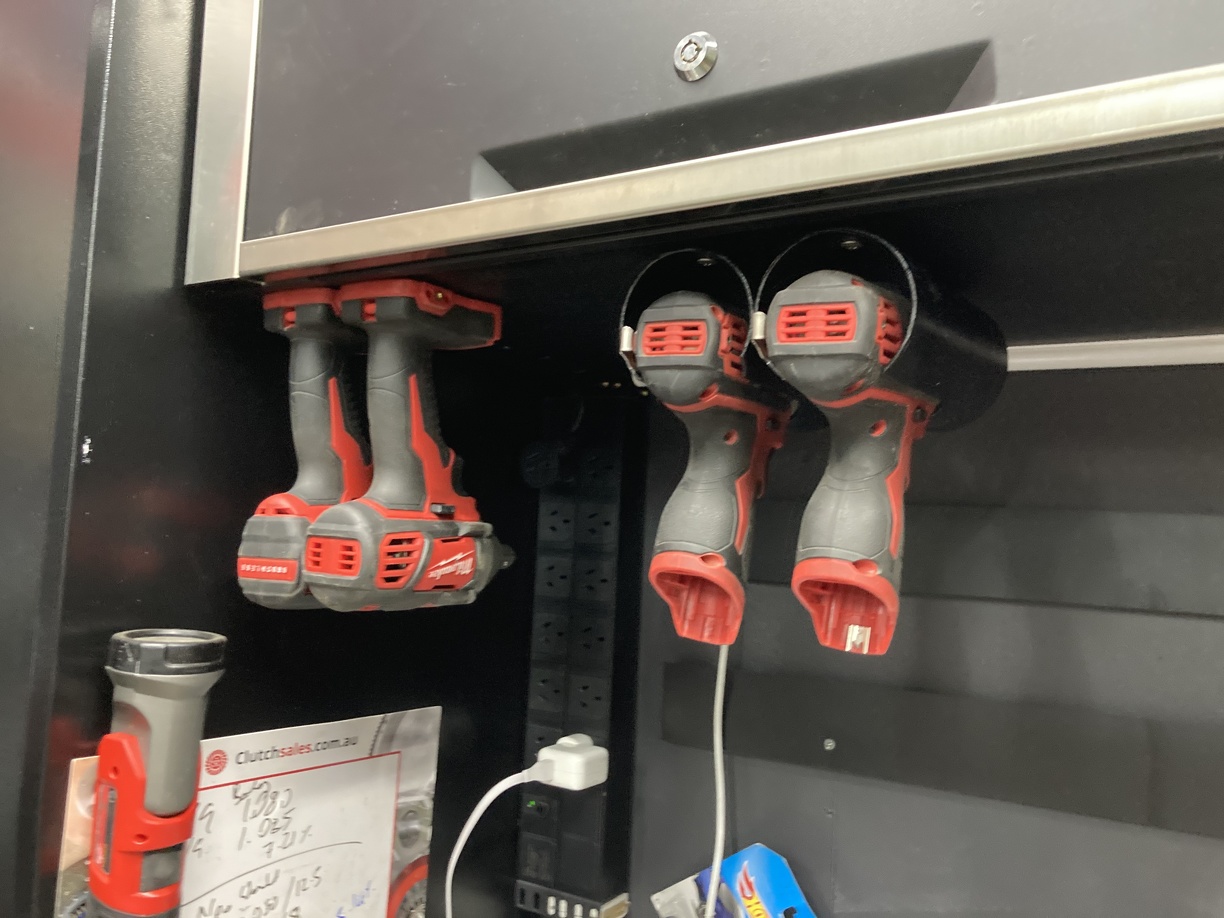
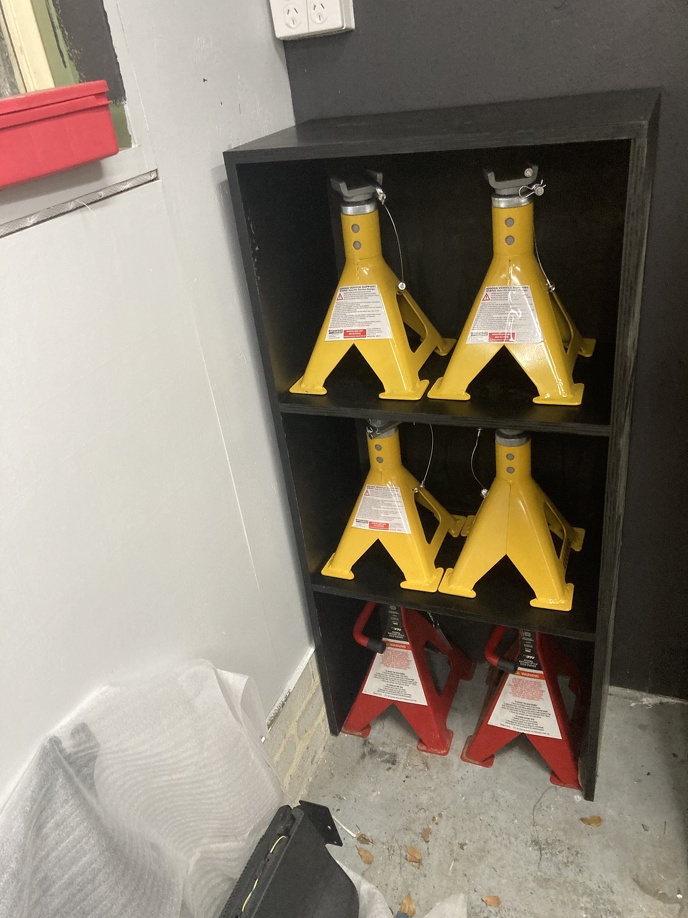
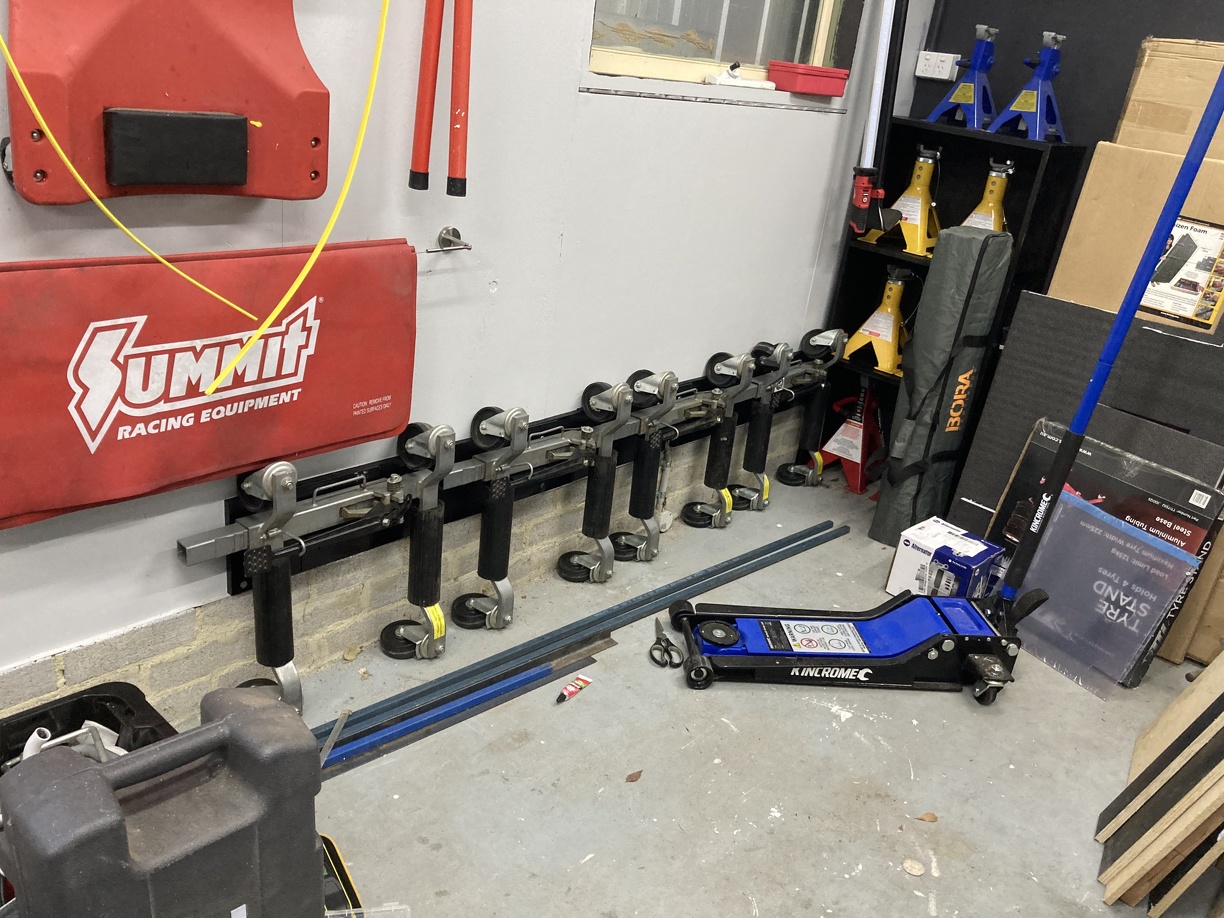
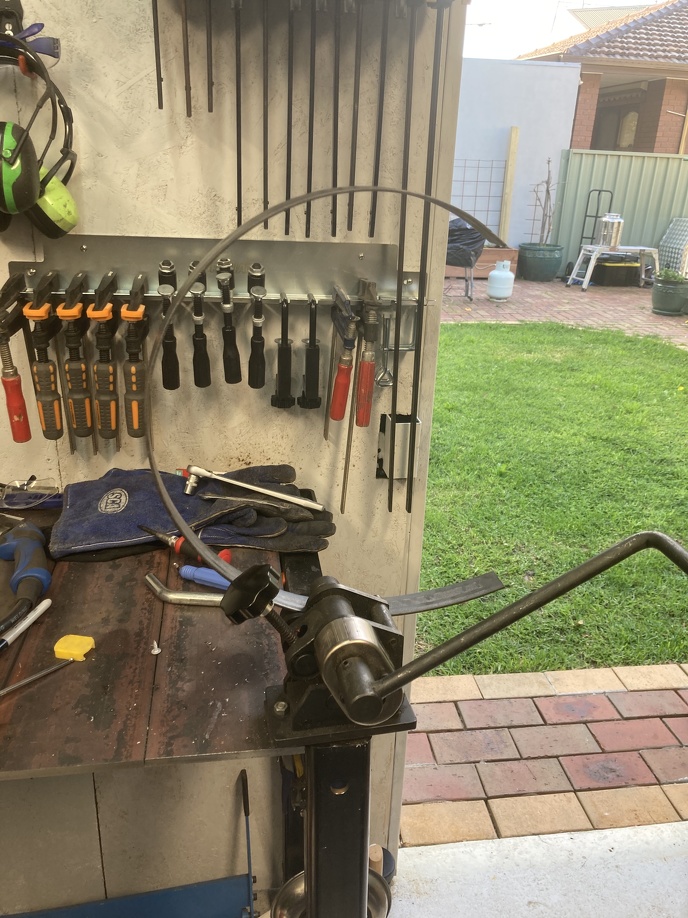
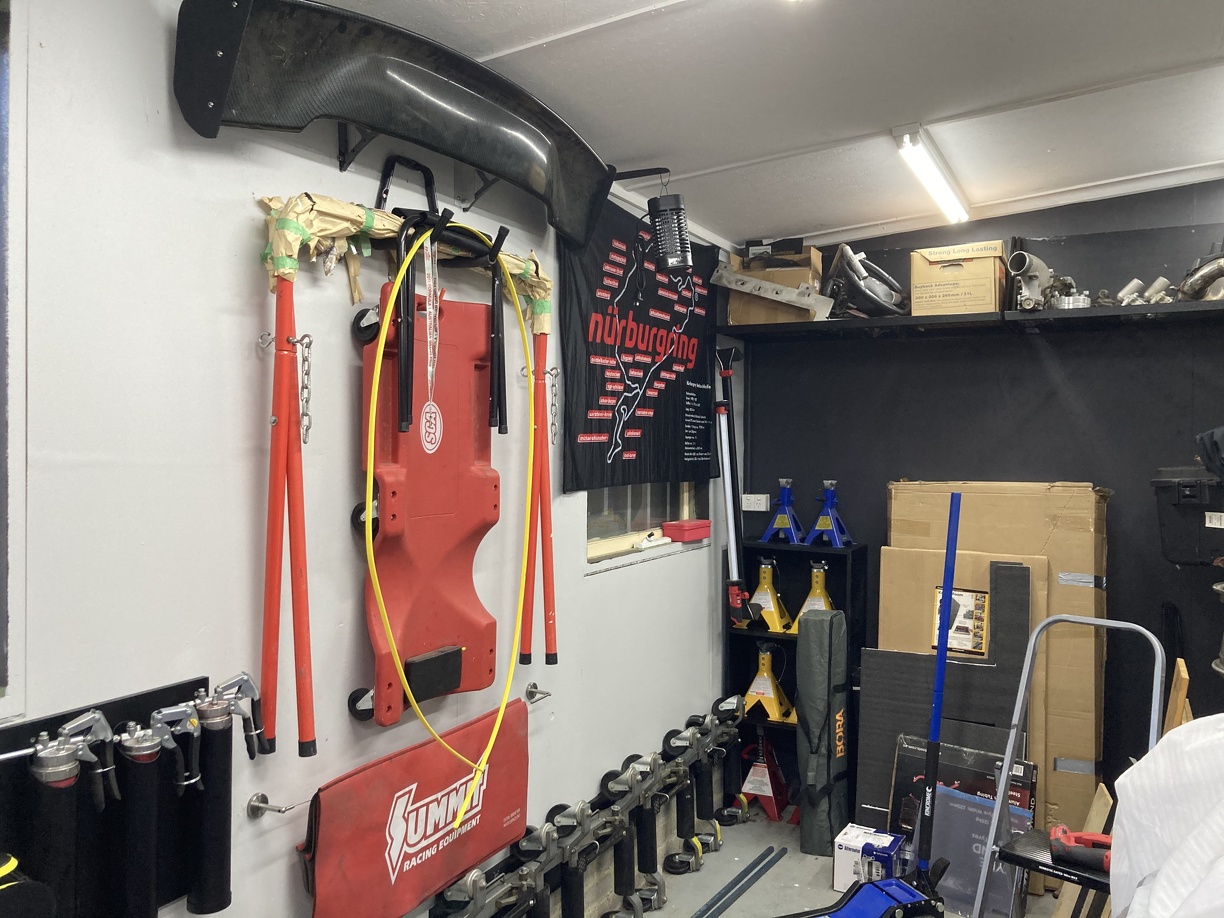
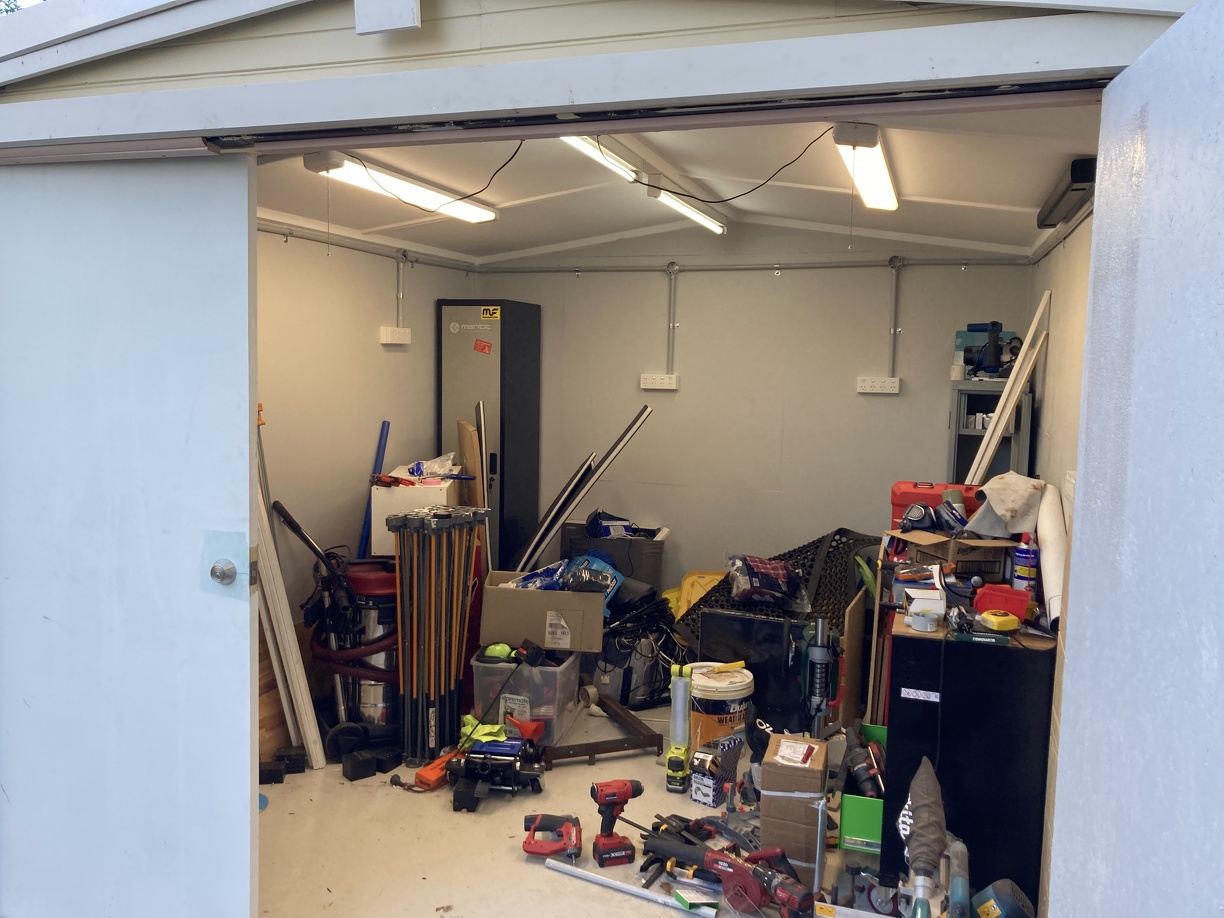
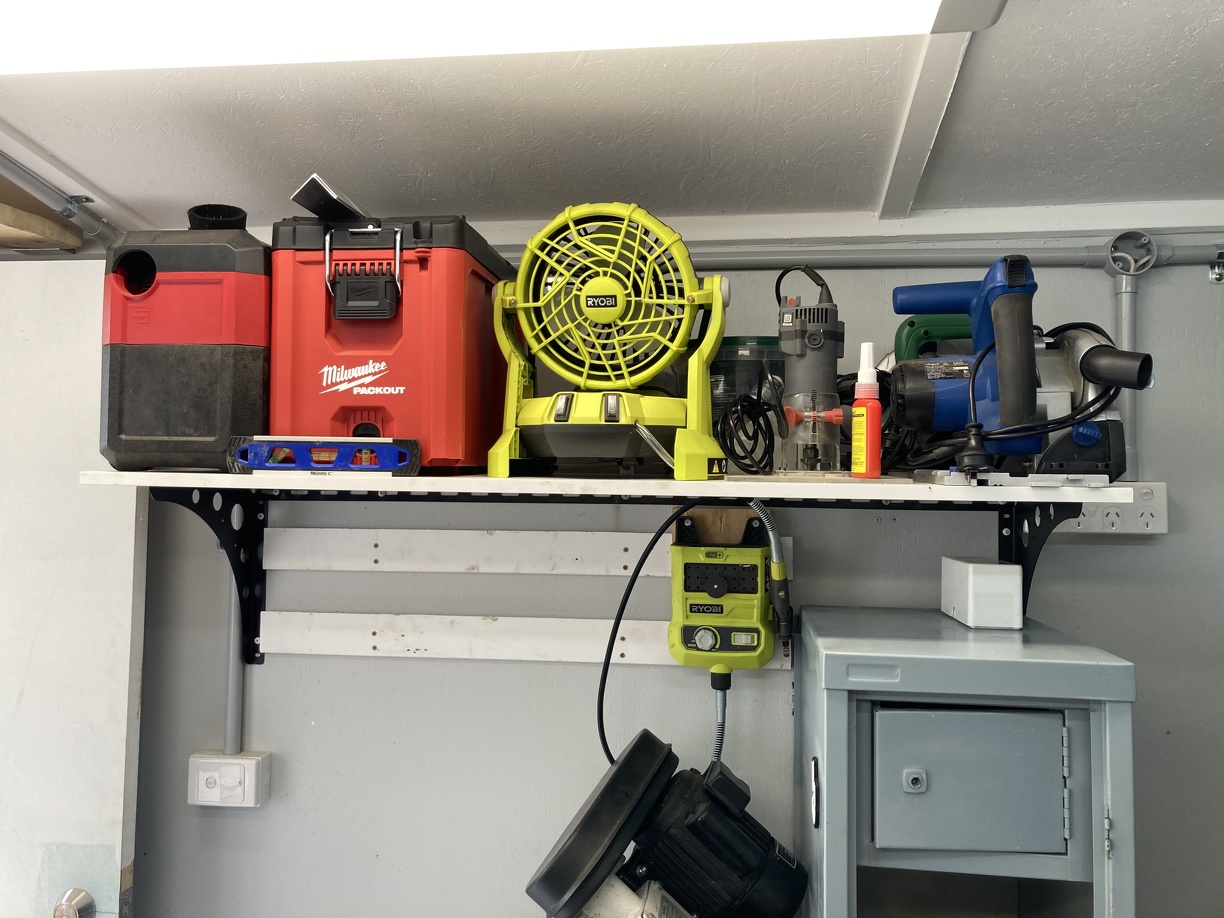
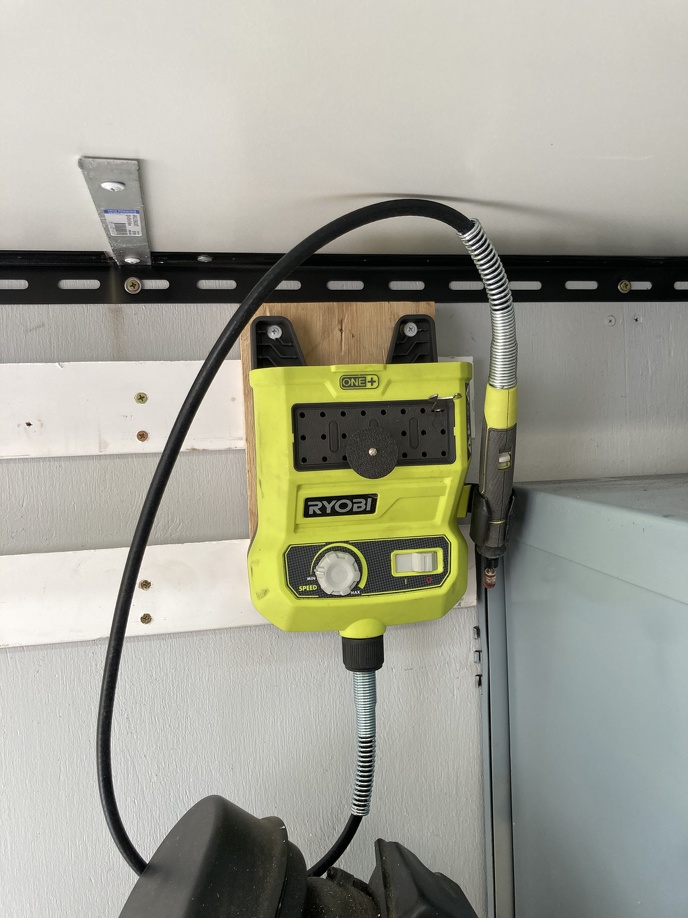
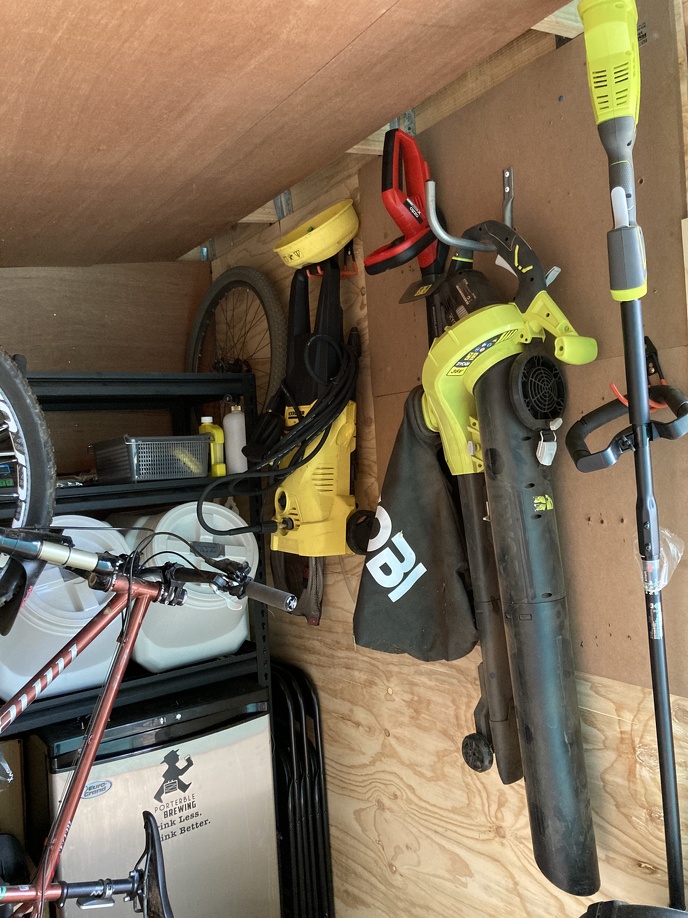
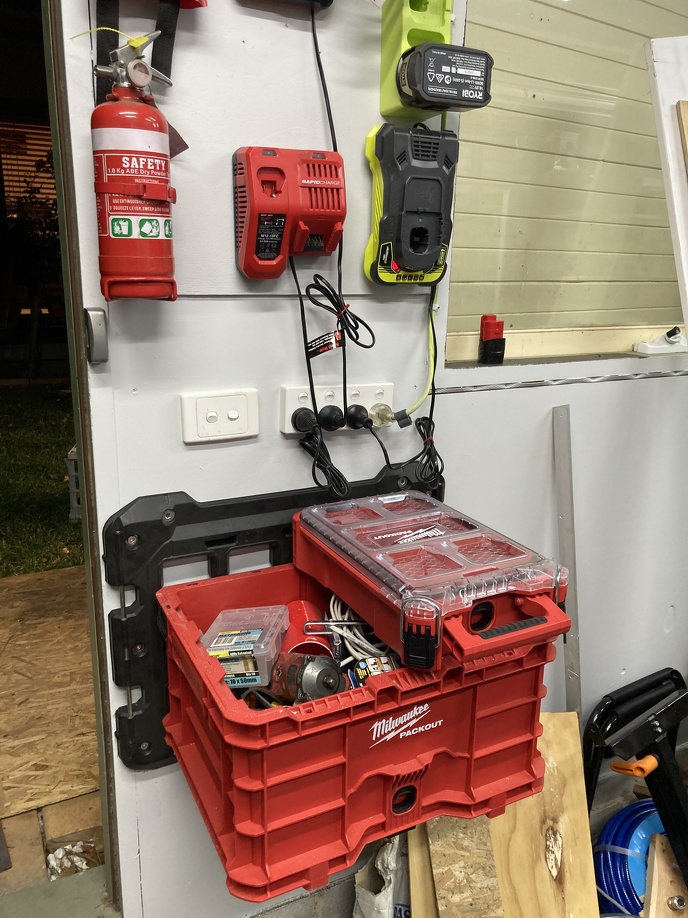
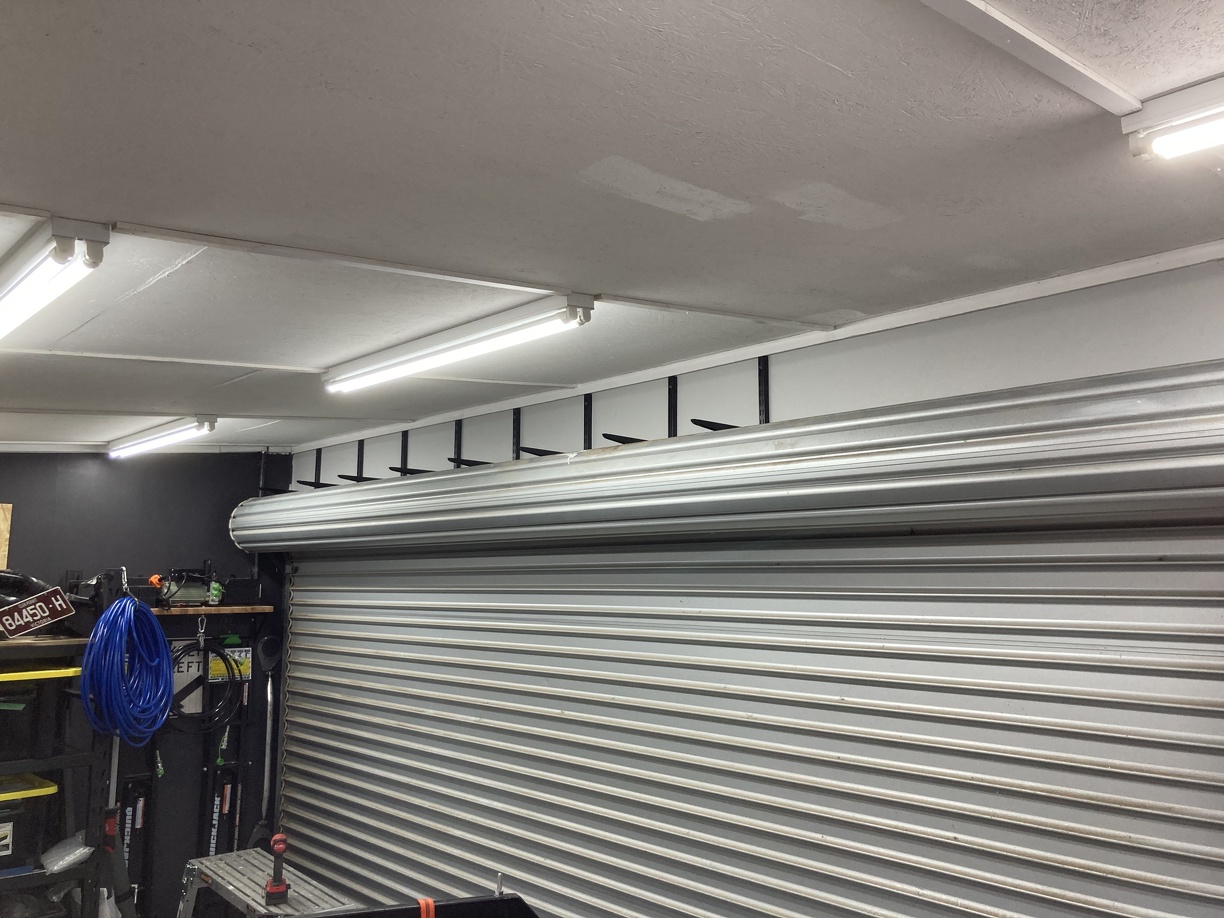
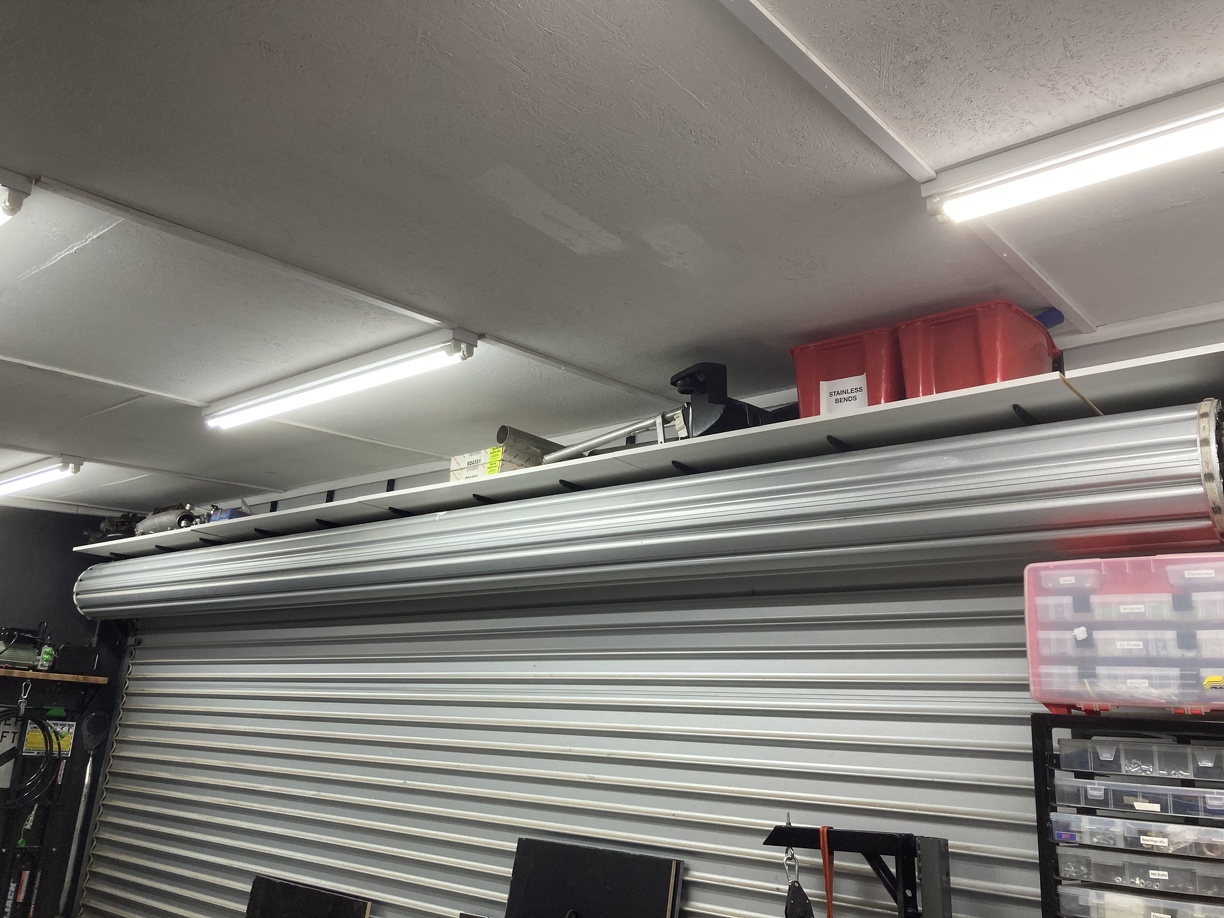
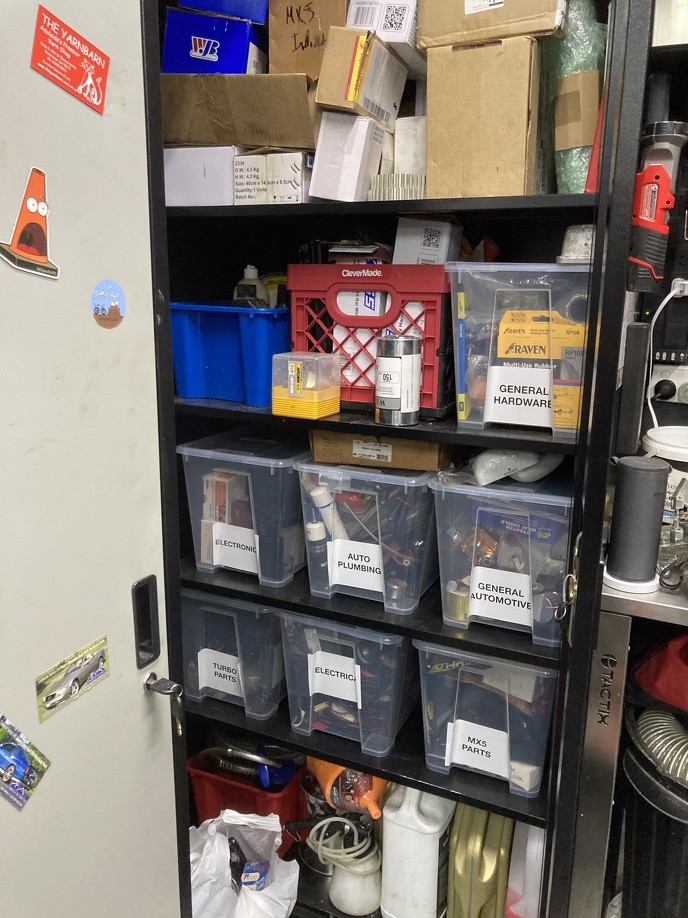
Plus started getting stuff up onto the walls off the floor to just try and tidy up a bit:
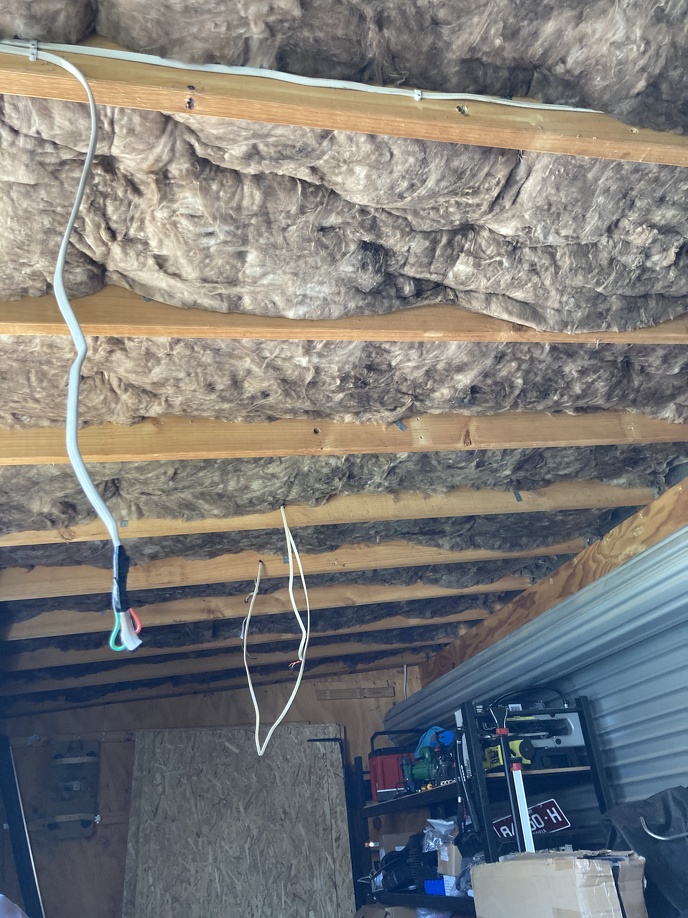
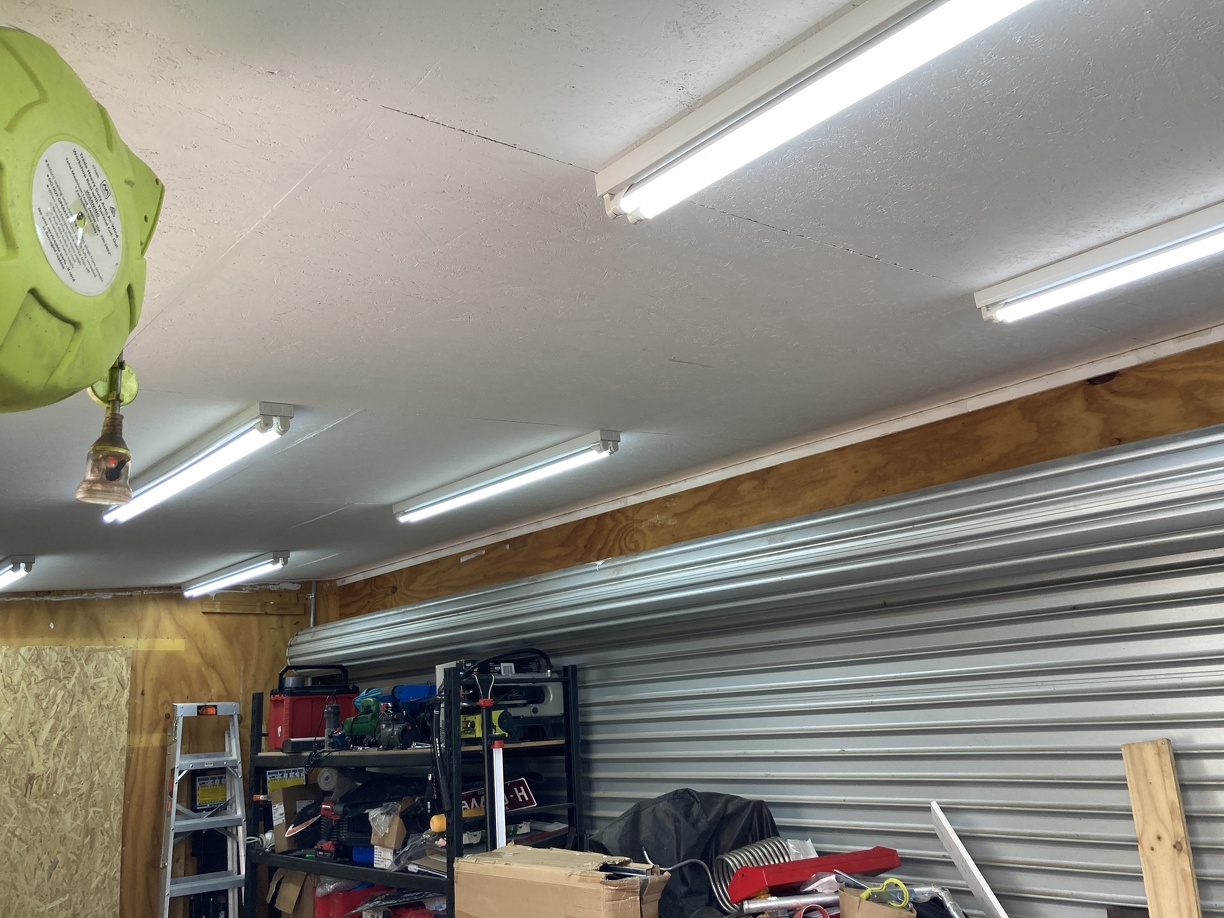
Oh yeah, and did I say it got hot...? Decided to rethink my plan of leaving the rafters open and at the last minute chose to insulate them.
Shoved a bunch of insulation batting up into the rafters on a 35C day...
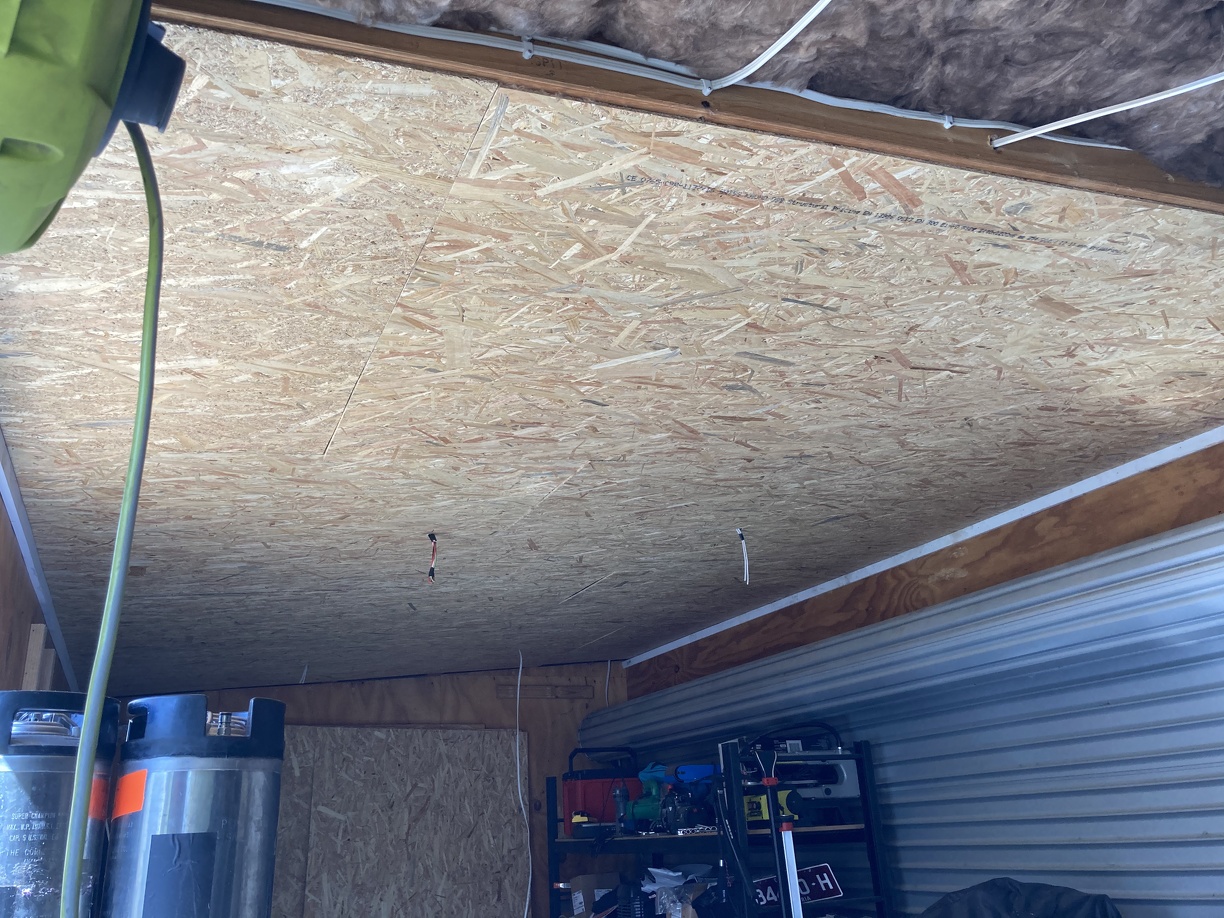
And now have started to clad it all with 6mm OSB like the workshop... fun
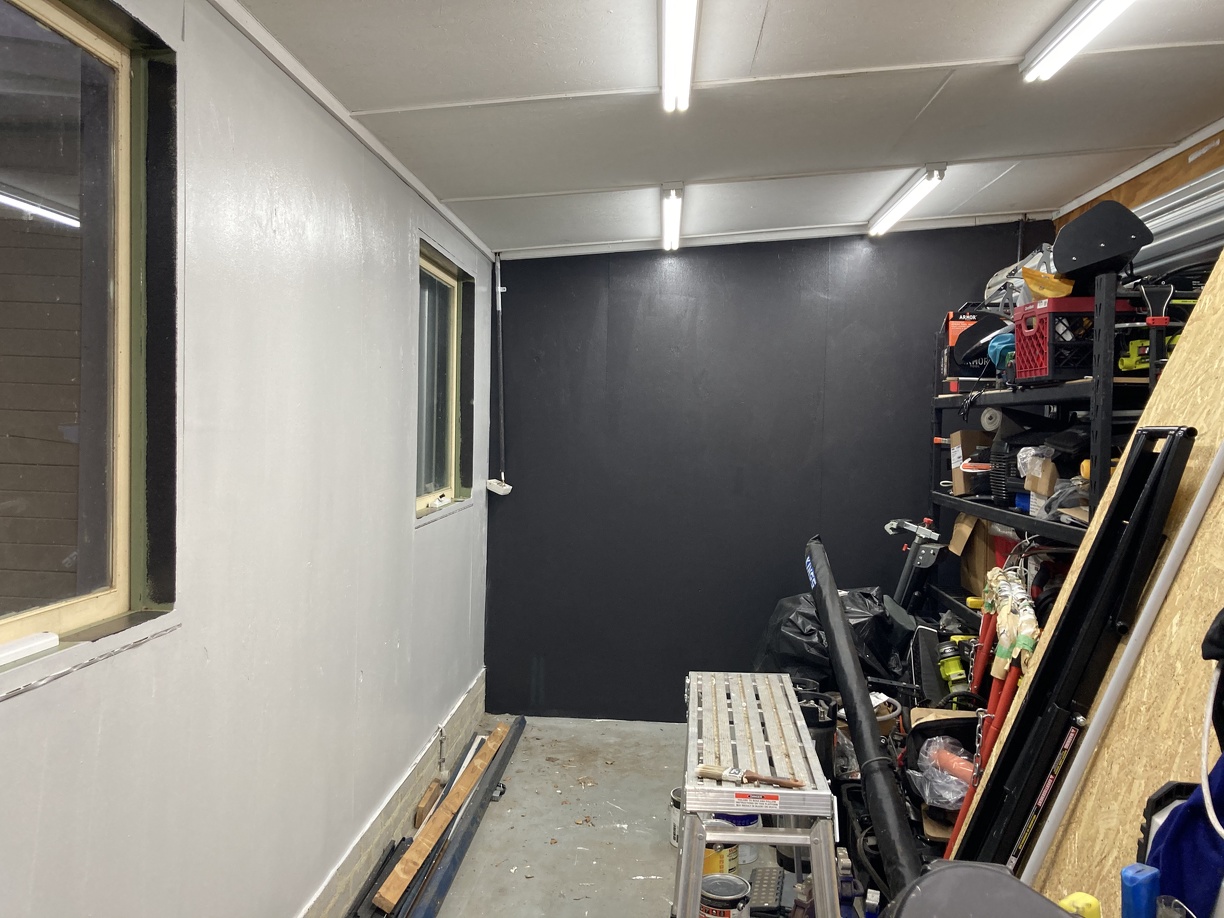
Managed to drop off the old fermentation fridge to my mate yesterday too, which means that lots of the stuff is out of the garage and I should be able to finish off the OSB and paint inside. That will be a great day.
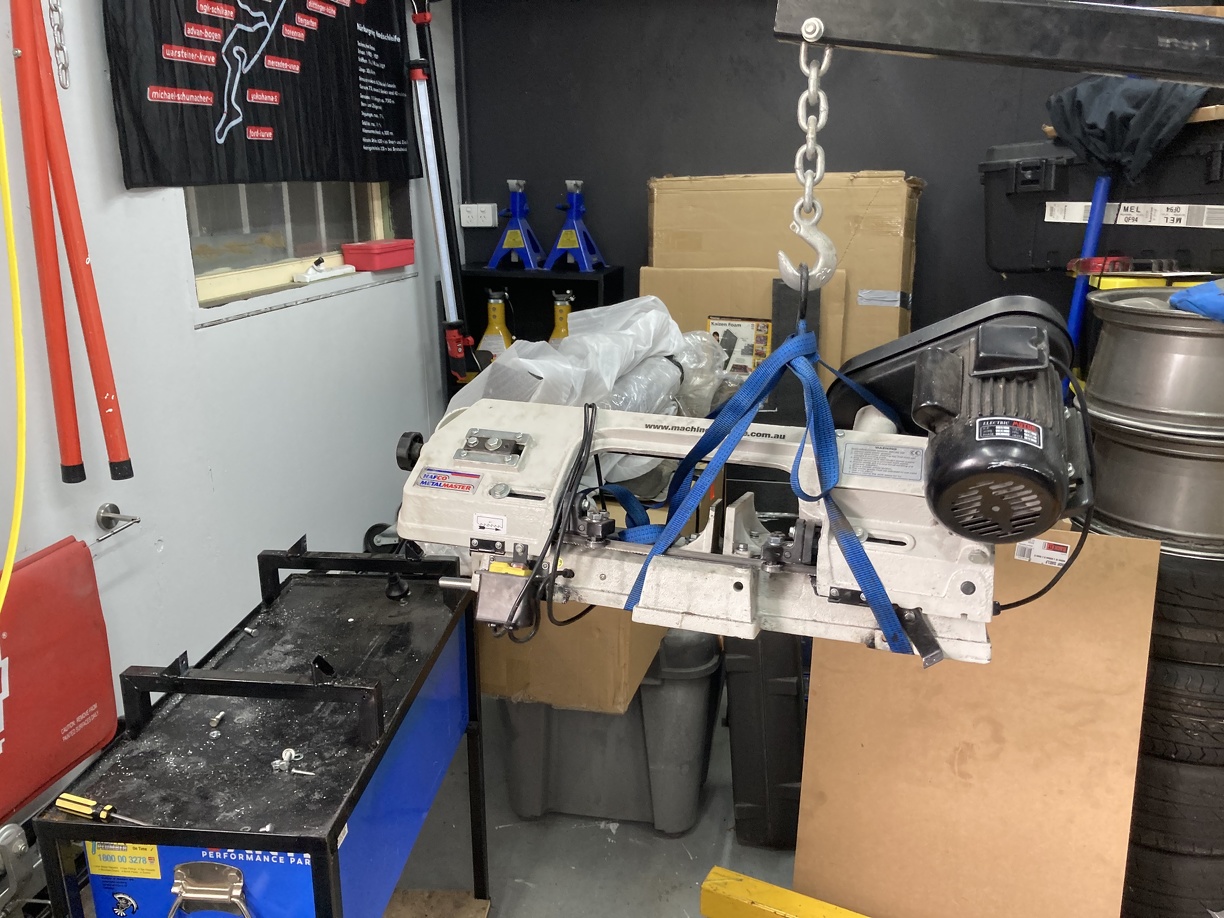
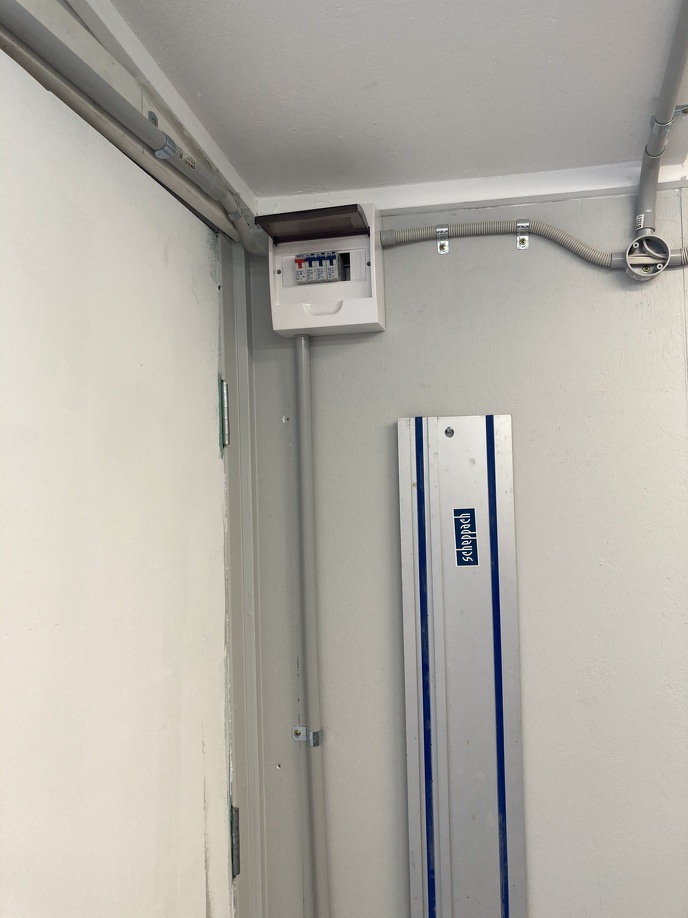
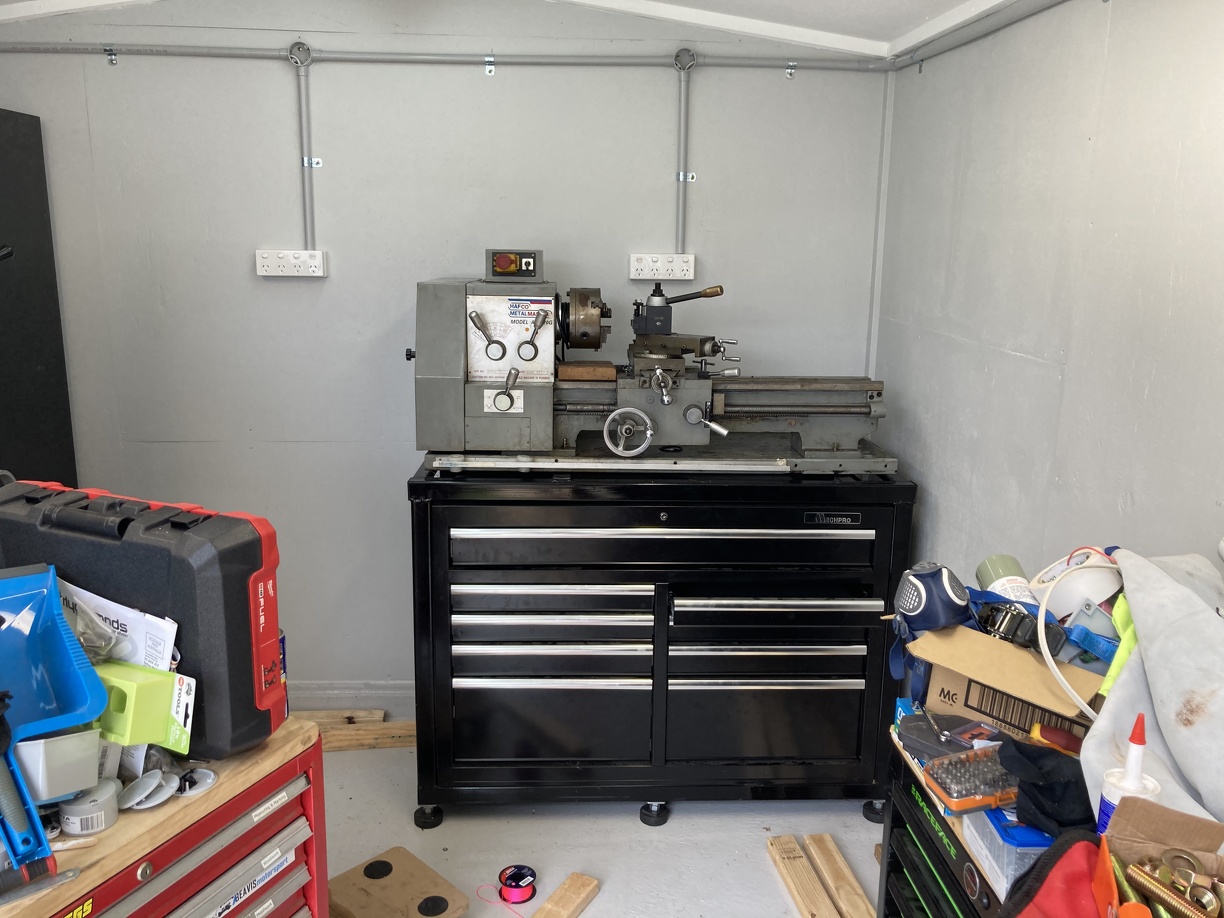
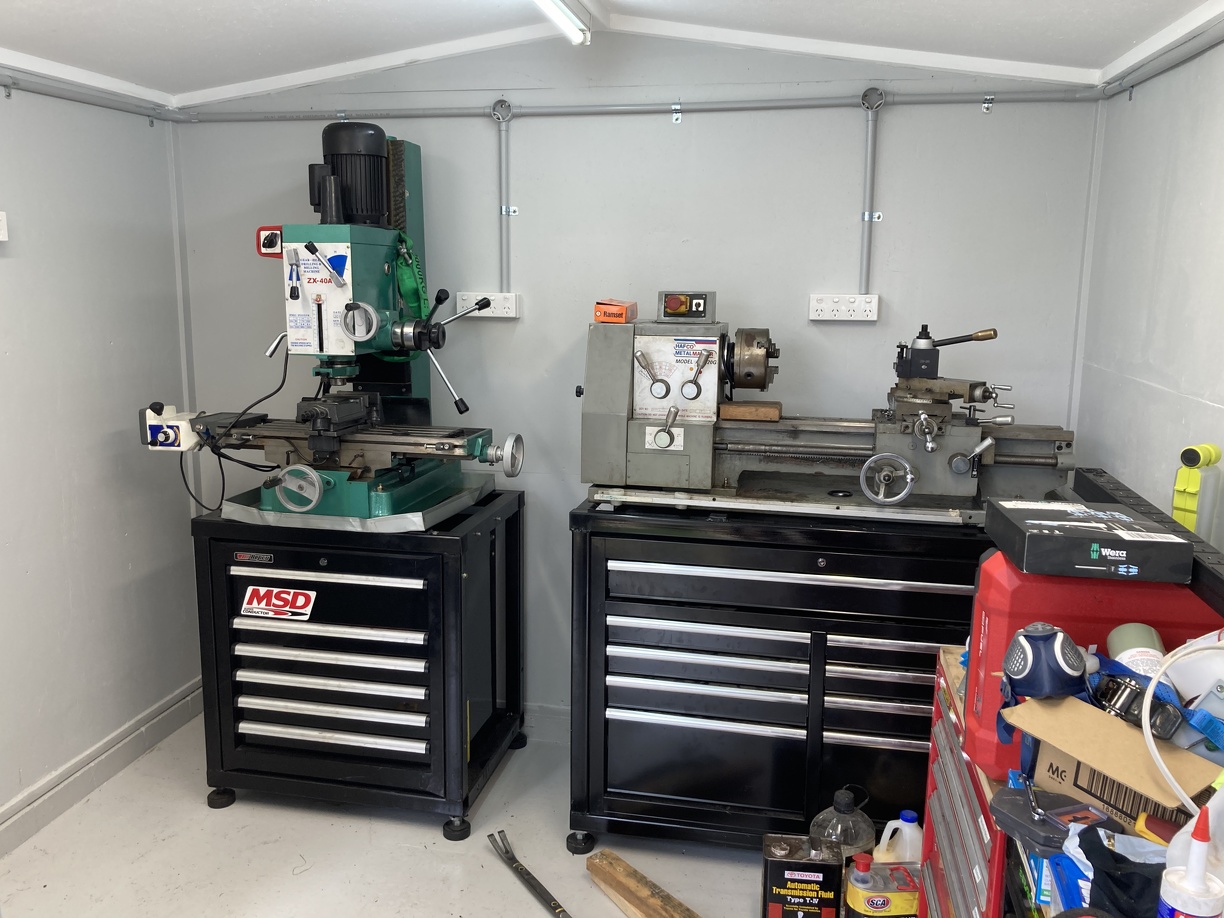
Also getting ready to get the electrician out to finish off the wiring, and then the mill and lathe can come out of storage to go into the workshop.
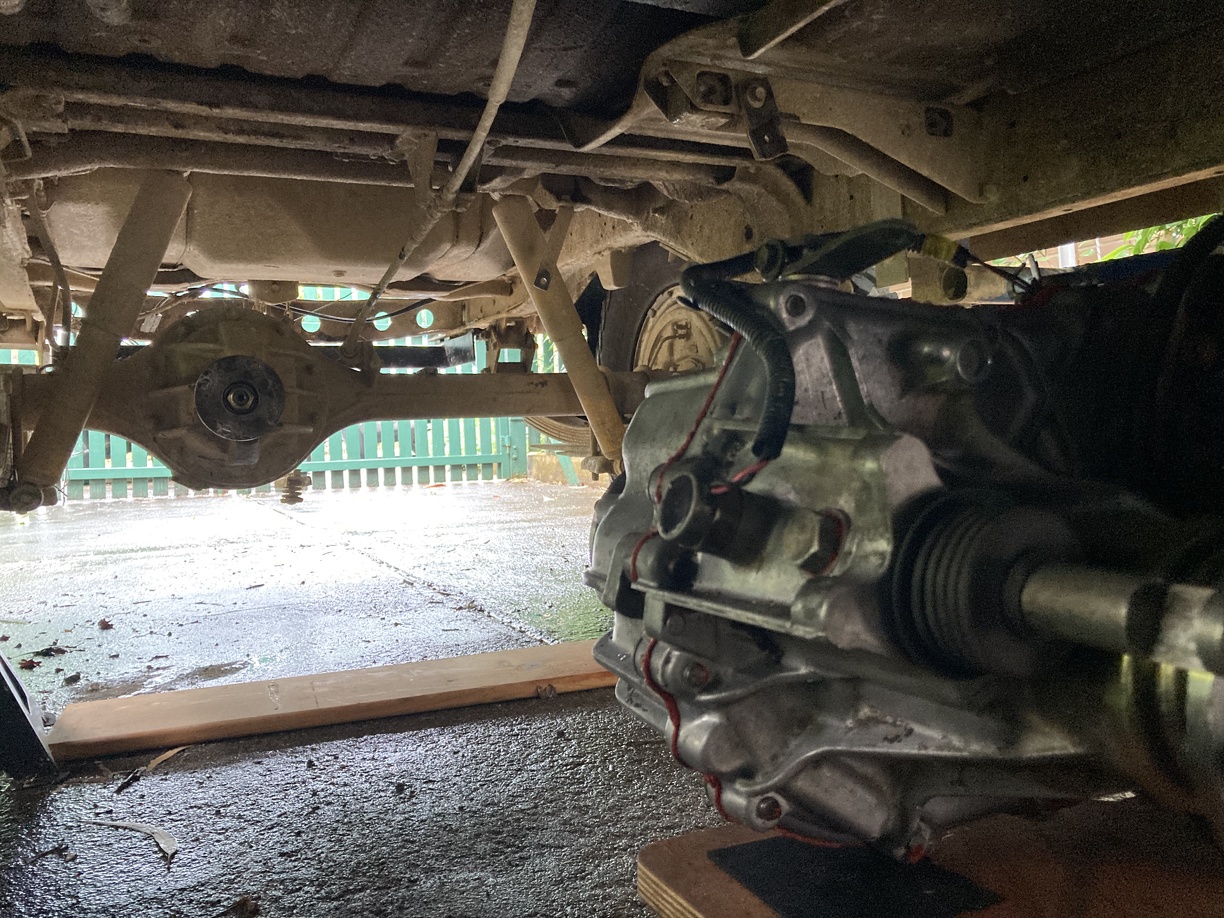
I also headed around to a mates house to help him put a H55F back into his 60 series, on a day when it decided to pour with rain... that was fun.
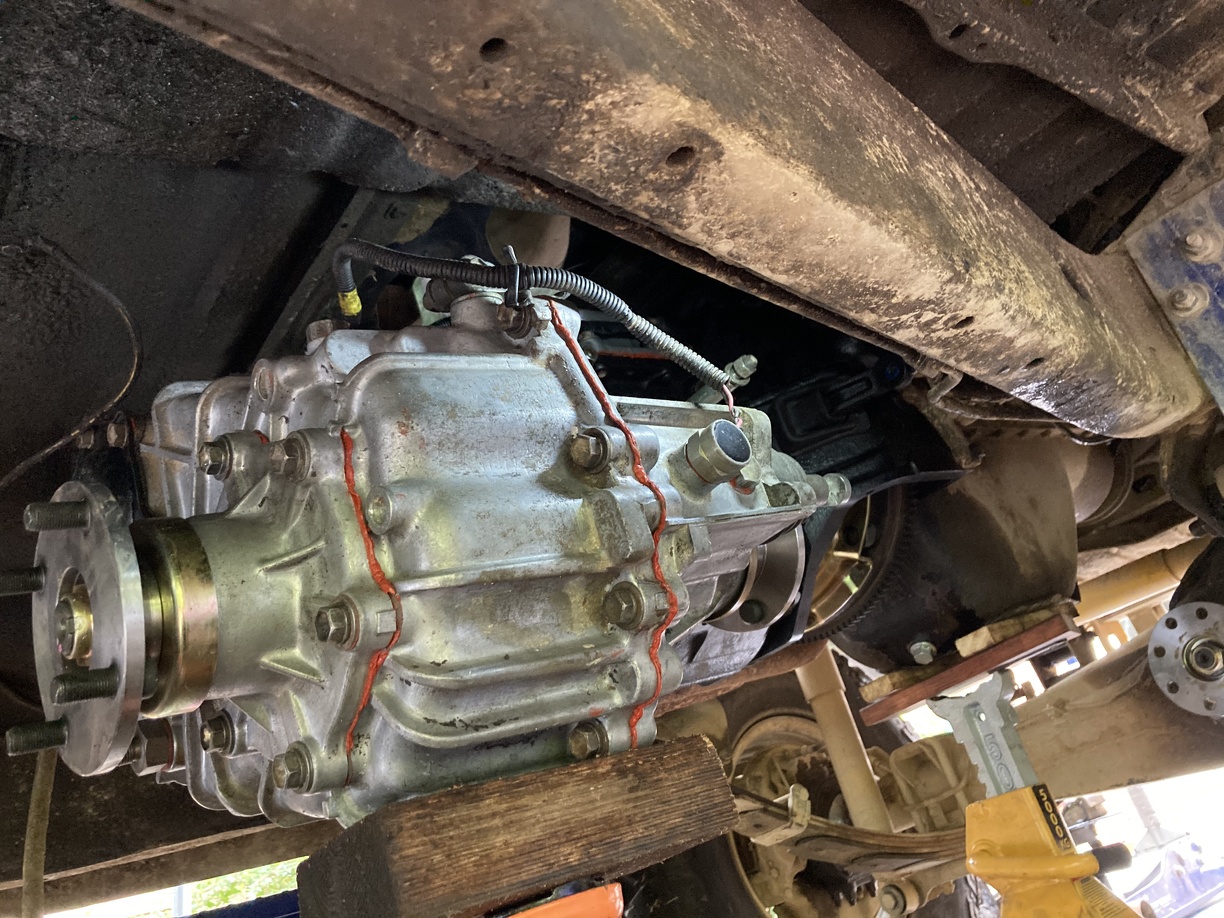
Mmmm, 90kg of freshly rebuilt cast iron gearbox:
Somehow we managed to get it up here with 2 jacks and a lot of dicey manoeuvres:
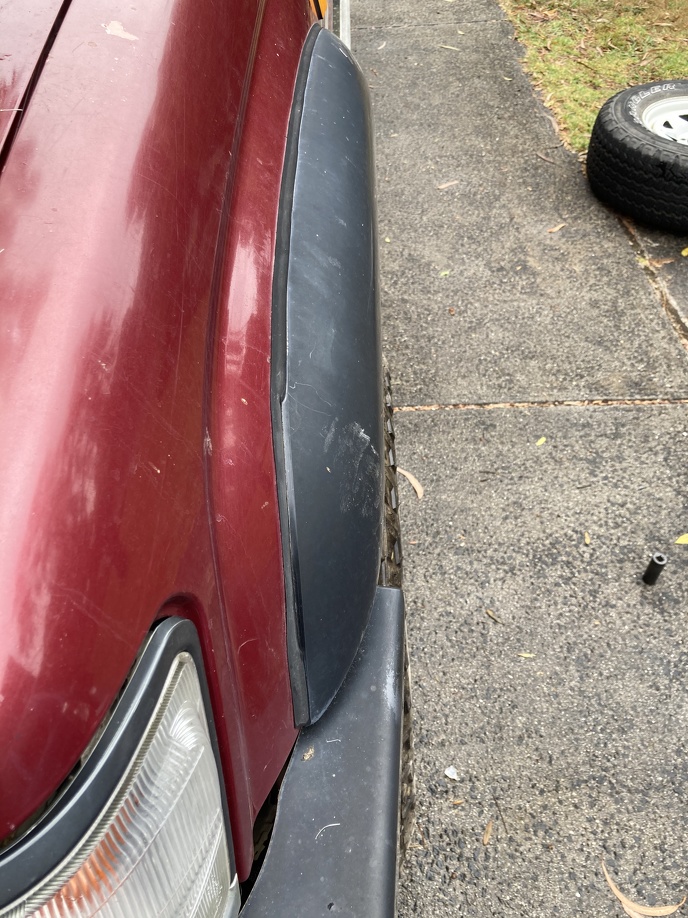
But while I was there we test fitted some wheels to the Hilux:
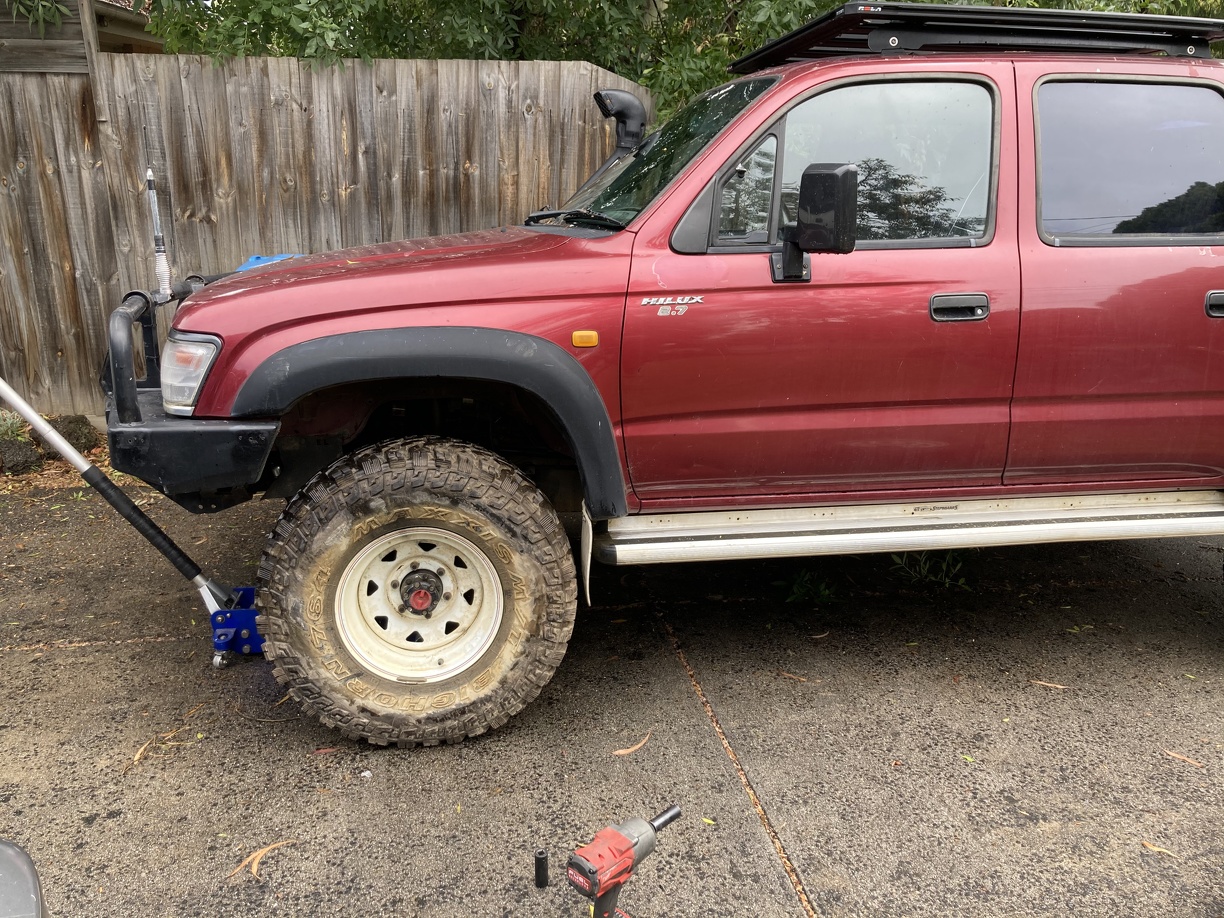
They are 32x11.5x15 on 15x8 -23 offset wheels. Fit up pretty well. Might need a touch of relief around the inner plastic guard on the flares, and those side steps will need to go. But no great loss there
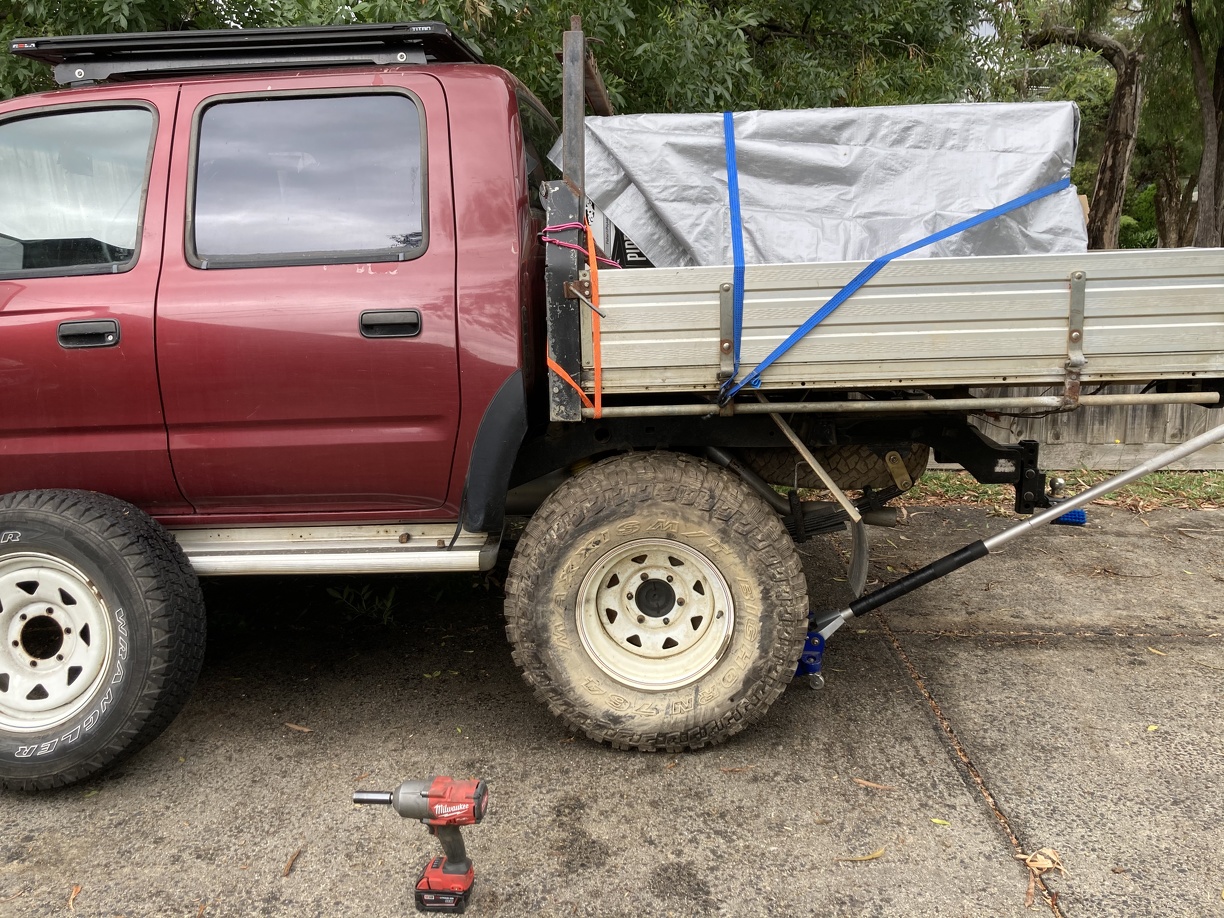
Pretty much perfectly fitting guard wise:
Tempting to grab those when he goes to 33s.
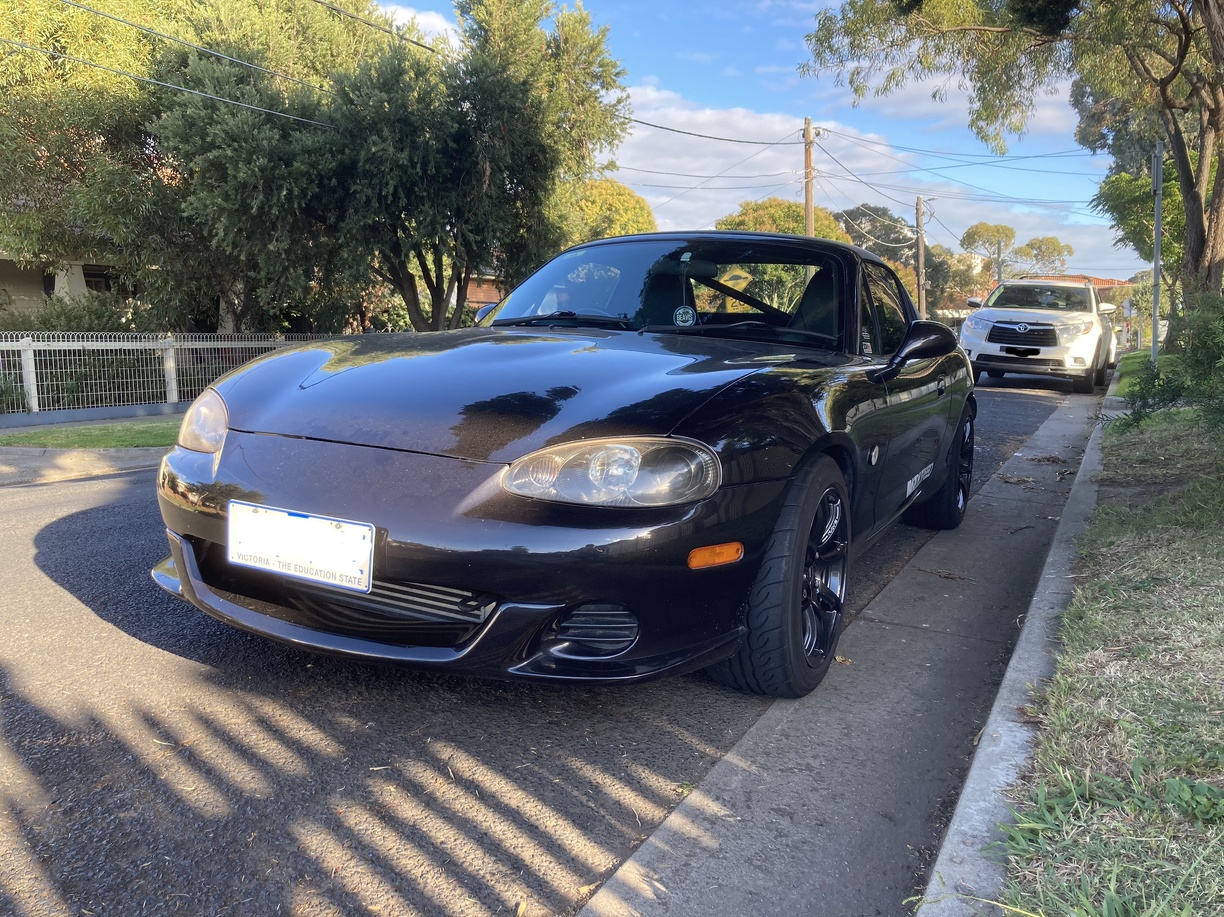
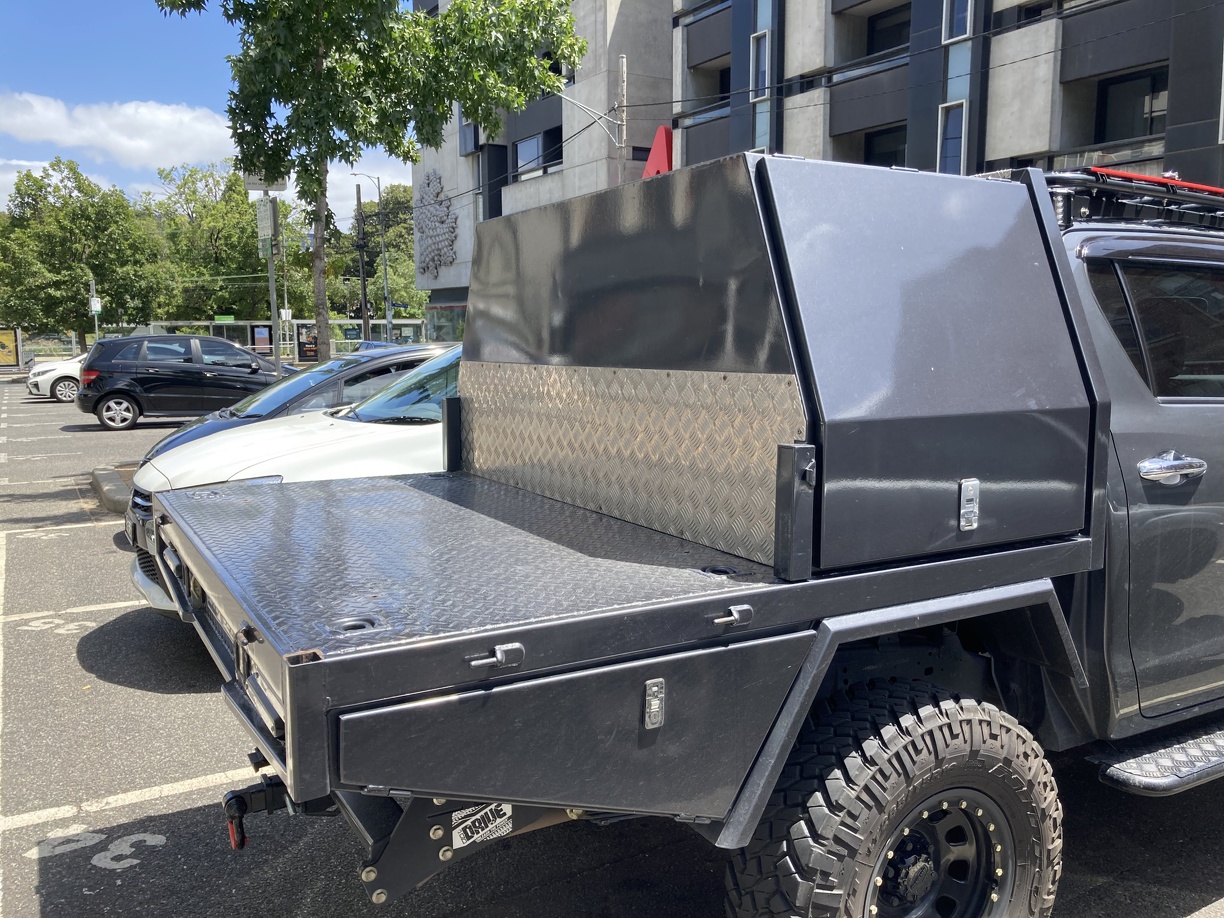
Also came across a random ute in the street with a canopy setup similar to what I am thinking of, so leaving this here to jog my memory:
Anyway, first up was cleaning up and tidying one end of the garage so I could paint it and get it sorted out:
Then moved stuff back in place, added the cabinets above the workbench and a few decorations:
Then it all got hot, so worked inside for a bit and removed the two useless clothes hamper drawers from the laundry and built a basic hole for the upright freezer.
Just needs a shelf cut down to size and to get one of the door frontages edge banded for it and fitted up. For now though it got the freezer out of the garage.
I also built a quick hutch/cupboard for the air compressor on the outer wall of the garage:
It has an outdoor powerpoint in there, and i lined up all the weatherboards for a different base spacing, then changed my mind, so going to have to deal with it being out of alignment. Ohwell its pretty obscured back there.
Also did a bunch of paving around the edge of the garage/workshop so can now get from the back door to the garage without walking across the lawn:
Still need to build the step off the deck.
Modified a hard rubbish cabinet to put all my scrap and short machining metal lengths into. Should work pretty well:
Plus started getting stuff up onto the walls off the floor to just try and tidy up a bit:
Oh yeah, and did I say it got hot...? Decided to rethink my plan of leaving the rafters open and at the last minute chose to insulate them.
Shoved a bunch of insulation batting up into the rafters on a 35C day...
And now have started to clad it all with 6mm OSB like the workshop... fun
Managed to drop off the old fermentation fridge to my mate yesterday too, which means that lots of the stuff is out of the garage and I should be able to finish off the OSB and paint inside. That will be a great day.
Also getting ready to get the electrician out to finish off the wiring, and then the mill and lathe can come out of storage to go into the workshop.
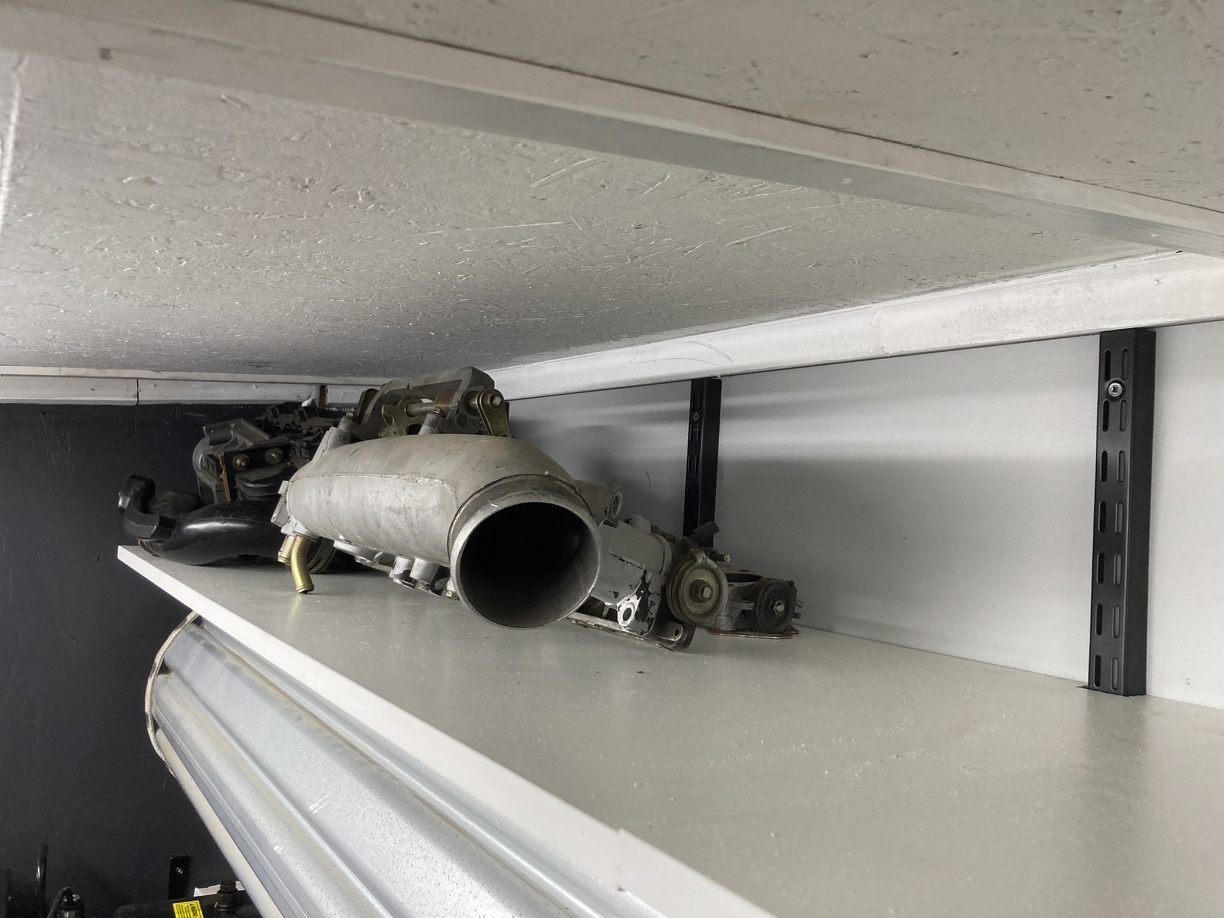
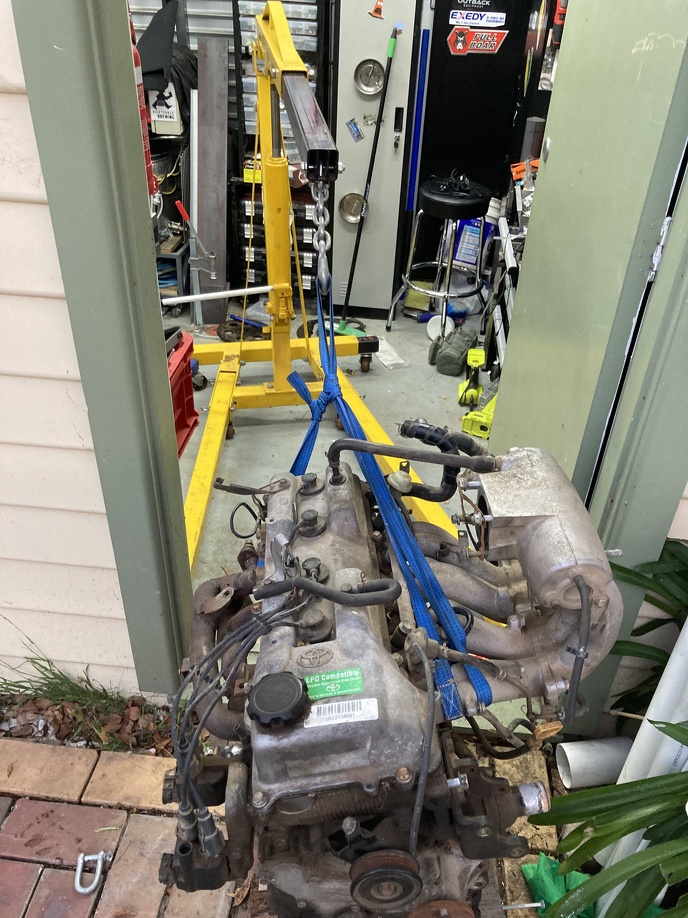
I also headed around to a mates house to help him put a H55F back into his 60 series, on a day when it decided to pour with rain... that was fun.
Mmmm, 90kg of freshly rebuilt cast iron gearbox:
Somehow we managed to get it up here with 2 jacks and a lot of dicey manoeuvres:
But while I was there we test fitted some wheels to the Hilux:
They are 32x11.5x15 on 15x8 -23 offset wheels. Fit up pretty well. Might need a touch of relief around the inner plastic guard on the flares, and those side steps will need to go. But no great loss there
Pretty much perfectly fitting guard wise:
Tempting to grab those when he goes to 33s.
Also came across a random ute in the street with a canopy setup similar to what I am thinking of, so leaving this here to jog my memory:

 . Closely following with keen interest.