DFB
Well-known member
Sparing no expense now! 
Speed square and circ would have done it
And I do have scratch my head there
But nice to have good tools.
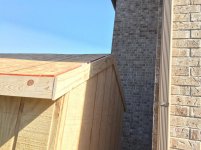
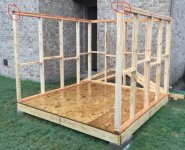
When I built my shed it was at my out of state land 20 mi from my home at the time. Had no electric service yet and cordless tools weren't worthy of much back then. I made all my cuts at the house including the plywood. I did do some the soffit and gable trim on site with...omg a "hand saw".
And ALL the nails were put in with hammer
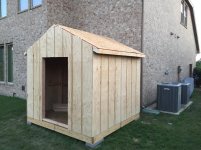
Looks good carry on!
Speed square and circ would have done it
And I do have scratch my head there
But nice to have good tools.
When I built my shed it was at my out of state land 20 mi from my home at the time. Had no electric service yet and cordless tools weren't worthy of much back then. I made all my cuts at the house including the plywood. I did do some the soffit and gable trim on site with...omg a "hand saw".
And ALL the nails were put in with hammer
Looks good carry on!


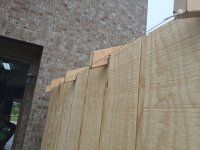


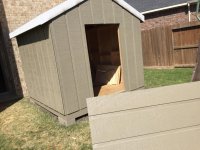
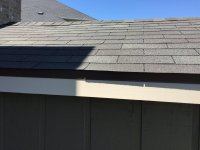
 some trim at HD. 5" for the top, 4" everywhere else. I also bought some drip edge and 30# tar. My question is, which should go on 1st, 2nd & last. Trim, rdrip edge or tar paper?
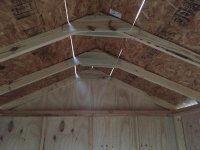


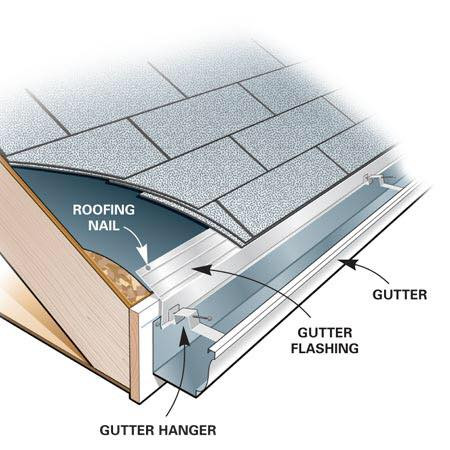


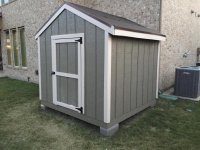
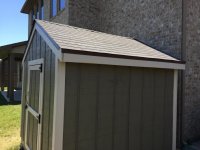
 . Should get the roof done Tuesday.