georgiashop
Member
- Joined
- Oct 5, 2015
- Messages
- 20
Greetings,
After lurking on this forum, and drooling from other's garages. My family moved and I was able to build a shop.
Thanks to everyone's efforts here, and the great amount of knowledge freely shared. I would like to share my in progress build and thoughts behind decisions I have made.
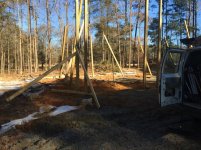
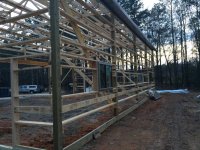
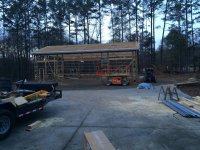
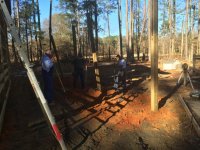
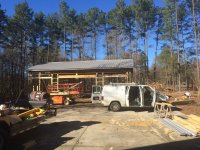
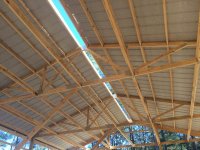
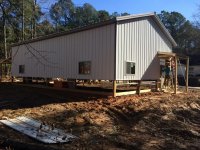
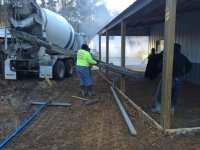
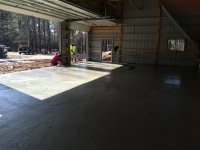
Running the numbers I decided to go with a pole type building. Looking, at others builds, recommendations and availability in my area I got estimates from Morton and Lester. I went with Lester and couldn't be happier. I decided on Lester for two main reasons: a slightly more screw-heavy construction and the local contractor lives less than 5 miles away.
Sorry, I can't figure out the picture attachment thing (not computer savvy).
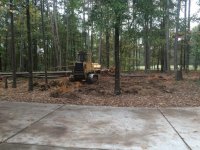
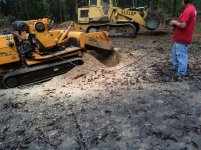
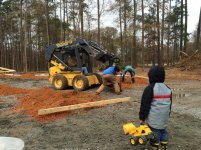
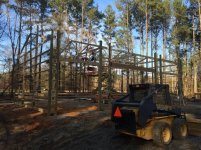
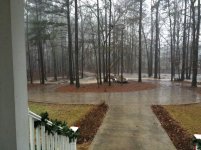
The first picture is clearing the land. Next is my son, who is a big helper (as you can see) and LOVES all machines big and stinky.
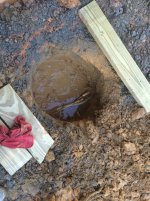
Next is the tree guys taking away a total of four loads like that. One load went to the plywood mill and the rest to mulch. I didn't want to just burn all of that wood. With a lot of searching and pleading, these guys came and took the majority of it. I kept the hardwoods for some projects I have in mind. And two loads of stumps to the county mulch yard. I did not want to deal with moving and burning those!
After lurking on this forum, and drooling from other's garages. My family moved and I was able to build a shop.
Thanks to everyone's efforts here, and the great amount of knowledge freely shared. I would like to share my in progress build and thoughts behind decisions I have made.
Running the numbers I decided to go with a pole type building. Looking, at others builds, recommendations and availability in my area I got estimates from Morton and Lester. I went with Lester and couldn't be happier. I decided on Lester for two main reasons: a slightly more screw-heavy construction and the local contractor lives less than 5 miles away.
Sorry, I can't figure out the picture attachment thing (not computer savvy).
The first picture is clearing the land. Next is my son, who is a big helper (as you can see) and LOVES all machines big and stinky.
Next is the tree guys taking away a total of four loads like that. One load went to the plywood mill and the rest to mulch. I didn't want to just burn all of that wood. With a lot of searching and pleading, these guys came and took the majority of it. I kept the hardwoods for some projects I have in mind. And two loads of stumps to the county mulch yard. I did not want to deal with moving and burning those!