I haven't posted in a while and I am bored at work (again), so I figured I would update a bit.
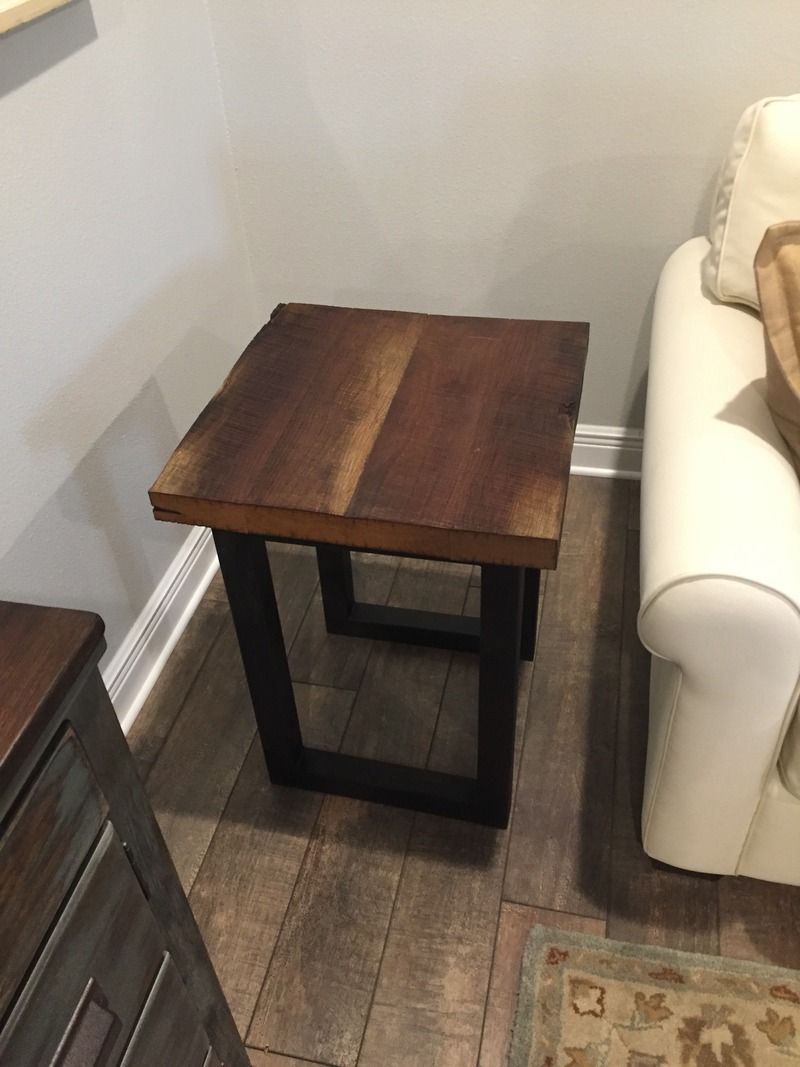
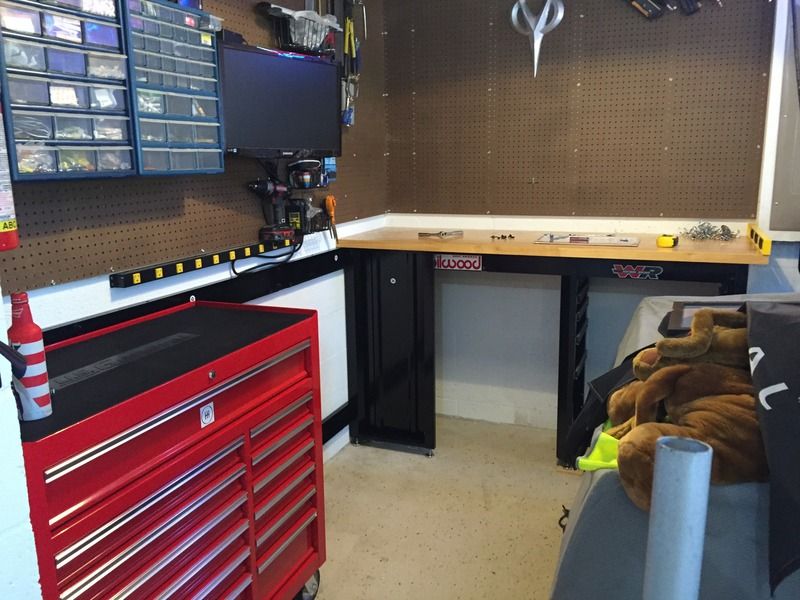
I finished the table project for my wife:
I did some other stuff around the house for her that included flooring the guest bedroom, installing new cabinets for a china hutch, moving old cabinets to the laundry room, hanging a wine bottle chandelier, and a few other things that took time away from the garage, but were fun anyway! This is a garage thread, so I'll try not to clog it up with house stuff haha.
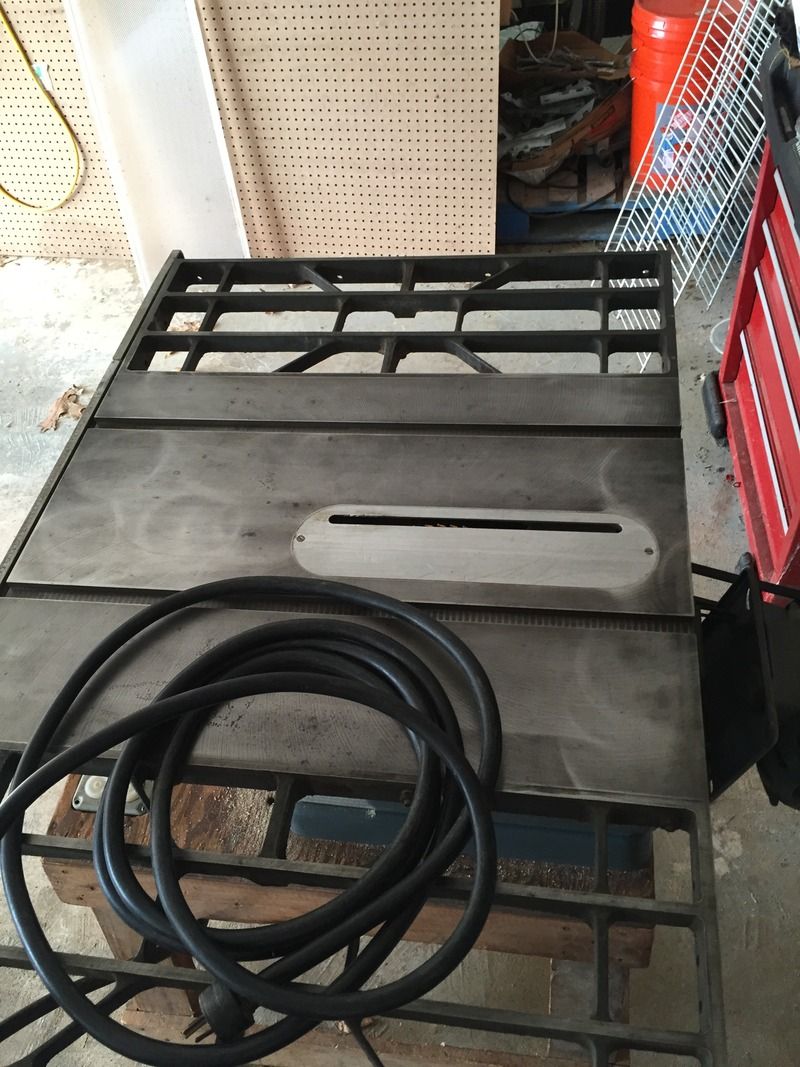
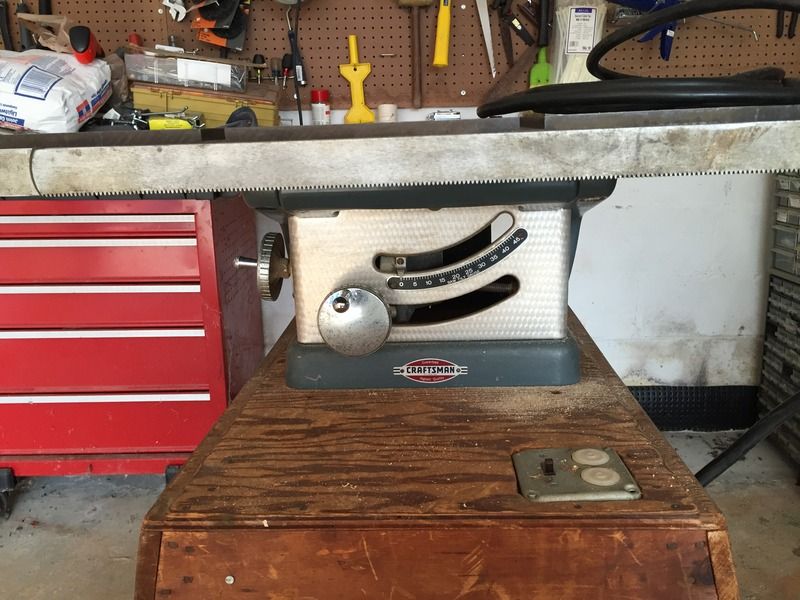
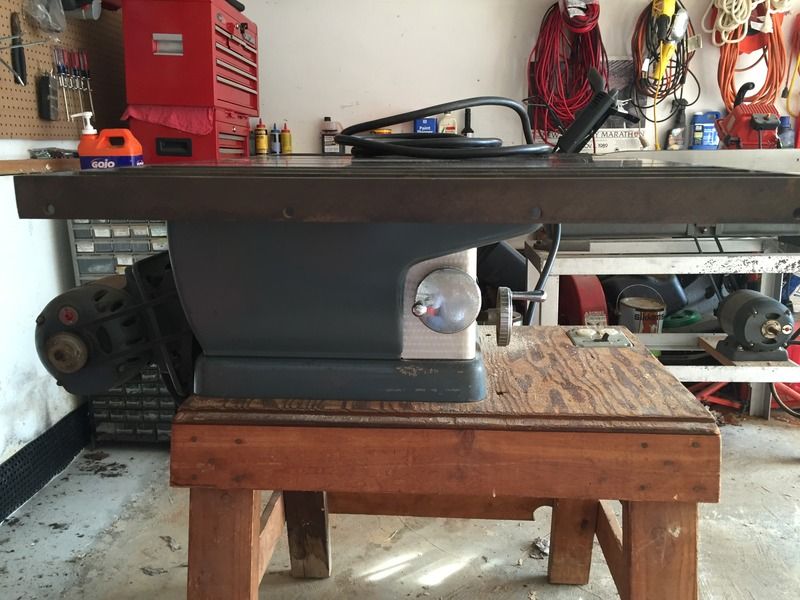
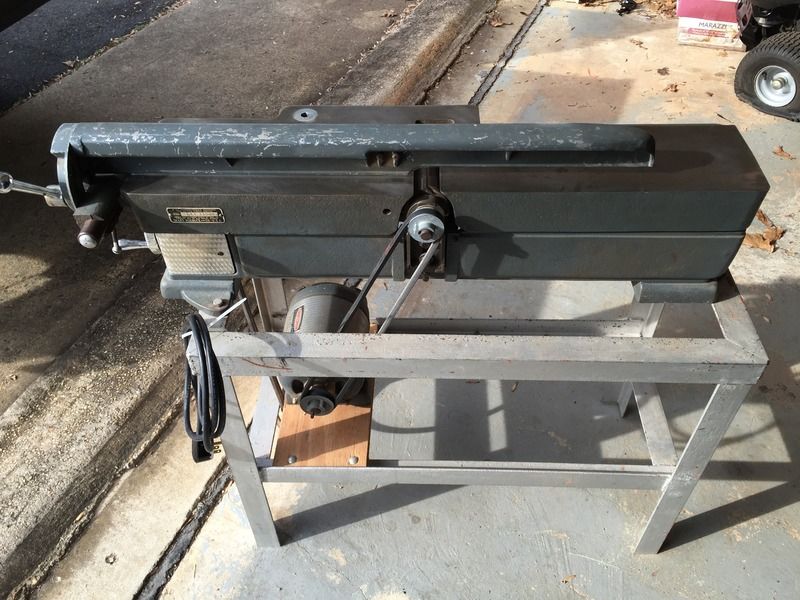
A couple weeks ago, I found a 1951 Craftsman 10" table saw and a matching 1951 Craftsman 6" jointer up by my parents in NoVA. My dad was kind enough to pick them up, send me pictures, and complain at length about how heavy they were and how much I owe him.


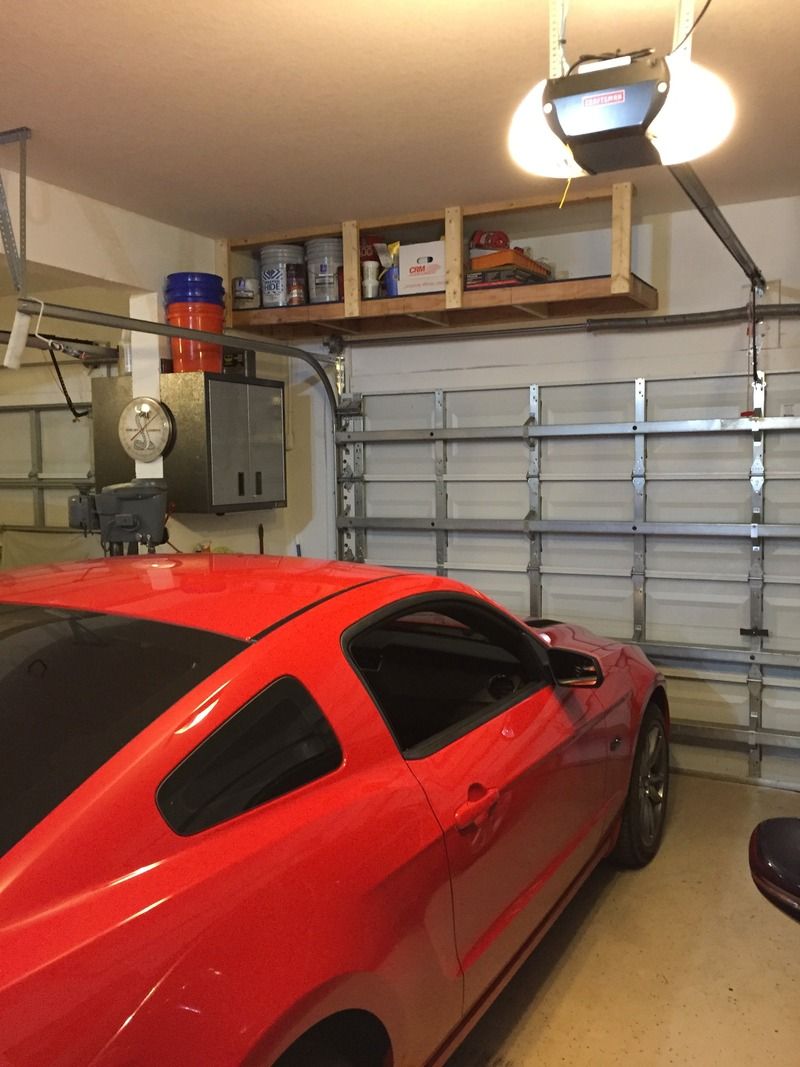
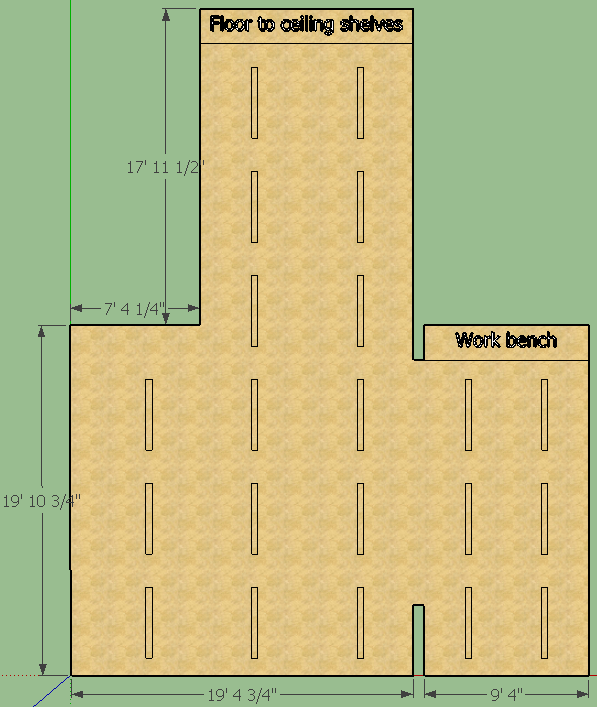
These two monsters meant that I needed to clean out some room for them to live. Since I wrapped up most of my projects inside the house, I've spent a few weekends around the holidays cleaning up. I started by building some shelves over the two-car garage door. You can kinda sorta see in this picture that I had an obstacle to overcome first when installing the shelf - the 2x8s that were used to install the door tracks extend further up than the height of the garage door, and where I wanted to install the shelf. My first thought was to cut the 2x8 down, but that sucked in a major way even with an oscillating tool. My eventual, easier solution was to put a 2x4 on either side of the 2x8 anchored to the wall, then anchor the shelf to that (and the wall with really long Tapcons):
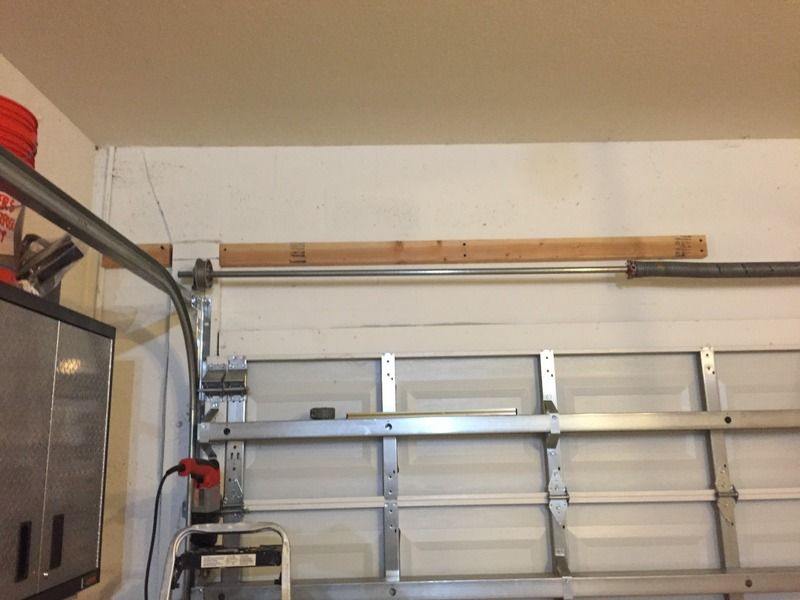
By the way, trying to lift a 2'x8' shelf structure over your head while on a ladder, and run a drill at the same time is nearly impossible. I cheated death twice during this project (and I still have the second shelf to install).
Mercifully, my drill died about the point I had the shelf up under its own power. I still have to go back and add ceiling supports and run Tapcons through the shelf to the block wall. It fits like a glove though with 1/2" clearance between shelf and door.
When I finished that shelf, I loaded it up with all of our paint and related supplies. The only problem here is that 5 gallon buckets have to be loaded from the side, which means I'll have to take everything down if/when I need to get to those. Oh well.
Holy hell we have a **** load of paint that, for some reason, my wife wants to keep. I think I'll be sneaking a few cans into the garbage when she isn't looking and claiming ignorance if she ever asks. I might also paint a wall or two in the garage with the same color as inside the house since I have about seven gallons; at least where I plan to do a pallet wall so white doesn't peek through.
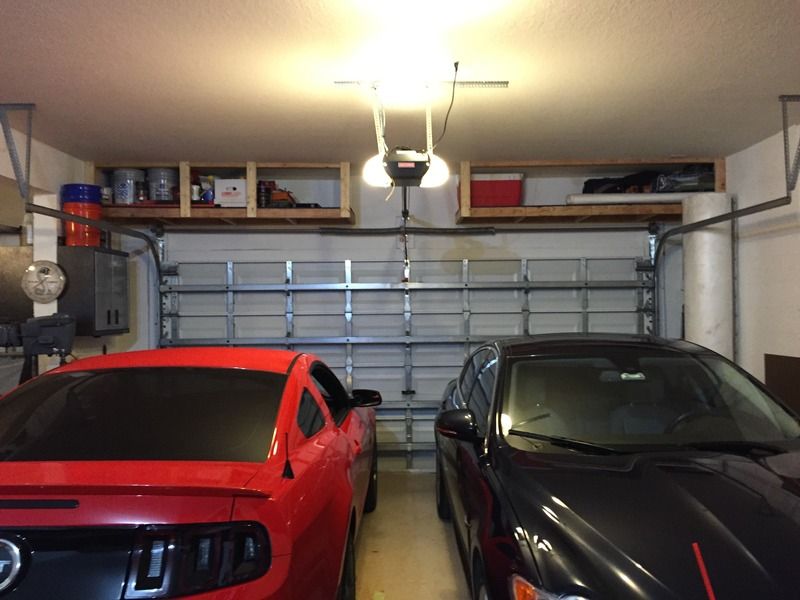
Once I got that shelf all loaded up, I started on the second shelf to store all our camping **** (we don't camp):
I've since put the vertical bracing on this shelf, but no pictures. The shelves are about as solid as I could have hoped. They didn't even budge when I hung my 240lbs on them.
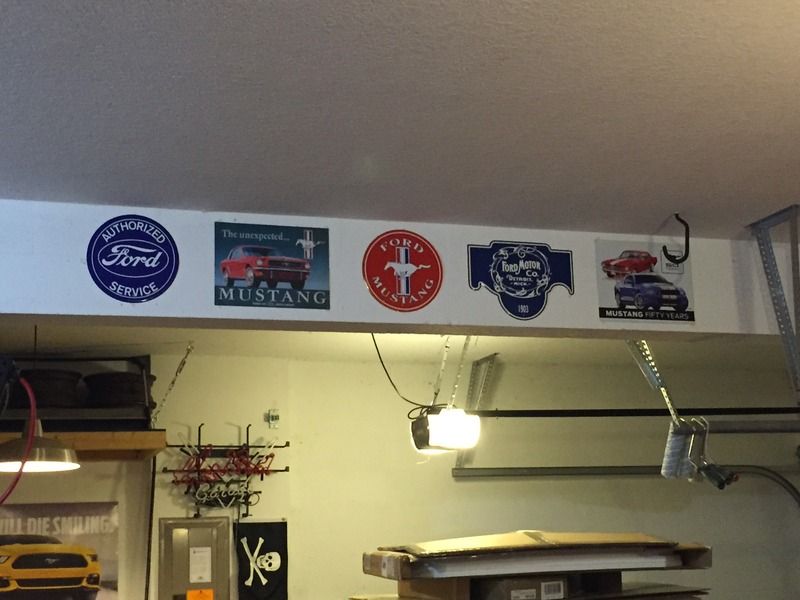
I hung some of my tin signs when I was taking a break from the shelves. They'll have to come down when I decide to paint, but I wanted them out of my way for the next project down the road.
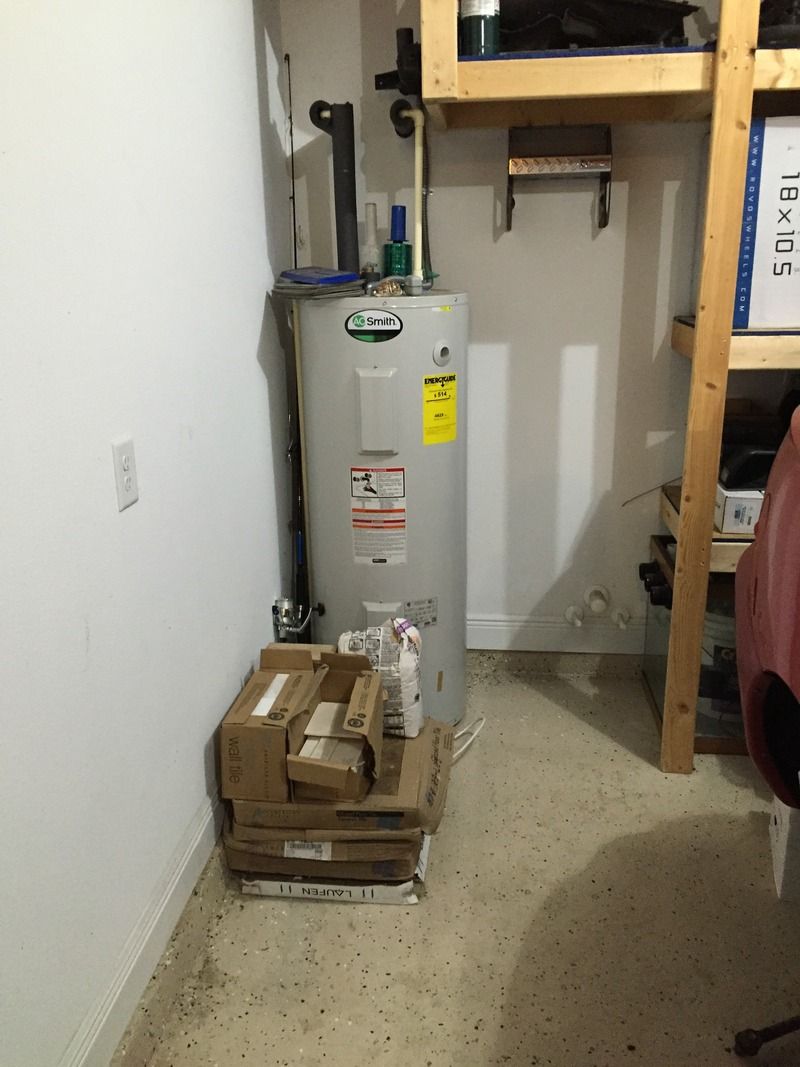
My wife and her brother we up playing Dr. Mario on the NES one night a couple of weeks ago and I really didn't want to sit around and get fatter so I puttered around the garage for a few hours. If I didn't point specific things out, you'd never know I did anything. I did however clean out a spot for the water softener I am supposed to be buying and installing soon, as well as a place to eventually move the two motors/stands:
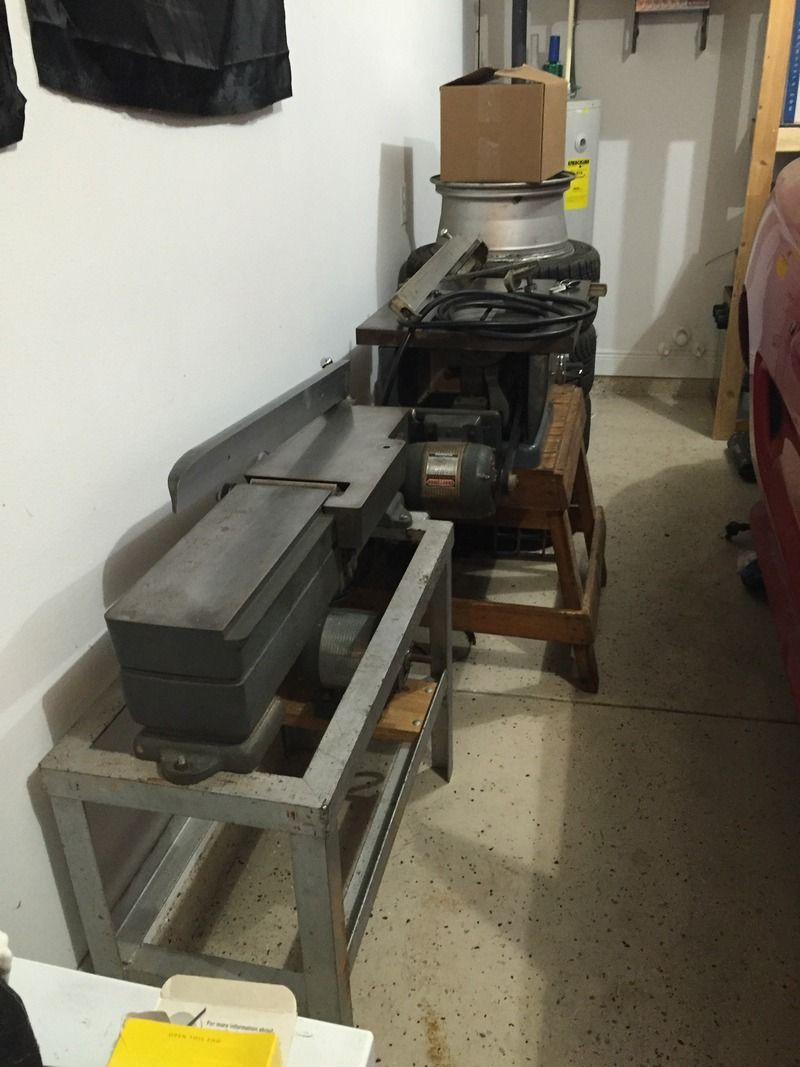
For now, this spot is home to the "new" table saw and jointer. I'll be making a new workstation for the table saw that will tuck away under my bench; not entirely sure what to do with the jointer.
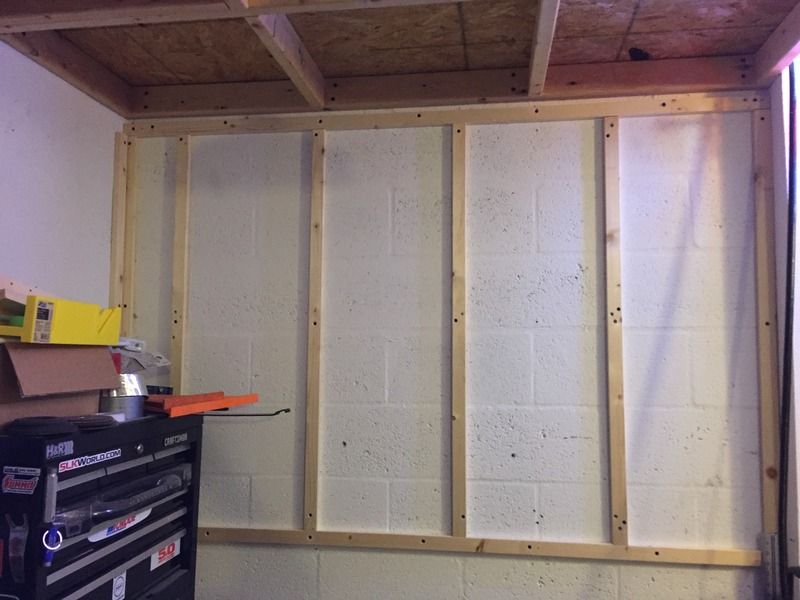
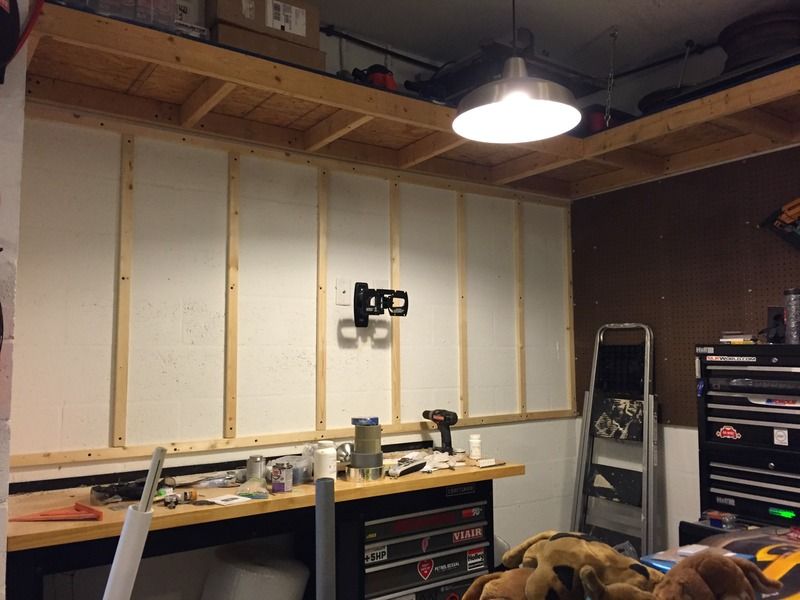
I started the most recent garage project last week after work one night - peg board! I think this was a combination of a couple evenings' worth of work, which sounds stupid until you realize I had to clean out all the mess in the way, every hole had to be drilled three times (hammer drill, countersink, tapcon), and I had a hell of a time getting the tapcons to bite initially.
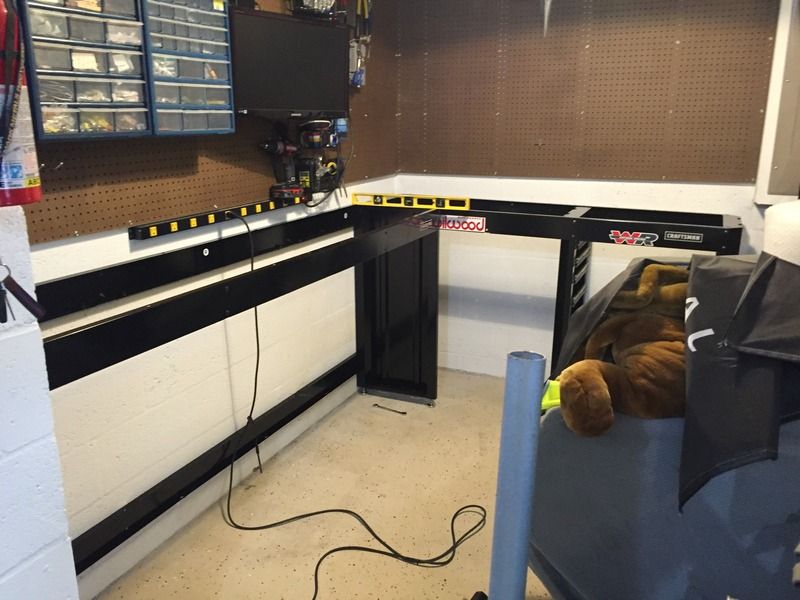
Thursday night I got the peg board up on the short wall (right side of my bench) and called it quits for the night:
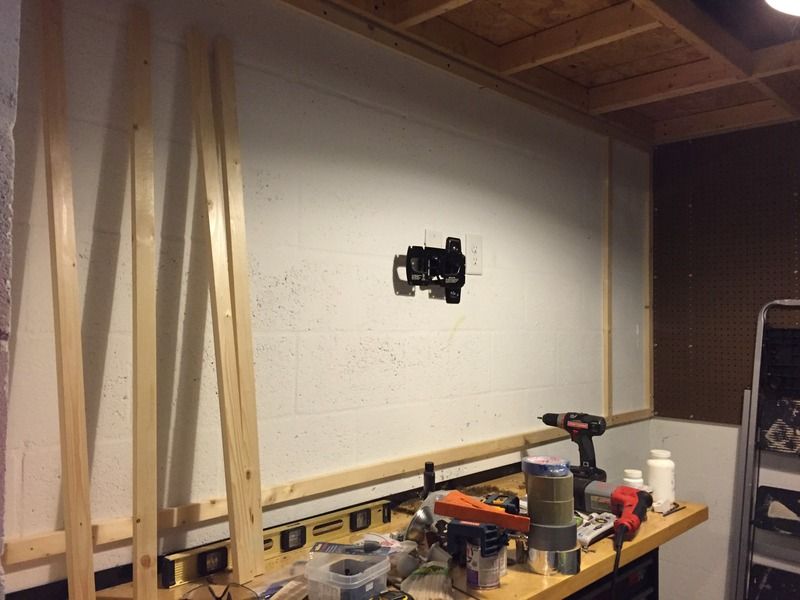
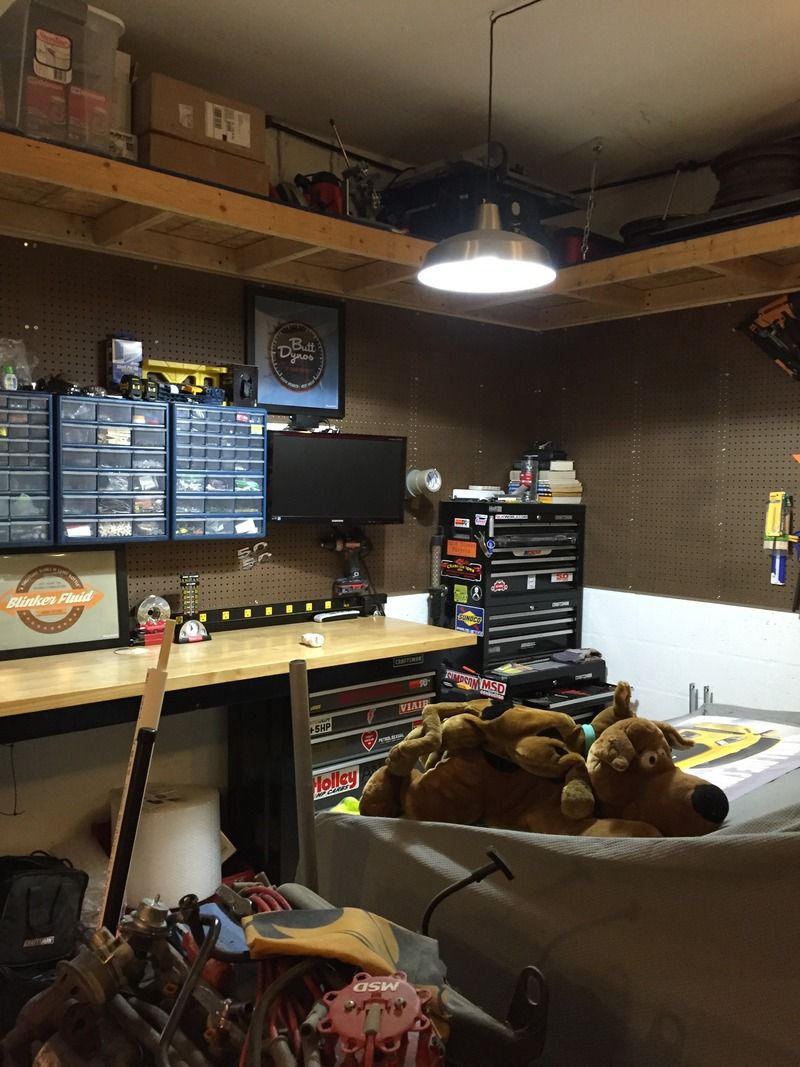
Friday night afforded me the "luxury" of making noise a bit later into the night, so I cleaned off the **** pile I call a work bench and went to town:
It seems to be a recurring theme, but by the time I got to this point, my cordless drill ran out of juice... also I had run out of 1x2 since I needed box in the TV mount and didn't take that into consideration when buying it... and it was 10pm so I needed to give my wife and neighbors a break from the hammer drill.
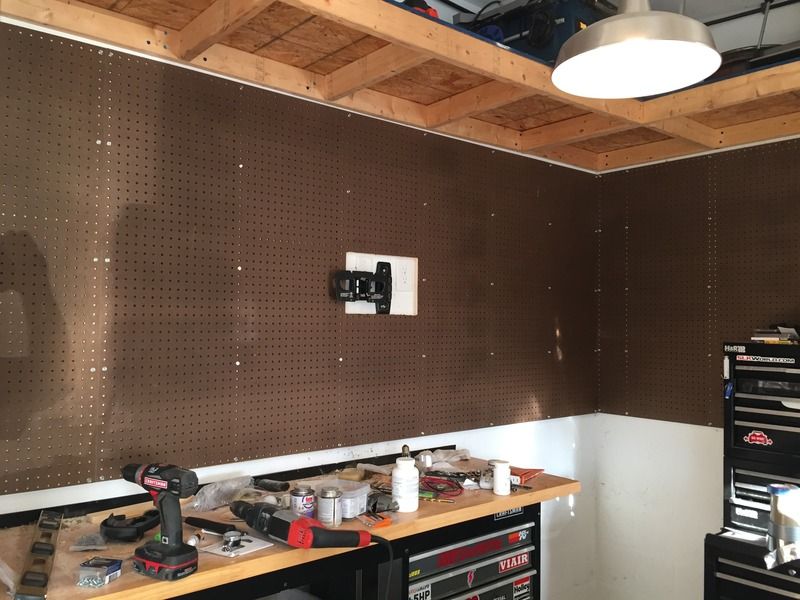
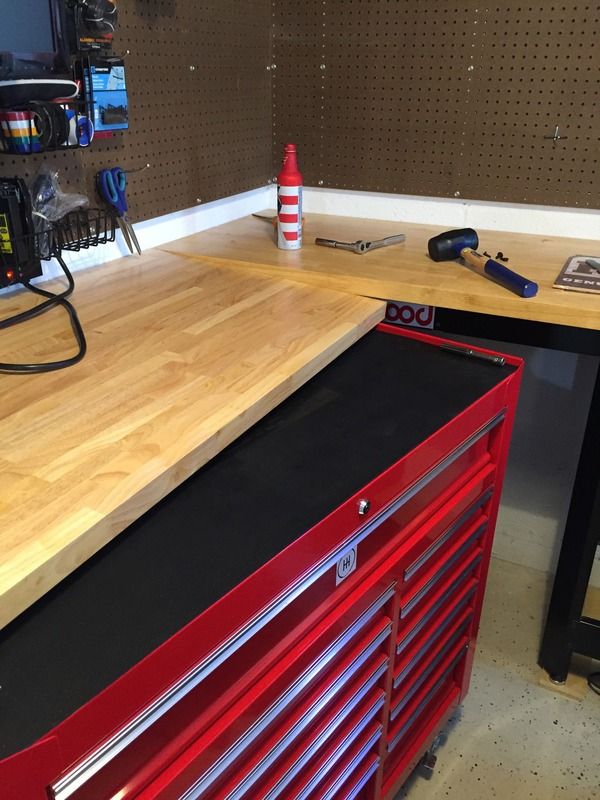
Saturday afternoon, I got back to it after running errands with my wife. Here's the finished frame with the TV boxed in and horizontal support for me to hang those cheap plastic parts bin:
Peg board is a ************ to cut by yourself; that **** was flopping everywhere but where I needed it to. After measuring three times, going to lunch, coming back to measure a couple more times, I cut the hole for the TV and mounted the rest of the peg board over my bench:
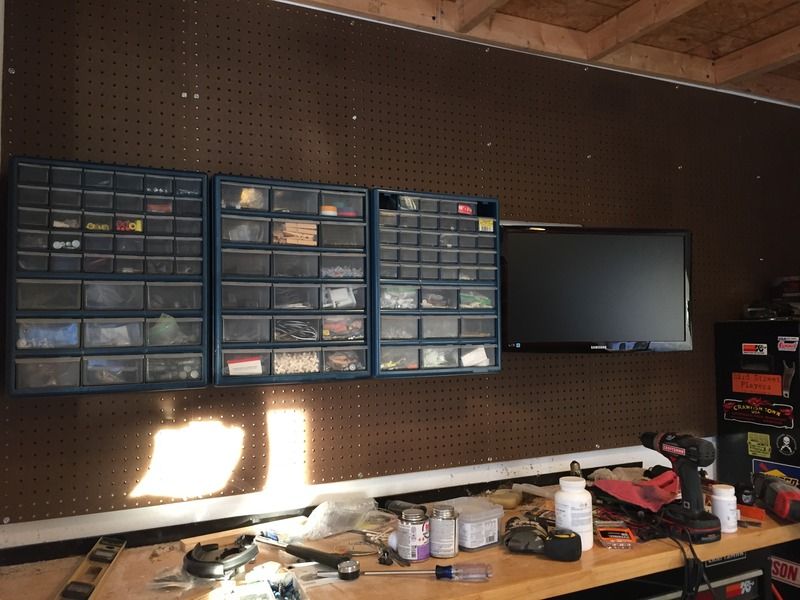
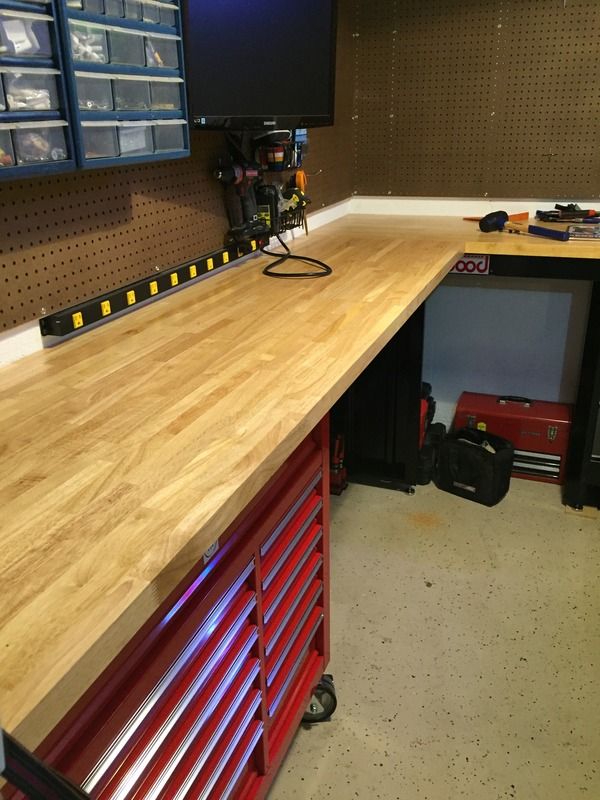
The cheap plastic parts bins and TV mounted (wire finally all hidden away):
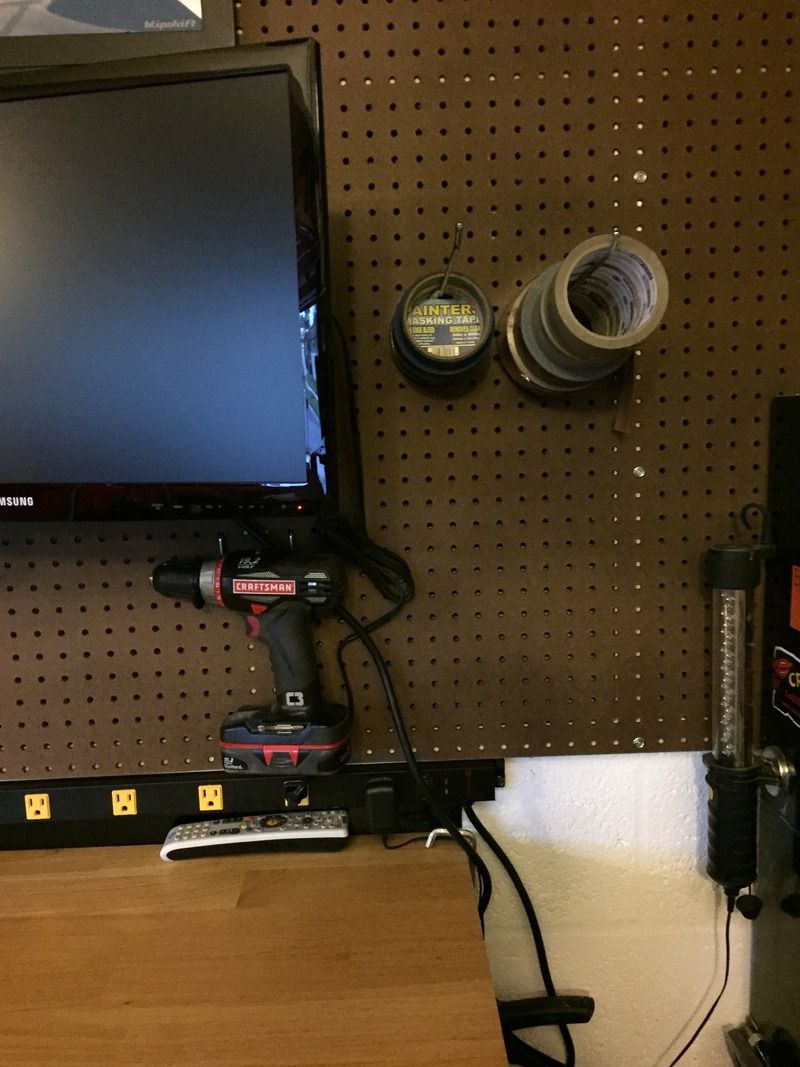
Hung my drill battery charger for the first time and a big *** power strip:
http://i109.photobucket.com/albums/n60/psychorugby/D5C6F727-3884-4FCE-BFC4-B4BB9927971B_zpsxna5tbxn.jpg[img]
[img]http://i109.photobucket.com/albums/n60/psychorugby/953B38F2-25E2-4597-A6D3-F94ED9CEF736_zpsmzazpmdr.jpg[img]
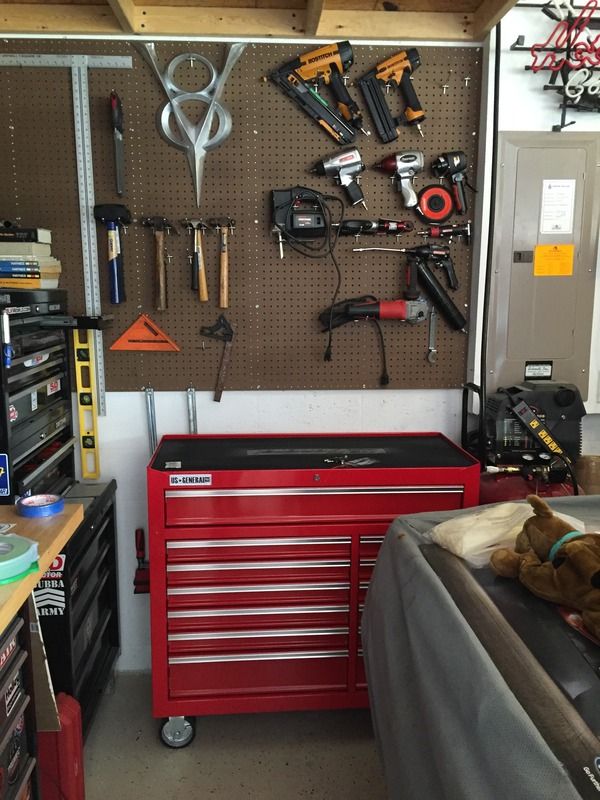
Started hanging some tools:
[img]http://i109.photobucket.com/albums/n60/psychorugby/CBB249DA-B7A3-453C-9632-4EFC2AB9083E_zpspi0y5pbj.jpg
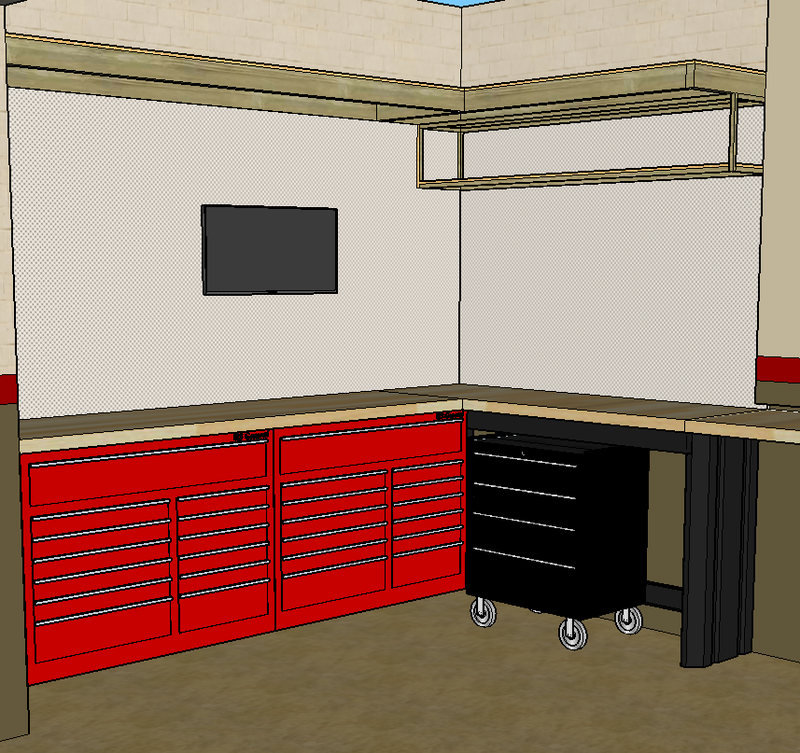
The project as it sat Sunday night; I am waiting on an Amazon order to come in with some more pegs and baskets:
I know it's not everyone's cup of tea, but this is already a great improvement in my work space. So much so, even my wife noticed how much cleaner the whole area is now. I didn't think it would be such a vast improvement, but it is! I'm actually faced with the problem of what to do with the extra space and how to organize. I've never really actively organized my tools and stuff; it just finds a home and stays there. For the first time ever, my wife seemed to be on board with getting stuff done in the garage. We played darts Saturday night after I wrapped up cleaning and she said it just felt nicer out there with some of the white covered up and [almost] everything cleaned up and in it's place.
I desperately need more light in the garage, so I have an electrician coming out this week to give me a quote on installing a couple circuits for extra outlets and lights. I plan to put the lights on at least two switches: