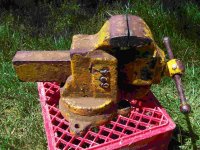
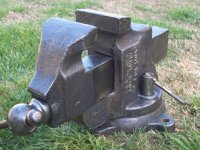
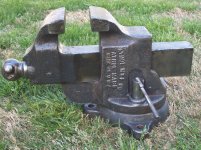
Bought a 624 today but need some advise, please, getting the base off. I see the large screw on the bottom but it does not budge. It swivels smoothly but maybe I do not know what I am doing, not surprising. Here are a few pictures... 

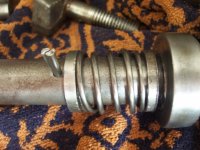
 It was a mess in dis-assembly and it was hard to even know they were washers/spacers. I would think that the washers go on either end of the spring but not sure which one goes/faces what (one has a lip at one end).
 Now does anyone remember how the 2 washers and the spring go back in?
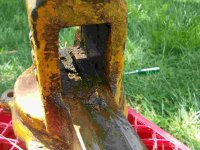
 on what Joe said about the cotter pin.


Possibly a couple of REALLY small zip ties?Do not have any safety wire handy are there any good alternatives?
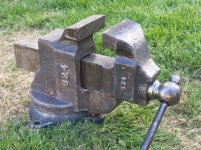
Thinking about leaving in the natural finish and wiping it down with oil every now and then.