

kngelv
Well-known member
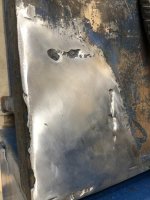
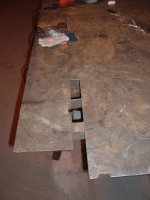
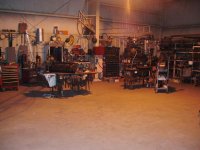
I have a table that I plan on using for occasional small welding jobs. Most of the time though my 13 year old son will be using it as his own workbench for bike projects. This bench came out of the old Chevrolet Gear and Axle factory in Detroit and was likely made there. The surface has some sort of industrial paint and a little surface rust on it. He wants to make the whole surface look like the small polished area. That area took him about twenty-thirty minutes with a 40 grit flap disc on an angle grinder. The disc is pretty much done so it looks like hours of work and many more discs to finish it. Does anyone have a better and hopefully quicker method than what we have done so far? Thanks.
James
James
Attachments

Last edited:
 It was a bit less aggressive on the metal though.