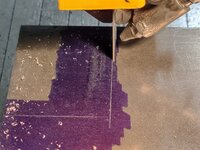
On both my 4x6 and 8x12 saws I not only scribed a line on the base for zero (making sure that the pivot bolt was slightly loose, then holding the fixed jaw against the bolt (pushing from the material area), then I added another stop on the movable end and hard clamped it to the saw bed. This helps 90* cuts stay good, if I don't get TOO carried away with clamp pressure -
I do quite a bit of stuff with square tube, and I HATE bugs of all kinds getting into available holes, so (depending on how strong things need to be) I either cap any open ends (1/8 x 1-3/4 FB works well for insert caps) - or I cut 45's -
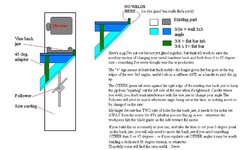
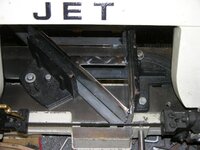
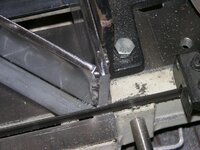
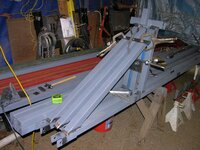
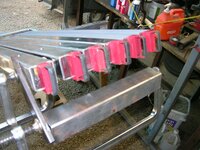
As mentioned, it gets tricky/slow to get 45's to end up EXACTLY as planned, so several years ago I posted the adapter shown below - I made two, one for the small saw and one for the larger one. I made one change on the larger one that works REALLY well - I left the 45* side long enough so that once it was situated and locked down in the saw, I could let the SAW cut that end IN PLACE -
That pretty much gives me an EXACT point to set my SECOND cutoff scribe line (so the POINTS of 2 45's are EXACTLY the length I need.
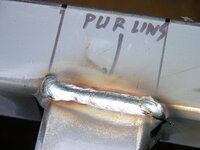
For anything I build that needs maximum strength I use 45's - this not only provides a built-in CAP, it also lengthens the weld by 1.414 TIMES, Obviously that part can't work for a T joint.
Another thing that really helps strengh of a weldment (if you need all you can get) is to cut things a little bit SHORT, then insert small spacers before clamping together - done right, this will give you a FULL PENETRATION weld (any pipe fitters know what I mean) - for tubing between 1-3 inches, I tend to use small pieces of "mechanics wire" for spacers - for MIG you'd want to SLIGHTLY push a little faster to avoid burn thru (DAMHIKT )
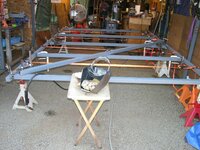
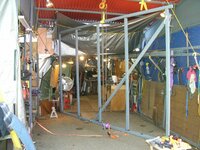
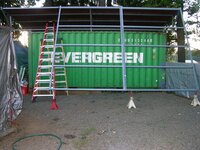
The pic that shows the large tube frame is one of three 8'x12' roof frame modules for half of the 24' square container roof I did (NEVER enough covered space in rainy Oregon) - that was done on NON-level gravel using jack stands, shims, 2 Wixey angle cubes (MUCH prefer their tip-up version), a LOT of walk-around checks, copious quantities of clamps - and the diagonal brace was actually one of the "purlins", kept TIGHTLY CLAMPED at ALL crossings until all welding was done (with MUCH "hopscotching" til every joint had 3-4 tacks -
I clamped pieces of scrap to the undersides of tubes at all joints, main purpose to maintain exact alignment at each joint. One verification that things were straight was to close one eye, squat down til I could just barely see the far side of the assembly, then move ONLY MY EYE from side to side to tell if there was any TWIST -
All pieces were gang cut on the larger saw so all were less than about 1/64" different. This also let me set up my mag drill table to place bolt holes from the SHORT ends of tubes, instead of individually measuring 11 feet along the tubes - I have the mag drill table done so I can insert a 2" tube into a piece of receiver tube, insert a smaller one in the other end of the receiver and CLAMP it for a repeatable stop.
Doing that allowed me to bolt the 3 8'x12' roof modules together WITHOUT having to hog out any holes (I used a21/32" annular cutter, so a TINY bit of cheating :=)
The end result of all this OCD stuff - all 3 roof modules came out with diagonals less than 1/64" different, ZERO twist, and using a few other "cheaters" I assembled the 24' square roof entirely ALONE.
Because I built the roof "modular", when I no longer need it THERE I can unbolt sections and move the entire thing wherever I need it (once the $$$ is available for a 3 bay tall garage)
Some pics (go back and re-read for better understanding if necessary) ... Steve














 ... Steve