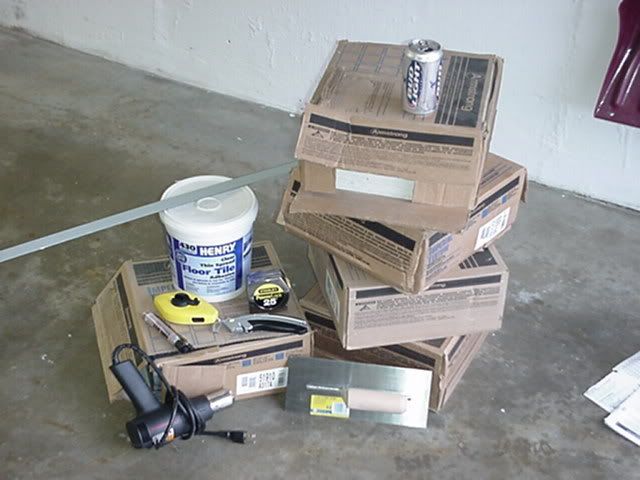
Tools needed:
1. Your choice of VCT tile
2. VCT floor adhesive.
3. Concrete etcher/ cleaner
4. Toothed trowel
5. Chalk line
6. Firm brisle brush
7. Floor roller
8. Heat gun
9. Utility knife
10. 12 pack of your choice of beer
Instructions:
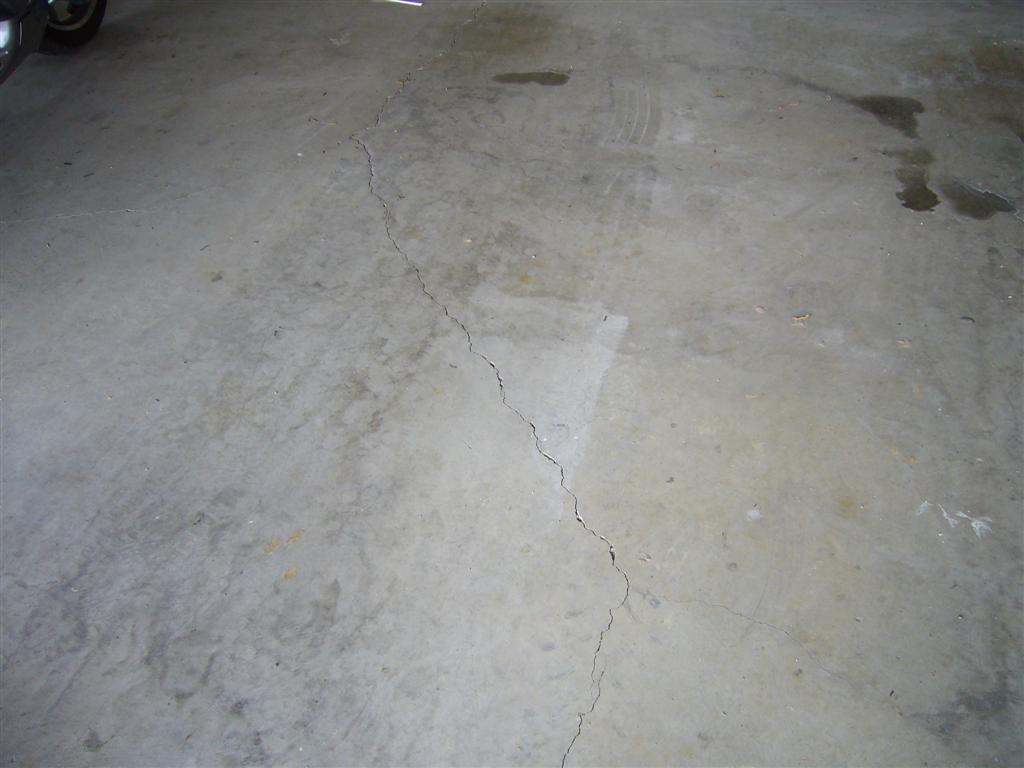
1. Clean and prep your concrete with a concrete degreaser/ cleaner and a firm nylon bristle brush, thouroughly wash and rinse the floor and let completely dry.

2. Lay out your pattern on the floor with your chalk lines and trace over in marker. The adhesive dries clear so you’ll be able to see all these marks when you lay the tile.
3. The adhesive requires some time to set up, so apply the adhesive on the floor starting in a corner. Don’t cover the entire floor just work in sections. Allow the adhesive to set up, this should take about a half hour.
4. After allowing the adhesive to set up it is now time to lay your tiles. Start in the corner and lay the tiles in a stair step fashion.
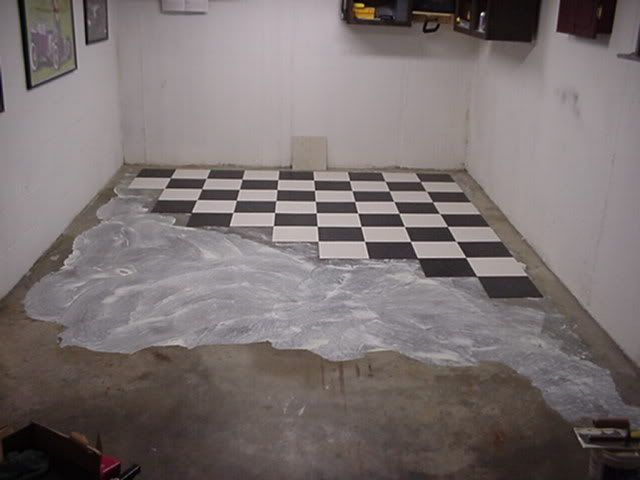
5. Repeat process until you finish the floor.

6. Roll the floor with a 100lb floor roller.

7. Clean up extra adhesive that may of seeped through the cracks with some mineral spirits.
8. Allow 6-10 days for the adhesive to cure and dry completely.
9. Clean floor and apply your choice of sealer and finish to floor.
Sit back and marvel at your hard work!!
1. Your choice of VCT tile
2. VCT floor adhesive.
3. Concrete etcher/ cleaner
4. Toothed trowel
5. Chalk line
6. Firm brisle brush
7. Floor roller
8. Heat gun
9. Utility knife
10. 12 pack of your choice of beer
Instructions:
1. Clean and prep your concrete with a concrete degreaser/ cleaner and a firm nylon bristle brush, thouroughly wash and rinse the floor and let completely dry.
2. Lay out your pattern on the floor with your chalk lines and trace over in marker. The adhesive dries clear so you’ll be able to see all these marks when you lay the tile.
3. The adhesive requires some time to set up, so apply the adhesive on the floor starting in a corner. Don’t cover the entire floor just work in sections. Allow the adhesive to set up, this should take about a half hour.
4. After allowing the adhesive to set up it is now time to lay your tiles. Start in the corner and lay the tiles in a stair step fashion.
5. Repeat process until you finish the floor.
6. Roll the floor with a 100lb floor roller.
7. Clean up extra adhesive that may of seeped through the cracks with some mineral spirits.
8. Allow 6-10 days for the adhesive to cure and dry completely.
9. Clean floor and apply your choice of sealer and finish to floor.
Sit back and marvel at your hard work!!
Last edited:
 and then the sealer


 ). I have a few questions: