To avoid these ads, REGISTER NOW!

Jumpman-Z 4-Car Garage

Jumpman-Z

Well-known member
Joined
Jun 9, 2014
Messages
144
Location
Amarillo
I originally intended to start this thread as I finished up construction of my new home, but due to a very hectic schedule, I just couldn't get things going. I did find time to document everything, so the first few posts will consist of backdated info. Anyways, here we go:

November 2016:
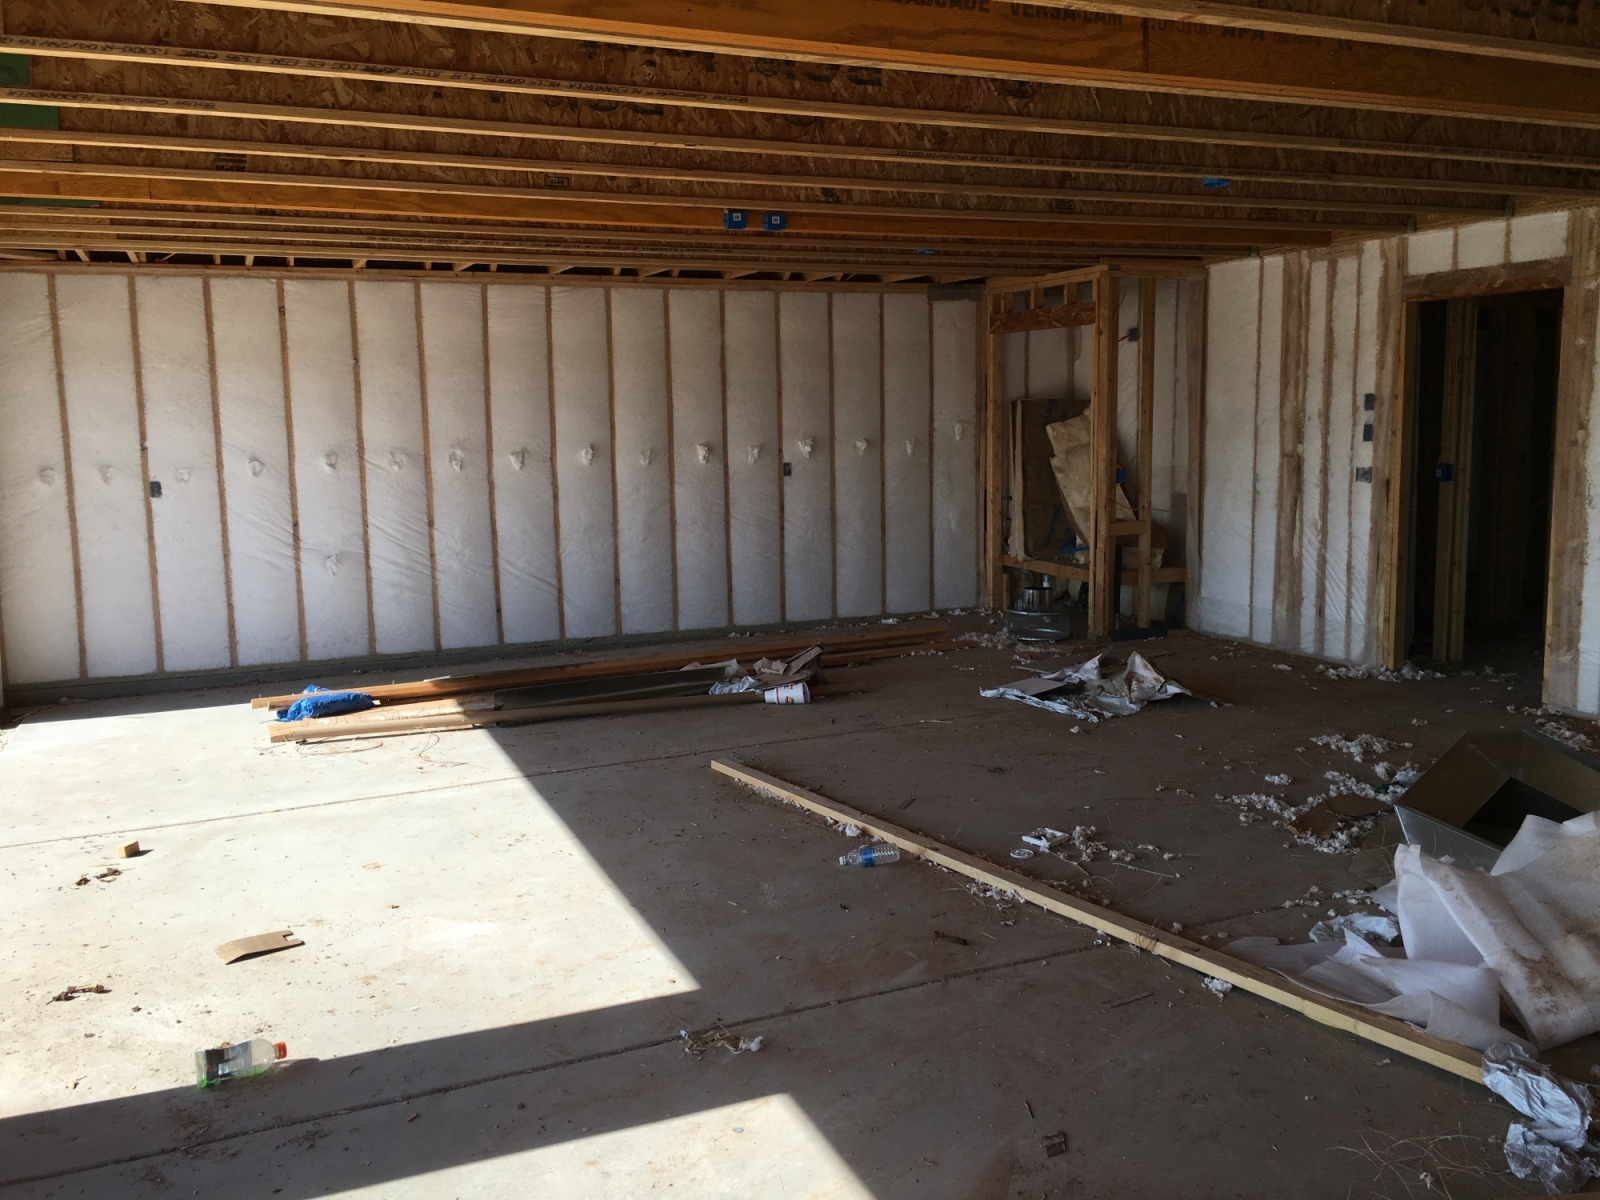
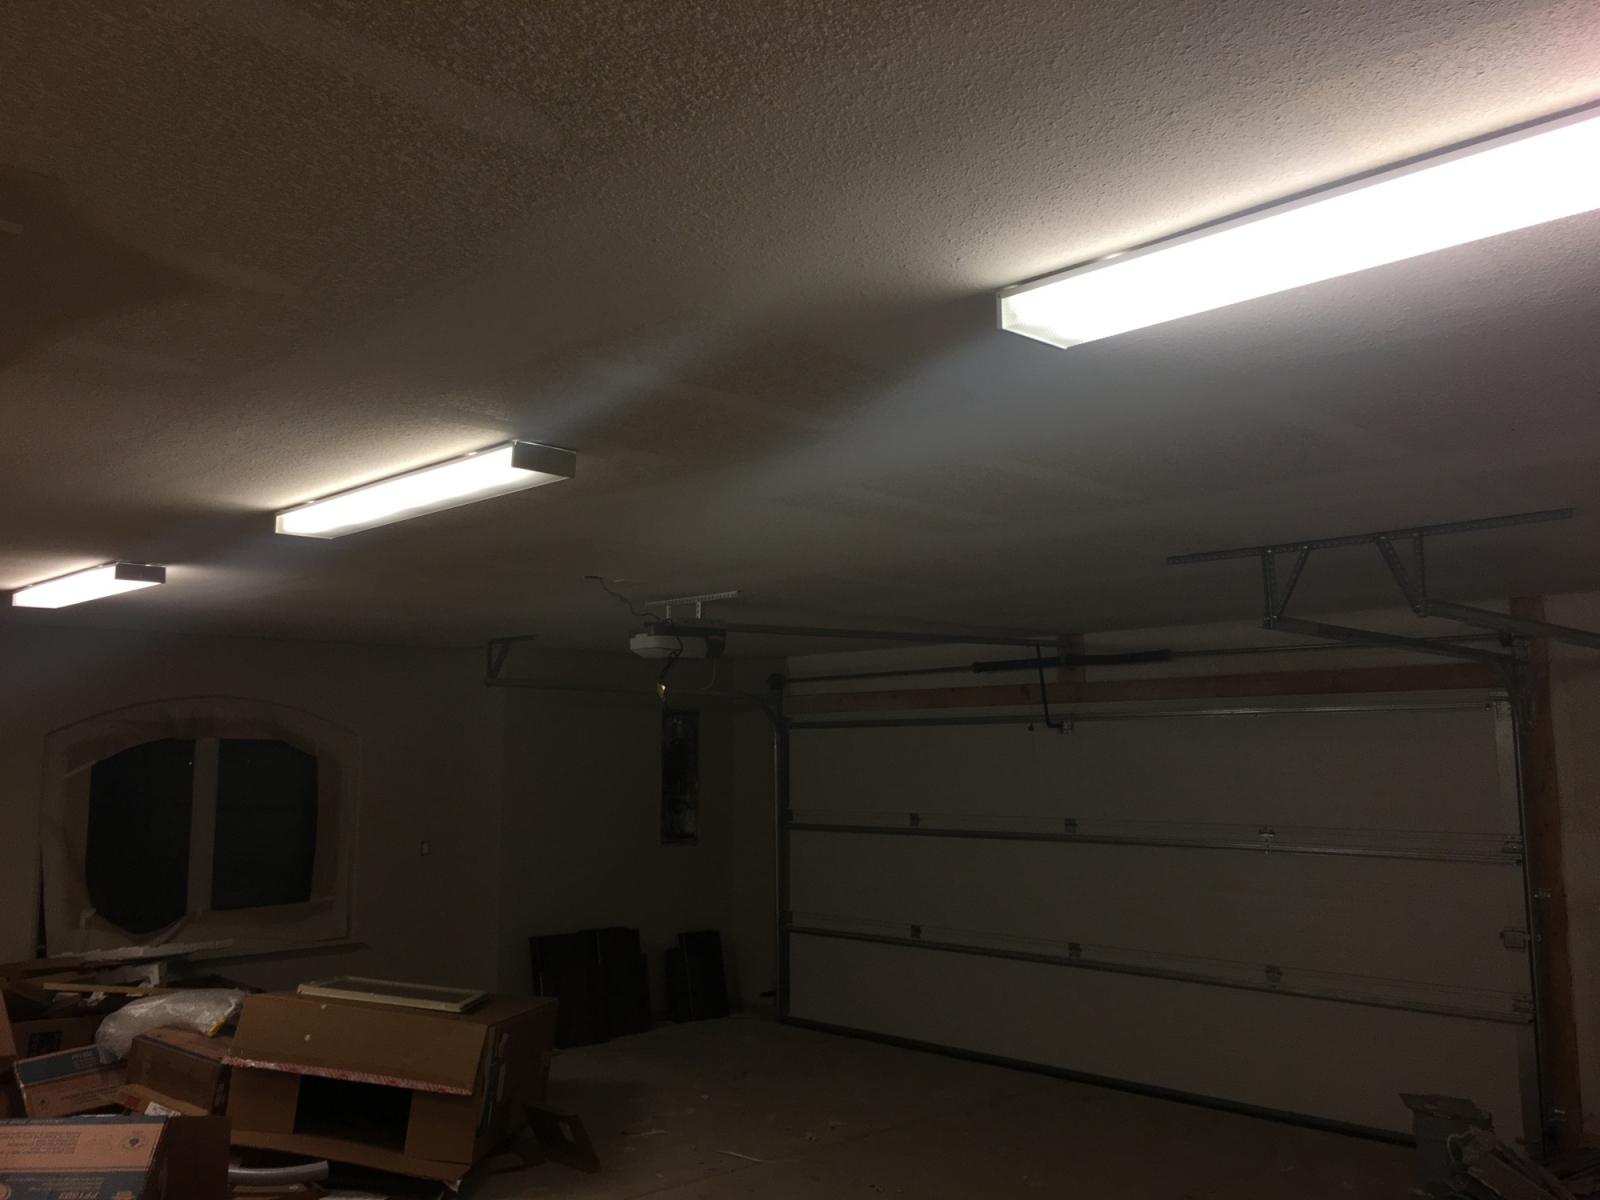
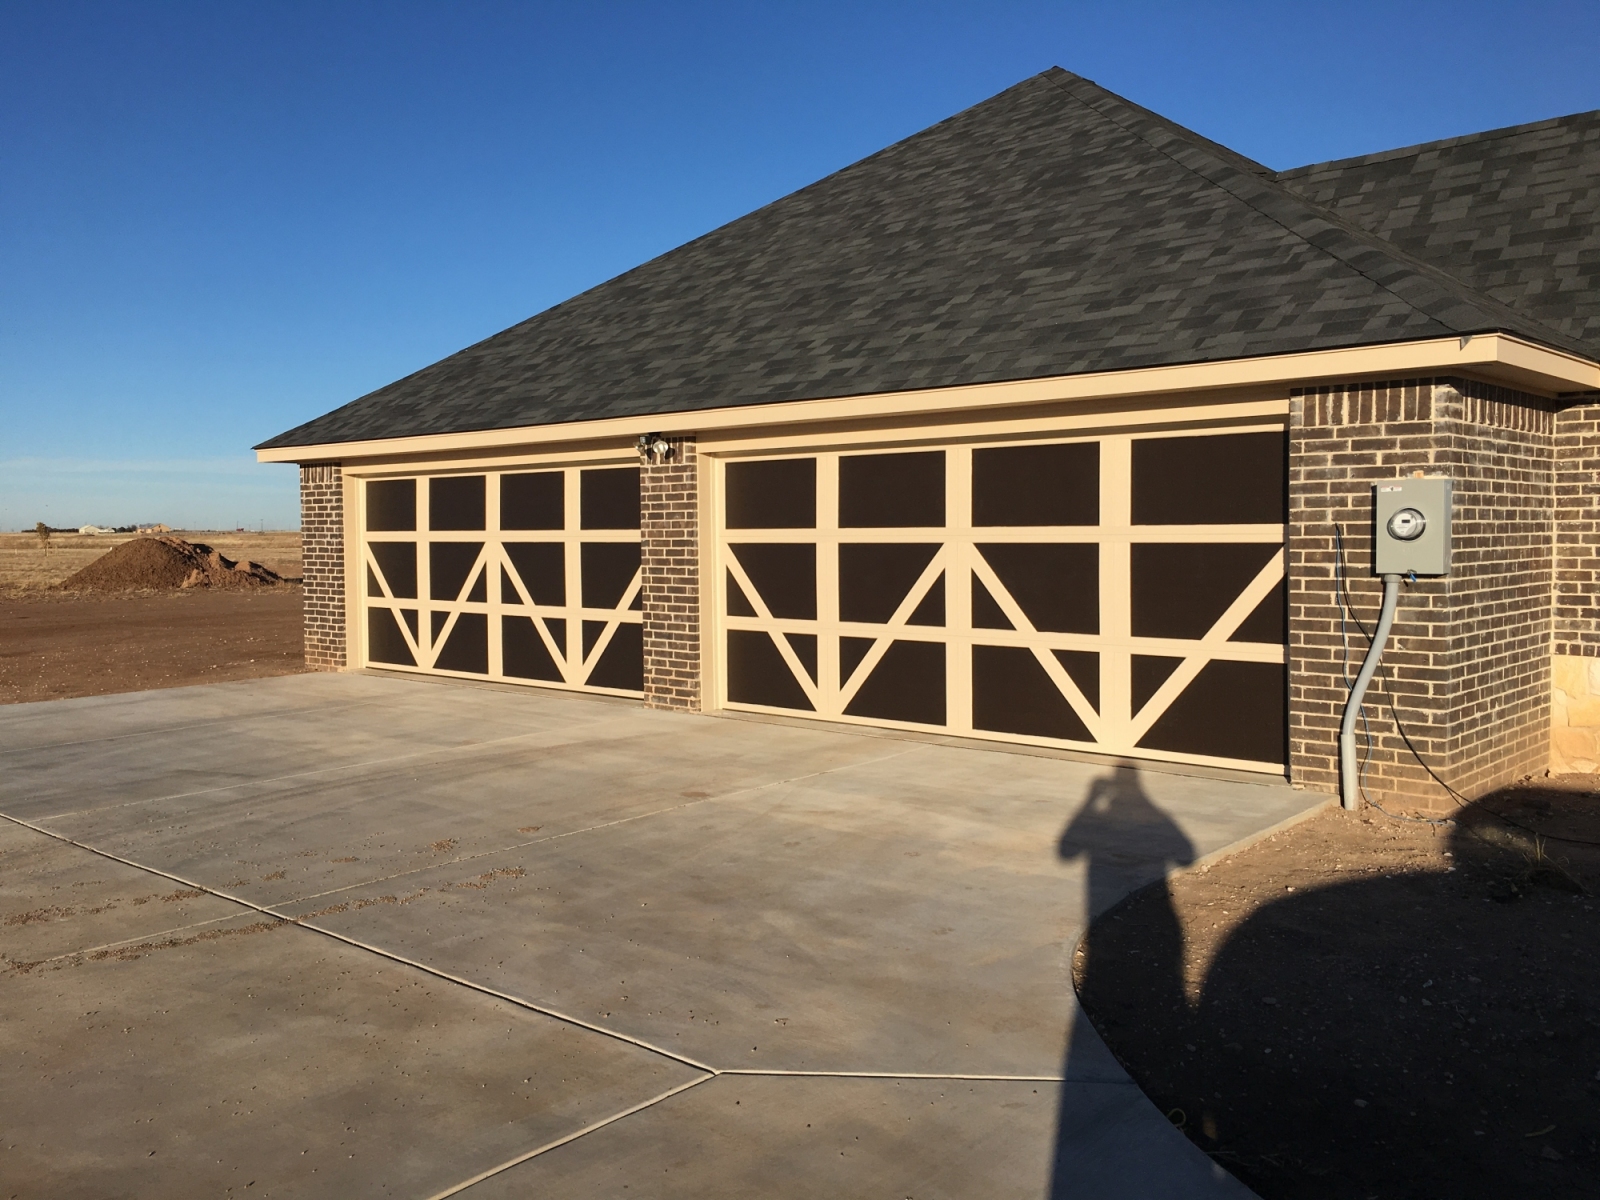
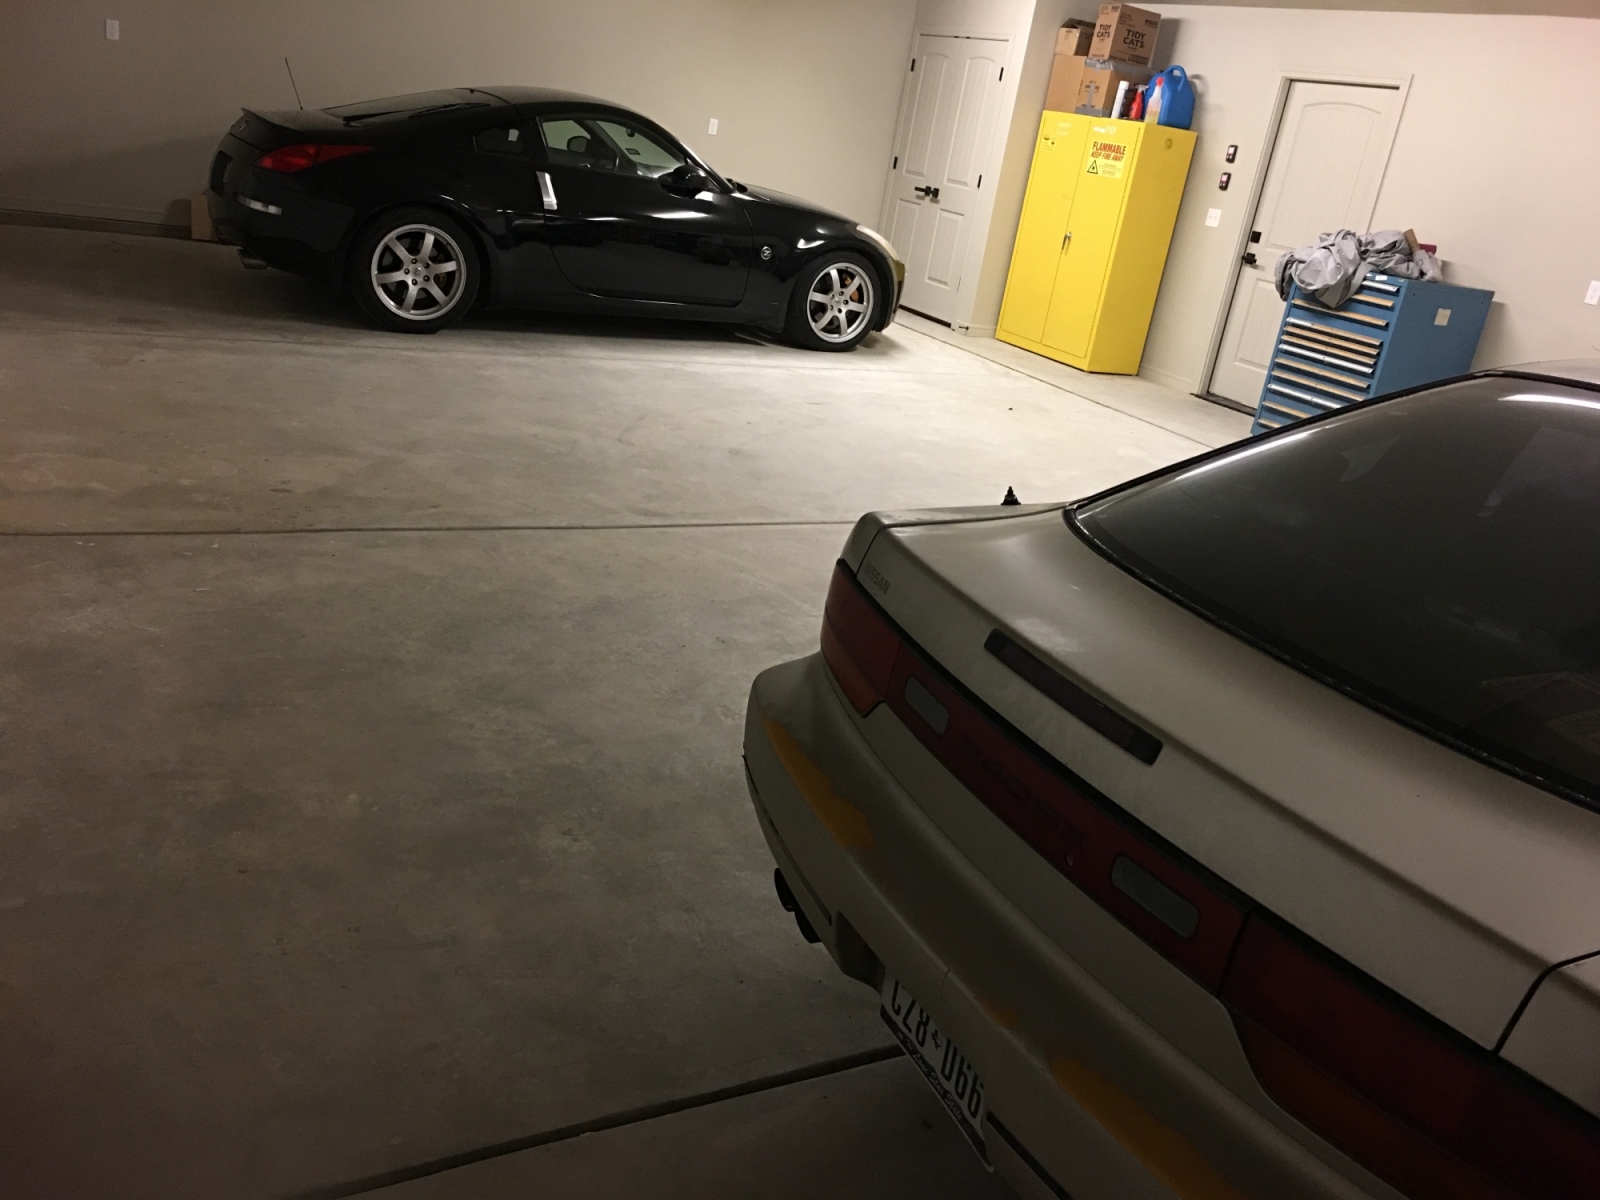
Finished construction and closed on the house. I originally planned to have a 3 car garage with a separate 1-car, but after making a few plan changes to cut costs, I ended up going with a 4-car garage. I wish I could have kept some of the old design, but I do like the 4-car garage more.

1.jpg


2.jpg


3.jpg


4.jpg


5.jpg


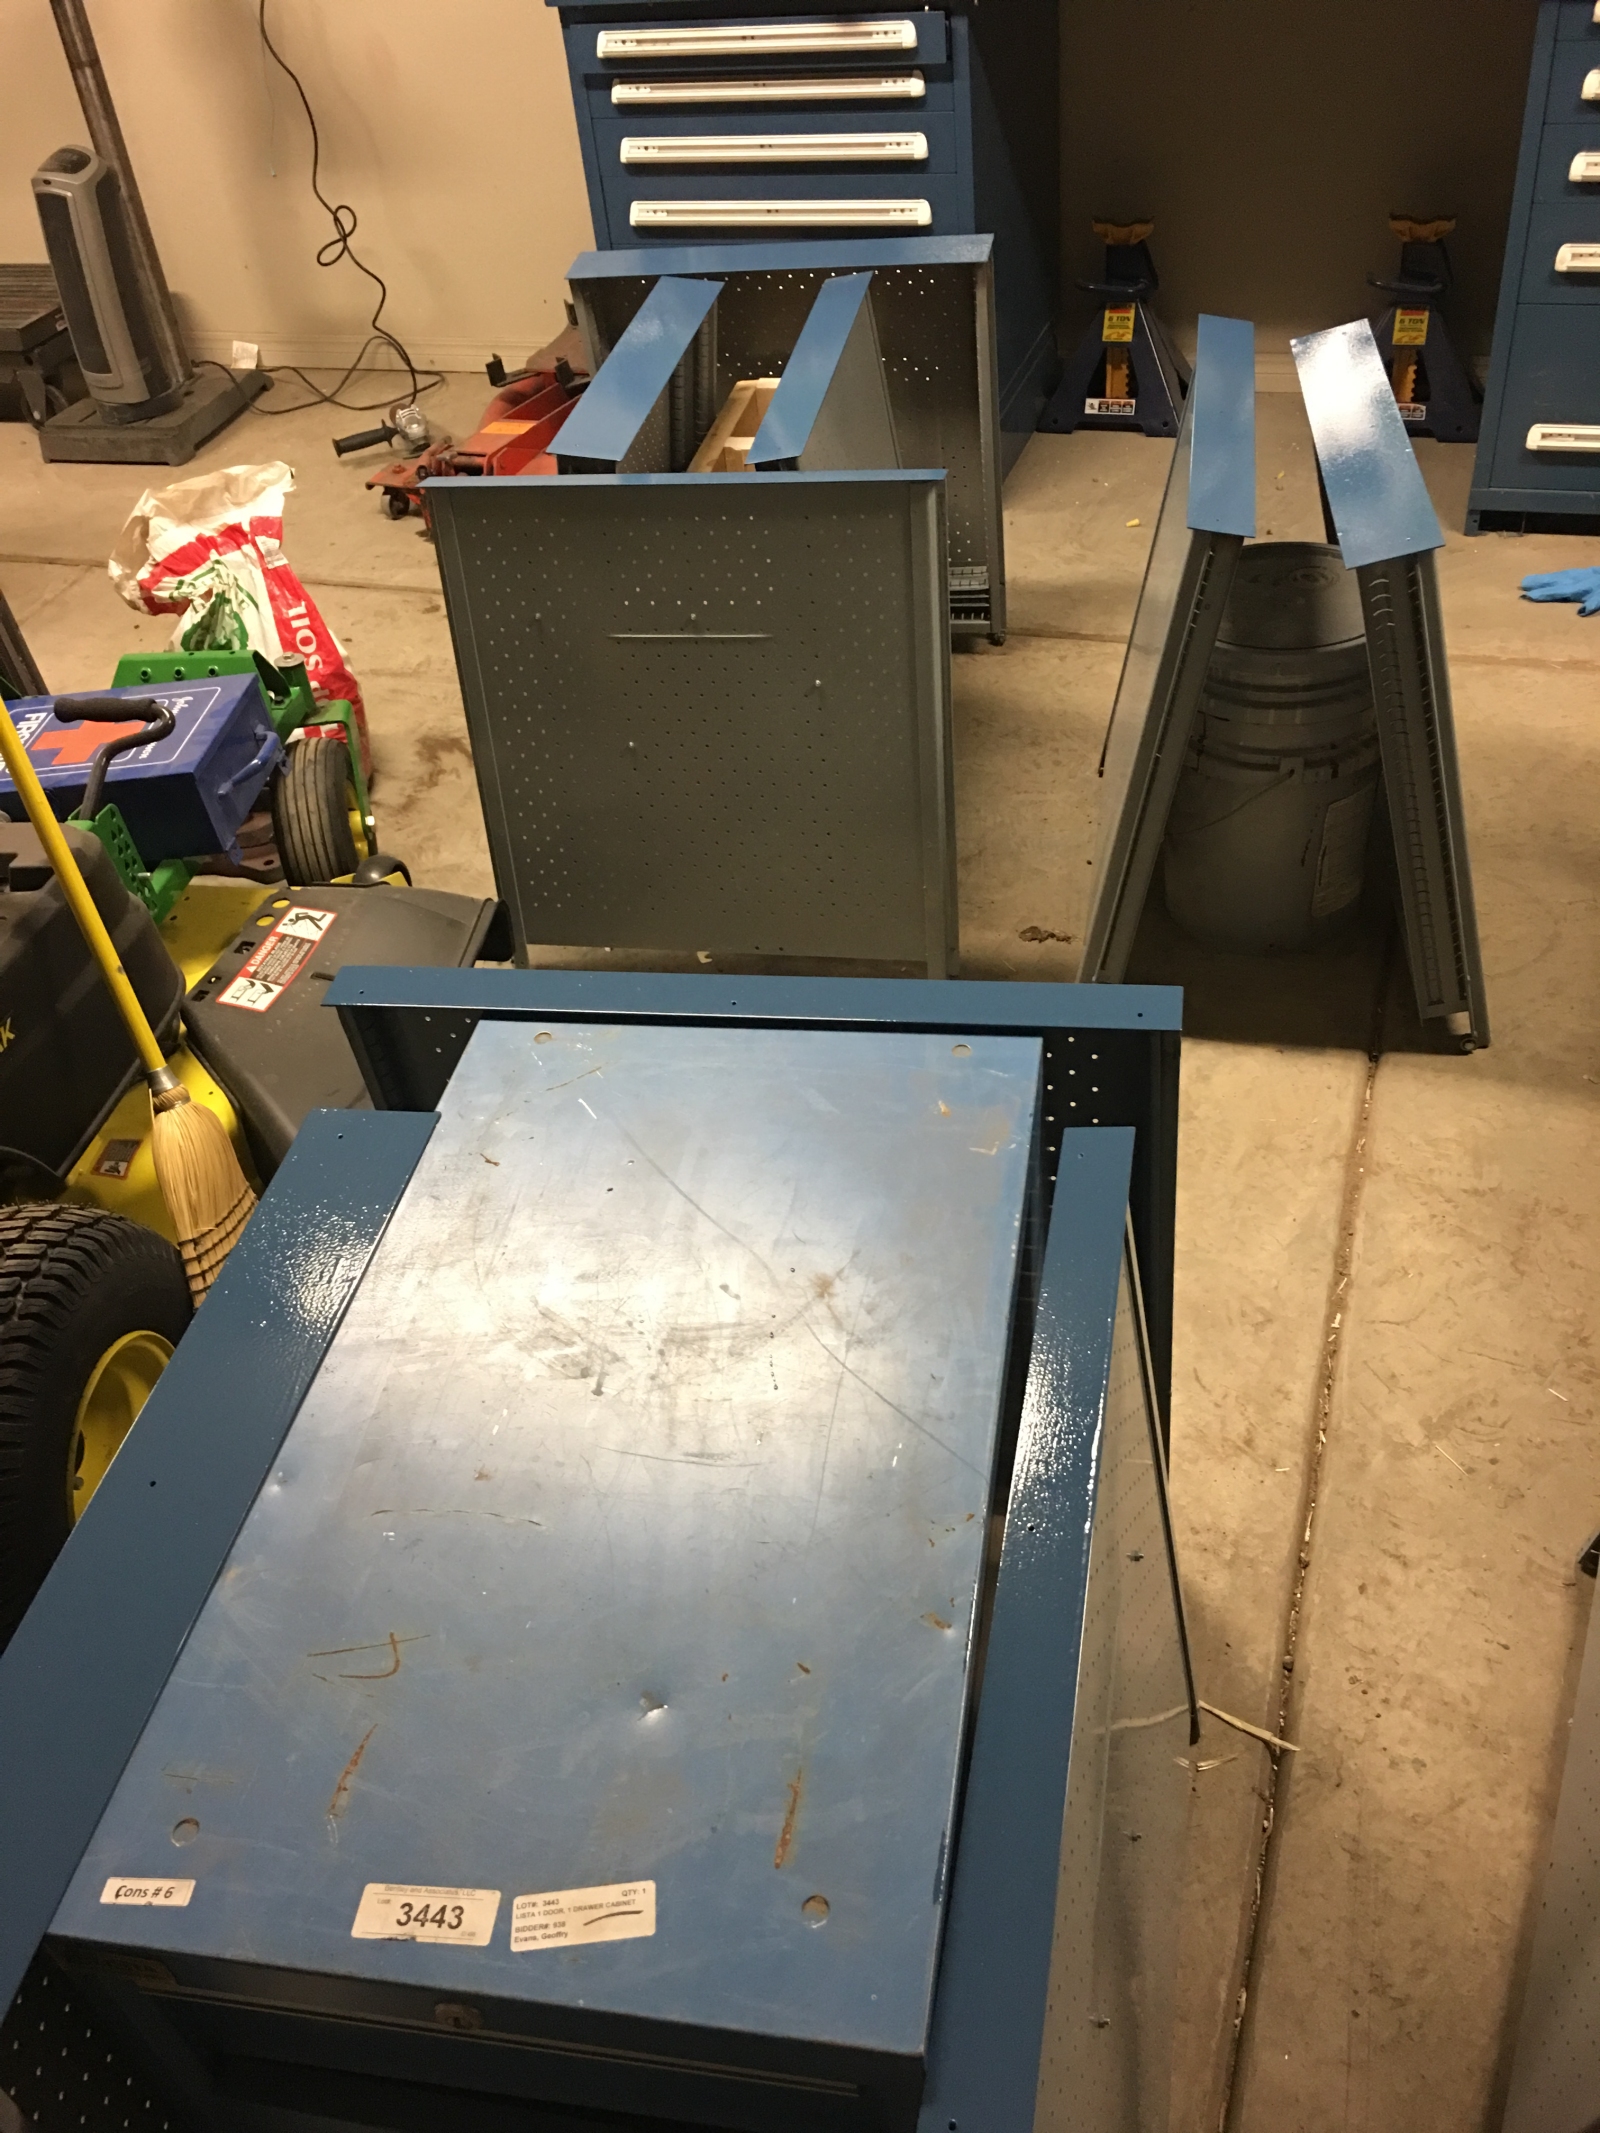
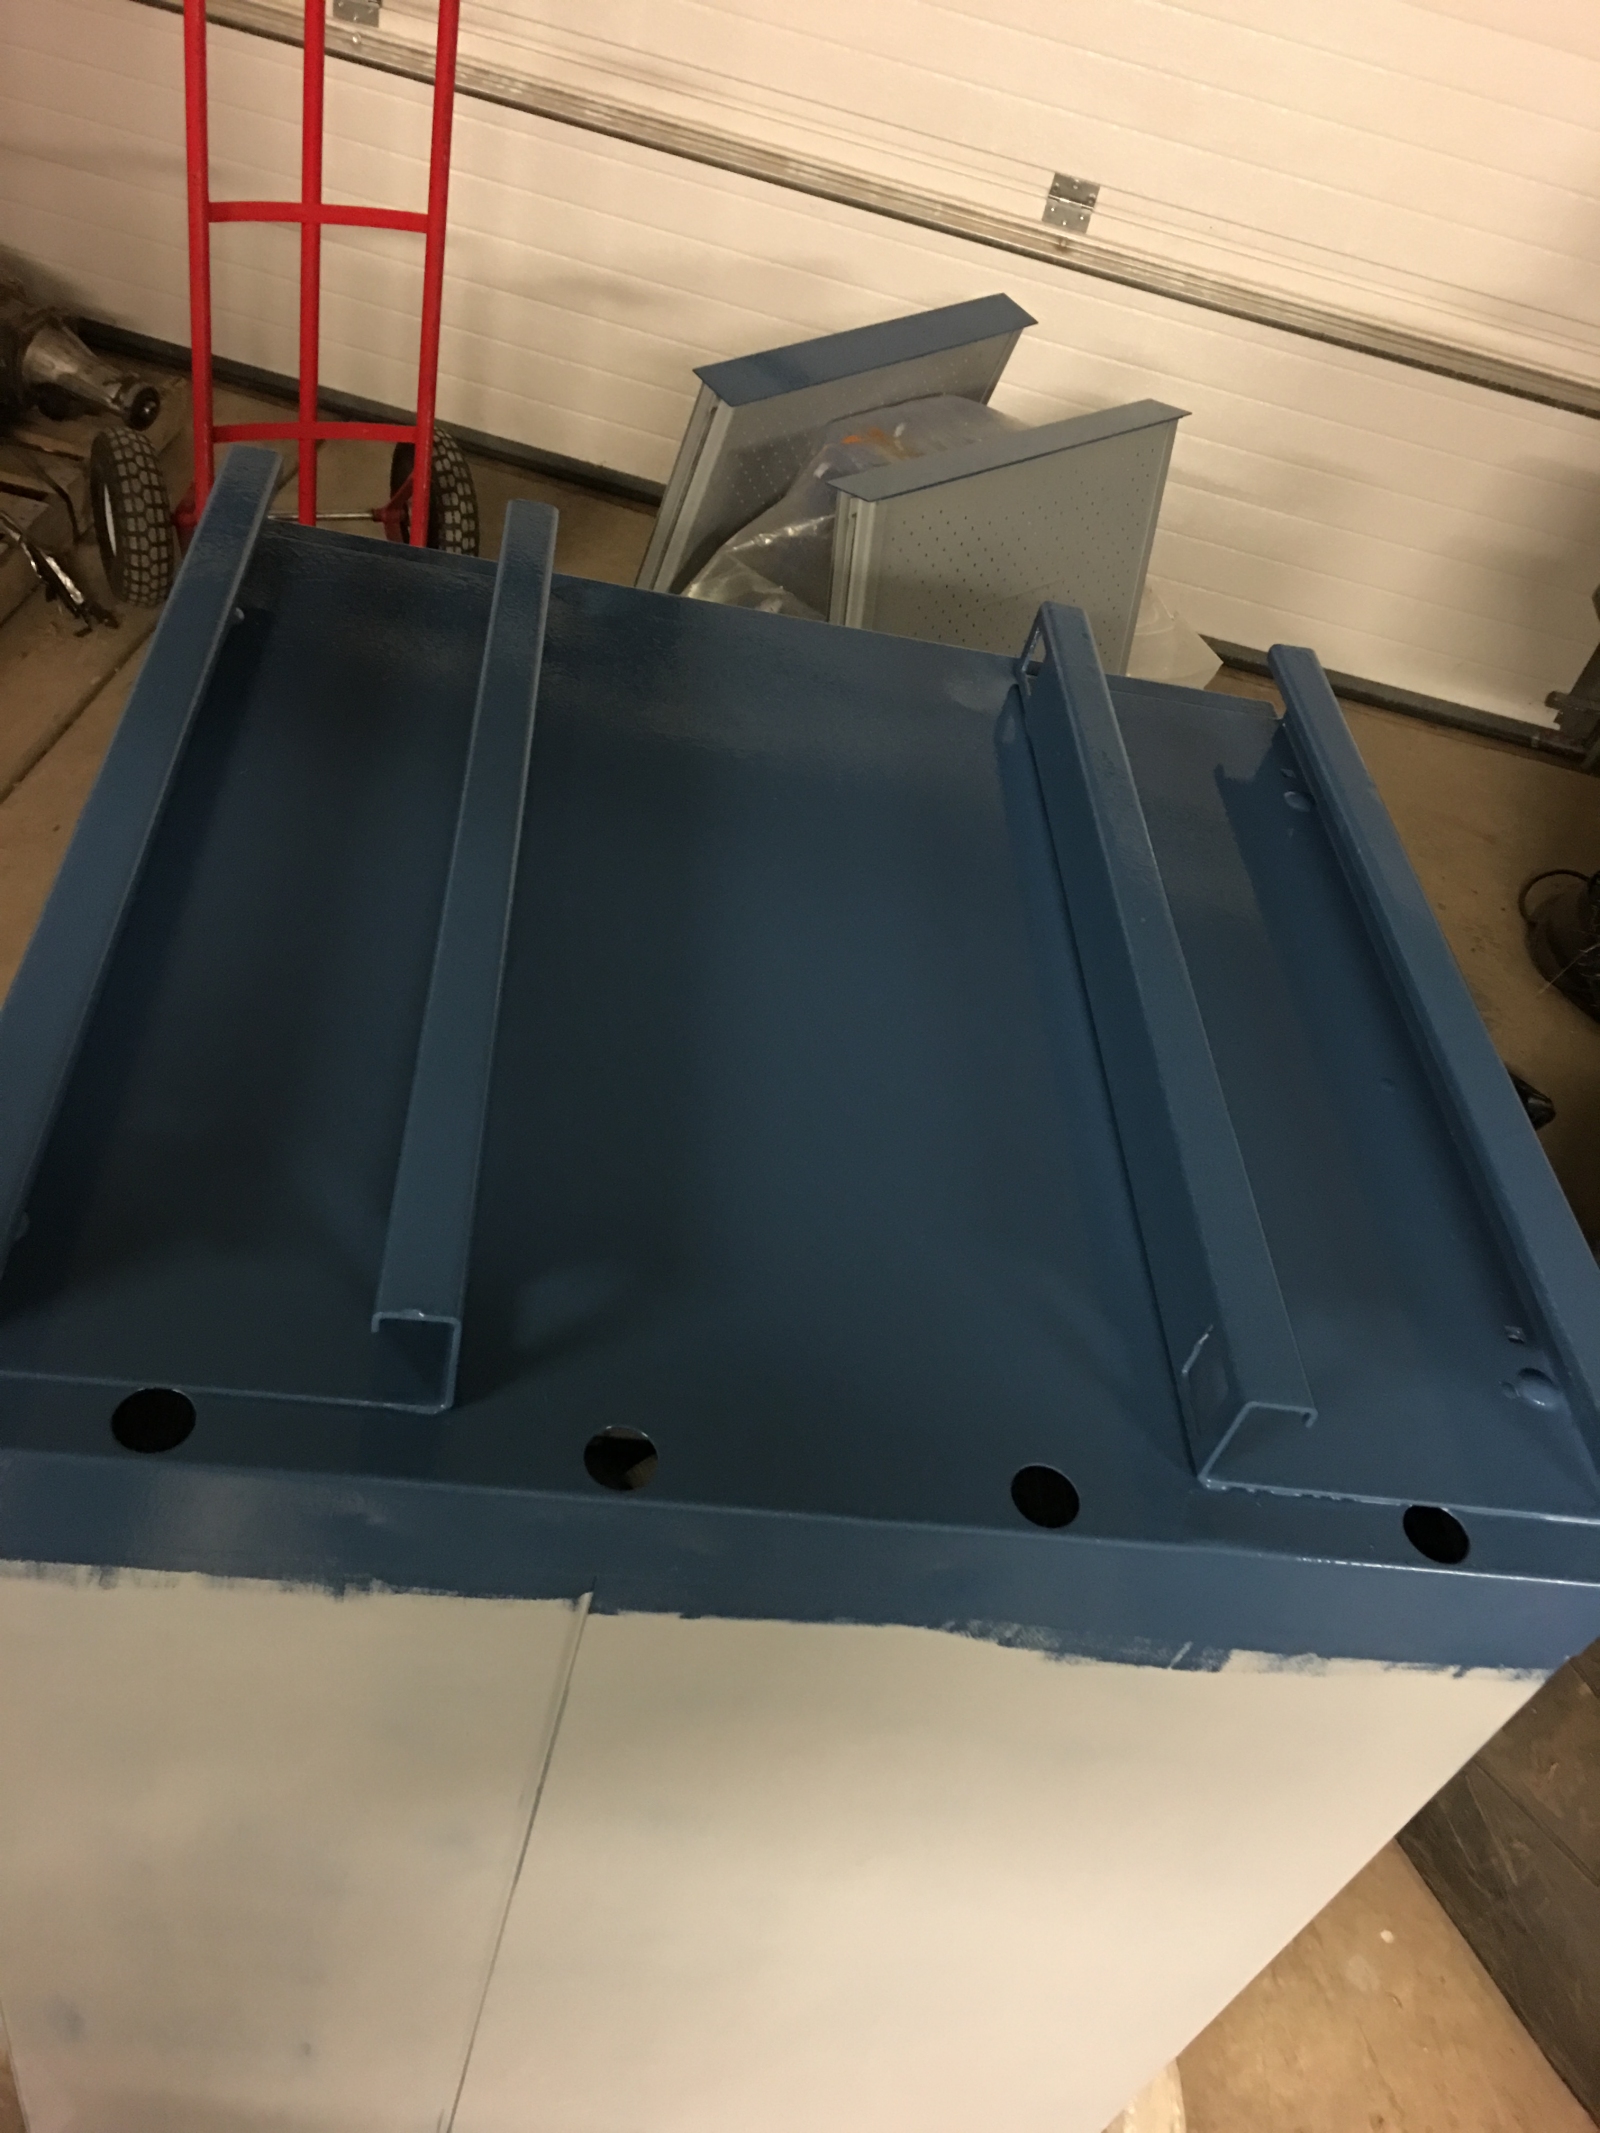
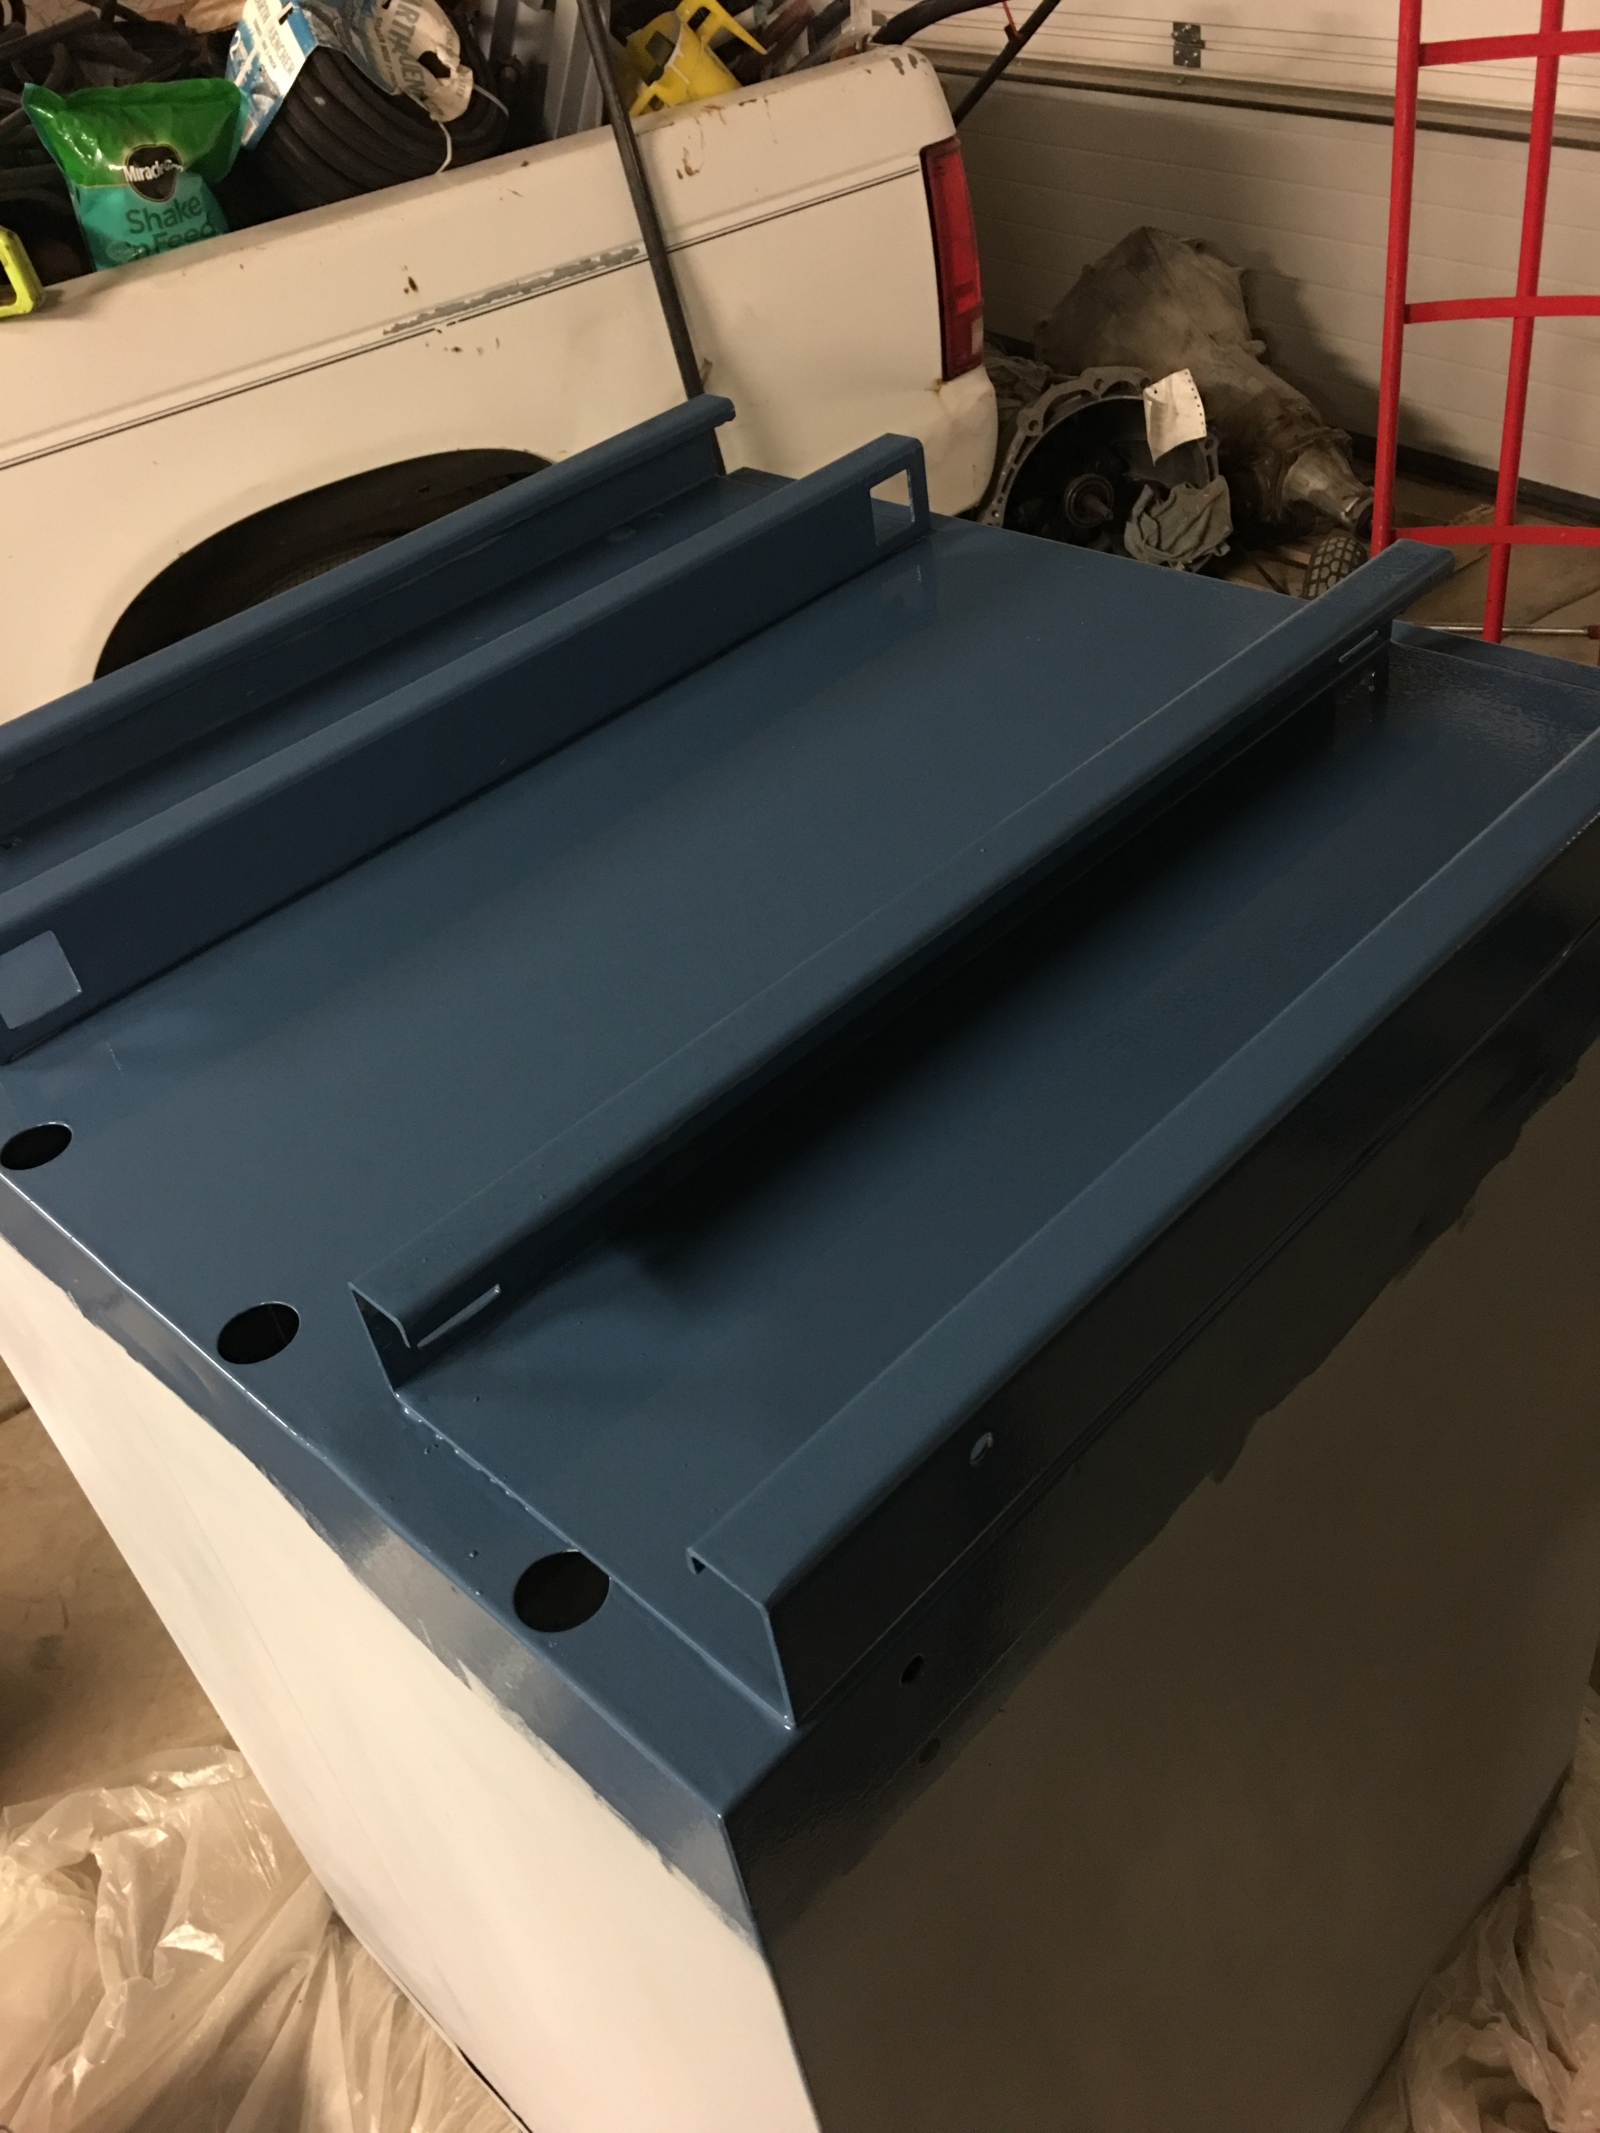
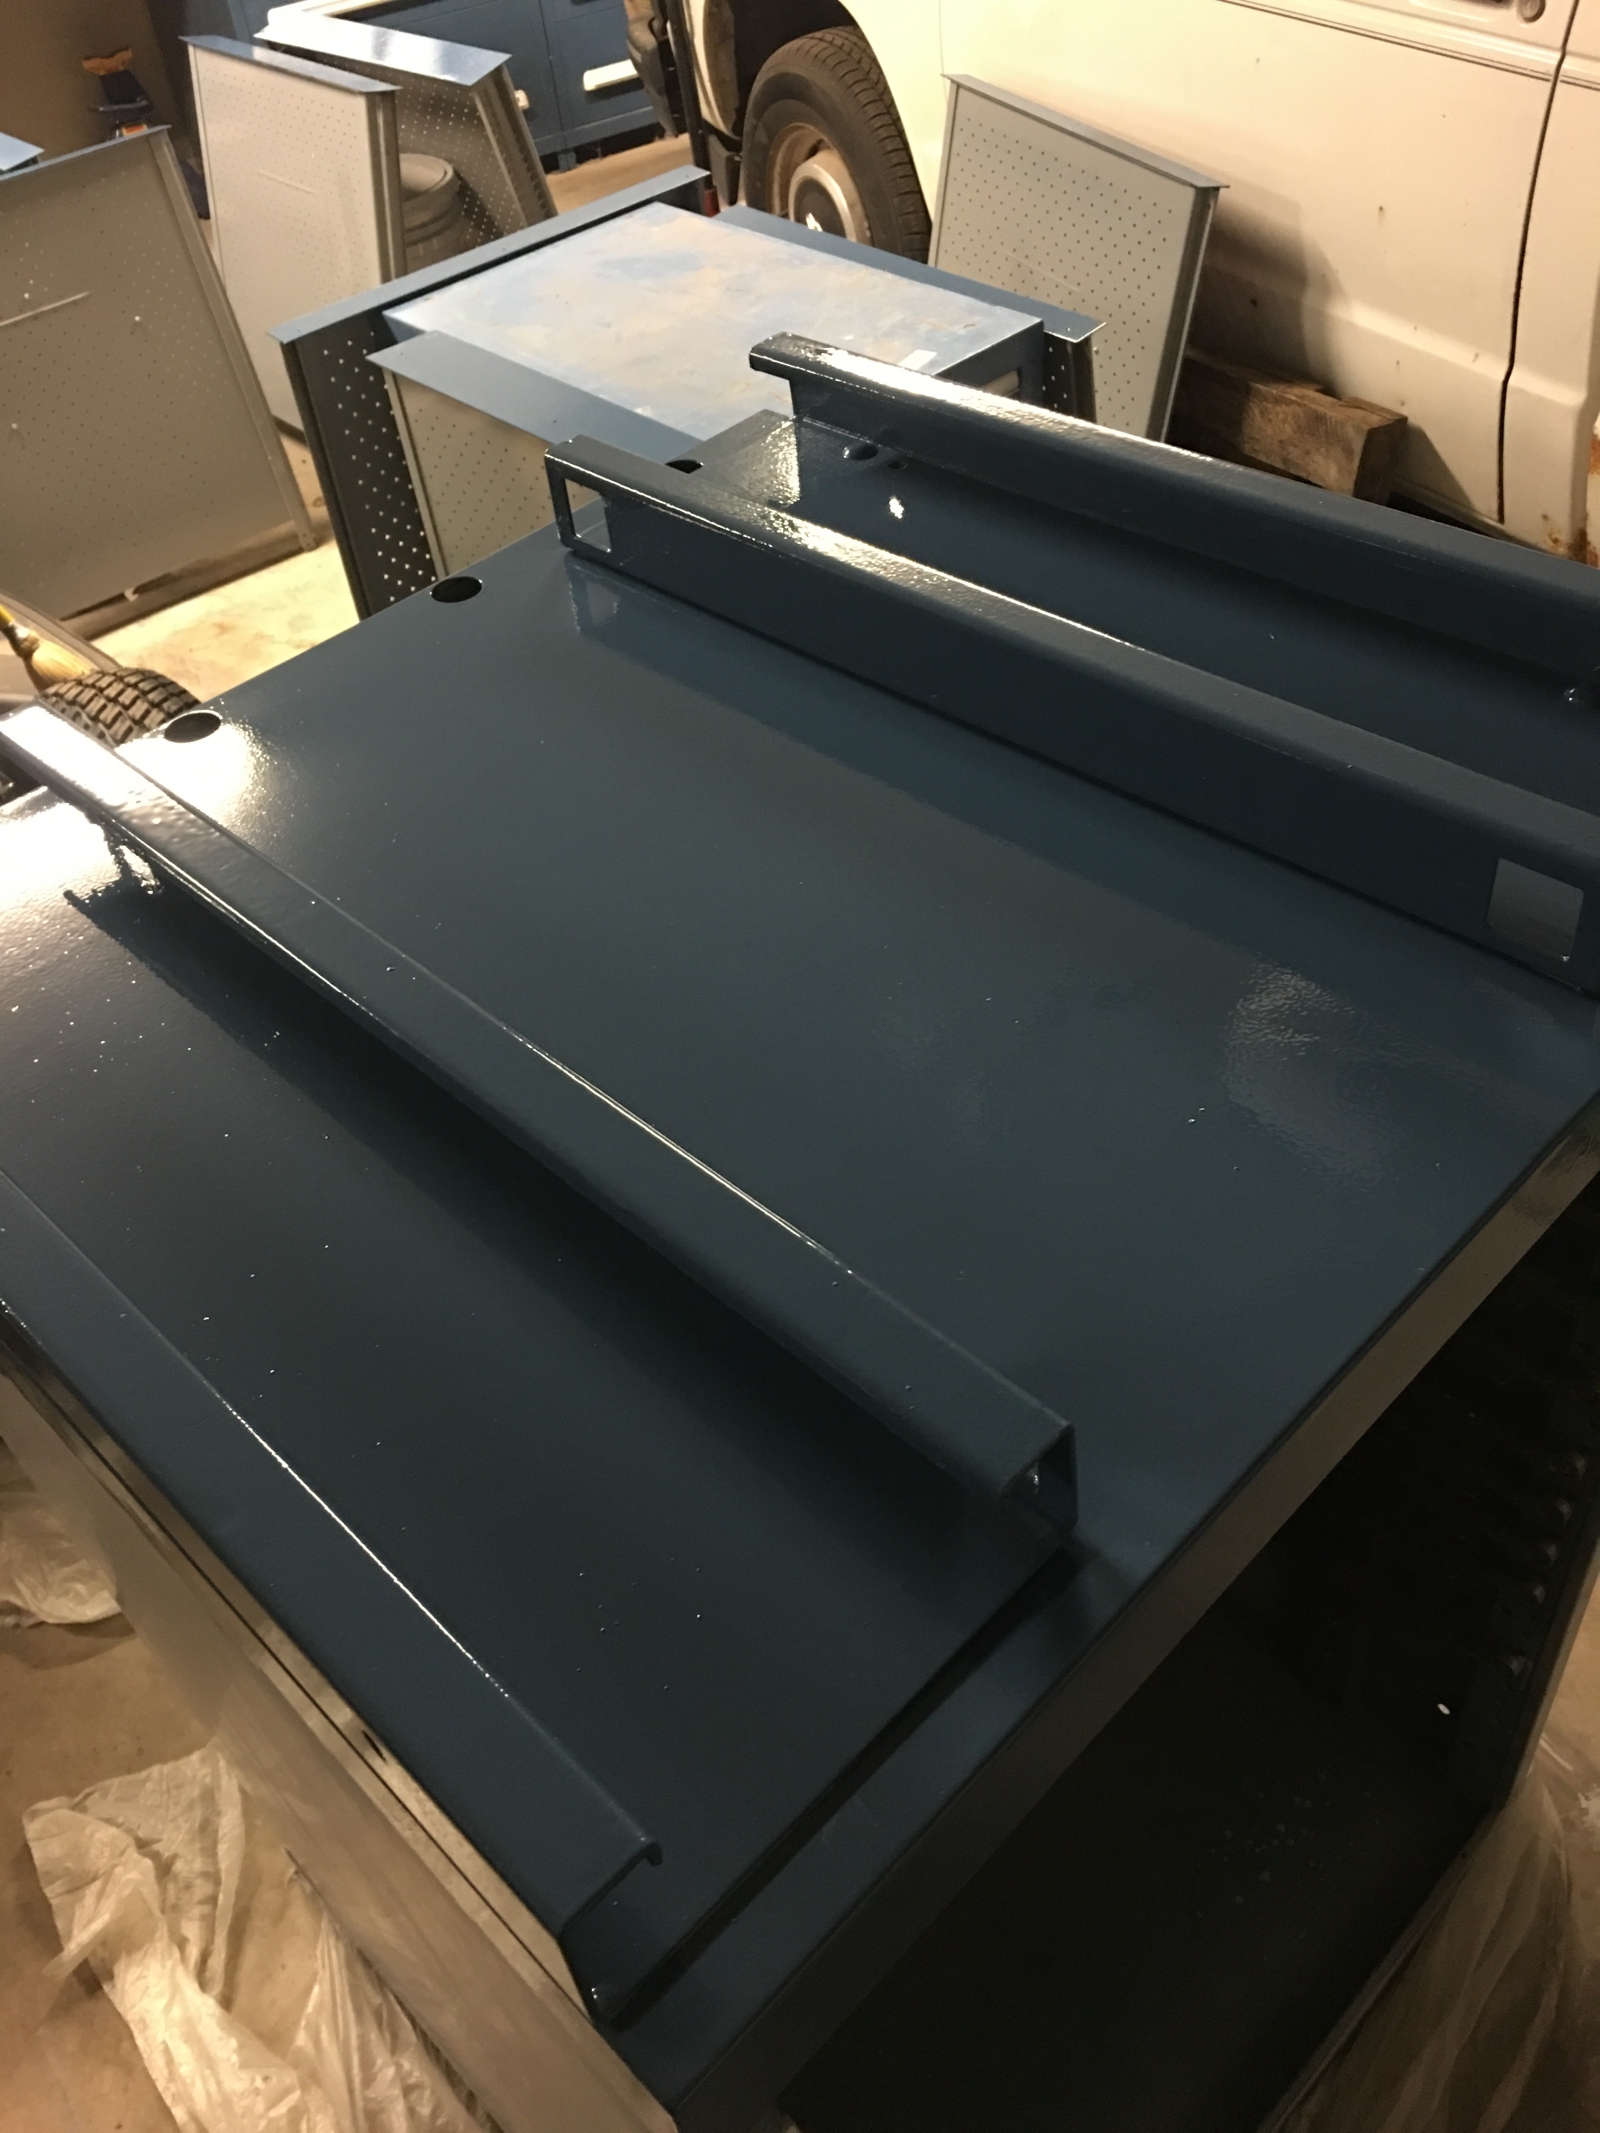
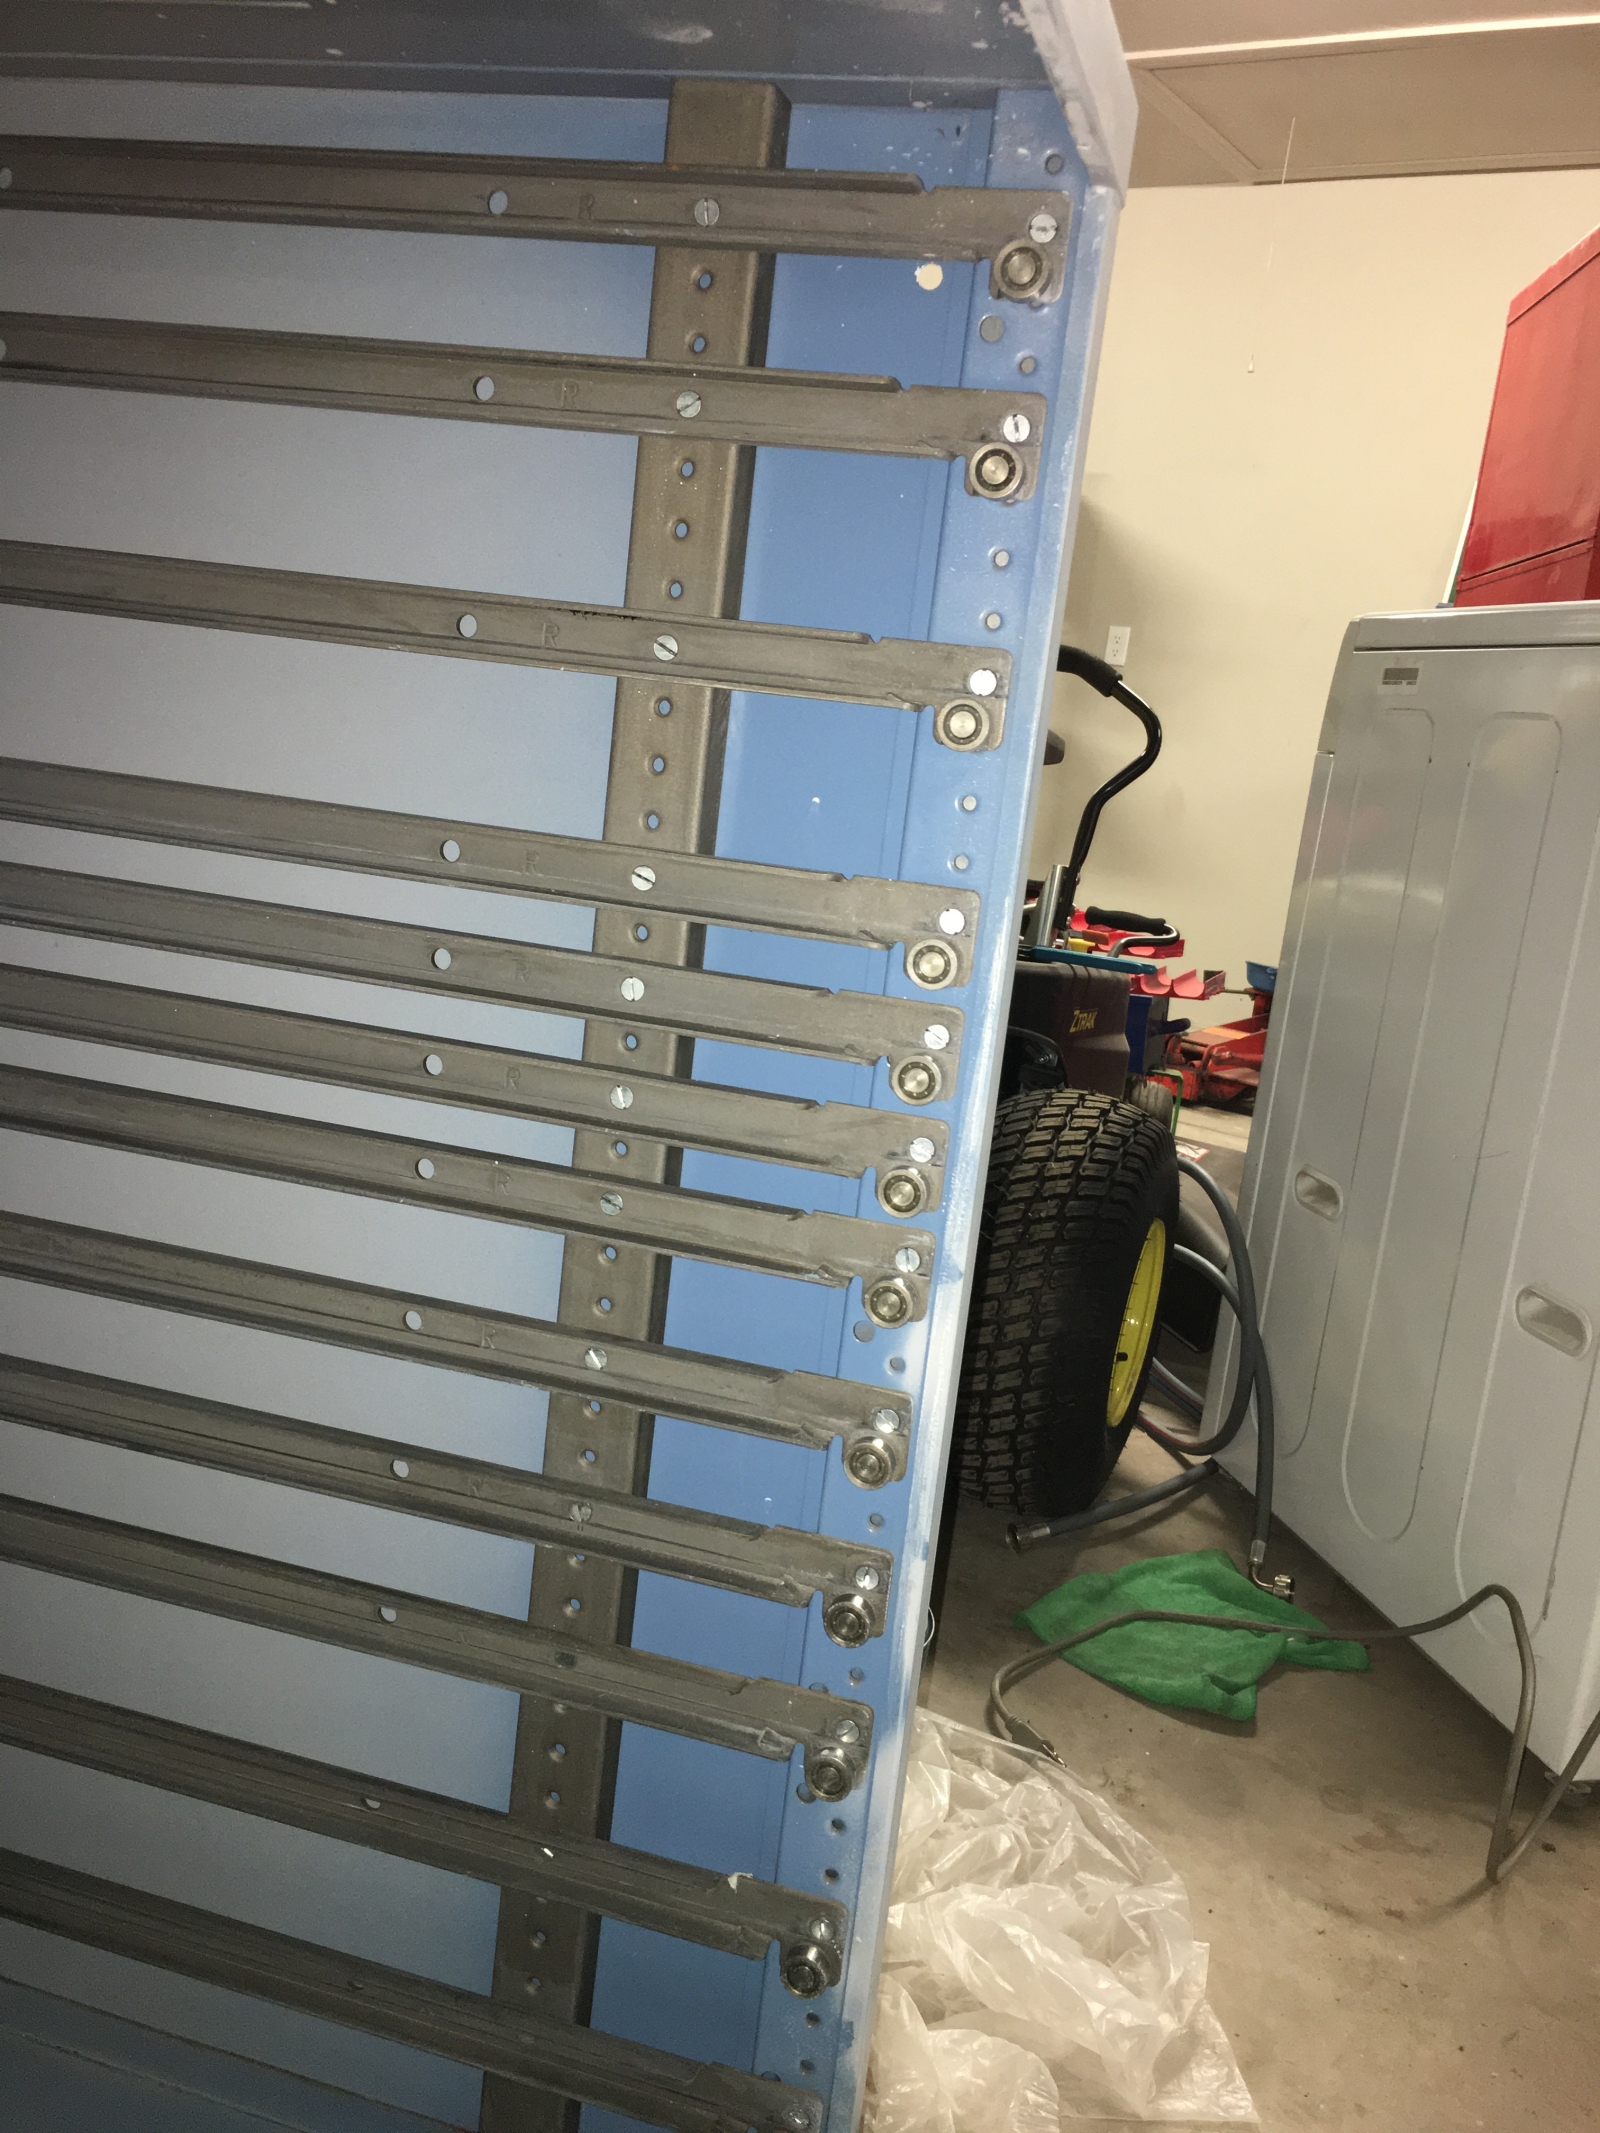
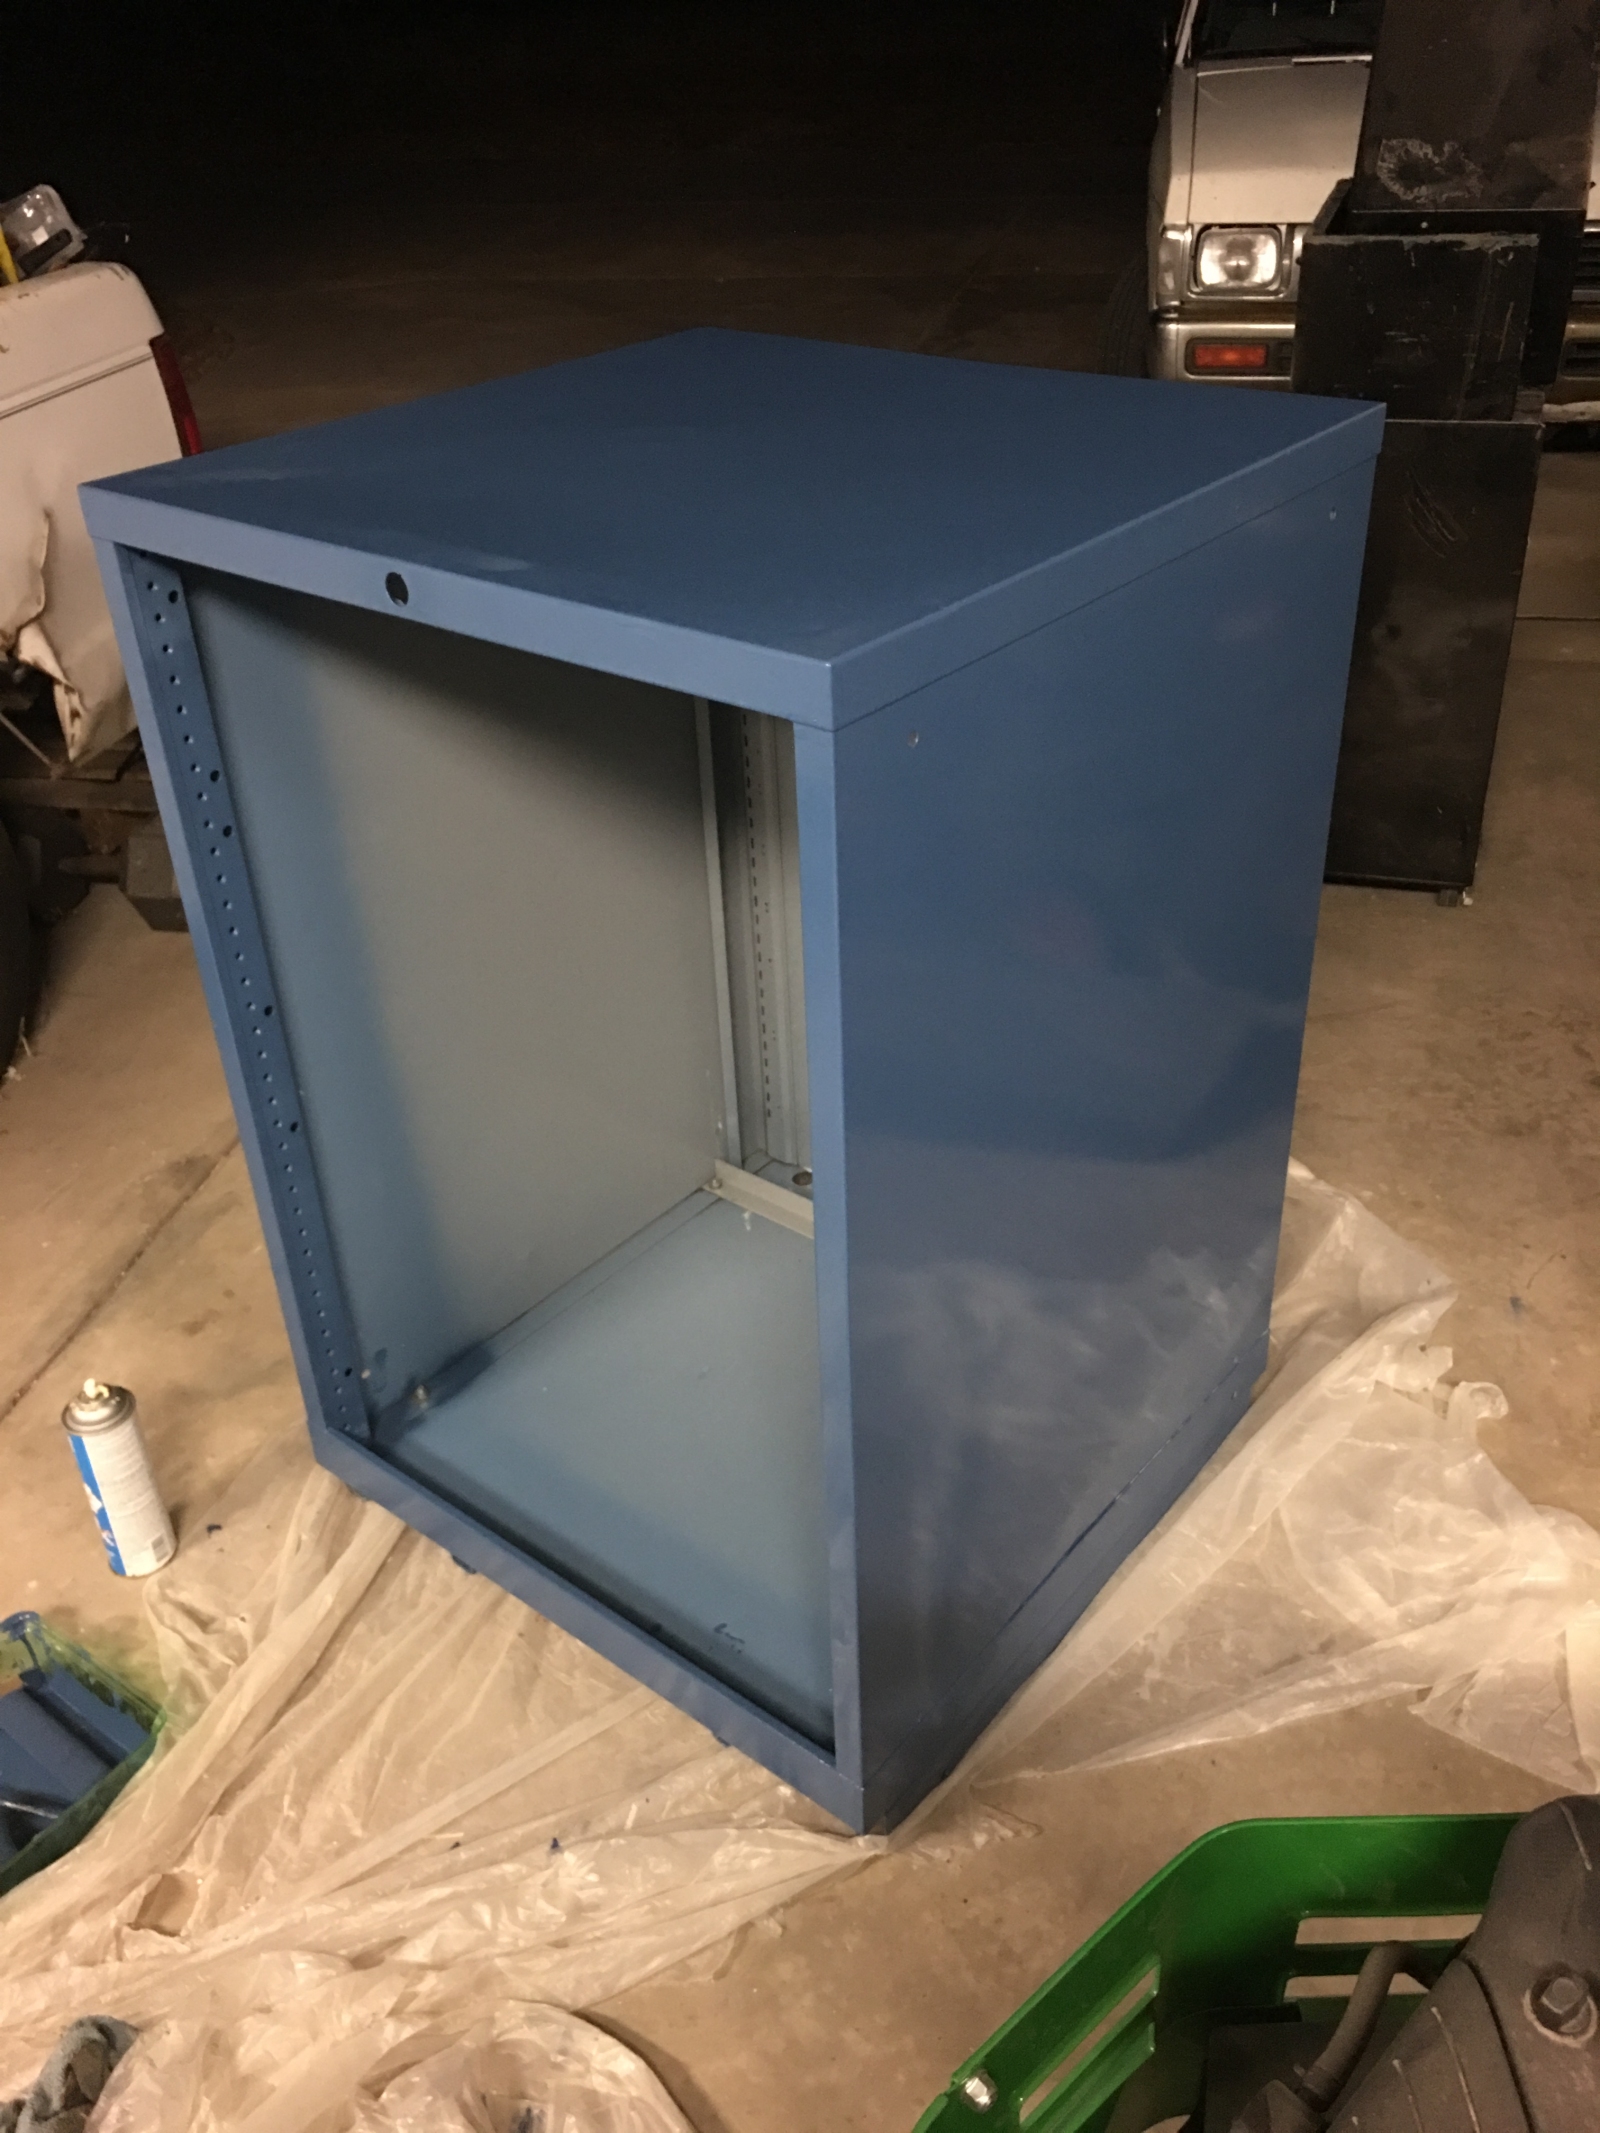
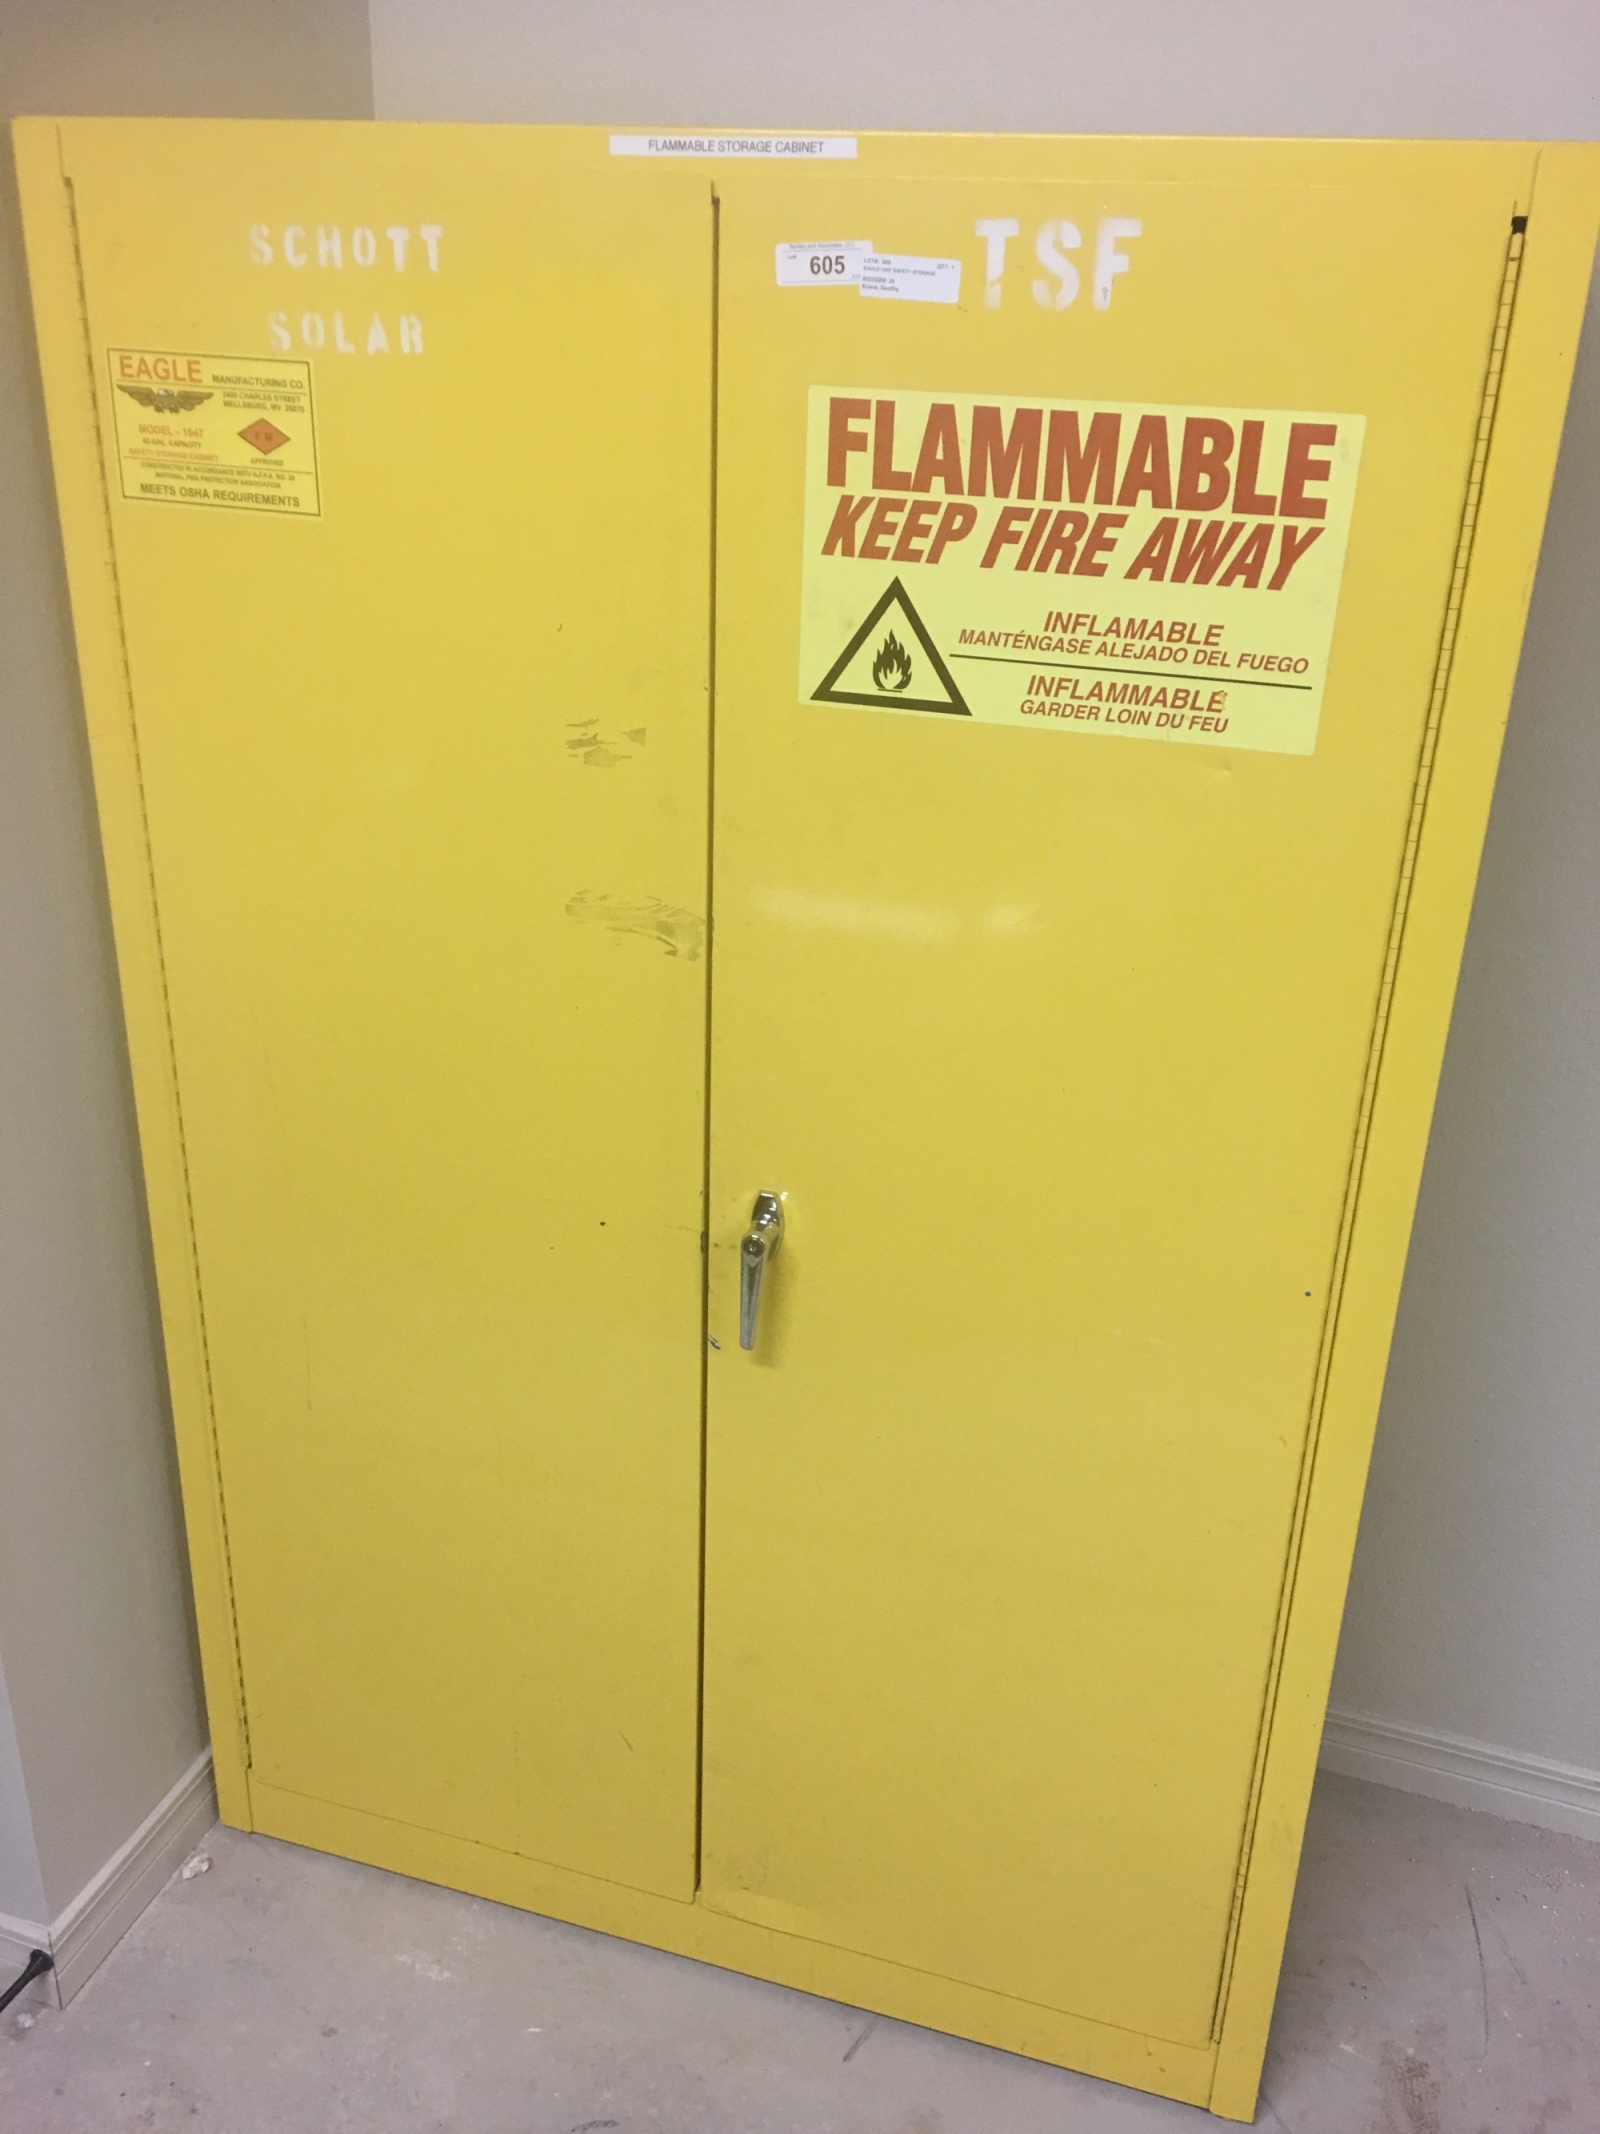
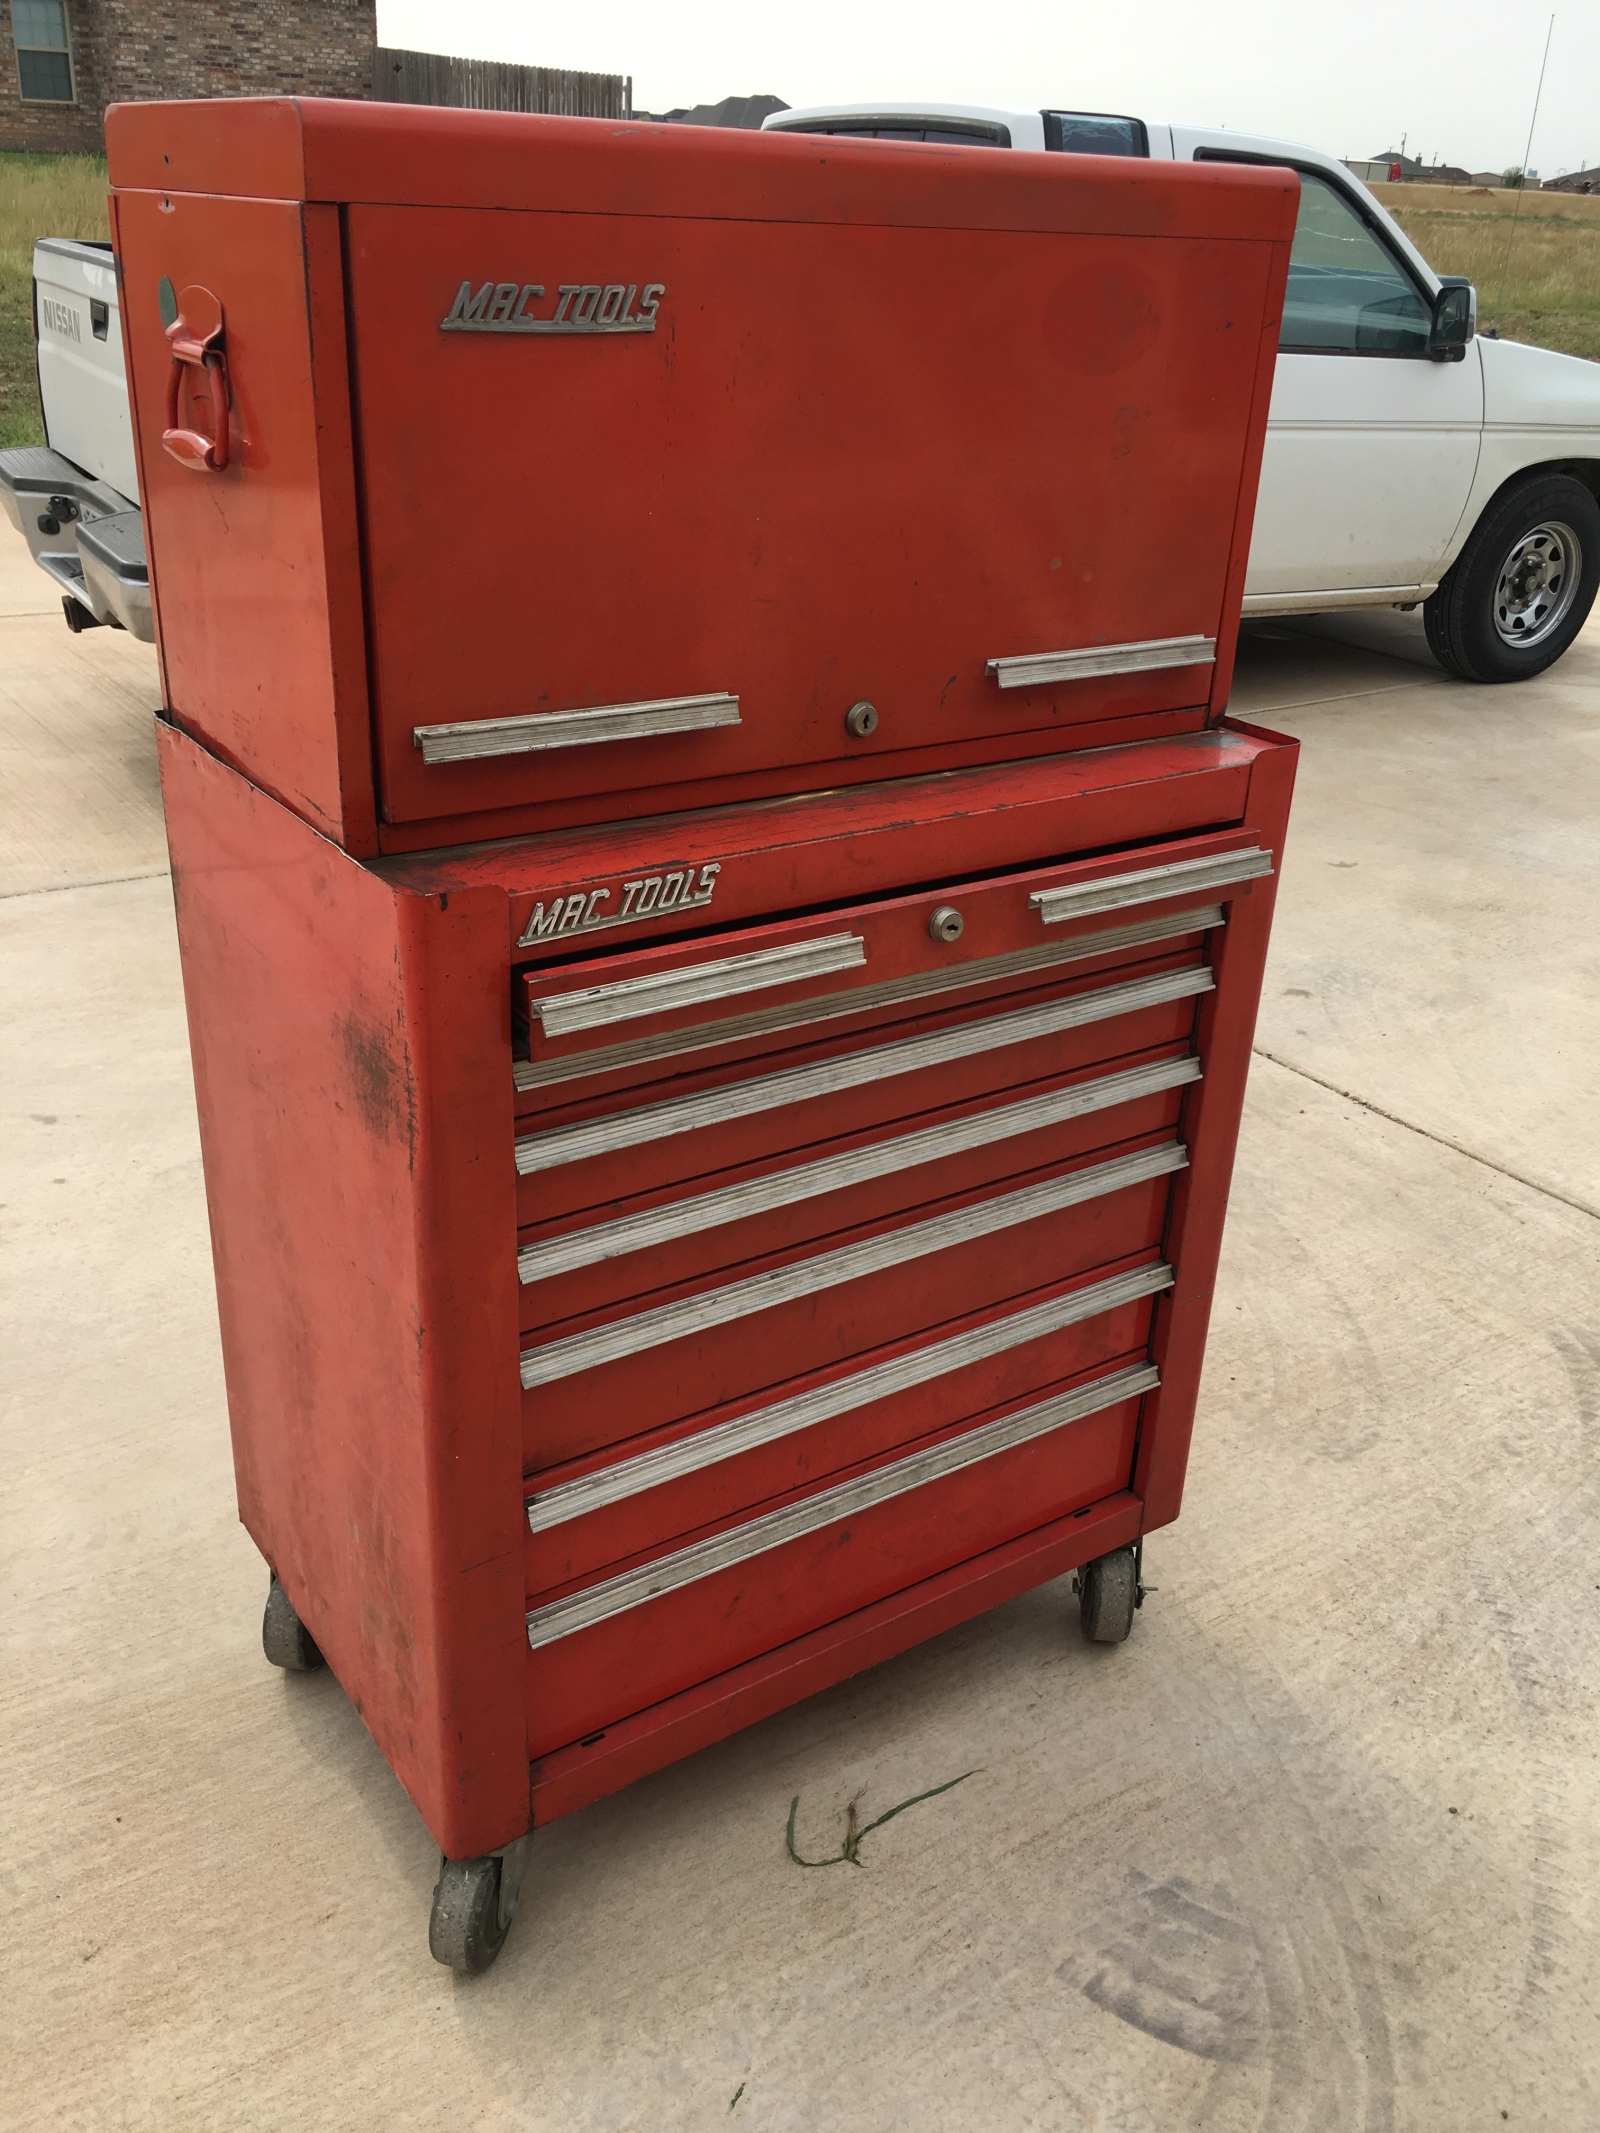
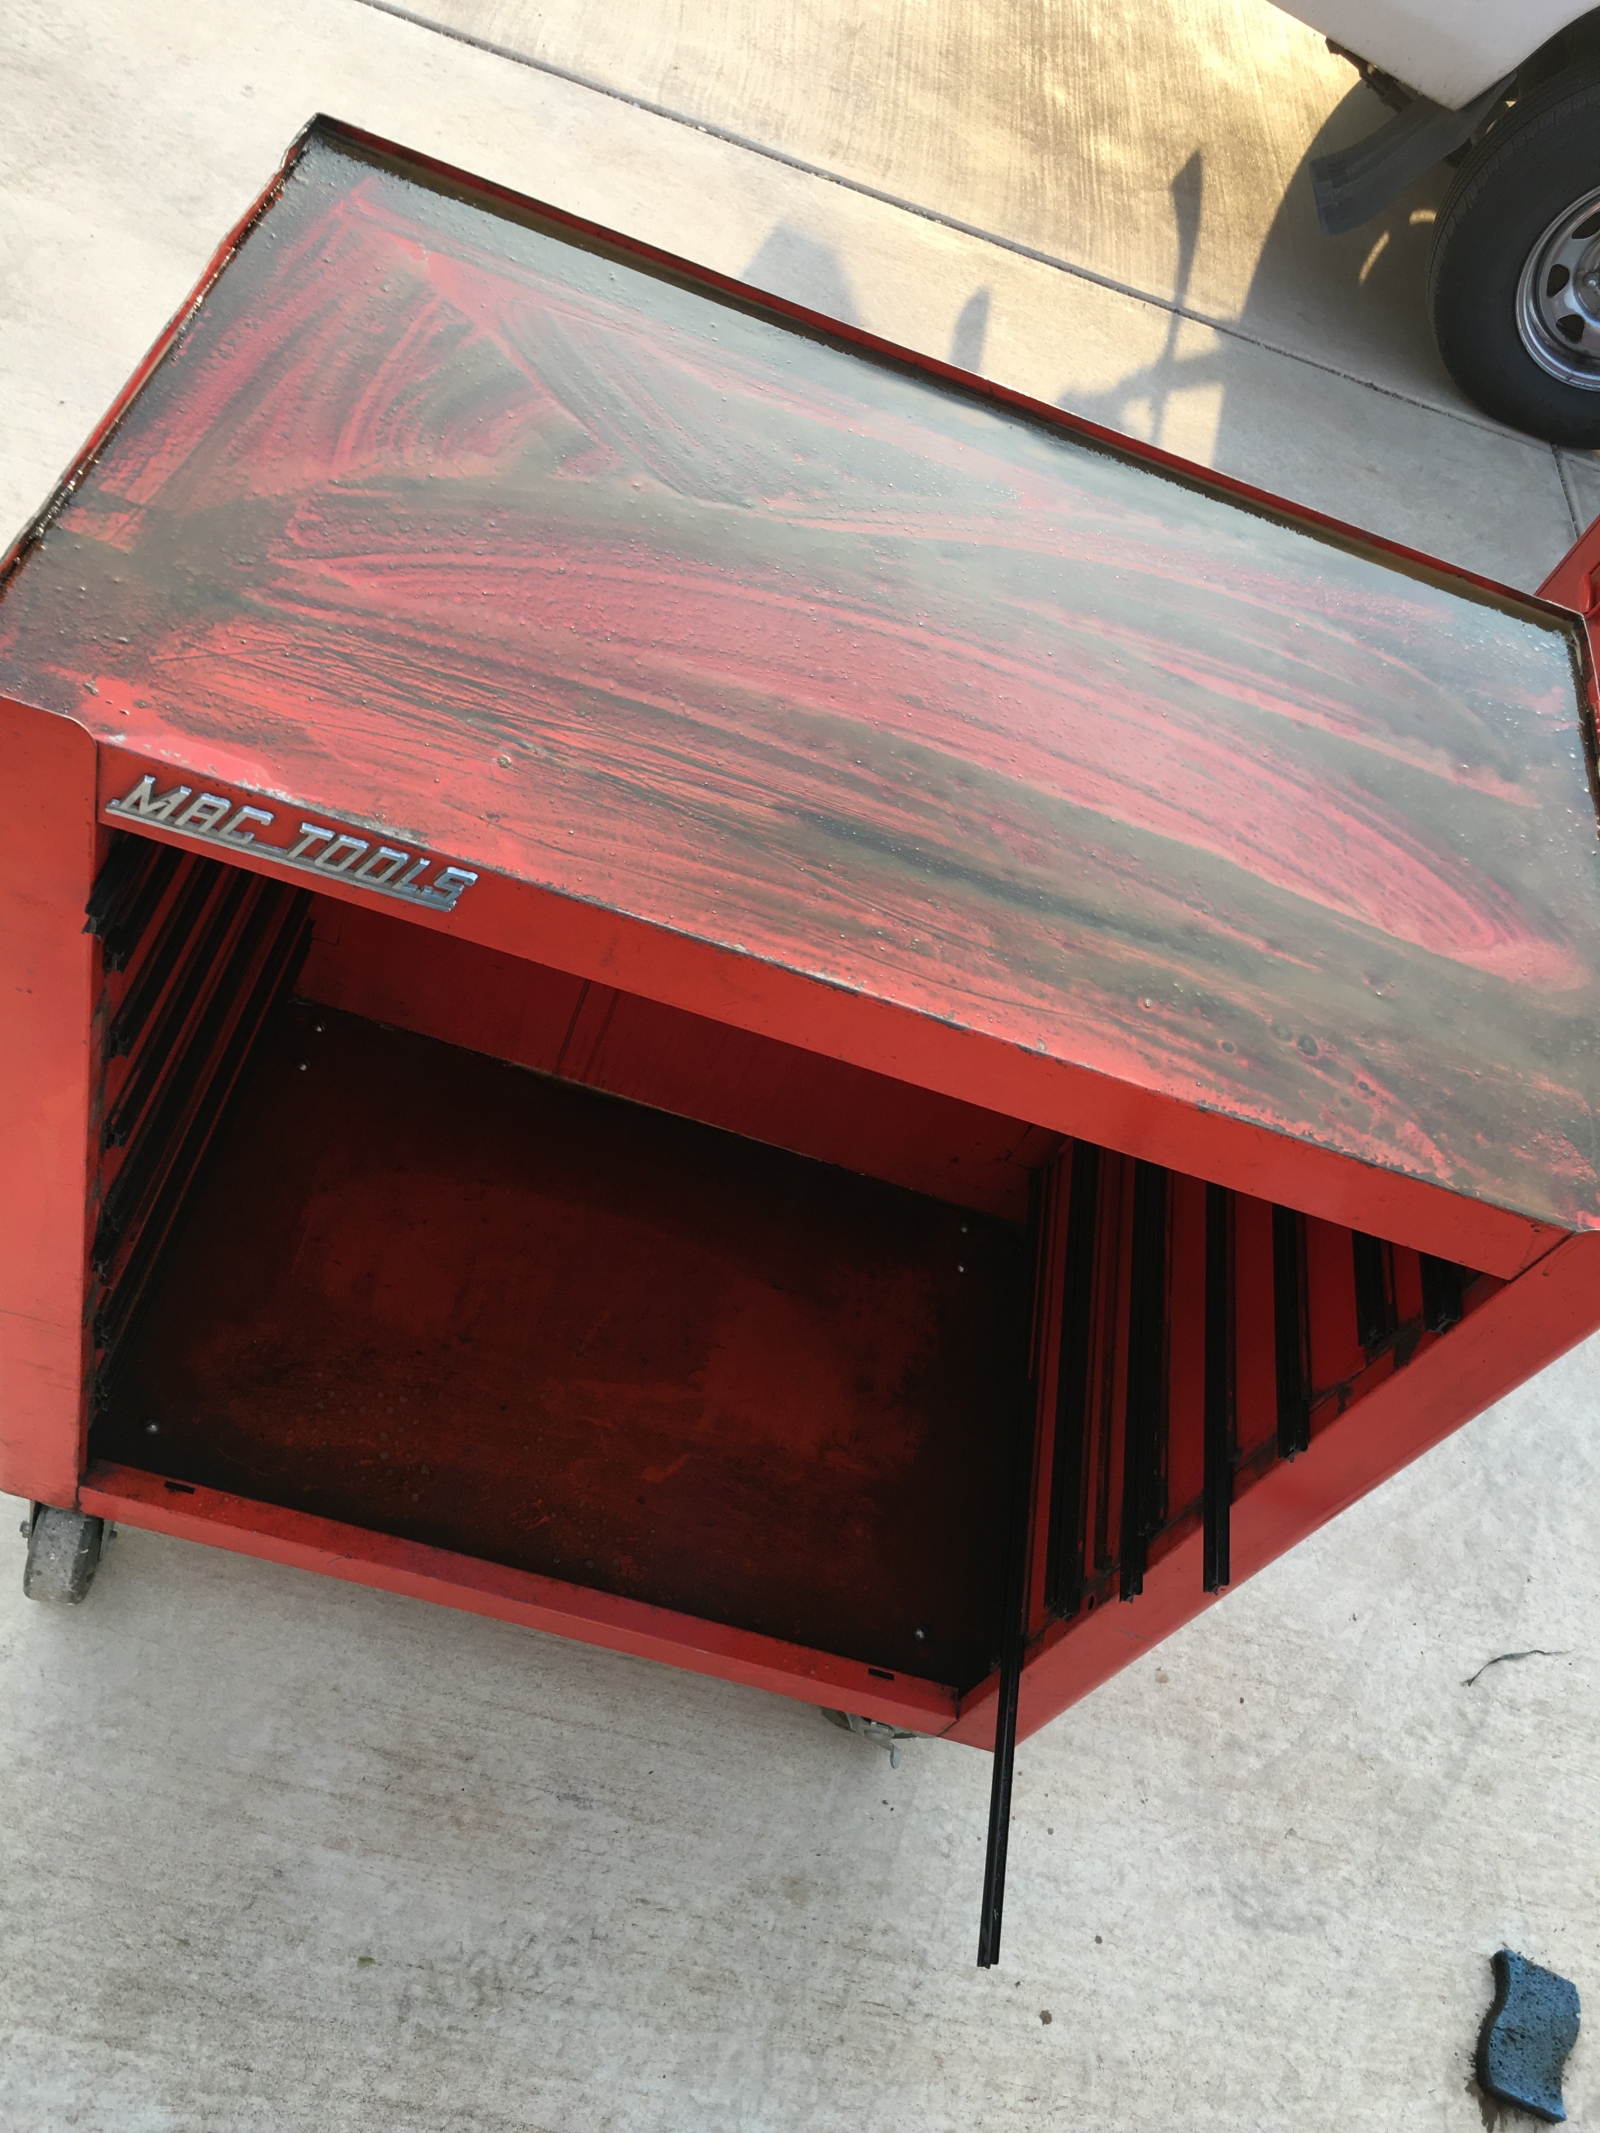
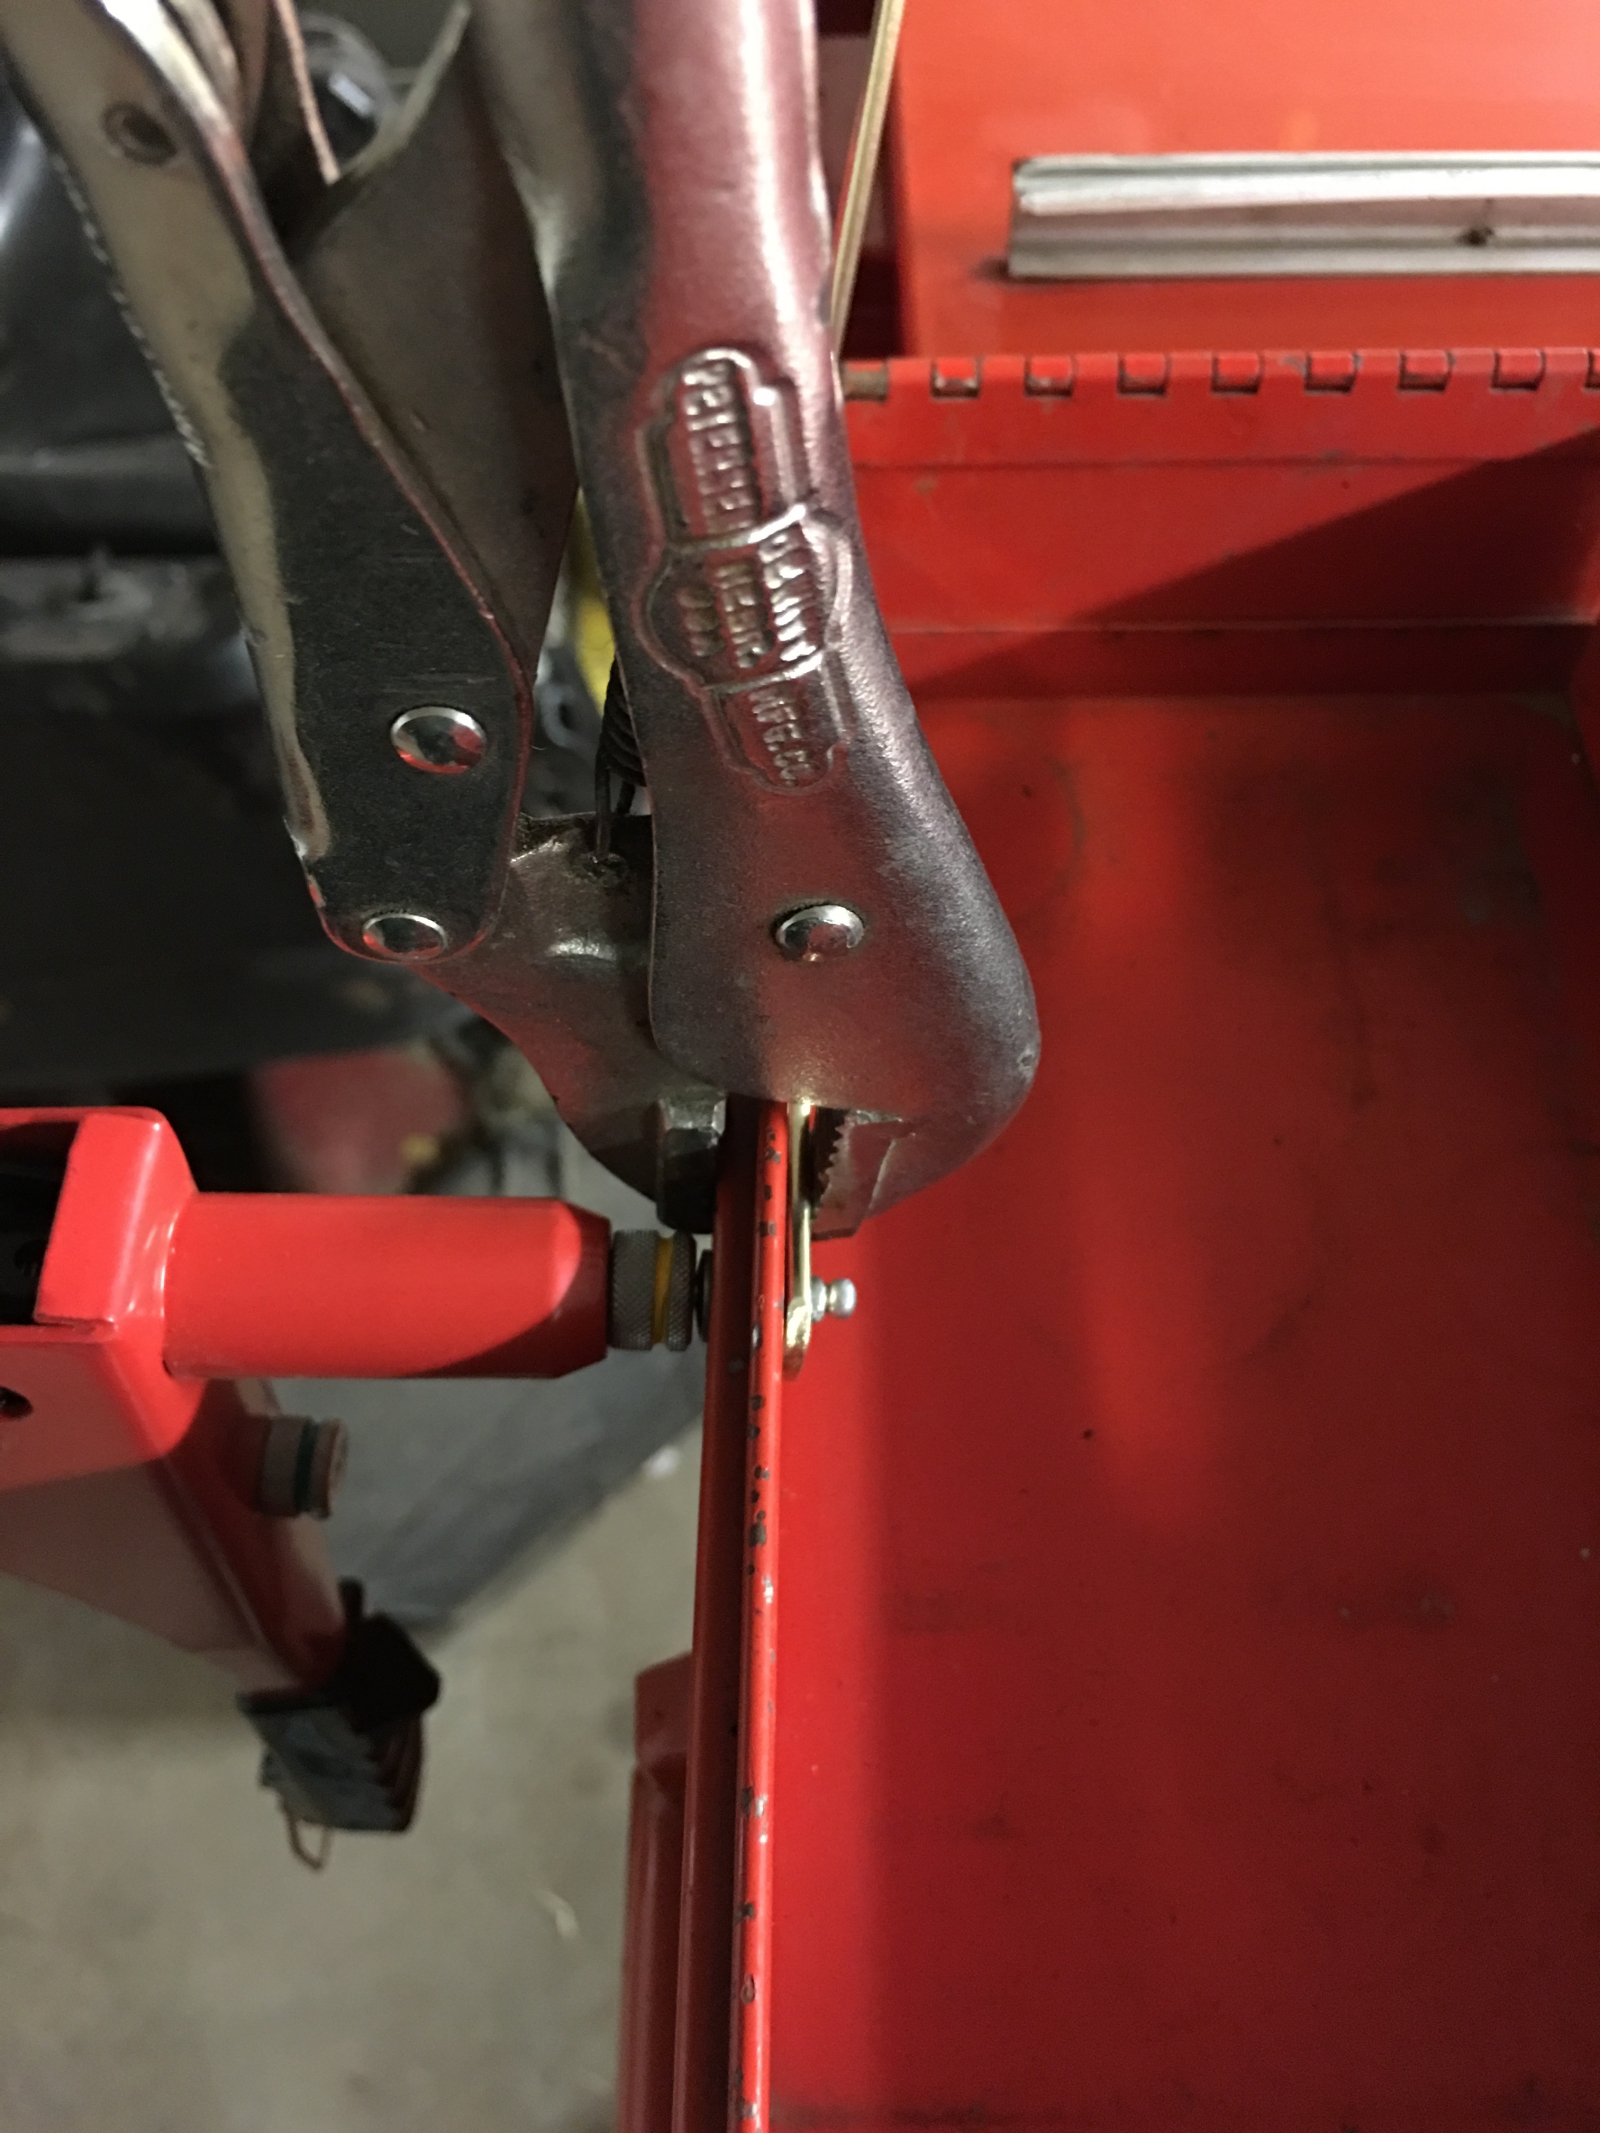
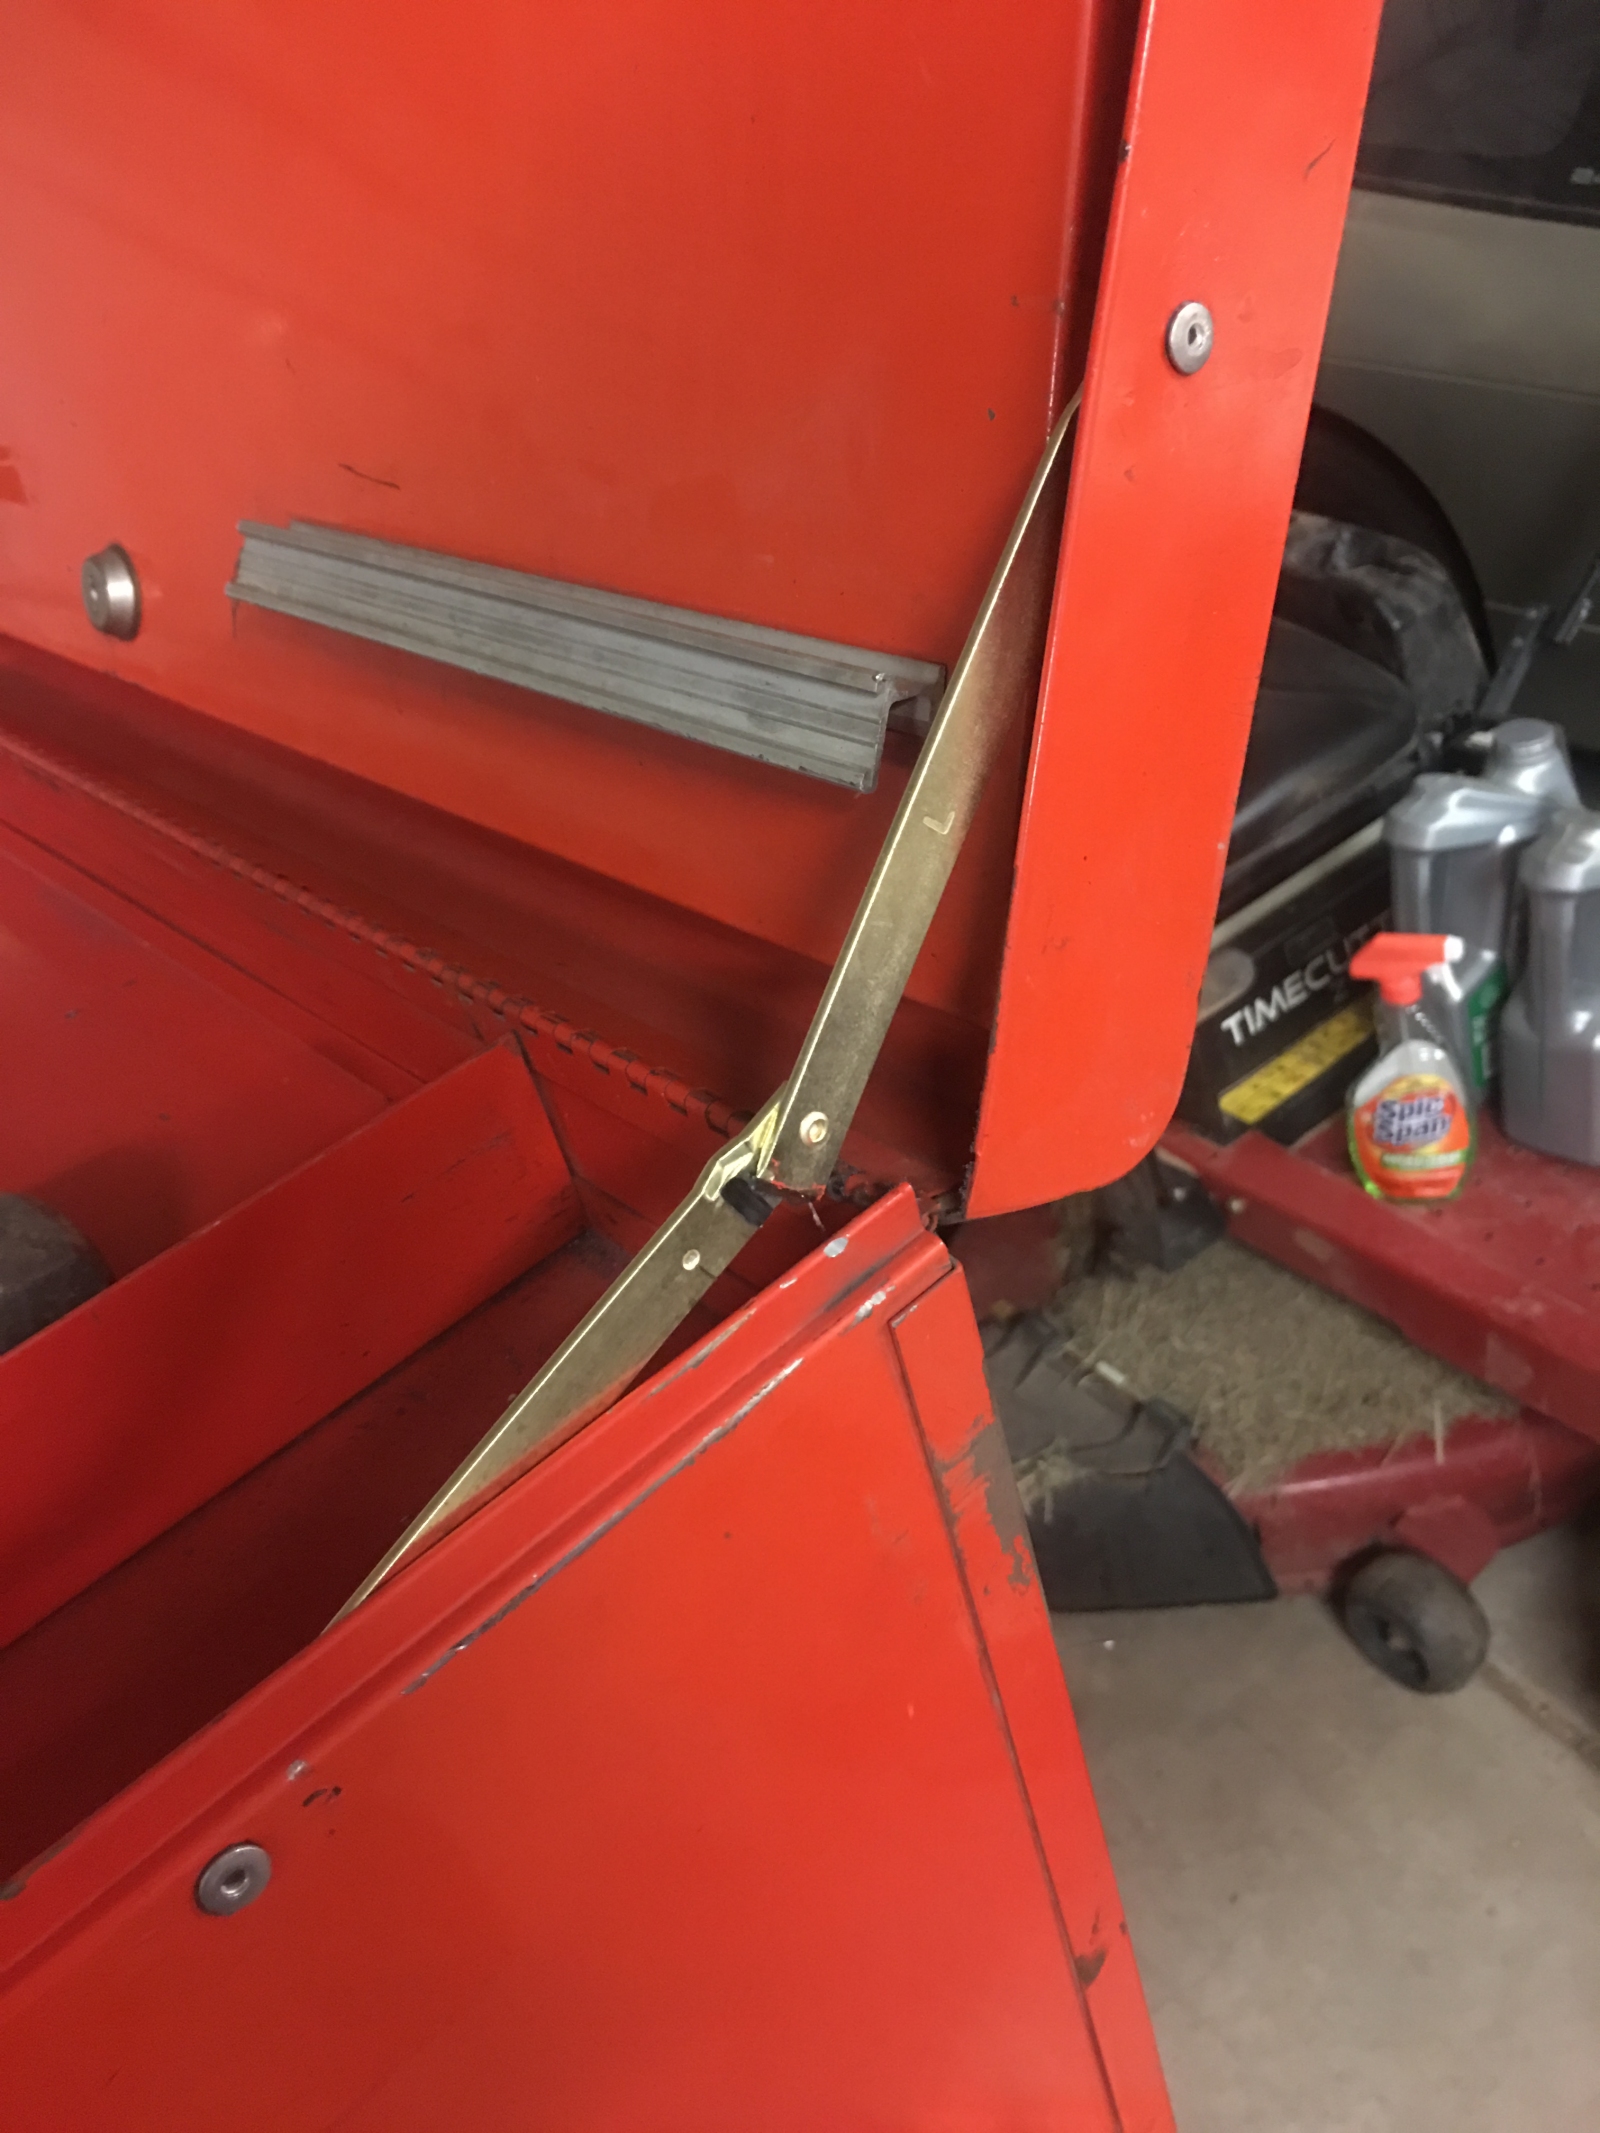
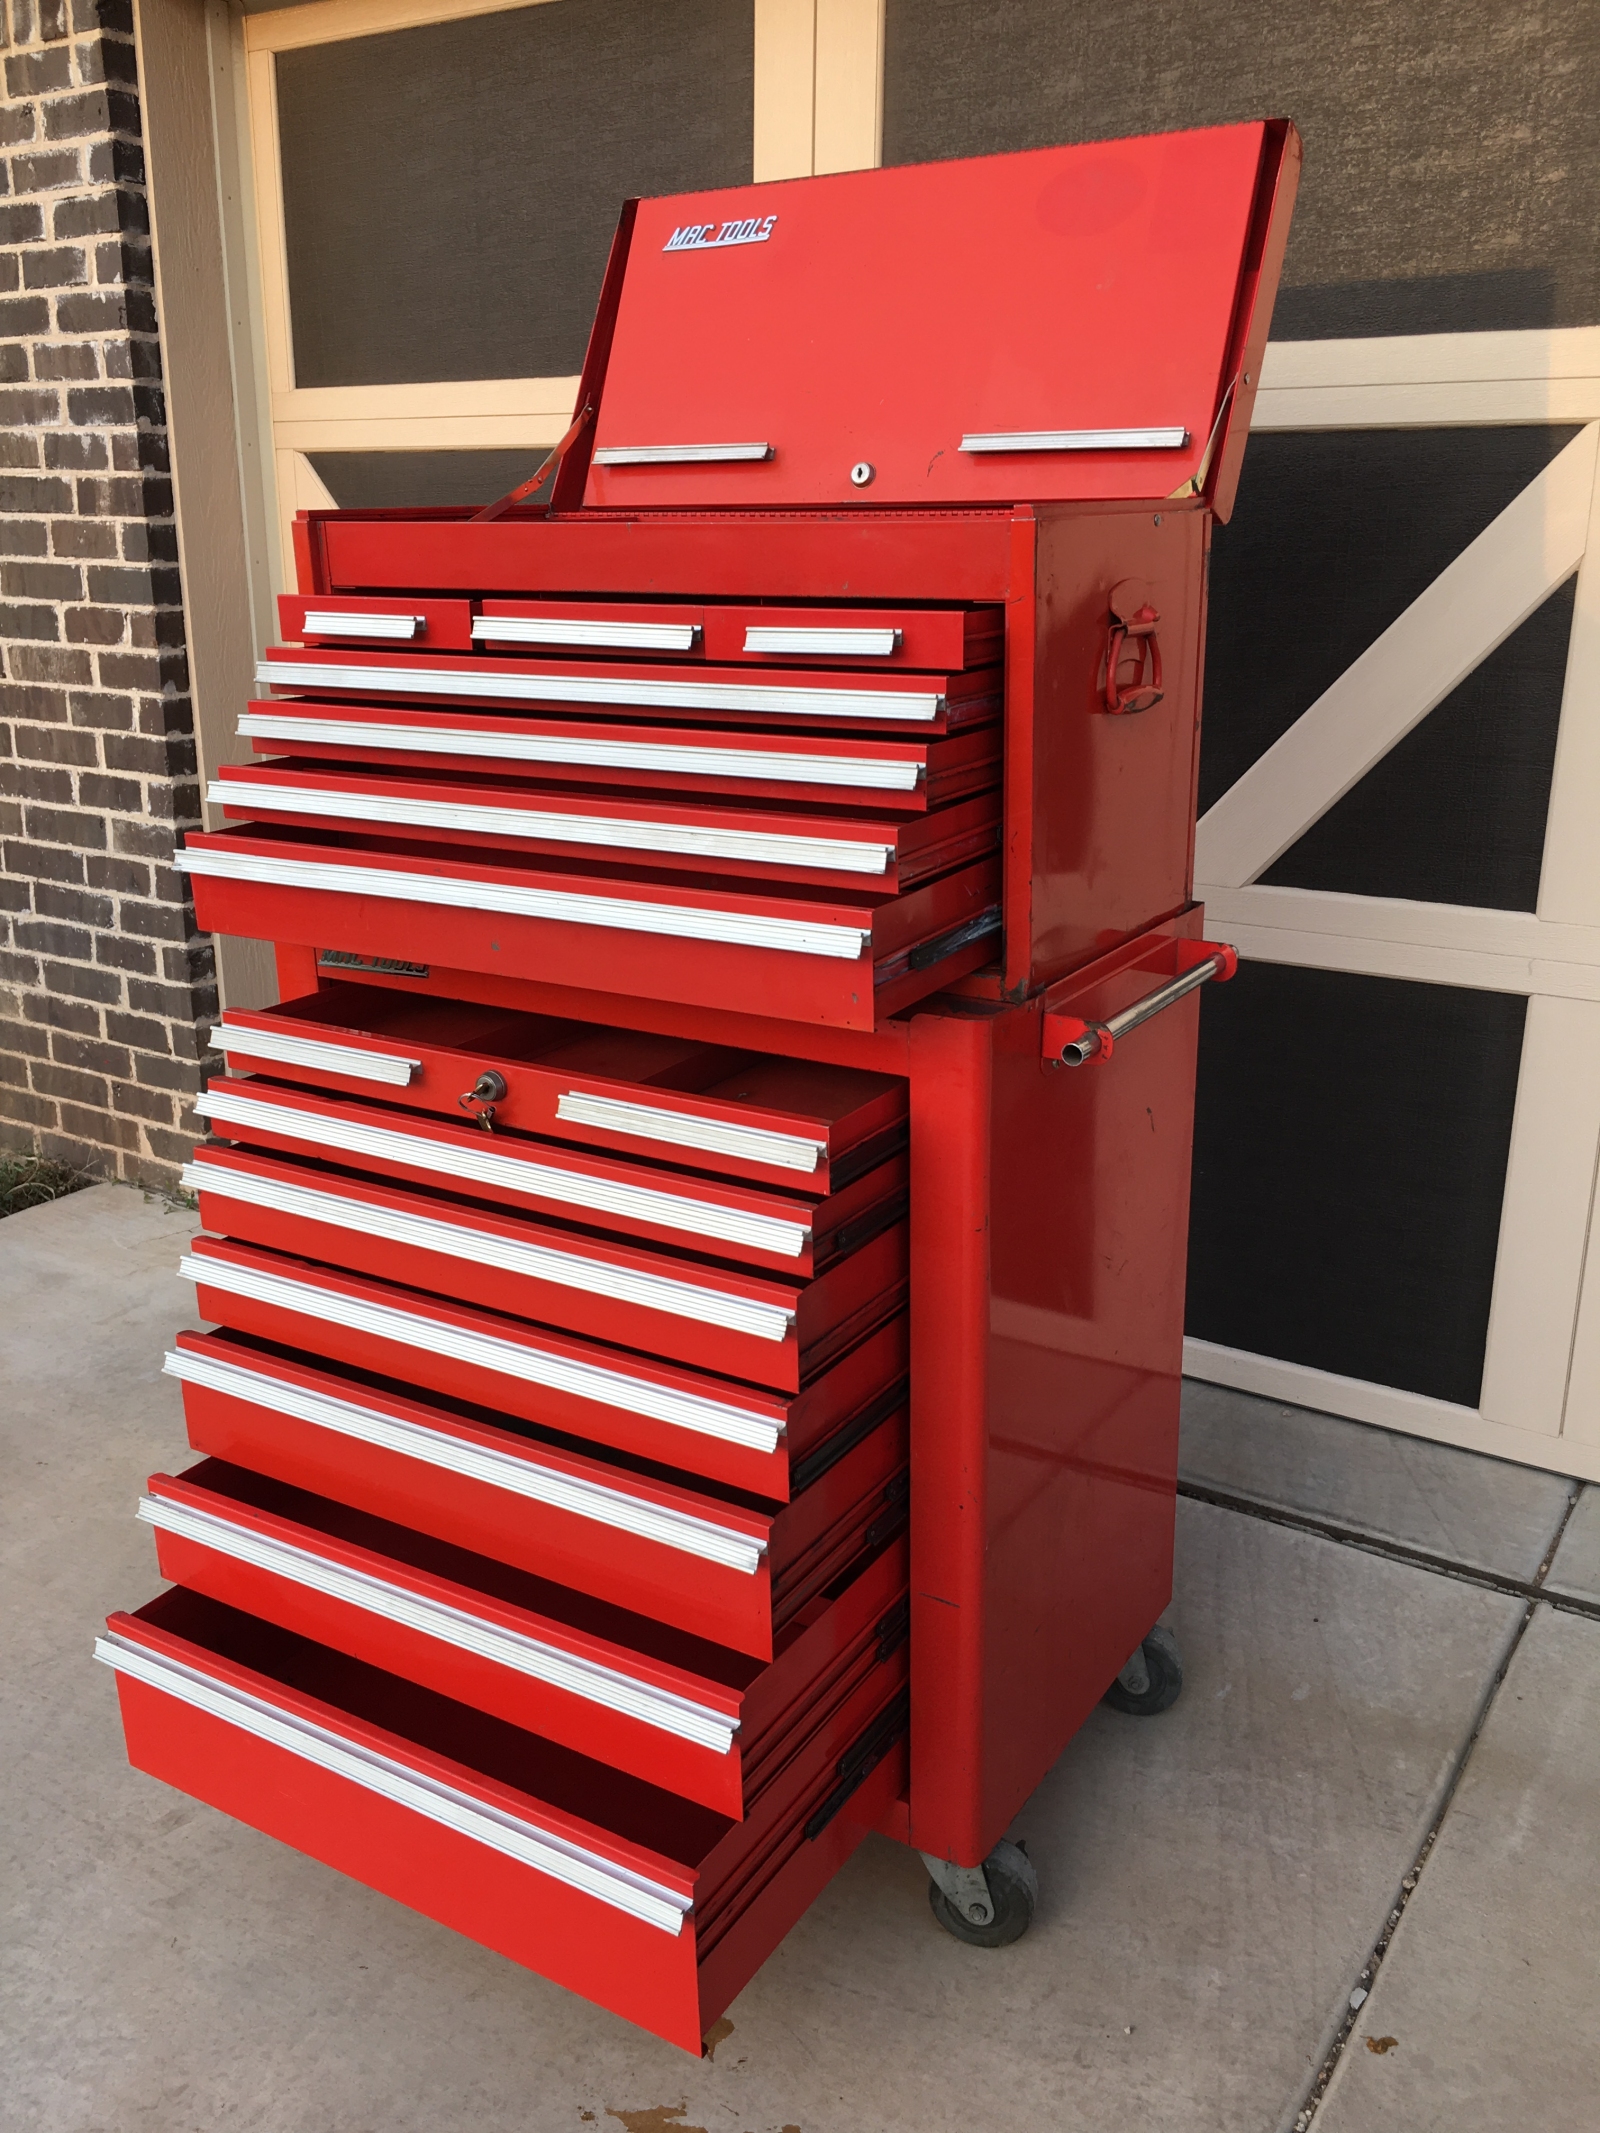
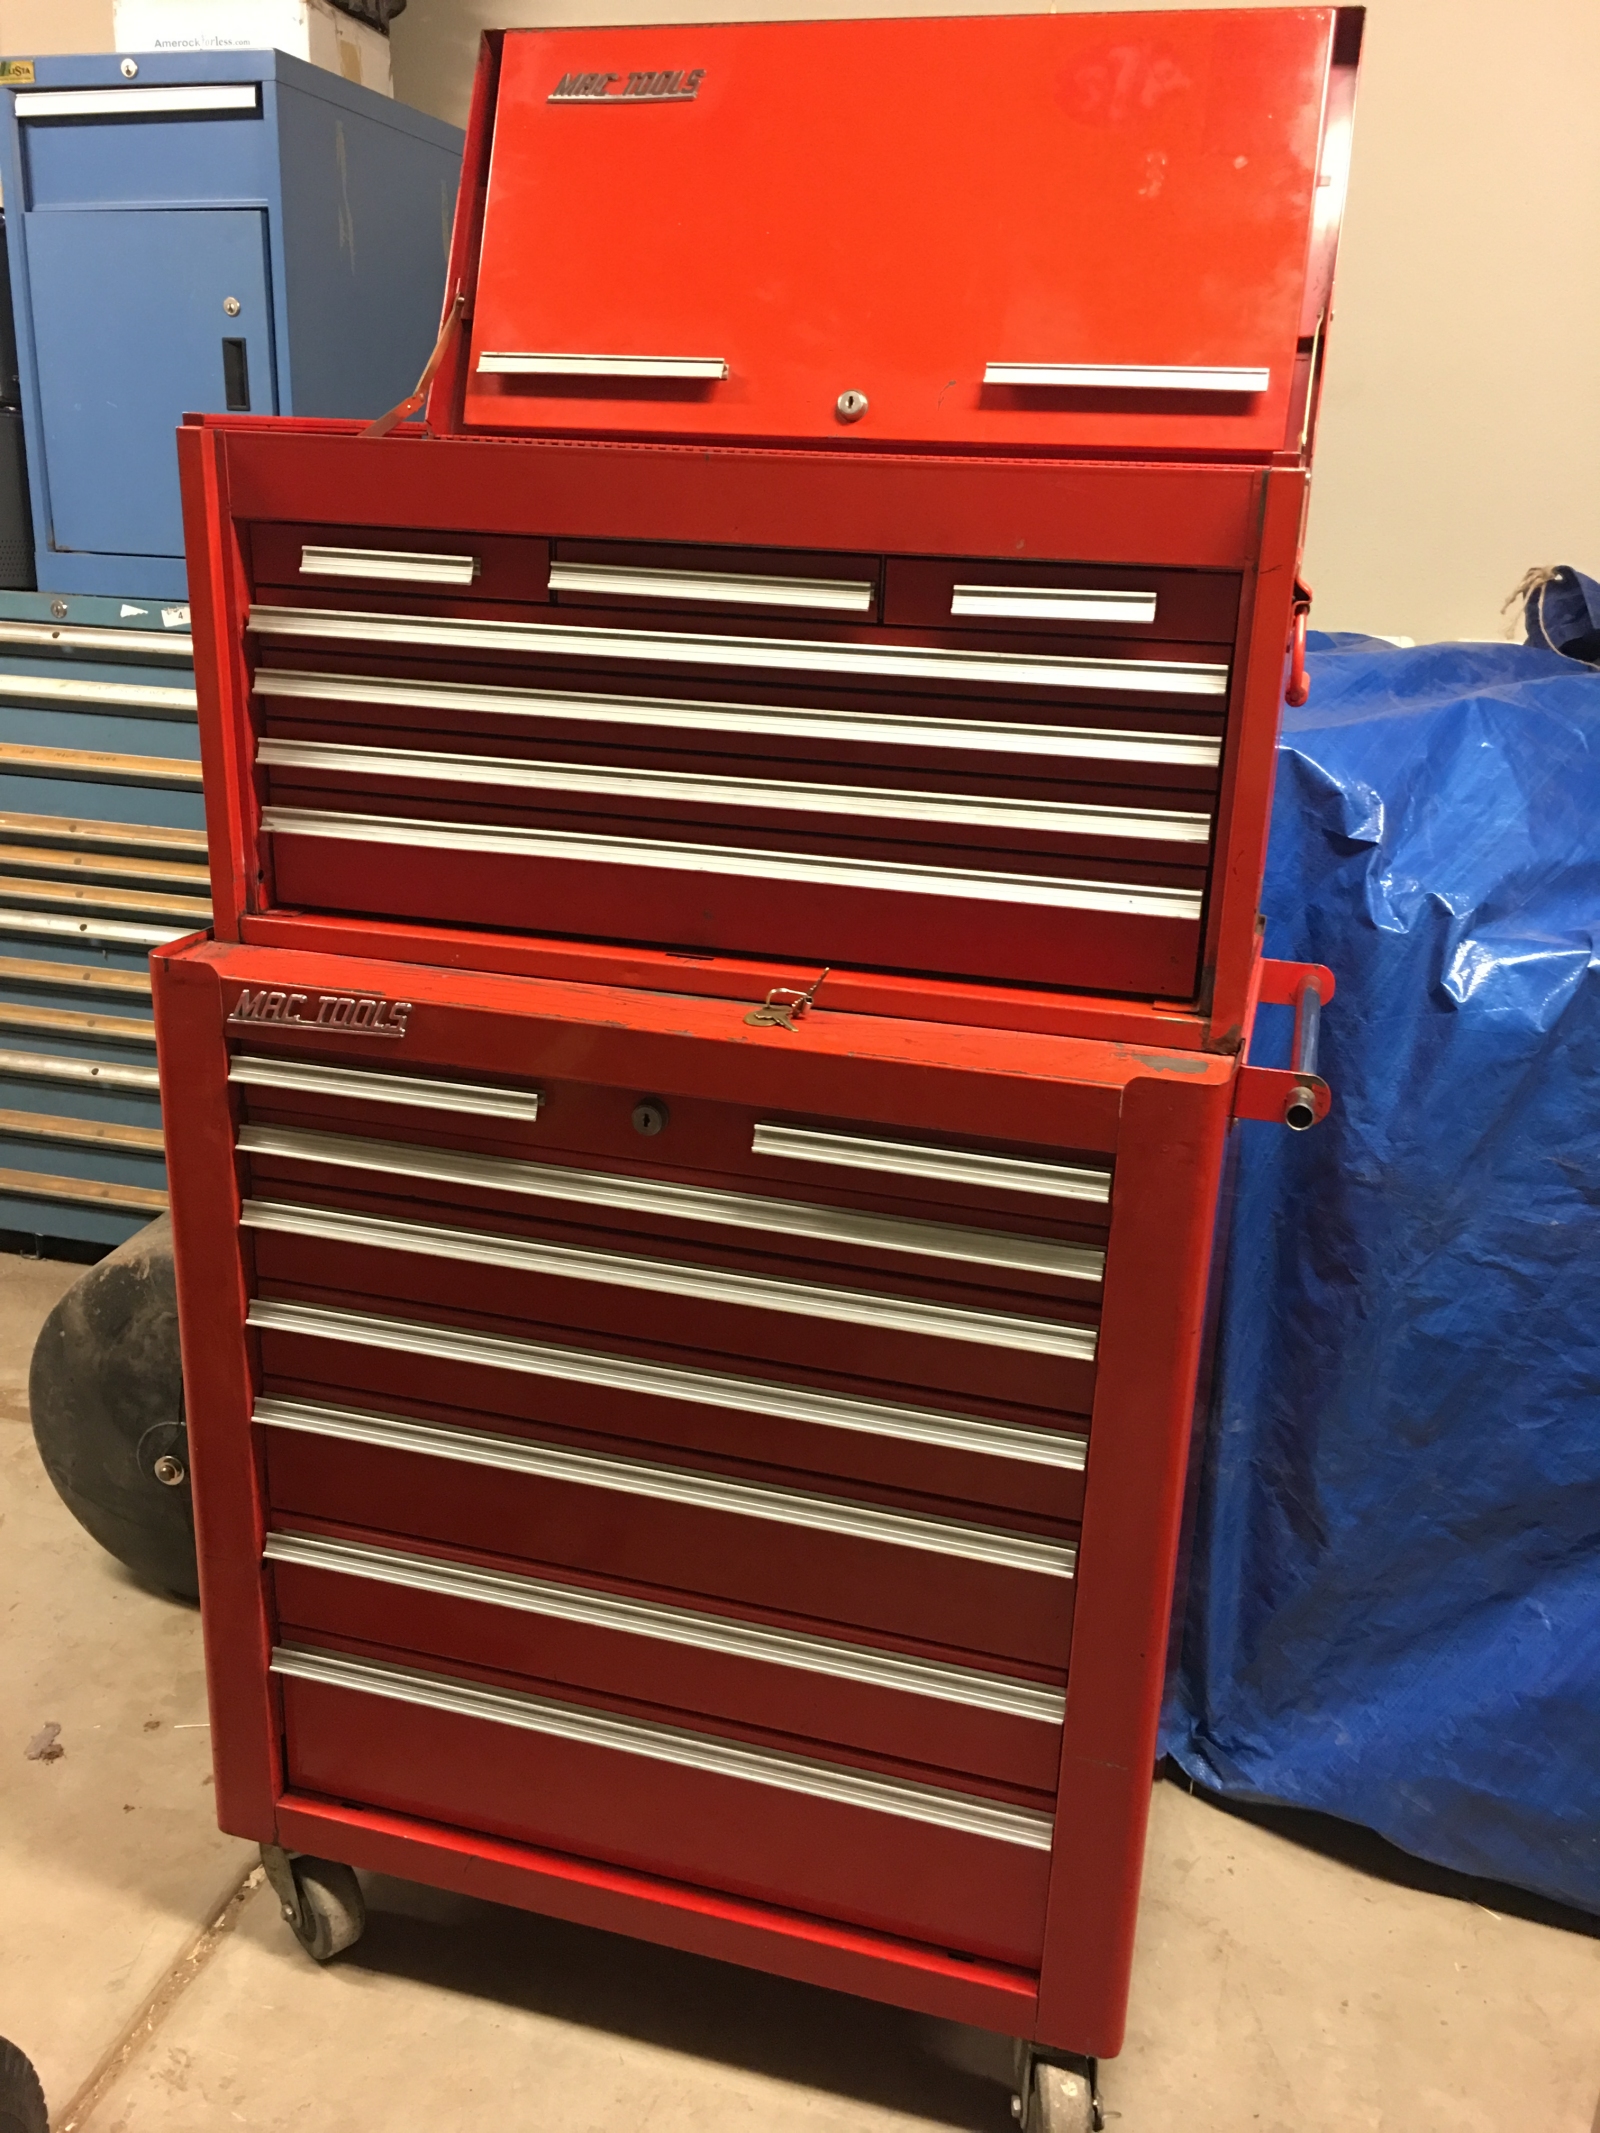
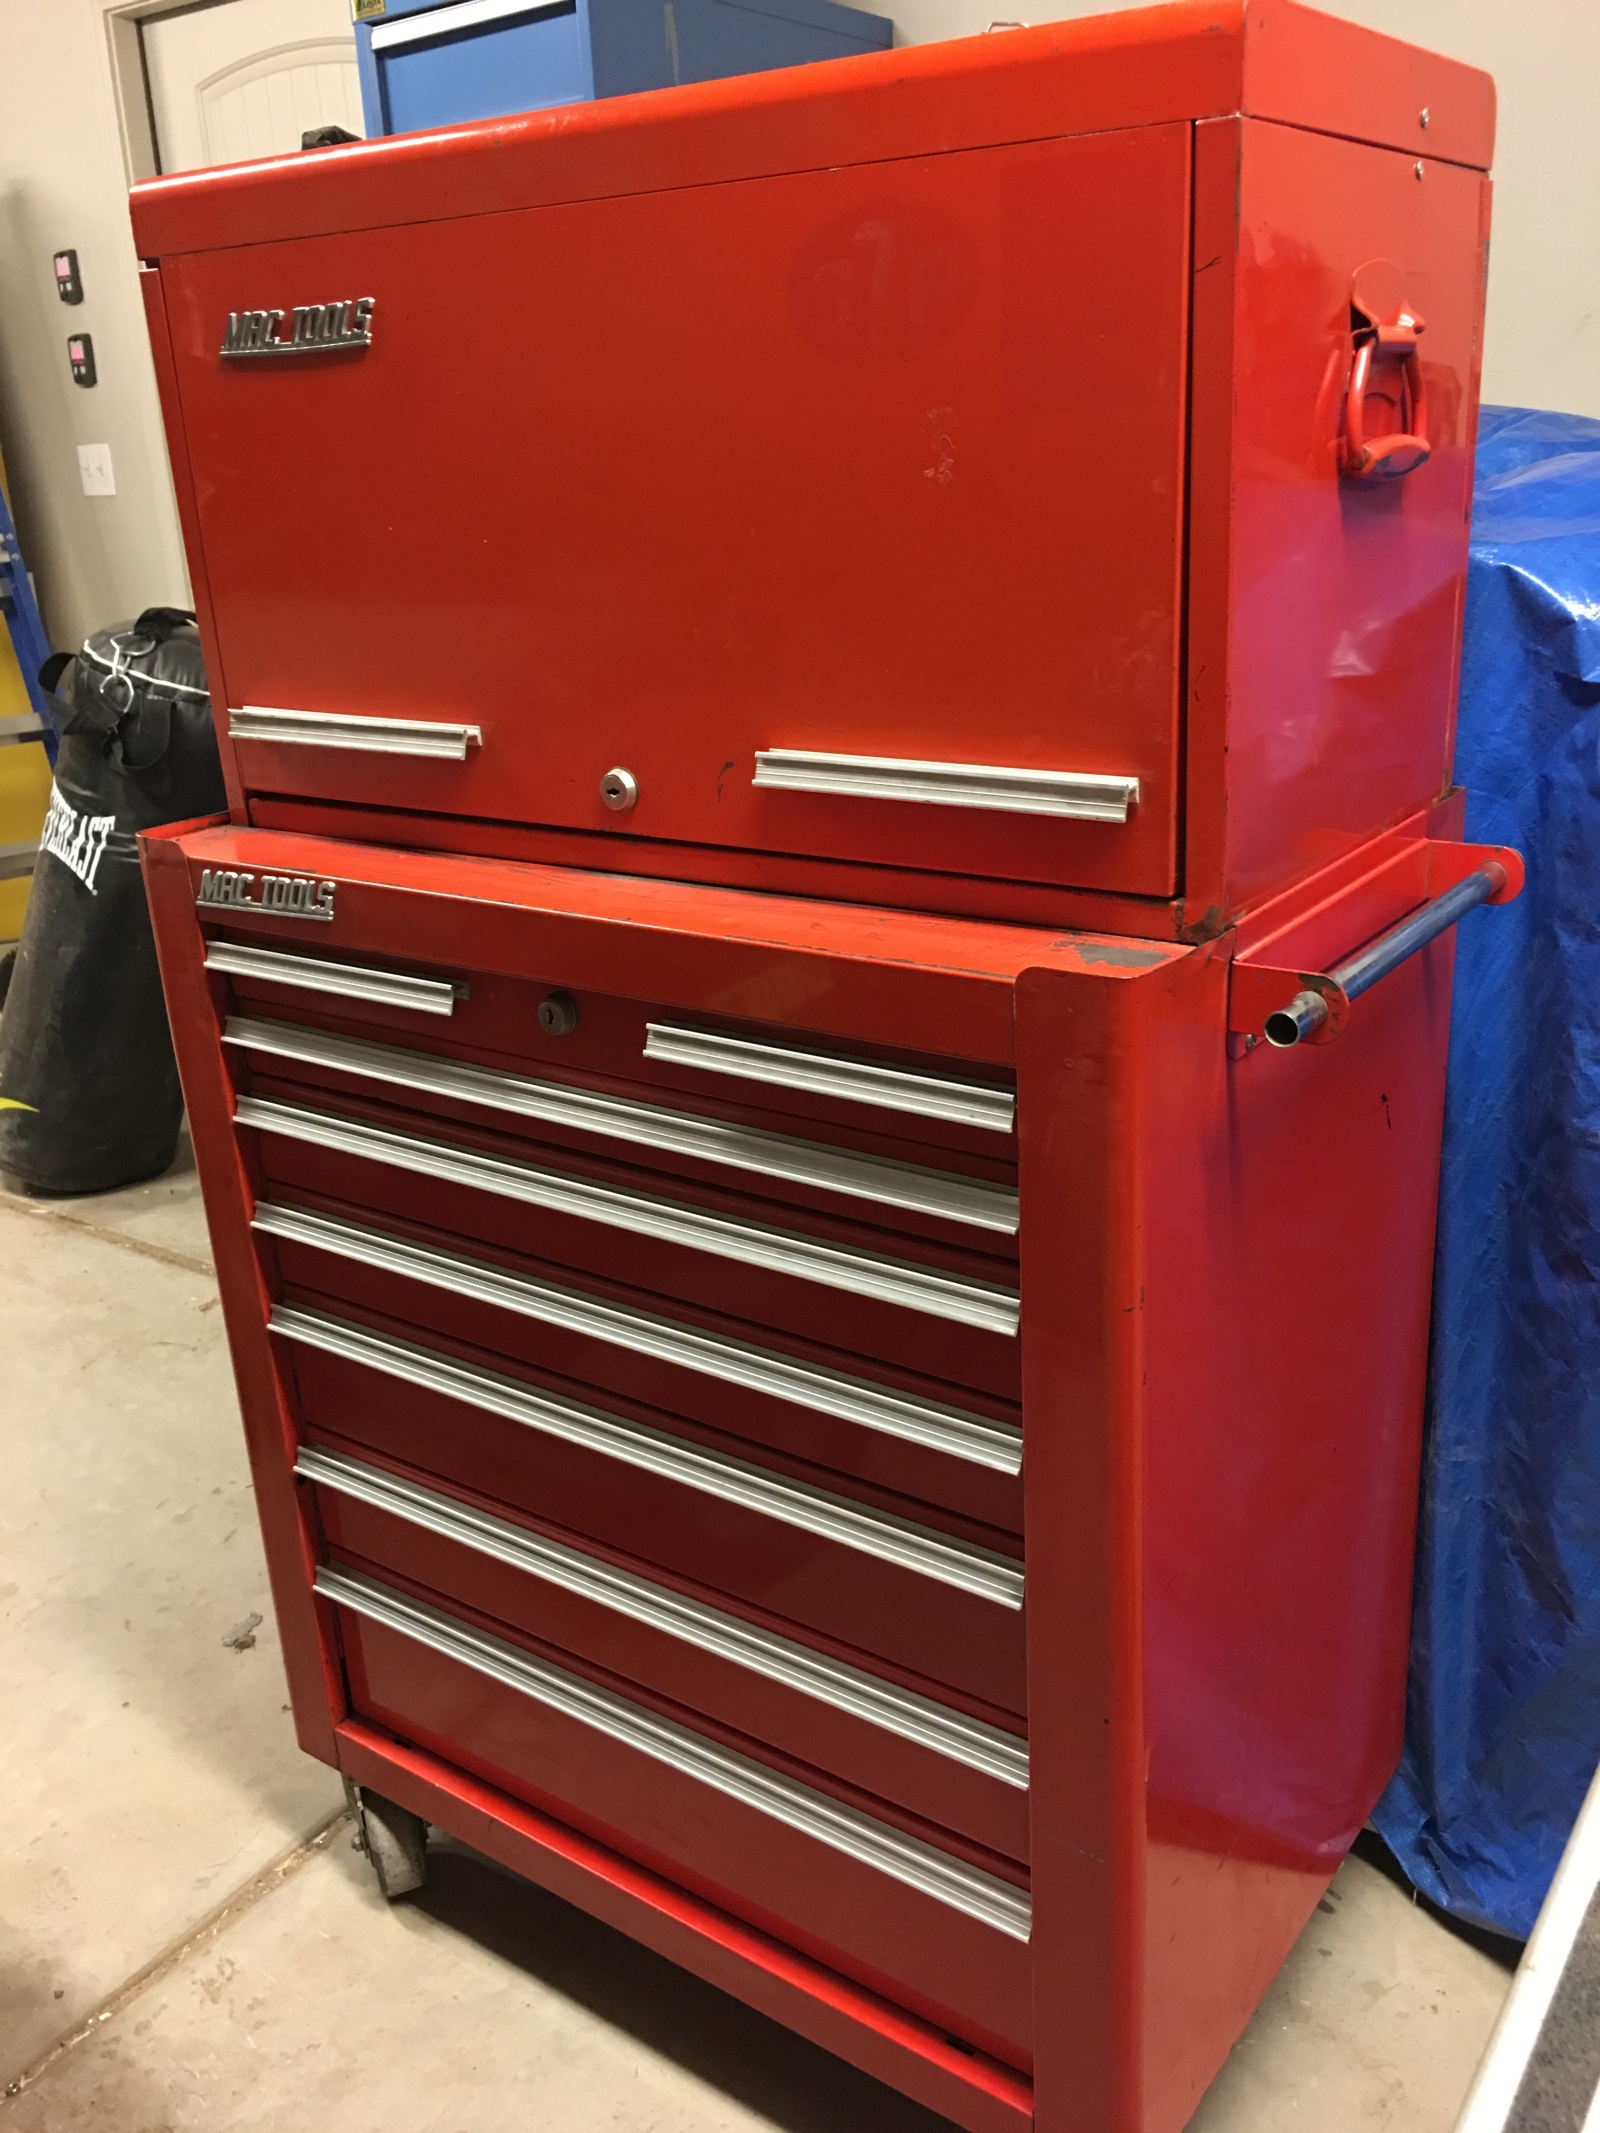
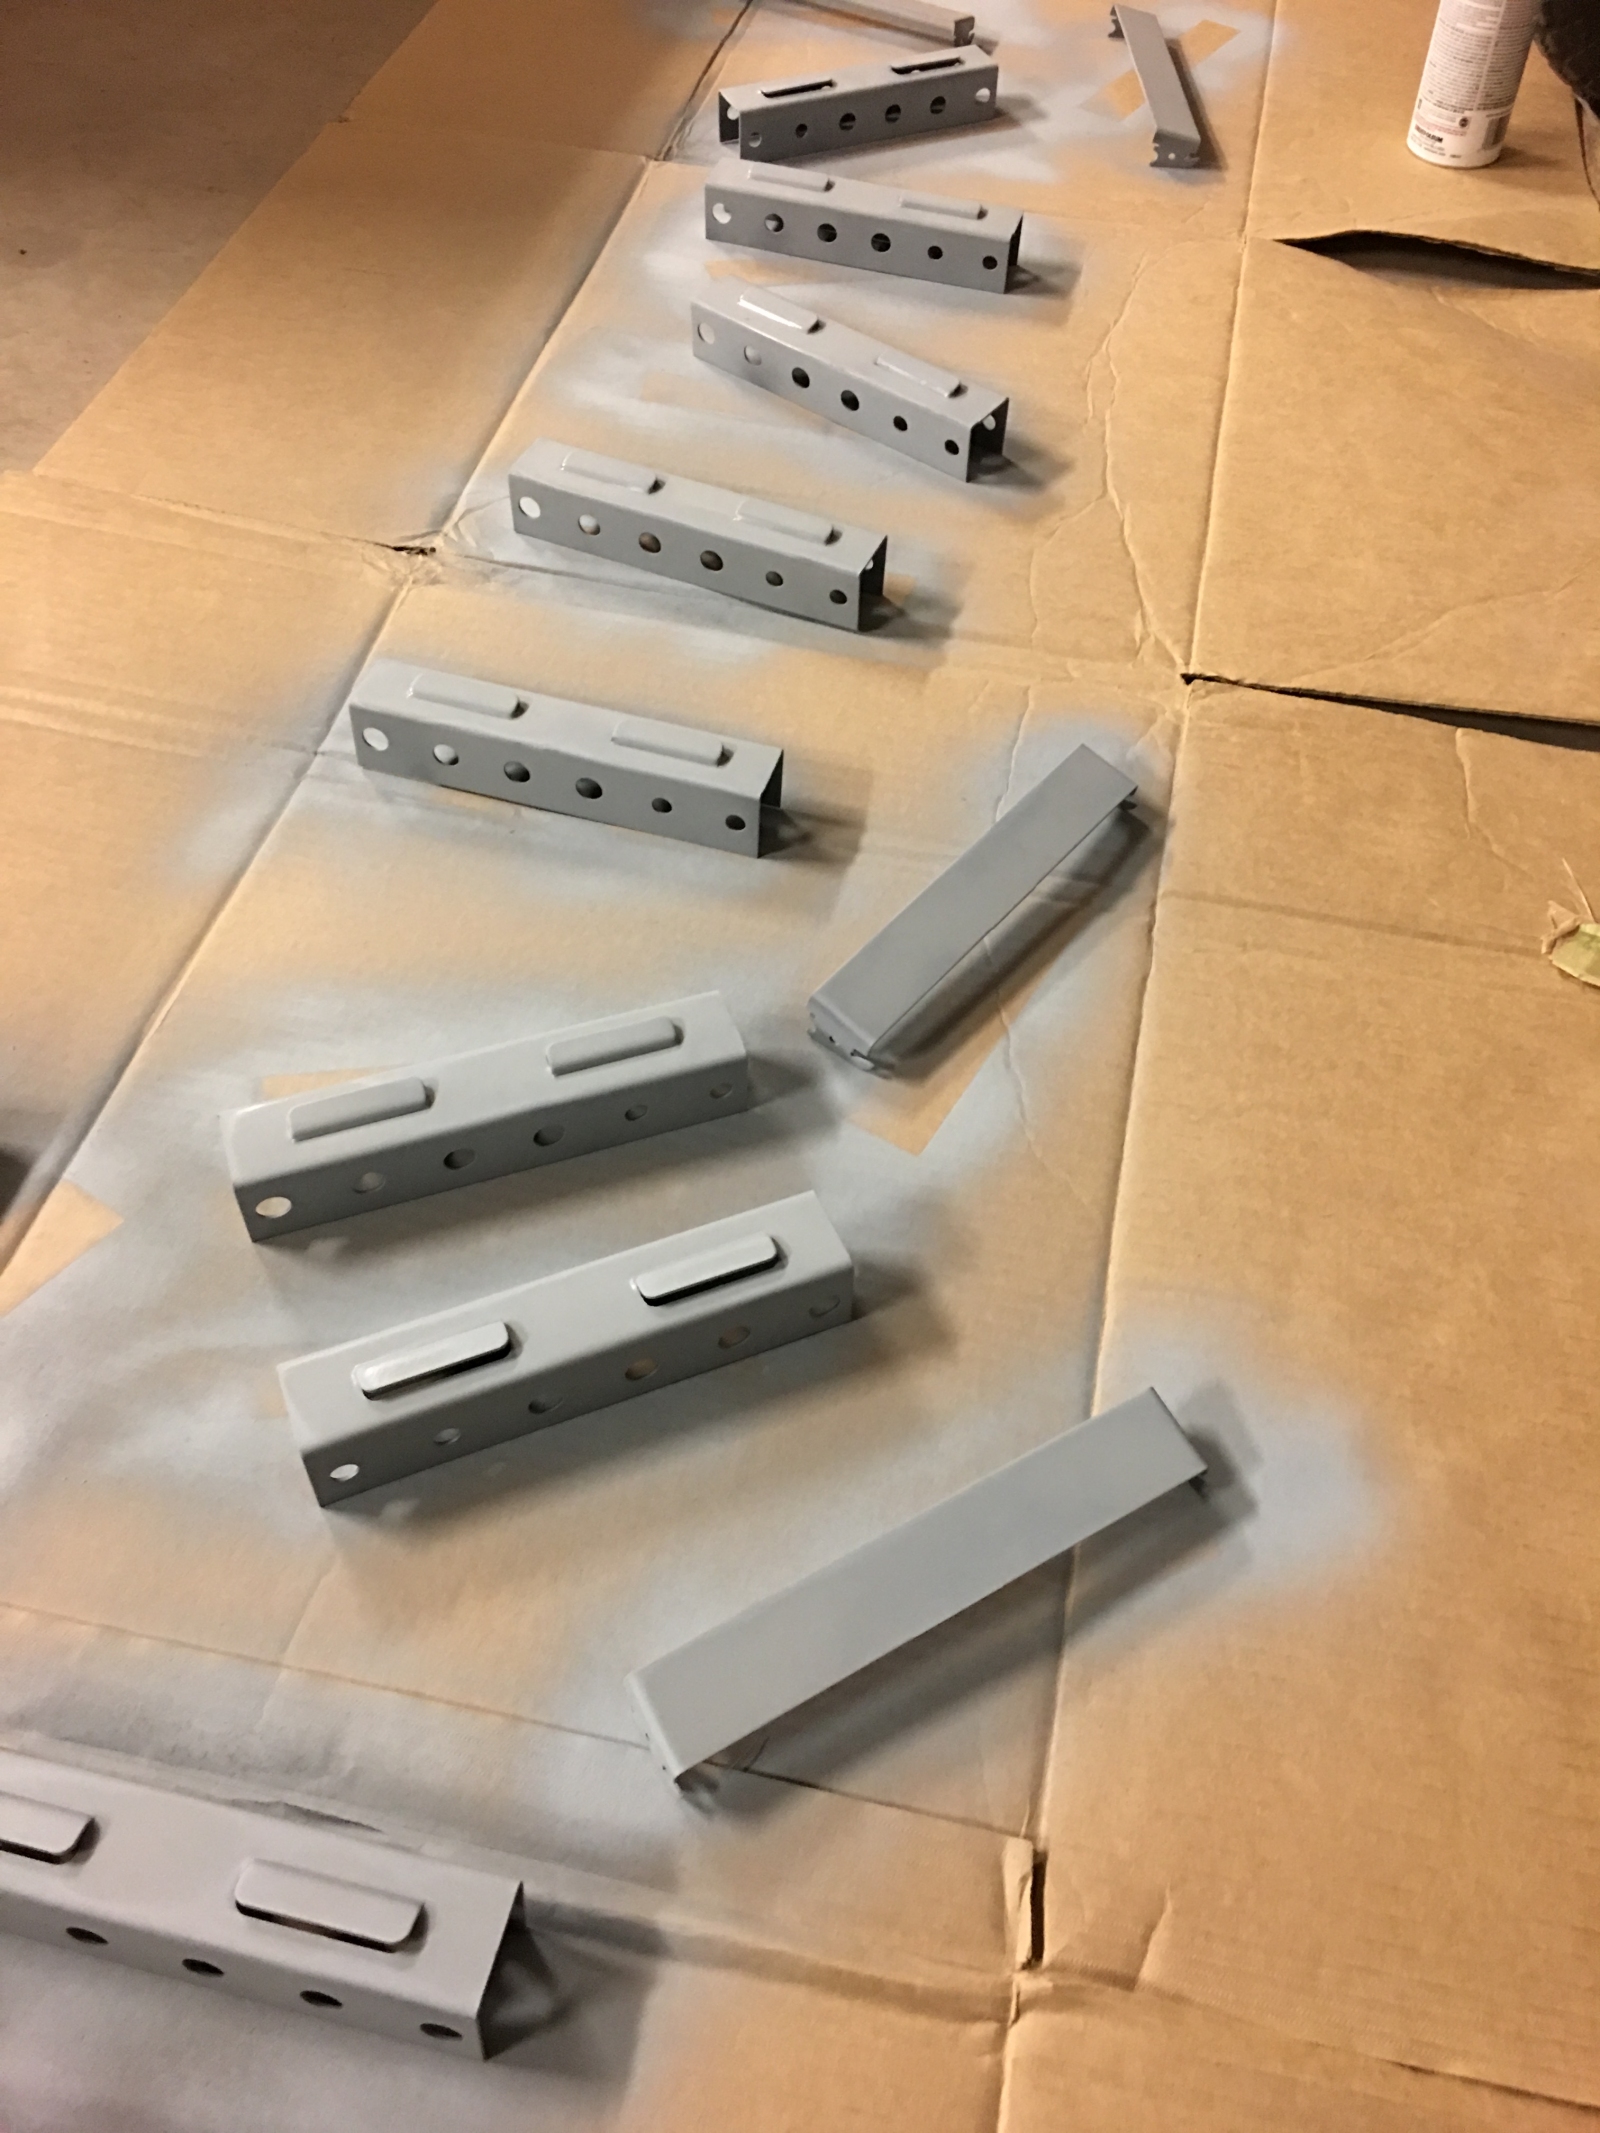
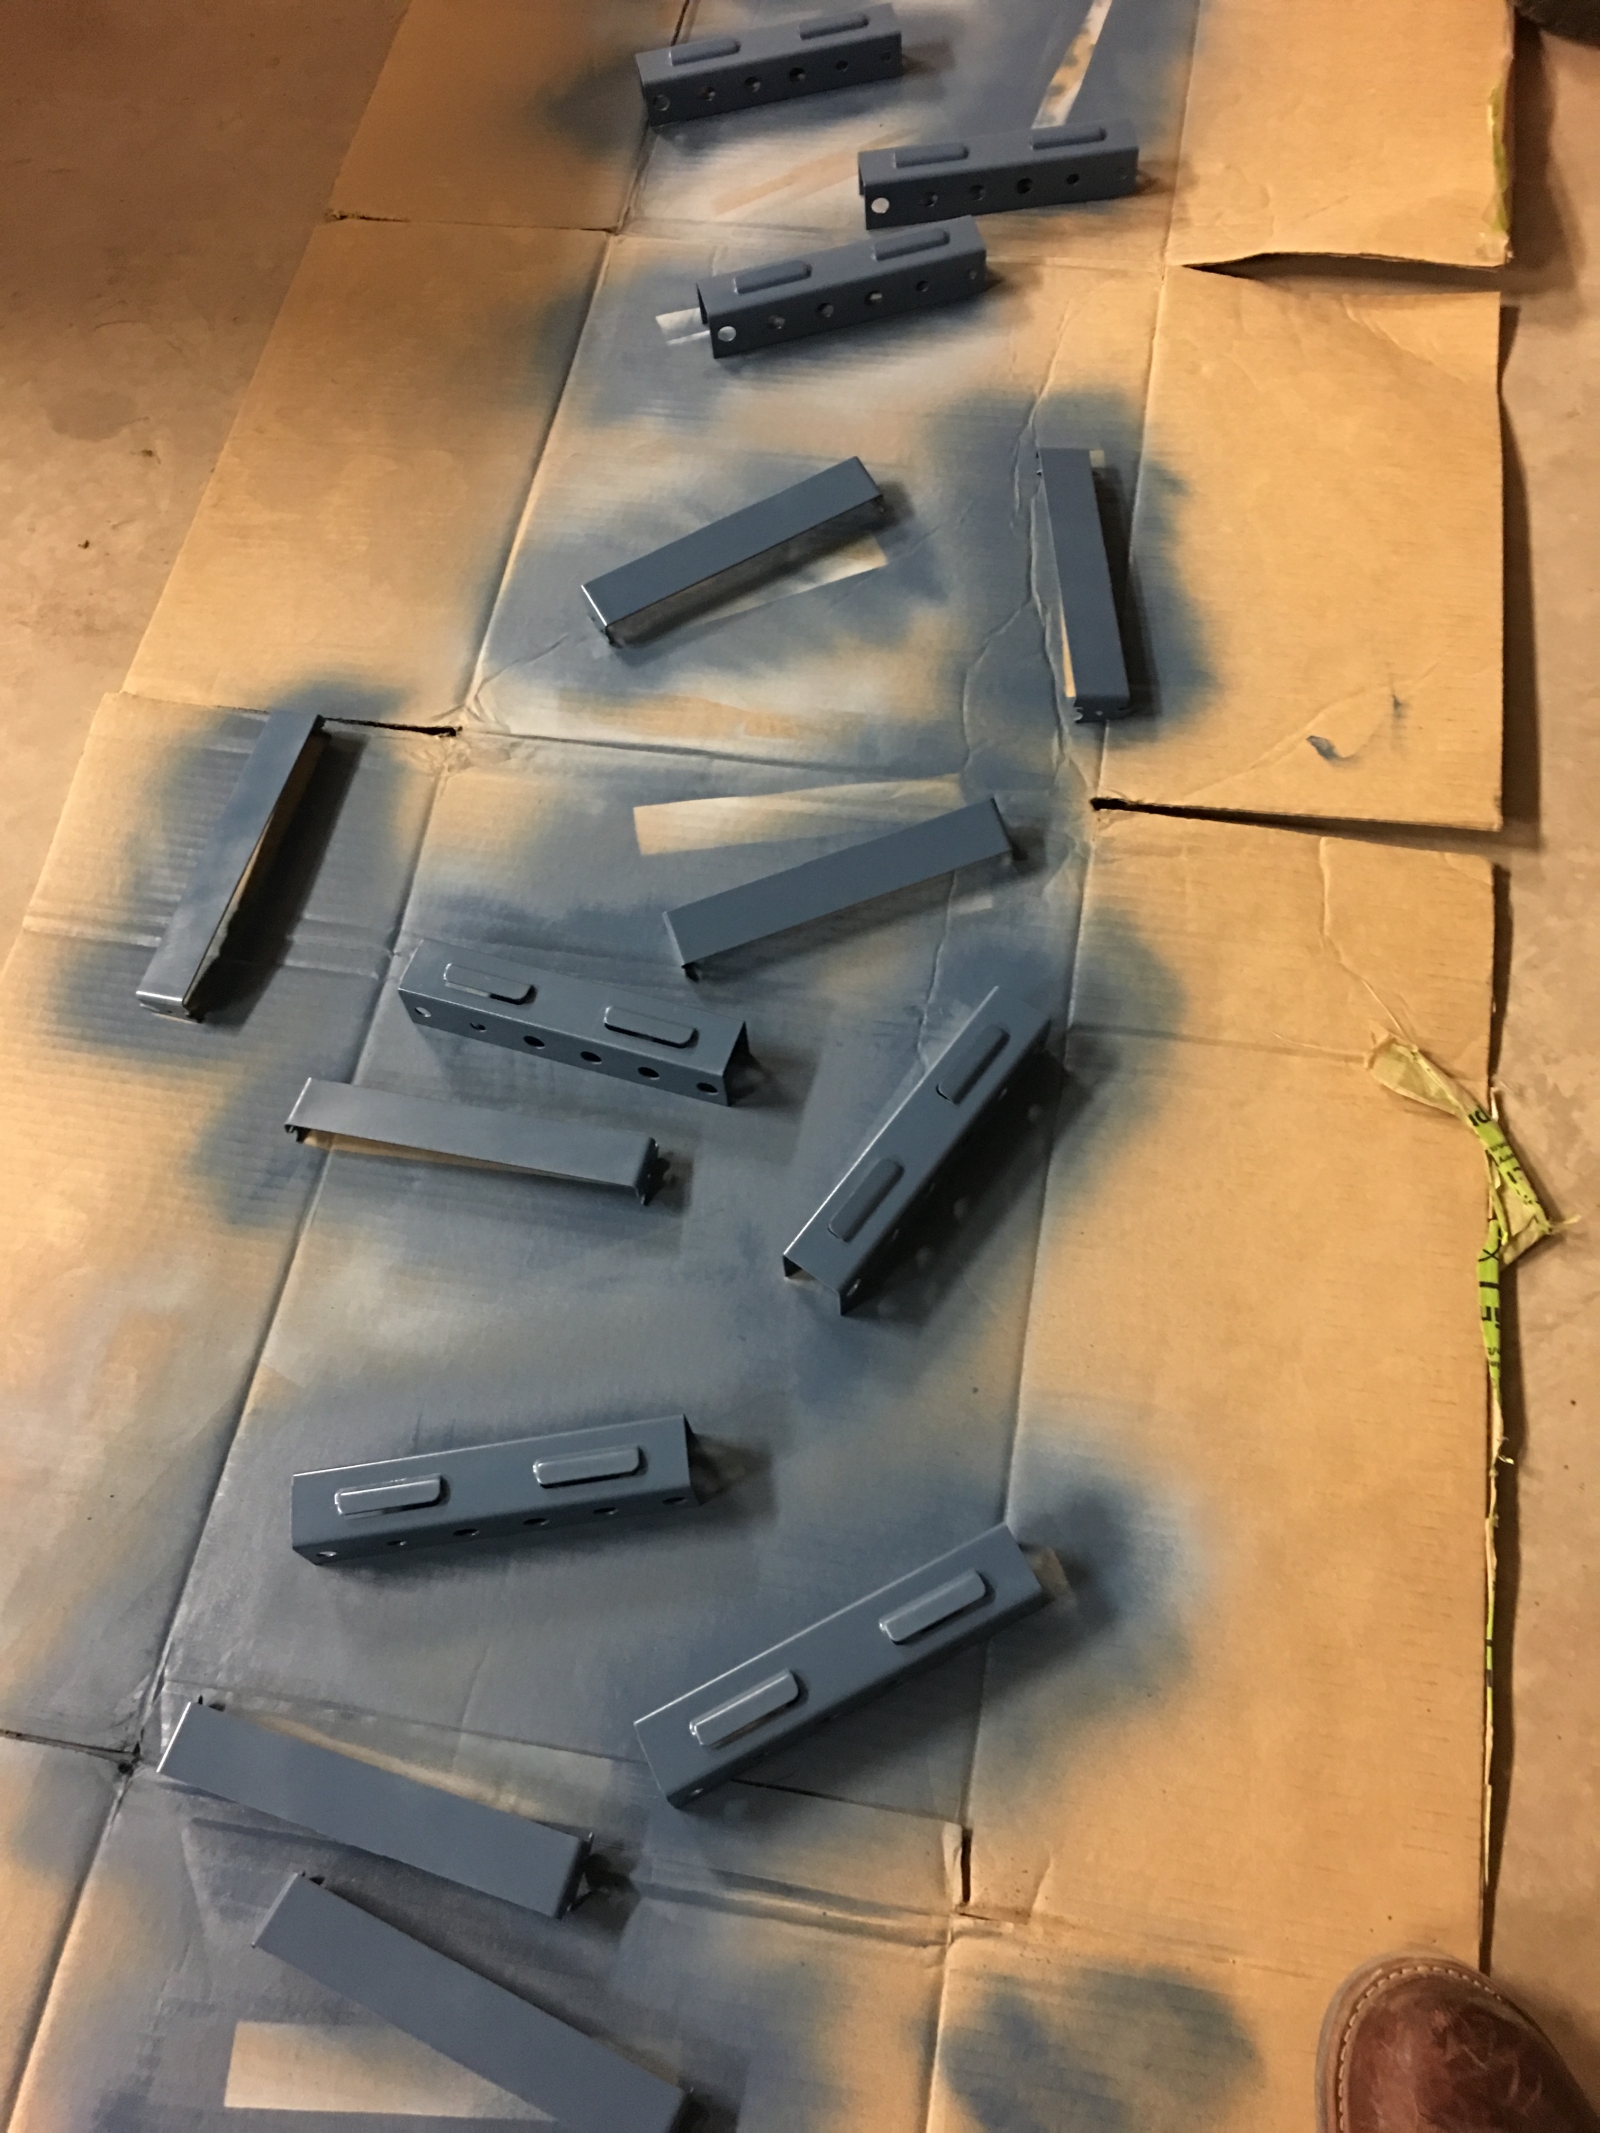
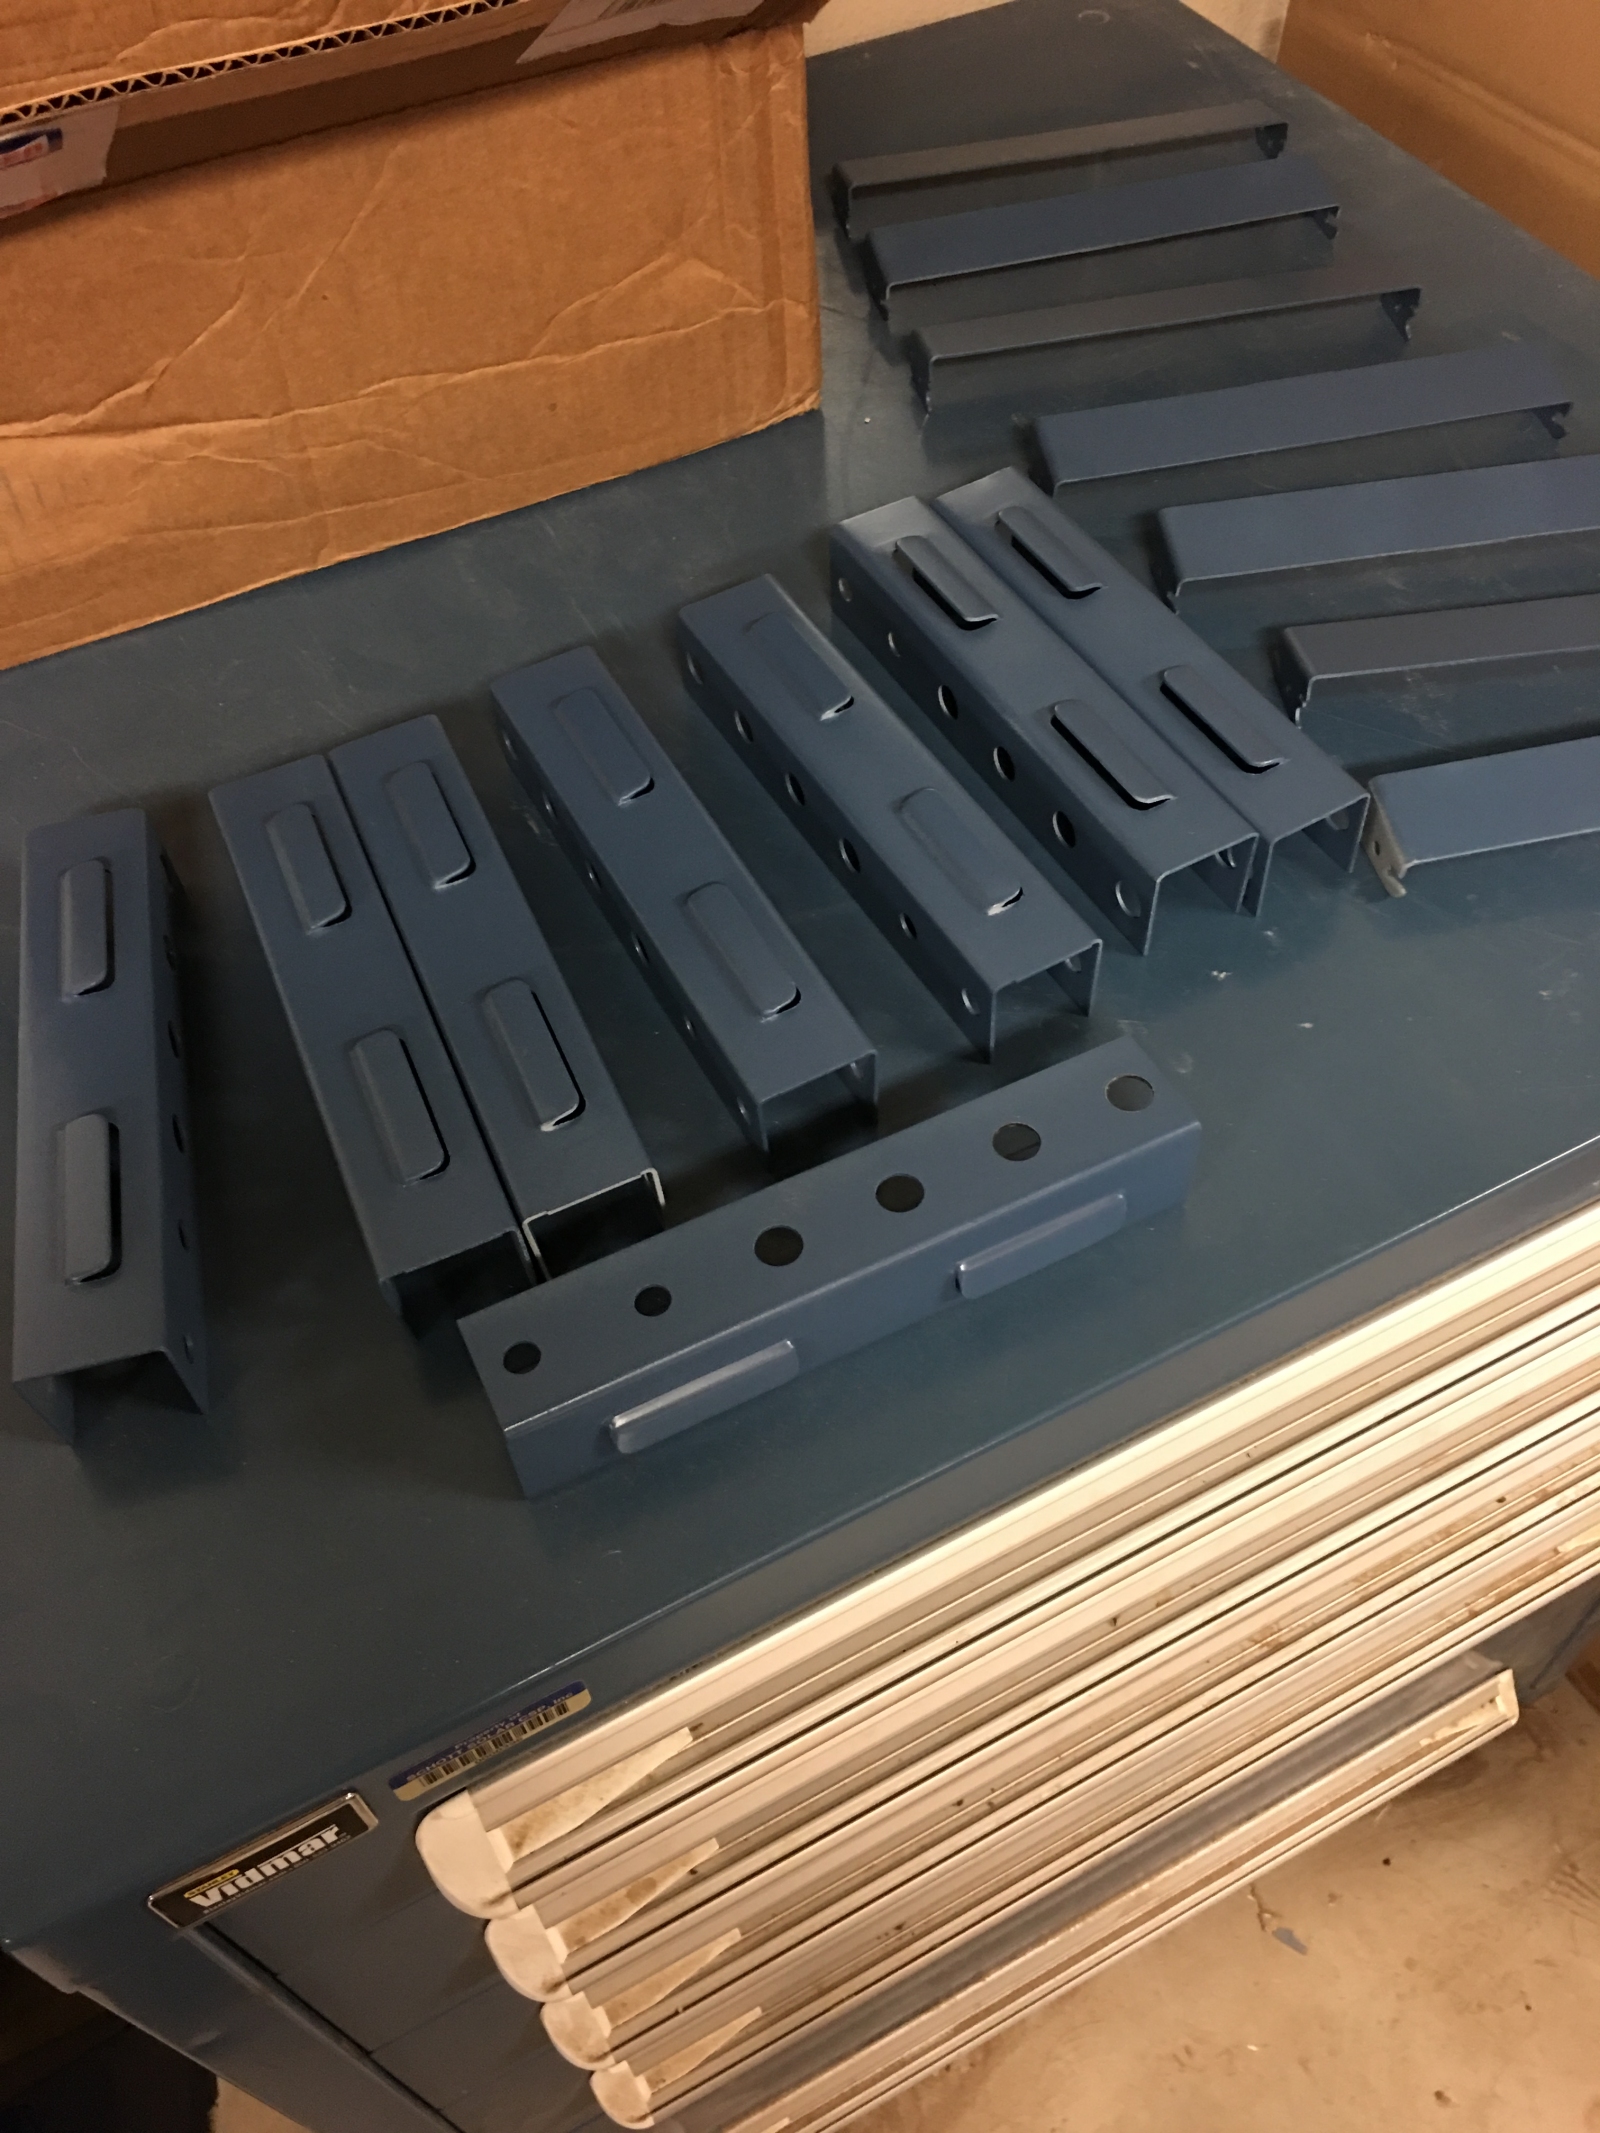
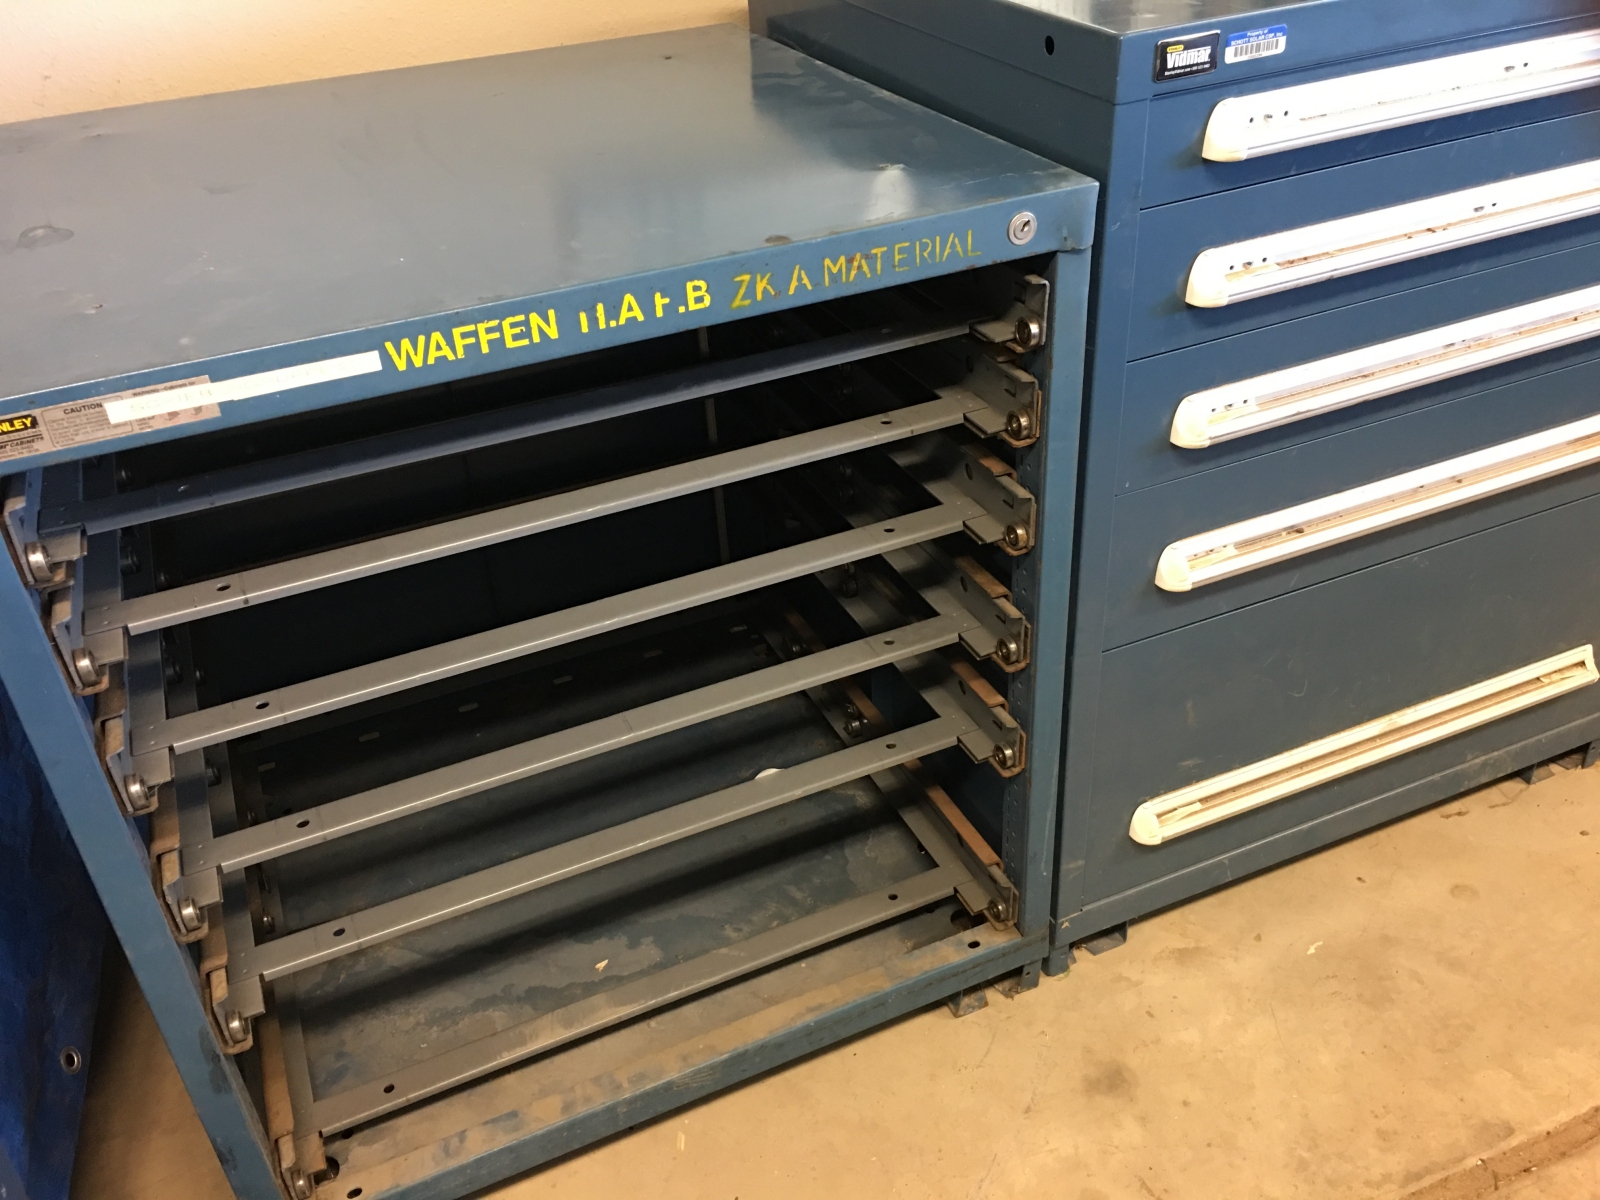
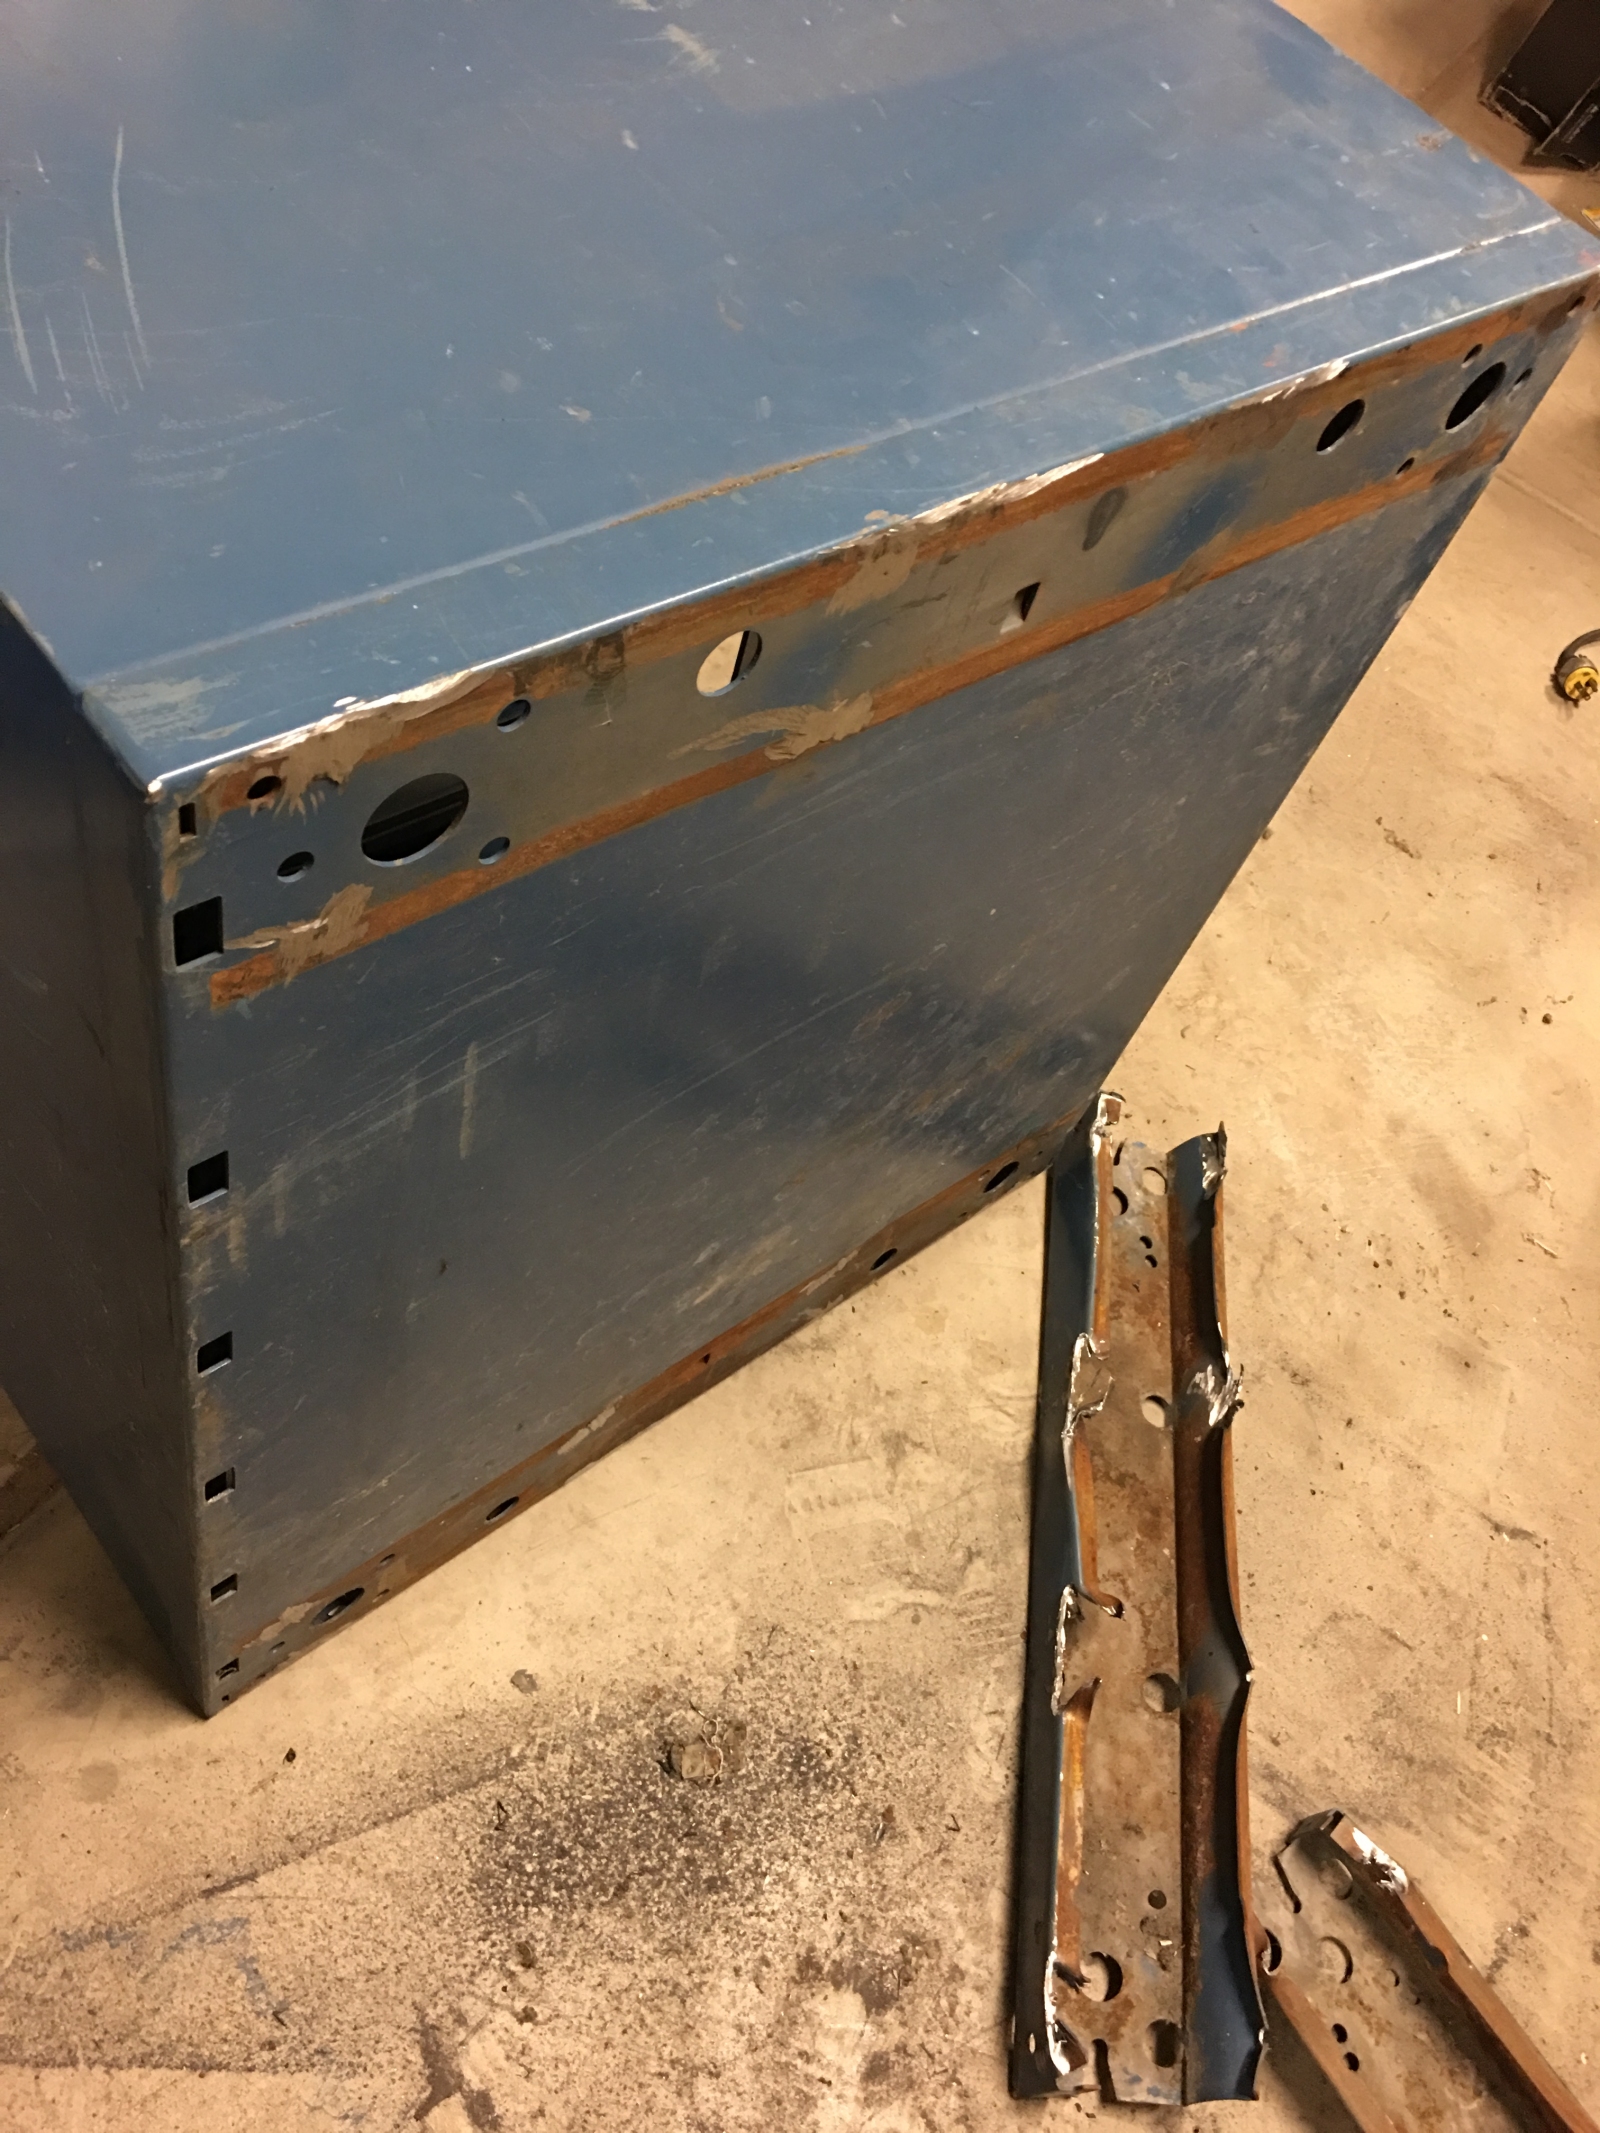
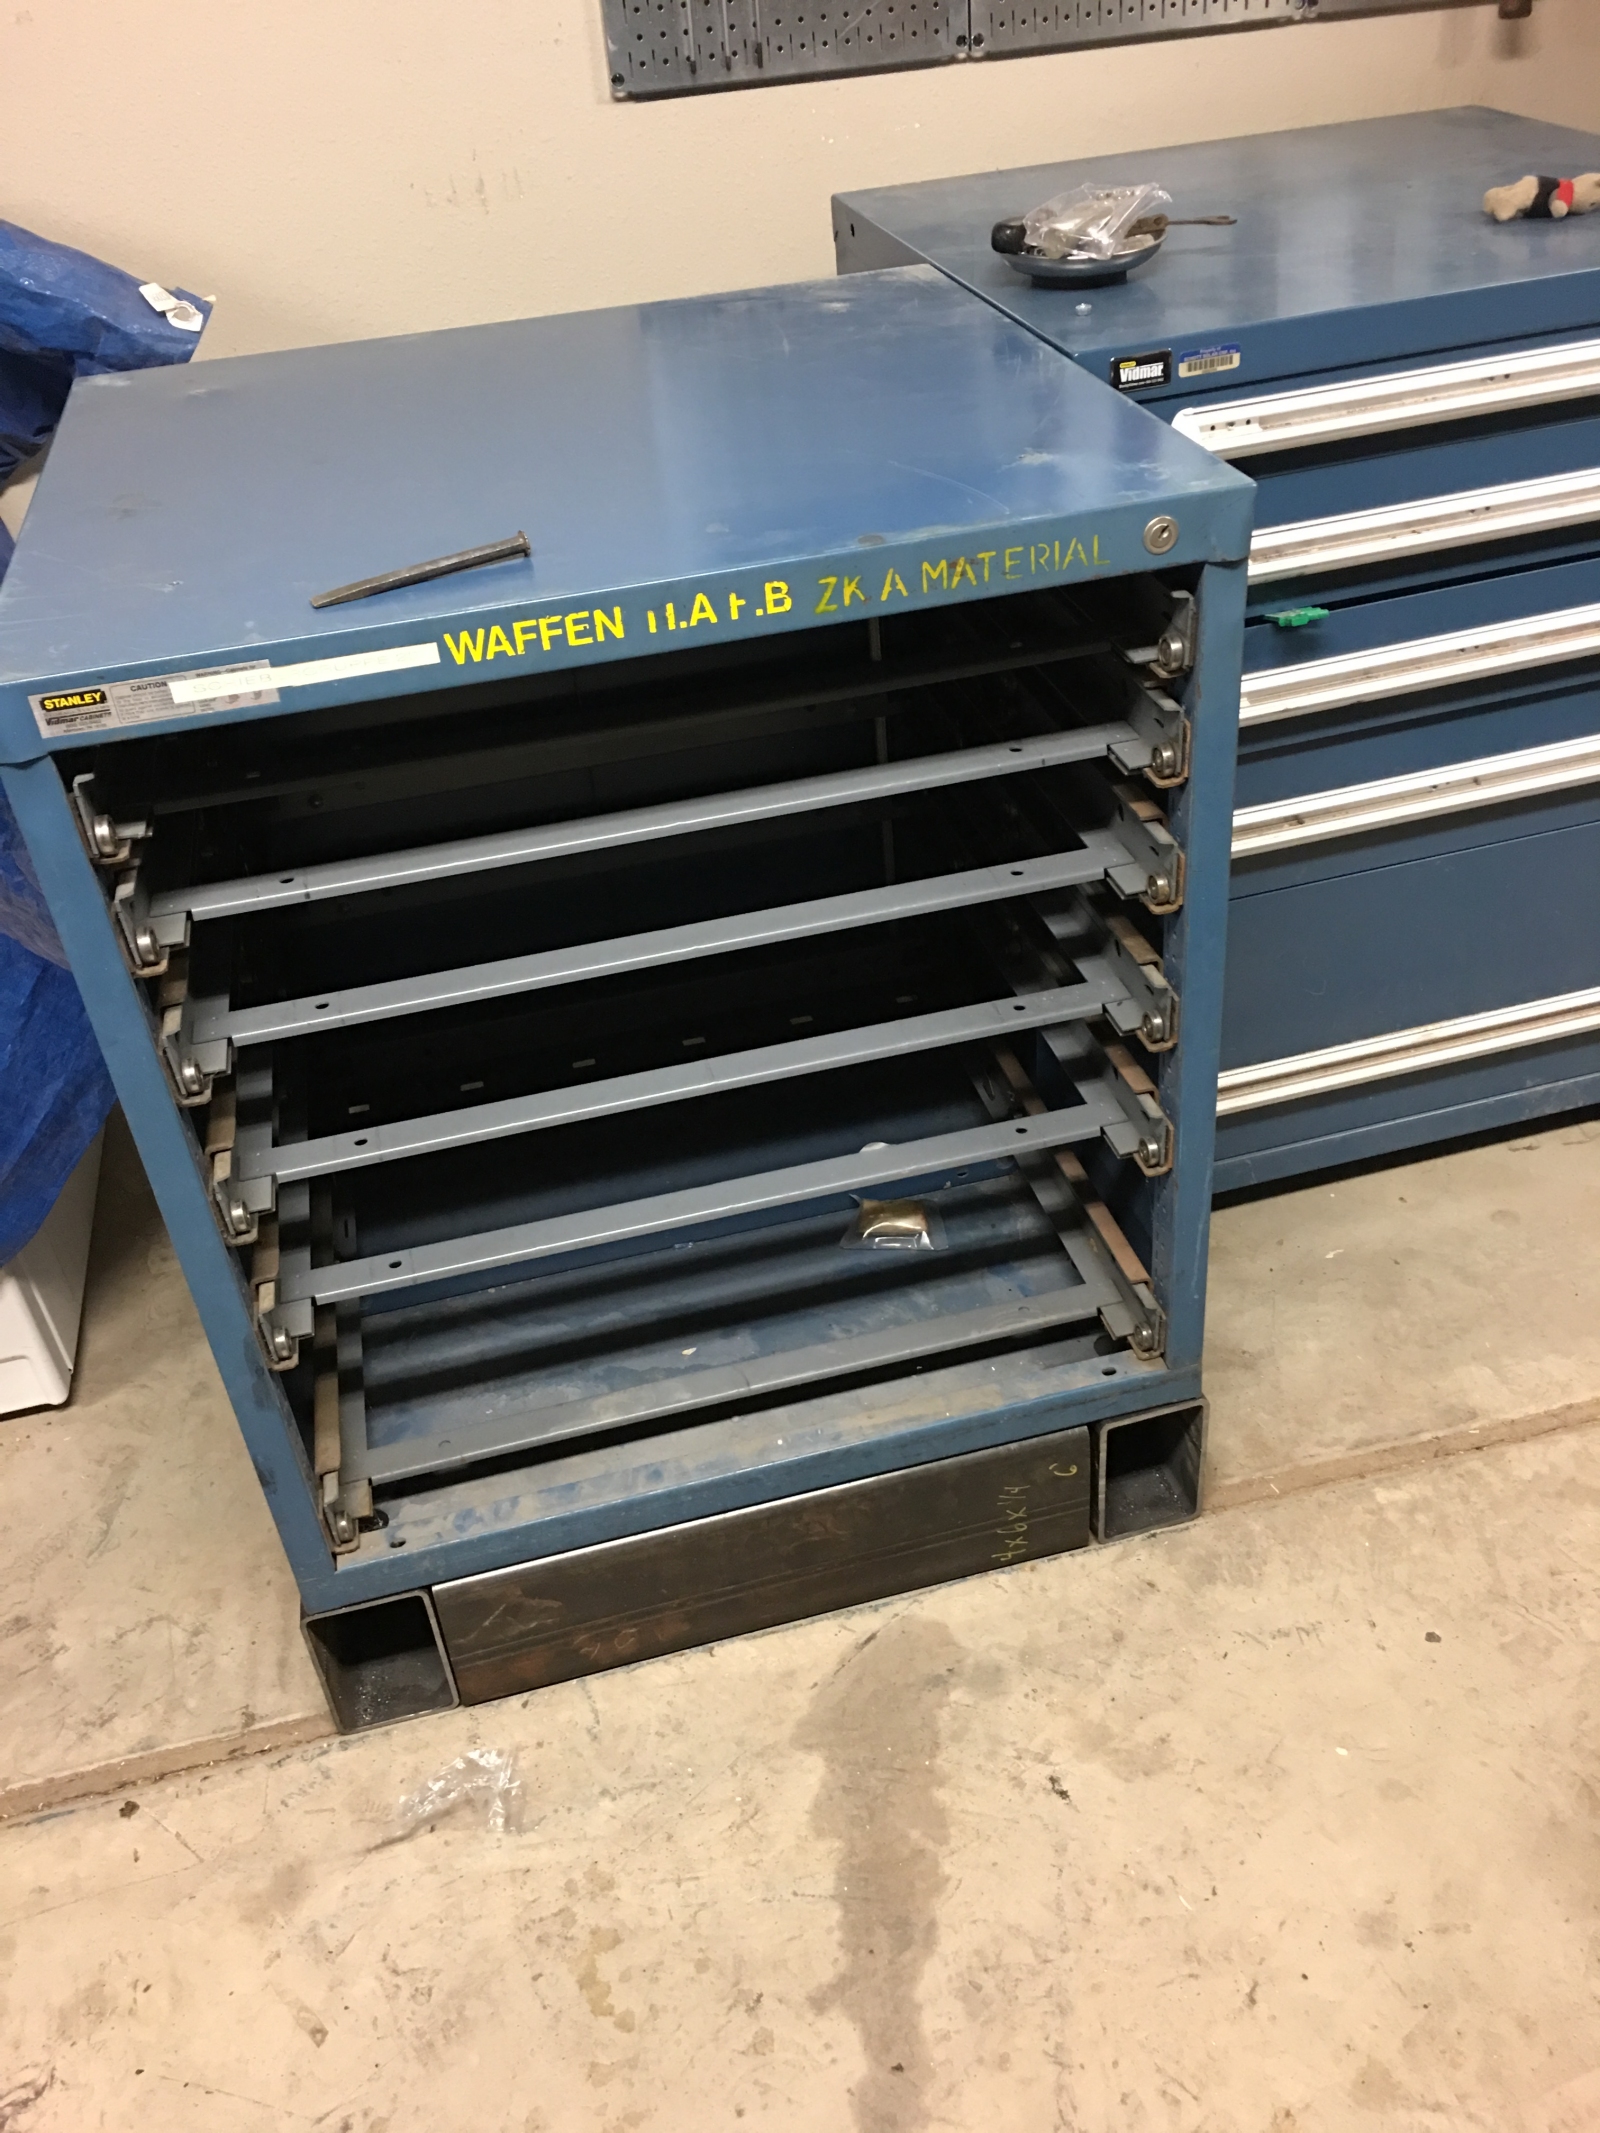
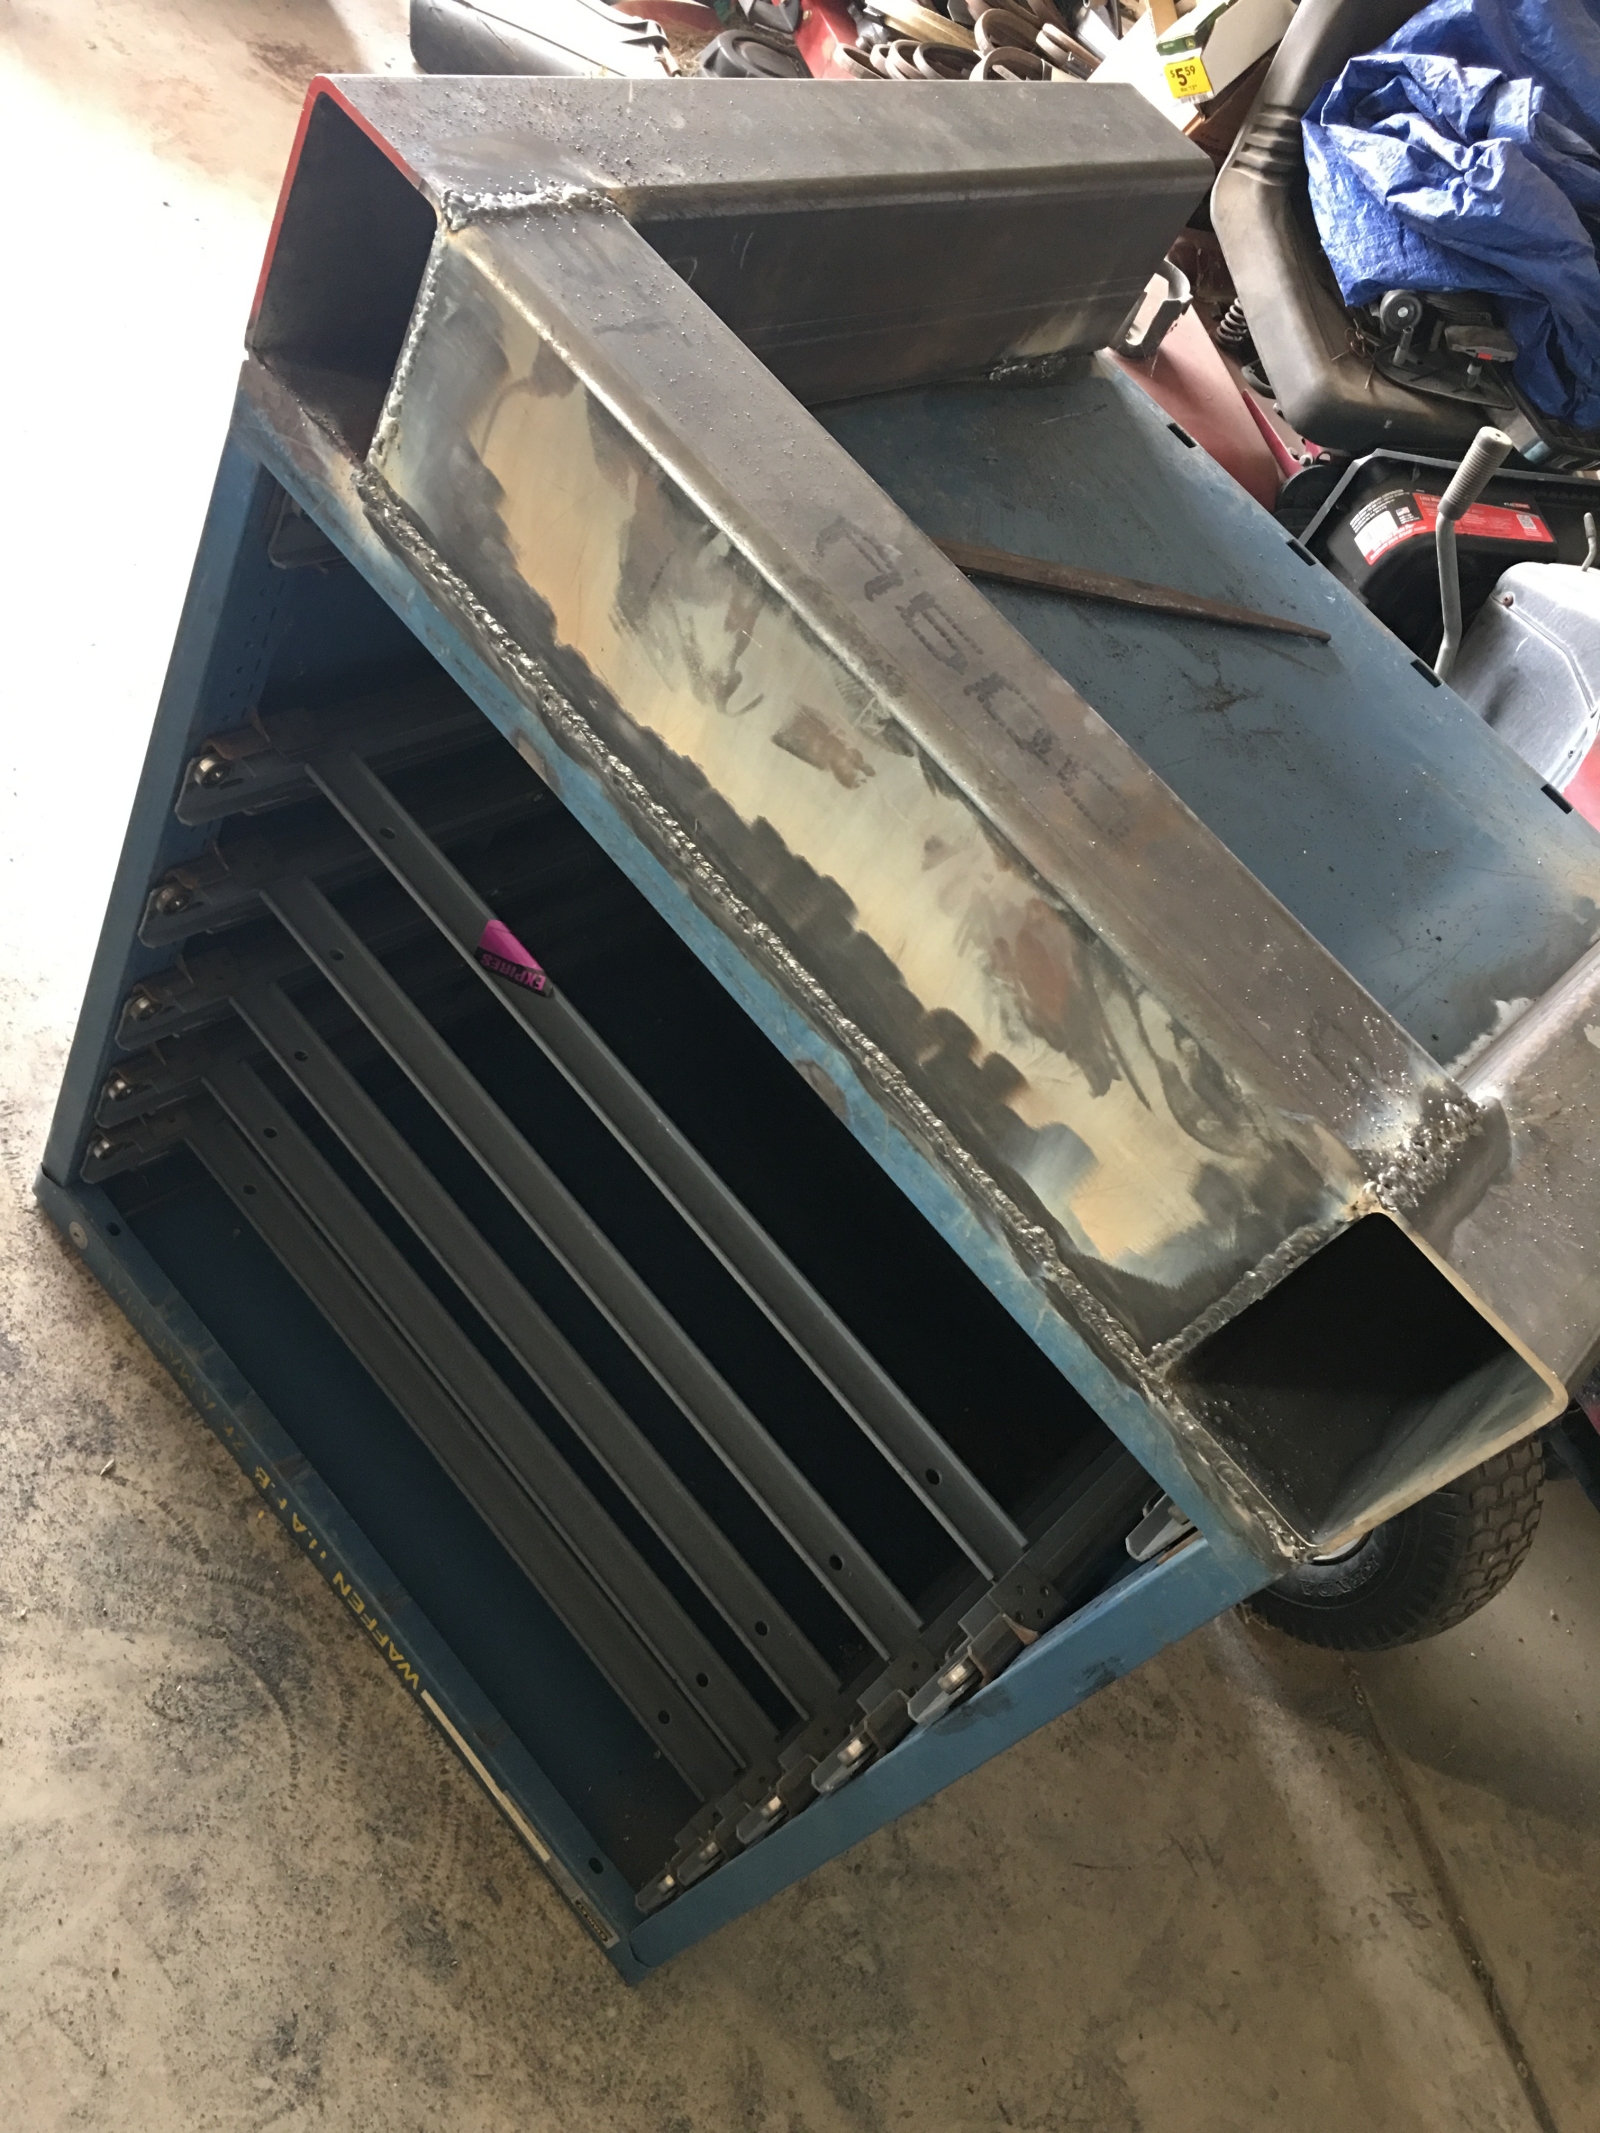
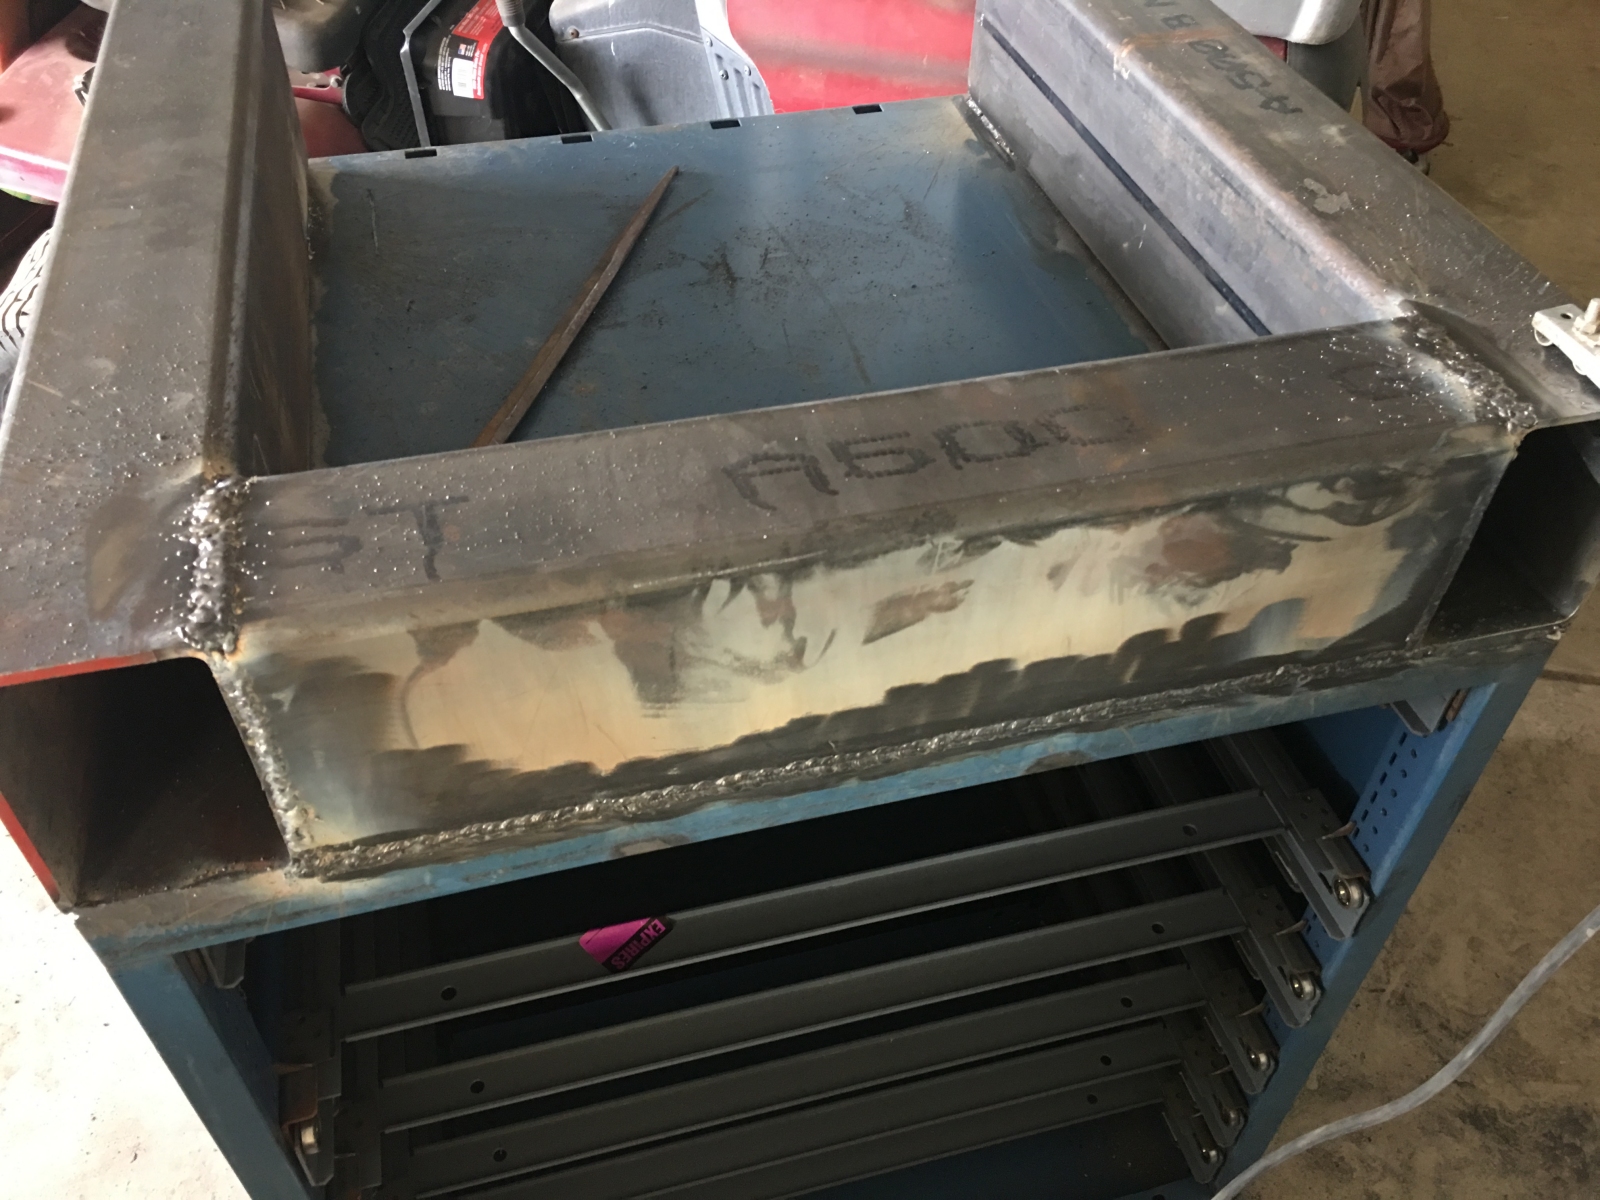
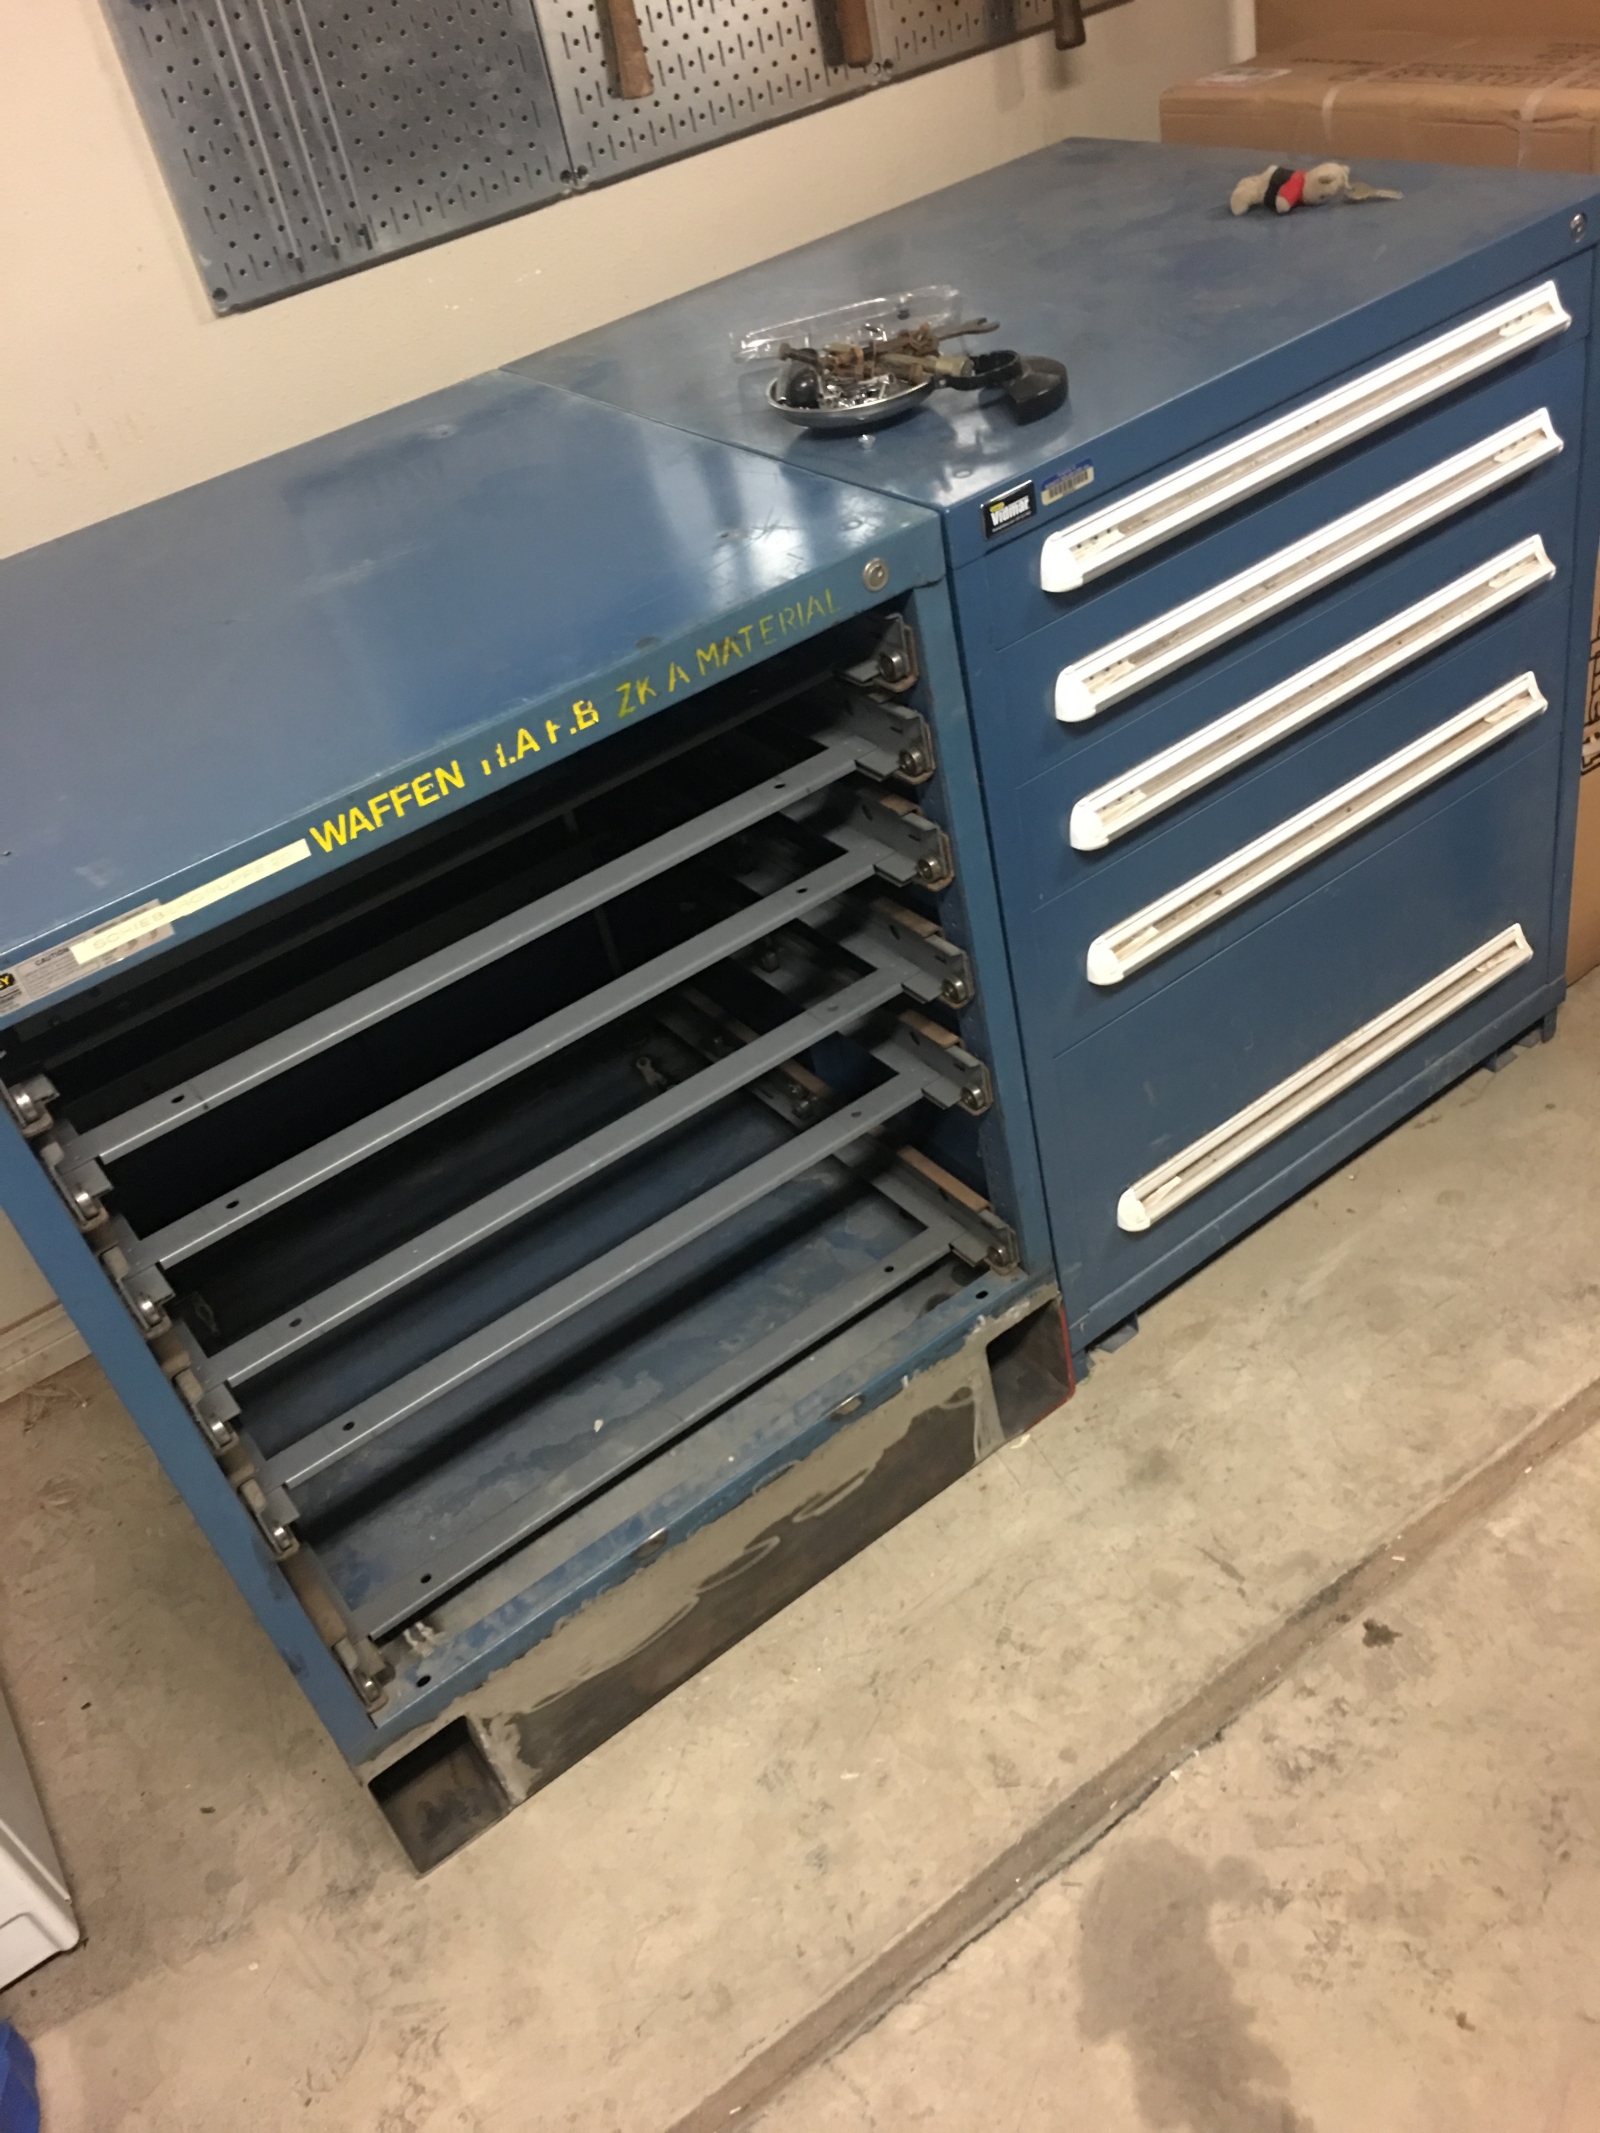
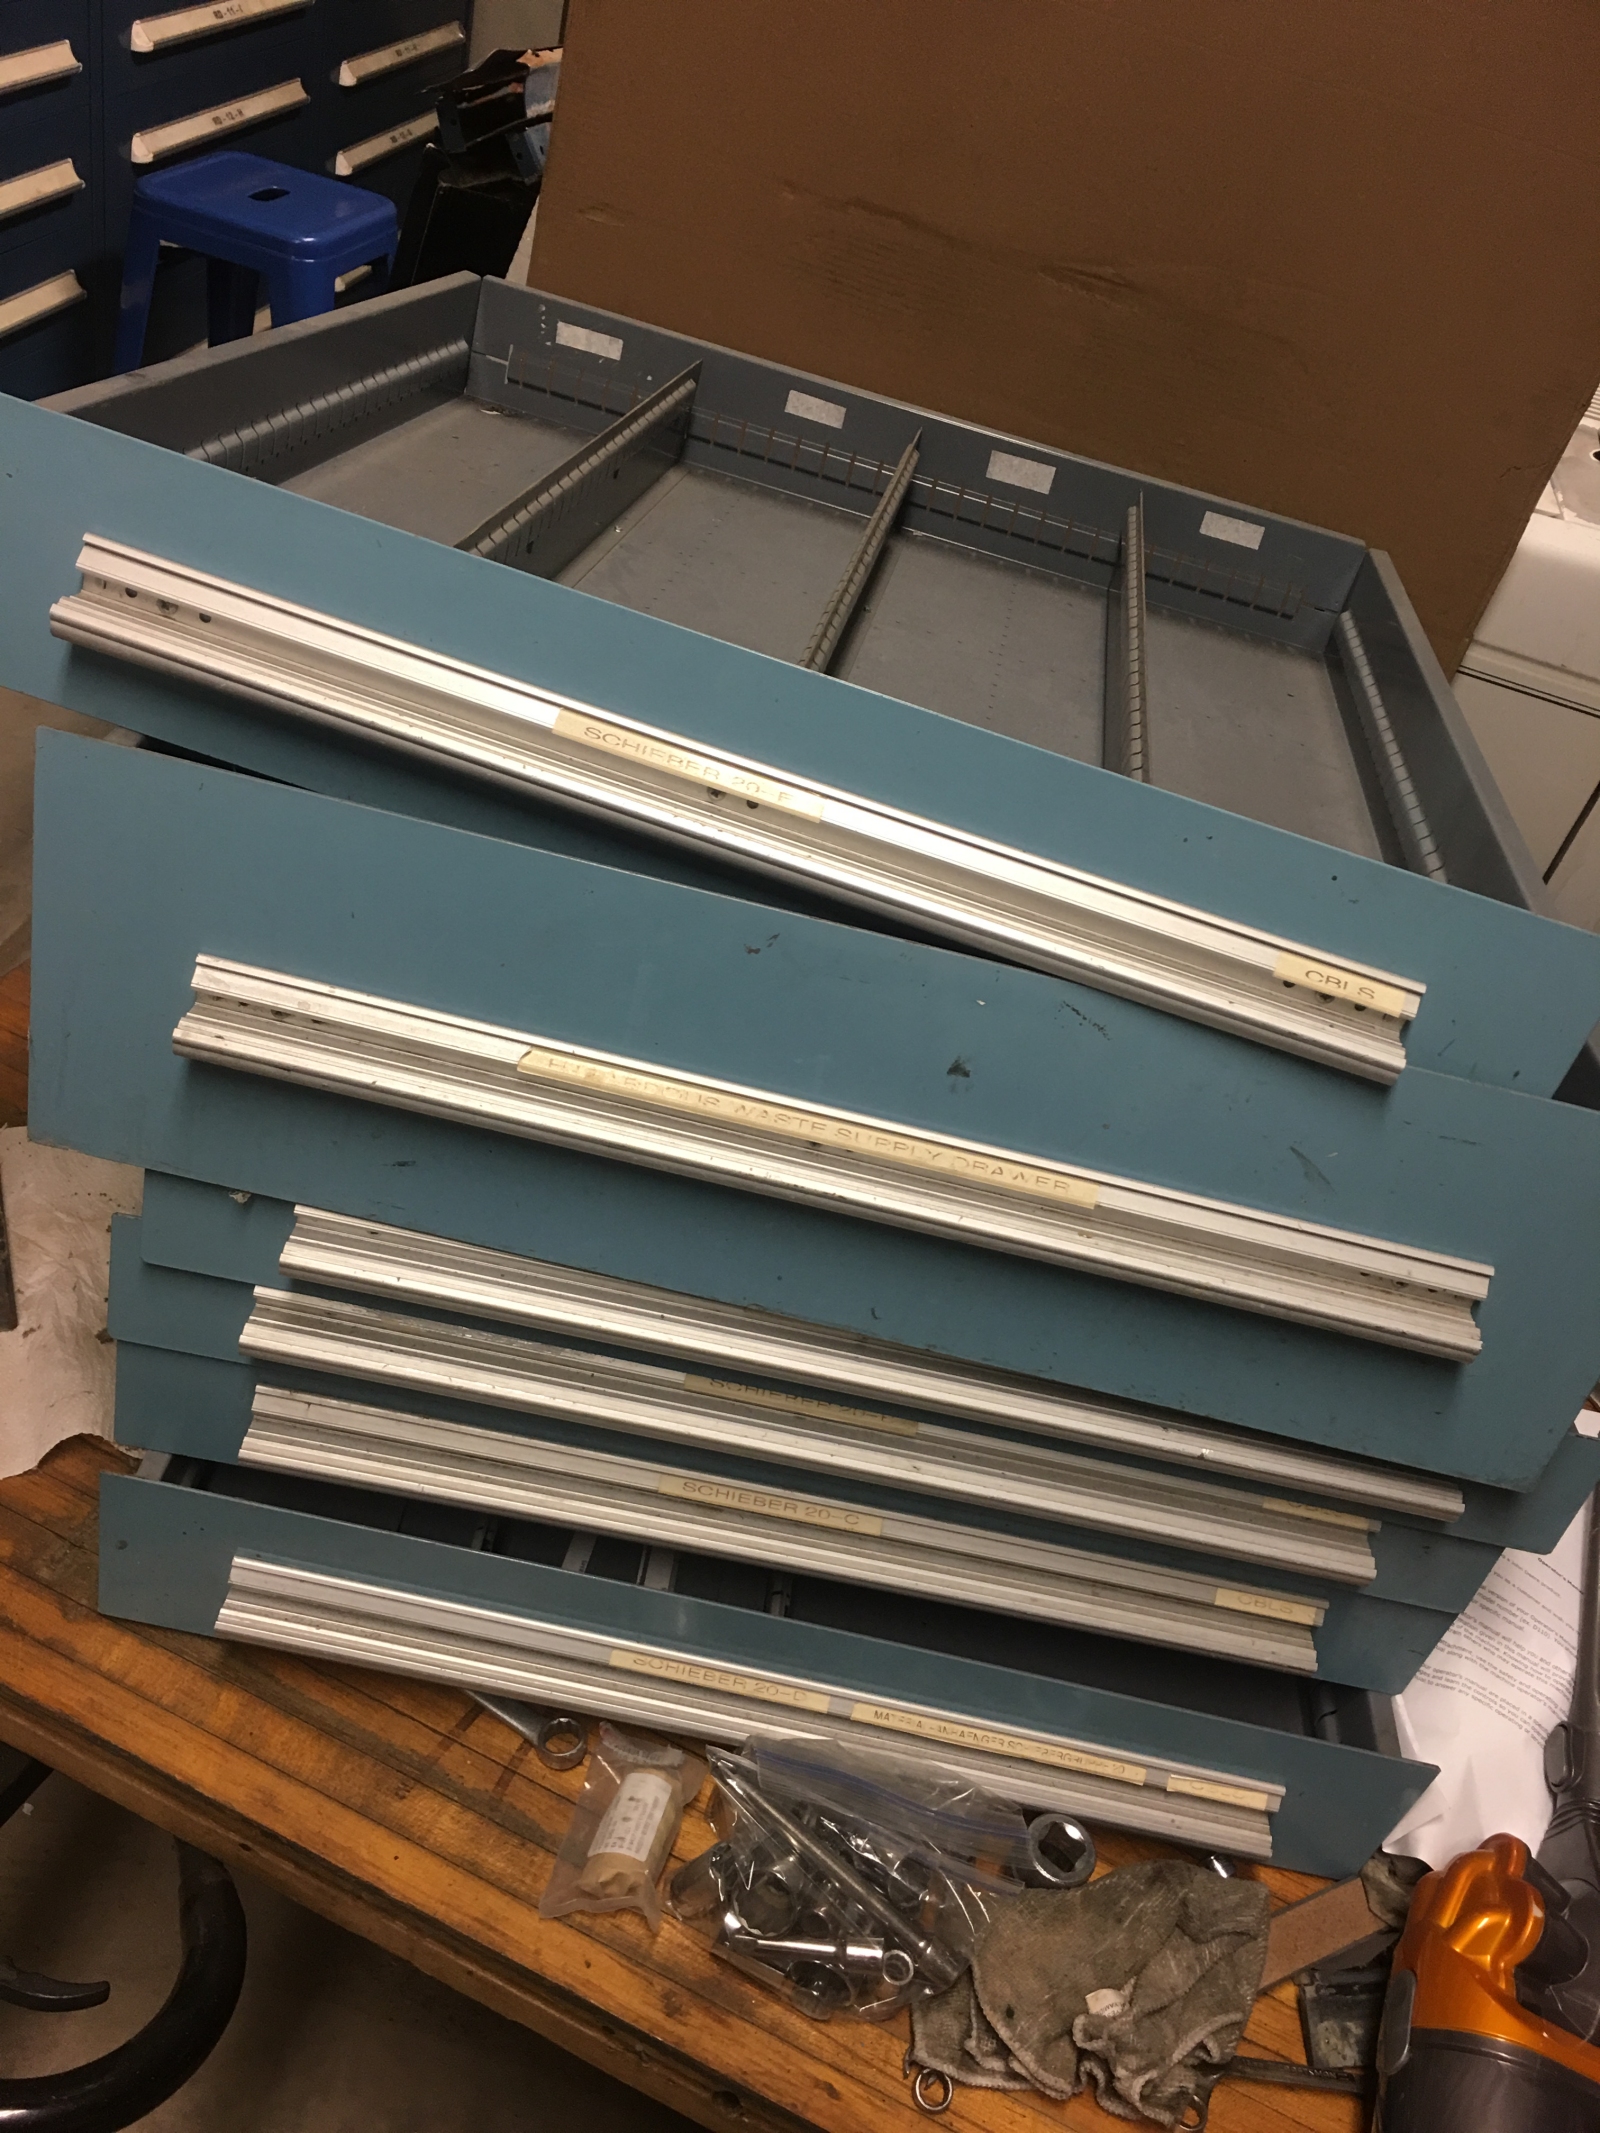
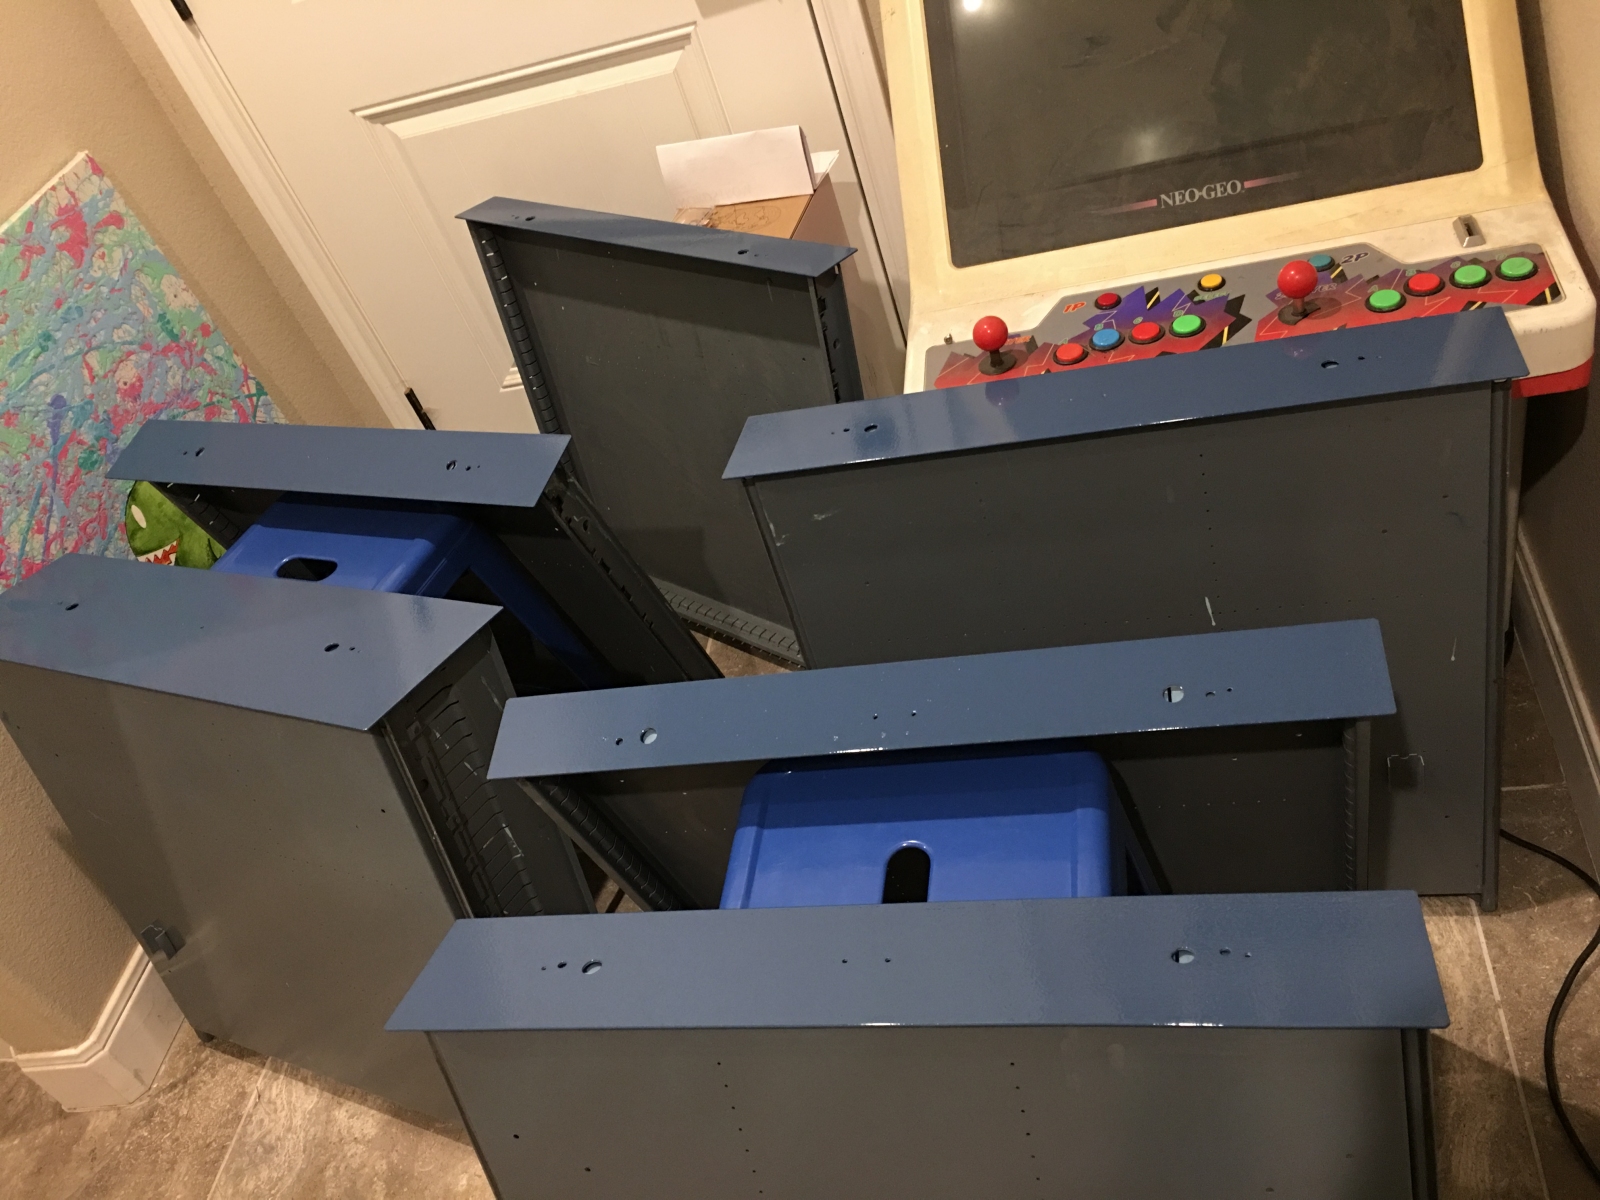
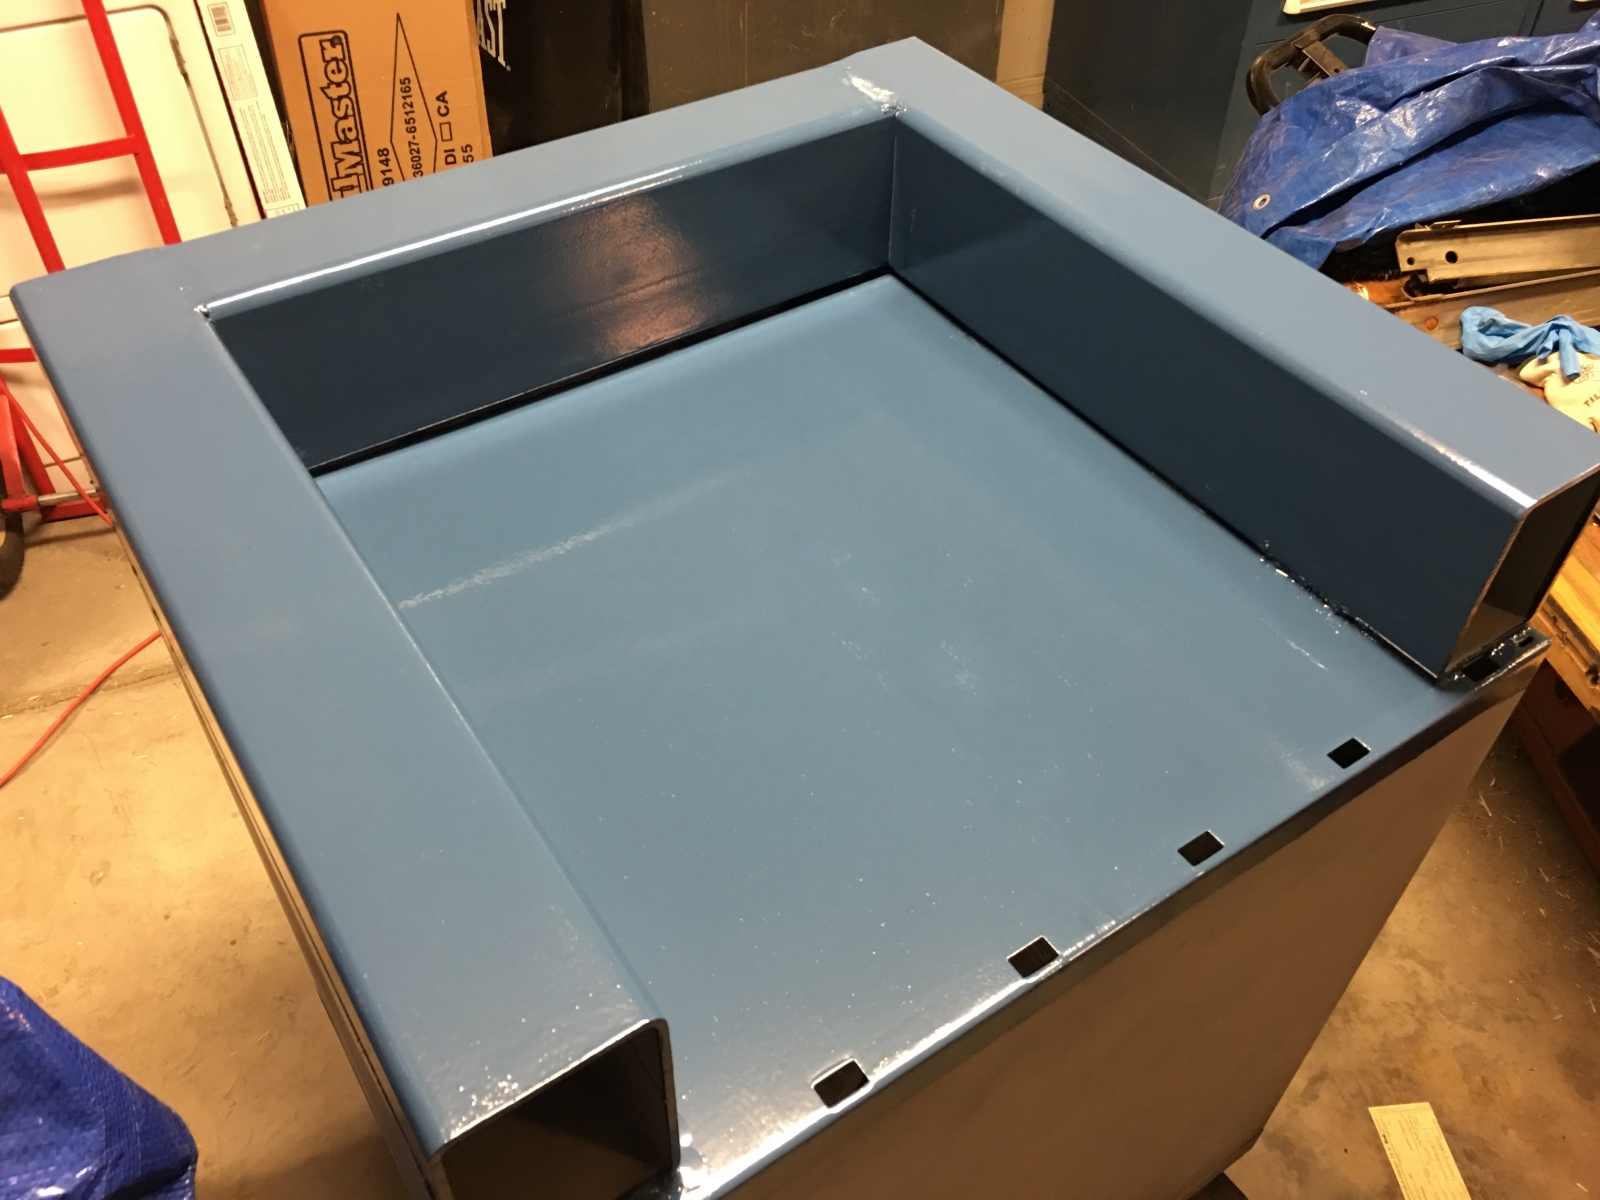
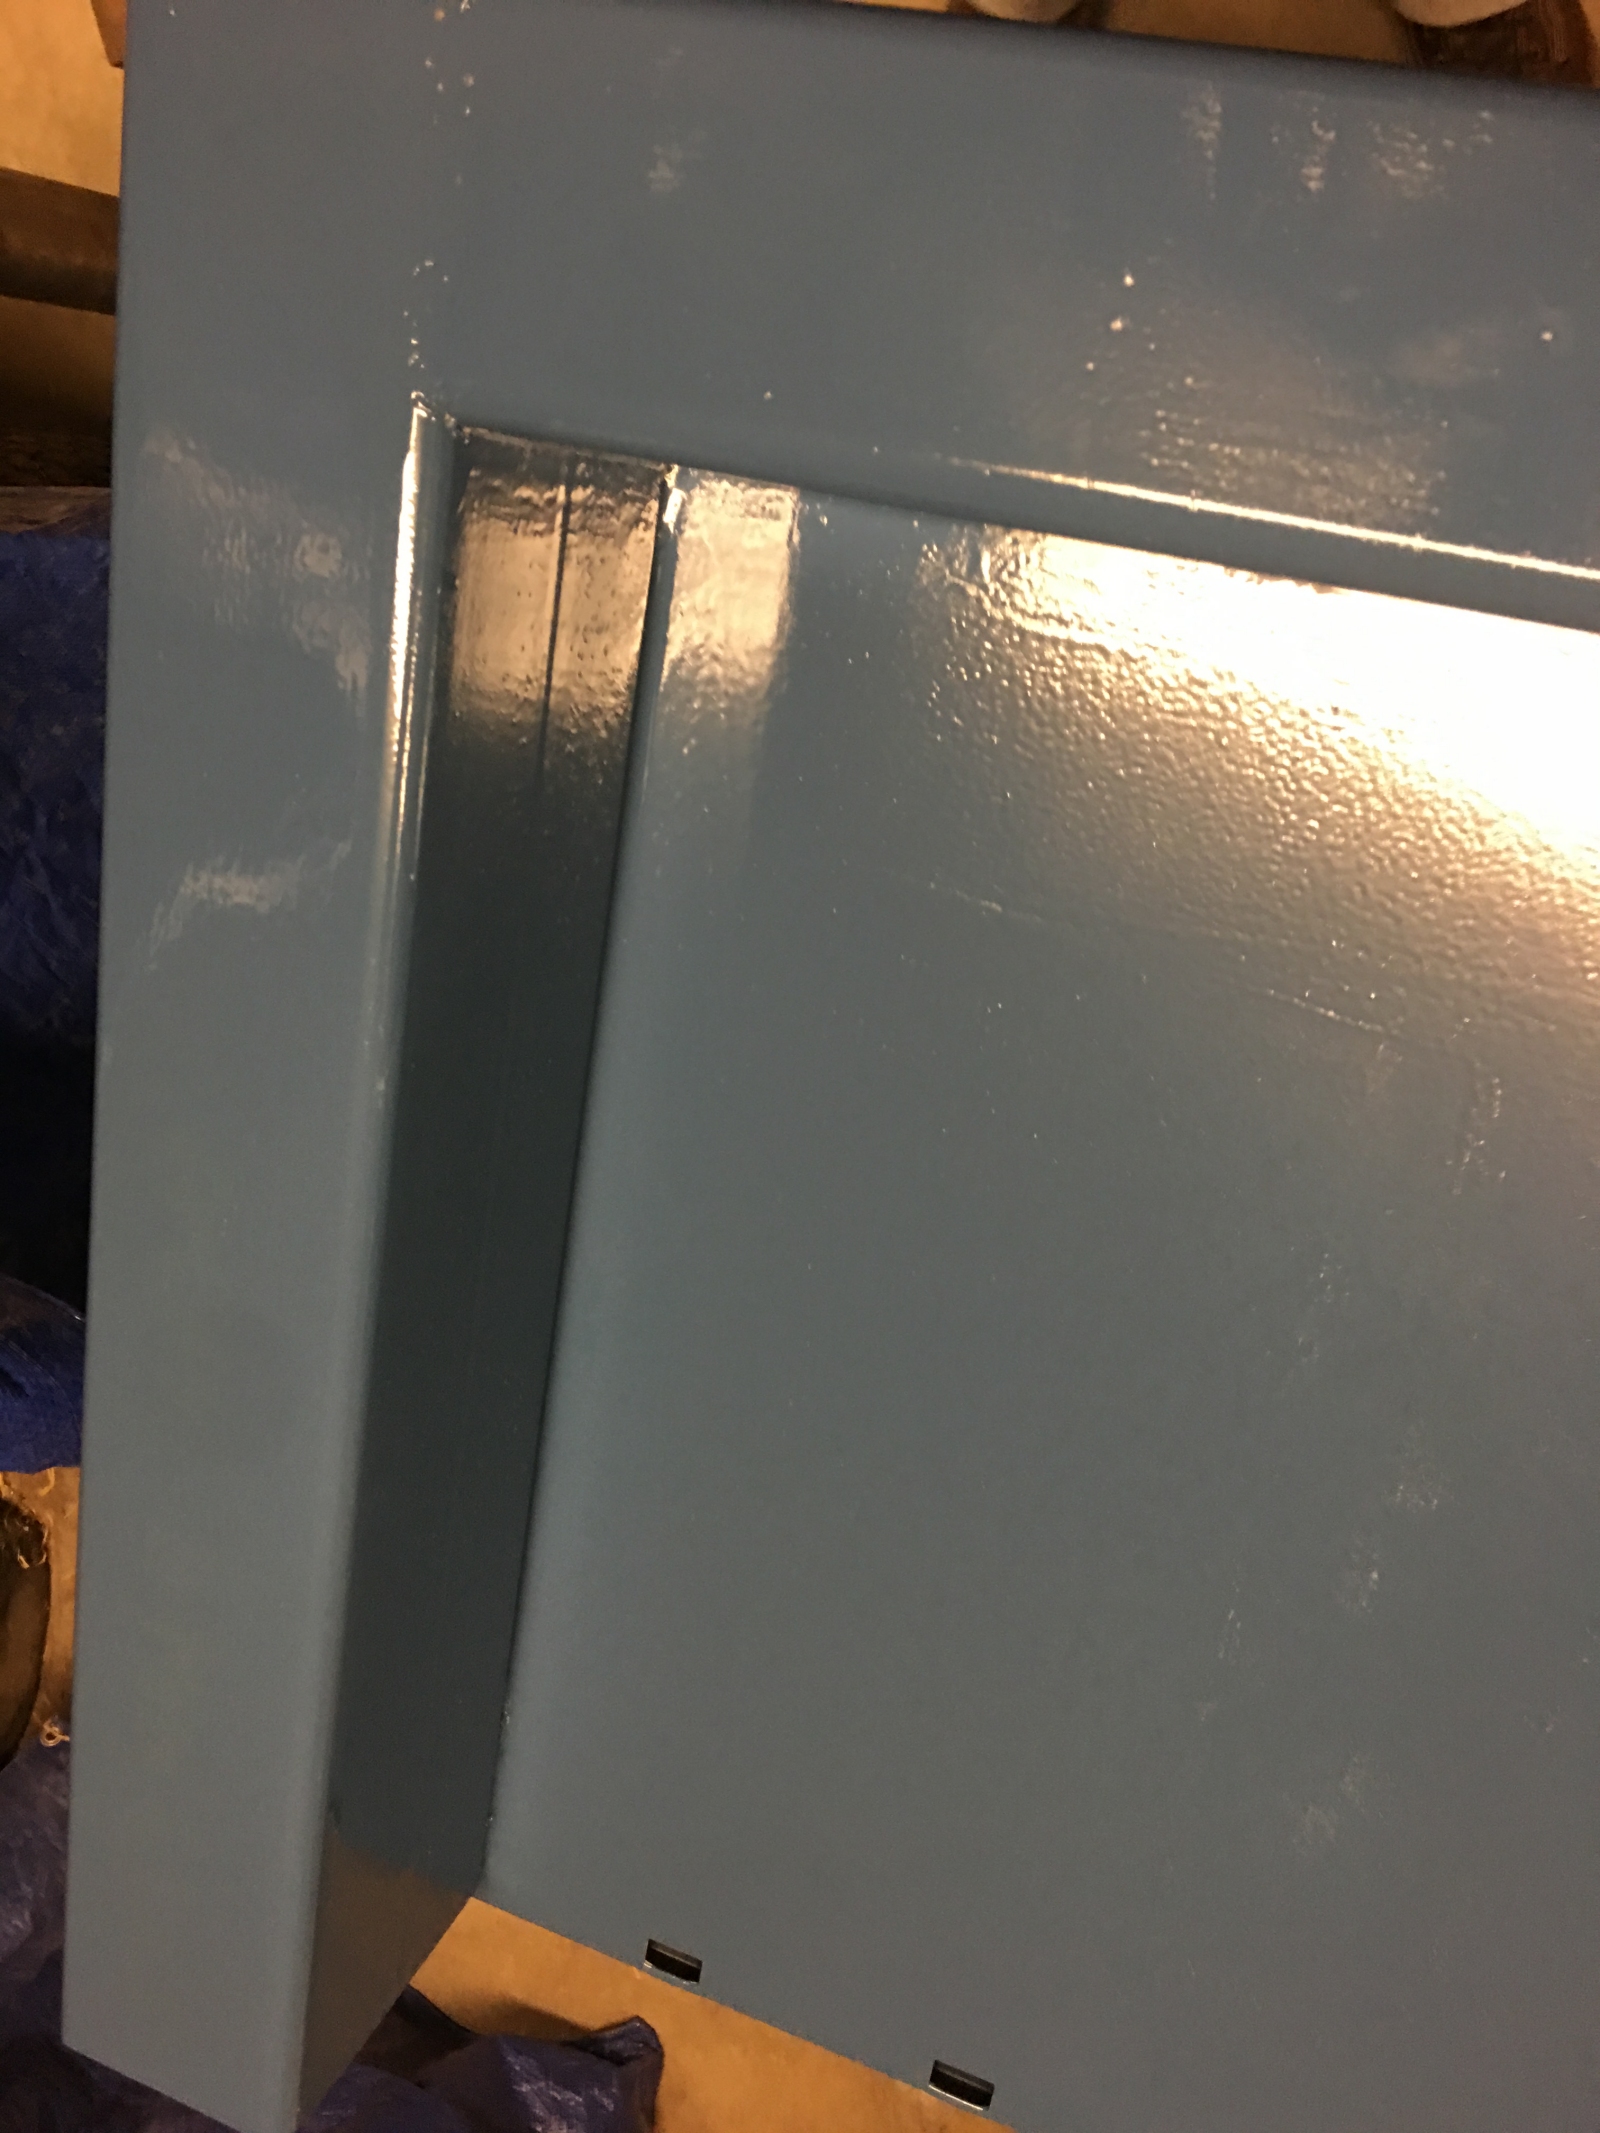
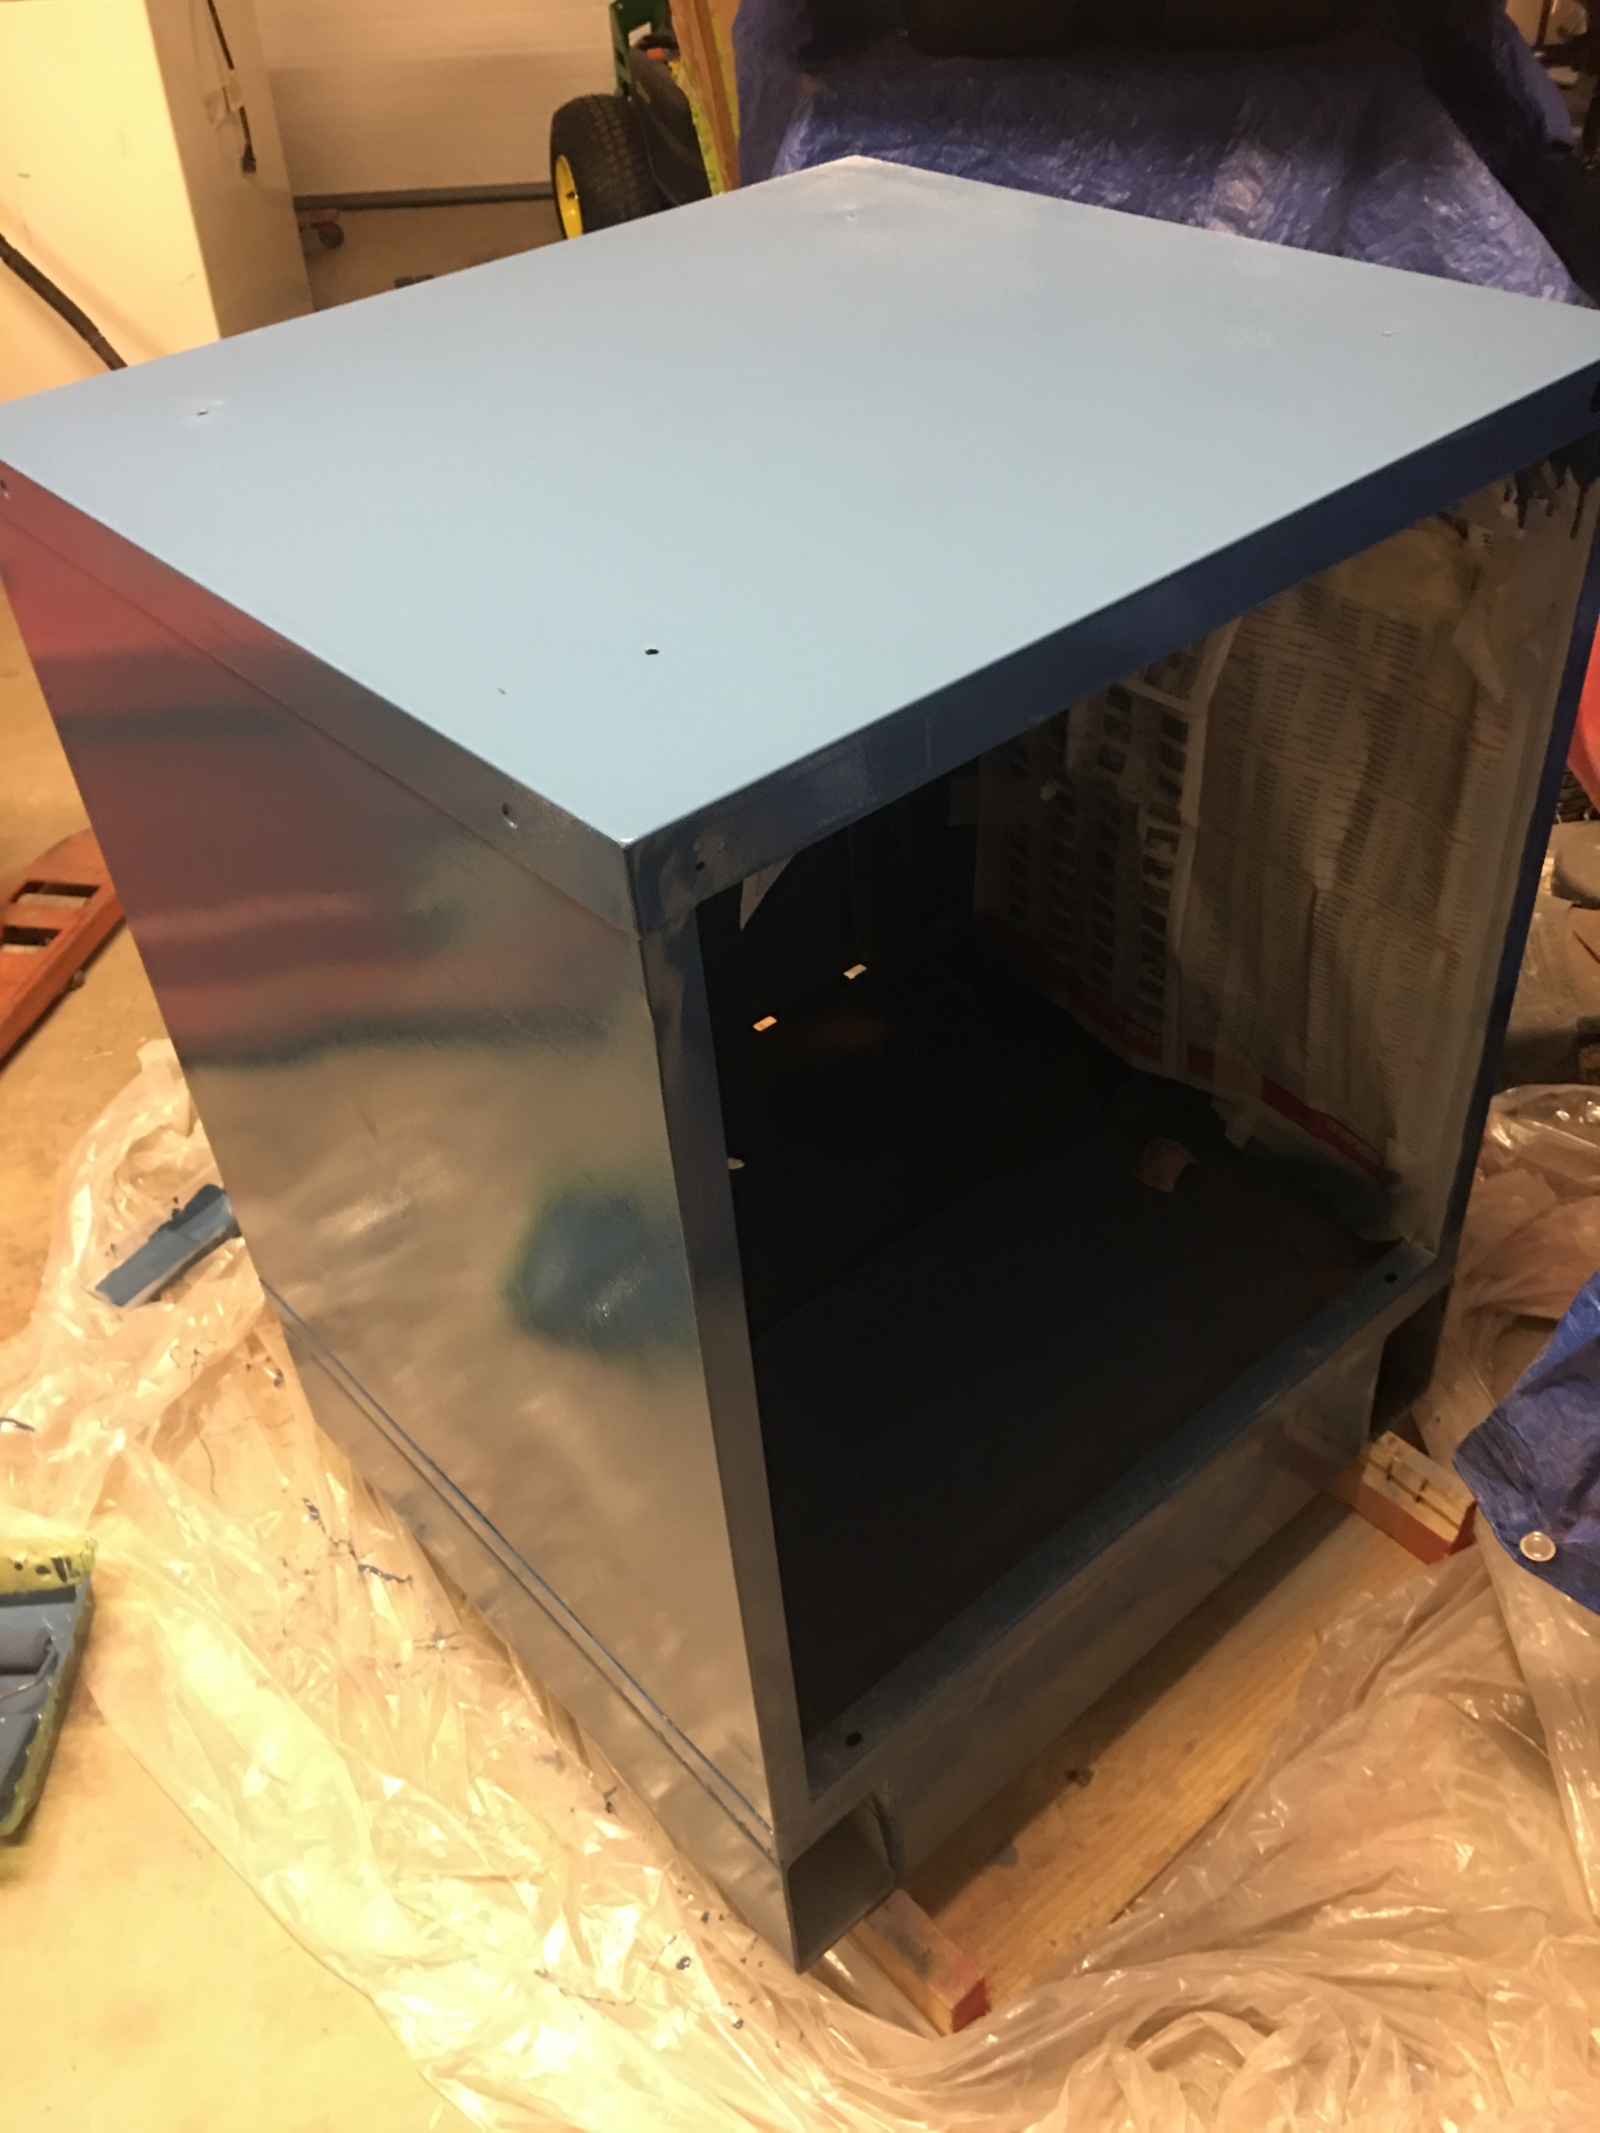
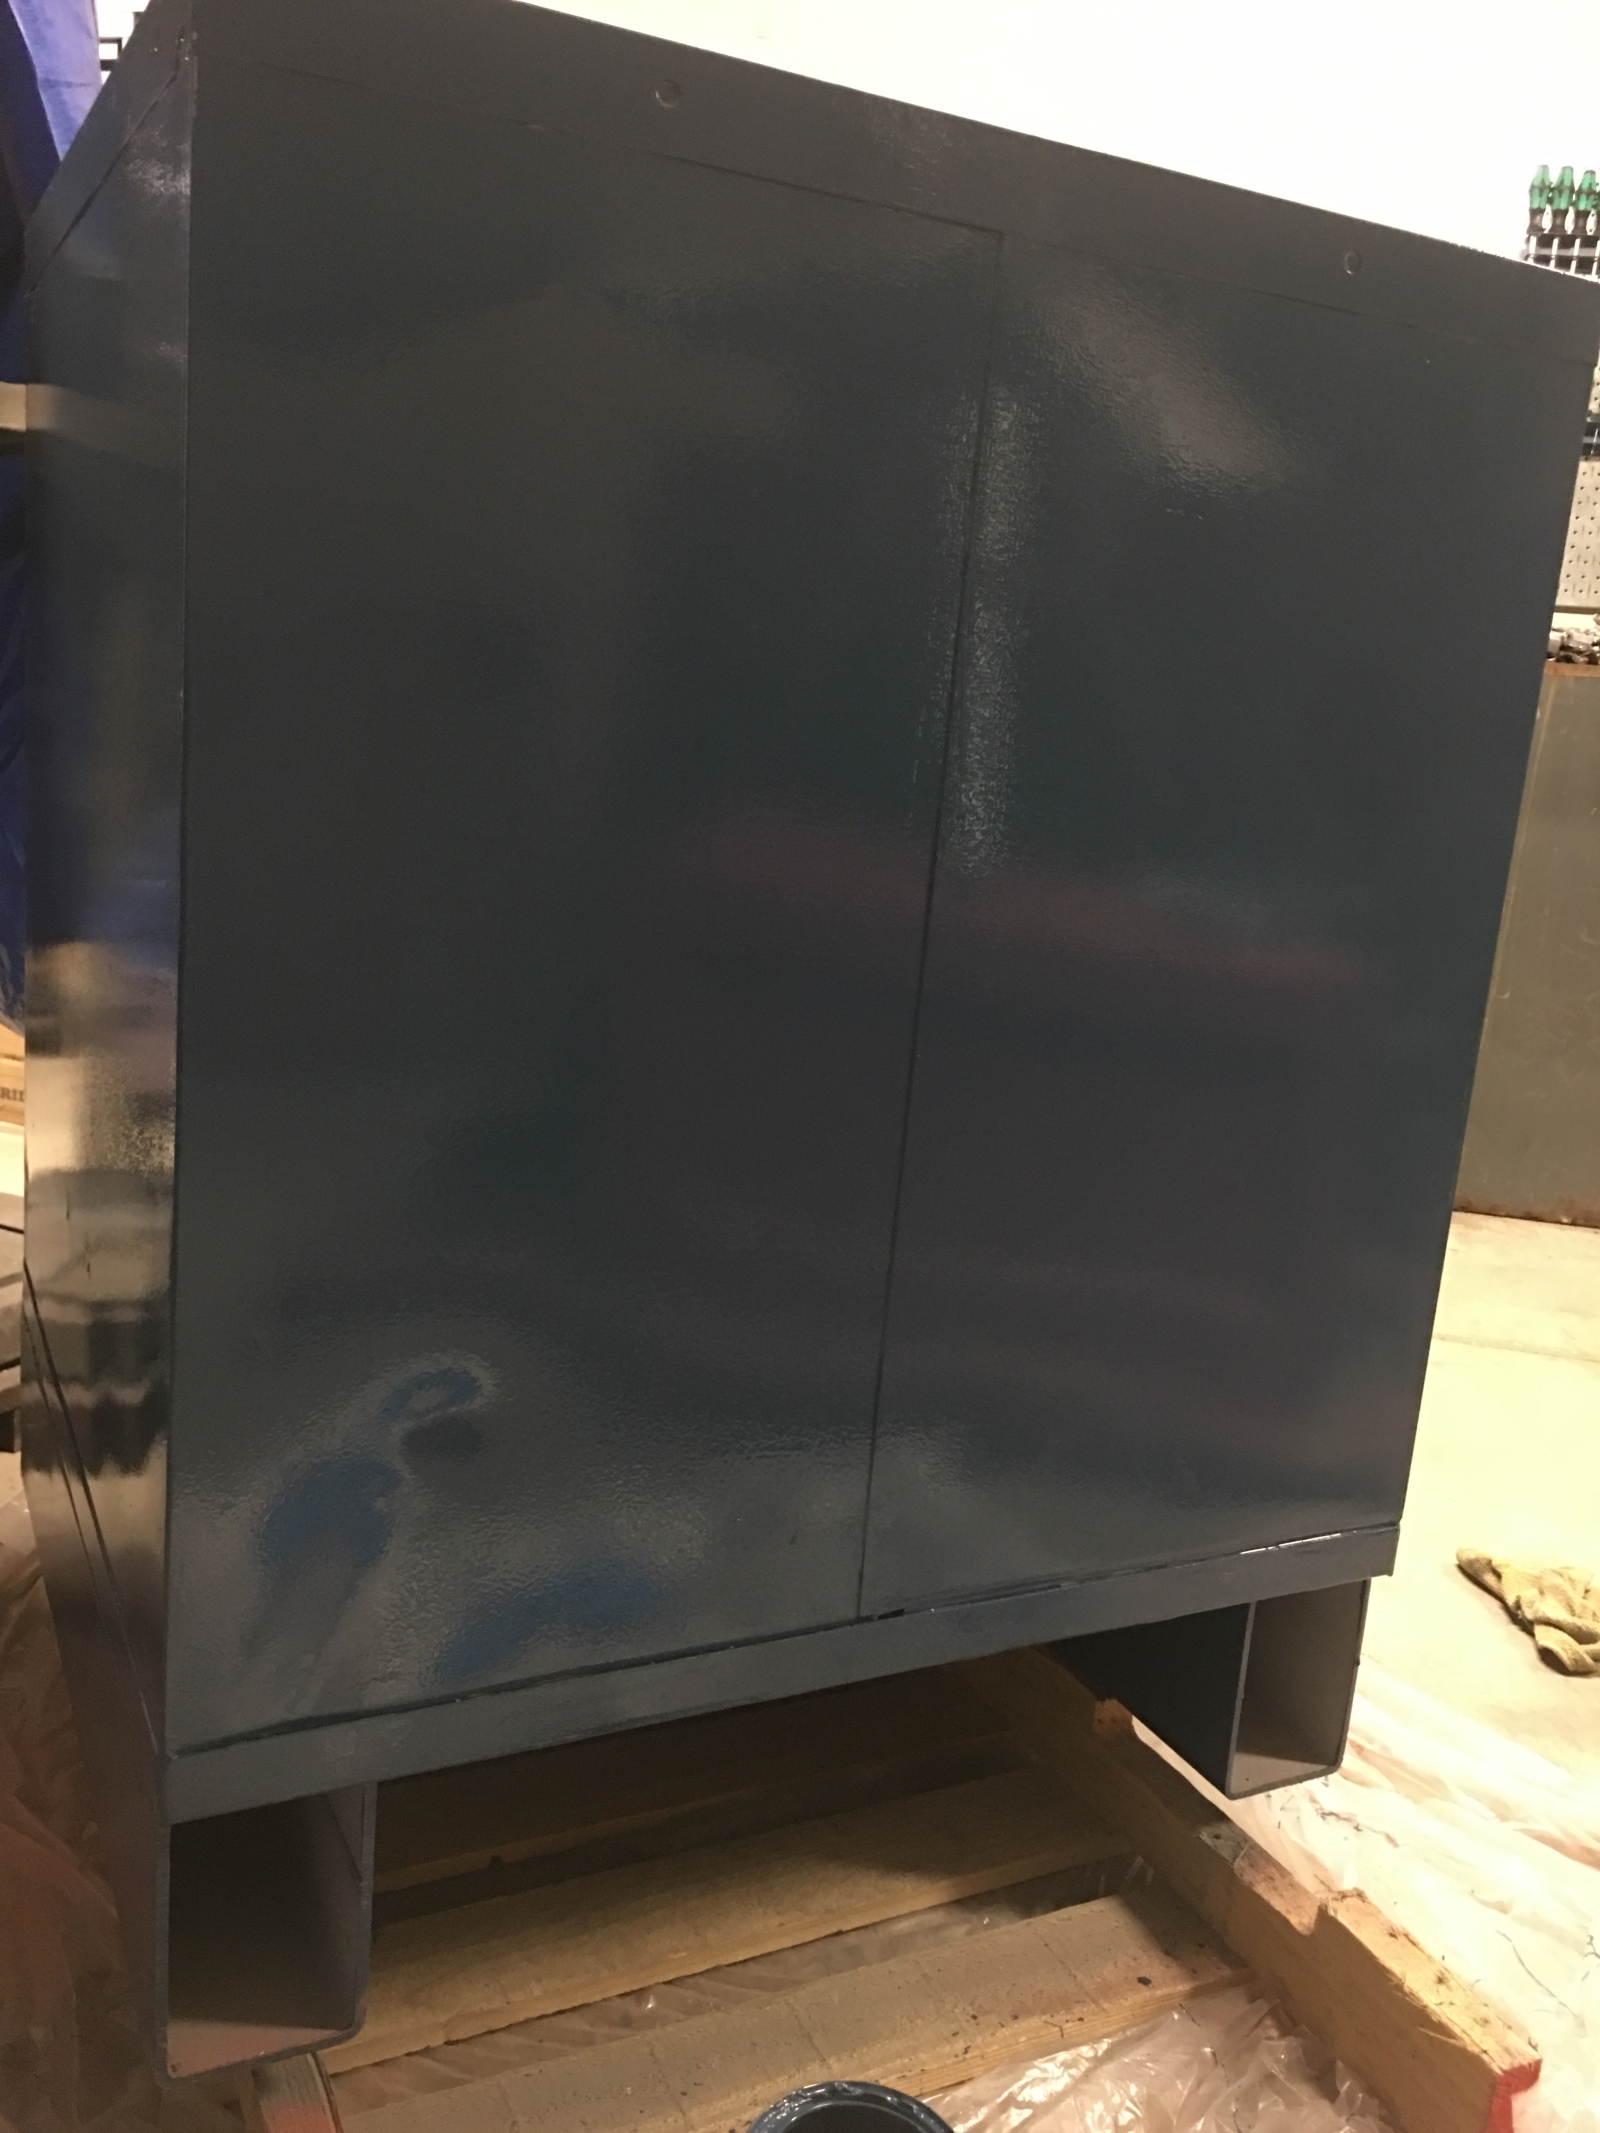
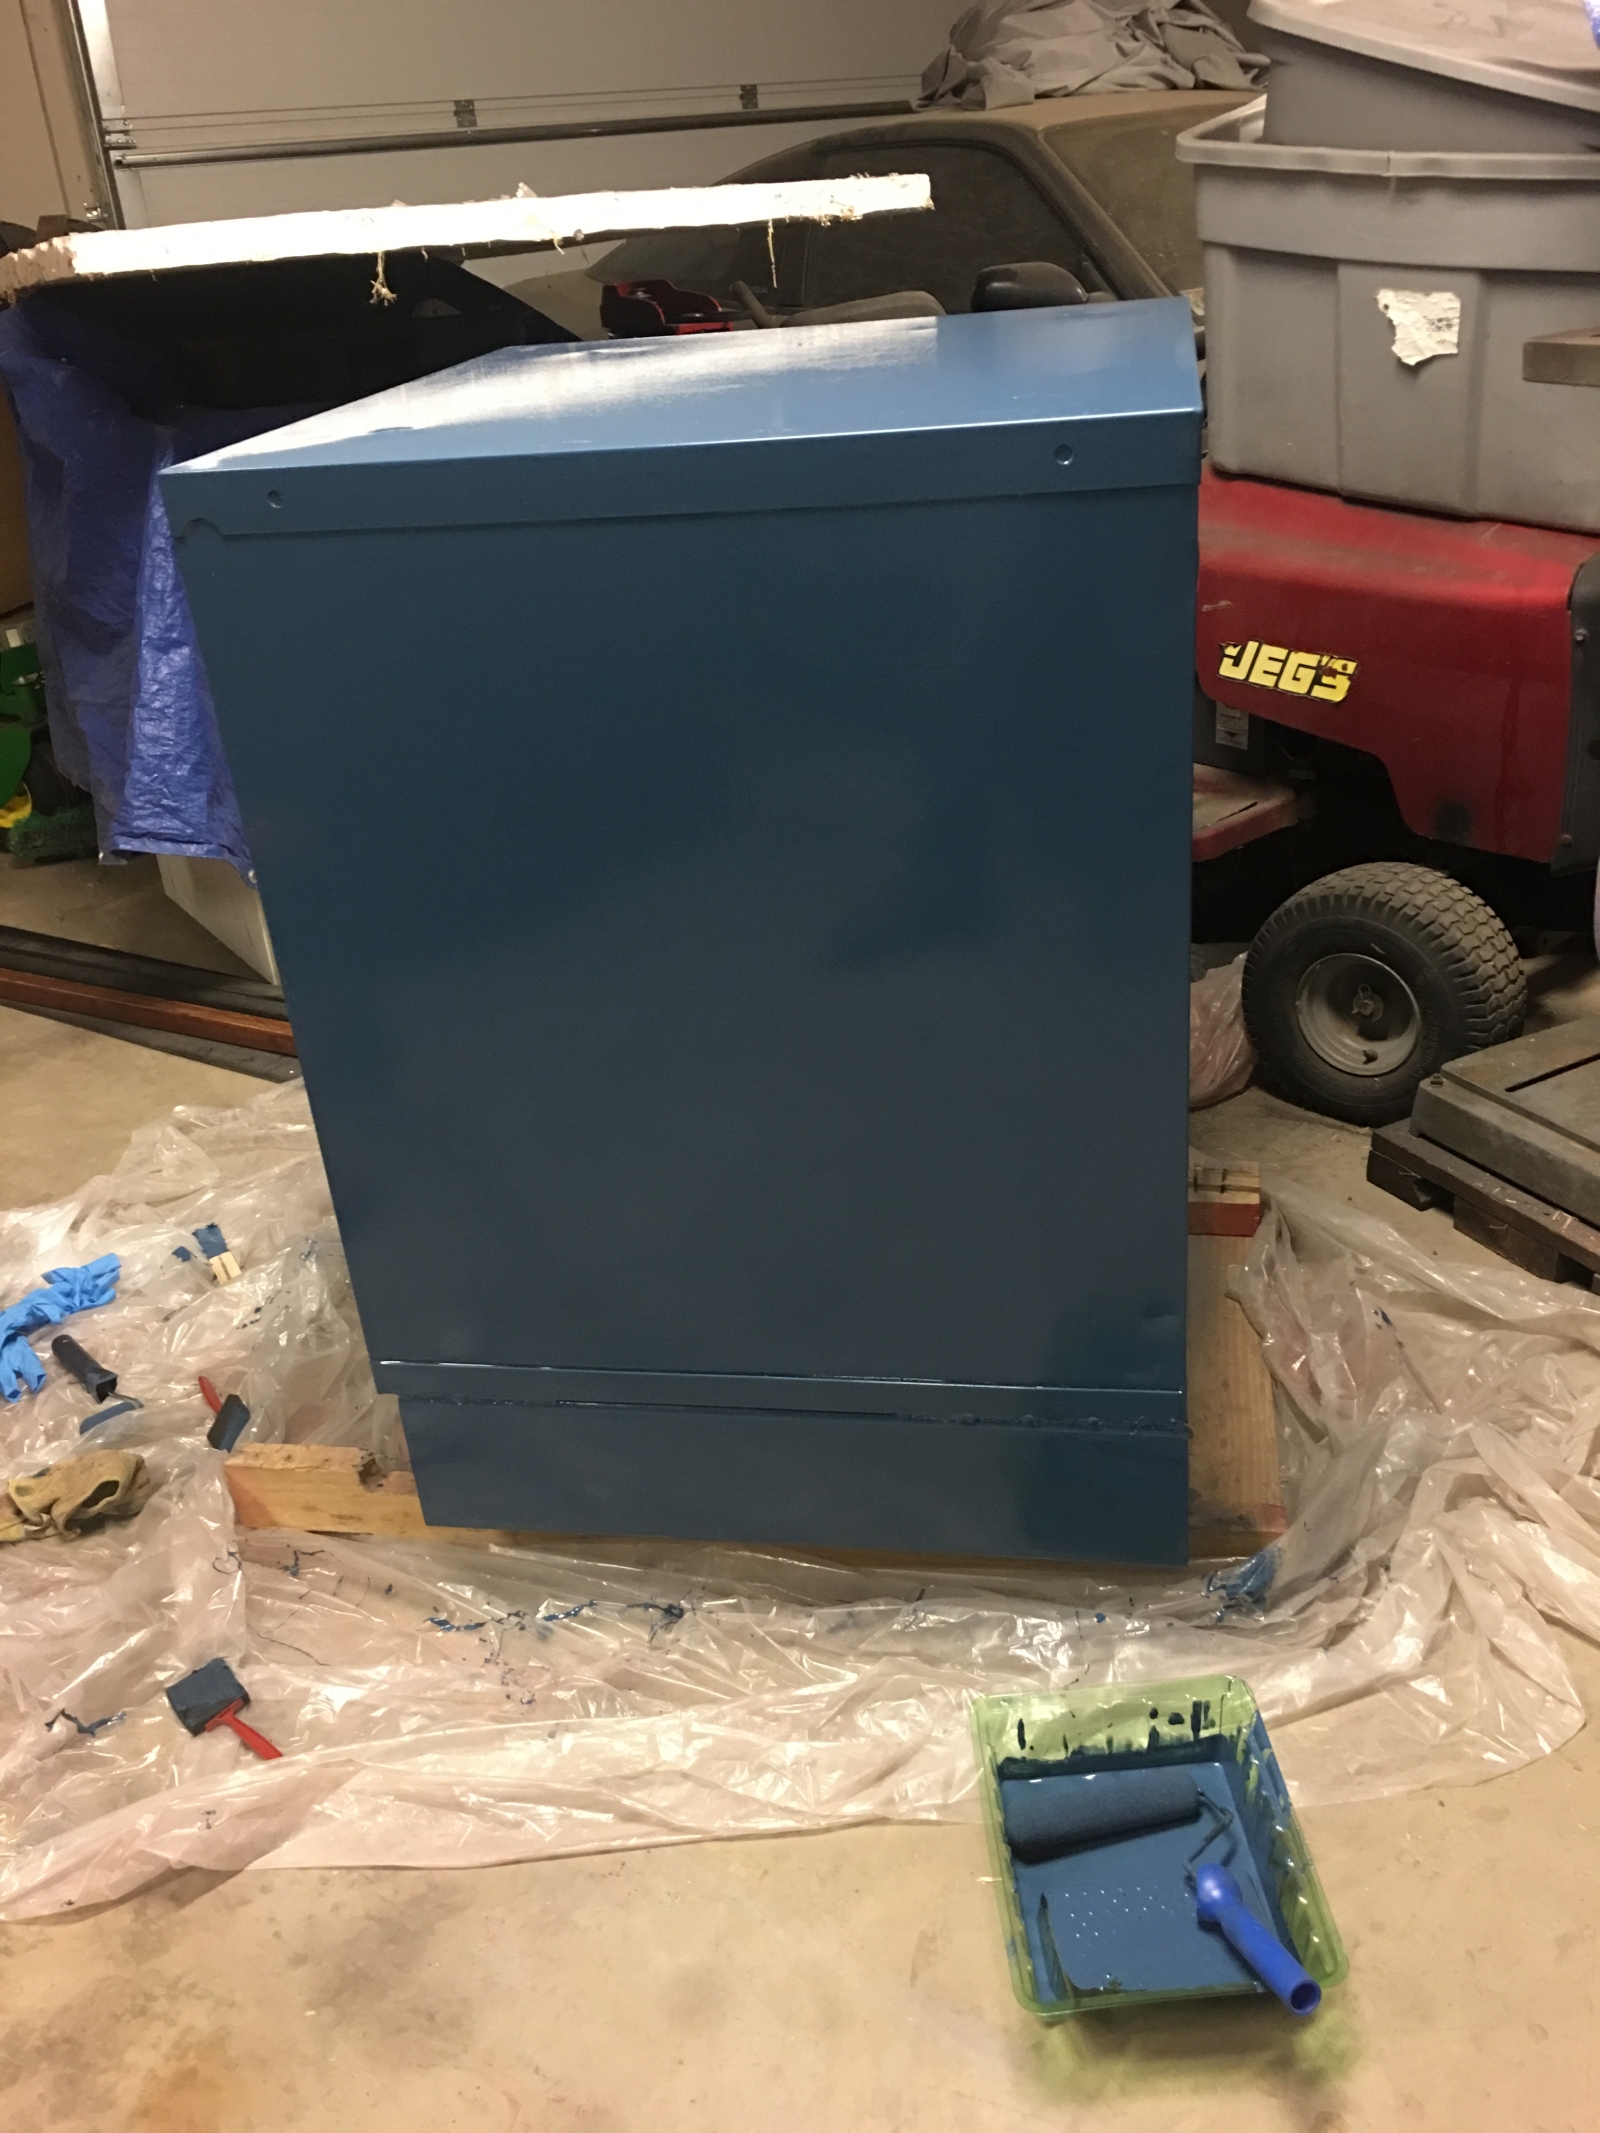
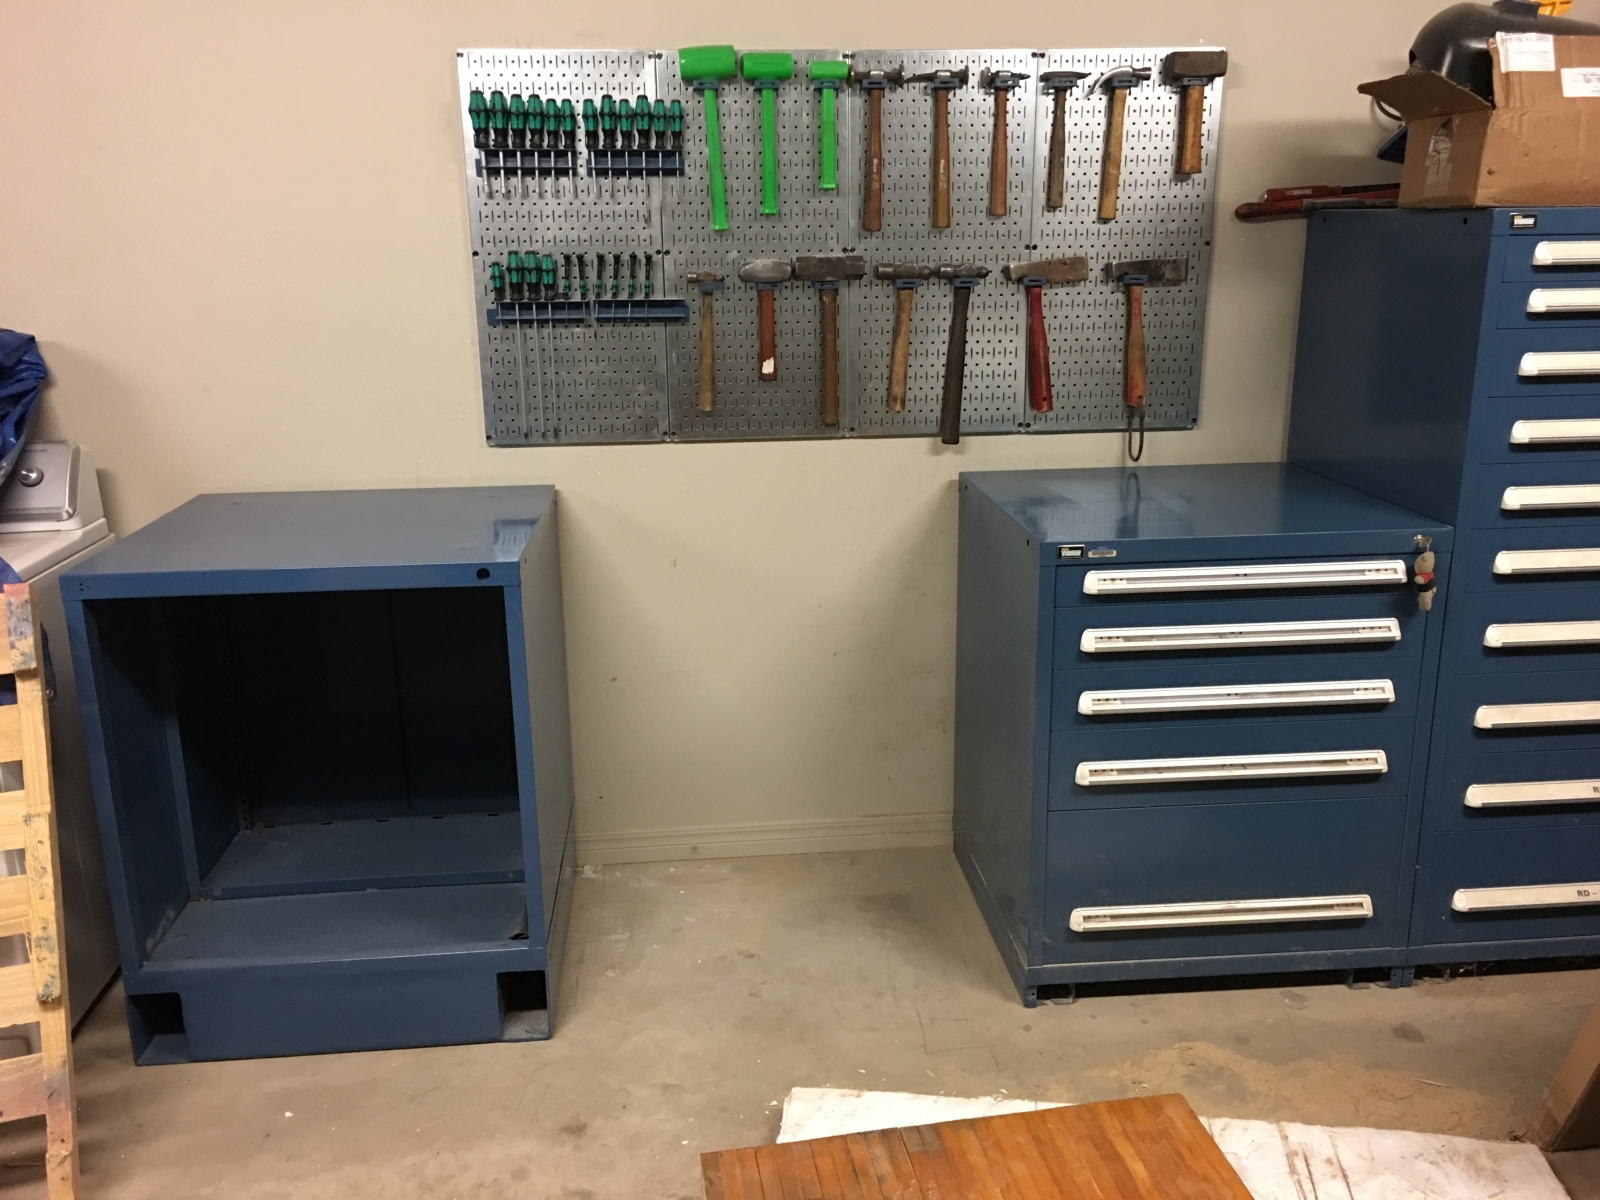
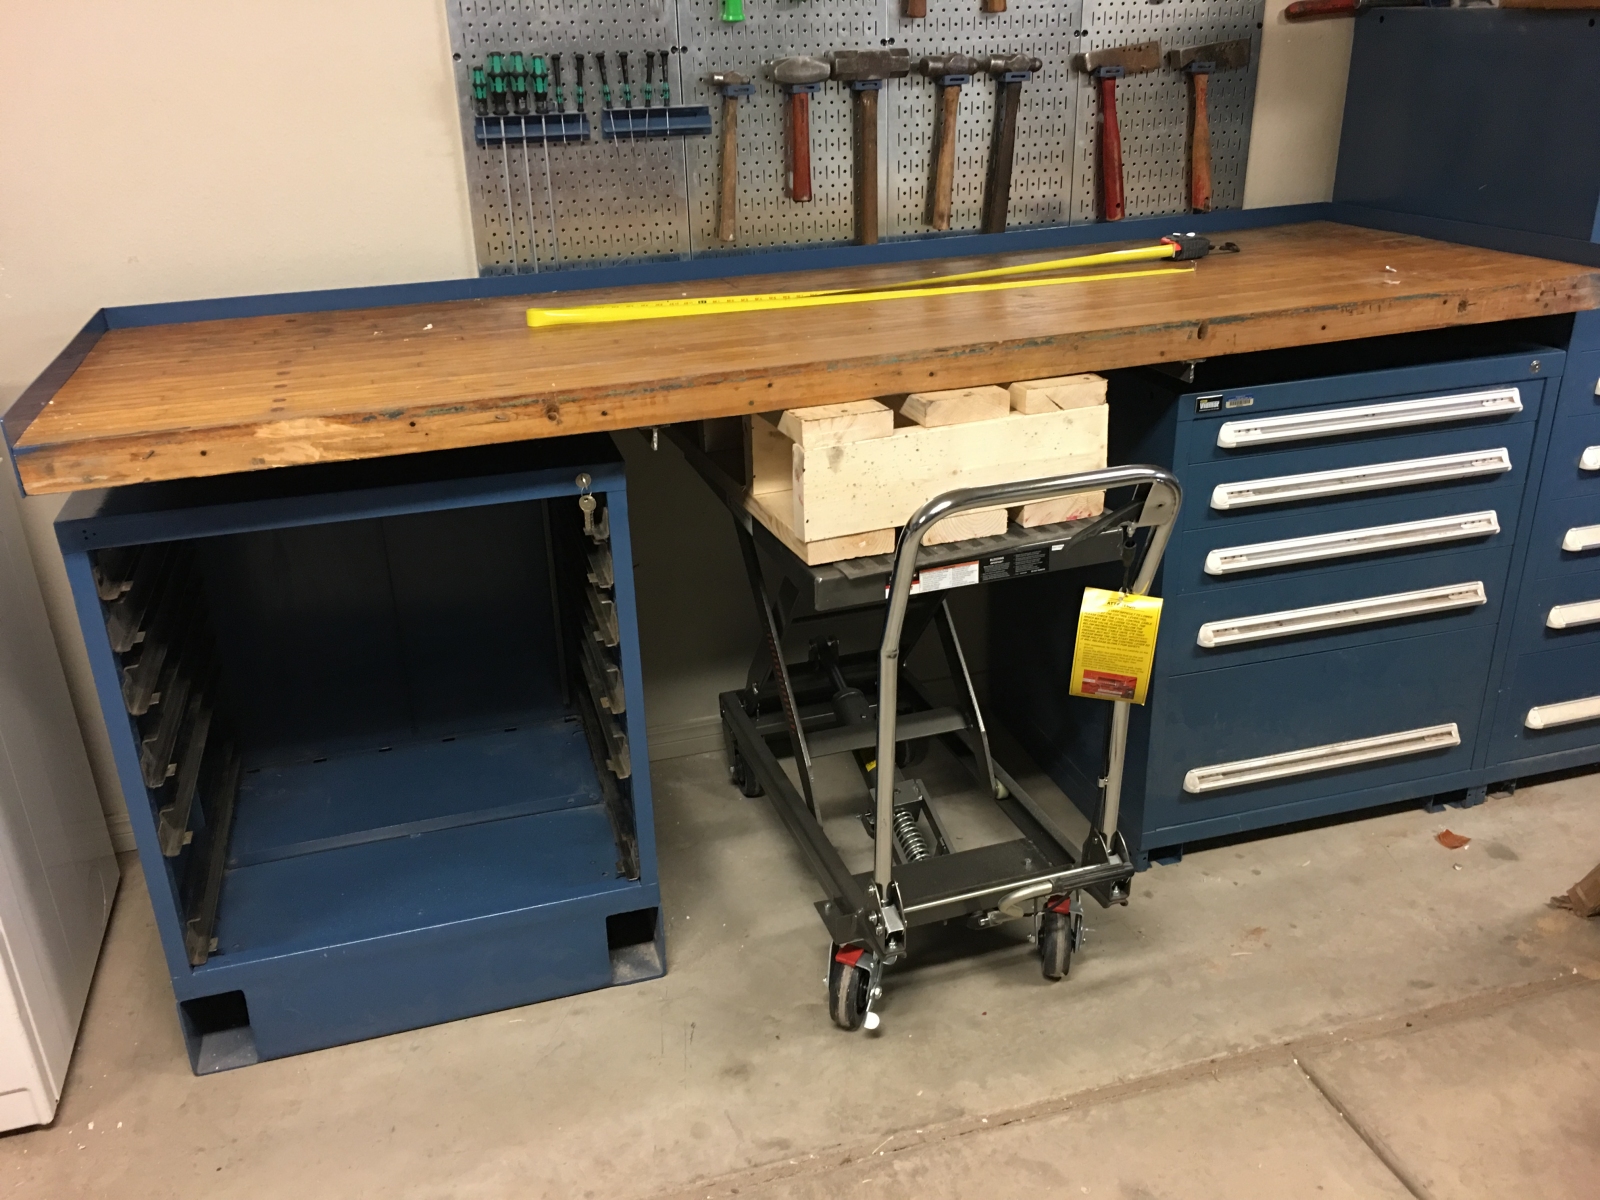
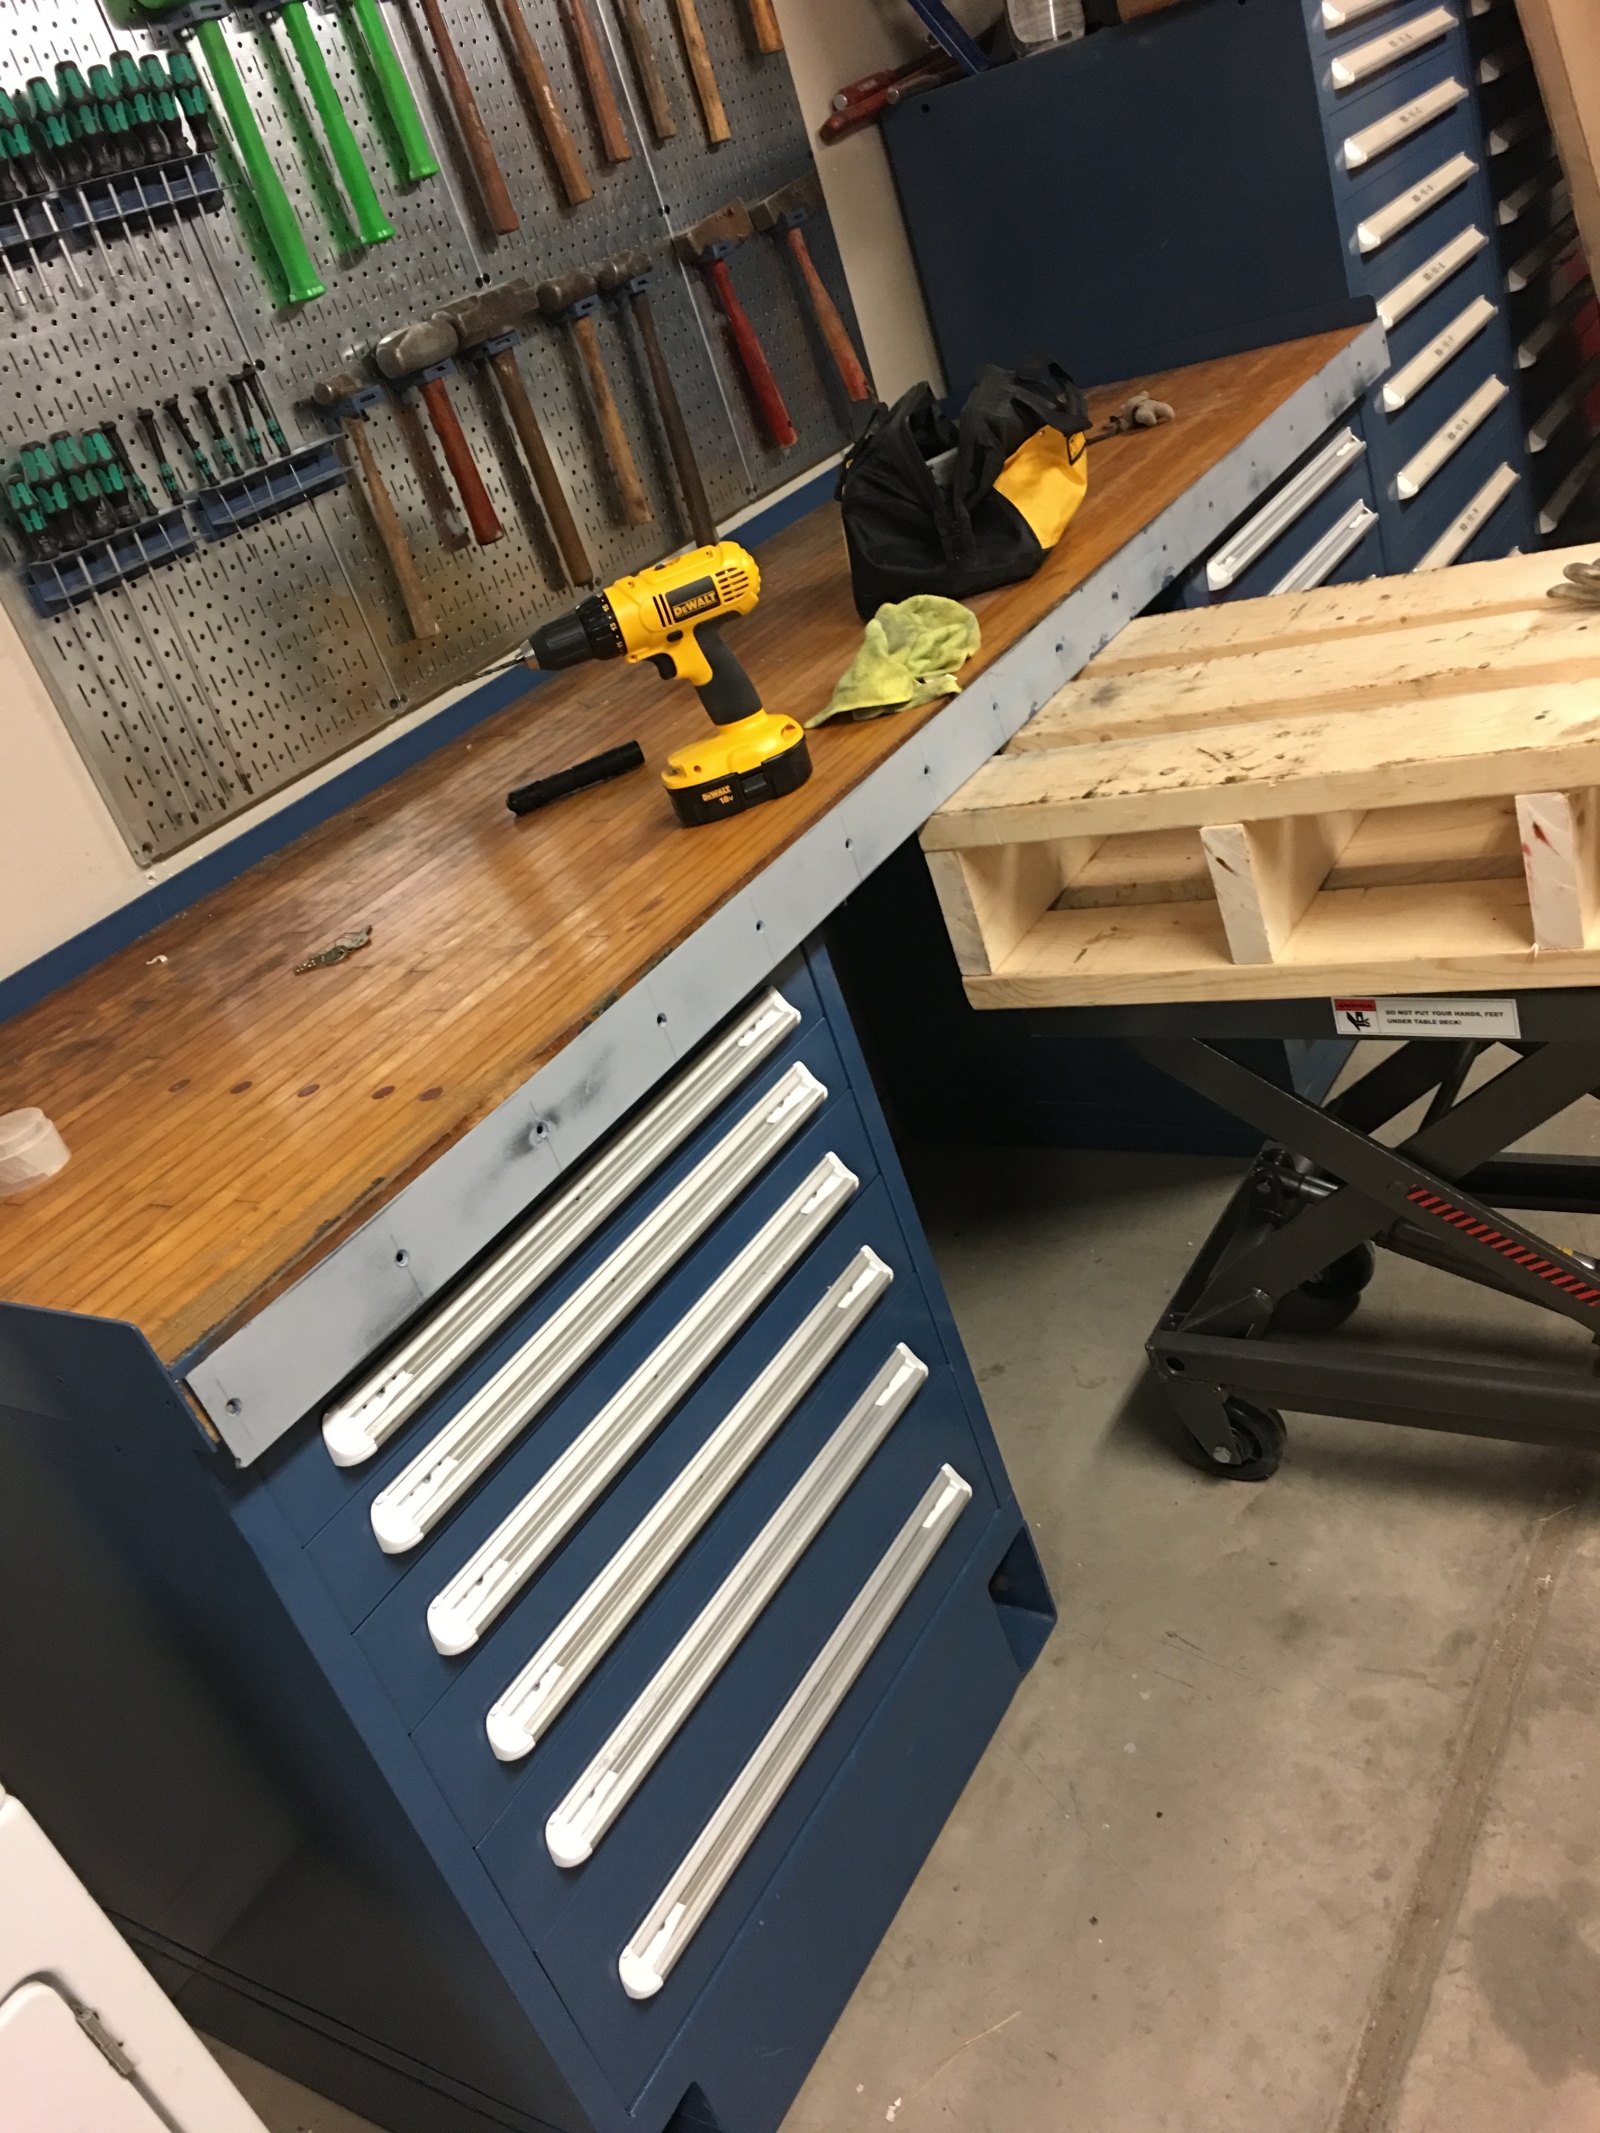
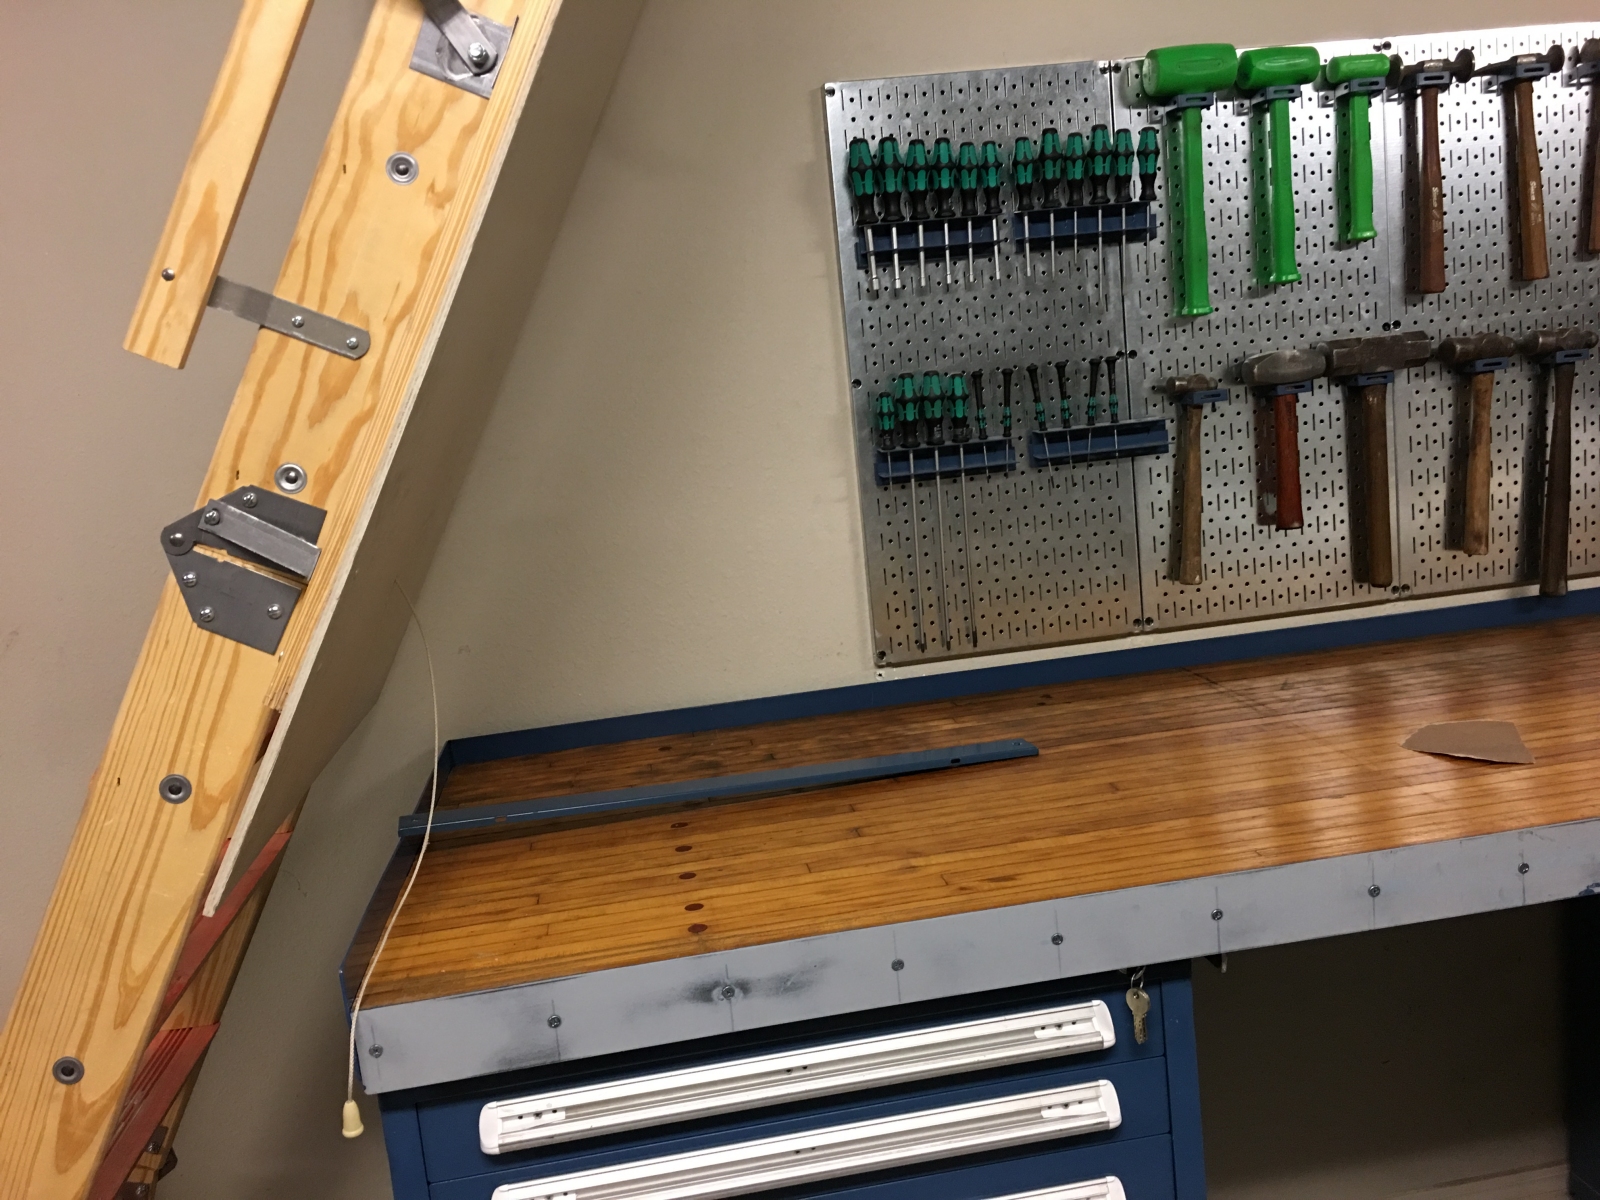
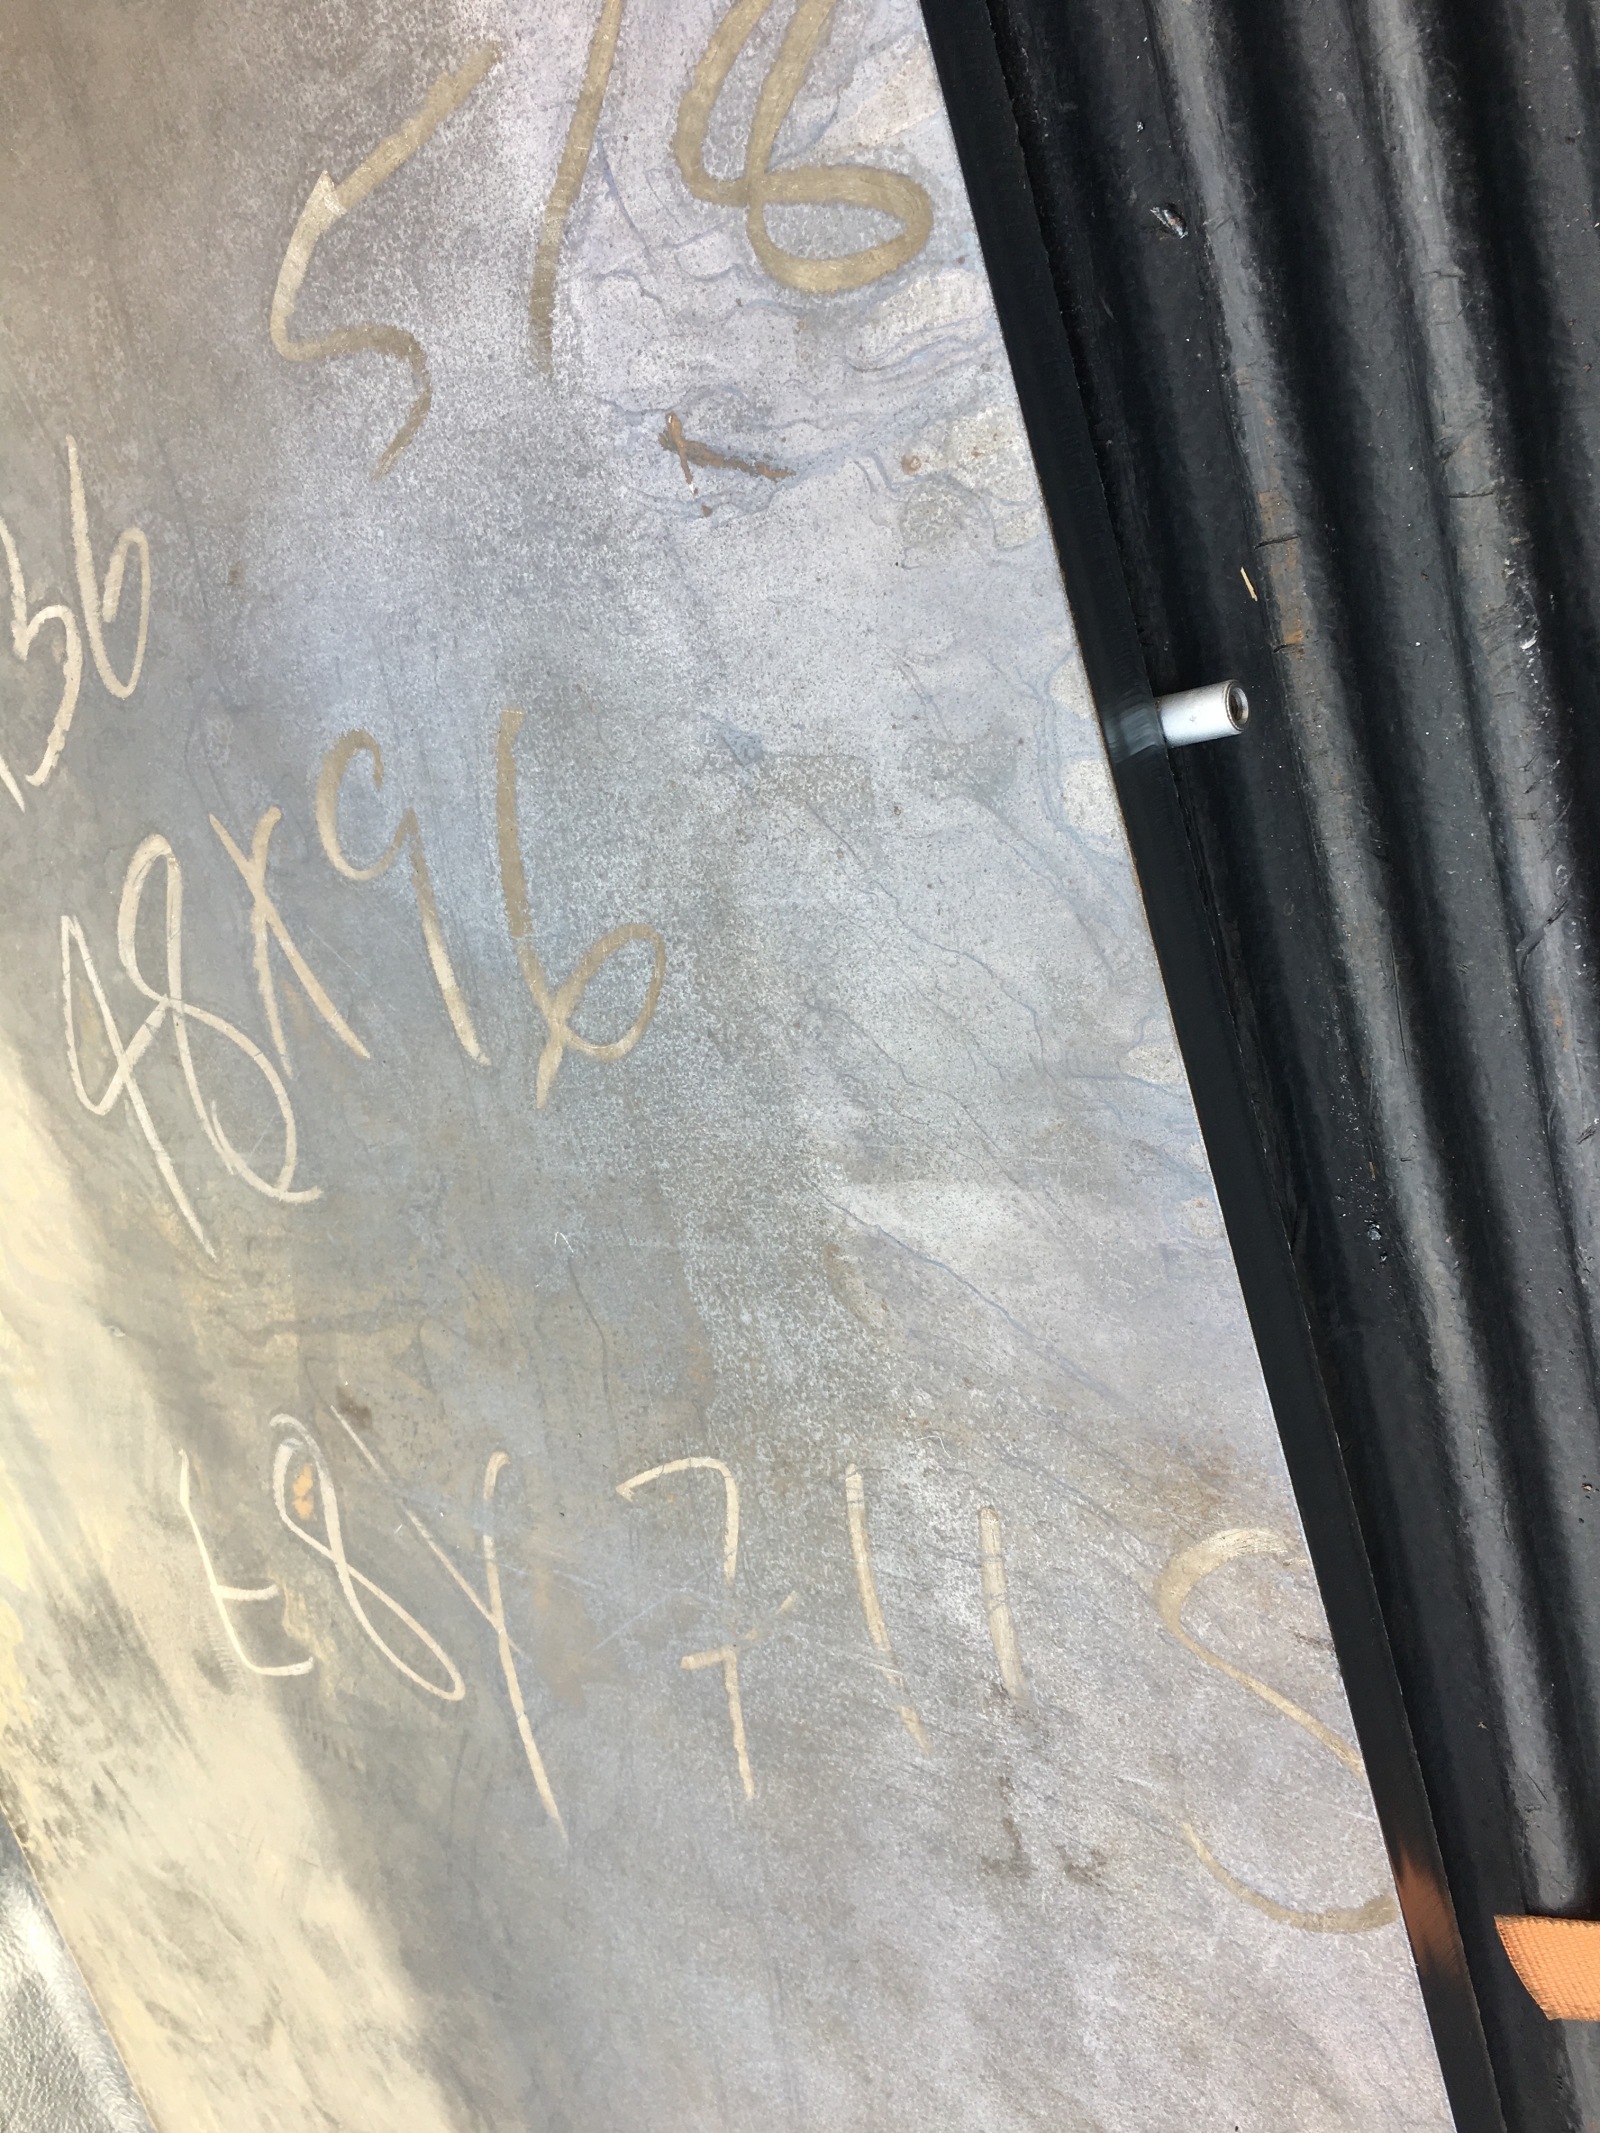
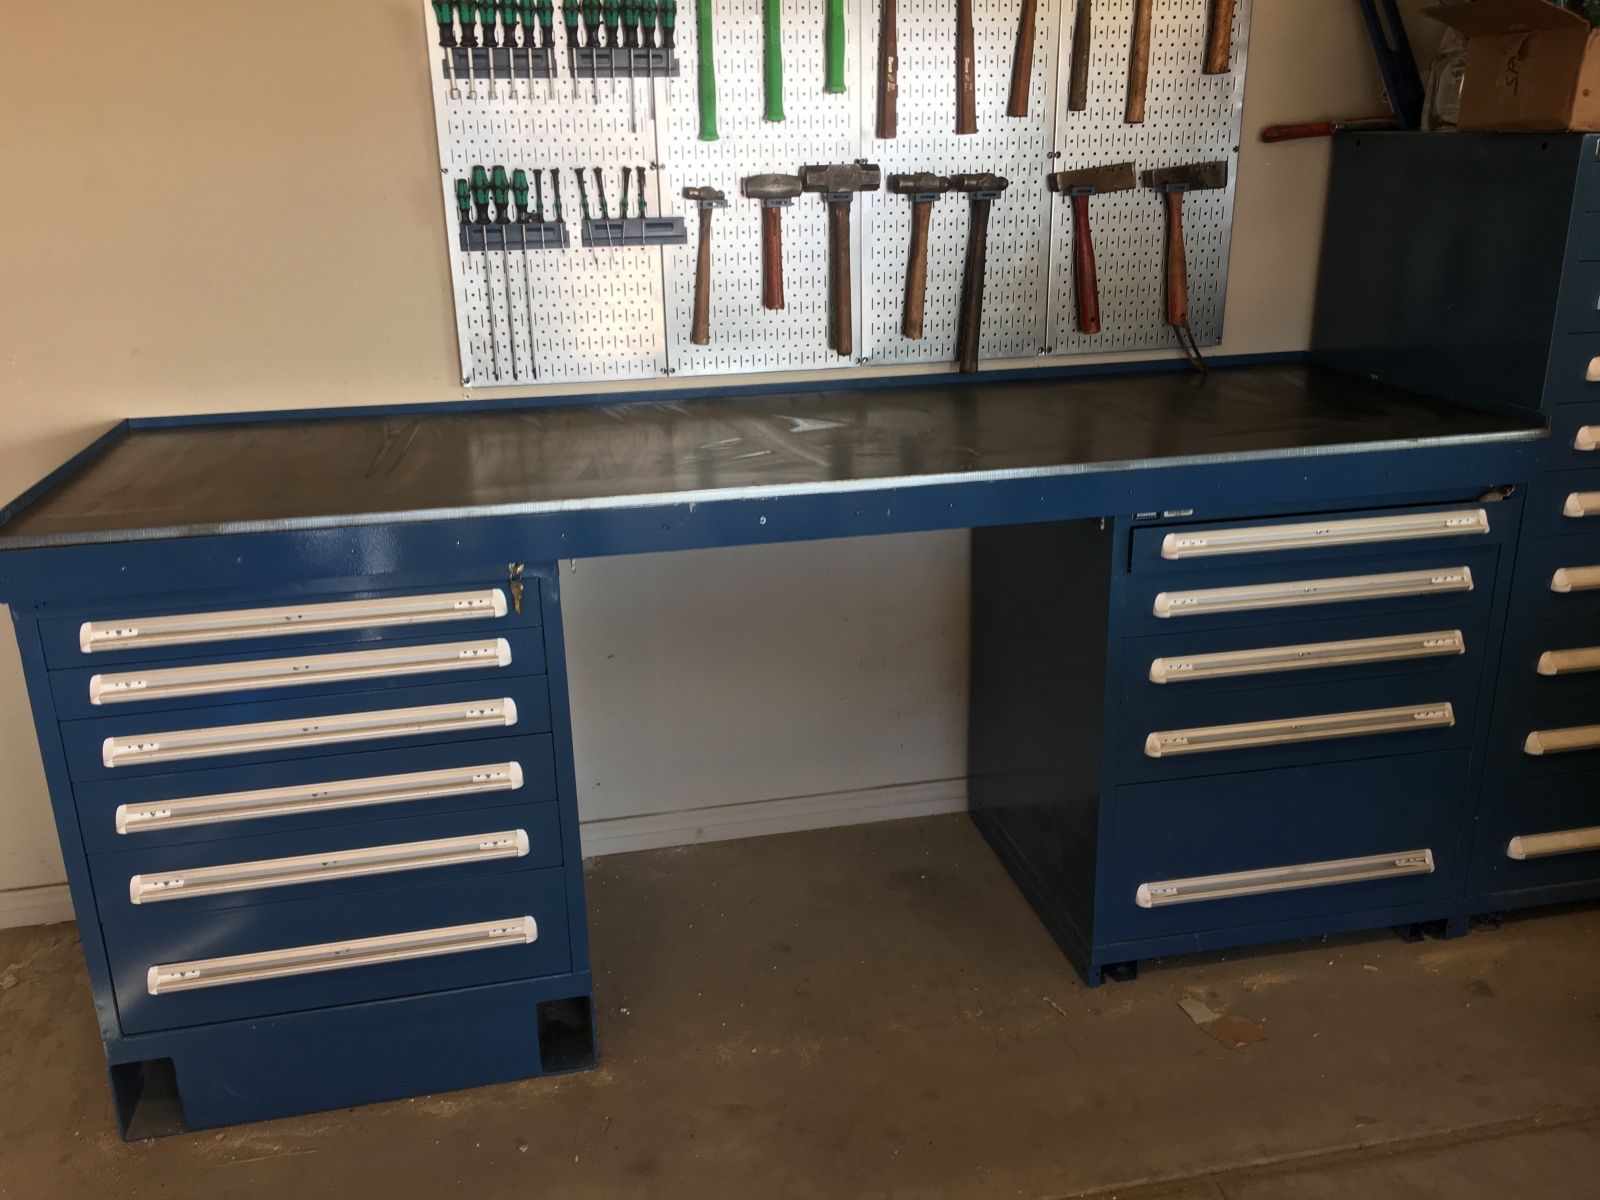
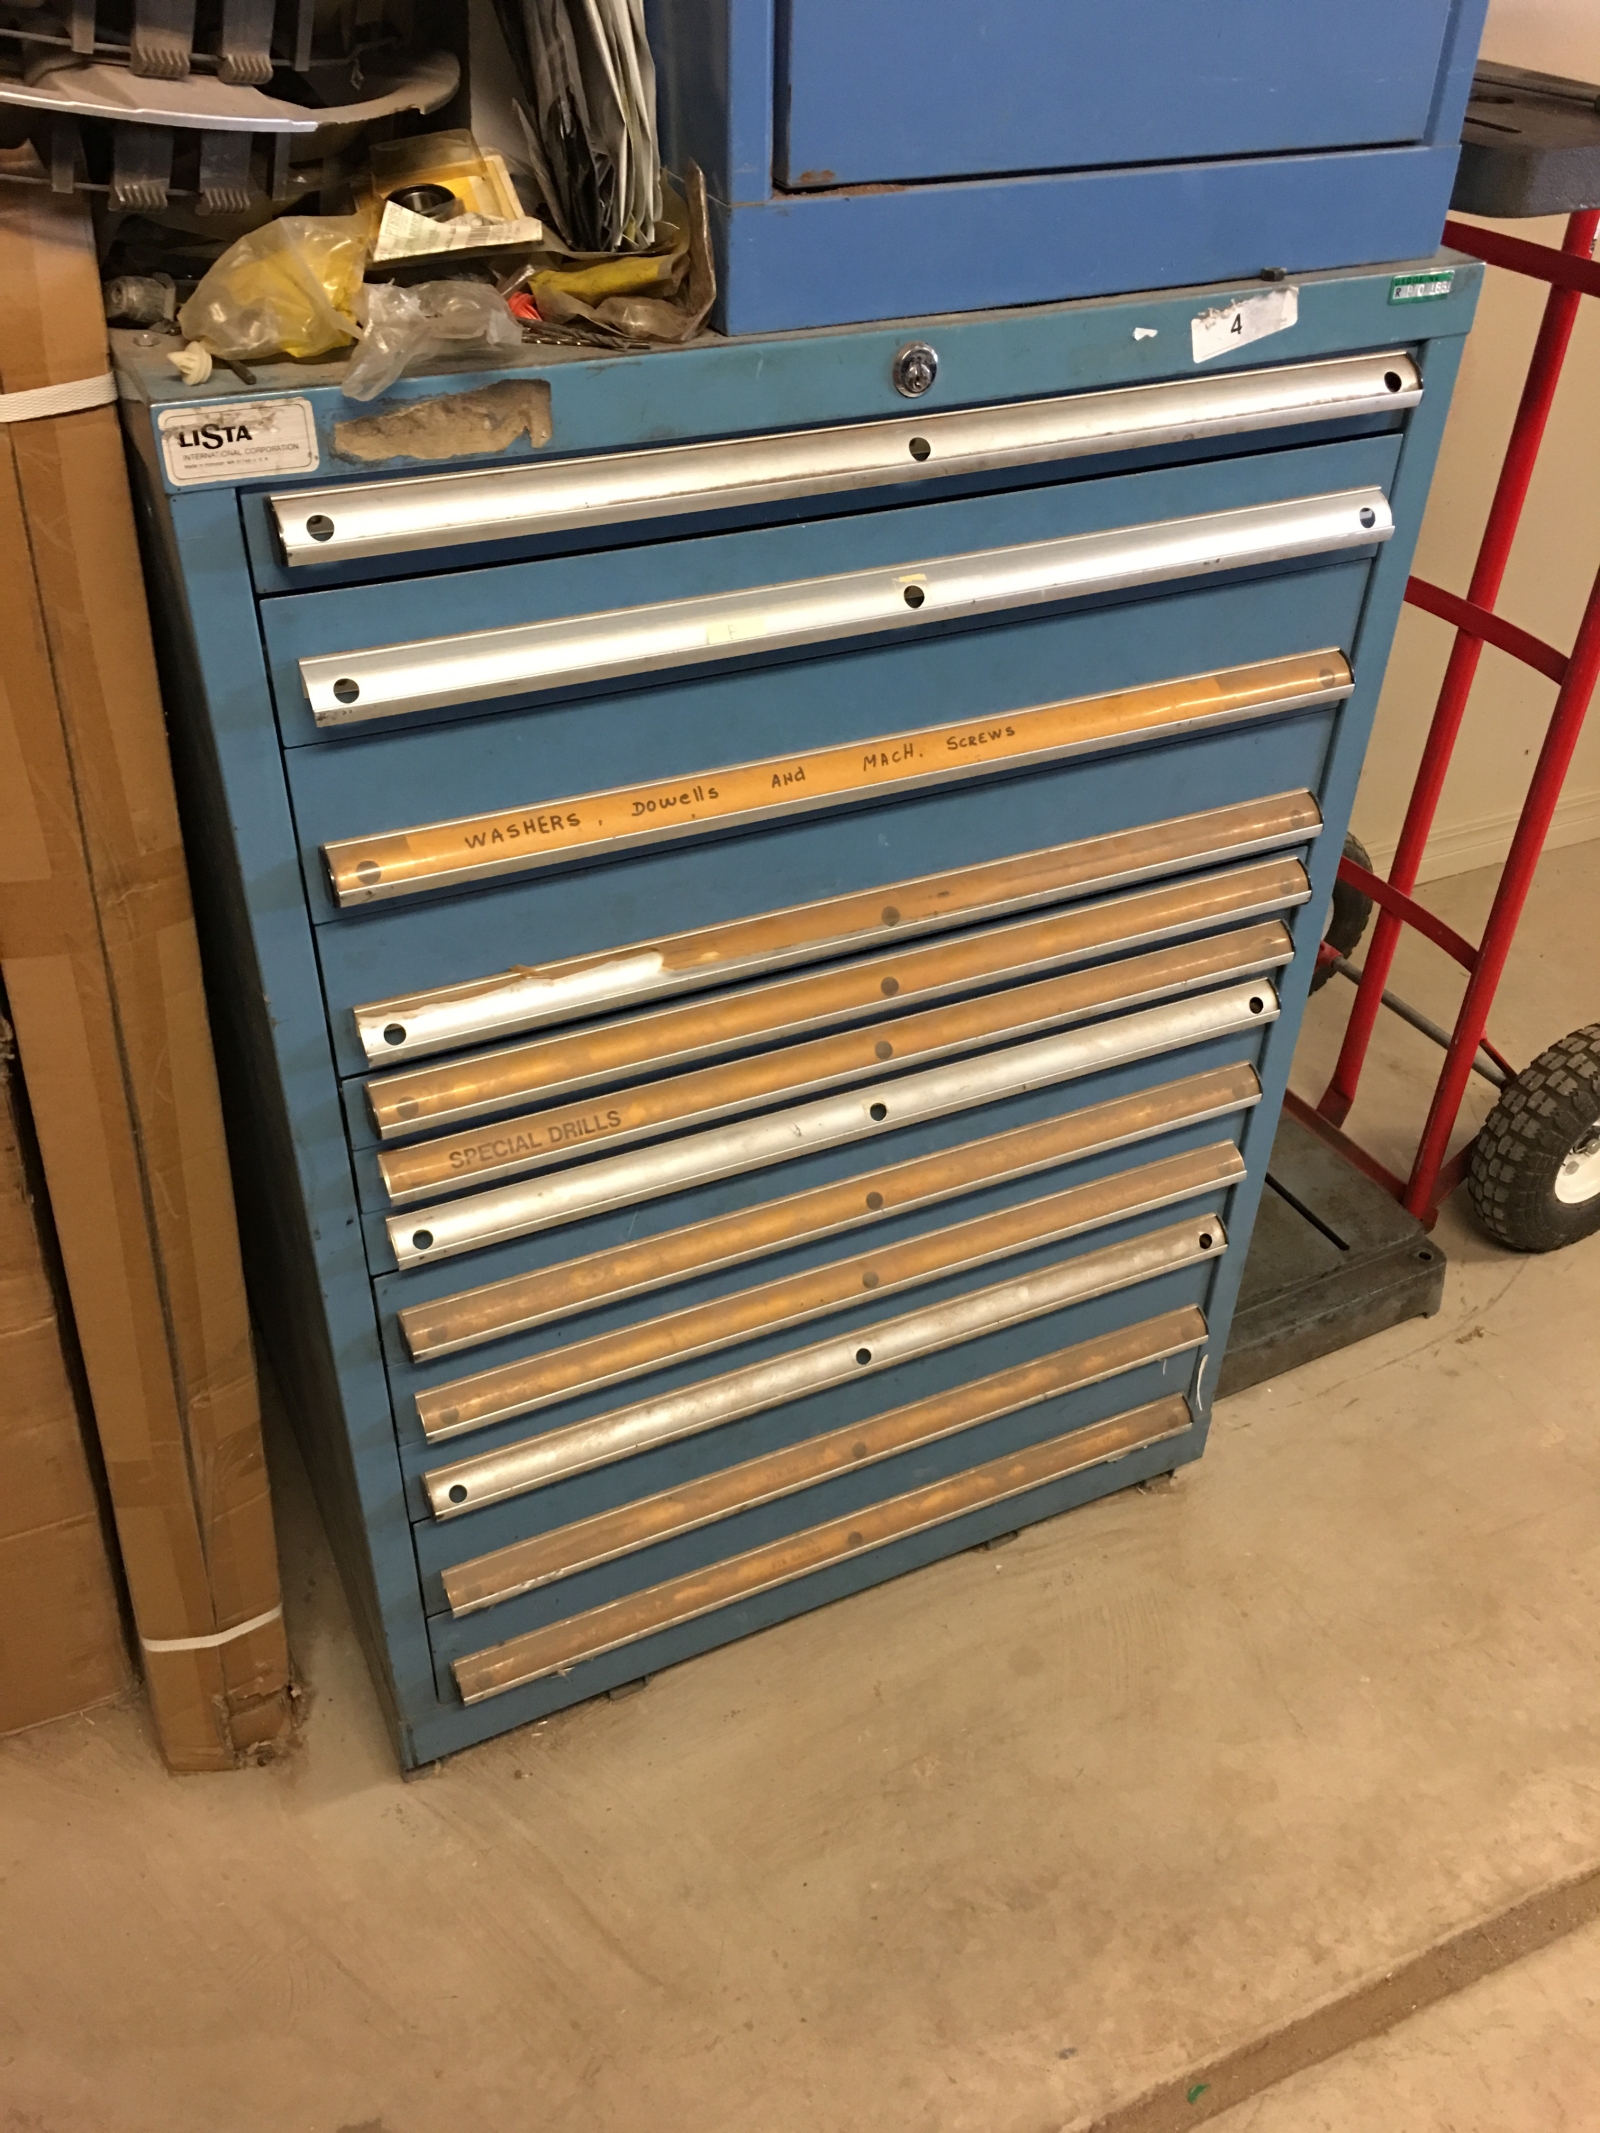
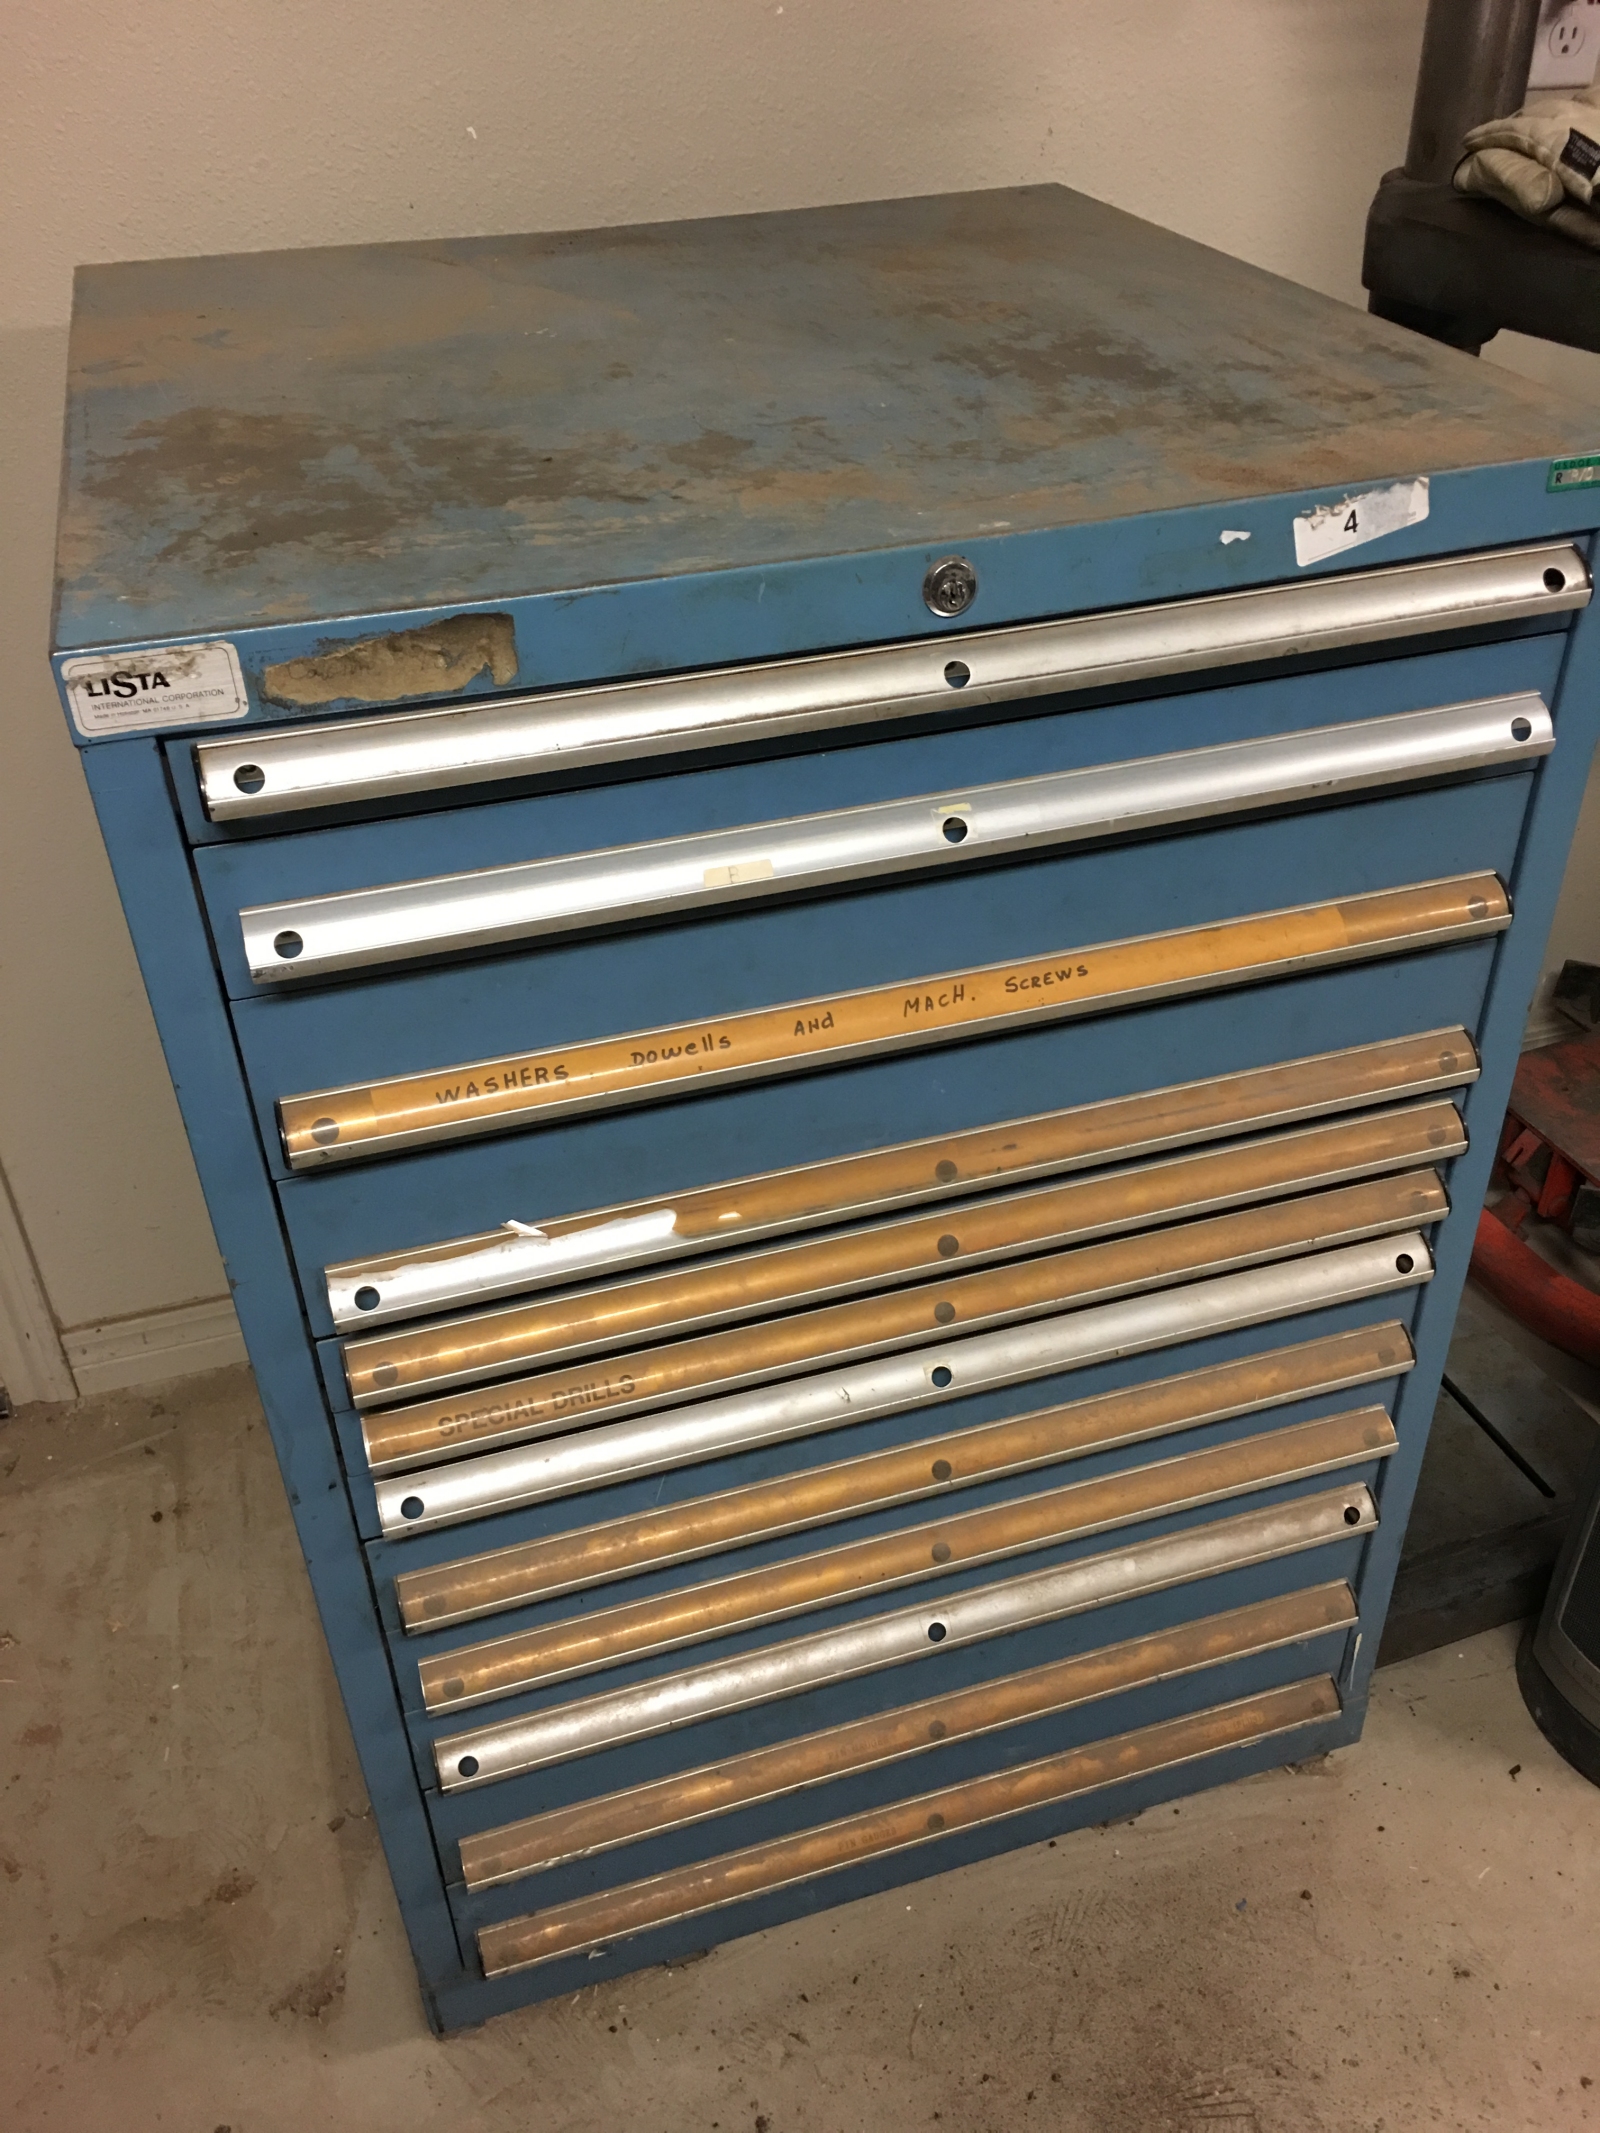
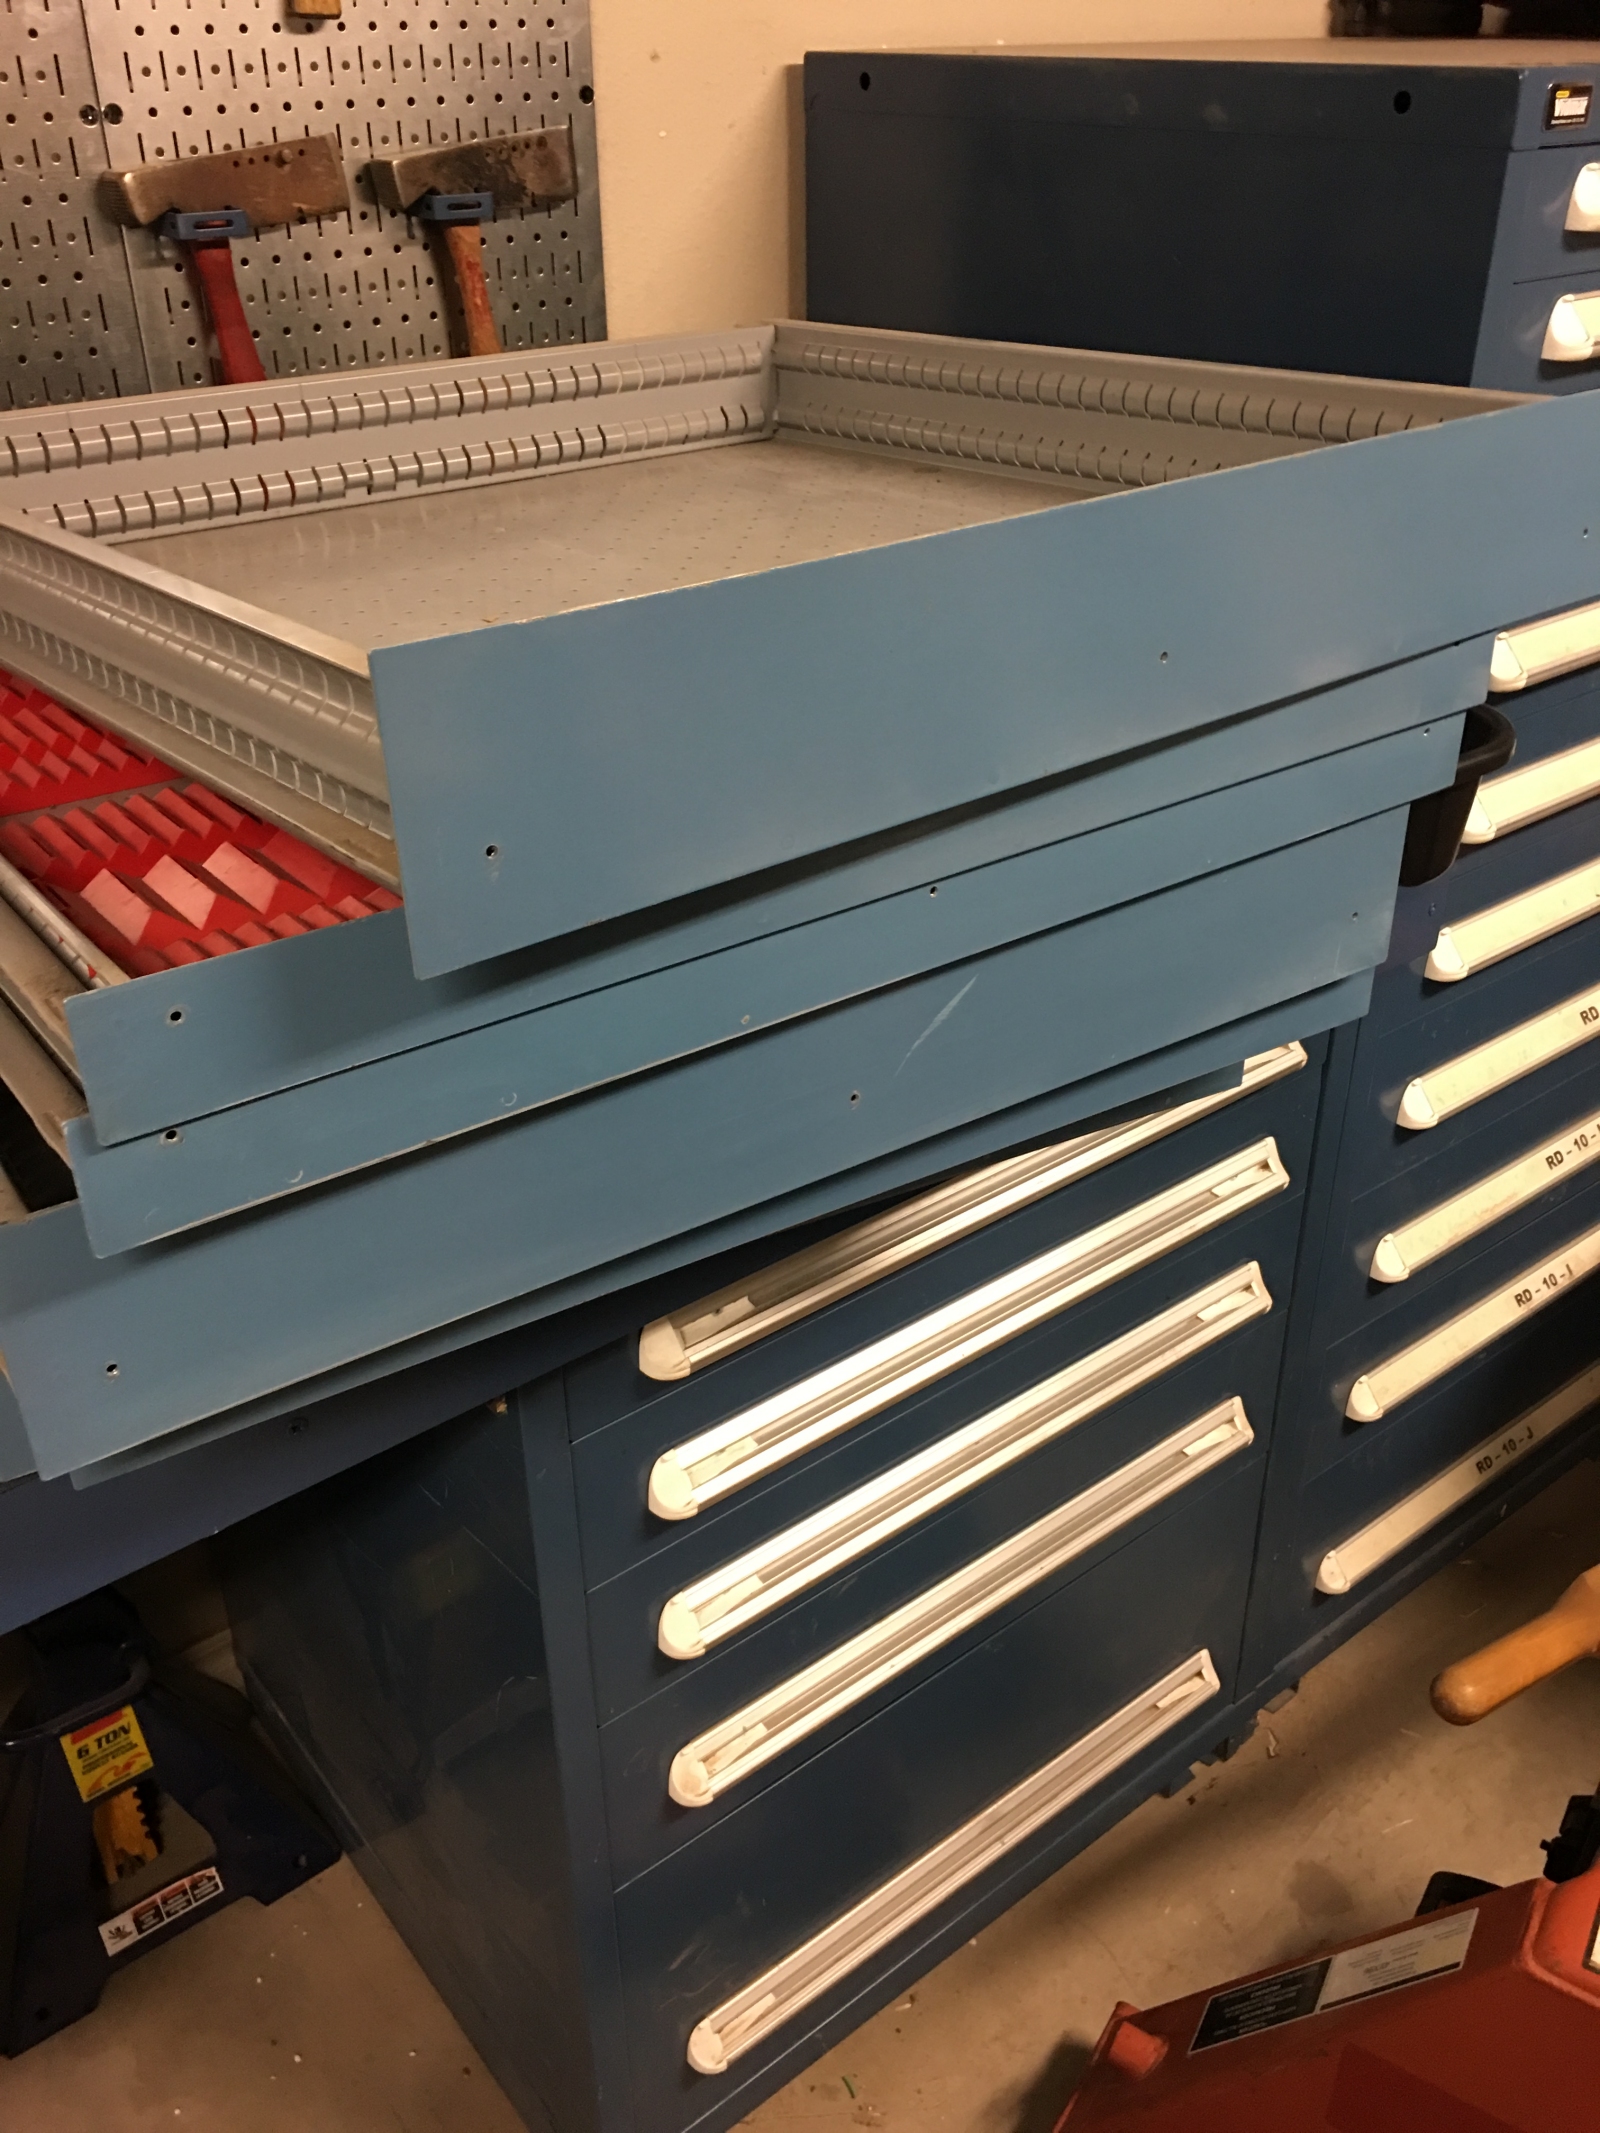
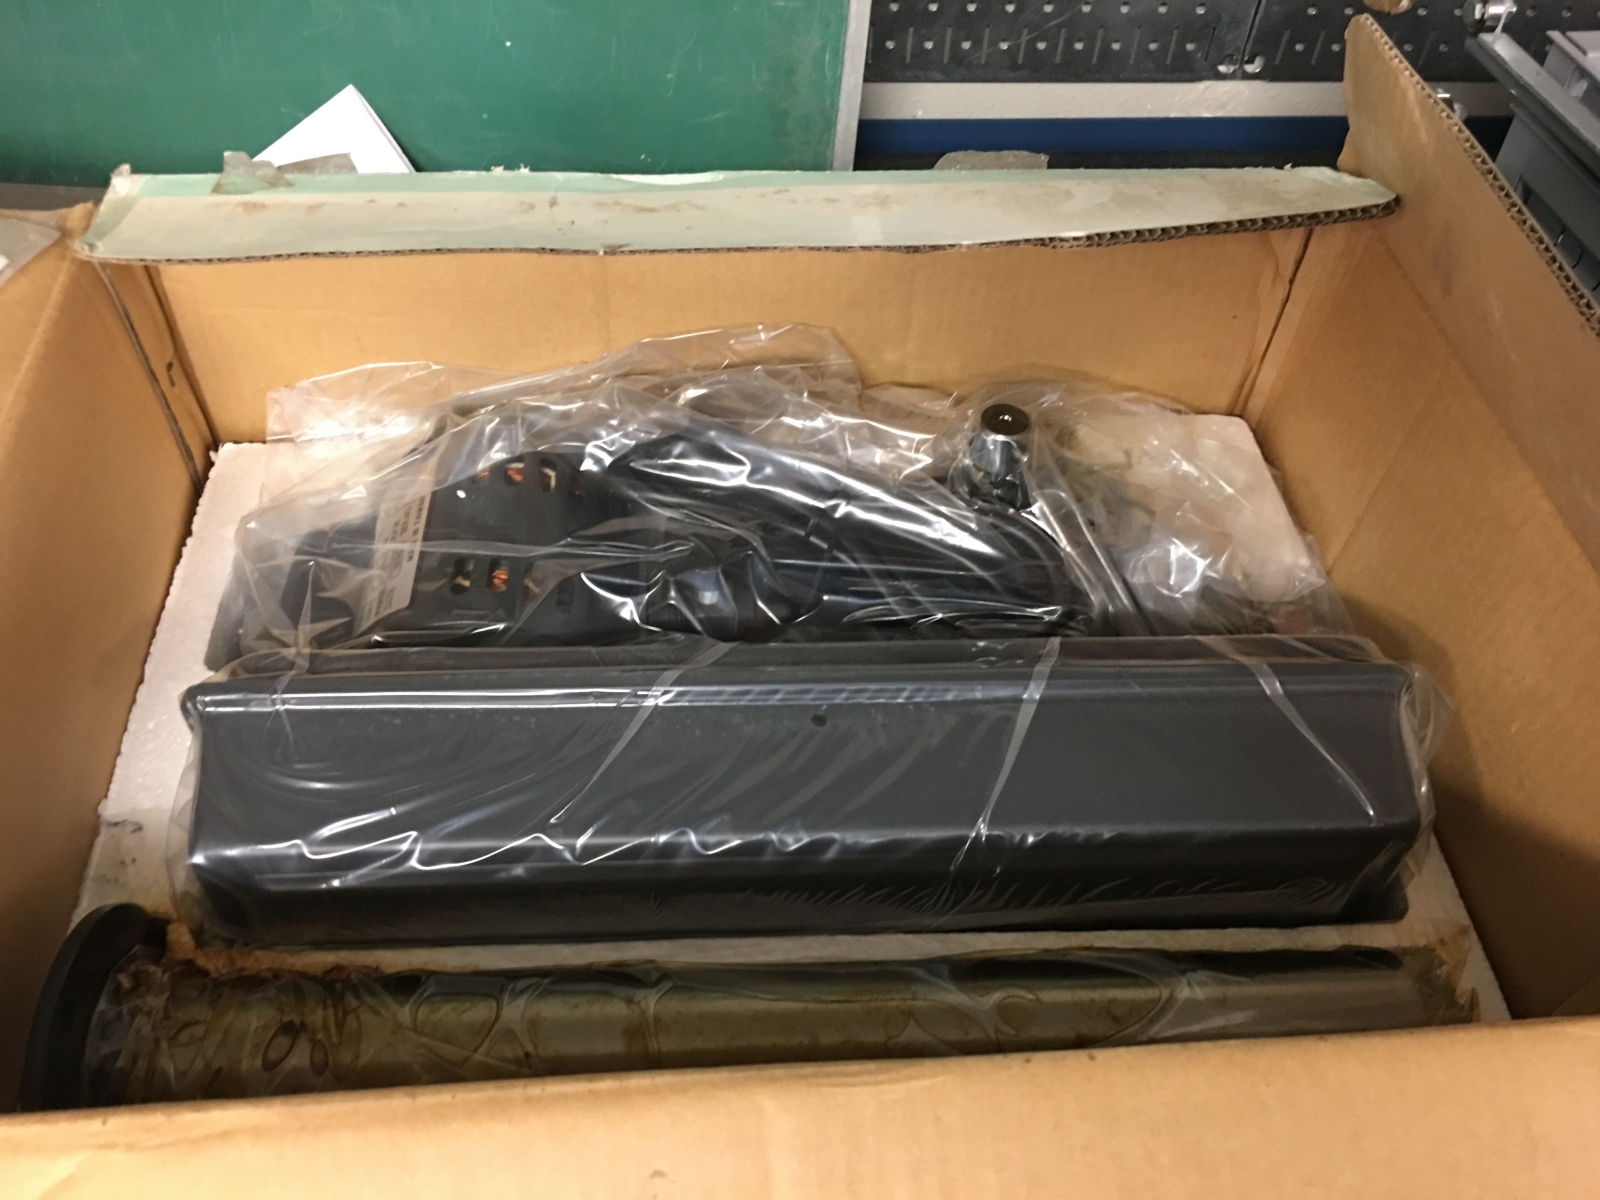
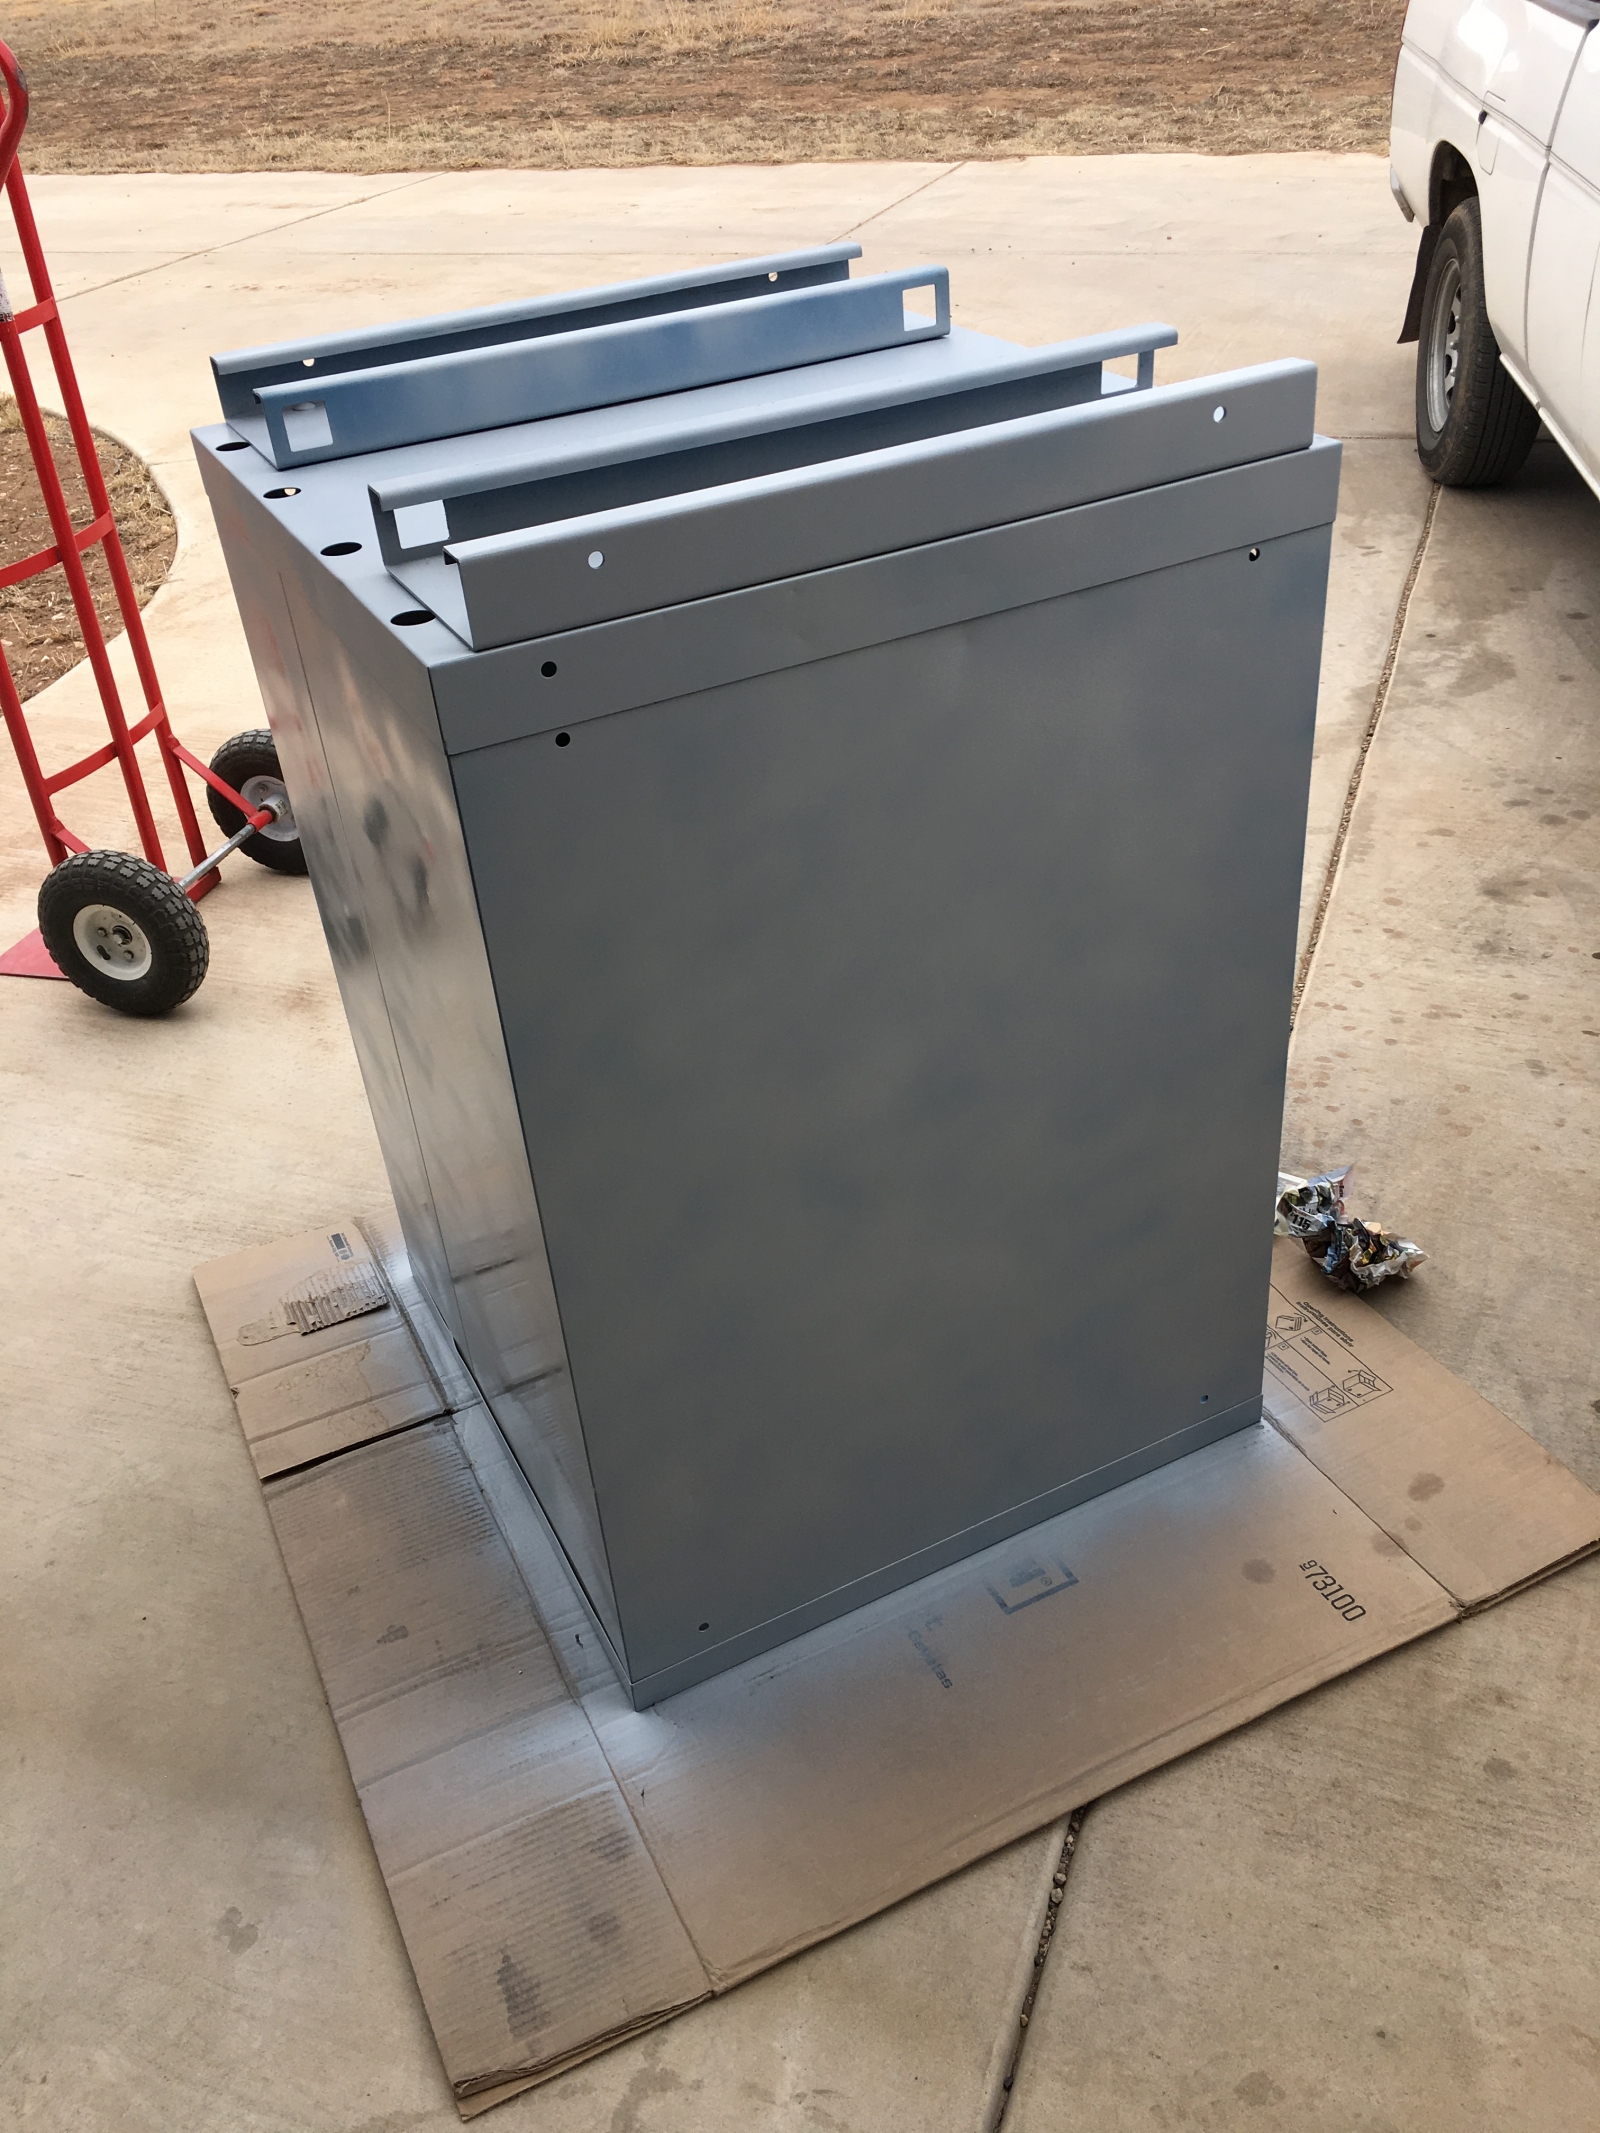
Prior to finishing up the build, I purchased these almost-new Vidmar cabinets, a flammable storage cabinet, and a well-used Lista cabinet at an auction for a closing solar panel company. I made moving these into the garage along with my vehicles the first priority.
6.jpg

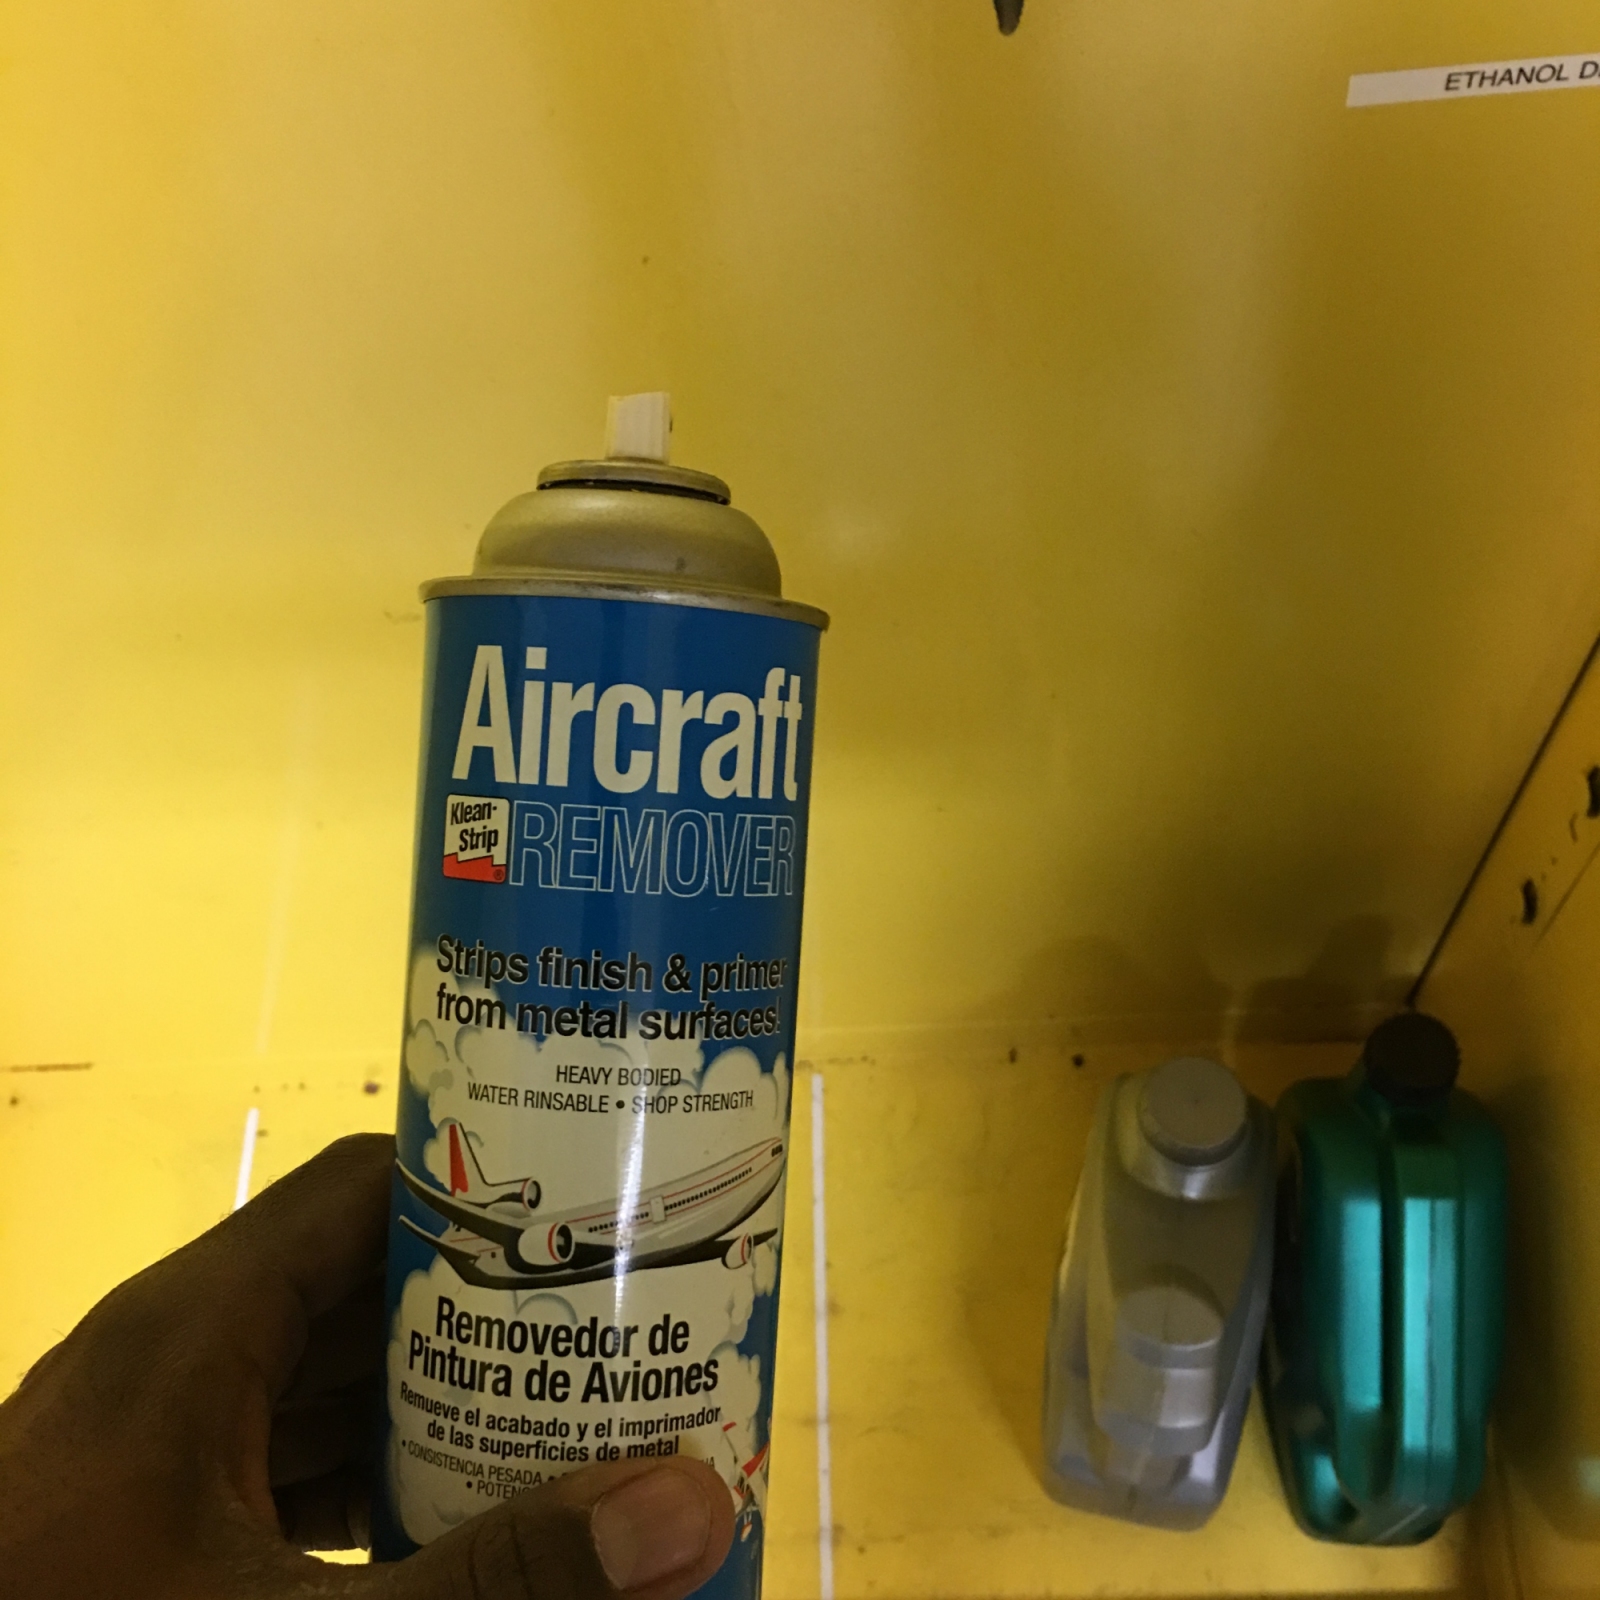
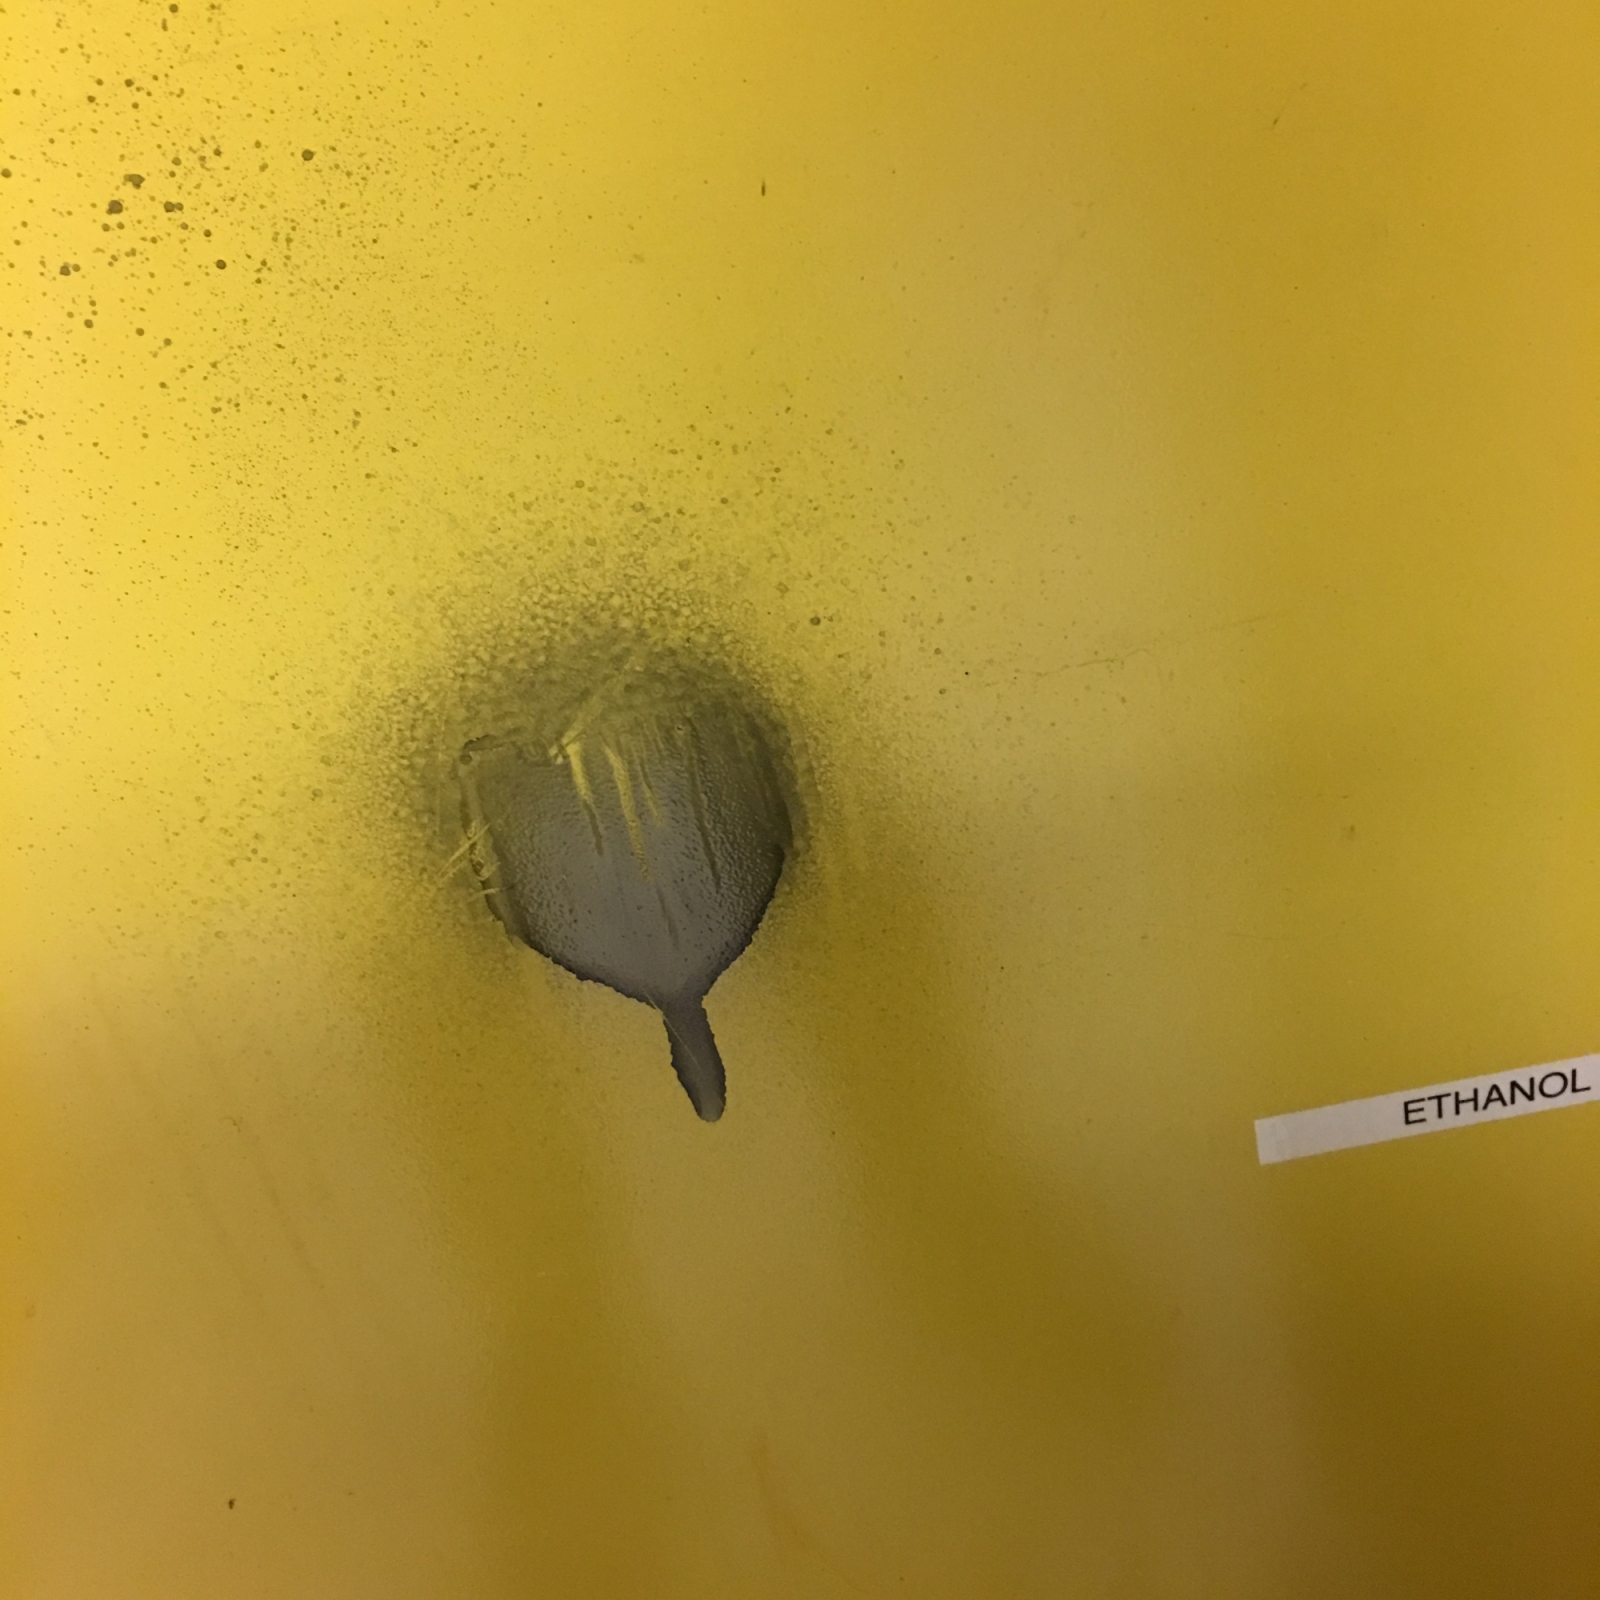
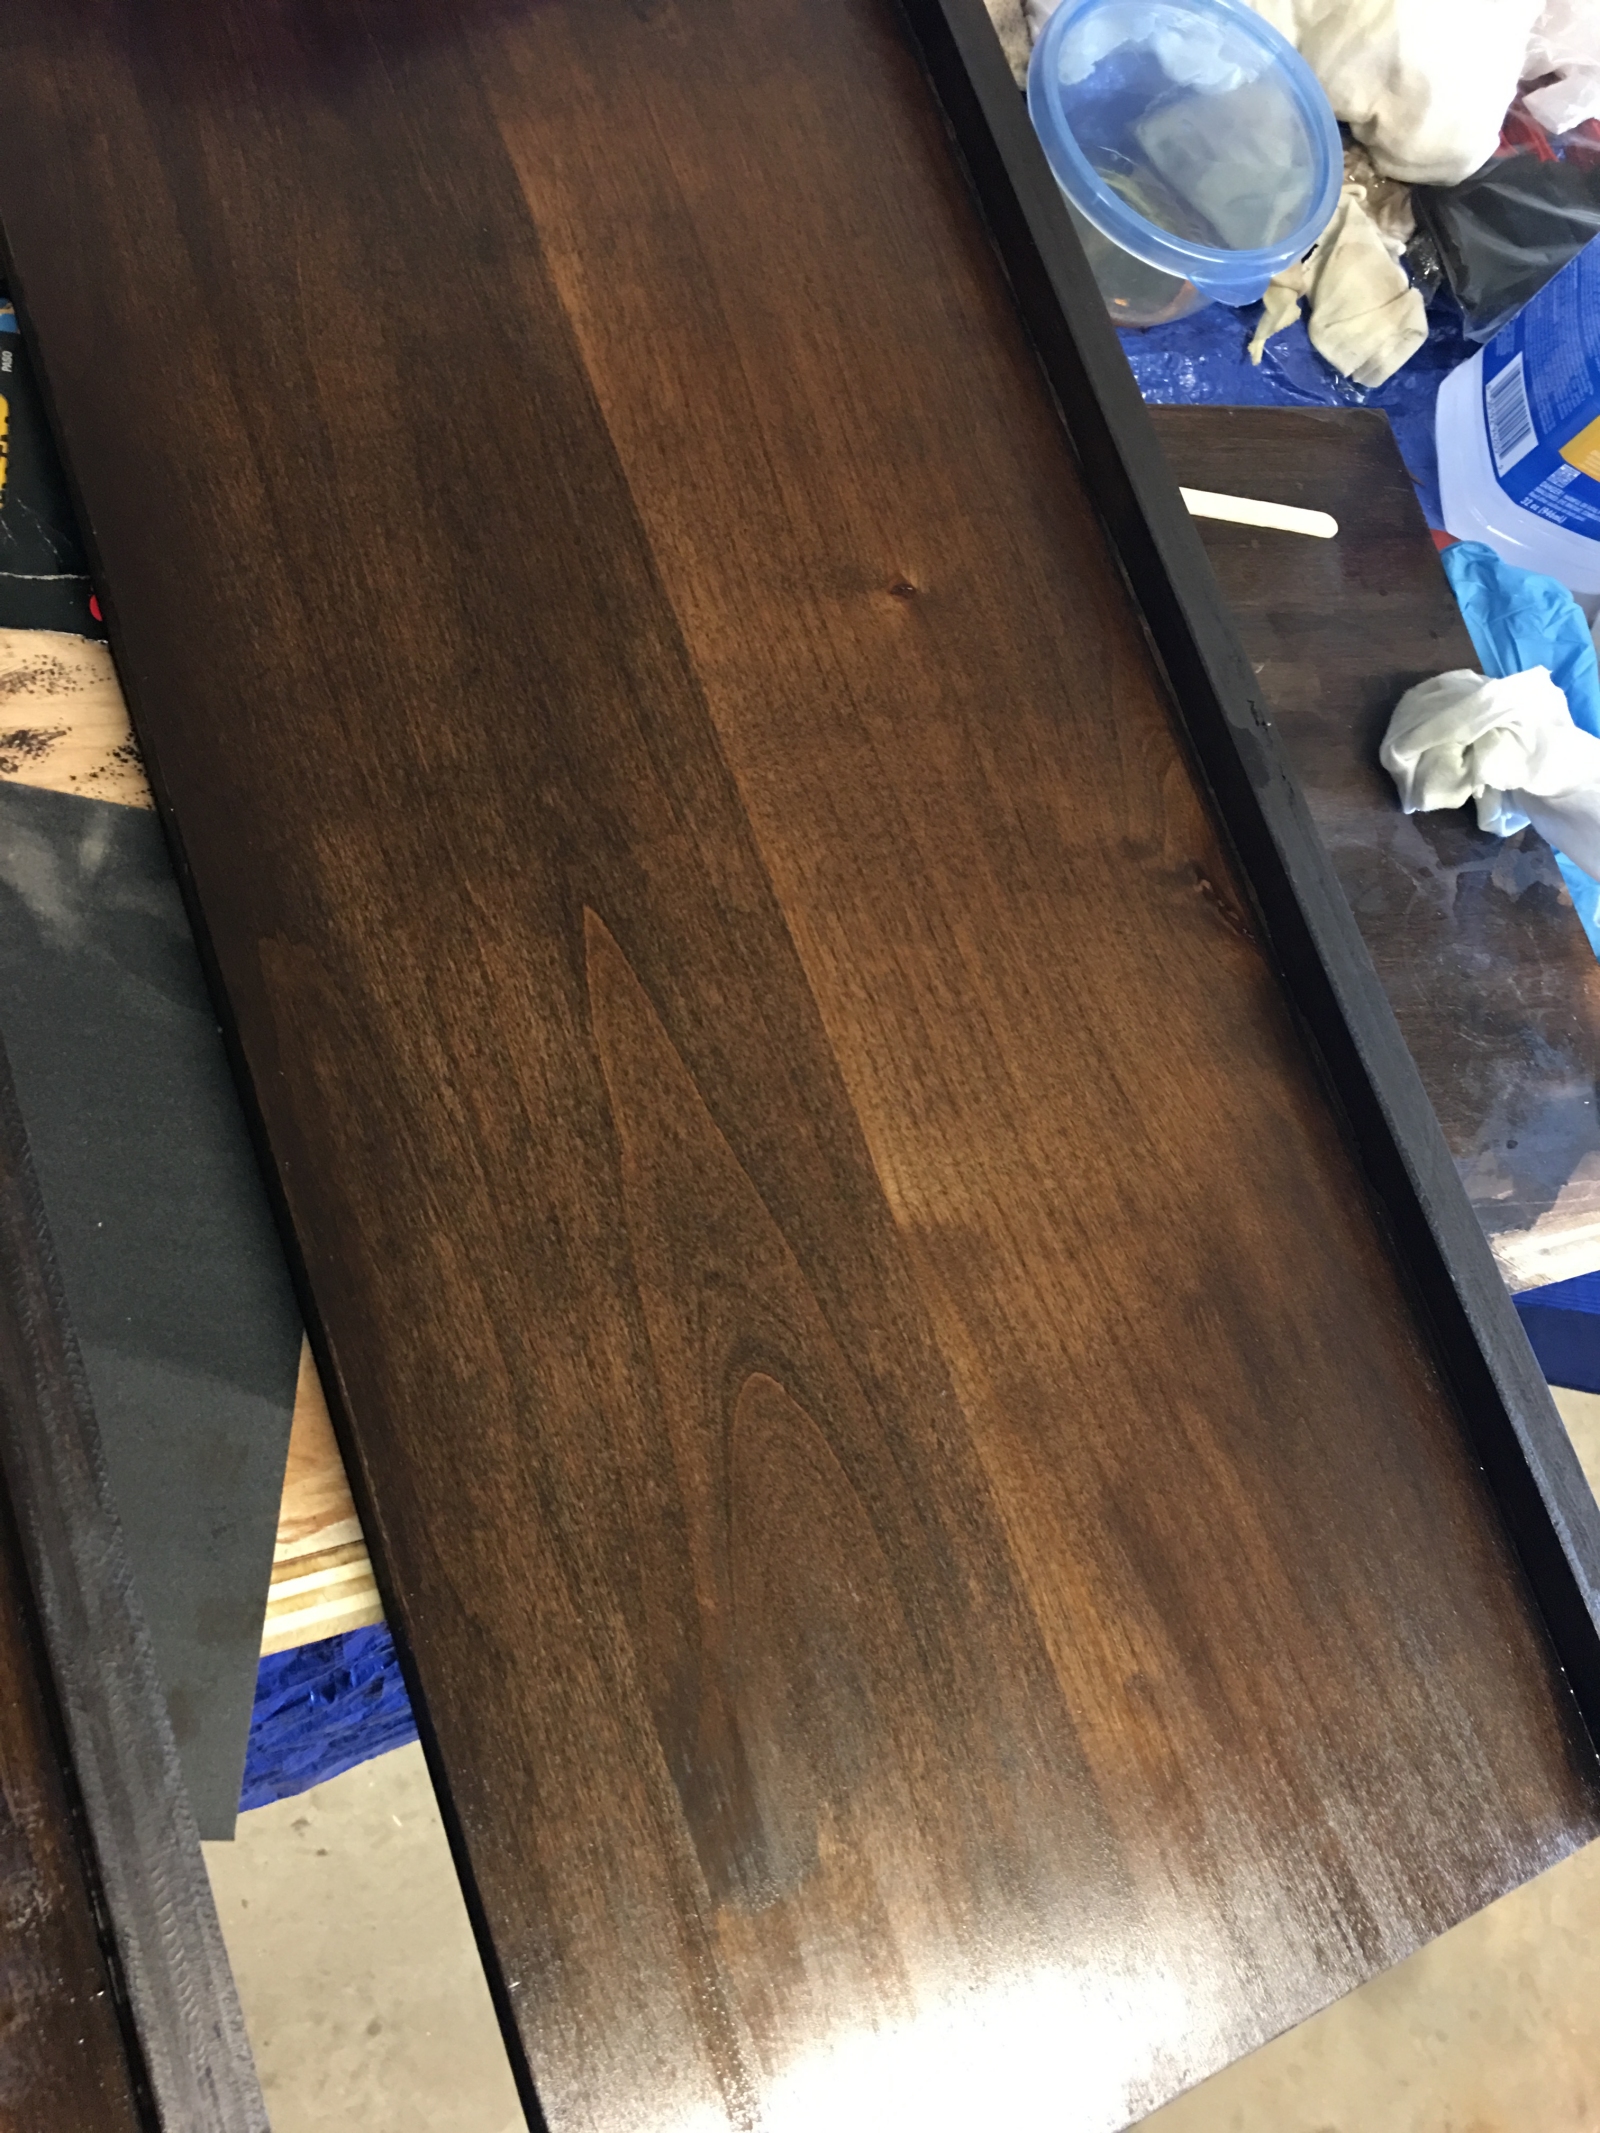
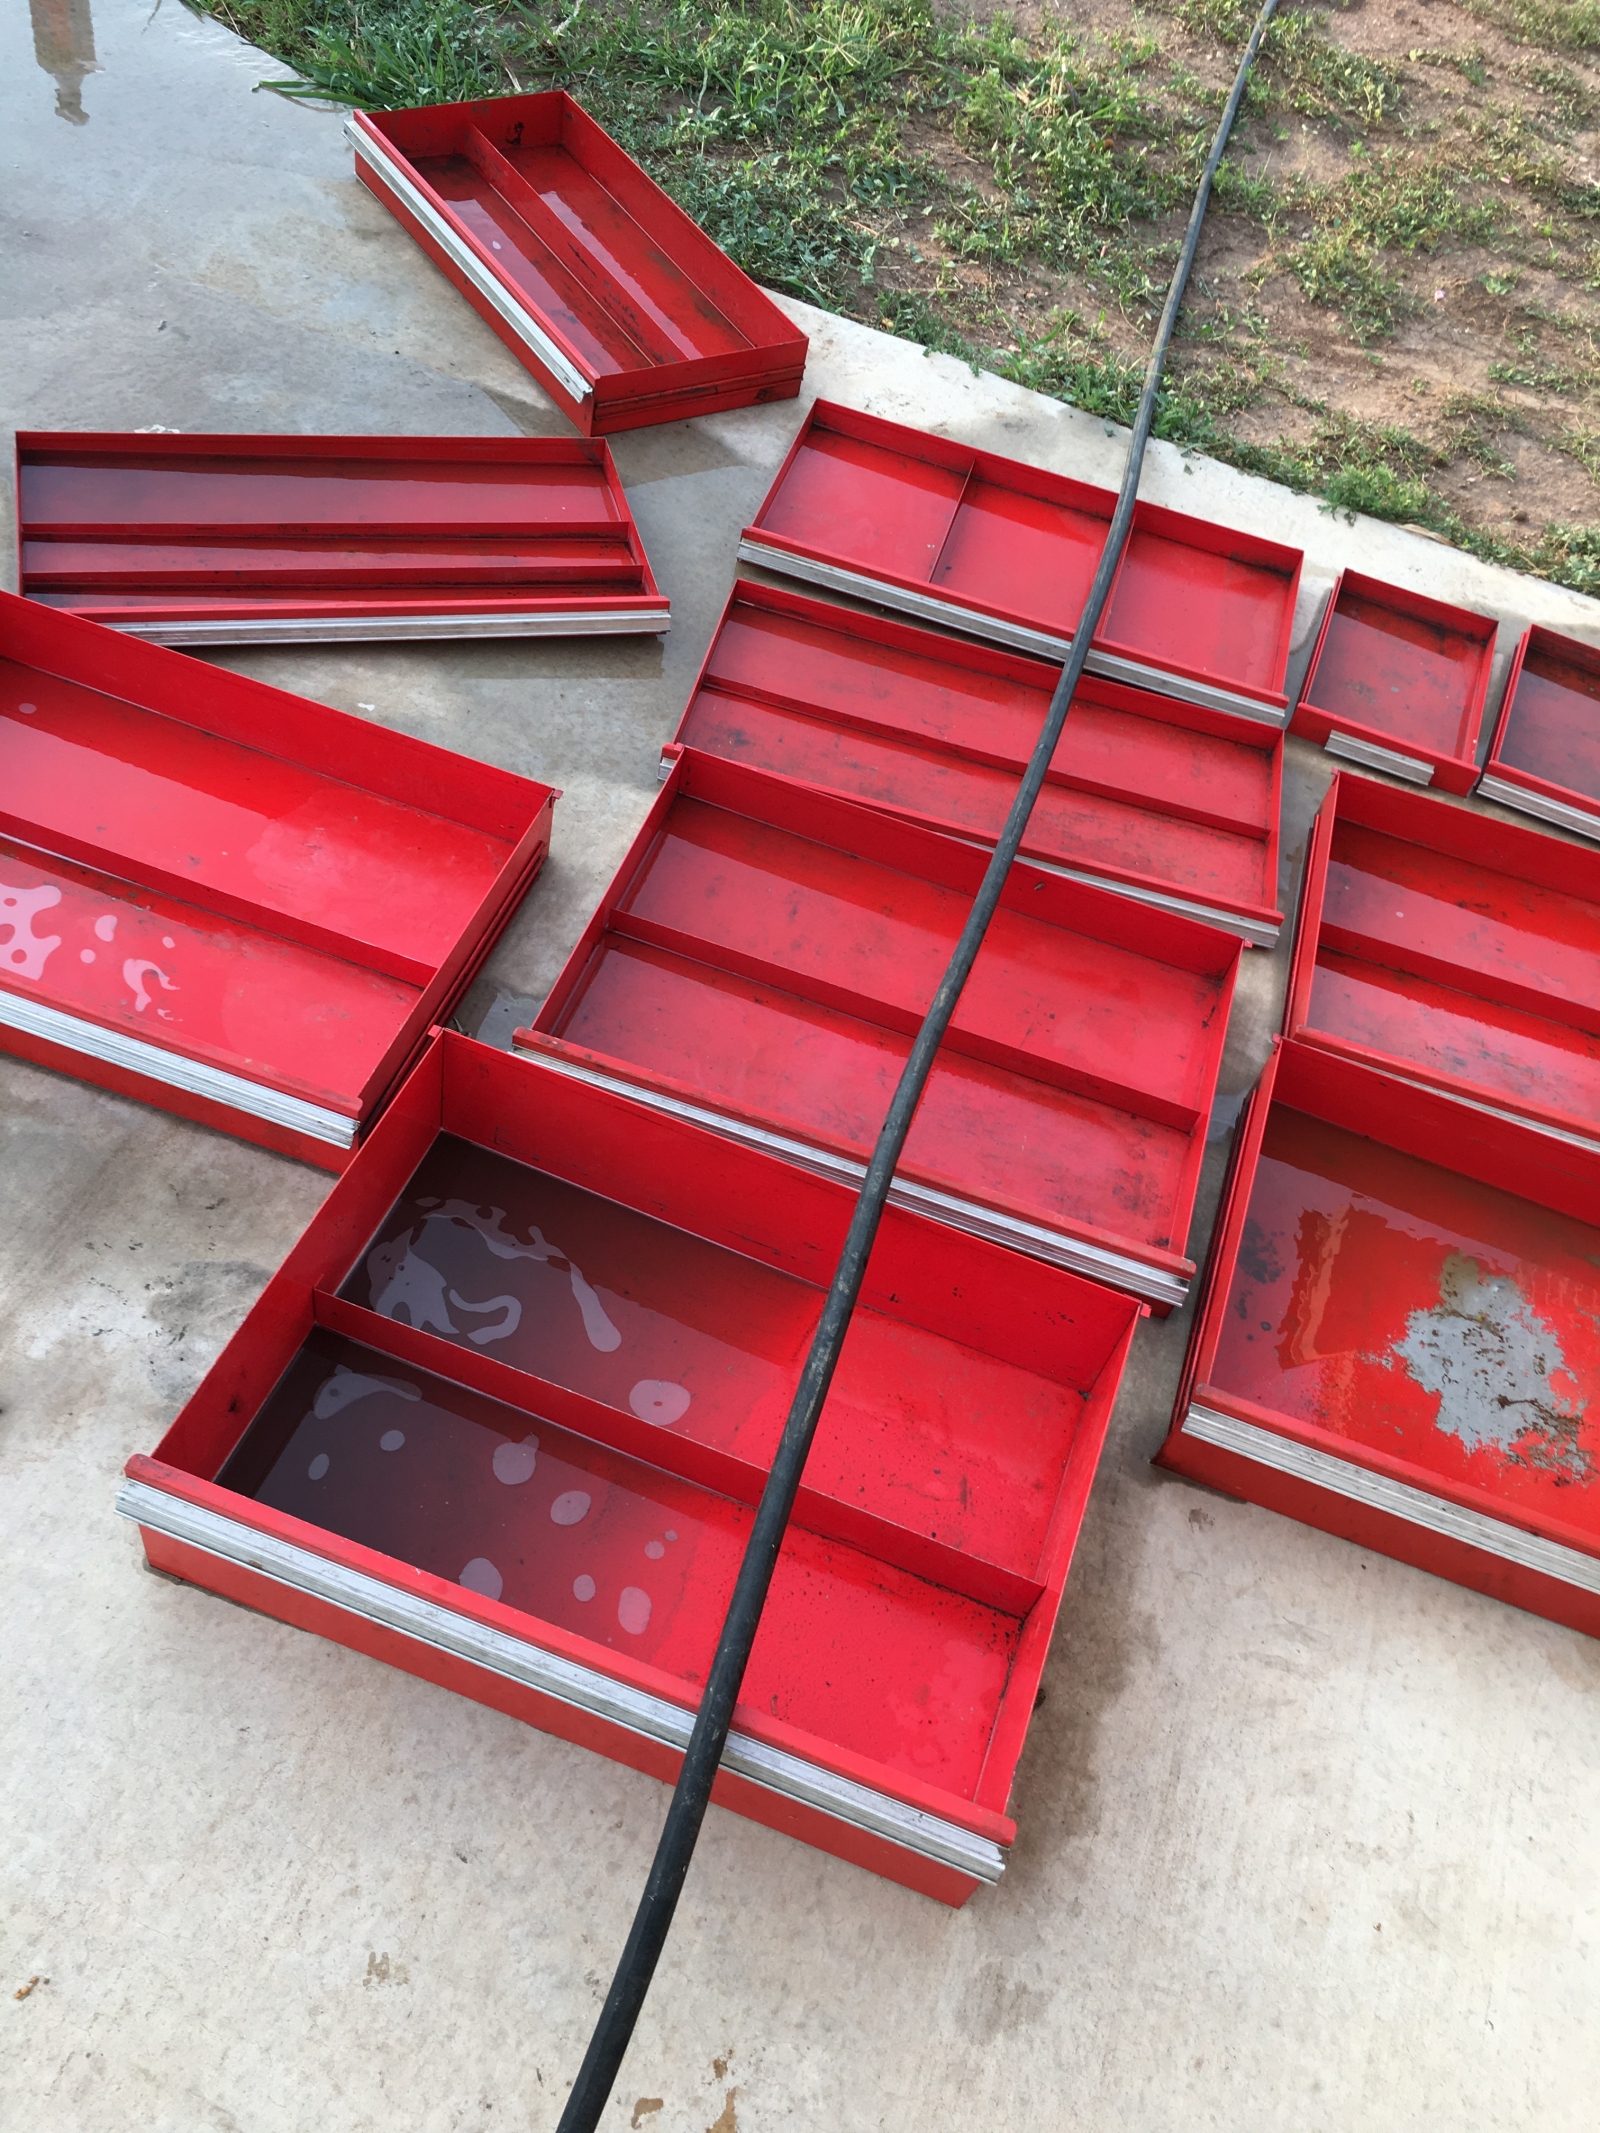
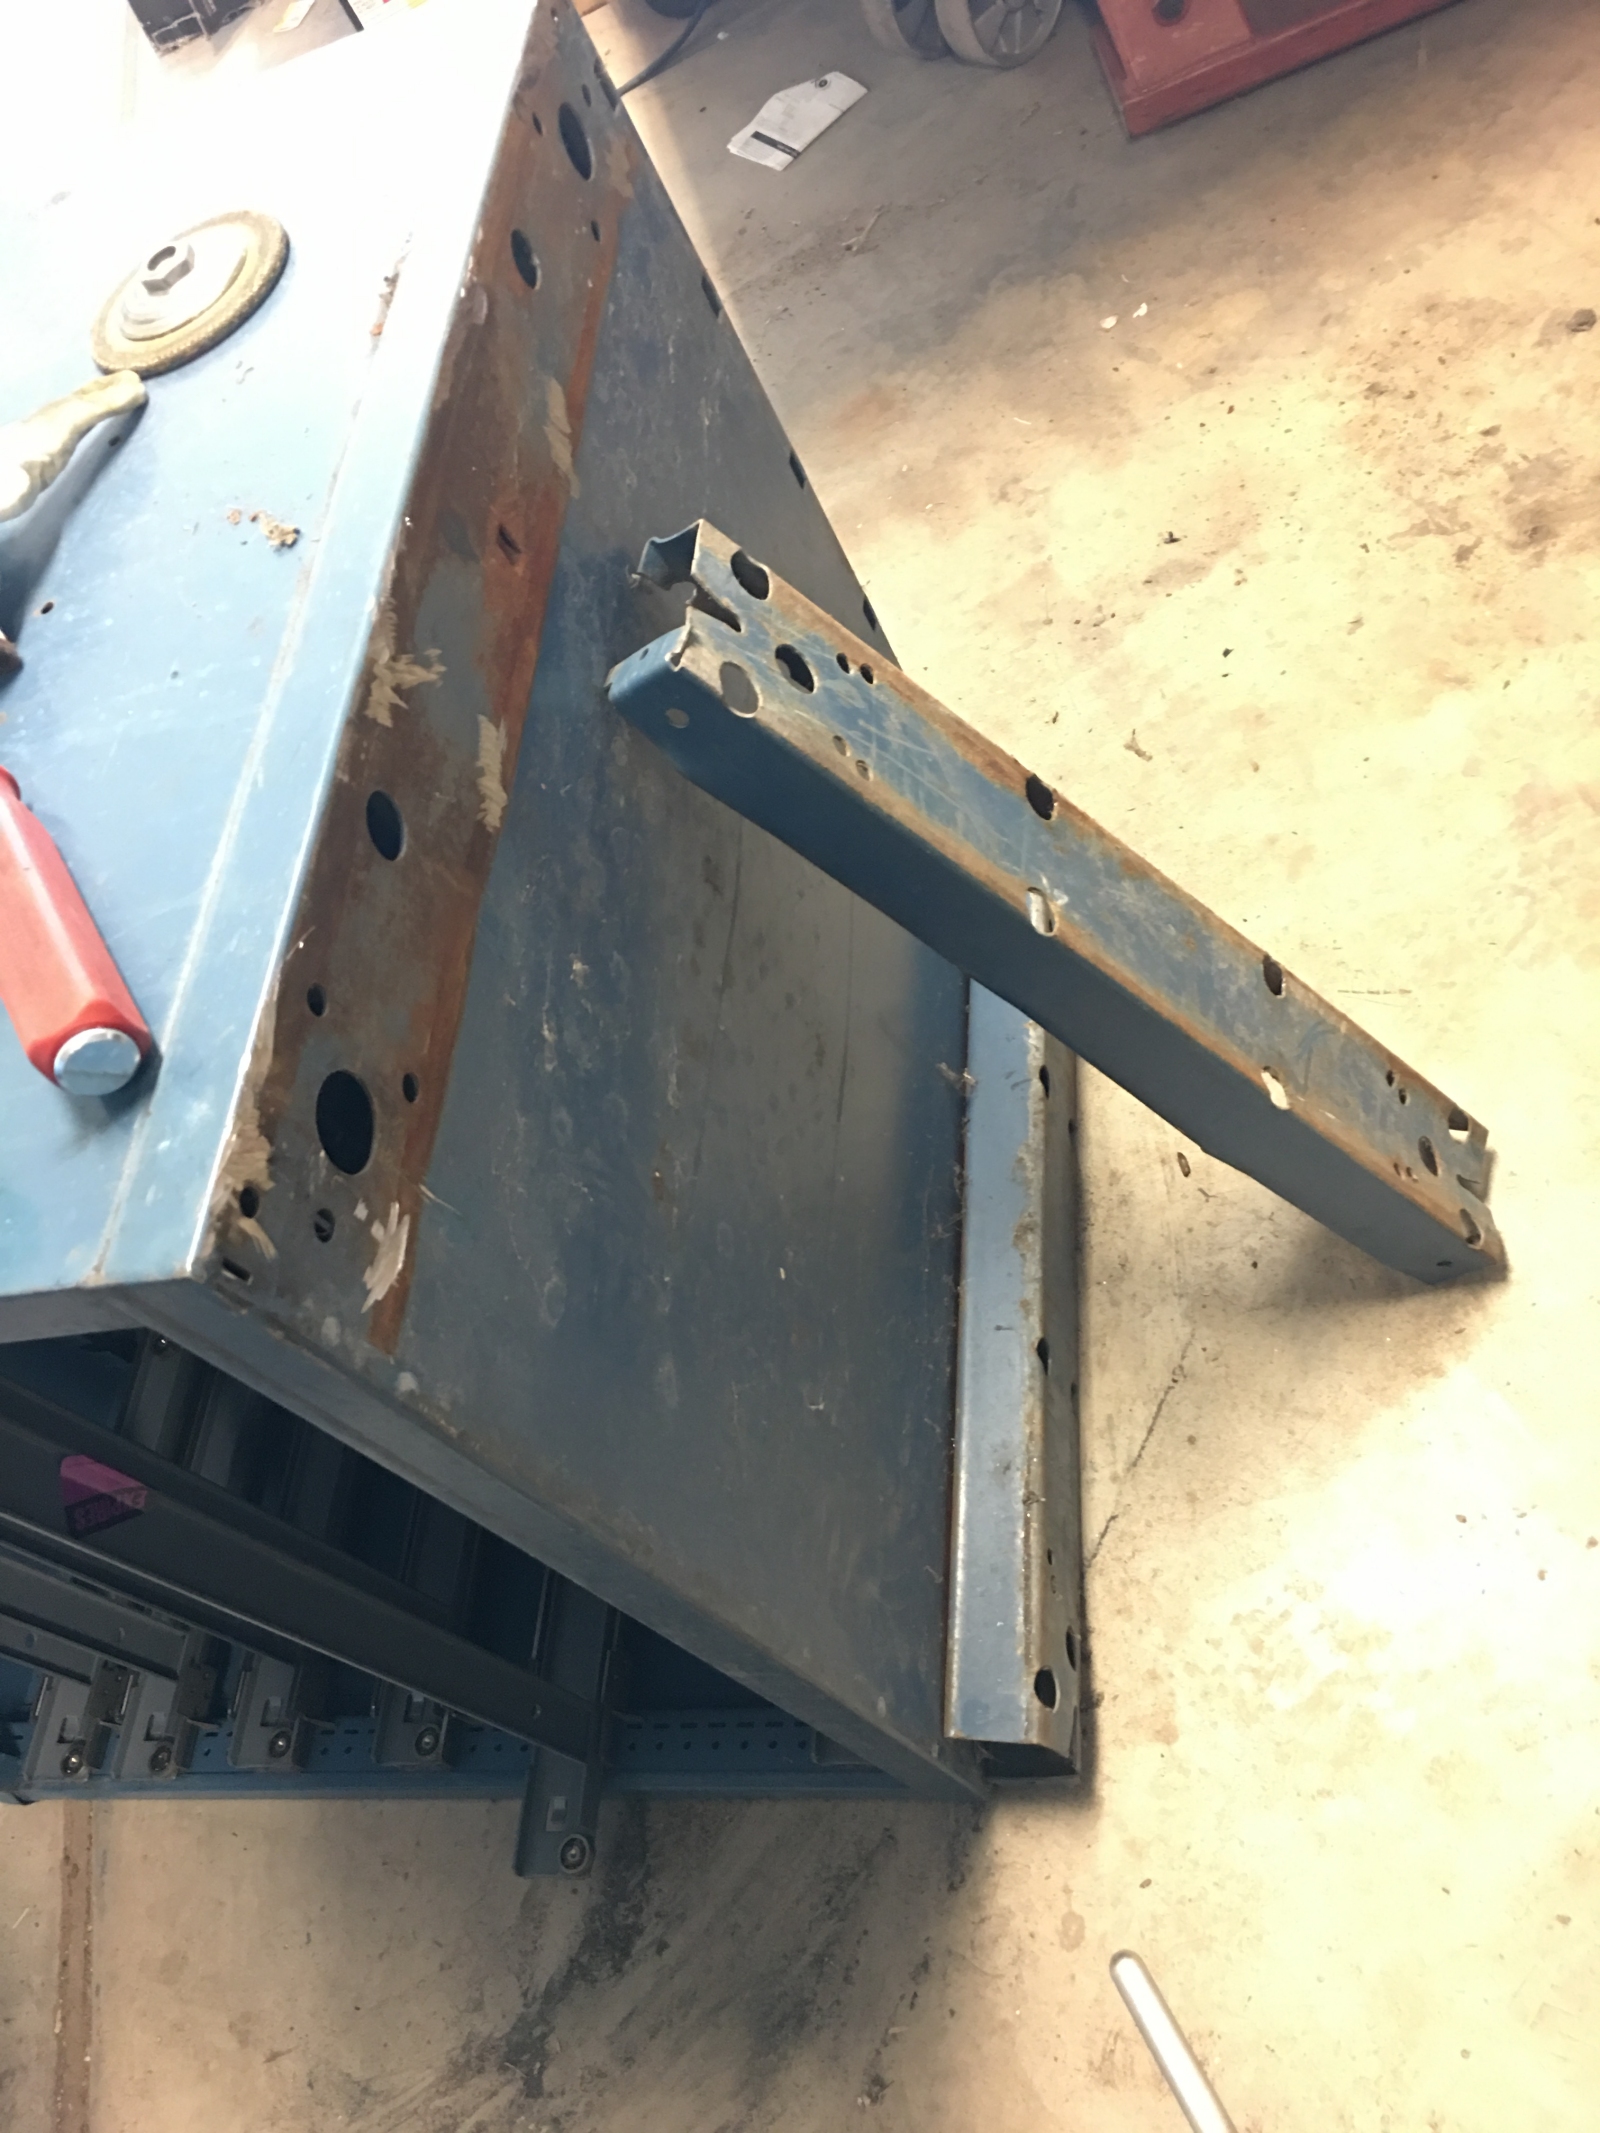
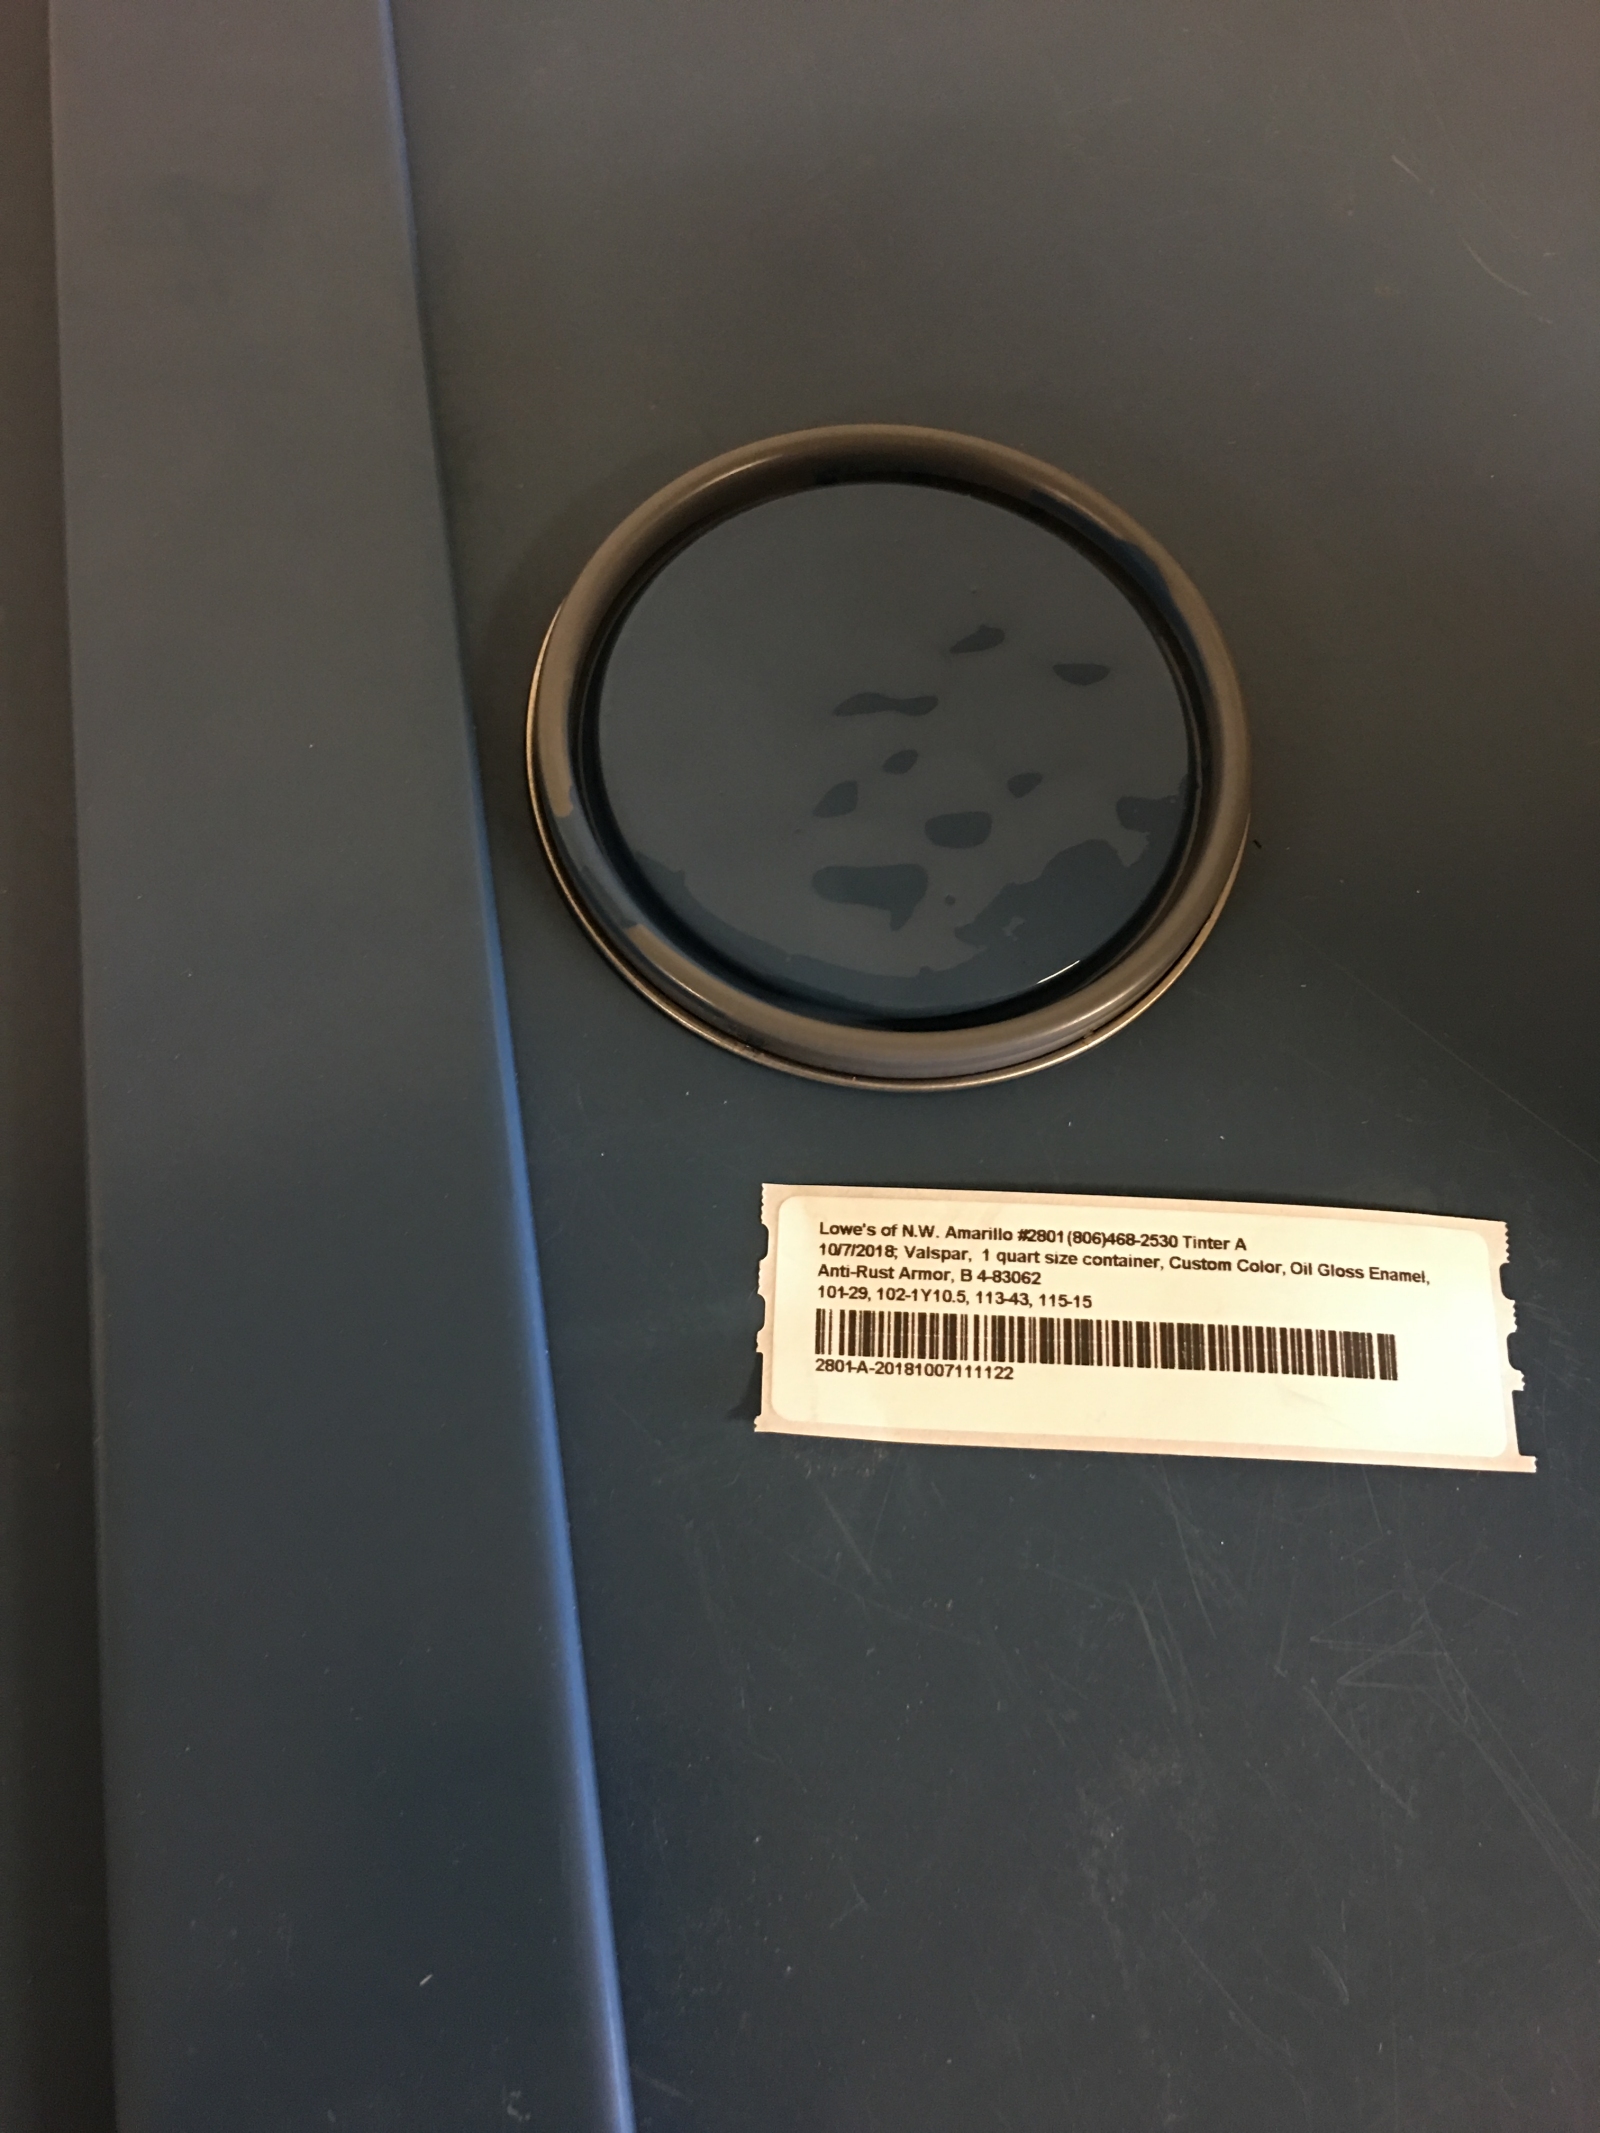
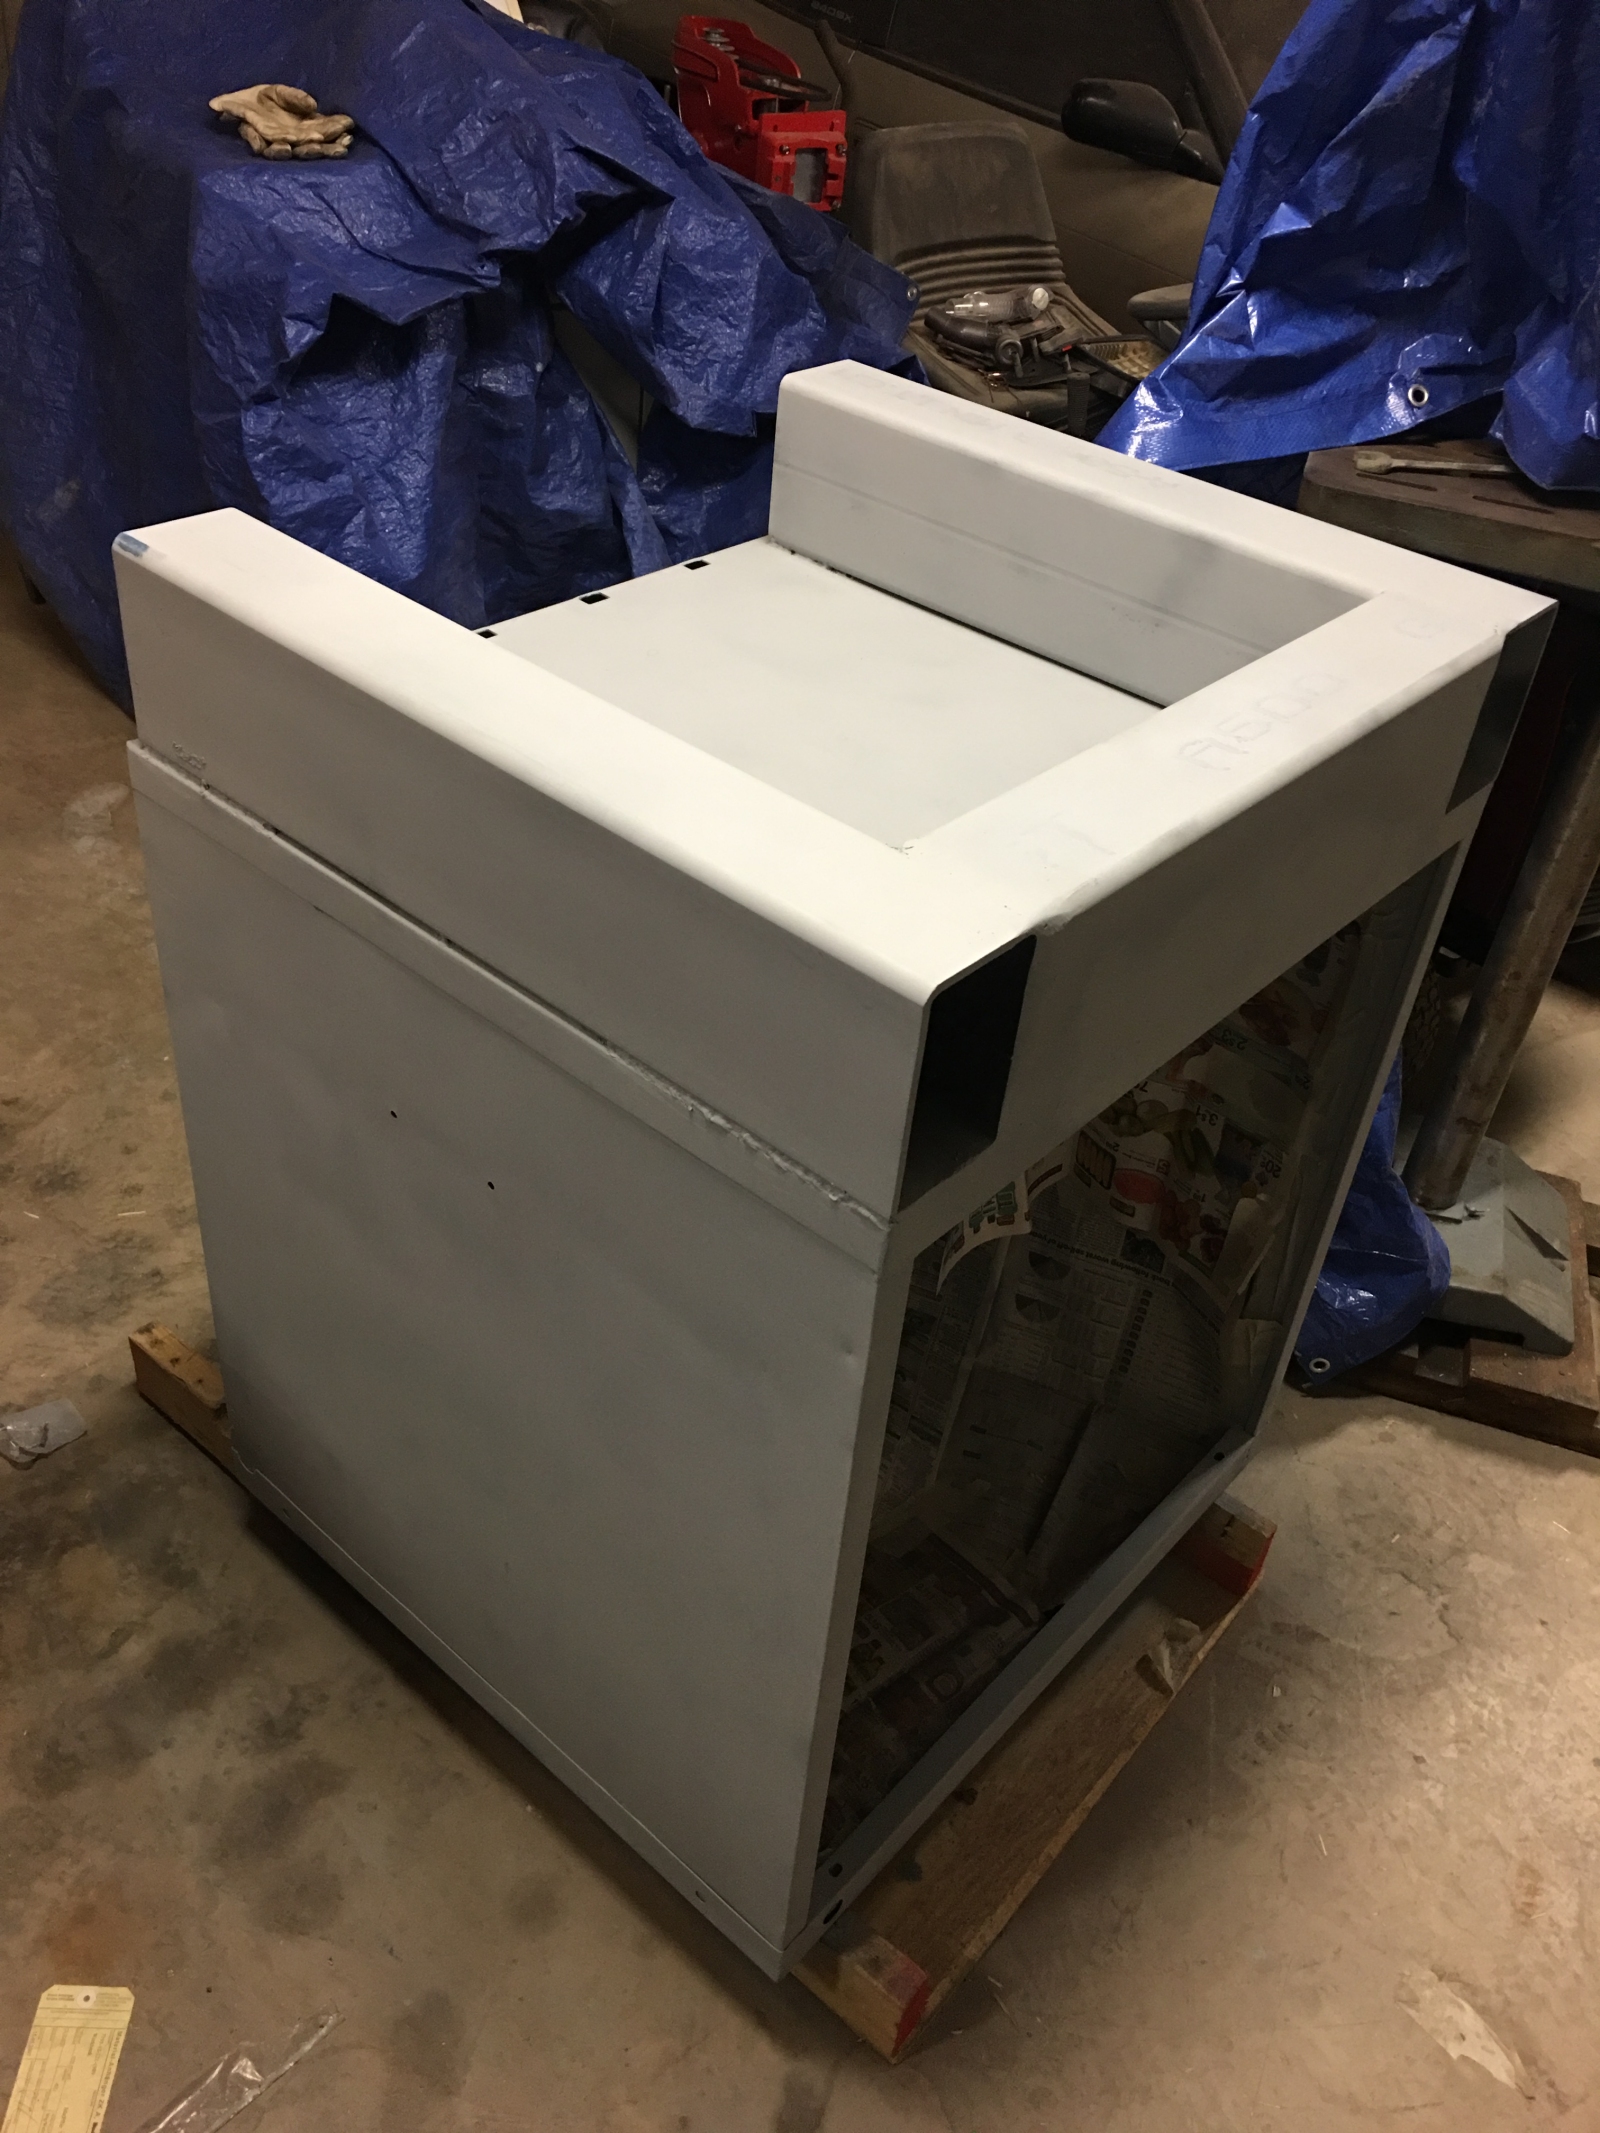
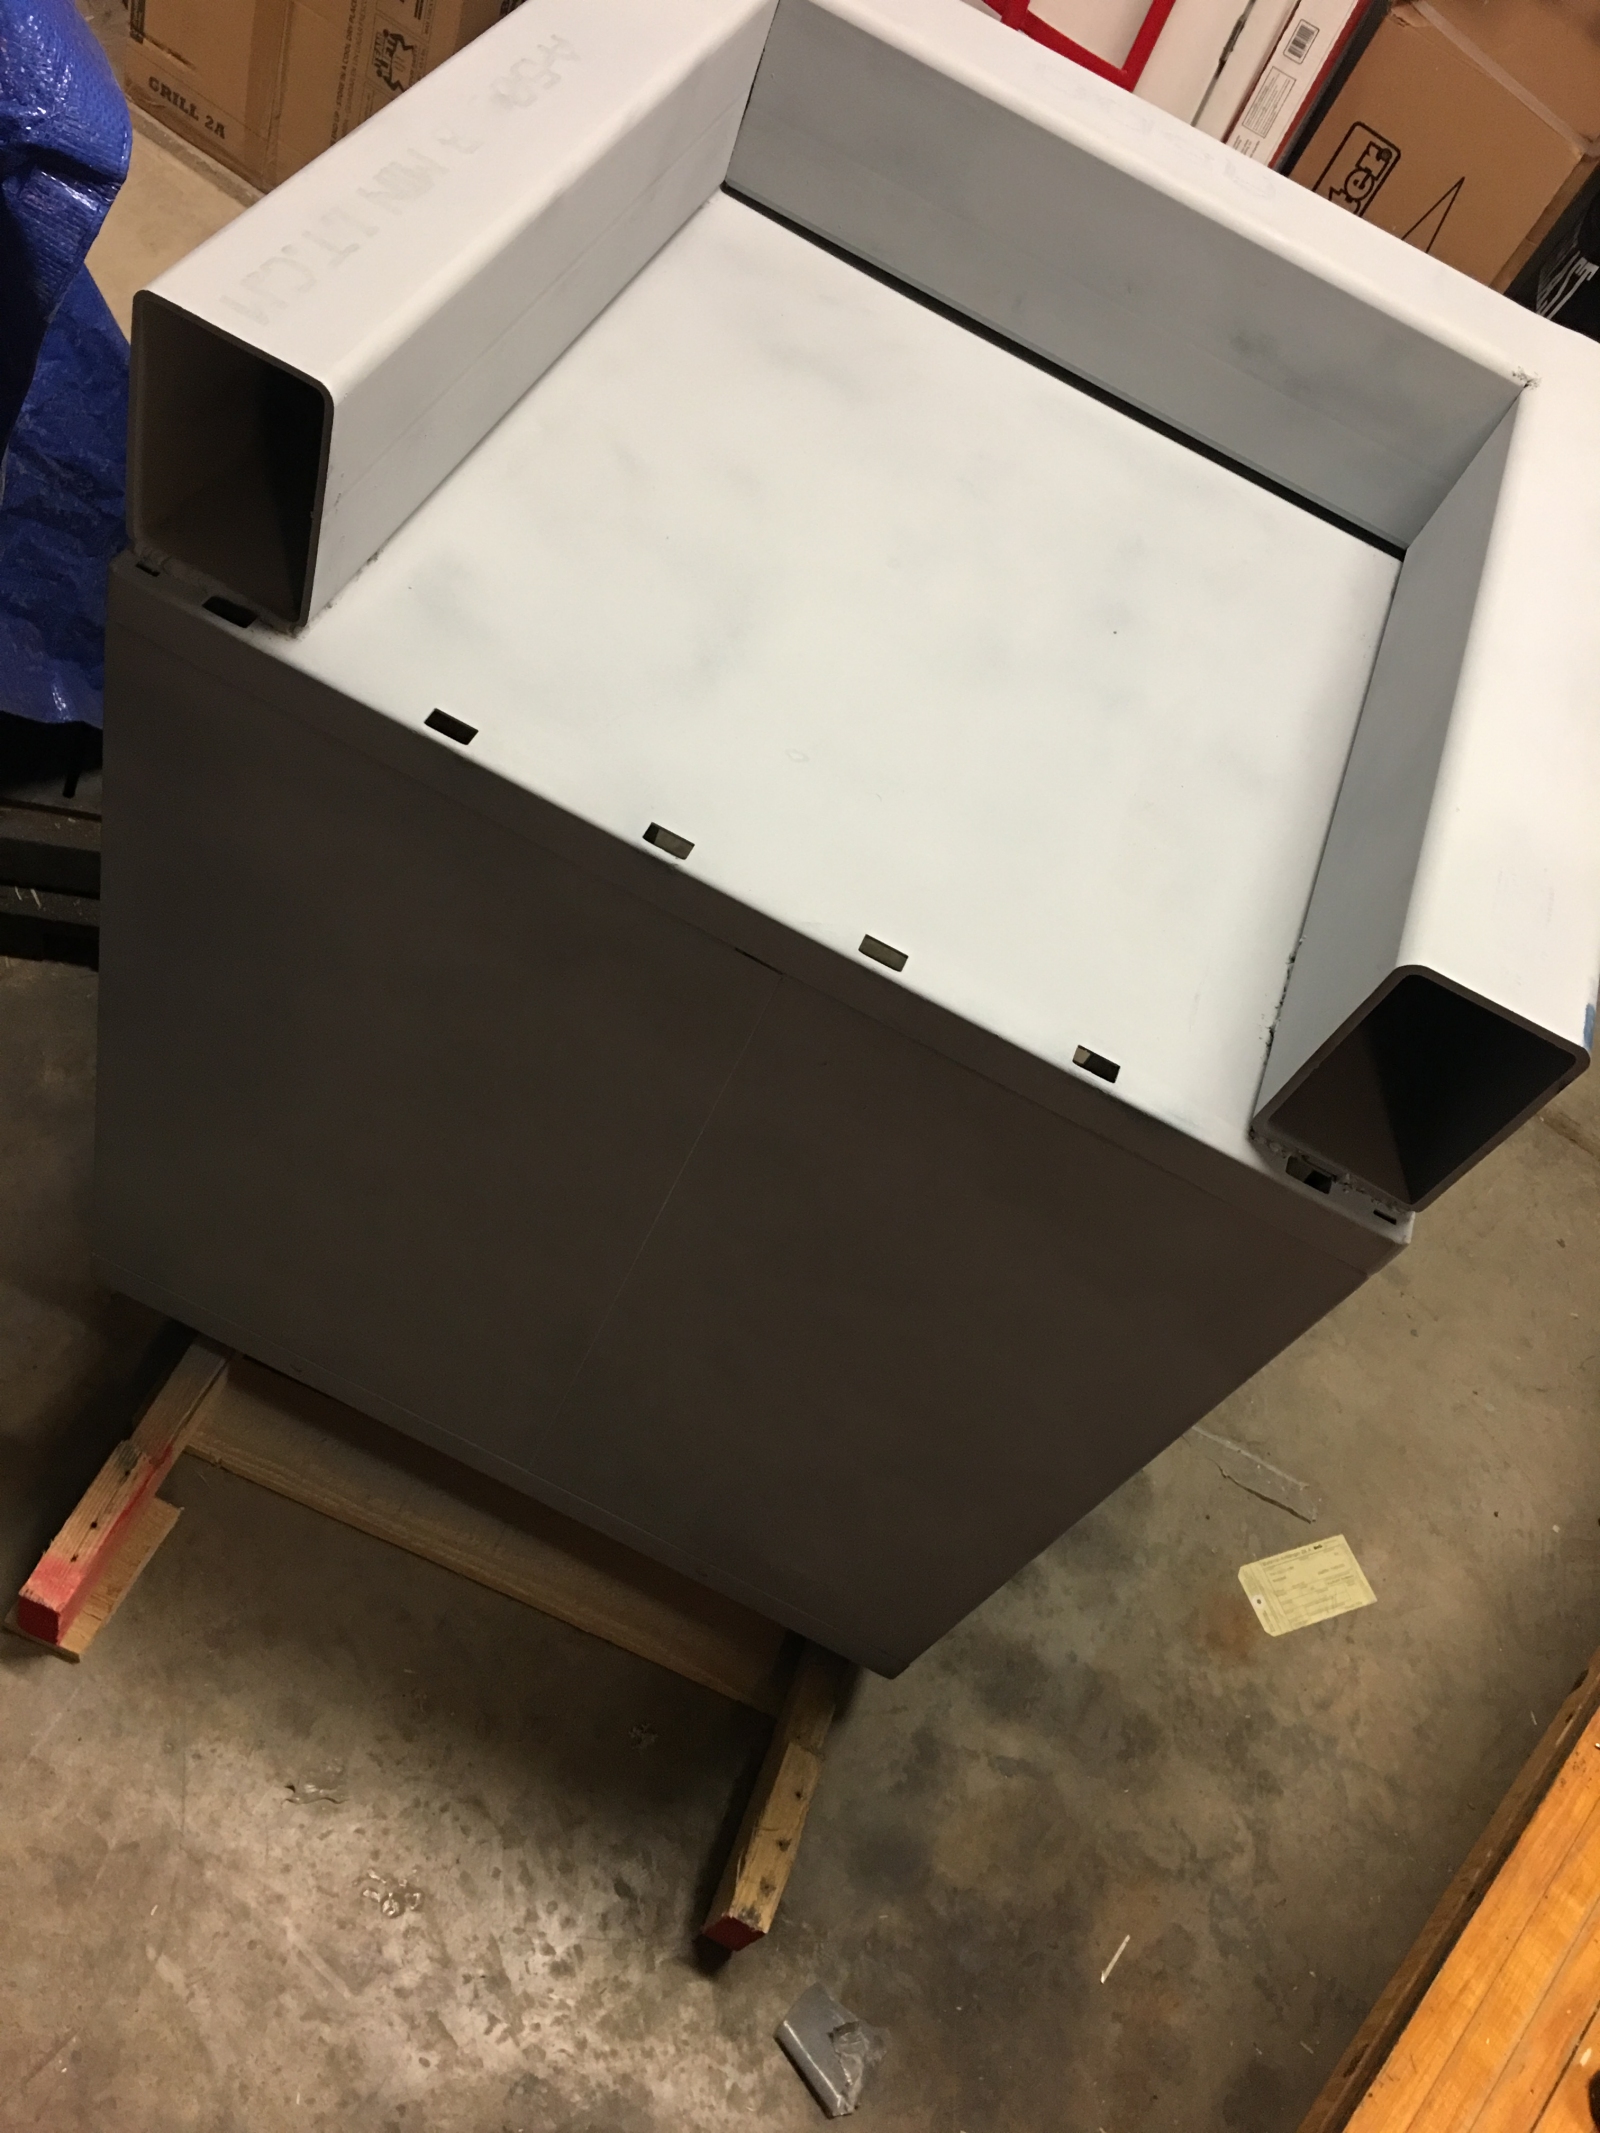
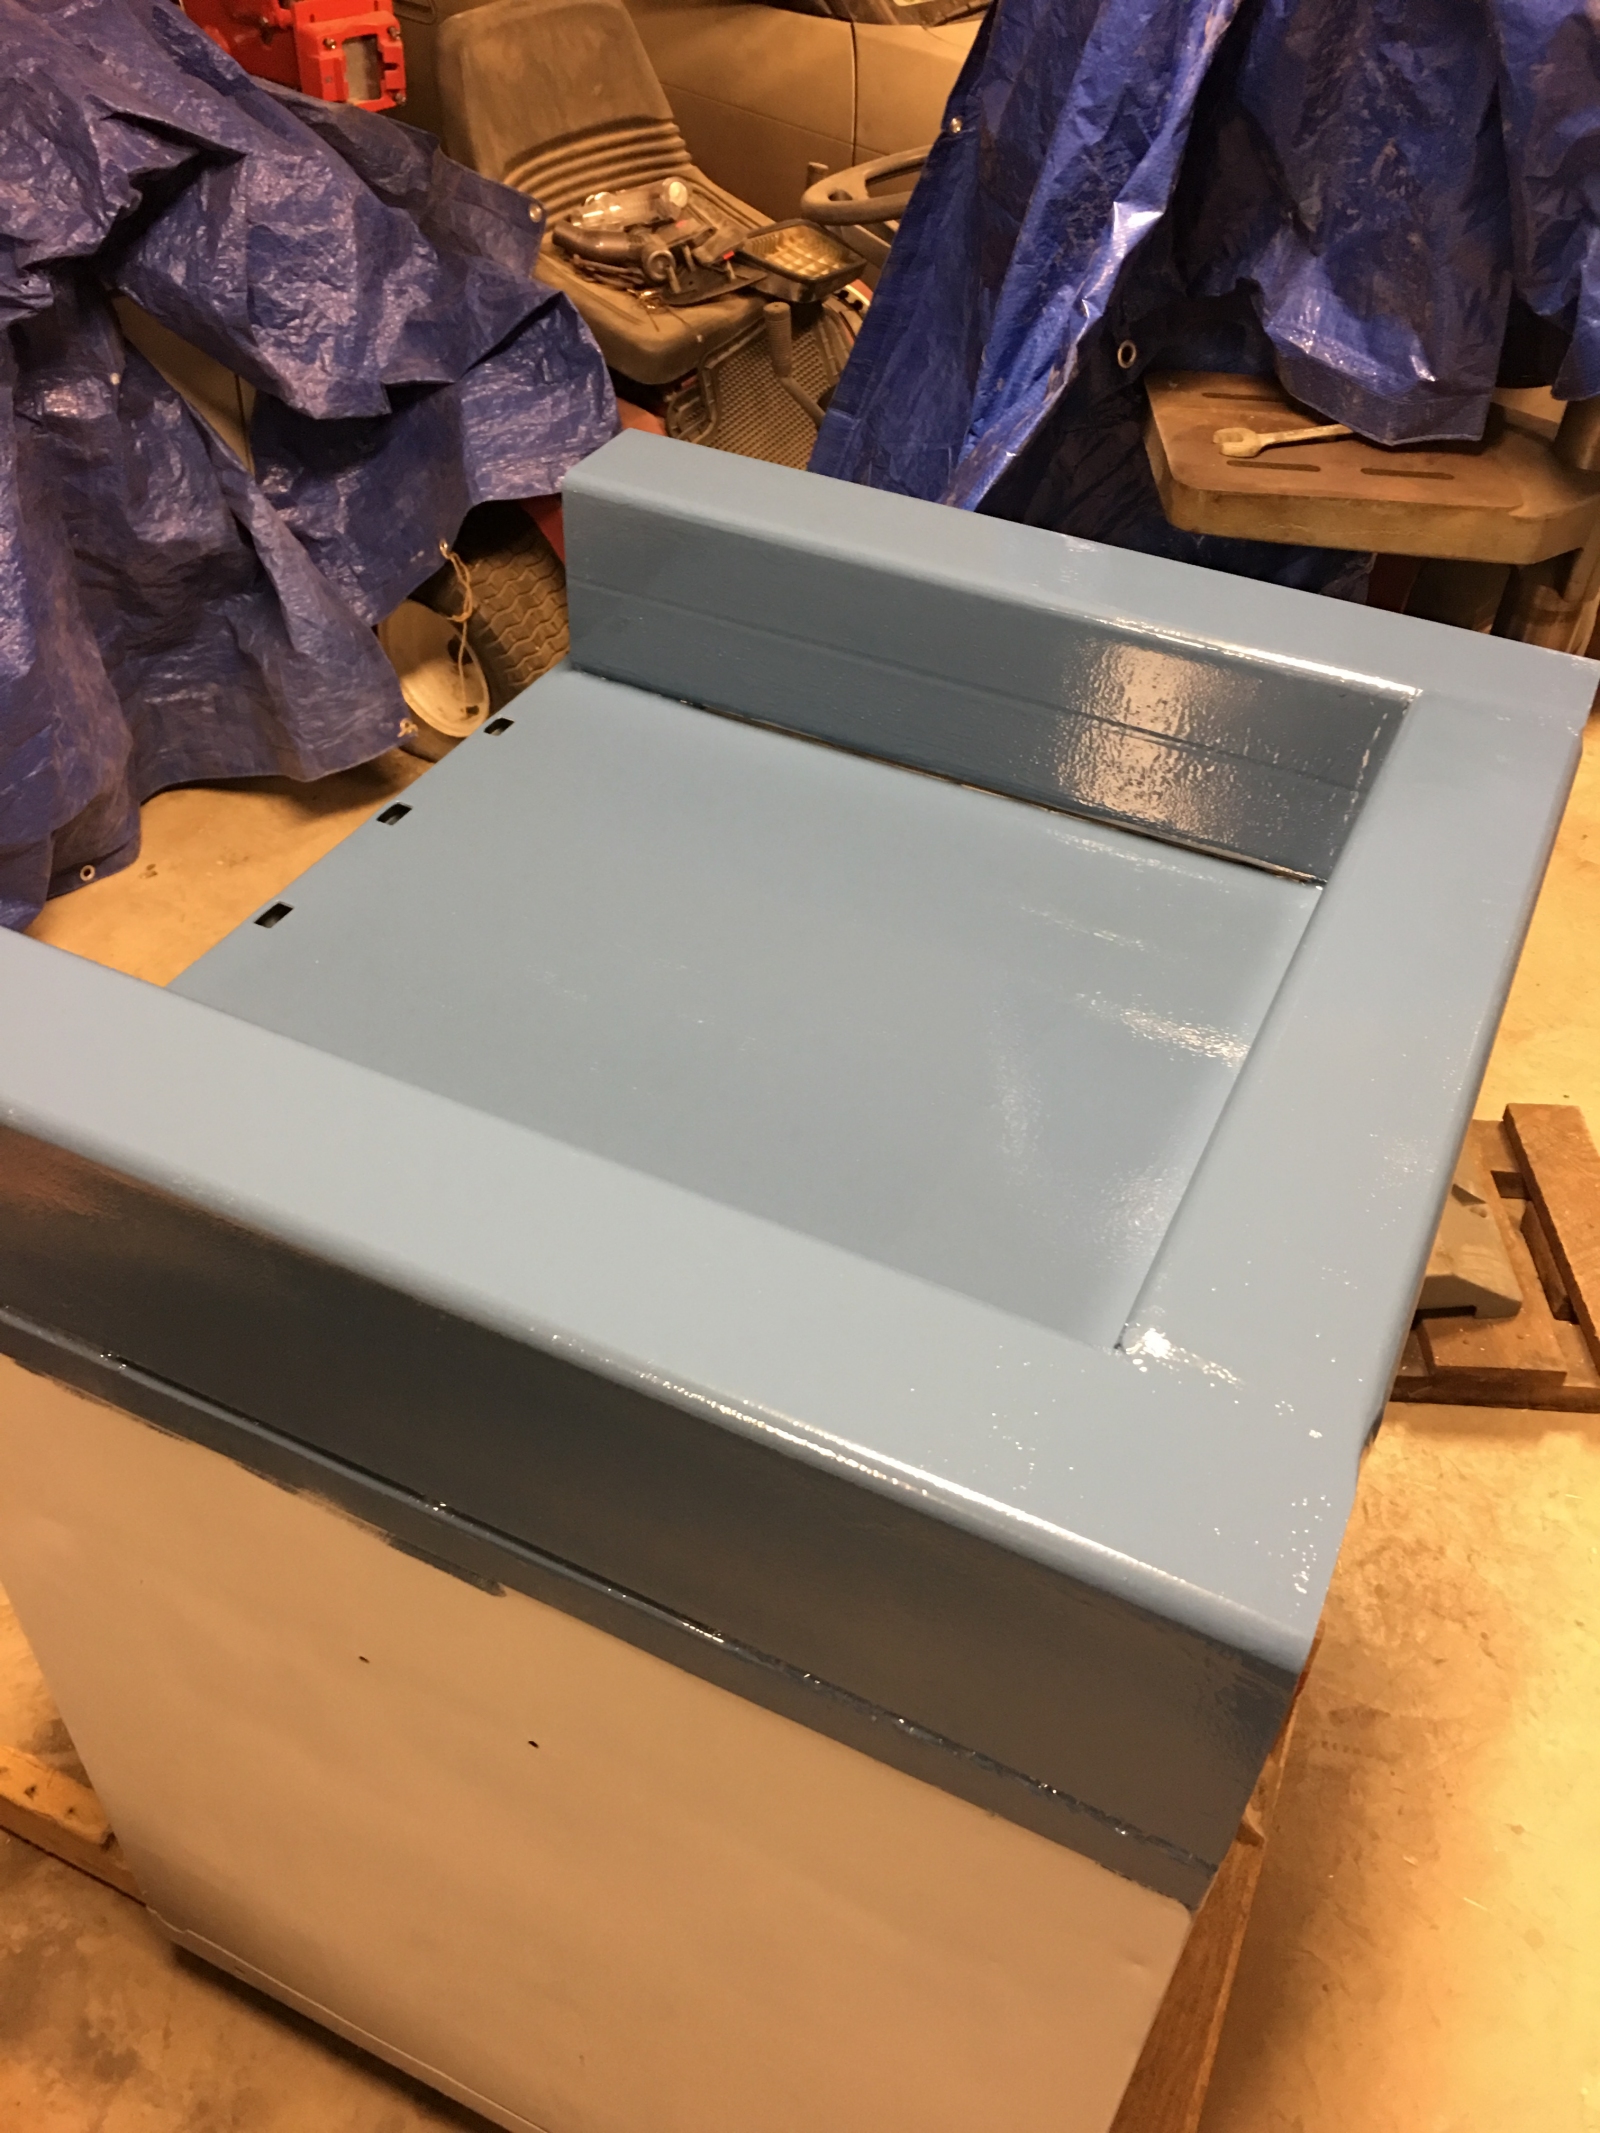
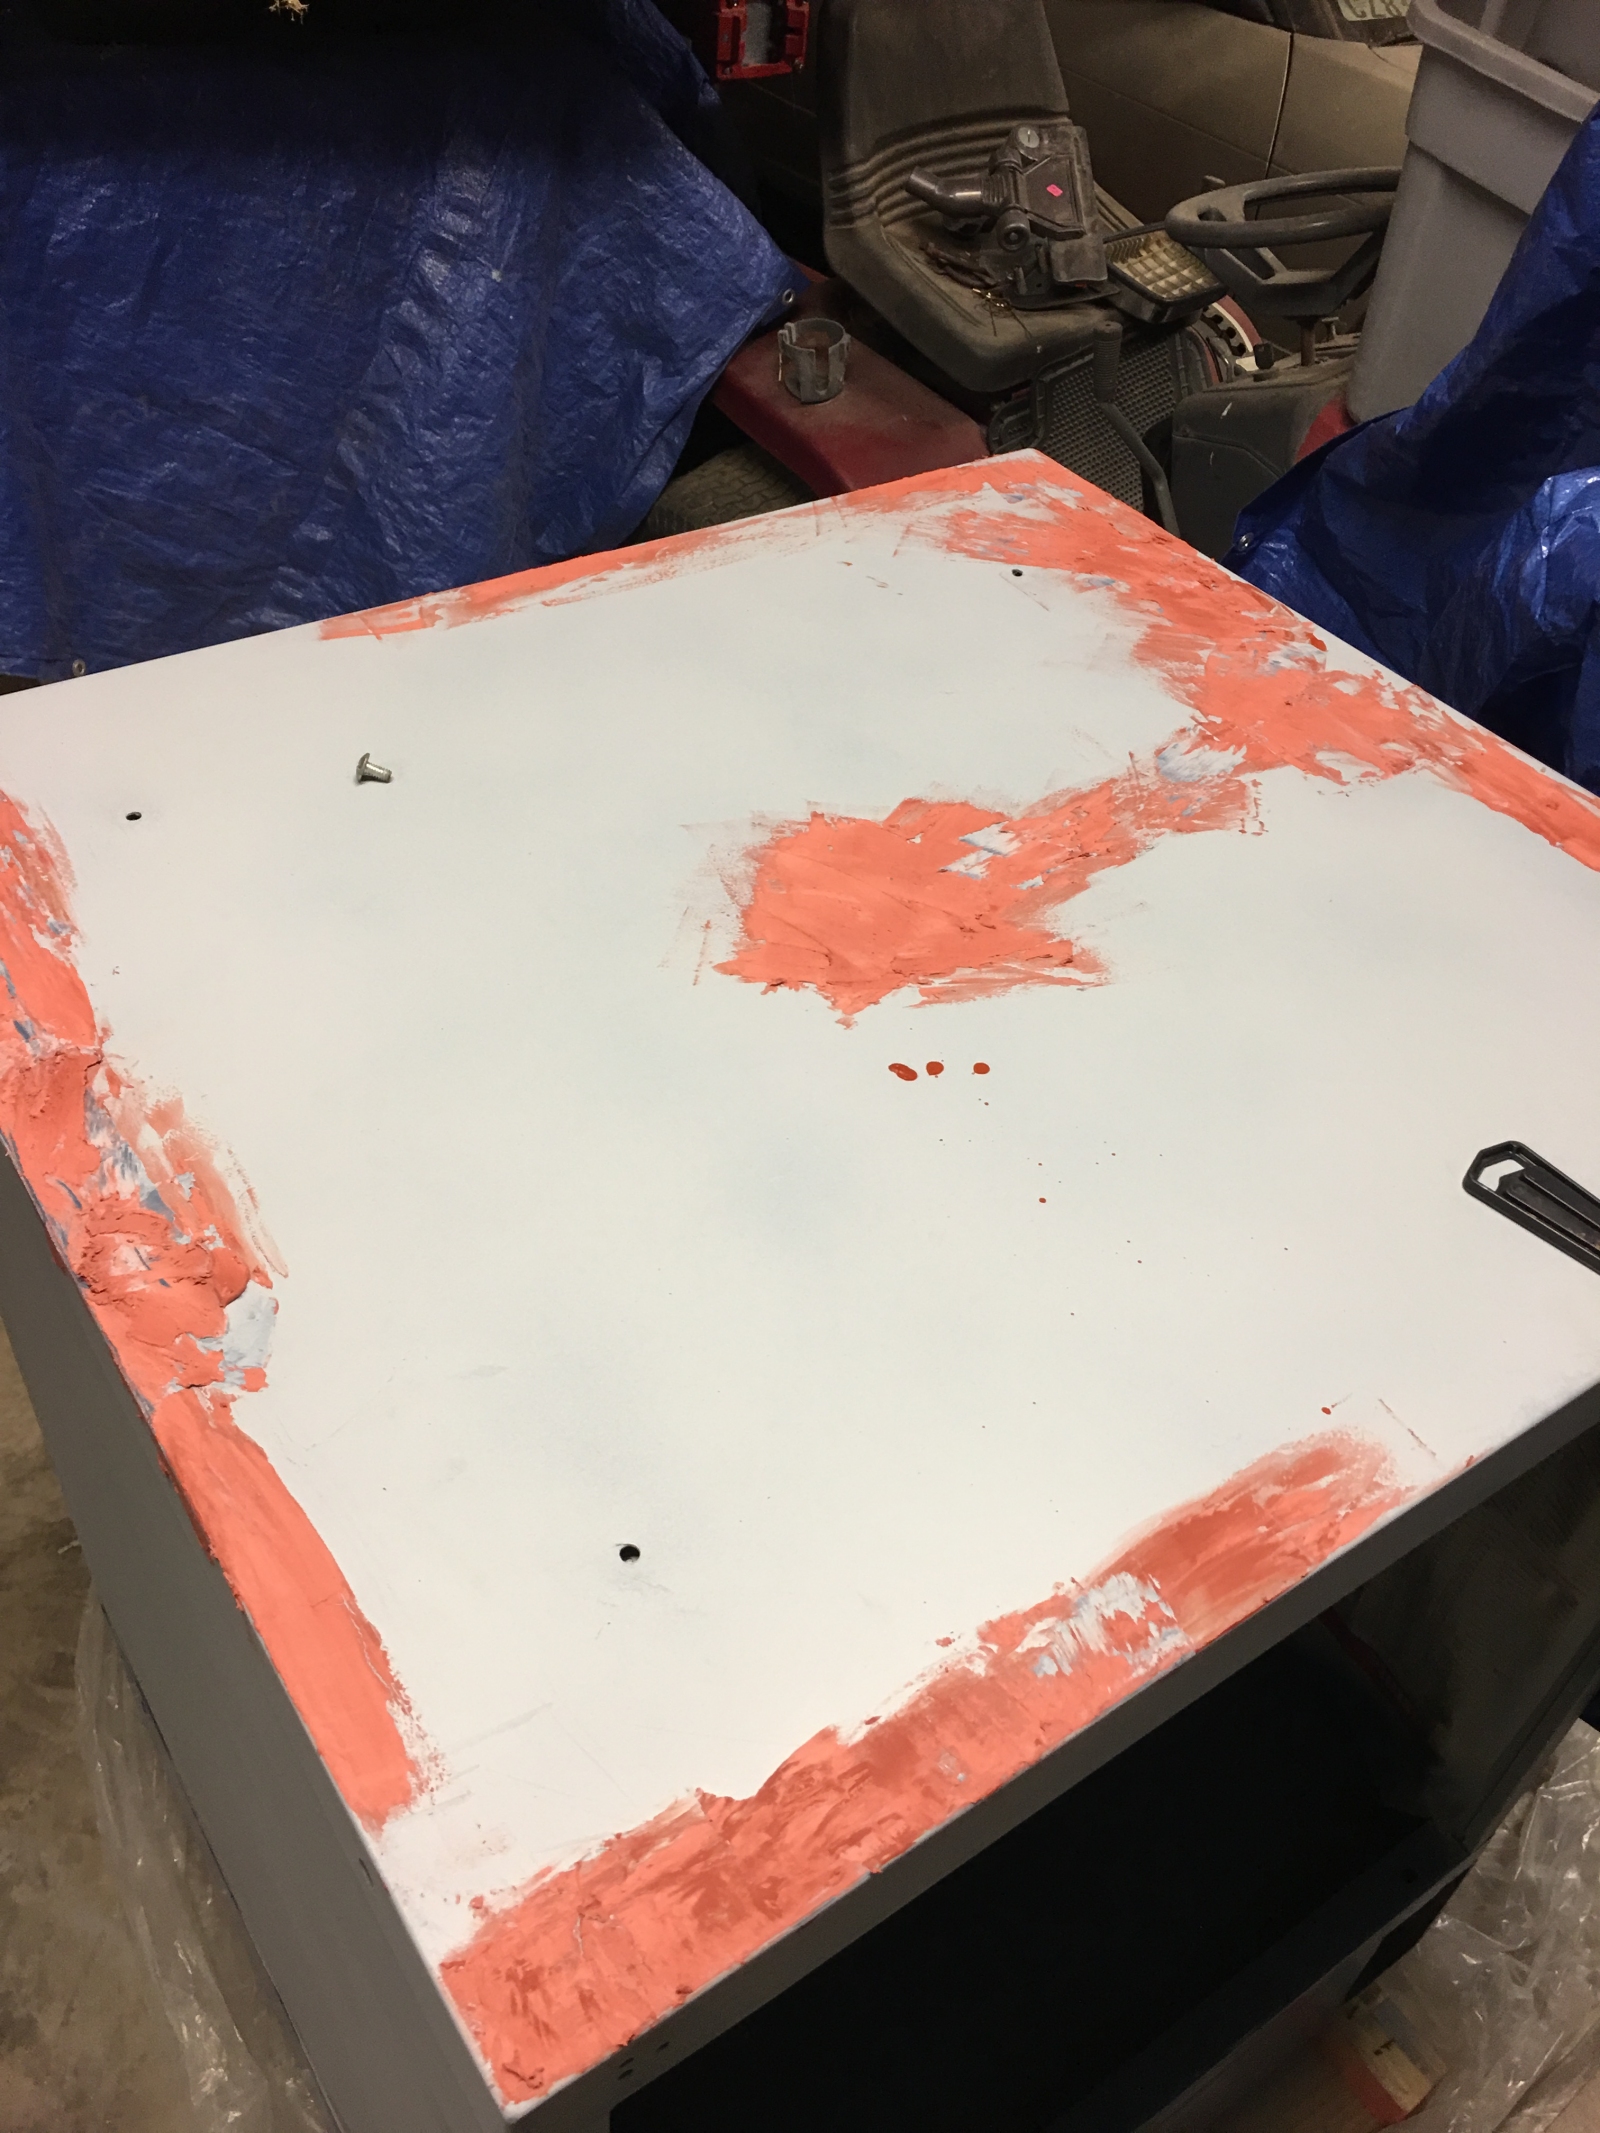
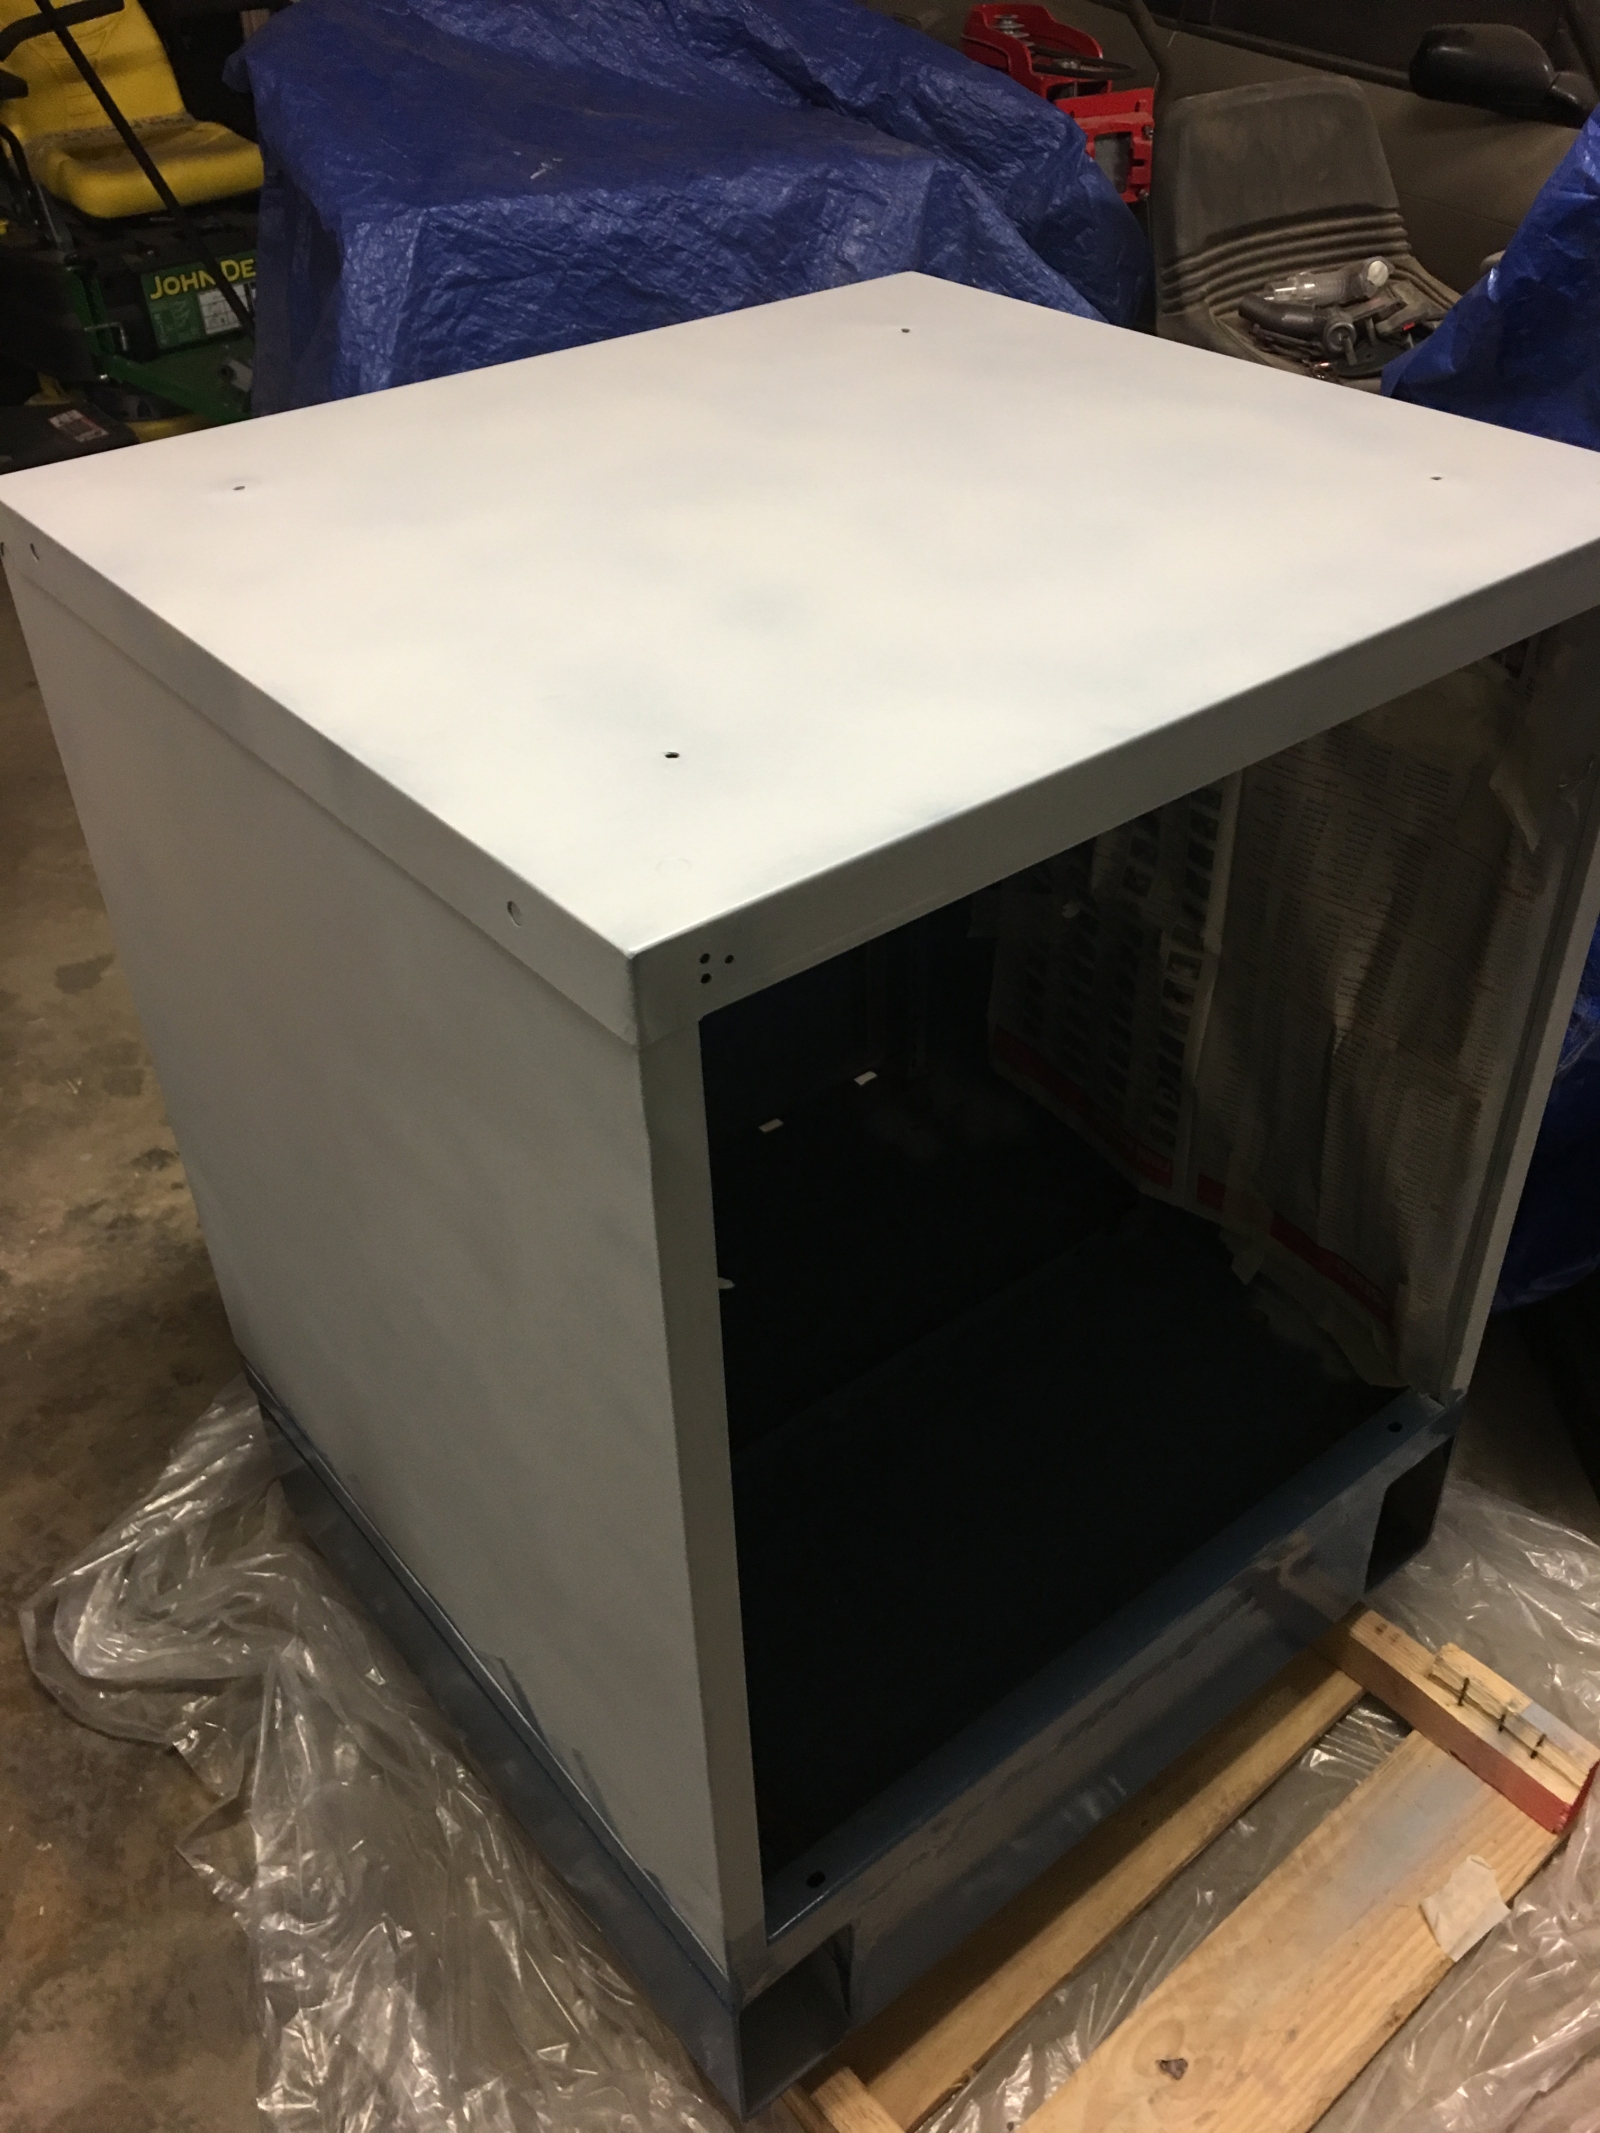
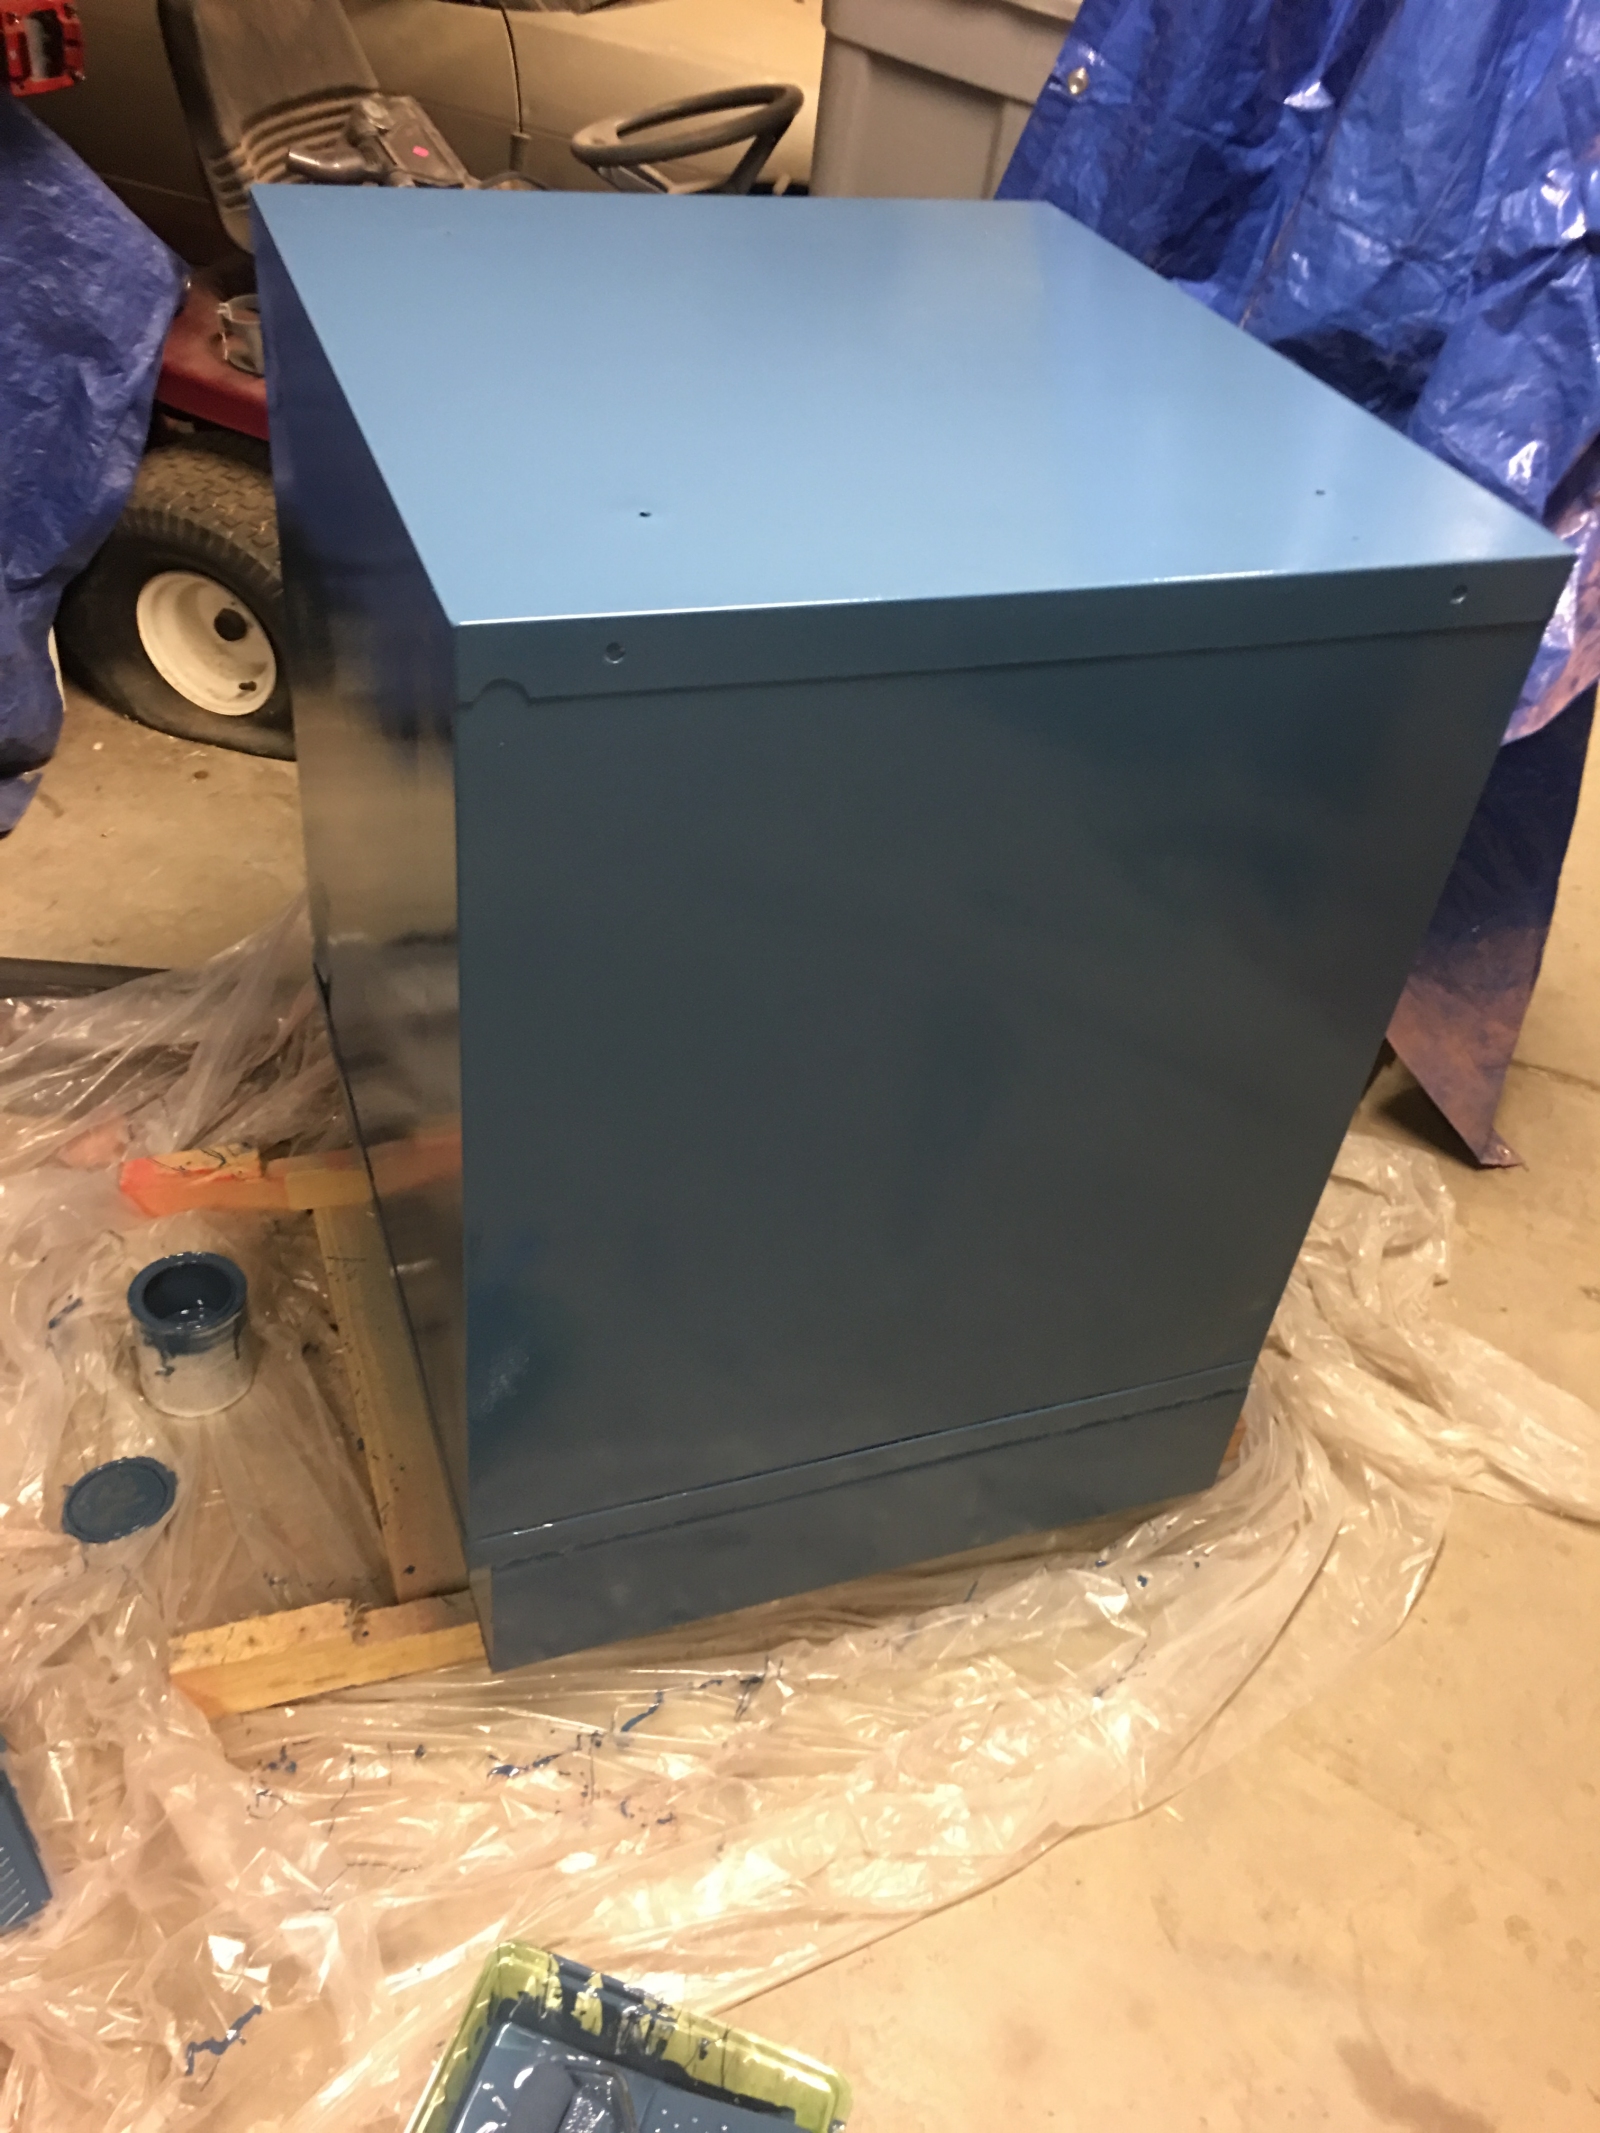
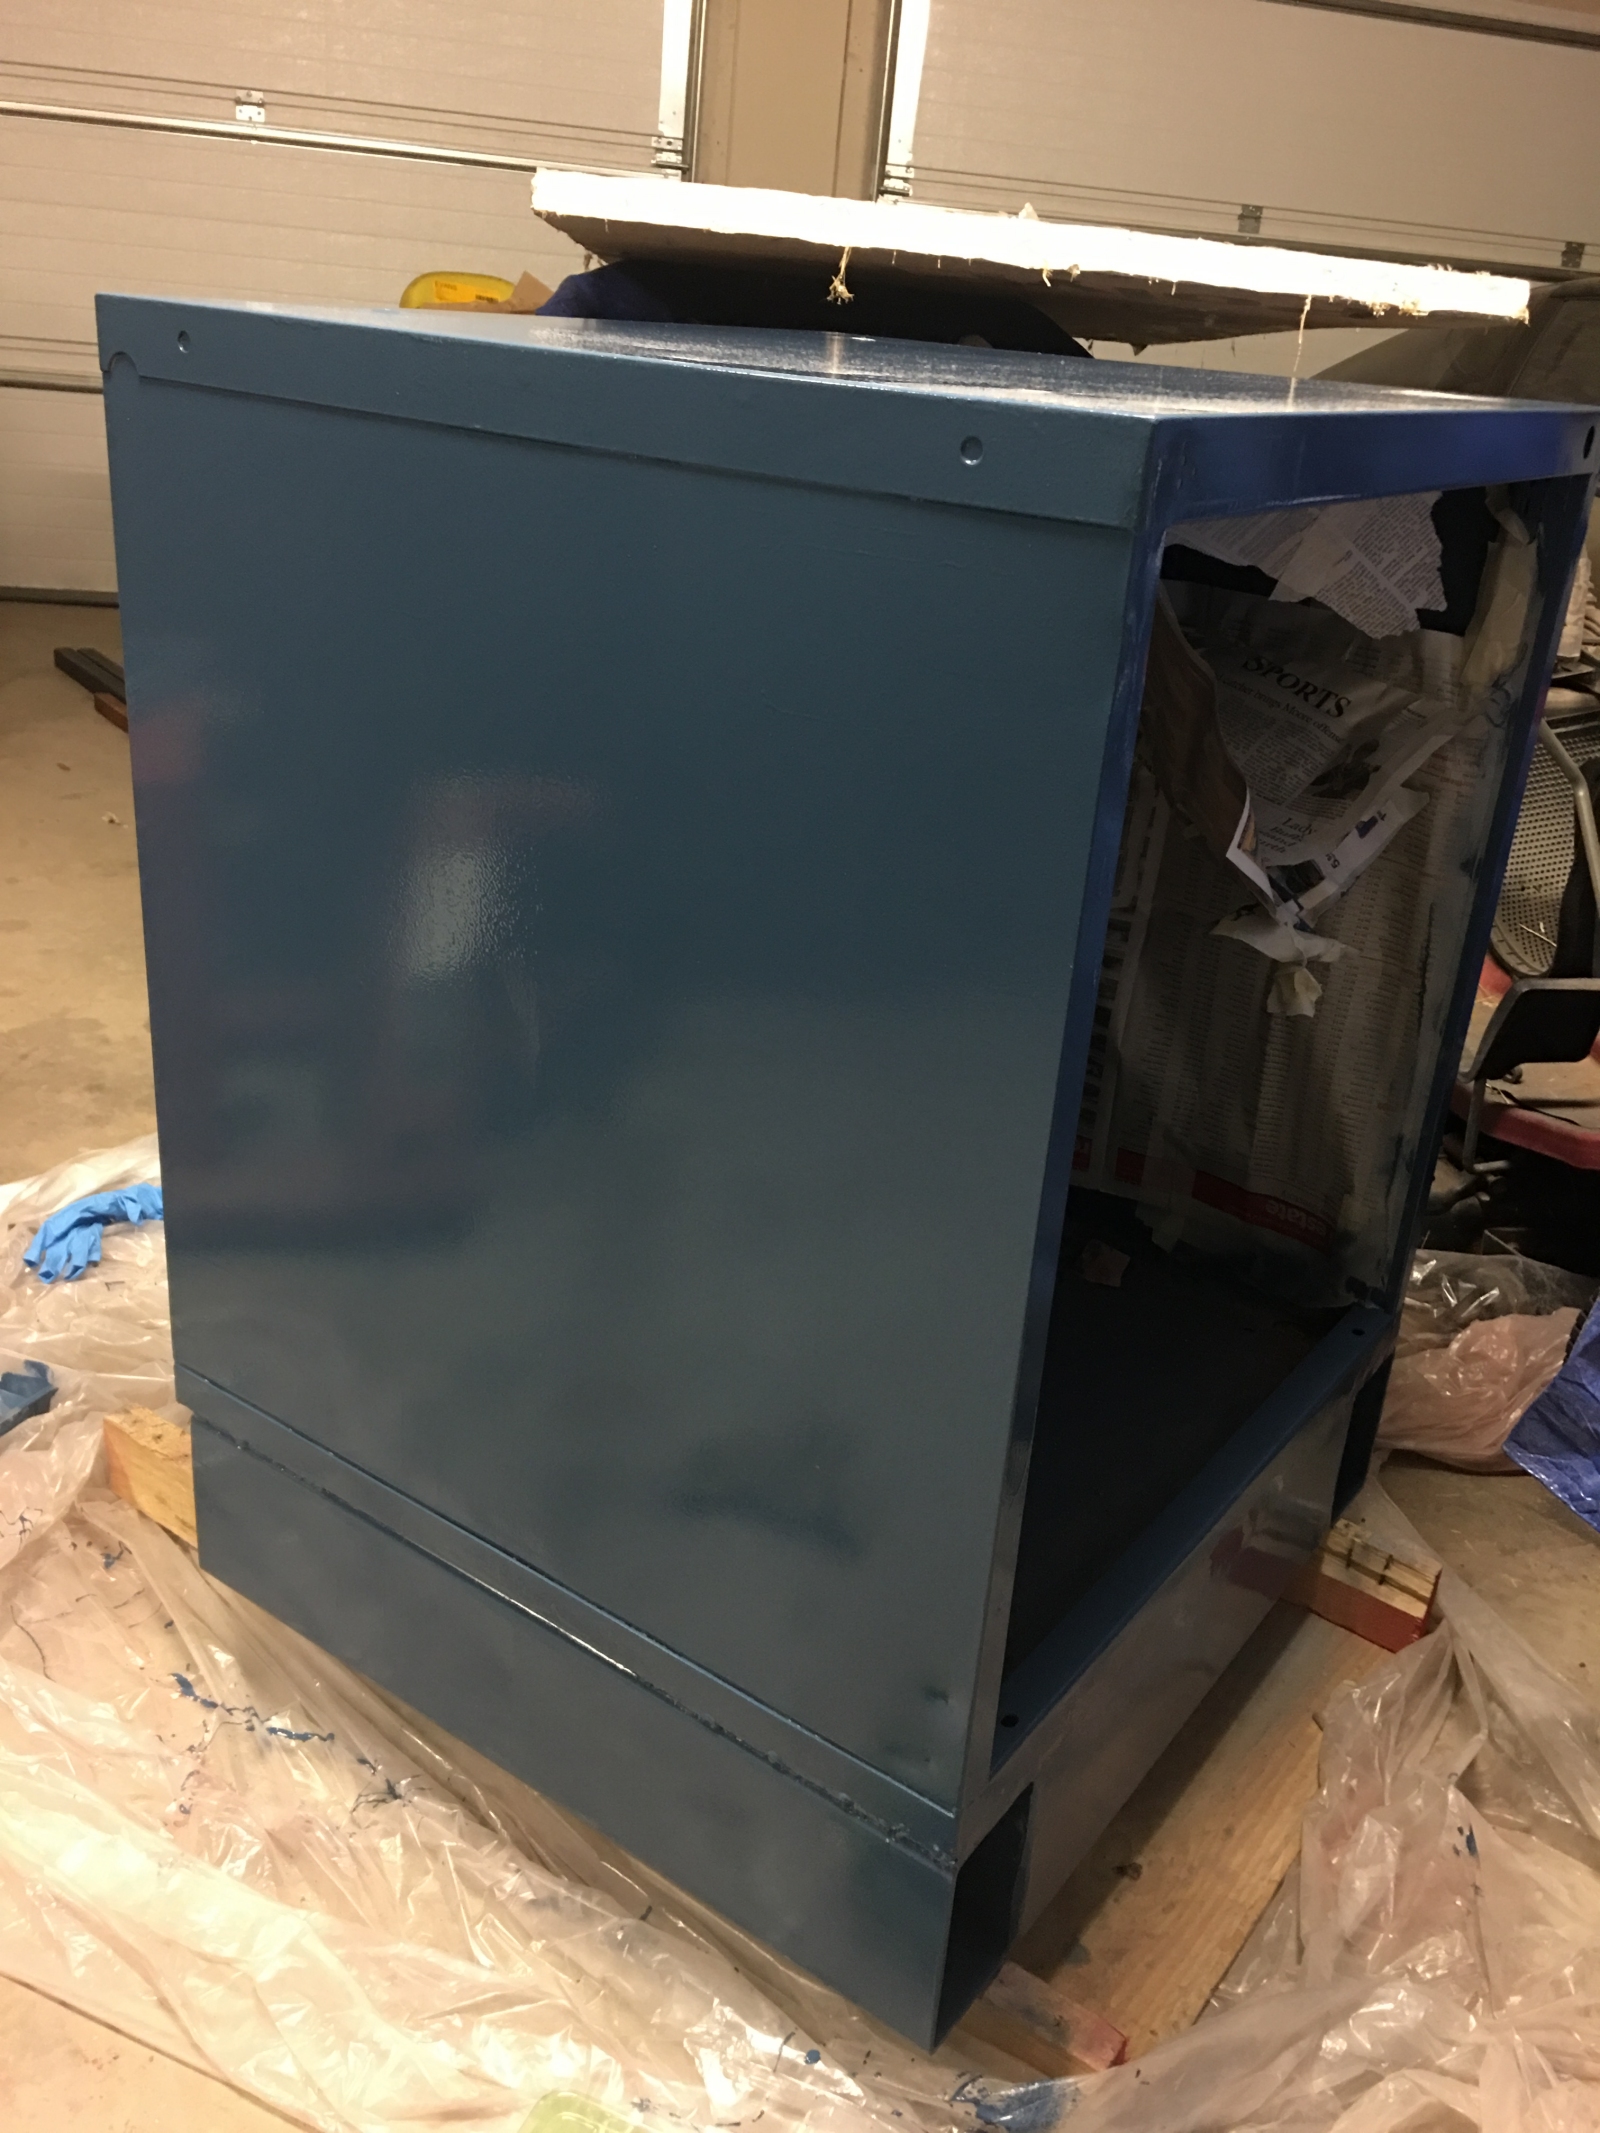
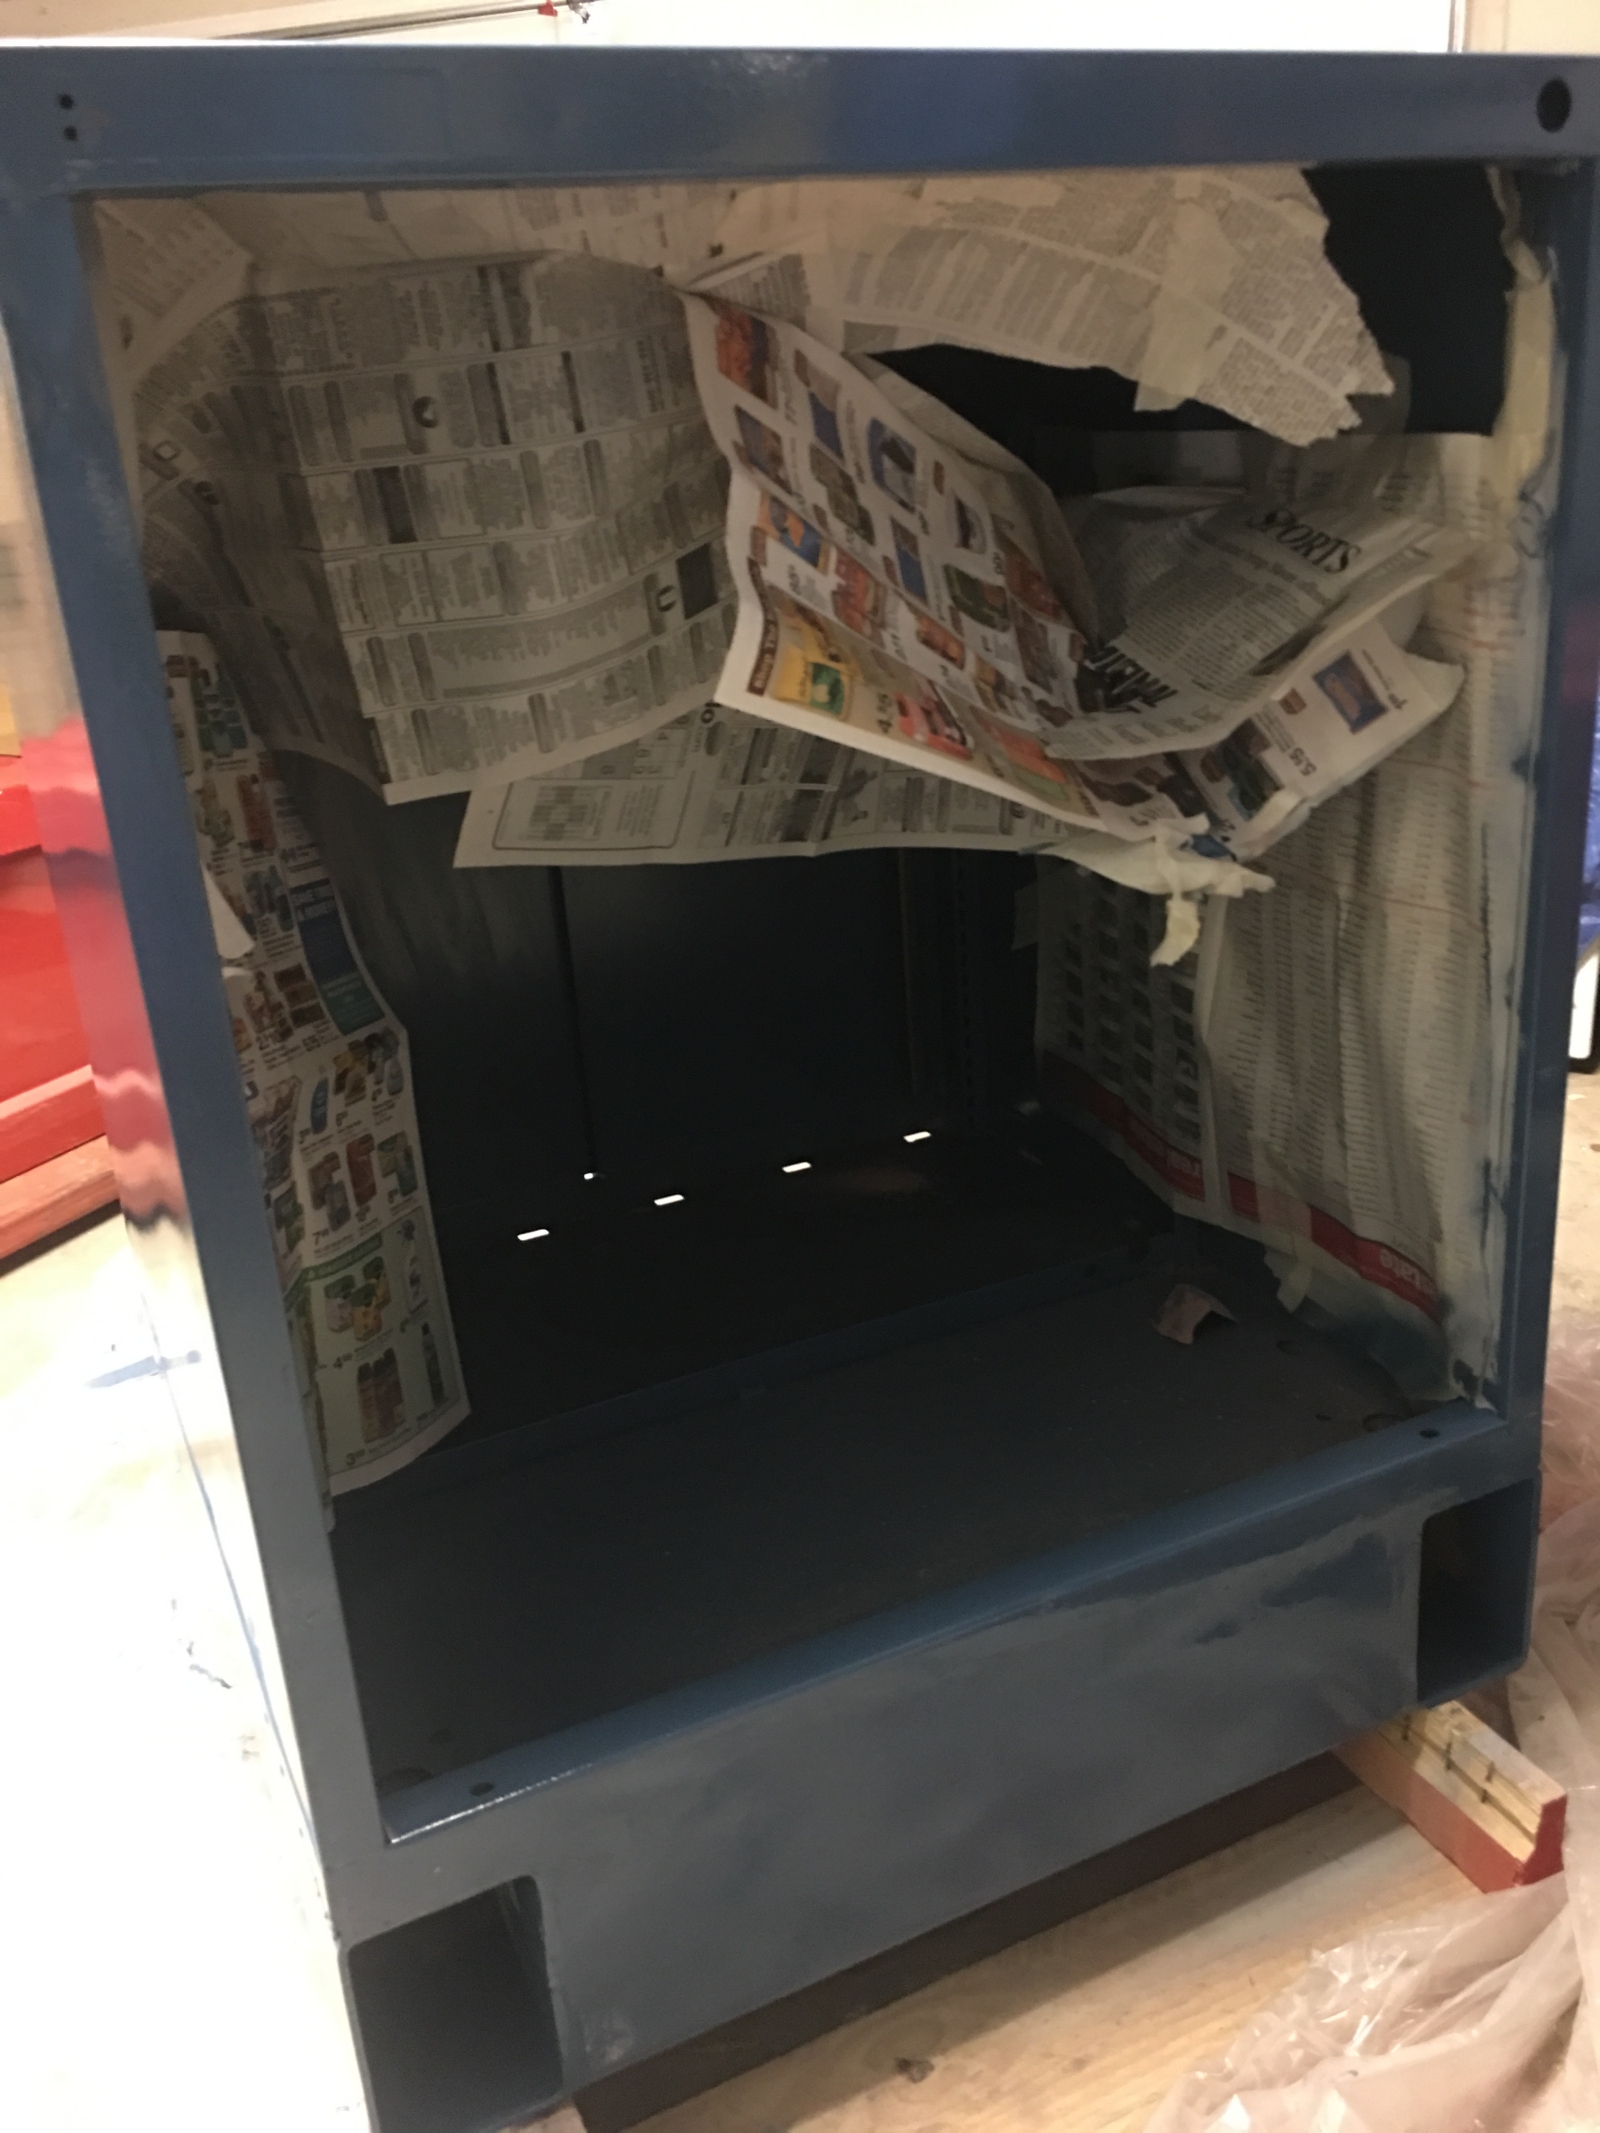
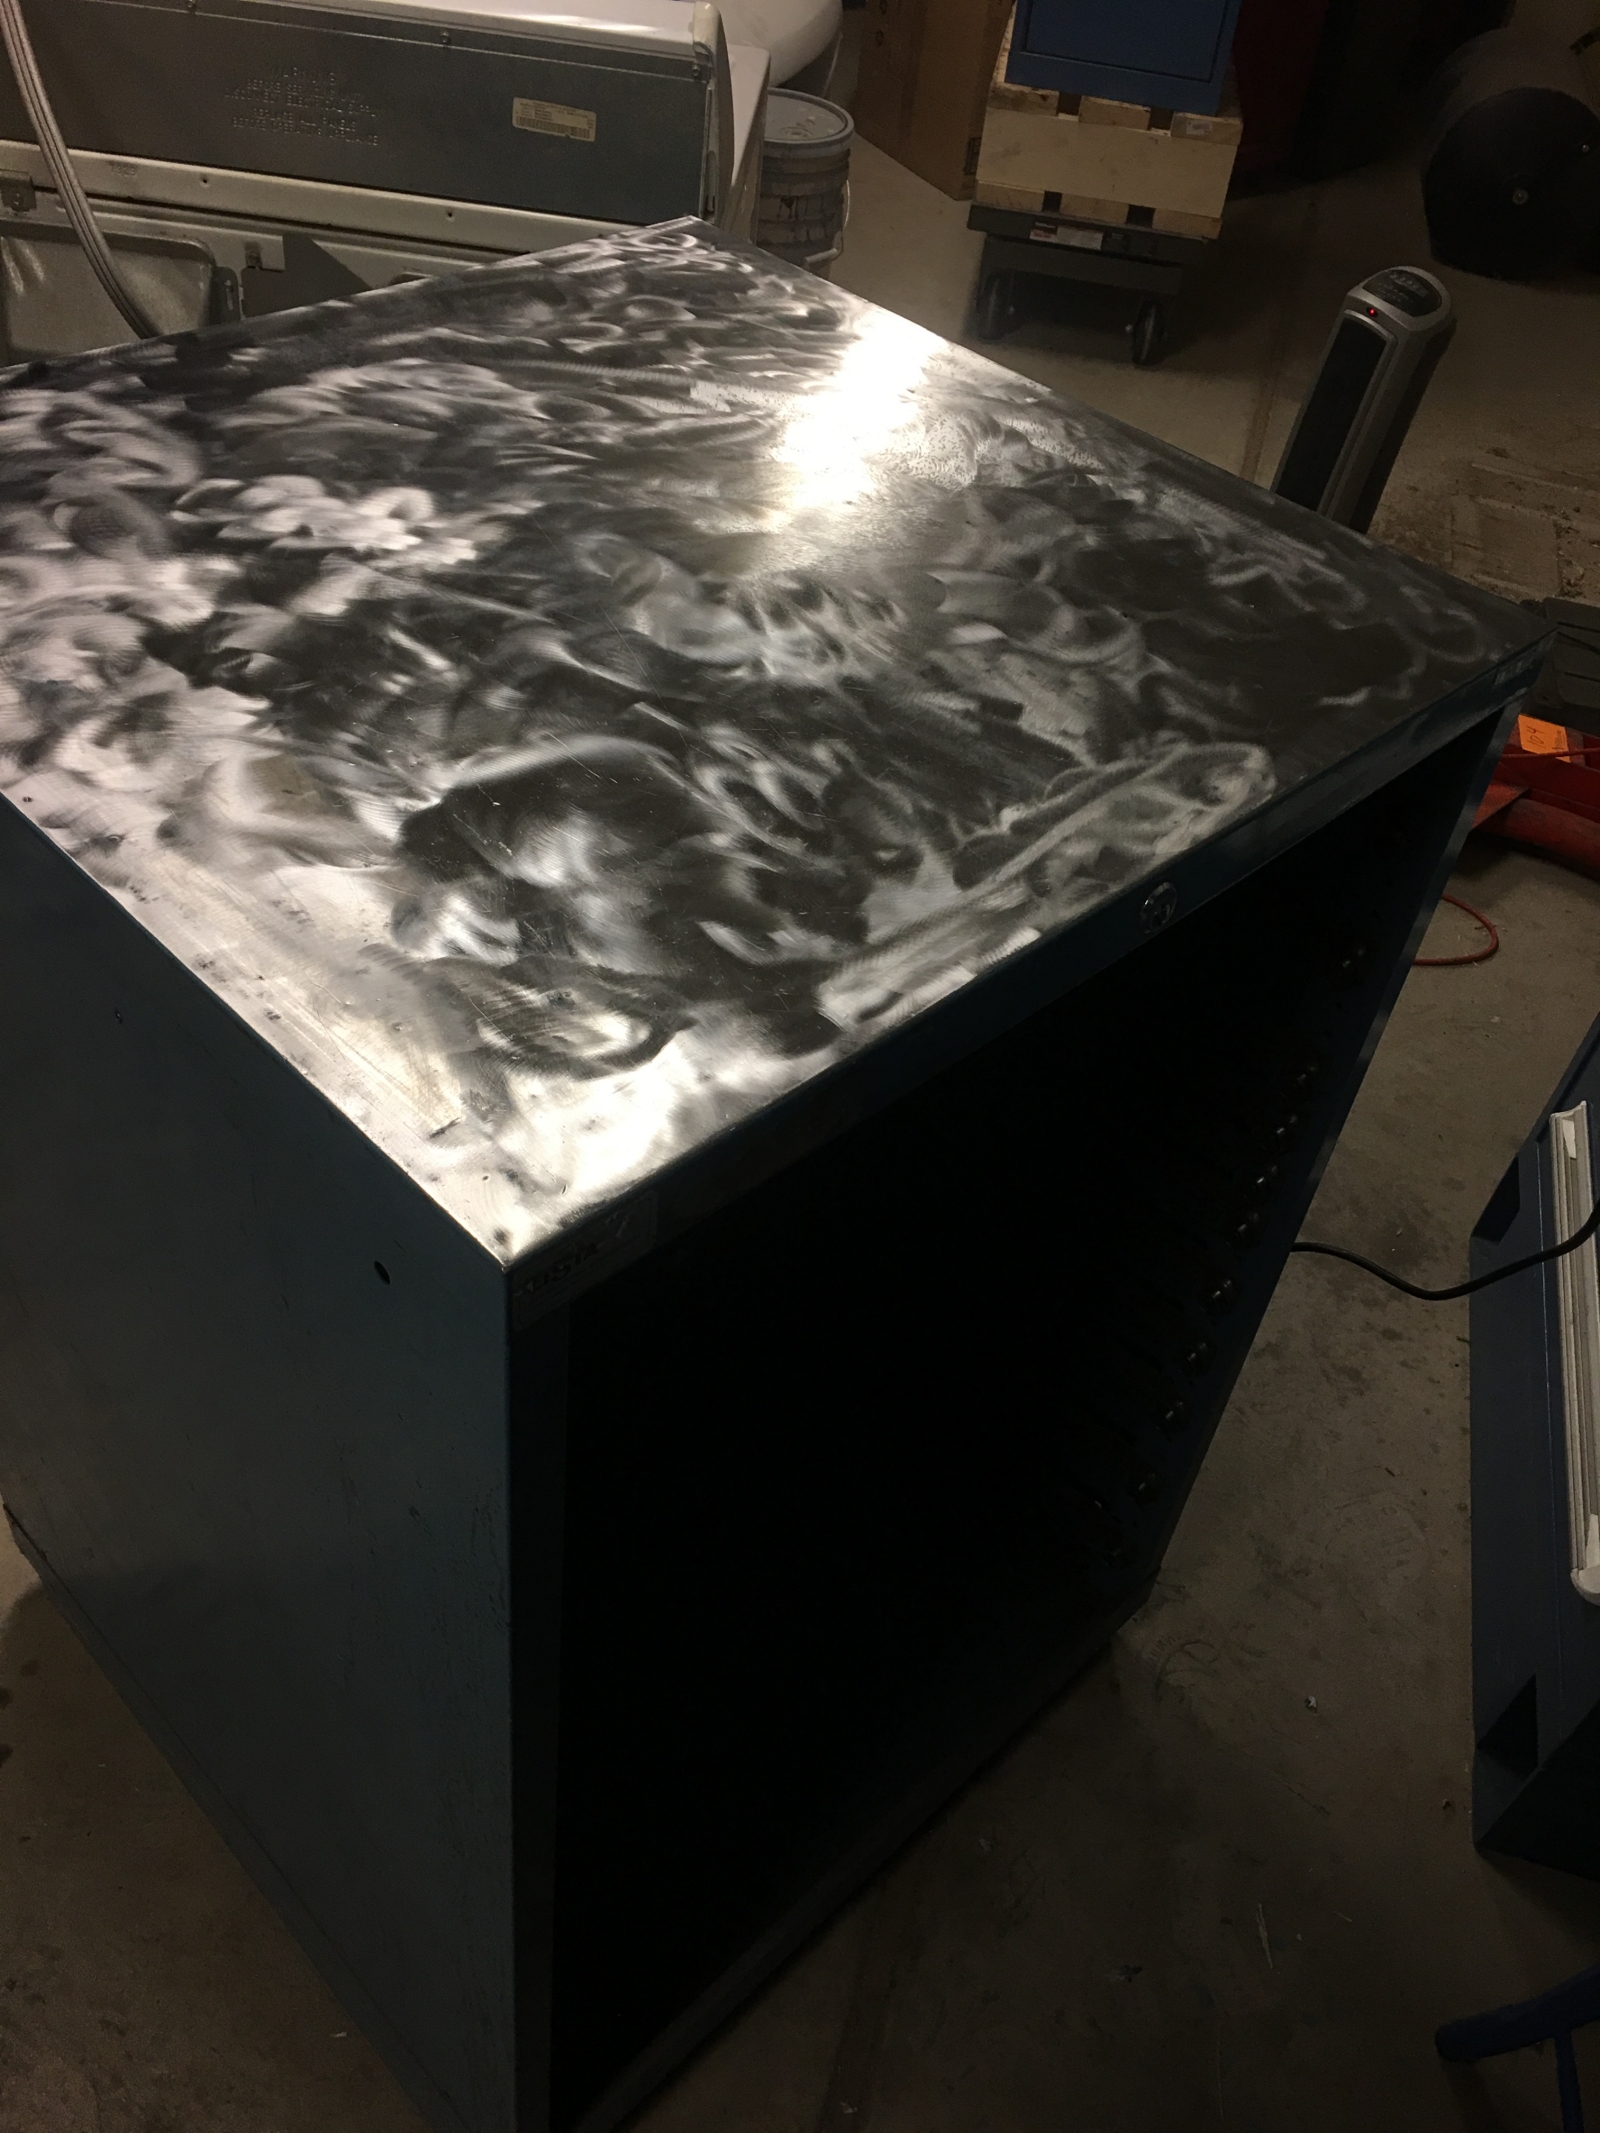
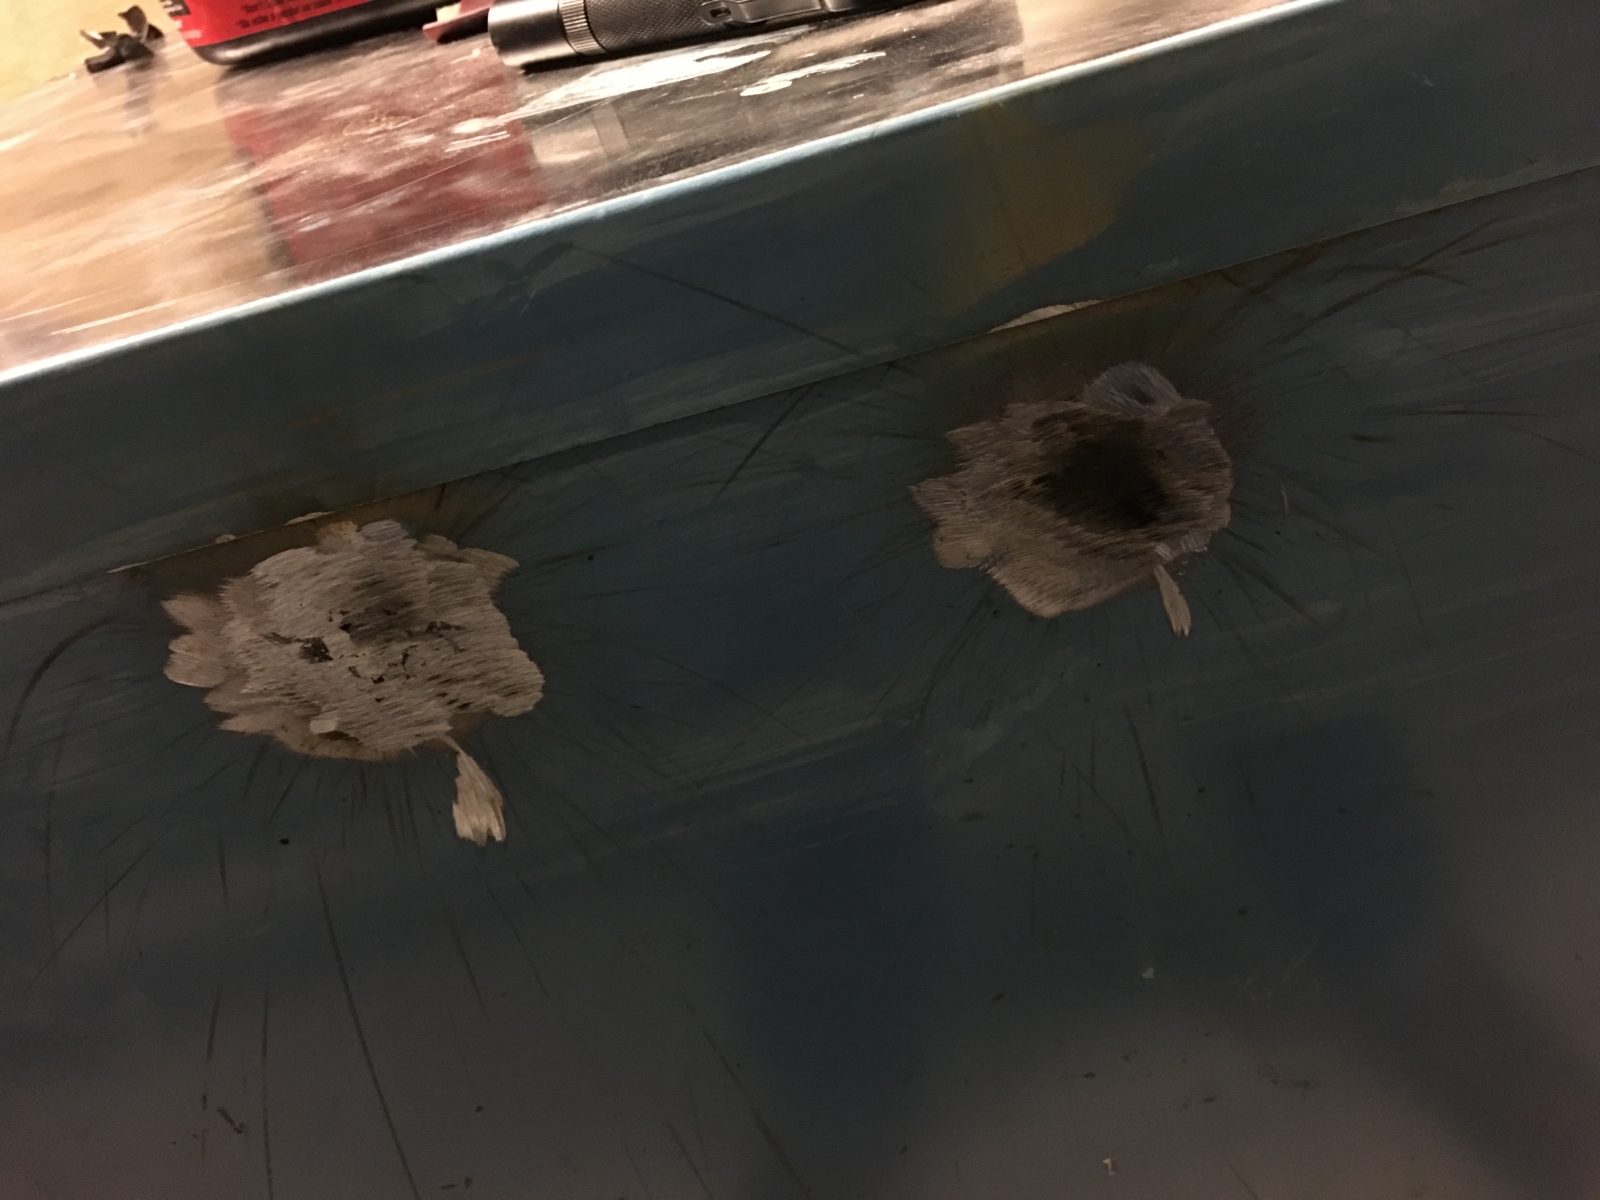
Cleaned a few paint stains off the flame cabinet with aircraft aemover. This stuff does wonders, and won't eat into baked on paint too bad if you wipe it off quickly.
7.jpg


8.jpg


9.jpg


10.jpg


11.jpg


December 2016
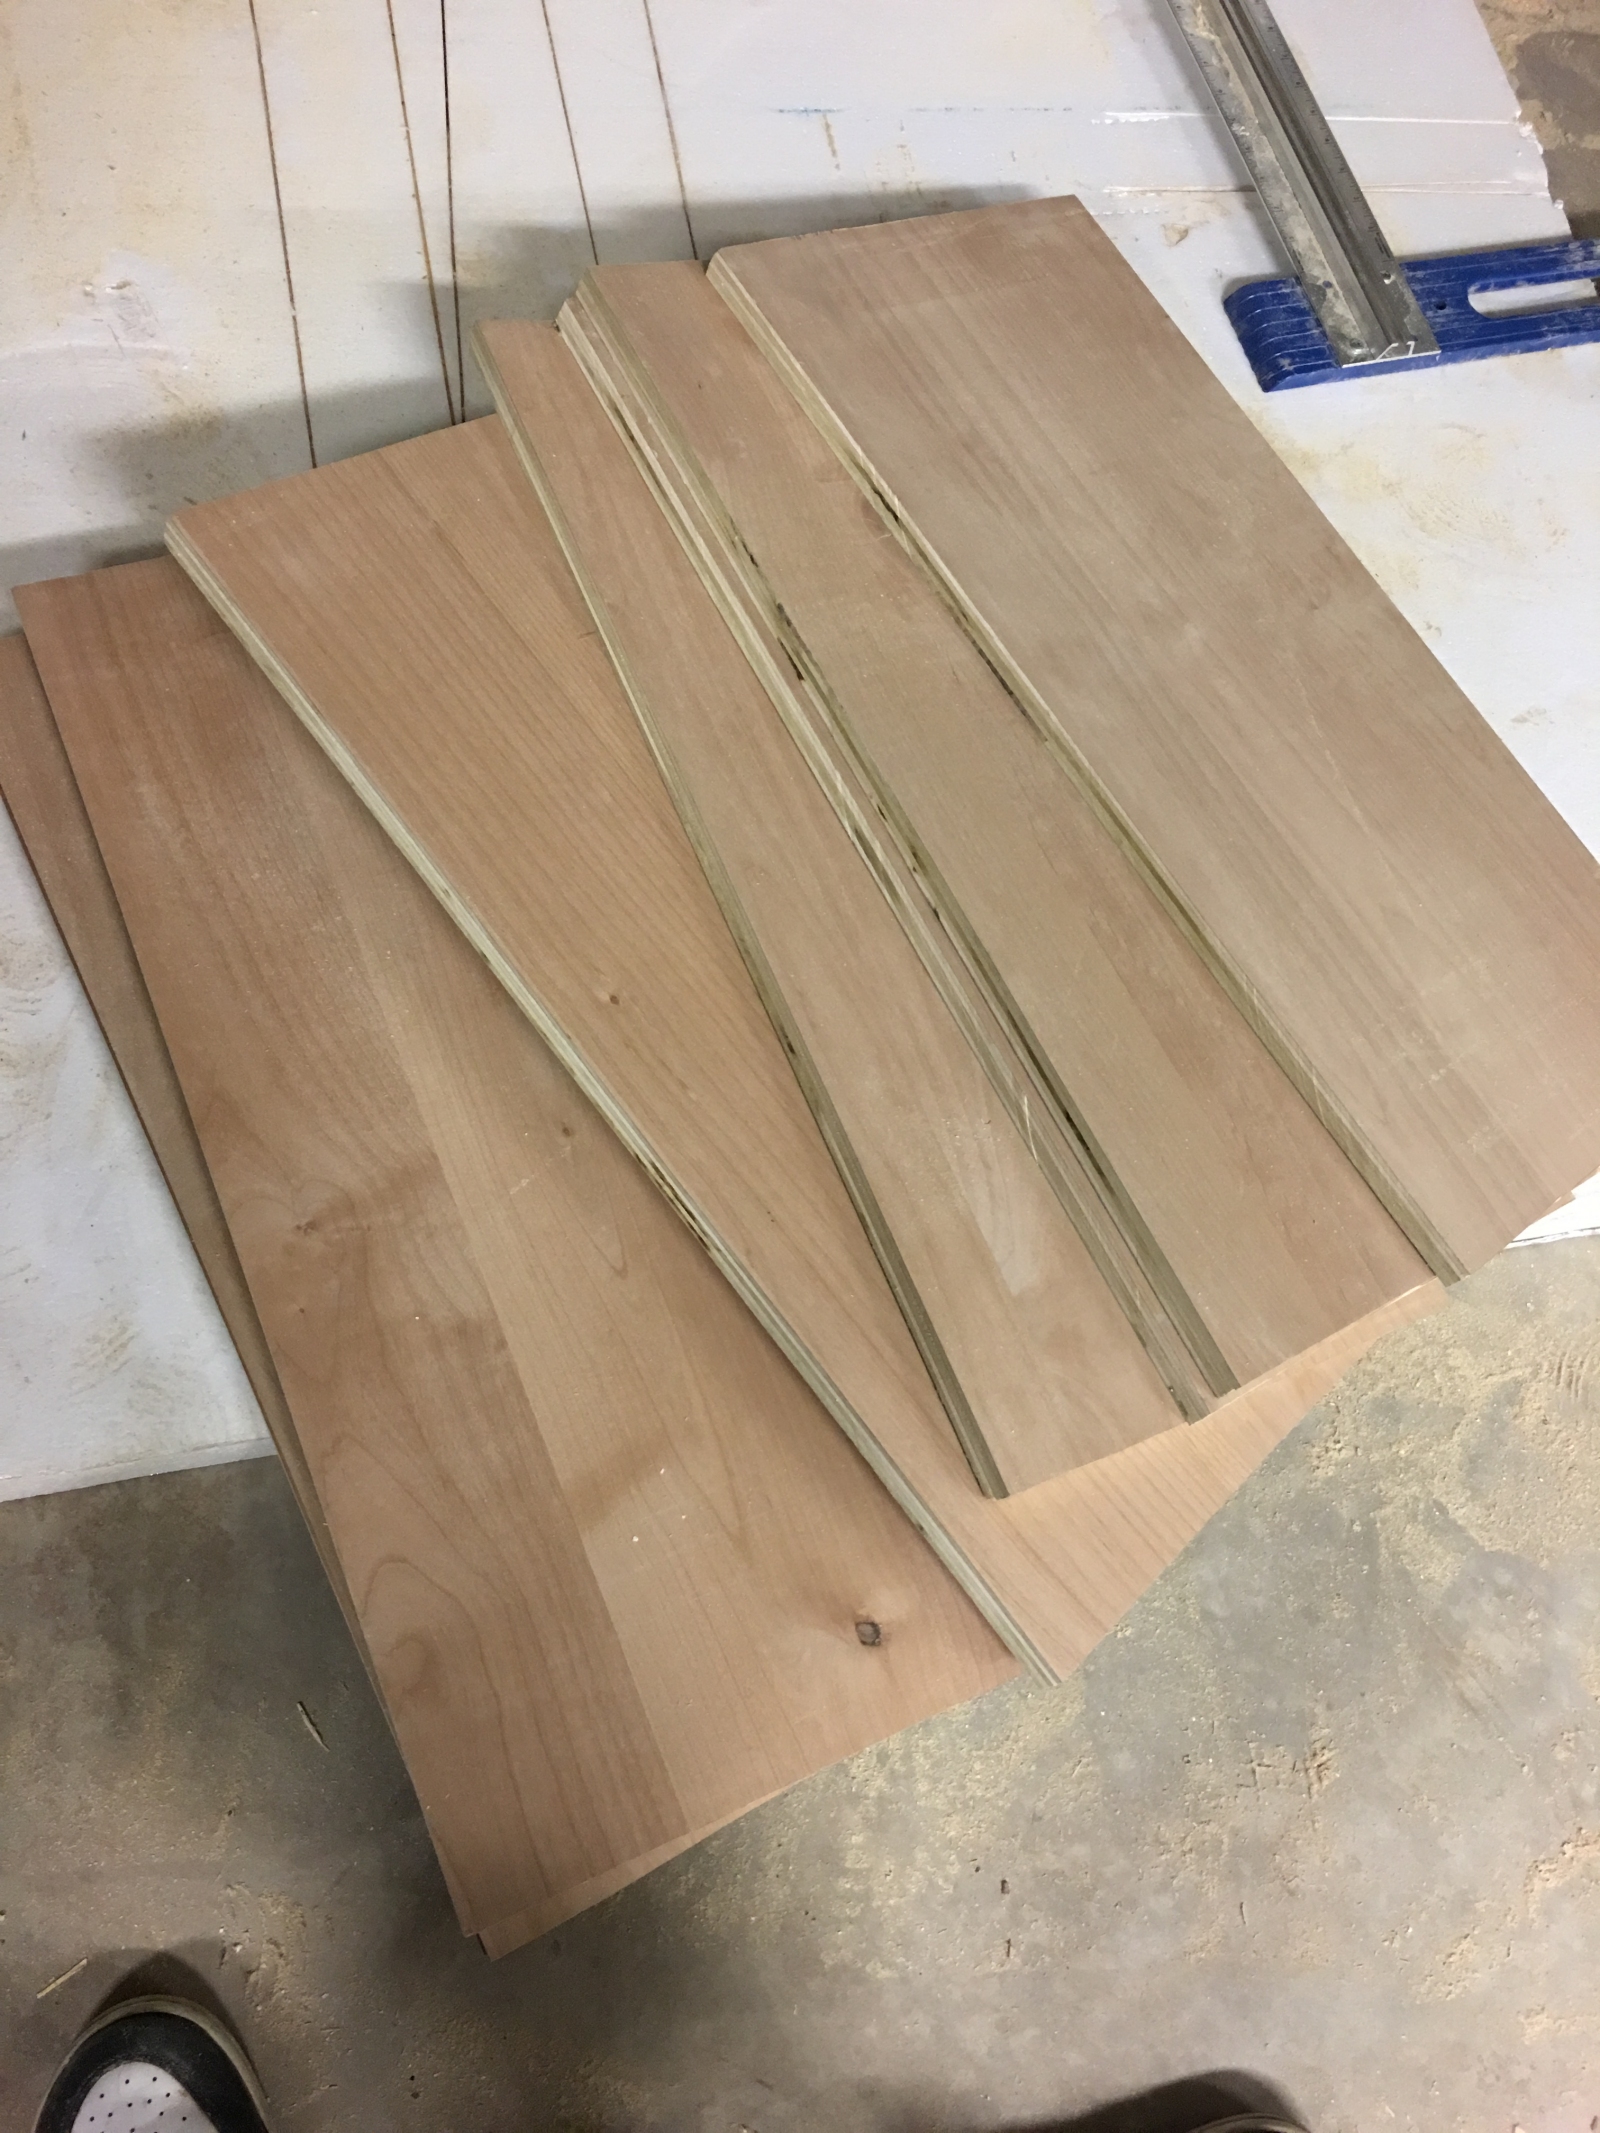
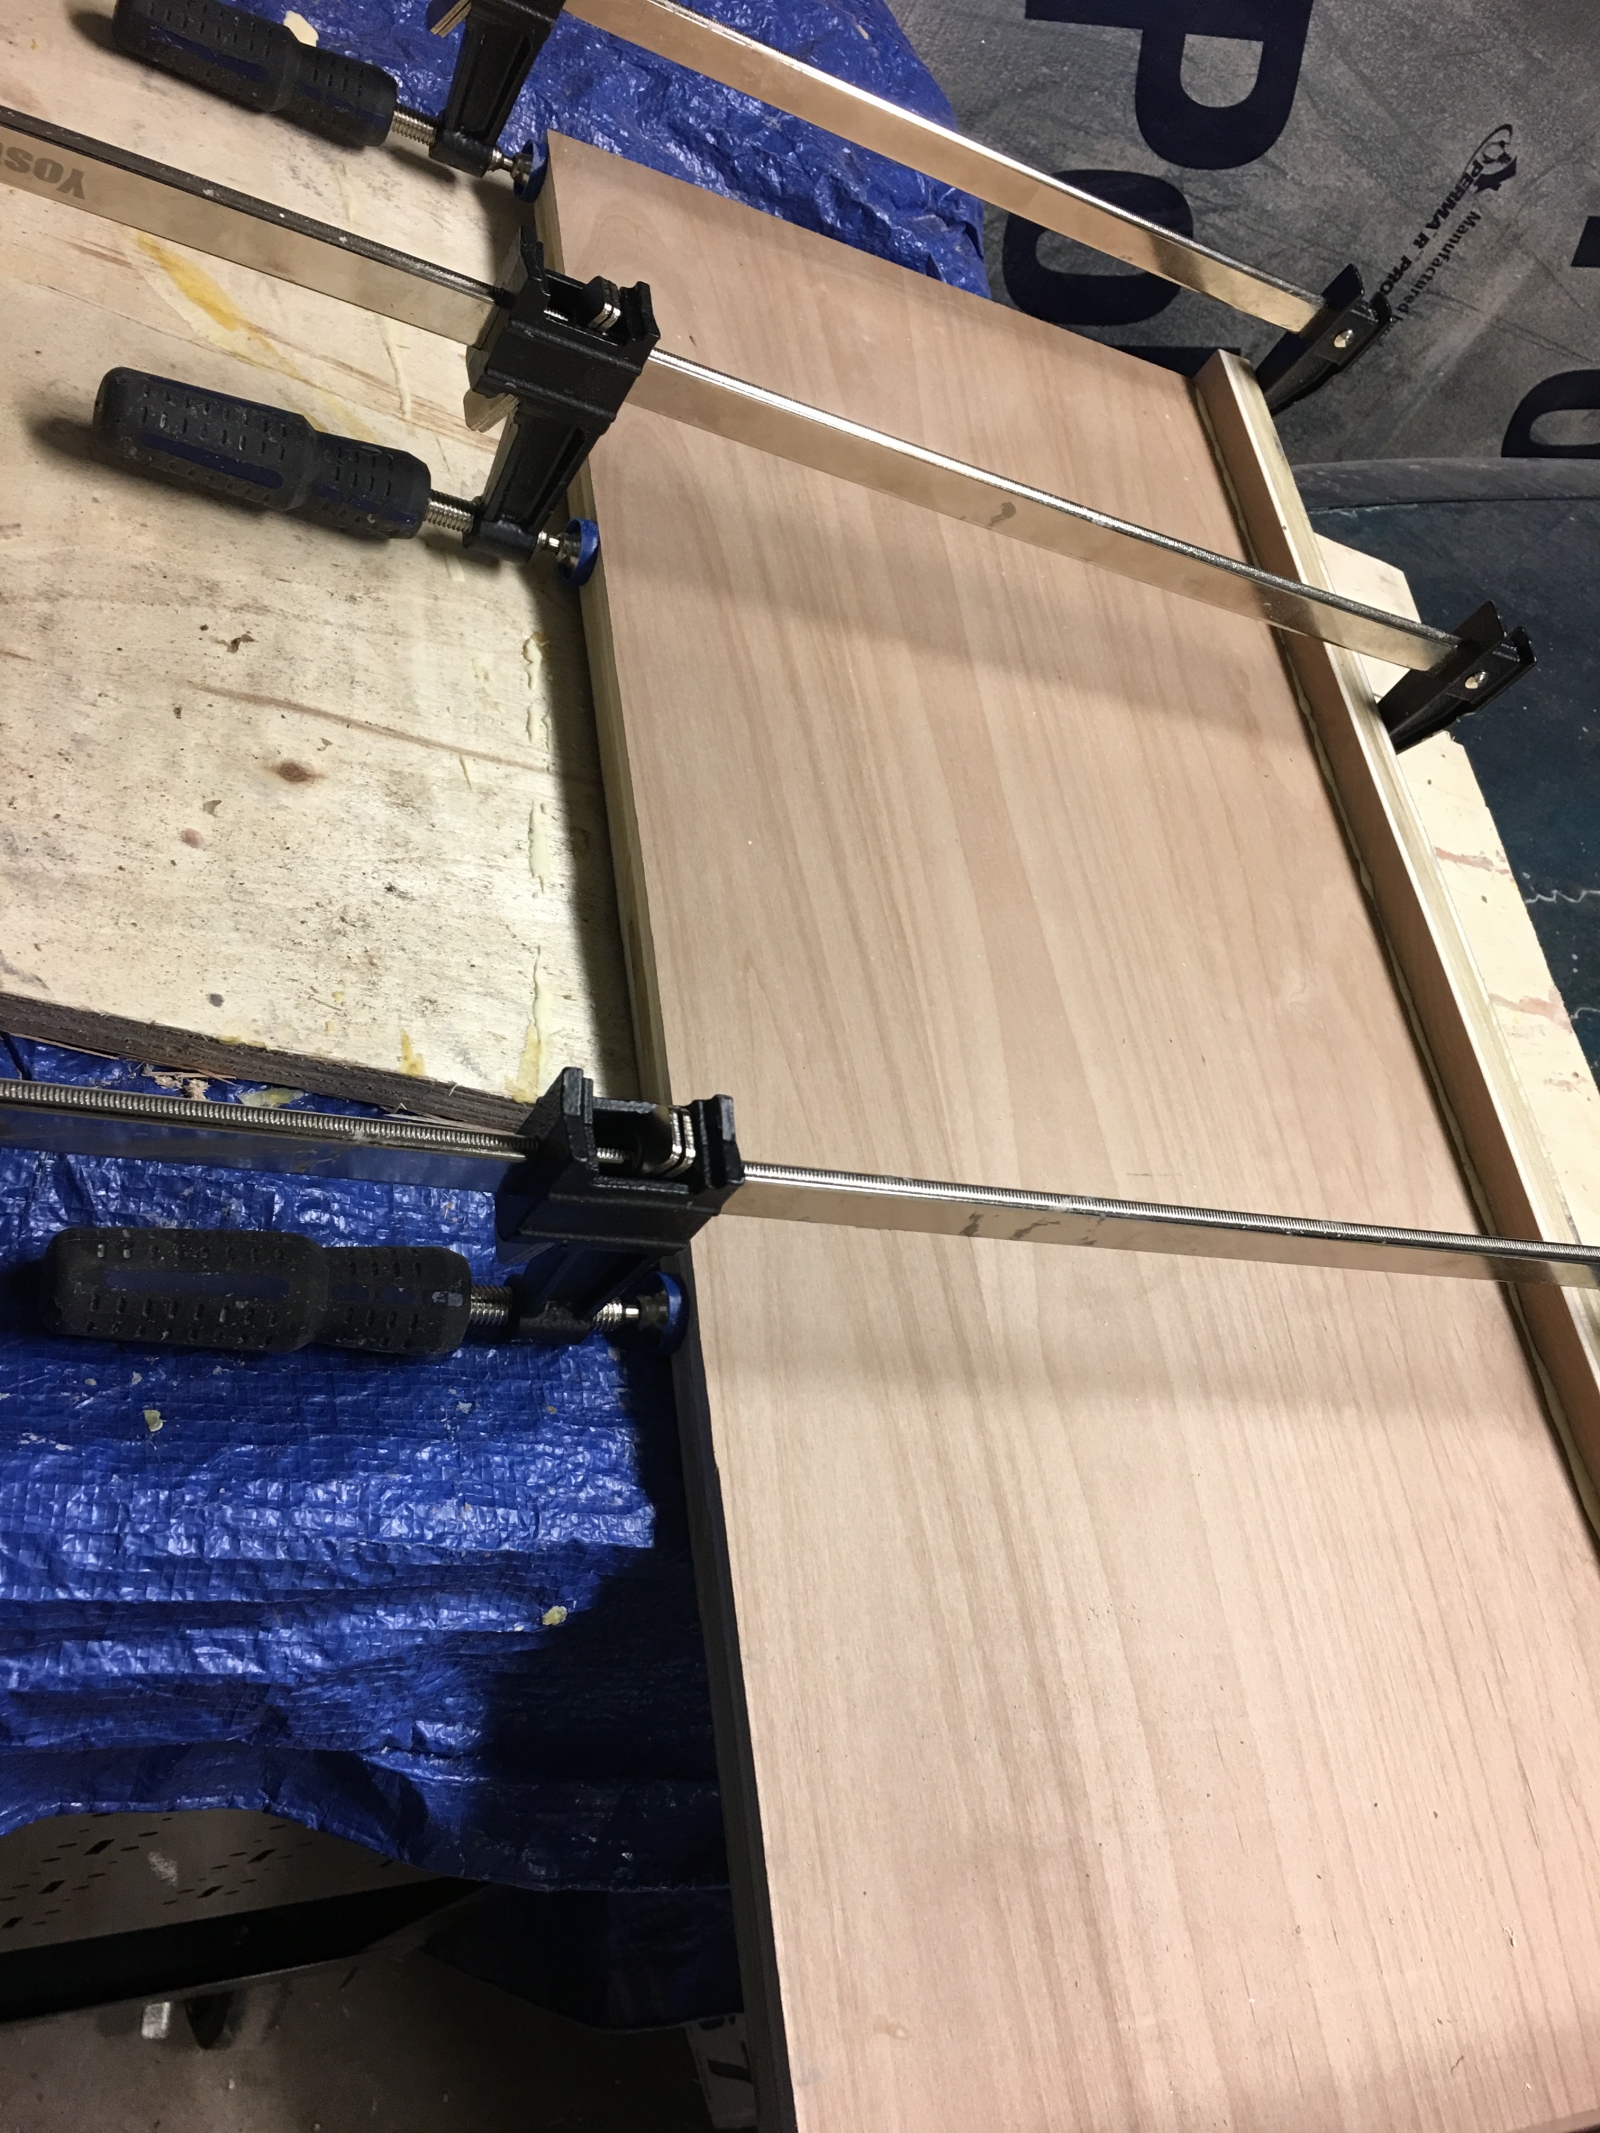
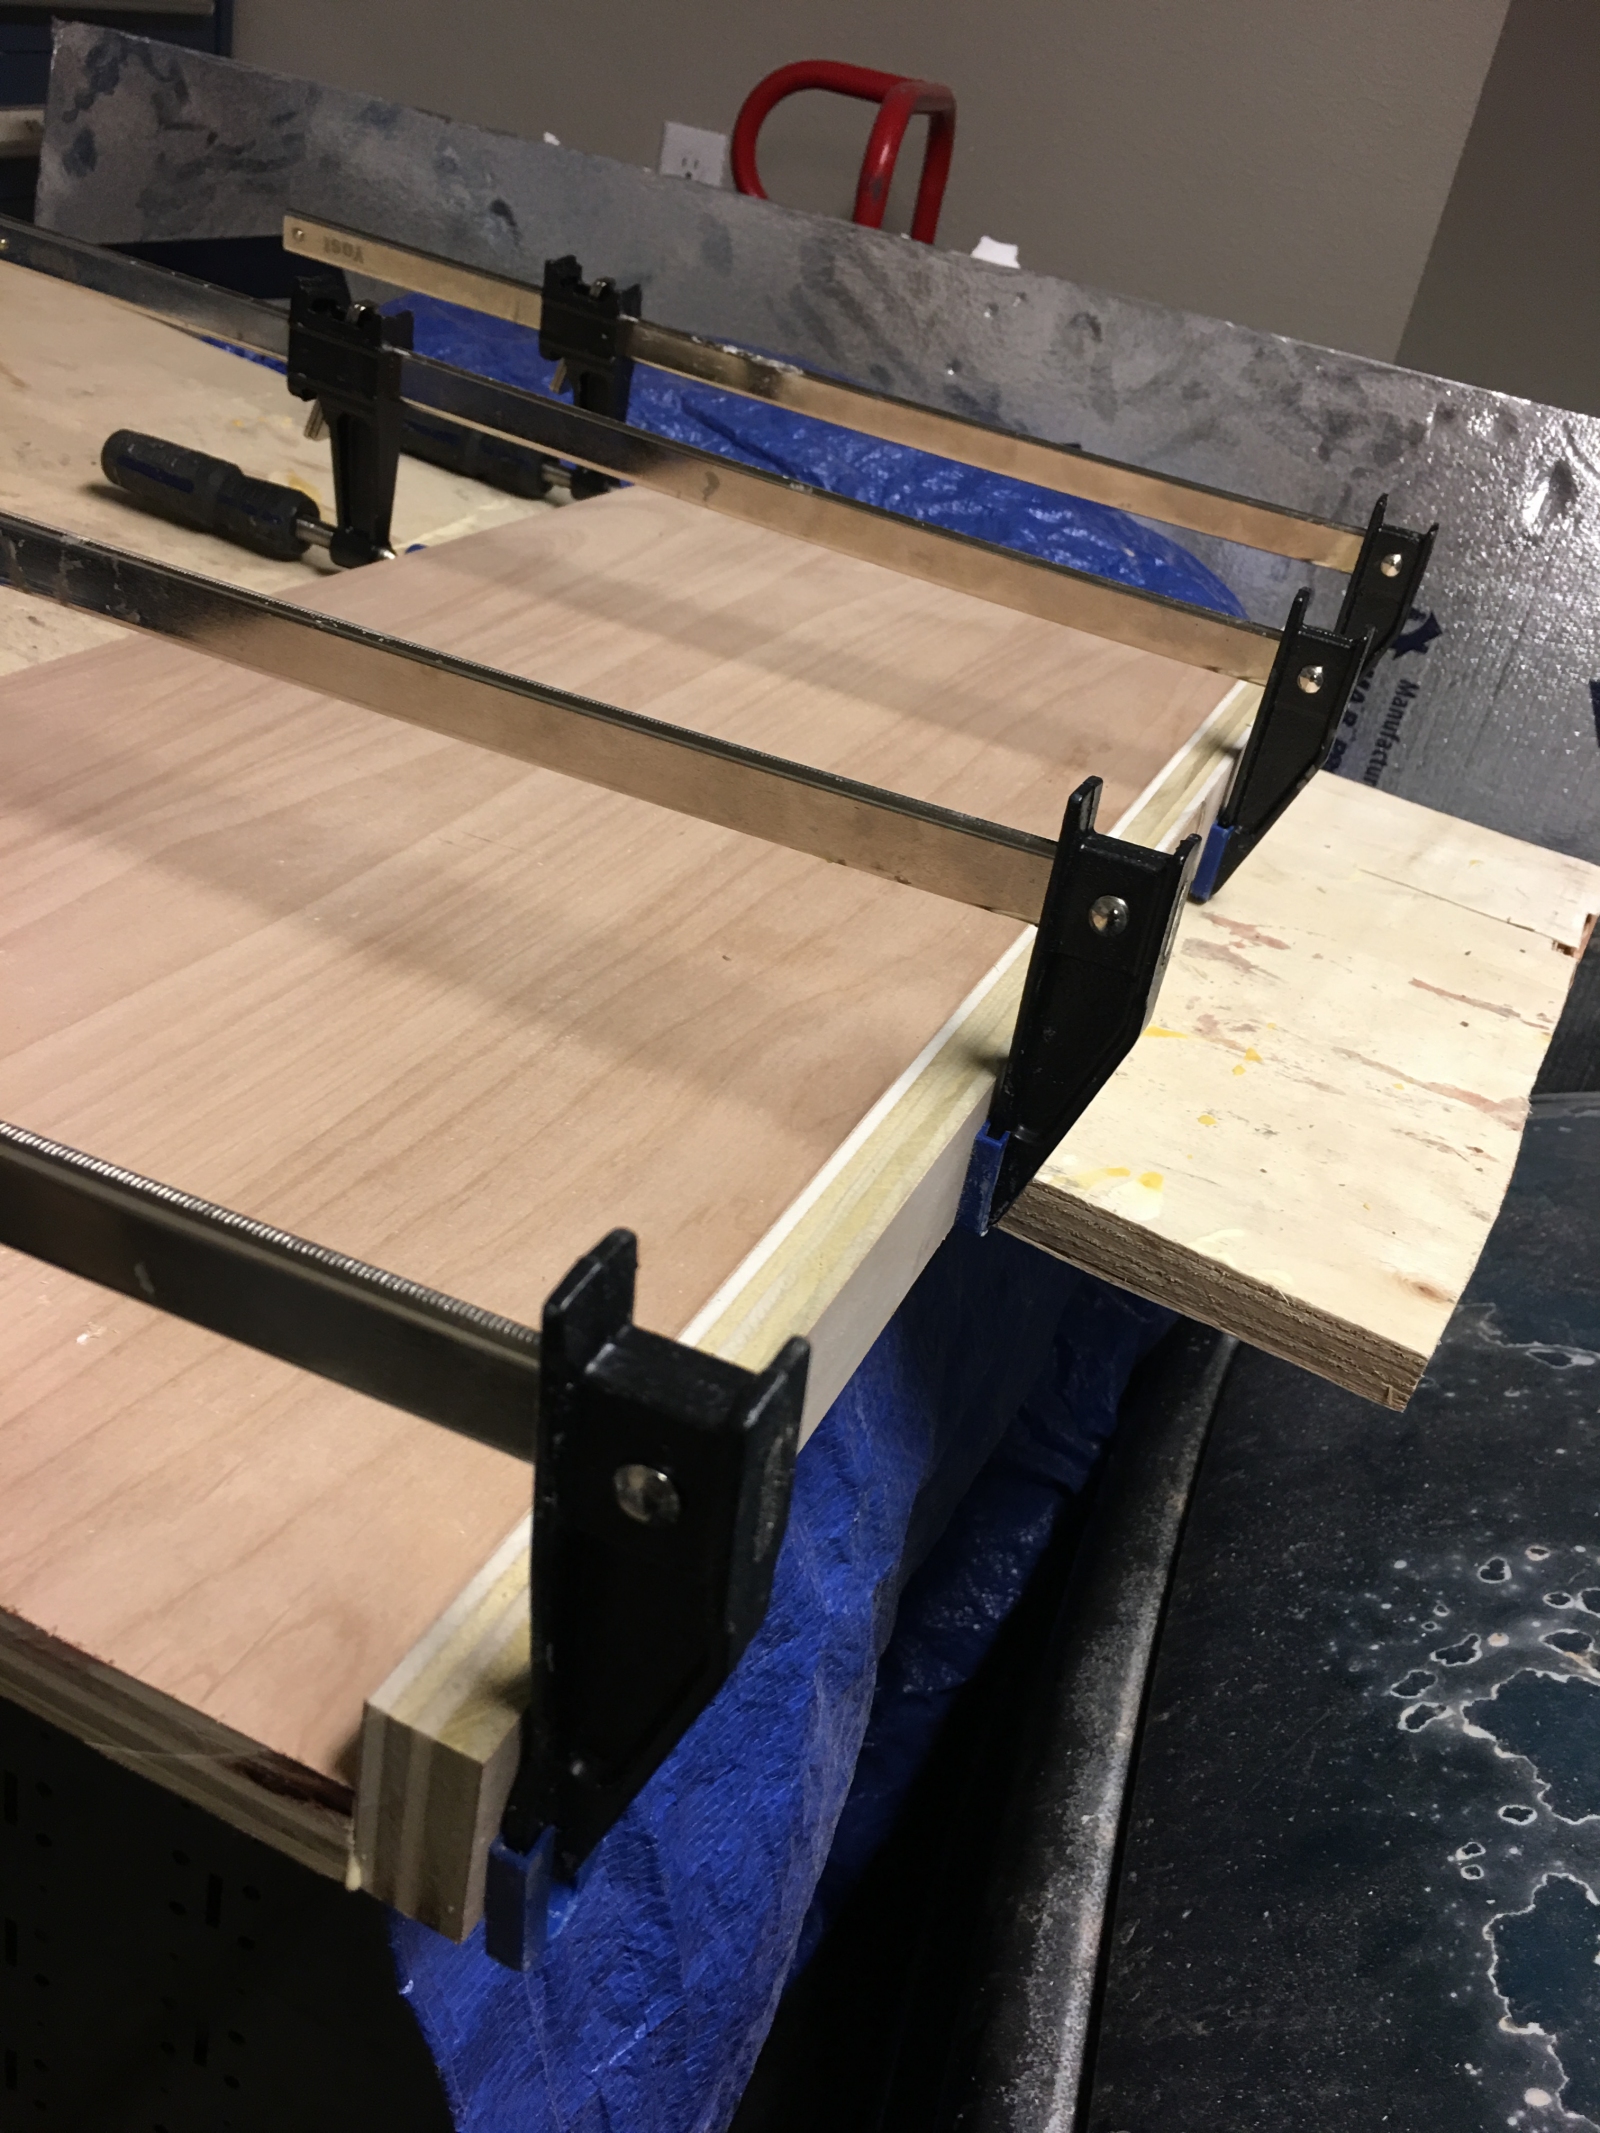
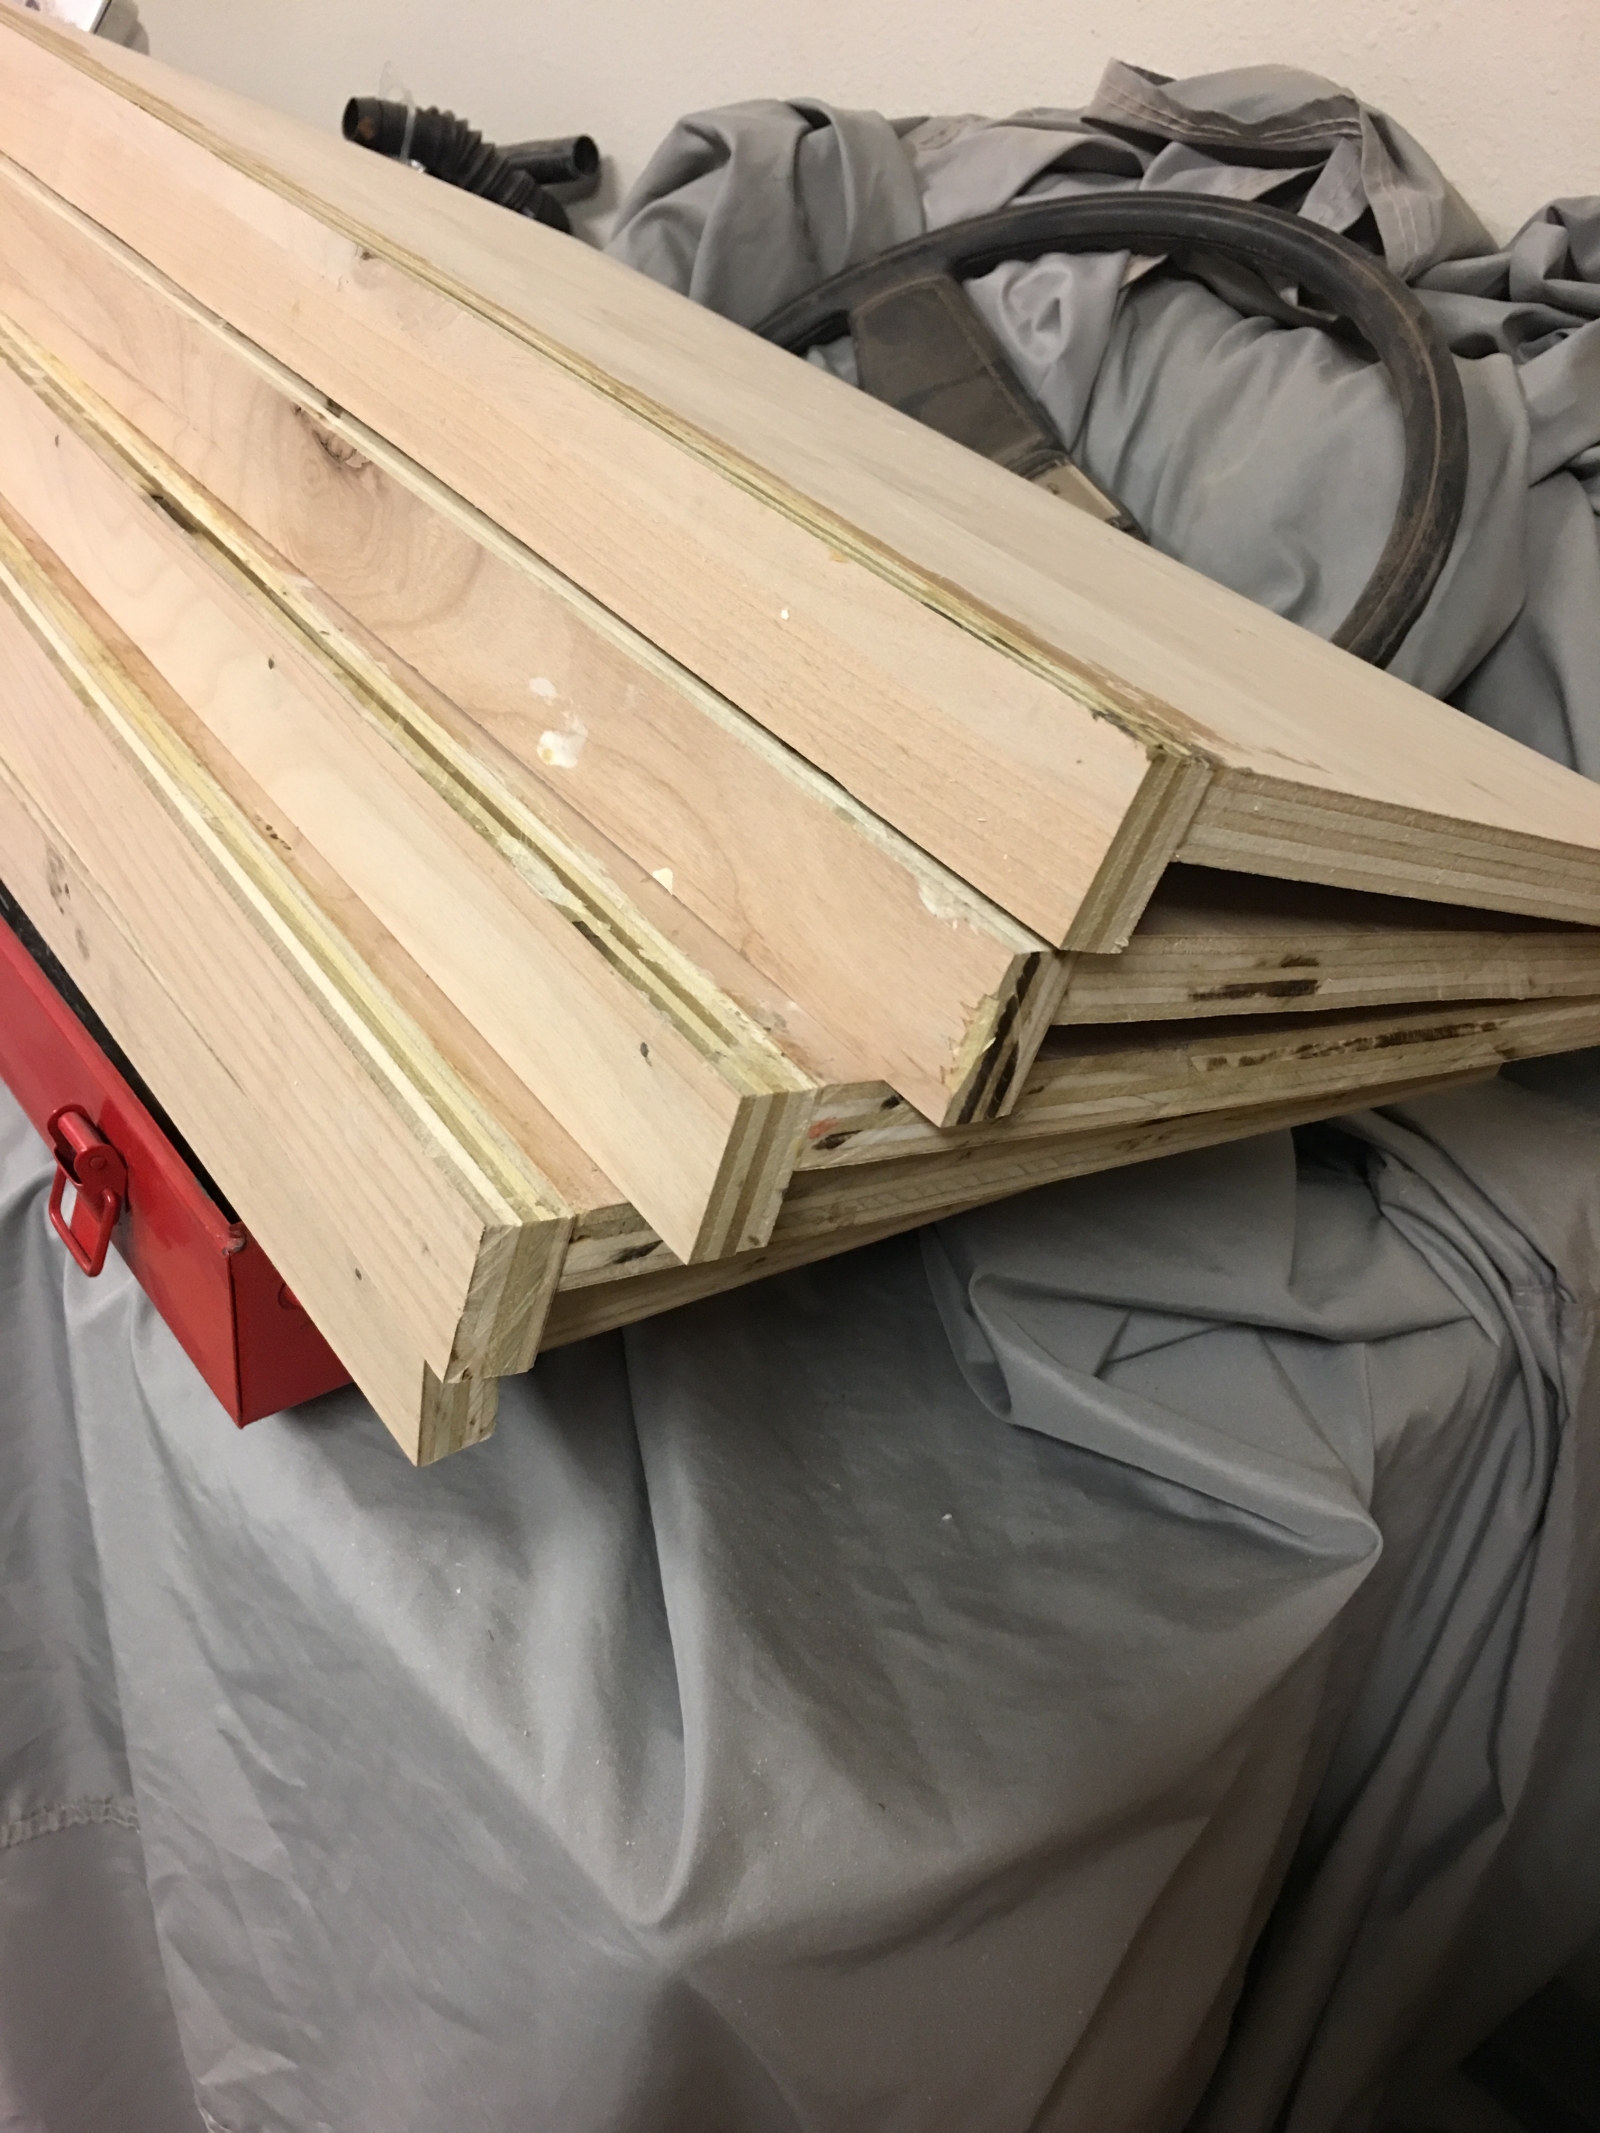
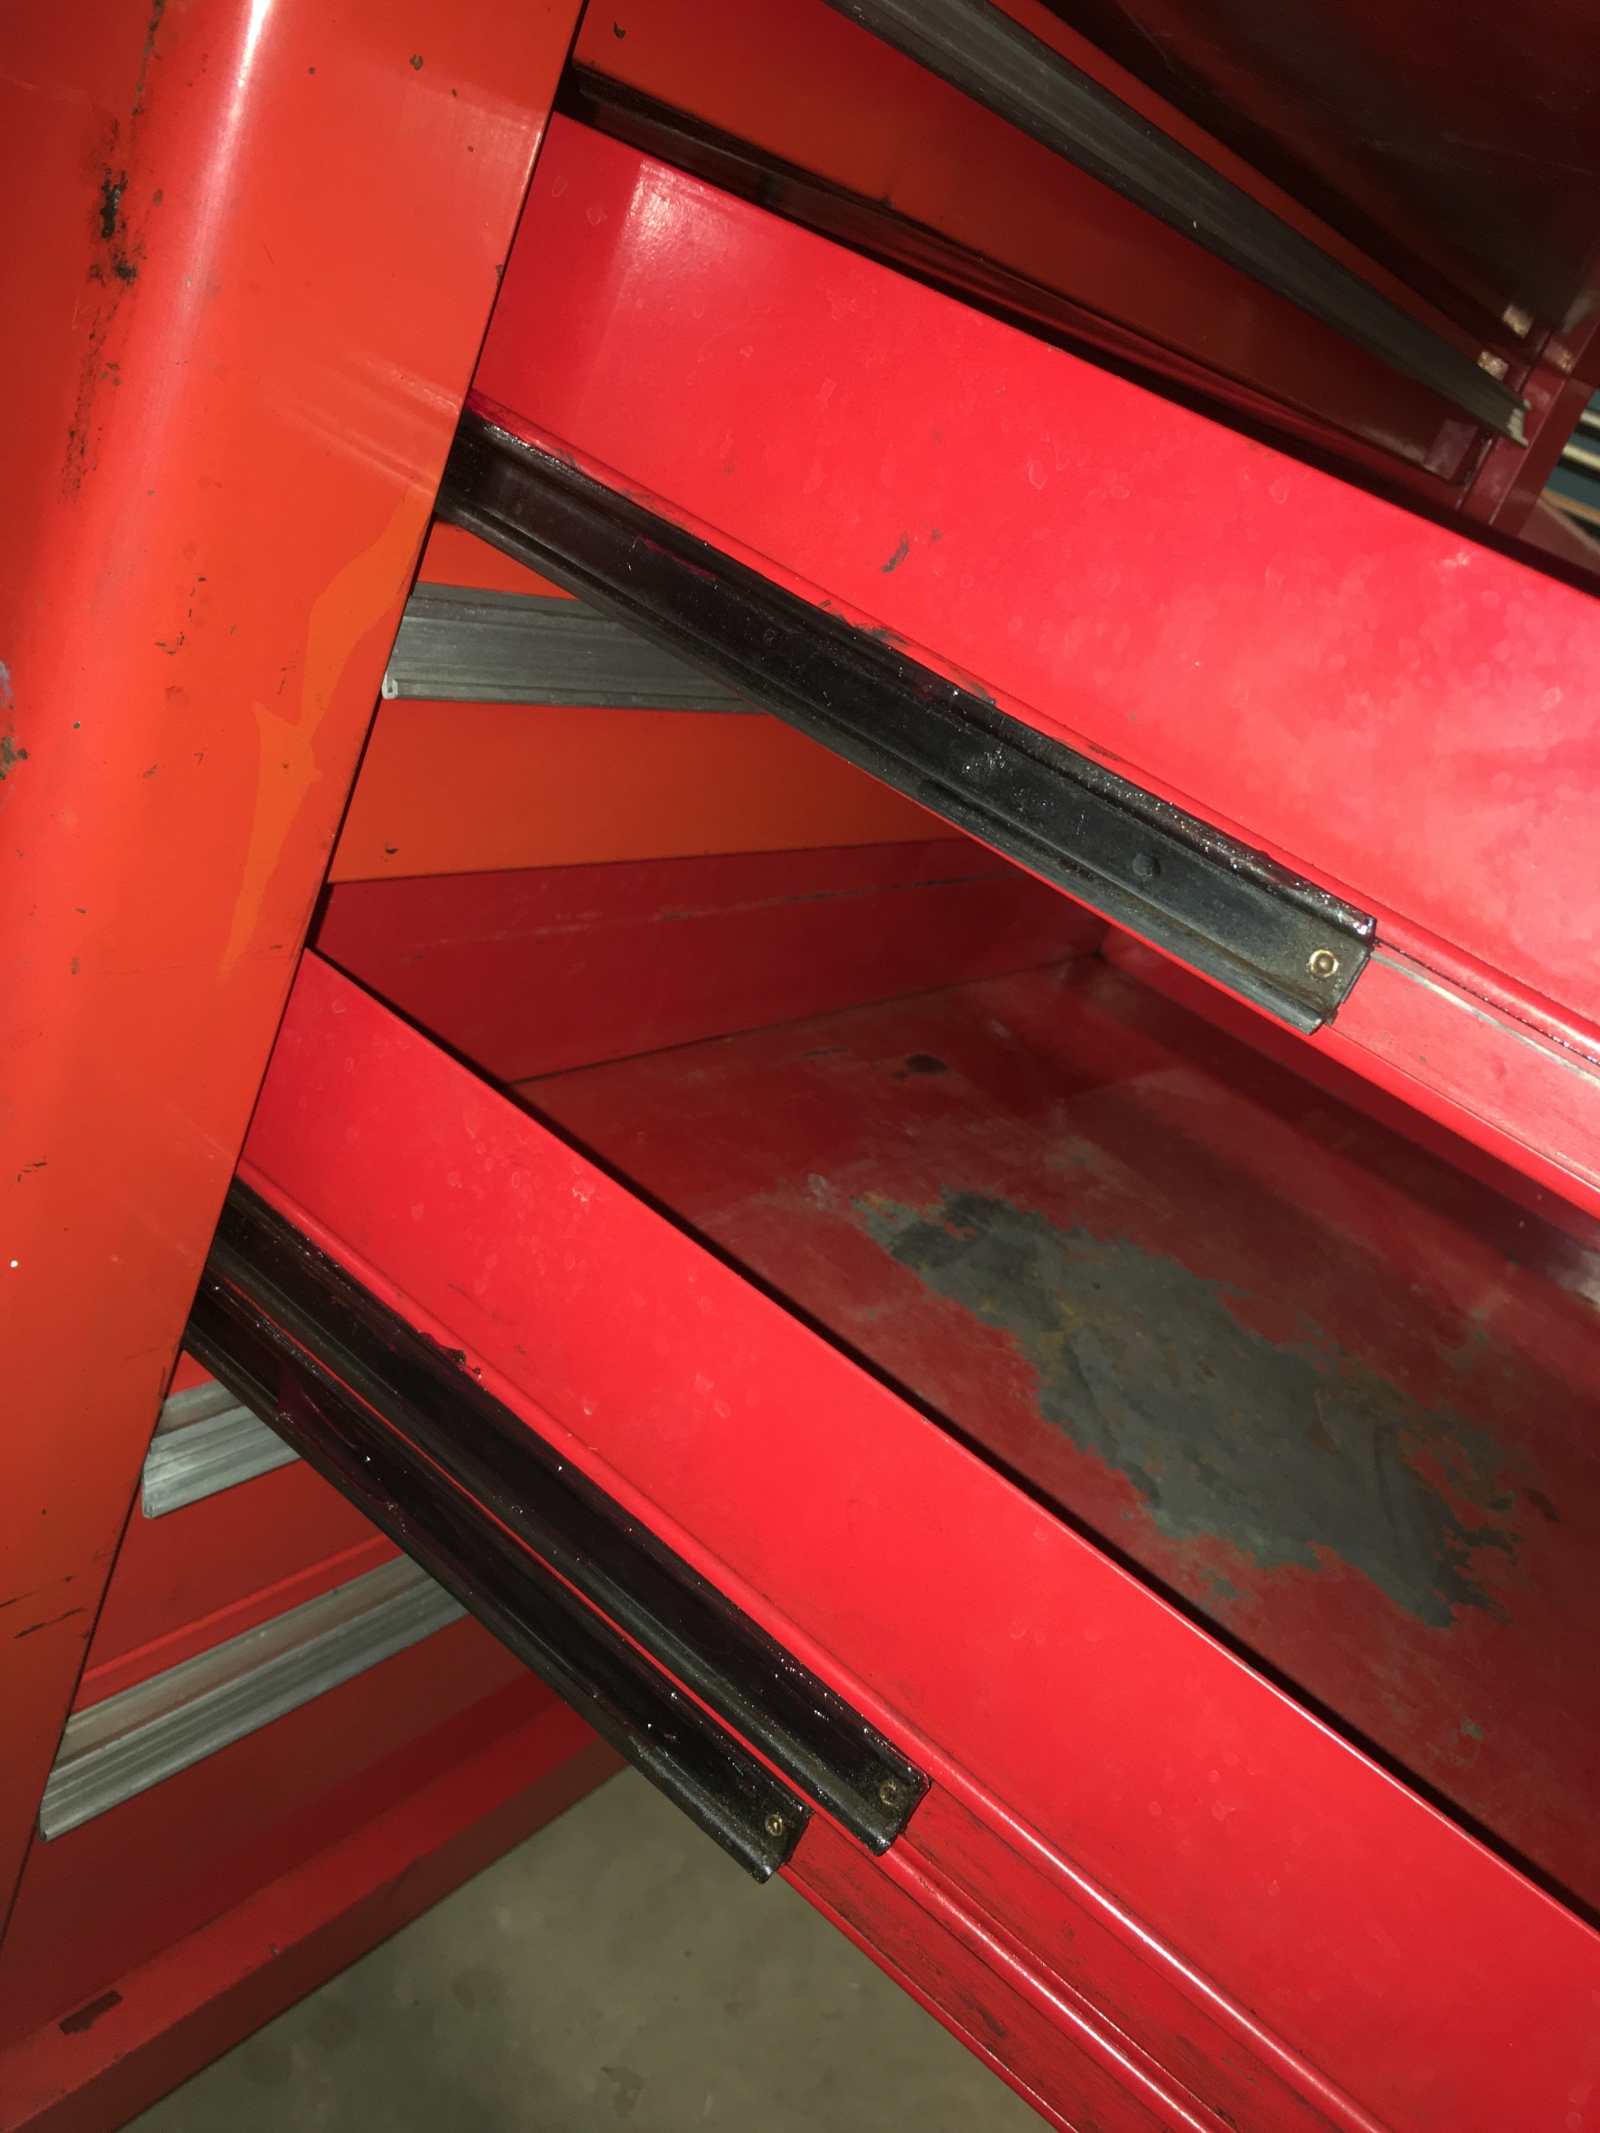
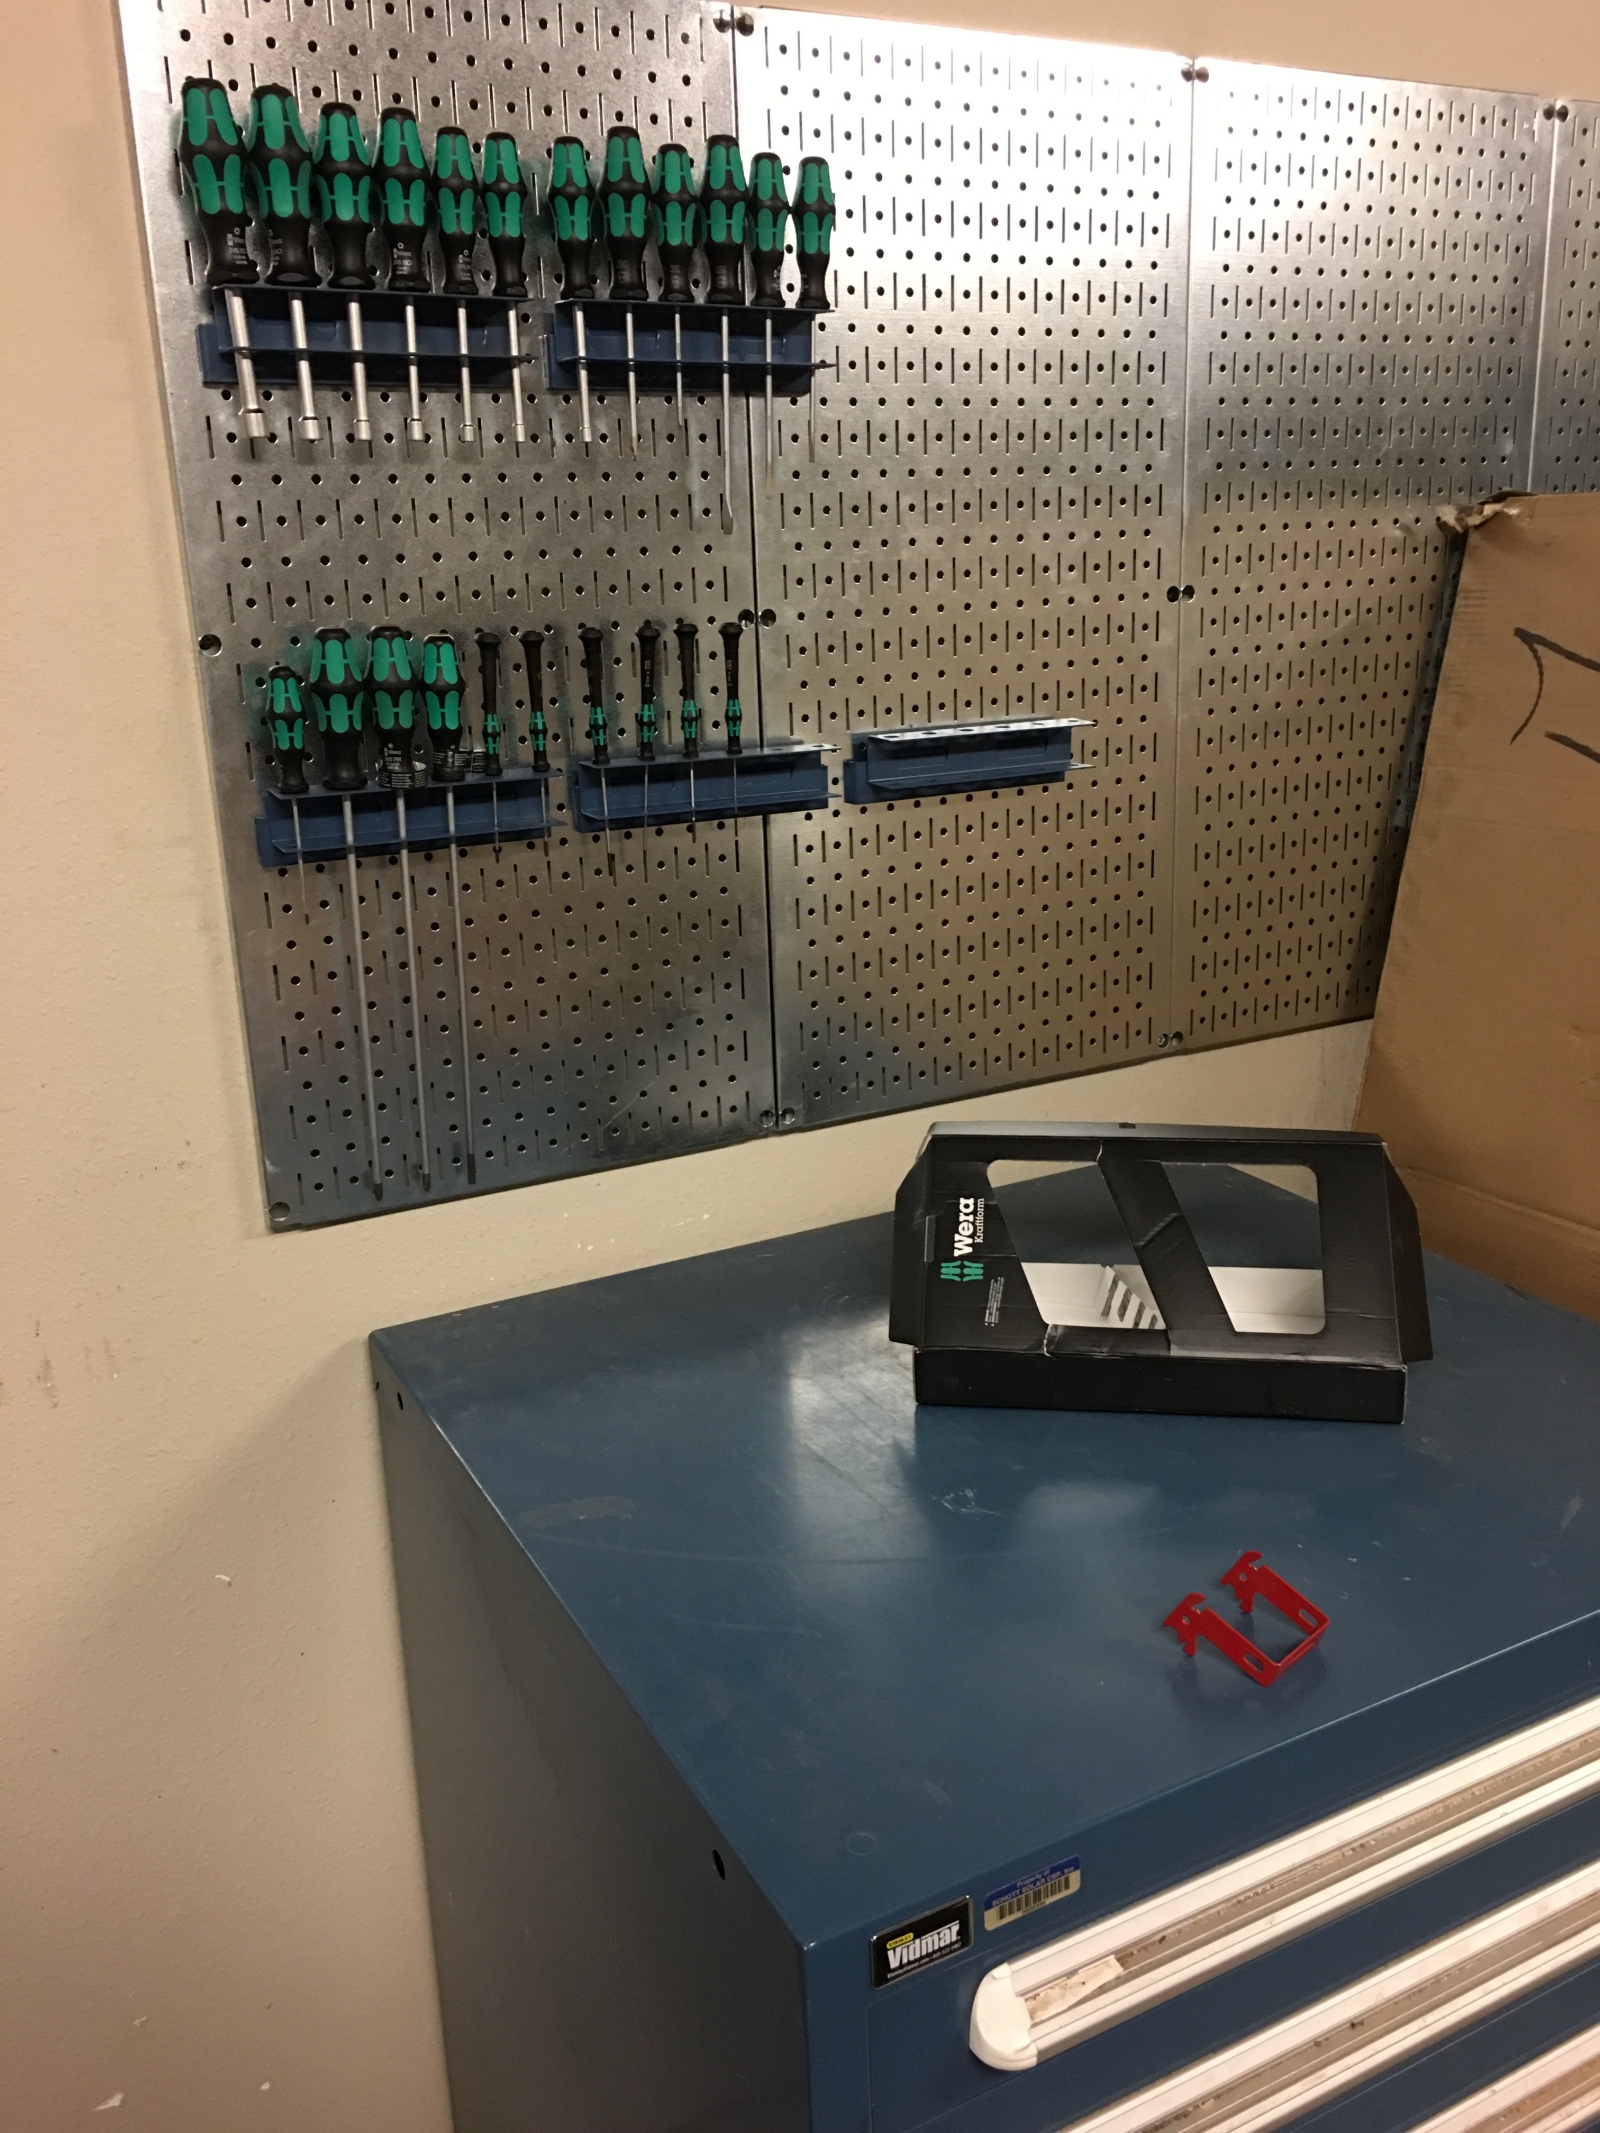
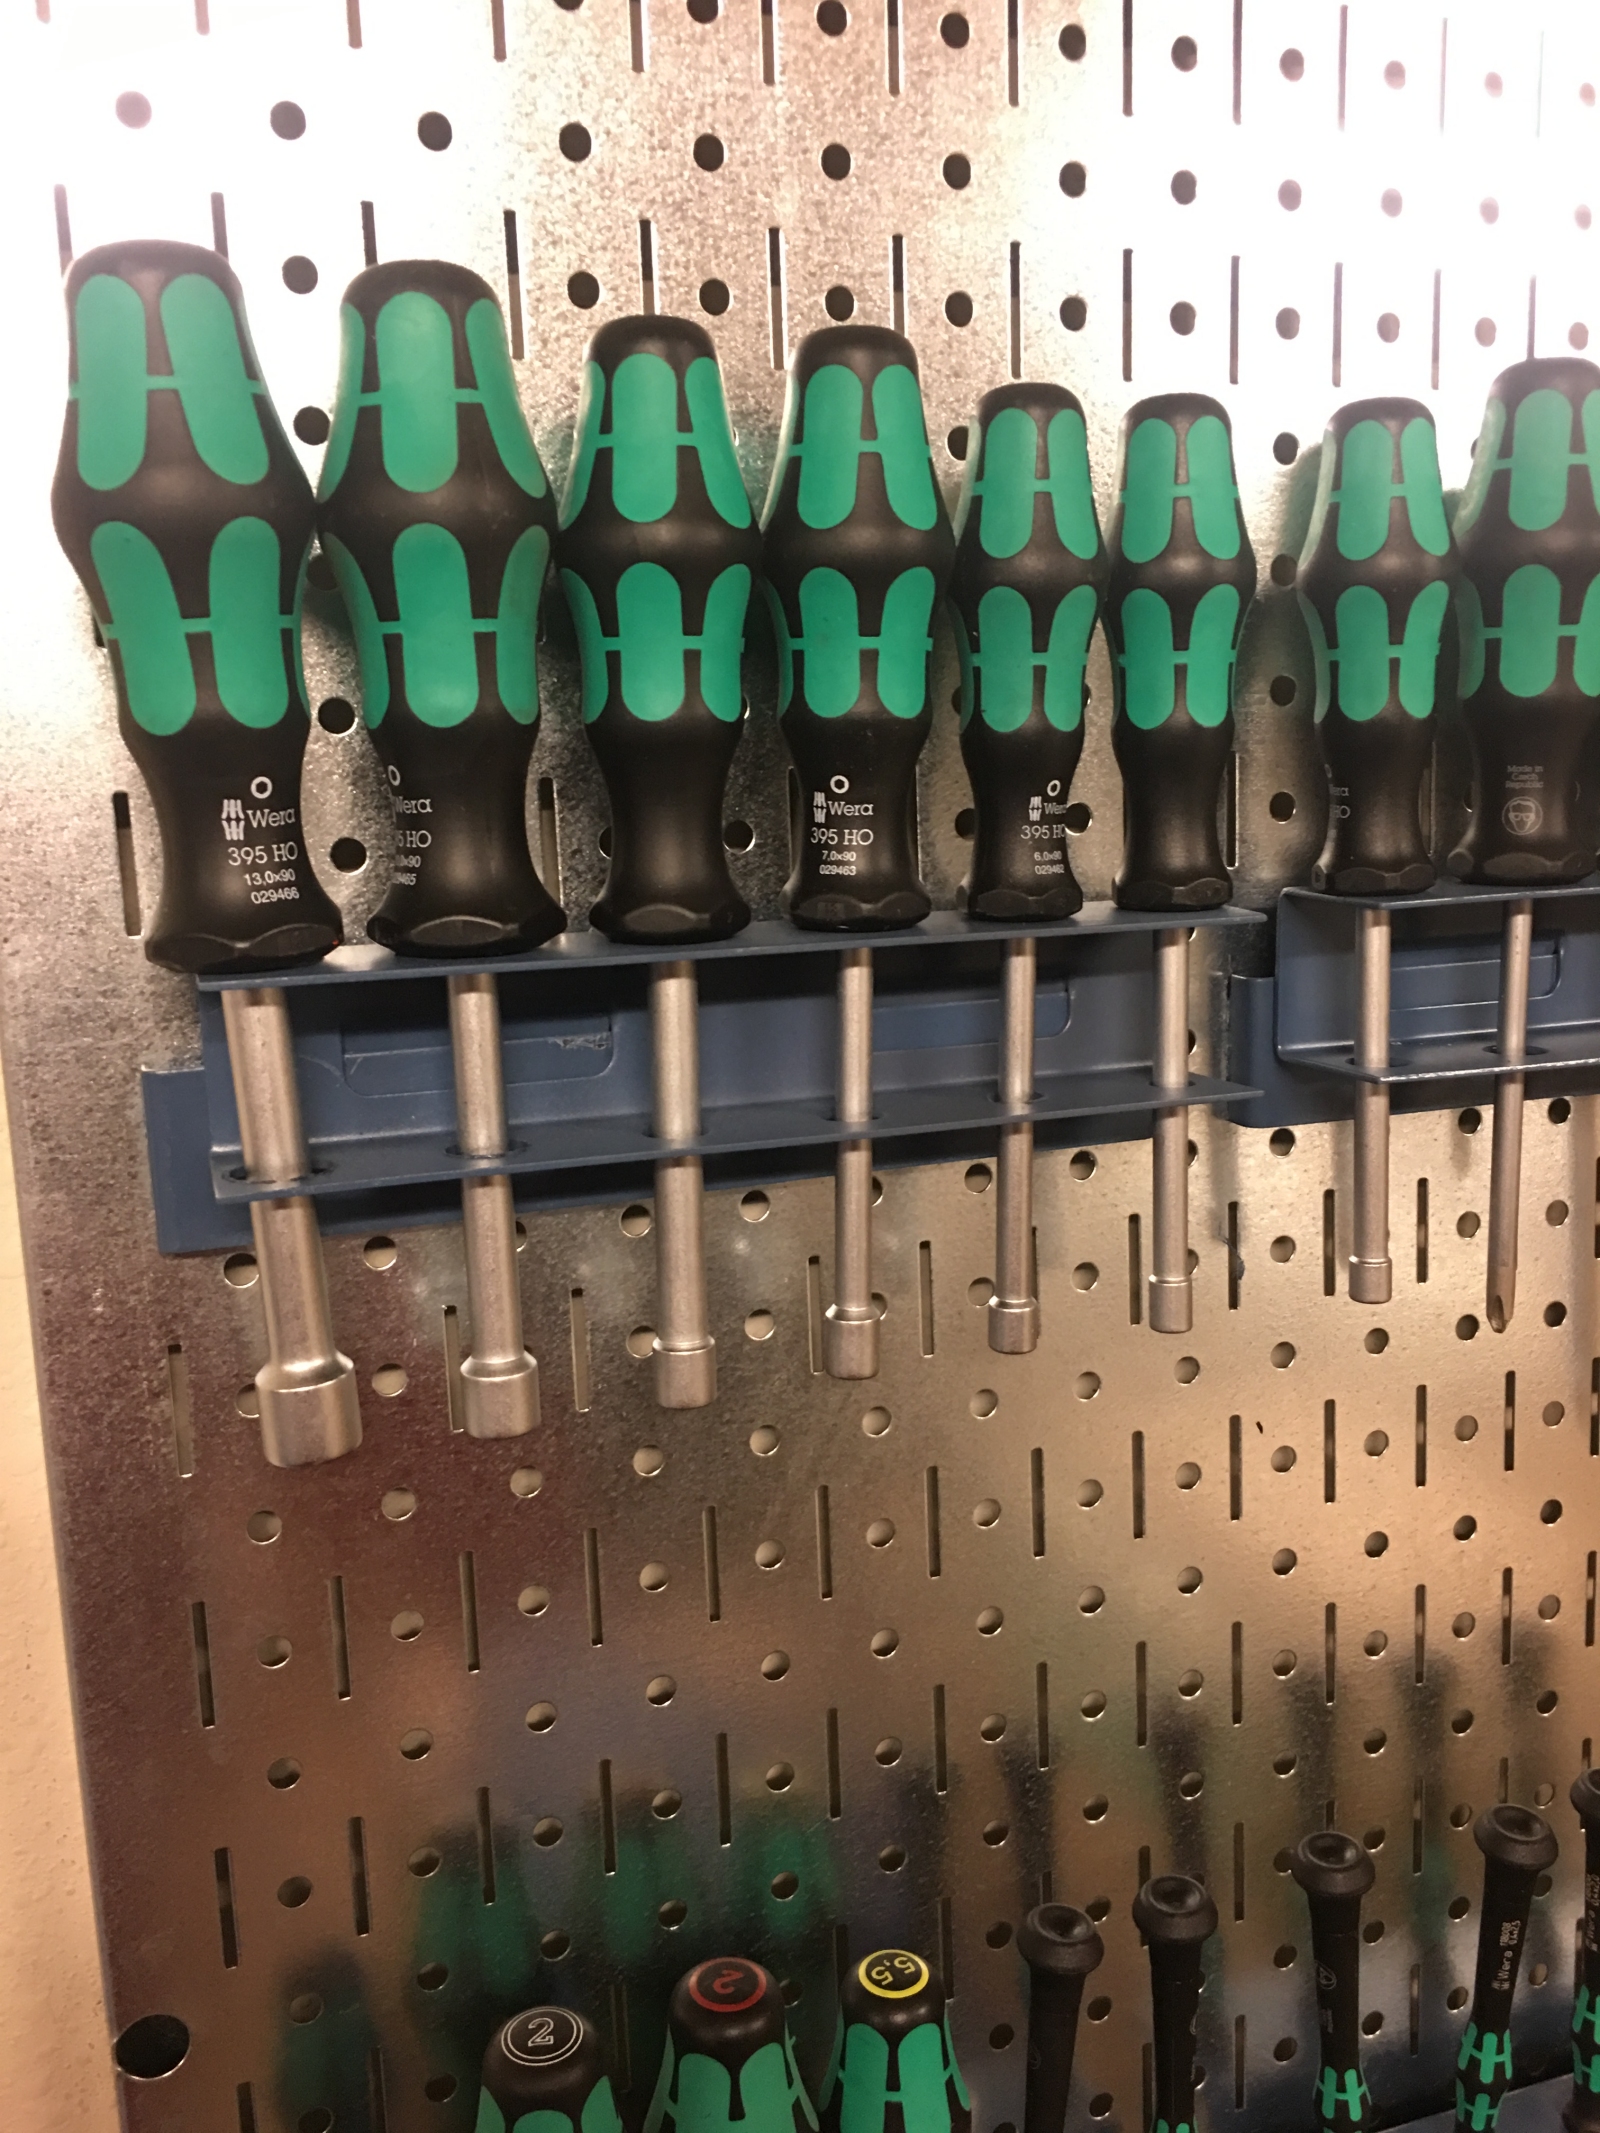
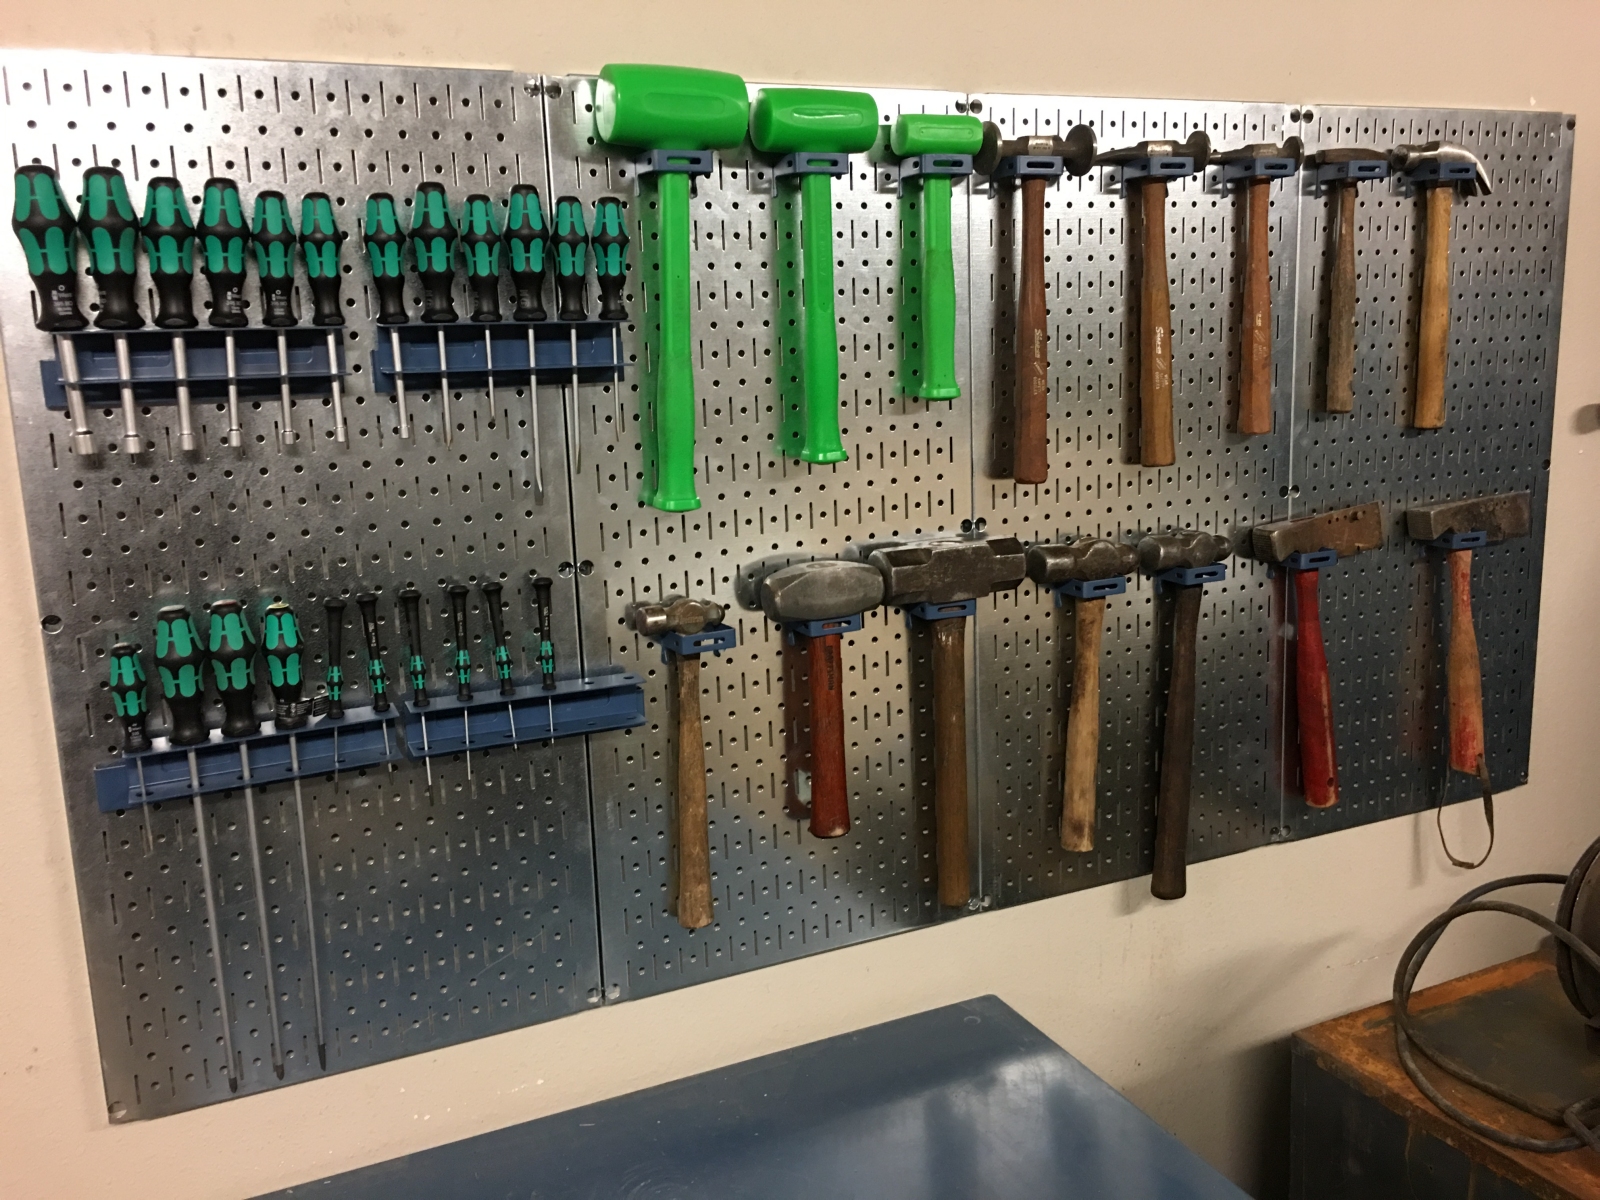
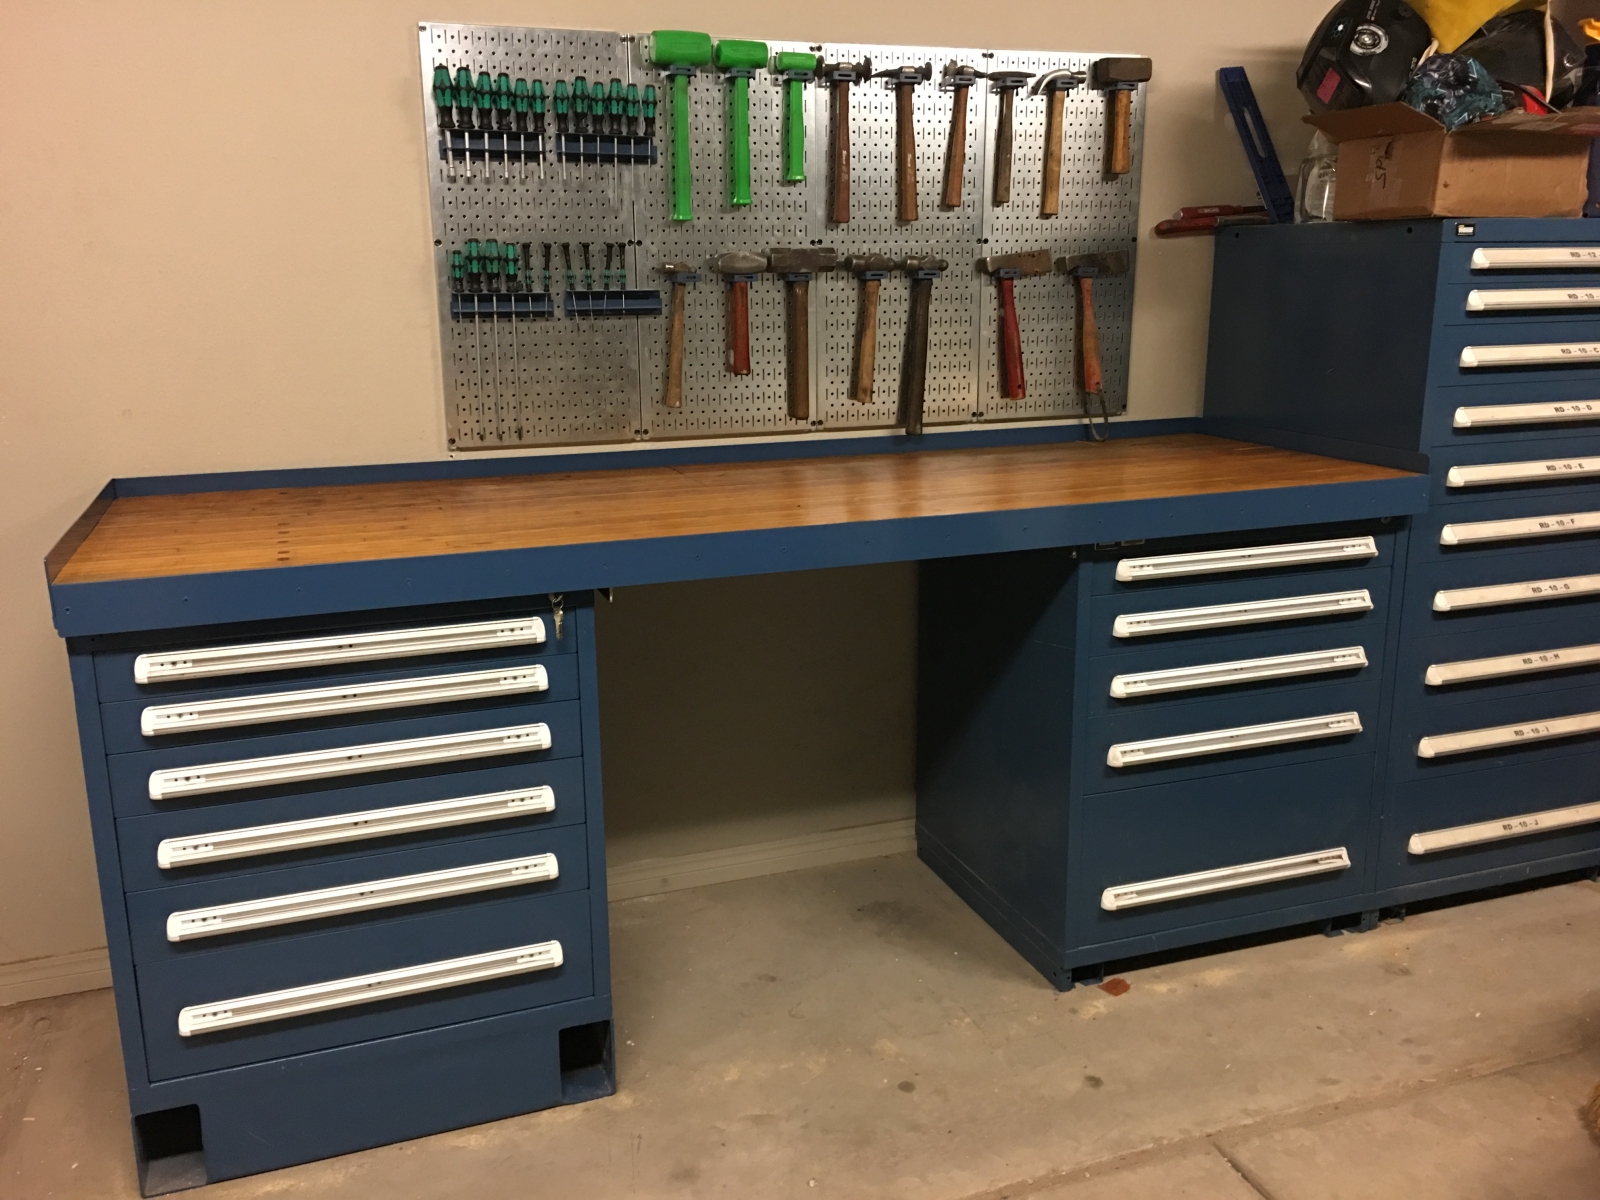
During the holidays, I finally got some time to start organizing my hand tools.
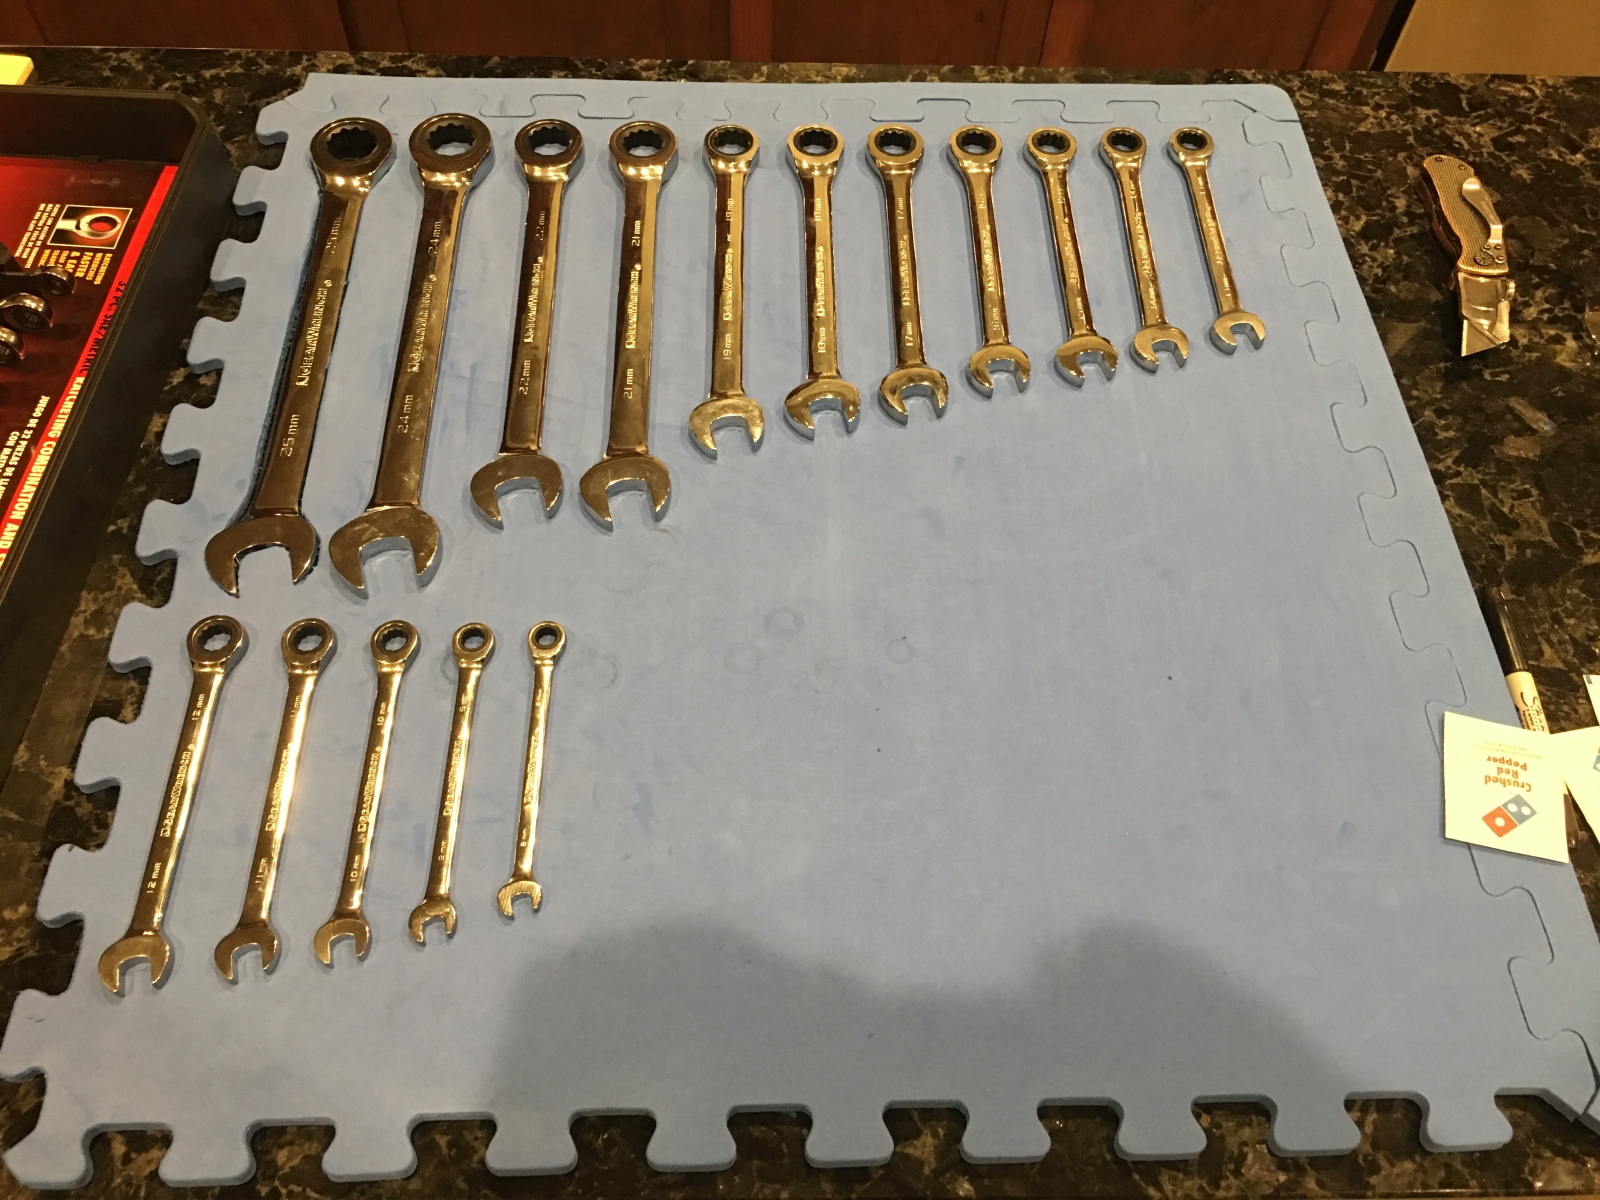
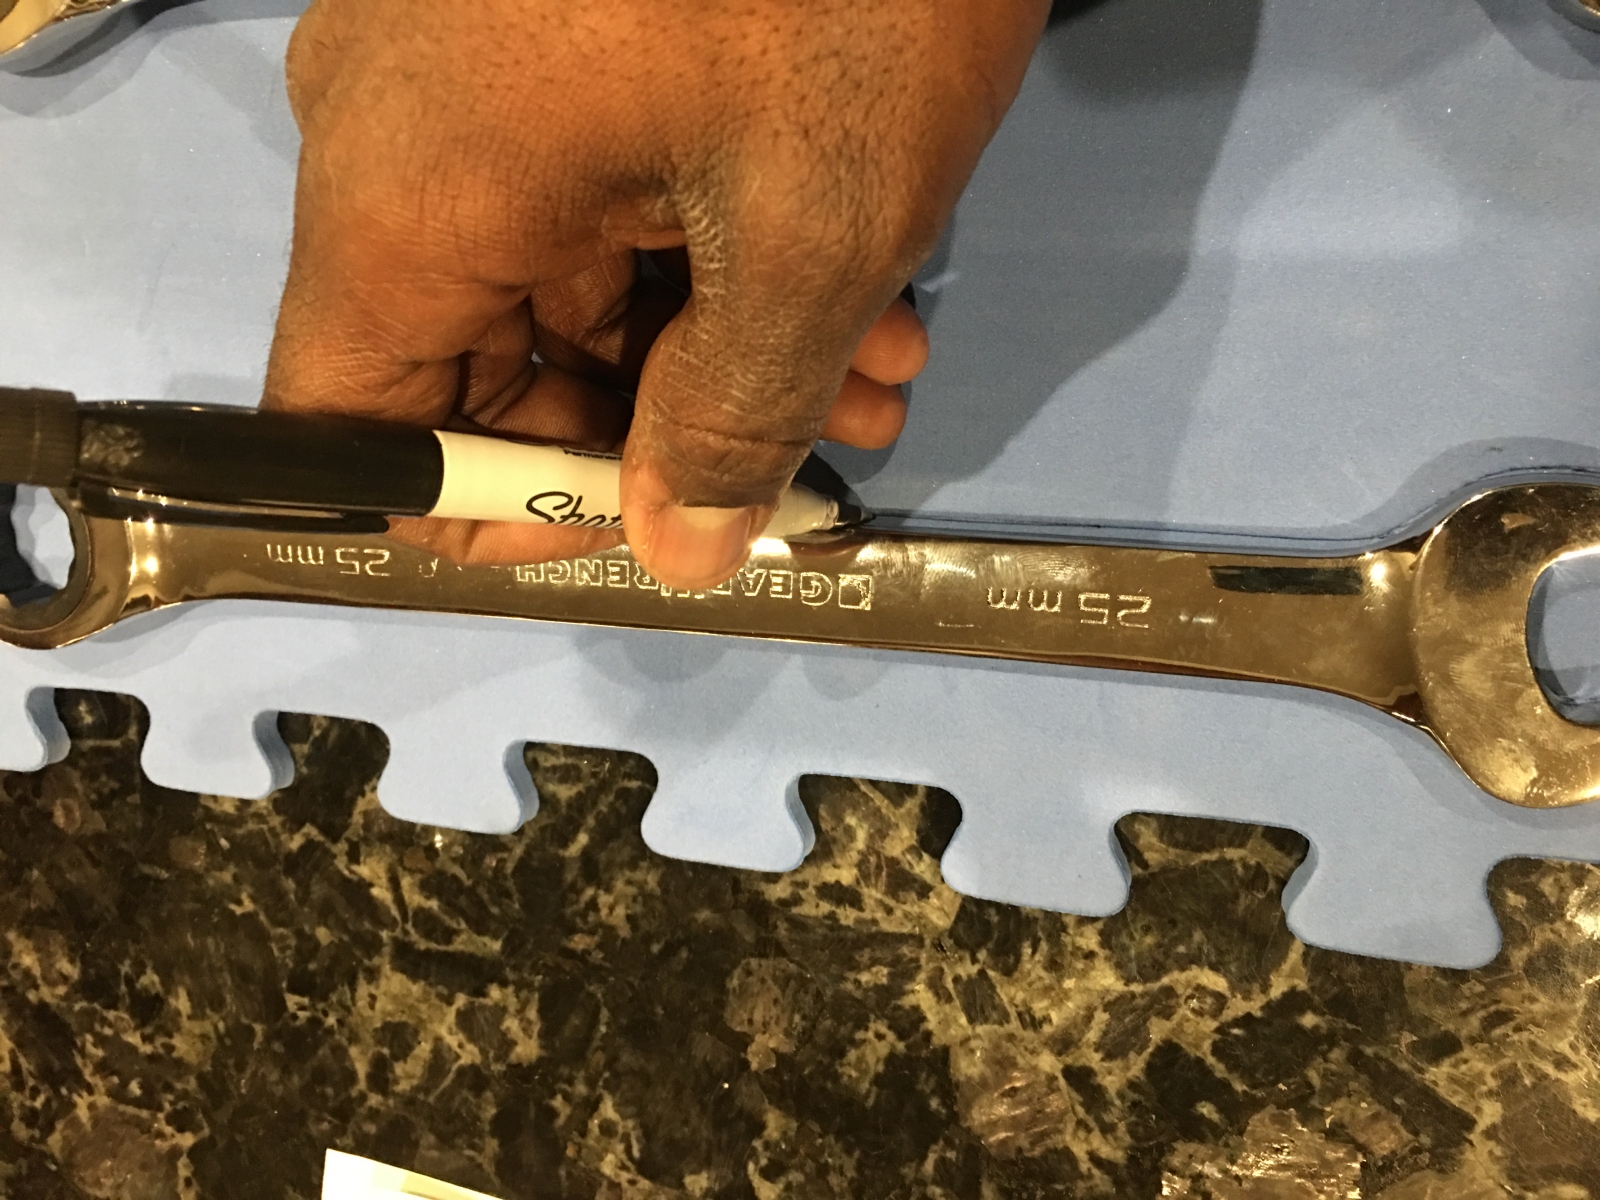
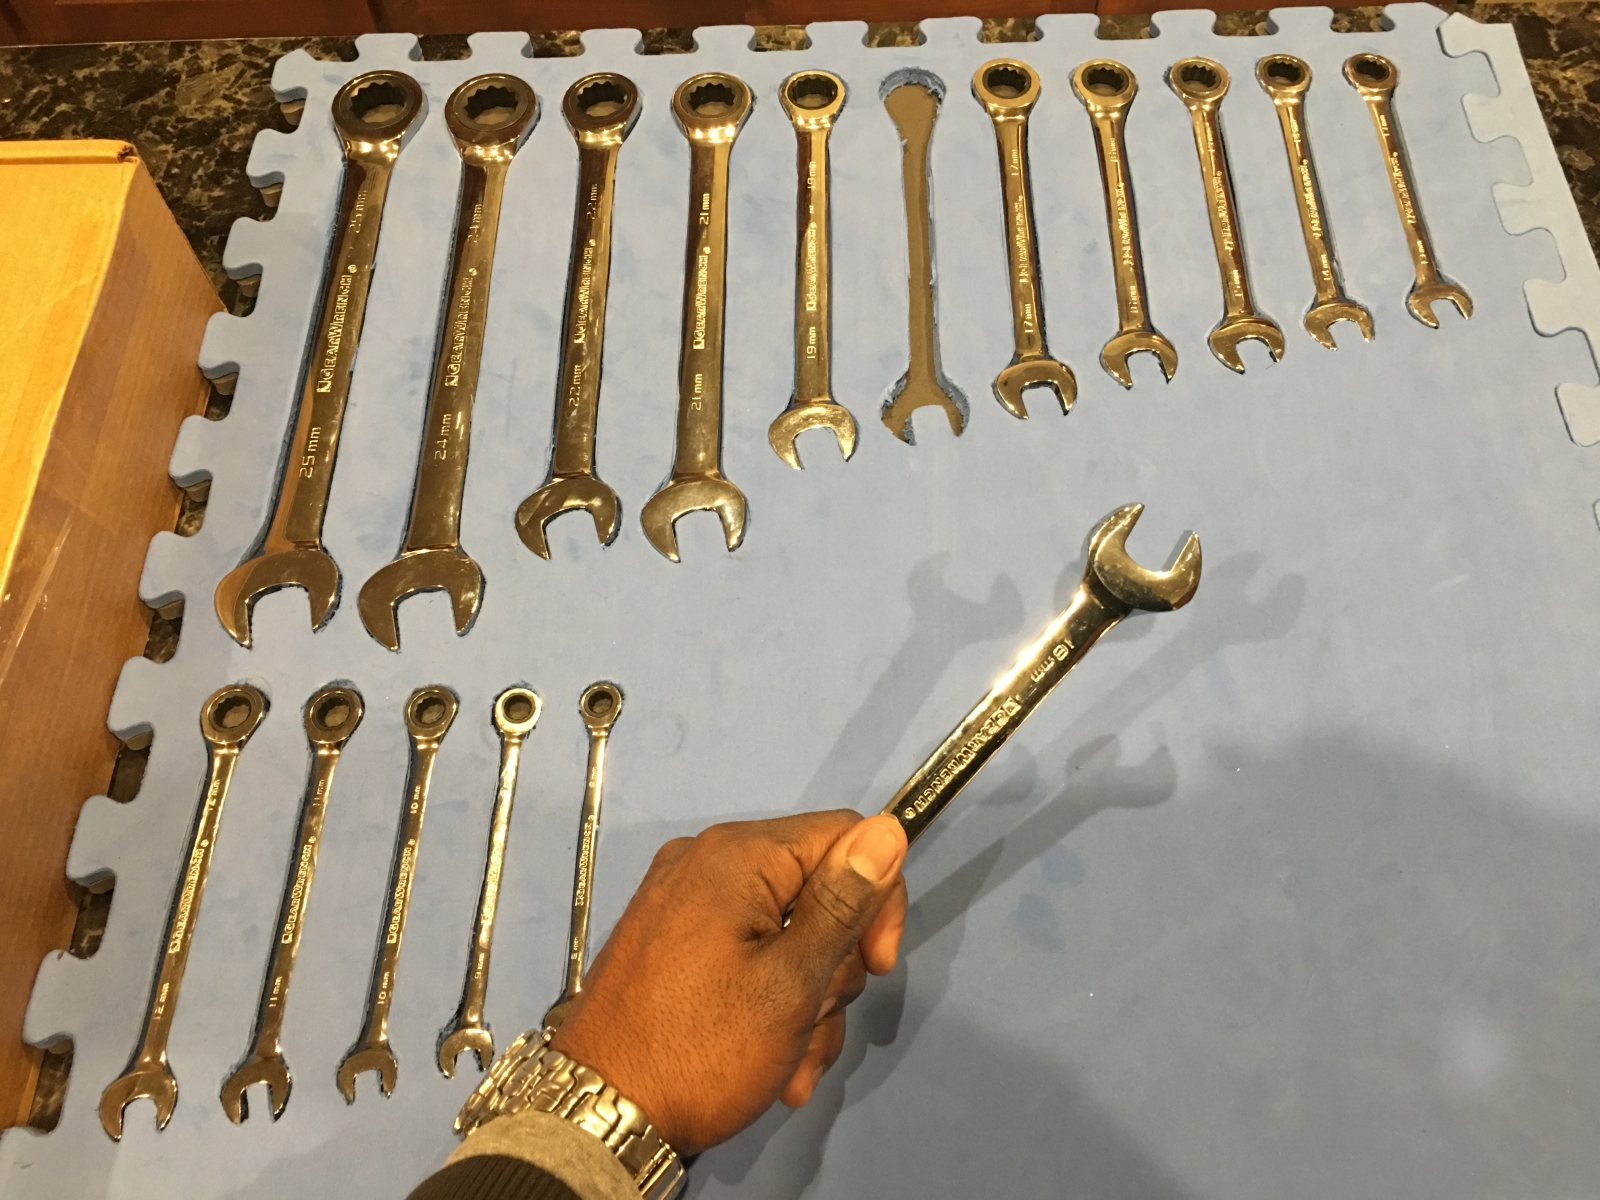
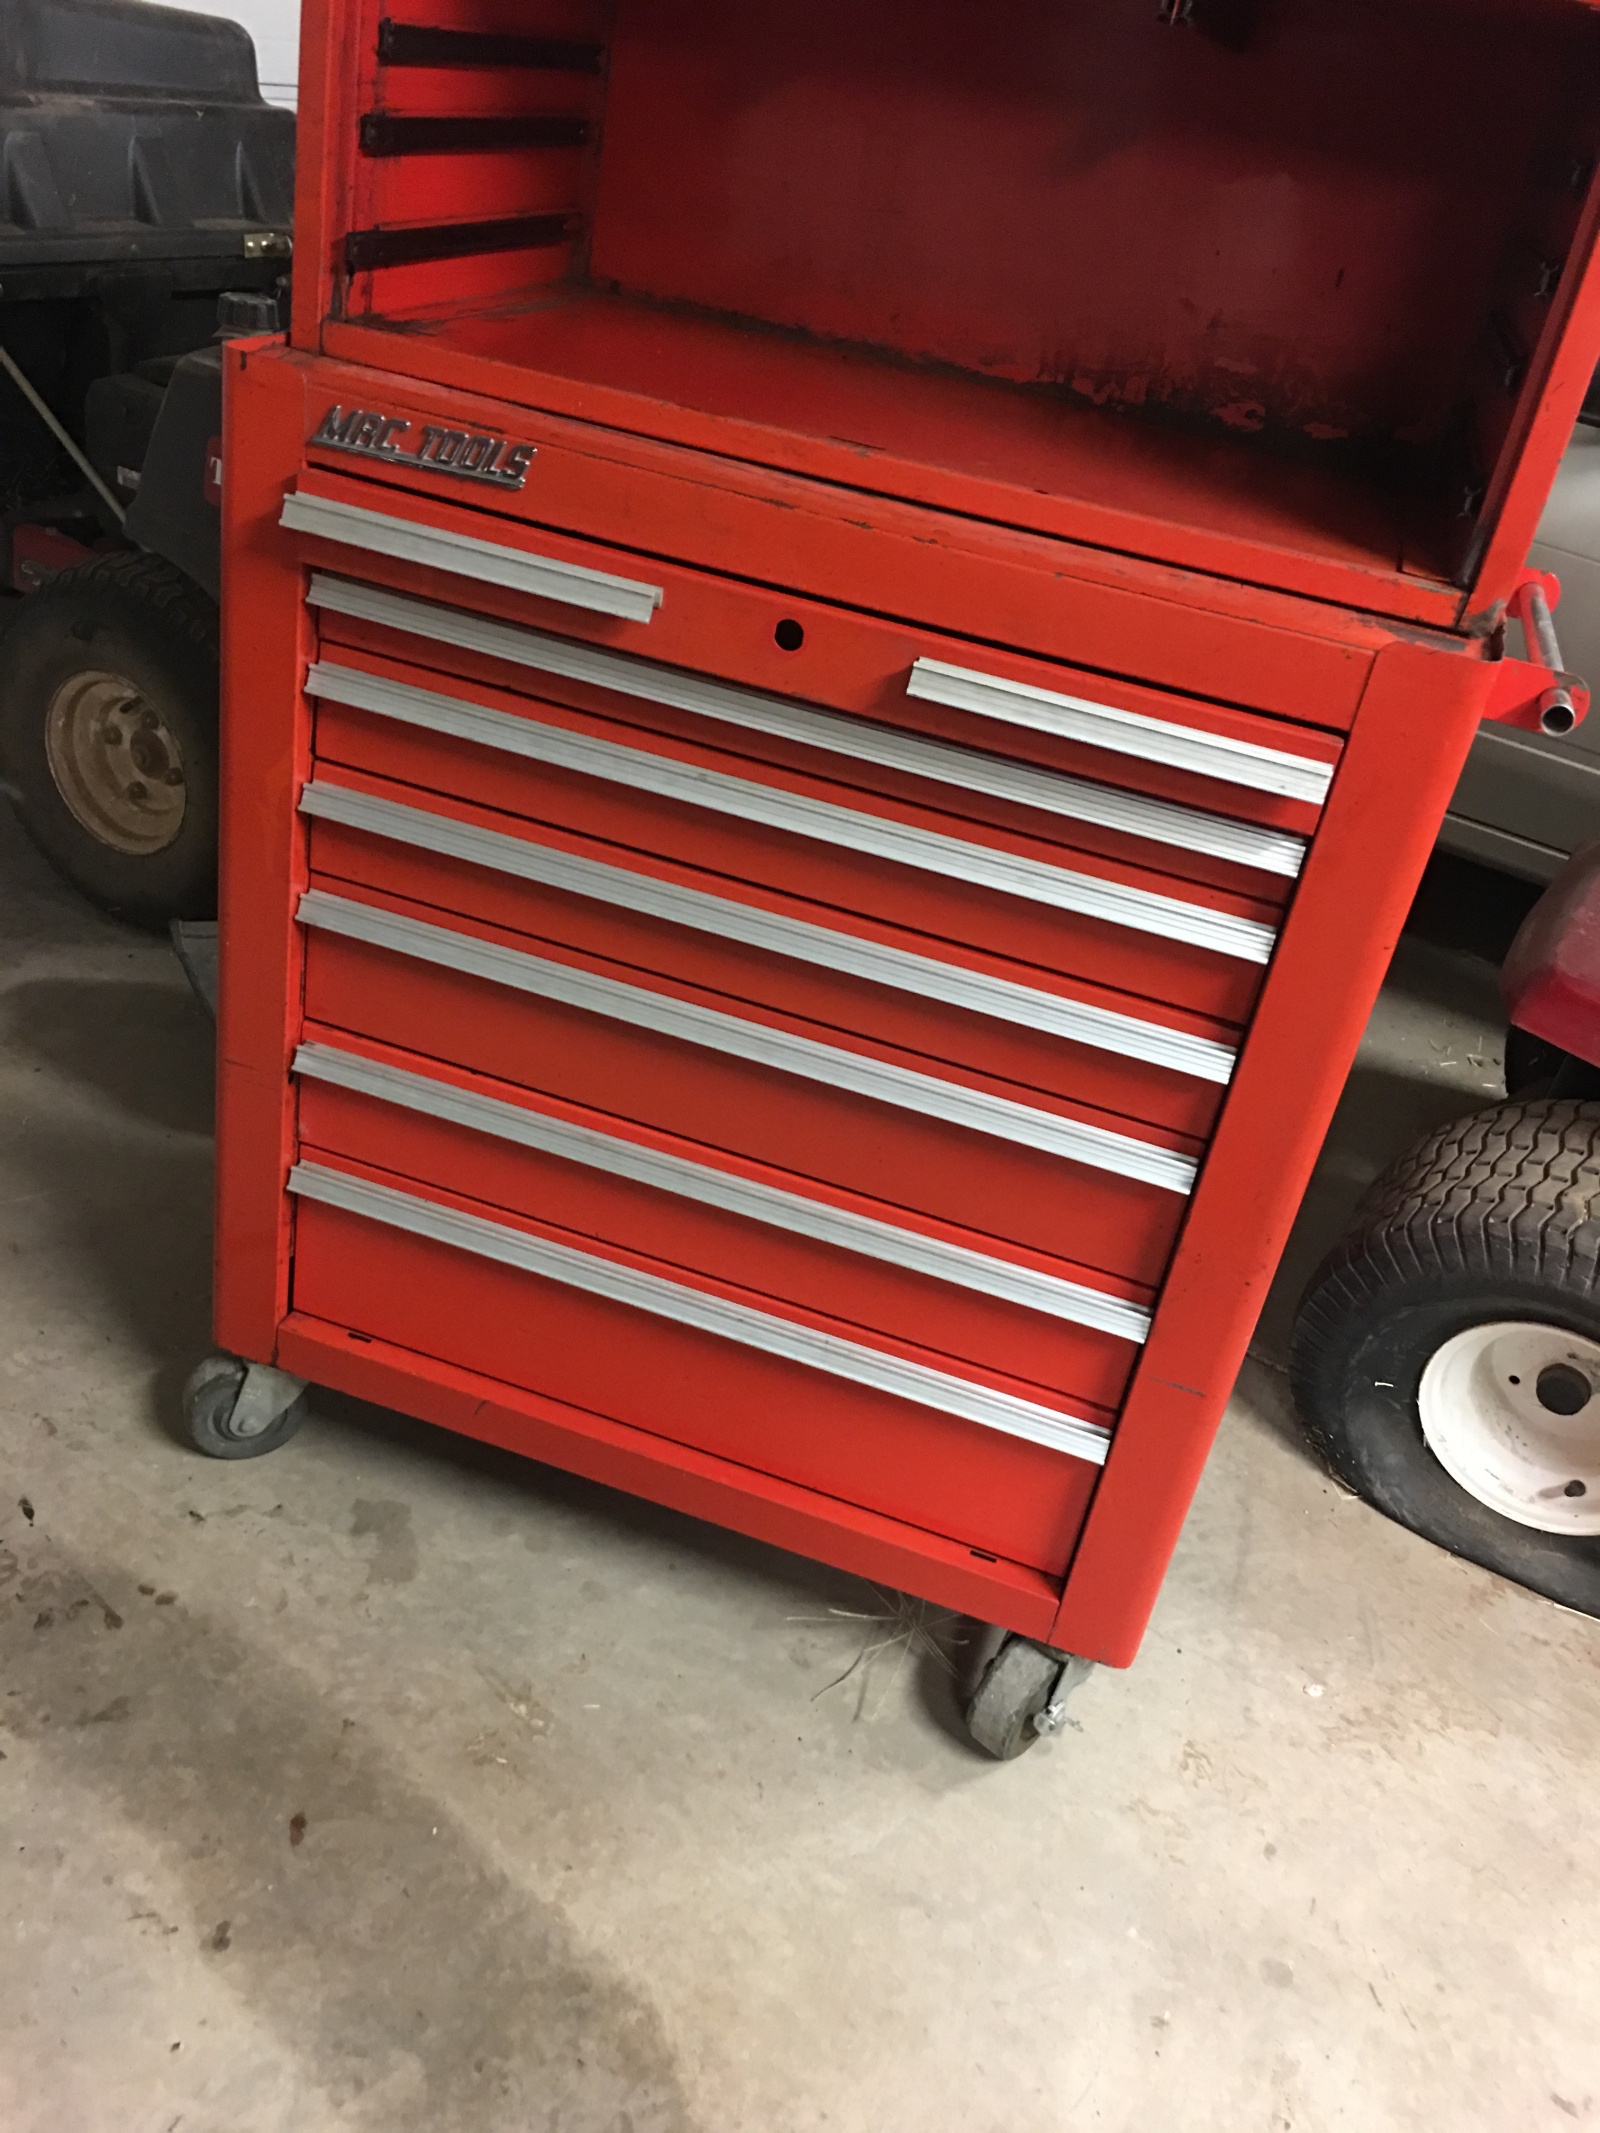
I ordered some foam mat to make organizers for my wrench sets and pliers. I'm using a box cutter in the photos, but I eventually got smart and grabbed an X-Acto knife. I was worried that I'd have to cut the mats to a smaller size, but they are almost a perfect fit for the drawers.

12.jpg


13.jpg


14.jpg


15.jpg


16.jpg
 
Last edited:
To avoid these ads, REGISTER NOW!
OP
J

Jumpman-Z

Well-known member
Joined
Jun 9, 2014
Messages
144
Location
Amarillo
September 2017

I picked up a 1993 Nissan Hardbody, AKA a D21 (Can you tell I'm a Nissan guy yet?). I had been looking for one of these for about four years, and I was stoked when I found one with 121K on the odometer, a 5-Speed transmission, and a clean interior. No 4WD, and one of the chrome wheels were missing, but for $1400, I wasn't gonna complain. Here's a couple shots after I gave it a good wash, cleaned the rust off the bumper with some steel wool and replaced the ugly black wheel with a matching one.
17.jpg

18.jpg


December 2017

The passenger-side window motor on the Z33 (350Z) crapped out on me. Luckily brand replacements are only $32-$40. The work wasn't that difficult, but I still need to go back and do a full re-calibration of the window and replace a plastic rivet that I found on the ground a day after putting everything back together.

19.jpg


20.jpg


21.jpg


22.jpg


23.jpg
 
Last edited:
OP
J

Jumpman-Z

Well-known member
Joined
Jun 9, 2014
Messages
144
Location
Amarillo
January-March 2018

It didn't take long before I realized that I was quickly running out of shelf space in my game room. Instead of shelling out a bunch of cash to the carpenter to make more shelves for my entertainment center, I thought I'd tackle the project on my own. Luckily, there was still plenty of wood stain left over from the house build.

This was my first time using a circular saw, so I was bit nervous, and didn't want to mess up the precious alder wood that I ordered. I invested in a Kreg Rip-Cut guide, which turned out to be well worth it.
24.jpg


Wear all of the proper protective gear.
25.jpg


I set out to make eight shelves, which would maximize the number of shelves I could add and still have enough height to fit all of my video games. I cut all of my pieces, applied glue, and placed the clamps. Nails were added for reinforcement after the glue cured.
26.jpg


27.jpg


28.jpg


29.jpg


Three coats of ebony stain were applied to get the desired finish, if I remember correctly.
30.jpg


31.jpg


32.jpg


Next came the semi-gloss poly, which took 6 or 7 coats, with sanding in between. The final coat received a rubbing with extra fine steel wool
33.jpg


34.jpg


35.jpg


I was pretty happy with the finished product, as the shelves closely match the rest of the entertainment center.
36.jpg


37.jpg
 
Last edited:
OP
J

Jumpman-Z

Well-known member
Joined
Jun 9, 2014
Messages
144
Location
Amarillo
August 2018
I came across this old Mac Tools chest for $200 on FB Marketplace, and couldn't pass it up. Overall it was in decent condition, just dirty, and the hinges on the top box cover needed to be replaced. One was broken, and the other was very weak. The locking devices also needed a little work.
38.jpg

39.jpg


This is one of the older style chests with friction slides. I ordered a set of friction slide tools from Snap-On to remove the drawers, as they are compatible.
40.jpg


After getting everything disassembled, cleaned up the drawers and chests with dishwashing soap and all-purpose cleaner, using a sponge to scrub.
41.jpg

42.jpg

43.jpg


Next, I decided to tackle the hinges on the top box. I drilled out the old rivets, and while I was hoping to salvage one of the hinges, I broke it in the process. Luckily, I found some new ones at Home Depot. These are brass instead of the one original steel ones, but they worked for the most part.
44.jpg

45.jpg


I was having a bit of difficulty installing the new rivets, so I used a pair of vise grips to clamp things into place while I worked.
46.jpg


The hinges worked great, except I had to cut part of the upper legs off to provide enough clearance between the hinge and the box during opening and closing.
47.jpg


After getting everything back together, I applied a coat of car wax to the chest for some extra shine.
49.jpg

50.jpg

51.jpg
 
Last edited:
OP
J

Jumpman-Z

Well-known member
Joined
Jun 9, 2014
Messages
144
Location
Amarillo
October 2018

Picked up a Phillips 66 sign and the letters from a Shell station from a co-worker that knows I'm into sign collecting.

52.jpg


53.jpg
 
Last edited:
OP
J

Jumpman-Z

Well-known member
Joined
Jun 9, 2014
Messages
144
Location
Amarillo
I finally received and started mounting my Wall Control metal pegboard. I purchased it from an online site that you may have seen that sells Wall Control's "factory defect" stuff. The pegboards themselves had almost zero cosmetic damage, and the accessories mostly just had scratches and maybe a few pieces were bent a little. Nothing a pair of pliers can't fix.

1.jpg

2.jpg


Due to limited availability, I wasn't able to get all the accessories in the colors I want. I'm currently sanding them down so they can be repainted to match my blue Vidmar cabinets.
3.jpg


I used a big wooden beam I purchased for $3 at a garage sale to help keep everything lined up.
4.jpg

5.jpg

8.jpg

6.jpg

7.jpg
 
Last edited:
OP
J

Jumpman-Z

Well-known member
Joined
Jun 9, 2014
Messages
144
Location
Amarillo
November 2018 (continued)

I wanted all of my metal pegboard accessories to matching my cabinets, so I ordered some overpriced (very) spray paint from Stanley Vidmar. I grinded away the powercoating with an abrasive wheel, primed the pieces with rustoleum, and sprayed away.

54.jpg


55.jpg


56.jpg


57.jpg


I mounted all of my Wera screwdrivers and nut drivers, as well as my hammer collection. I plan to add at least one more pegboard to hang other tools.
58.jpg


59.jpg


60.jpg
 
Last edited:

BitDrive

Active member
Joined
Jan 11, 2019
Messages
32
Location
Land of Lincoln
Awesome cleanup on the Tool chest and those signs are awesome. You going to restore the Shell Letters or are they going up with patina?
 
OP
J

Jumpman-Z

Well-known member
Joined
Jun 9, 2014
Messages
144
Location
Amarillo
Looking good Jumpman-Z:thumbup: Wow! Those Vidmar and Lista cabinets are making me jealous:thumbup:

Nice job Jumpman, Looks great. +1 on T-handle´s comment on the cabinets.


Thanks T-handle and Bommenpro5! I thought it was overkill on the storage, but I quickly found uses for every single drawer!

Awesome cleanup on the Tool chest and those signs are awesome. You going to restore the Shell Letters or are they going up with patina?

Thanks BitDrive. I later ended up selling the tool chest. I ended up mounting the Phillips Sign, which I'll post pics of soon. As for the Shell letters, I do plan on keeping them, I just need to find a good spot for mounting. The bulbs are good in almost all of them, but I may go the LED route.
 
OP
J

Jumpman-Z

Well-known member
Joined
Jun 9, 2014
Messages
144
Location
Amarillo
December 2018

For a couple of years, I had the dream of building a super workbench that I can do anything on, from welding and engine building to playing with Legos and building model cars, or even just a nice place I can take a nap.

Because this project was such a big deal to me, I decided to document my progress not only in photos, but video as well, I've since uploaded everything to Youtube. I'll post links to the videos as I approach certain segments of the build.

The idea for the workbench went through a few iterations in my head. Originally I purchased a 60-inch piece of butcher block (you can see it in the cardboard in early pics) that I would mount to the table with a leg. After waiting 2 months only to find out that I ordered the wrong length leg, I decided to go with a bigger work surface and just get another cabinet and use it as support for the other end.

In a hurry, I ended up buying this Vidmar cabinet, which was part of a well used workbench that I won an online auction for. Unfortunately, it was about 4 inches shorter in height compared to the 37 inch cabinet that I already had. :mad:

61.jpg


Driving home 4 hours, I eventually got over my frustration, and concluded that the best solution was to remove the bottom fork lift feet and weld on bigger tubing to raise the workbench up to the same height. After a few days, went to town with the angle grinder and pry bar.


VIDEO
VIDEO
62.jpg

63.jpg


Removing the old 2" feet, now made the cabinet 6" shorter, which I would also have to take into account. For the new fork lift feet, my original intention was to use 4 x 6", 3/16" thick tubing all around. A bit overkill, but stronger is better IMO. The metal supply shop didn't have quite enough to fill my order, so they upgraded me to 1/4" tubing for the left and right pieces, free of charge. Even better!
64.jpg


I managed to get the cabinet on top of the tubing for a test fit. Looks like would work.
65.jpg


This project gave me an excuse to finally setup and use the 110V welder that I received for Christmas the year prior. I did spent a summer in welding school after my freshman year of college (15 years ago), but it was stick welding and I hadn't welded at all since then. After sacrificing half a roll of wire on some plate, however, it all came back to me. Time to prep the surface and weld.
66.jpg


VIDEO
VIDEO
67.jpg


I welded using .035 flux core wire, so aesthetically the results were only so so, but the welds are very strong.
68.jpg

69.jpg

70.jpg


Both cabinets are finally the same height!
71.jpg
 
Last edited:

reynoj3

Well-known member
Joined
May 22, 2010
Messages
69
Nice garage man, glad to see I wasn't the only one who kept all their old video games. Looks like you have quite a few more but I have all my NES and SEGA games on up to the Xbox 360.

Don't have any of the newer consoles but my 7 year old has a Switch.

Need to fire up the old PS1 and play some Syphon Filter!

Sent from my Pixel 3a XL using Tapatalk
 
OP
J

Jumpman-Z

Well-known member
Joined
Jun 9, 2014
Messages
144
Location
Amarillo
December 2018 (continued)

Now that I've gotten the welding out of the way, it's time to refinish the cabinet. I wanted to use something that was durable, would protect against corrosion, yet not too expensive. I also wanted something that I could apply with a paint roller, for the inevitable event that I needed to perform touch up work. After searching around and taking advice from a very helpful paint section guy at my local Home Depot I decided to go with Valspar Anti-Rust armor. I brought in a piece from one of the other cabinets and they were able to create a very close match.

I wet sanded the original baked on paint with 800 grit sandpaper. For the drawers, I did not both with priming, as it isn't really required for Anti-Rust armor. I chose to only paint the face of the drawers, as all of the baked on gray paint was fully intact and probably much more durable.

VIDEO:
72.jpg

73.jpg

74.jpg

75.jpg


I let all of the drawers sit for about a week, as the enamel paint takes a while to cure.
76.jpg
 
Last edited:
OP
J

Jumpman-Z

Well-known member
Joined
Jun 9, 2014
Messages
144
Location
Amarillo
Nice garage man, glad to see I wasn't the only one who kept all their old video games. Looks like you have quite a few more but I have all my NES and SEGA games on up to the Xbox 360.

Don't have any of the newer consoles but my 7 year old has a Switch.

Need to fire up the old PS1 and play some Syphon Filter!

Sent from my Pixel 3a XL using Tapatalk

reynoj3, Thanks and yes, the older video games have a special place in my heart. The SNES and NES are my favorites, but I love pretty much anything 8-Bit and 16-Bit. PS1 was definitely the king of RPGs for me. I haven't played the Switch, but there are some pretty good games for it!
 
To avoid these ads, REGISTER NOW!
OP
J

Jumpman-Z

Well-known member
Joined
Jun 9, 2014
Messages
144
Location
Amarillo
January 2019

Now for the rest of the cabinet. In similar fashion to the drawers, I opted not to paint the interior of the cabinet, as the paint was still good, and wouldn't be visible anyways. Prior to priming, I ground the welds in the front of the cabinet smooth, and sanded with 800 and 1000-grit sandpaper.

Since I didn't really have a way to paint all six sides of the cabinet at once, I decided to start with bottom. I primed all surfaced except for the top with Rustoleum Professional Grade spray primer, and let it cure for a couple of days. Using the smallest foam paint roller I could find, I painted the bottom, and let it cure for about a week. I was doing this for extra measure, but it was pretty cold here, so curing really did take a long time.
VIDEO
77.jpg

78.jpg

79.jpg

80.jpg

81.jpg


The top had a few slightly uneven spots, so I primed, filled the spots with Bondo the best I could, sanded the surface, and primed again. I used a bigger roller for painting the rest of the cabinet.
VIDEO
82.jpg

83.jpg

84.jpg

85.jpg

86.jpg

87.jpg

88.jpg

89.jpg
 
Last edited:
OP
J

Jumpman-Z

Well-known member
Joined
Jun 9, 2014
Messages
144
Location
Amarillo
January 2019 (continued)

The cabinet was set in place after paint curing. I left the drawers out for easier maneuvering.

98.jpg


The next step was mounting the work surface. Back in November, I still wanted to go the butcher block route, but I quickly learned that butcher block got exponentially expensive once the length exceeded 60 inches for a piece wider than 24 inches, and I needed a piece that was at least 84" x 30".

Searching online on Thanksgiving night, I came across a listing for bowling alley lanes. After talking with the seller, it turns out that he had a business installing and removing bowling alleys, and was willing to cut and sell me a 96" length of a 42" lane for $225. Long story short, I spent my Black Friday shopping at his warehouse for 1/4 of a bowling alley lane. I had the option of pine or maple. I chose maple, since it's a lot harder than pine.

90.jpg


Unloading the lane was a pain to say the least. I needed something temporary to sit it on until I was ready for it, so I placed a tool box I wasn't using on my pallet jack, and slid it on top of the box. I had to put some heavy stuff in front of the pallet jack to keep it from rolling while I slowly slid the lane on.

91.jpg


Taking some measurements once more, I had just enough room for the full length of the 96" lane. Before I could cut it down to my desired 30" width, I had to remove the t-bar supports. This made me extremely nervous, as the t-bars are critical to its rigidity, and the lane got super flimsy on me once they were removed. Luckily, I was somehow able to set it down on my sacrificial foam board without it falling apart. I made two passes with my circular saw, as the lane is 2.5" thick, and embedded with nails. The seller went through two blades cutting it to length for me, so I wanted to be careful. Luckily, my blade survived. If you watch the video, the sparks you see are nails getting cut.
VIDEO

91.jpg


92.jpg


93.jpg


94.jpg


95.jpg


The T-bars, where originally mounted, would hit the tops of the cabinets, so when reinstalling, I moved them further into the center of the lane, breaking a couple drill bits in the process.:mad:

96.jpg


97.jpg
 
Last edited:
OP
J

Jumpman-Z

Well-known member
Joined
Jun 9, 2014
Messages
144
Location
Amarillo
January 2019 (continued)

I forgot to mention, at the end of December, I took a road trip to Dallas, and found a tool I had been after for while: a drill press. I ended up not getting one, but two. The Wilton works perfectly, but the bench top one at least needs some wiring. I didn't realize it at the time, but having a drill press would come in handy in this part of the workbench build.

99.jpg


Been looking for one of these for a while. Yeah, I know the motor is missing. It needs rewiring.
100.jpg


To make the bench legit, I really wanted a backstop. I searched high and low for a backstop kit that met the dimensions of my workbench top, but to no avail. The solution? Build my own!

For the backstop, I used 3" x 1/8" thick flat stock cut to length with a chop my Dremel (works if you have patience!). I clamped a cut off piece of the benchtop's T-Bar bracing to use as a guide when cutting and cut took my time.

101.jpg


102.jpg


The bar stock was cheaper and much stronger than the typical sheet metal backstops. The only downside was making the mounting holes. Luckily, I had a drill press now. Holes were drilled and tapered every 6 inches using a drill press. Drilling those holes got old very quickly and took forever, but but I was very pleased with the results.
VIDEO

102.jpg


103.jpg


104.jpg


105.jpg


106.jpg


107.jpg


108.jpg


109.jpg


Test-fitting the backstop. Despite my careful cutting and drilling, this did require a little extra cutting of the wood to get a good fit.

110.jpg


111.jpg


As you may have noticed in the previous photos, the bench top is no longer on the pallet jack. Realizing that I would eventually have to get the top elevated high enough to place on the cabinets and probably wouldn't have any help, I decided to invest in a lifting table. I got this one from Harbor Freight, and it works great. It's the 1000 lb capacity model, and you'll see why I chose it soon. I bled and added more fluid per the instructions, but it really wasn't necessary. Unfortunately, the max lifting height is 34.5", so I built a pallet out of 2 x 4s to give me some extra height.

112.jpg


113.jpg
 
OP
J

Jumpman-Z

Well-known member
Joined
Jun 9, 2014
Messages
144
Location
Amarillo
January 2019 (continued)

With three sides of the backstop mounted and painted, the bench top was ready to be placed onto the cabinets. One of my primary goals for the workbench is to keep assembly, disassembly, and mobility as painless as possible, so I chose not to bolt the top to the cabinets. I plan to epoxy coat the garage in the future, so I was trying to think ahead. Besides, the cabinets support enough of the top to prevent possible buckling.

Loading the top with the lift table was a breeze, I just had to move slowly to keep everything on balance, and make adjustments as needed. After that, the front side of the backstop was mounted and painted.


VIDEO

114.jpg


115.jpg


116.jpg


117.jpg


118.jpg


118.jpg


I cleared the attic staircase by a few inches.

120.jpg


The top is on, drawers have been reinstalled, and I even put in a new cabinet lock, but I'm not quite done yet!

121.jpg
 
Last edited:
OP
J

Jumpman-Z

Well-known member
Joined
Jun 9, 2014
Messages
144
Location
Amarillo
January 2019 (continued)

As I mentioned at the start of this build, my primary goal was a workbench that I could do anything on, which included welding. I loved the look of the wood top, but wood isn't exactly the best material for welding. A thick slab of steel, however, works perfectly. Taking inspiration from the 12-Gauge Garage's "Compliance Station" I purchased a 5/8" thick steel plate, cut to 30" x 96". While not as robust as the 1" plate in Jack's garage, it's more than enough for me.

Weighing in at 510 lbs, it should now be clear why I chose to purchase the 1000 lb capacity lift table.
122.jpg


I didn't have any help getting the plate out of my truck, so I carefully placed these steel rods underneath it, which made it easier to roll it out of my truck onto the lift table. I very carefully and slowly rolled it out, marking the center to keep in on balance. A stool was placed just past the table to help provide extra support.
VIDEO
123.jpg

124.jpg

125.jpg
 
Last edited:
OP
J

Jumpman-Z

Well-known member
Joined
Jun 9, 2014
Messages
144
Location
Amarillo
January 2019 (continued)

You can't have a workbench without a vise. My dad bought me a Wilton WS6 6" vise a few years back, and I kept it in the box, hoping that I'd eventually have a workbench to mount it to. It's finally time.

VIDEO
126.jpg
127.jpg

Test mount of the vise. I disassembled it to paint it to match the cabinet.
128.jpg

Since the pieces already had a semi-rough texture due to being cast, priming didn't seem necessary.
129.jpg

130.jpg

131.jpg

ALL DONE! For now...:)
132.jpg
 
Last edited:

Ronin22

Well-known member
Joined
Oct 2, 2018
Messages
478
Location
BA
Work bench is coming along beautifuly!!!

Please, do show us your fleet of Nissans!
 

GLTHFJ60

Well-known member
Joined
Oct 31, 2013
Messages
821
Location
Durham, NC
That bench looks REALLY good.

You said you bought that table top? Looks like a section of old bowling lane!!
 
OP
J

Jumpman-Z

Well-known member
Joined
Jun 9, 2014
Messages
144
Location
Amarillo
Work bench is coming along beautifuly!!!

Please, do show us your fleet of Nissans!

Thanks Ronin, the bench is done for the most part, except I need to add a detachable piece for a bench grinder. I'll be posting the Nissans soon, just trying to get caught up on everything I've done during the year, and two of the cars were purchased more recently.

That bench looks REALLY good.

You said you bought that table top? Looks like a section of old bowling lane!!

Thanks GLTHFJ60. Yep, you're right on the money, it's a bowling alley section :) In one of the posts, I mentioned finding a guy selling bowling alley lanes. He cut it down to 96" (1/4 lane). I had the choice of pine or maple, and went with the maple wood since it's harder.
 
OP
J

Jumpman-Z

Well-known member
Joined
Jun 9, 2014
Messages
144
Location
Amarillo
February 2019

February 7

With the workbench done, I was ready to shift my focus to the mounting my Phillips 66 sign and getting some power to it. Typically gas station signs are hardwired with a ballast when installed at gas stations, but I wanted to wire up a plug for it and put it on the wall.

133.jpg

I purchased some 16-gauge wire to make a cord, and I couldn't find the plug I wanted (yes I'm picky), so I had order and wait for it to come in.

134.jpg

135.jpg

February 9

I finished hooking up the cord, but still waiting on the plug I ordered to arrive.

136.jpg

137.jpg

In the meantime, I took delivery of something I was in the process of getting into the market for: A 300ZX Twin Turbo! I've been in love with these cars for years. I wasn't quite ready to buy one, but at the price I got this one for, I couldn't turn it down.

It only has 86,809 miles and it's got lots of mods, including cross-drilled rotors, coil-overs, catback exhaust, Pop chargers (air intake for 300ZXs) Greddy boost controller, what looks to be upgraded intercoolers, a redone interior, mostly new wires and lines, a pretty tasteful body kit, and lots of other cosmetic goodies. The catch: It was a repo car which for some reason, cranks but won't start, and has a ding behind the door that occurred loading the car. I'll get into troubleshooting later, but the price was so low that I couldn't lose even if I parted the car out.

138.jpg

139.jpg

140.jpg

141.jpg

142.jpg

143.jpg

144.jpg

145.jpg

146.jpg
 
Last edited:
OP
J

Jumpman-Z

Well-known member
Joined
Jun 9, 2014
Messages
144
Location
Amarillo
February 2019 (continued)

February 12

Finally got the plug. A friend came by to help me finish mounting the sign the day before, and I tried it out as soon as I installed the plug. Works great! I was glad that I didn't have to replace any of the bulbs, as the it's a special size that I can't find at the hardware stores.

148.jpg


149.jpg


150.jpg
 

lidz

Member
Joined
Oct 15, 2012
Messages
13
Location
Melbourne, Australia
Great addition to the garage, I'm a z32 guy too! Body kit is all quality items so that's good indication of the build.

Front bar: Nissan OEM 2000 spec with shaved plate mount
Skirts: Stillen Type 3 with door fillers
Wing: Stillen Sport
Rear: Twinz bolt on diffuser
Wheels: AVS vs5

Check out aus300zx.com if your in need of any info or help, it's a fantastic resource
 
OP
J

Jumpman-Z

Well-known member
Joined
Jun 9, 2014
Messages
144
Location
Amarillo
Great addition to the garage, I'm a z32 guy too! Body kit is all quality items so that's good indication of the build.

Front bar: Nissan OEM 2000 spec with shaved plate mount
Skirts: Stillen Type 3 with door fillers
Wing: Stillen Sport
Rear: Twinz bolt on diffuser
Wheels: AVS vs5

Check out aus300zx.com if your in need of any info or help, it's a fantastic resource

lidz, you're right on the money! The only thing I couldn't identify was the Twins diffuser. Thanks! I was able to get a lot of info on Twinturbo.net, but I've checked that site out as well!

February 2019 (continued)

February 12

Finally got the plug. A friend came by to help me finish mounting the sign the day before, and I tried it out as soon as I installed the plug. Works great! I was glad that I didn't have to replace any of the bulbs, as the it's a special size that I can't find at the hardware stores.

148.jpg


149.jpg


150.jpg

Def. bucket list car that Z32!

Ronin22, mine as well. I was so happy to get one of these, but as you'll see in a couple posts, something better came along:D
 
OP
J

Jumpman-Z

Well-known member
Joined
Jun 9, 2014
Messages
144
Location
Amarillo
February 2019 (continued)

As mentioned at the beginning of the thread, I also purchased this Lista cabinet at an auction. It was the first cabinet that I won in the auction, and I purchased in the event that the Vidmars got bidded up to a price that I couldn't afford. I regretted buying it at first, since I had the others, and tried to sell it to a friend for a cheap price. He never came through, so I figured it was time to do something with it.

I believe the cabinet was used in a machine shop, as it came with a ton of fasteners, cutting tools, cutters, and lots of boxes of Holo-Krome fasteners. i I figured I'd use it for the same, and also as a stand for my bench drill press. The first step was disassembly and cleaning up some of the rough edges. Also, removing all of the **** that was hoarded on top of it.:D


151.jpg


Outside, the paint was pretty rough, but the rollers on the slides work perfectly.

152.jpg


153.jpg


154.jpg


155.jpg


There a couple of holes in the two spots you see, which I wanted to fill. This was truly a PITA, but didn't have to be. I kept burning through and making the holes bigger as I tried to close them up. If only I had discovered that a thing called a welding spoon exists before starting. :Violent:

156.jpg


The Z didn't come with a battery, so I picked up a cheap on from Walmart to start troubleshooting.
157.jpg
 
Last edited:
OP
J

Jumpman-Z

Well-known member
Joined
Jun 9, 2014
Messages
144
Location
Amarillo
March 2019

March 2

I don't need another drill press, but I came across this and couldn't resist. It was an older Craftsman, brand new in the box, and for only $50. I scooped it up without much hesitation. I'm not sure what I'll do with it at the moment, so it's in the attic for now.

158.jpg


159.jpg


160.jpg


161.jpg


In similar fashion to the workbench cabinet, I primed everything except for the top of the cabinet with intentions to paint the bottom first.

The usually windy weather was nice and calm after I got off work, so I decided to save my lungs and prime the cabinet outside.

162.jpg


163.jpg


March 3

Finally started troubleshooting the Z32.

The first thing that I did was access the ECU and check for trouble codes. Being a 1990 car, there's no plugging in an OBDII scanner, instead you have to check for blinking lights. I got a code 55, which means everything is good, "no trouble". :headscrat 
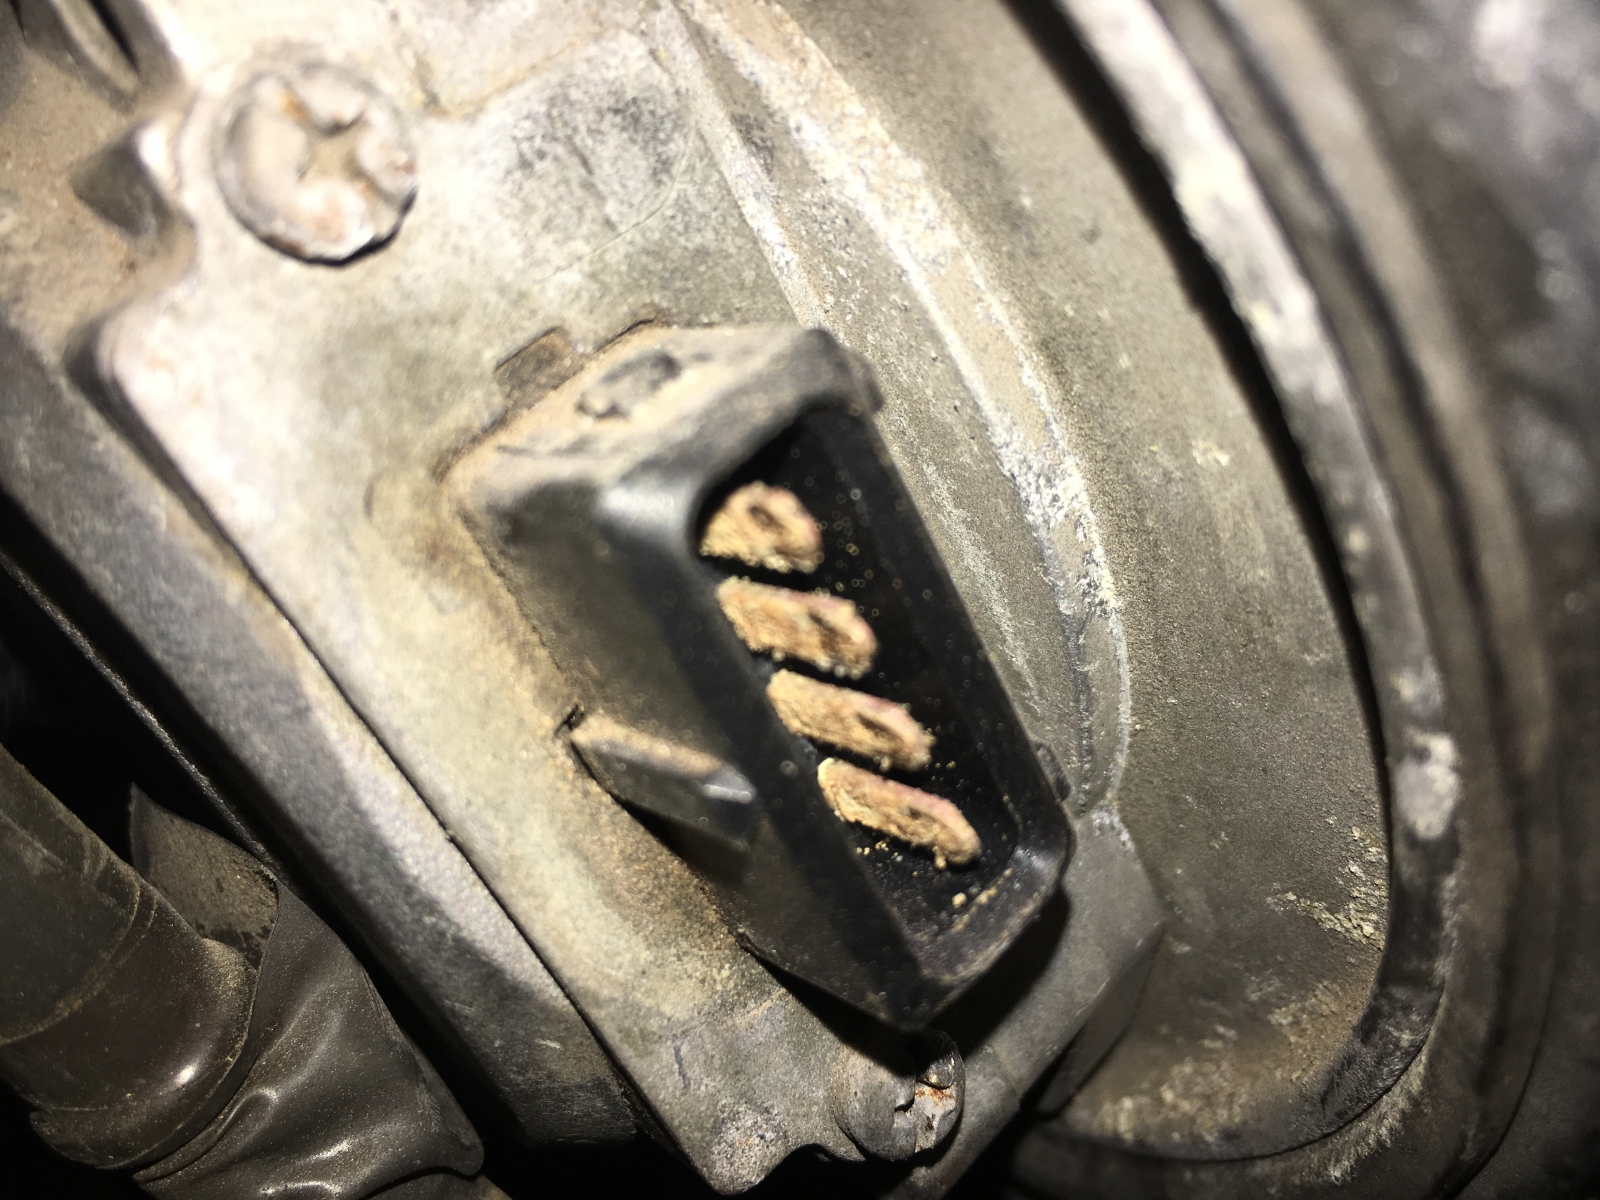
Well, at least not from anything that the ECU can detect.

After doing some research online, it seems the one of culprits could be the Power Transistor Unit (PTU), which fires the spark plugs. I checked the connections on that and even later replaced it with a known working one. No luck.

Next, I checked the Crank Angle Sensor (CAS), which signals the injectors to fire. It did have a lot of corrosion on the pins. I cleaned that up, but still nothing, lots of cranking maybe some cylinder firing, but definitely not starting.

164.jpg
 
OP
J

Jumpman-Z

Well-known member
Joined
Jun 9, 2014
Messages
144
Location
Amarillo
March 2019 (continued)

March 6

Painted the drawer faces of the Lista tool cabinet, and set them to cure for about a week.

165.jpg


Also painted the bottom of the cabinet.

166.jpg


167.jpg


168.jpg


March 16

I really didn't care for the way in which the drawers were previously sorted, so I decided to remove the slide rails and resort them from smallest to biggest.

169.jpg


March 20

I finished painting the cabinet. As you may notice, there's a few dings on top of it. I'm not too concerned about those, as I eventually plan to place some steel plate on top of it.

170.jpg


171.jpg
 
To avoid these ads, REGISTER NOW!
Top Bottom