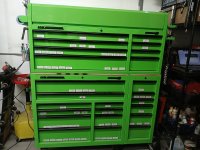
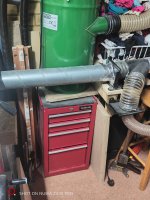
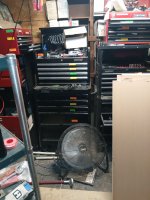
Pieced these 4 toolboxes in last year, when each was on sale. 42" roll cabs were $499, 56" roll cab was $599 and the 56" top chest was $499. Only way to buy these is when they go on sale. After 24+ yrs out of Craftsman 26" wide 3 stack box, decided to treat my self to an upgrade. Everything finally has a home, instead of scattered about on shelves.
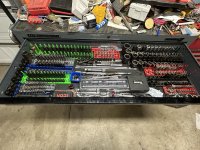
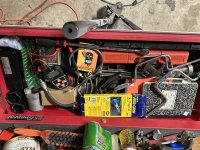
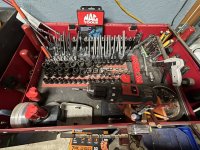
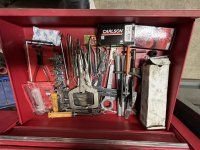
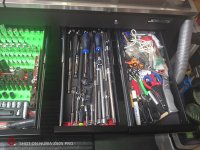
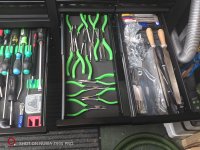
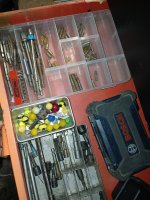
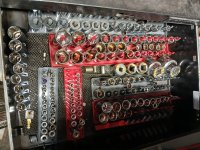
For my organizers, I originally looked into buying the Toolgrid system. Until I nearly choked seeing what it would have cost me to buy it. So I decided to 3D print the Toolgrid system instead (Grid board, socket holder, wrench holders).
For literally a fraction of the cost to buying. Around 85% savings over buying the Toolgrid system. Would have saved even more if I had used PLA filament instead of PETG filament. Since it was 3d printed, no cutting was needed for the grid board, so I was able to print custom pieces to fit up to the edges. So no wasted space.
Approx cost breakdown of 3D printing vs buying Toolgrid
Grid board 83 pieces, $141.84 vs 783.21, $1.70 vs $9.43 a piece
1/4" socket holders 110 pieces, $4.40 vs $35.60, .04 vs .32 a piece
3/8" socket holders 258 pieces, $15.48 vs 83.48 , .06 vs .32 a piece
1/2" socket holders 327 pieces, $26.16 vs $131.97, .08 vs .40 a piece
Wrench holder, 328 pieces, $29.52 vs $265.35, .09 vs .81 a piece
Total approx cost $217.40 vs 1299.61, approx saving atleast $1082. If Toolgrid were sell by the piece. As you can see the savings is massive.
Buying the Toolgrid cost will be higher than $1299 because they sell the items in sets of 16 for grids, 25 for sockets holder, 10 for wrench holder. Approx purchased cost from Toolgrid before shipping and tax $1443.67
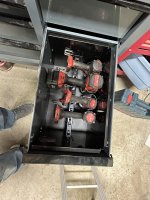
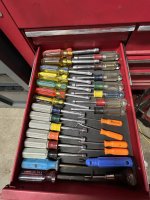
The plier organizer rack and screwdriver holders (basically Toolbox widget system). Again for a fraction of the cost were also 3D printed, along with the drawer labels.
View attachment 2458344