Maddog10
Well-known member
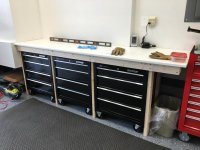
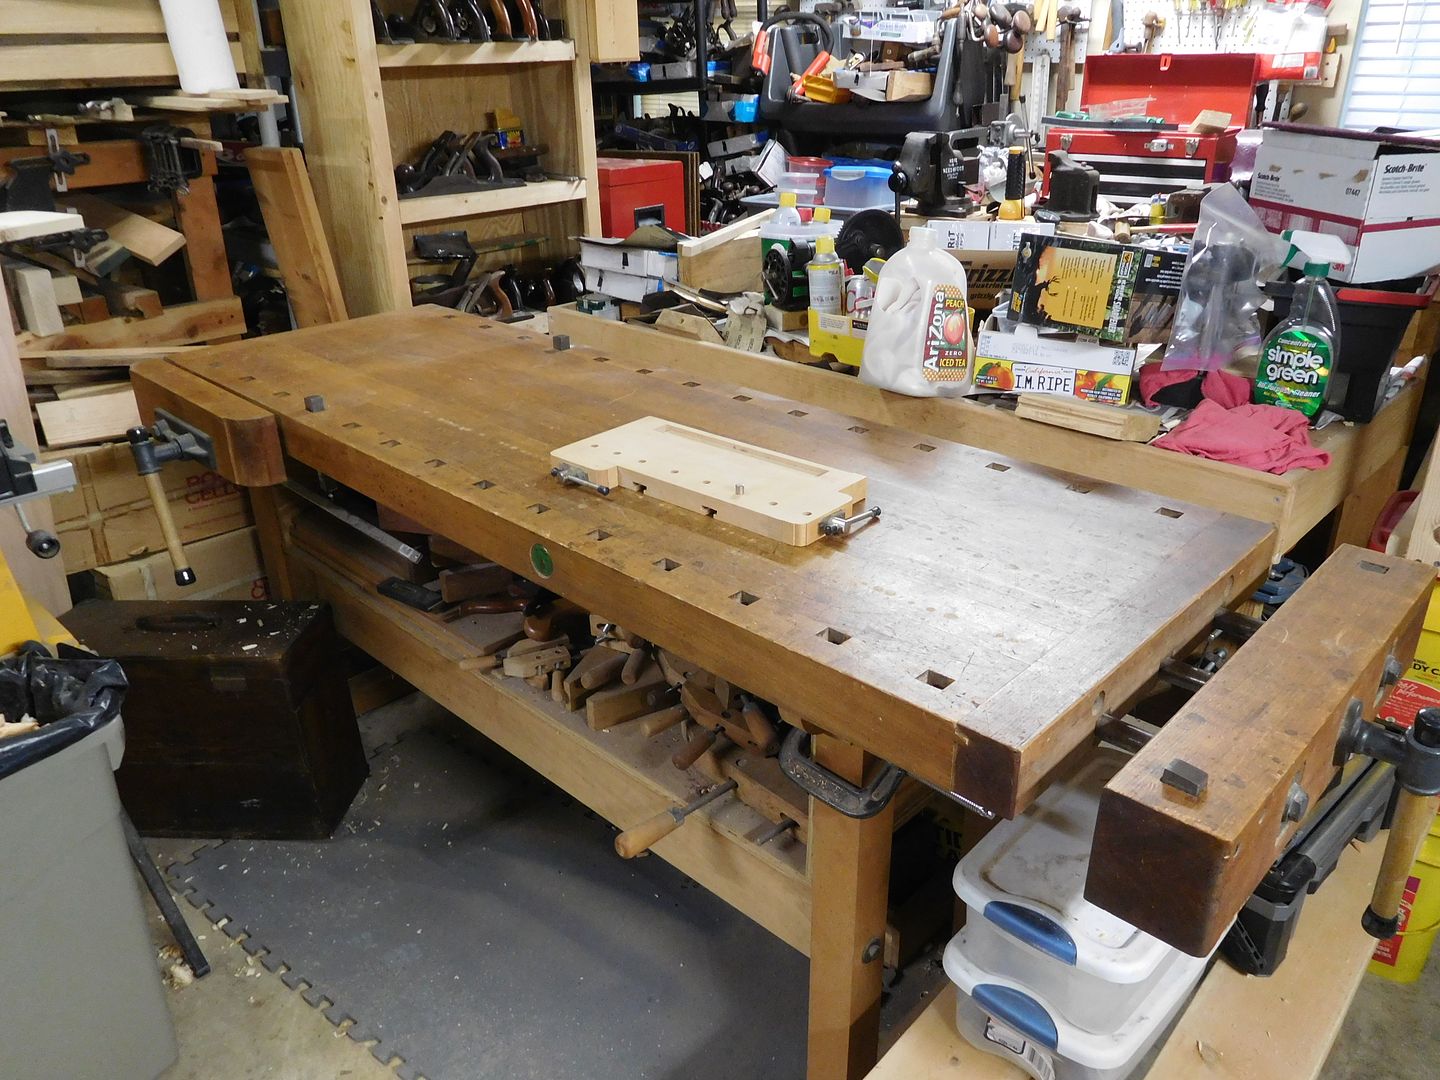
Nice bench. Getting ready to reno or replace mine. How did you make the top?
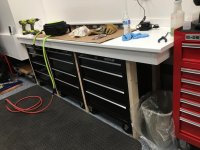
Thanks. I cut a sheet of 3/4" MDF to size, centered it with overhang for clamping, and then screwed that sheet to the frame. Then, for the second layer I just attached it with glue so that I didn't have any visible screw holes showing. After that I just ripped some 2x4's to the width I wanted, mitered the corners, and attached them with glue and brad nails for the trim. Added a few coats of semi-gloss poly to seal from moisture and it was good to go.
If you do a lot of heavy duty work on your bench and think that it will get beat up quickly, I would advise screwing both layers instead of only gluing the top like I did. My top is not easily replaceable, but it's a light duty bench and I think I can get years out of this top before needing something else. At that point I can either make a new top (MDF is cheap), or just screw a 1/8" piece of hardboard over the existing top. For me personally though, I preferred having no visible screws over having an easily replaceable work surface.